Workshop Rowhill Grange
 What more could you wish than beautiful weather, a stunning model, a good MUA and some fine students ?
Well a nice location maybe ?
All was there today.
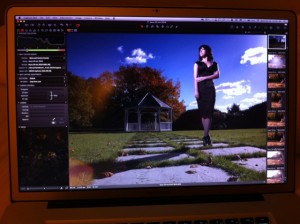
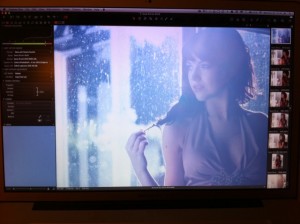
One little point of attention, the two images you see during the blogpost and the ones in the video are STRAIGHT from the camera right after they were shot and shot with my iPhone, so don’t expect any quality, final results will be posted on Friday.
Today it was time for the workshop, the location workshops are always so much fun to do, every location is different and every location has new challenges. During the workshops I always try to teach my students something about light, controlling it and most of all how to use a lightmeter properly. And today was no exception.
I have to add that I’m always a bit shocked how many people simply don’t measure the light, for me that’s something I really can’t understand. Maybe it’s because I mainly use the “big” strobes where you have to everything without TTL, but even than having a lightmeter with a TTL system gives you a lot of extra options and it makes live simply put much more easy.
So what did we do today ?
We started out with a relatively simple setup, the exercise here was not to control light (although that was also done by learning how to use the sun as a rimlight), but to learn how lenses and perspective works. This sounds simple but trust me, there are some surprises there, especially when we are incorporating lensflare and the sun in the images (a sort of running theme today). By constantly changing the composition and the angle of shooting (and of course lenses) the students got an insight in how to build the shot see here as a first shot.
After that it was time to move to a beautiful tree.
The assignment here was more elaborate, how to keep details in the leafs without blowing them out but also not showing a spot effect on the model, or in simpel terms, how to light this scene that it looks natural. After the natural however we went to the more surreal and we ended up with rim-lighting the model and using the main light just as fill.
 Because it was rather cold outside for the model in her dresses we moved back inside to be “cooked”, the difference between inside and outside was really extreme.
Inside I decided to let the students see what can be done with natural light and adding a natural lensflare, but not before removing some elements in the image that really destroyed the image like a really reflective table that made it impossible to shoot the scene without blowing out everything. Knowing how to find these elements and identifying them is a key element in making a shot work.
Once we removed the table it was time to learn how to work with lensflares and use them creatively, every time I do this in the workshops it’s fun to see people going really into overdrive mode to find out that moving just a few inches can destroy an image or make it a killer shot. It’s one of the most fun things to do for me.
After that it was time to discuss the angles of light, I won’t go into detail about this because it must be seen to understand, but trust me it’s a live changer when you master this 😀
For the final setup it was time to go outside again and use a garden cage for the final setup.
Overal it was a very successful day with some stunning images and a great vibe throughout the team and students.
MANY thanks to :
Annewiek Doorhof for being my trusted assistent (and wonderful wife)
Nav for doing the makeup
Laura for being our model and bringing a lot of nice clothing
And of course the students……
Here is a small backstage video shot with the iPhone 4


Looks great Frank. Wish i was there…