Elinchrom meets a new dimension in lighting
Photographers play with light, but above all we play with time. Actually for me photography is freezing a unique moment that will never happen again in the exact that same way.
In the studio we basically have two ways to use light. The first one is continuous light, the second is with strobes. You can also use both at the same time or mix them. Supporters of continuous light talk about: What you see is what you get. The strobe supporters say: The power of strobes allows us to create stunning freezing action shots. I’m a supporter of the second group. Don’t get me wrong, I also often work with continuous light, but with continuous light I don’t have the possibility to do a day to night shot with the bright sun, freezing the moment and I cannot play with depth of field (especially creating a deep depth of field) when shooting my medium format camera.
One real disadvantage of strobes is that strobes often have to recharge after every flash, and that can sometimes can take the “flow” out of shoot.
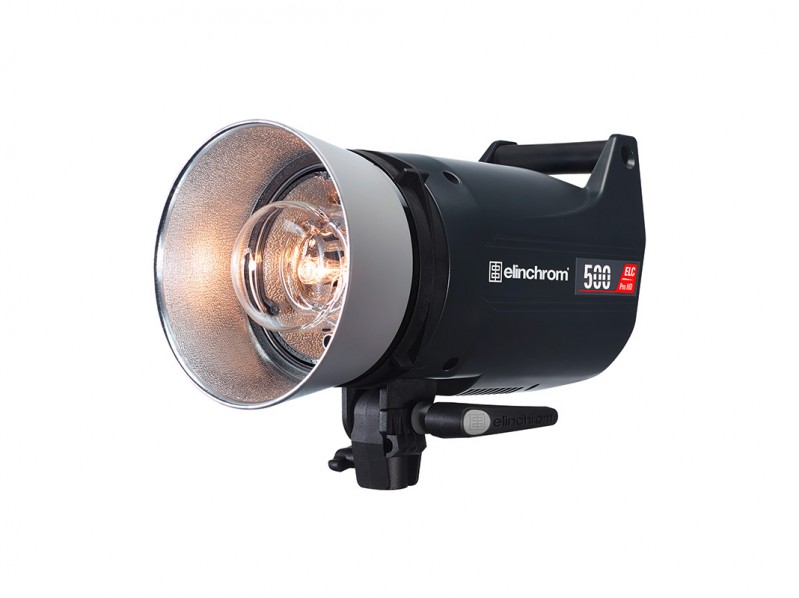 Enter the ELC
Elinchrom strobes were already very fast in comparison with most other brands, but now they introduced one of the fastest strobe in the world. This is a new high end strobe and will catch a lot of attention, not only because of it’s performance, but it will also push photographers to the next level of creativity. It will help you to create pictures which weren’t possible before due to a load of features you will love and never saw in Elinchrom strobes before. Of course there is a lot of information in the manual and on the specsheets, but let me show you what I think are the biggest advantages of these strobes.
A few months ago Elinchrom send me the ELCs to test. It’s really exciting to test photography gadgets so long before their official release. But sometimes it’s also really really hard because, as you can understand, you canot tell anyone and trust me I’m REALLY enthusiastic about the ELCs. And to keep it a secret and only share my experiense with a very small group… believe me it was very very hard. I’m glad we can finally demonstrate the strobes in our workshops, on trade-shows and events.

What is so special about ELC?
Basically the design of the units is like an ordinary Elinchrom strobe. Only the 500 and 1000 watt are in the same housings now. This is easier for transport, and it just looks nicer in the studio when mixing strobes. The major difference however, which will make a lot of photographers very happy, is something that has actually nothing to do with the light itself 😀
The display
We all know this problem, you have to change something in your setup and…. Whoops where was that thingy again…. Is it this button in combination with that button? If you found it, than you have to search between codes like FB, FX, F1, F2 etc. and after that you have a lot more of menu options. To be honest, I love Elinchrom a lot and I work on a daily basis with it, but I need a cheat sheet when I have to change a setting that I don’t use weekly or monthly. Not a big deal of course, but sometimes in a stress full situation it can be…challenging.
Luckely this is a part of history. The new ELC units have a fantastic menu system. No cryptical desciptions, but a very clear display with full phrases and a great menu structure. In one word AMAZING!
In the menu you’ll find, of course the settings for the sky port, modelling lights, beeps etc…. but you’ll find way more than that. You can change the sound signals itself, the speed of recycling, set standby options, use the strobes in series, adjust the delays, adjust the…….. well let me put it this way……and much more.
I hear you think….. “Hey! I heard some settings that I haven’t seen before.” and yes… the ELC strobes can do a lot more than simple flash to freeze the movement. It will fill way too much space to explain everything, but I will show you some basics, which I use very often.

Read more
Like this:
Like Loading...







You must be logged in to post a comment.