Tag Archive for: tips

Never the black screen again when using strobes

Black Screen on your camera when using strobes?

Oh, the black screen!

“This camera is unusable for studio use, that’s insane for such an expensive camera…. etc”
Countless of these kinds of bashing cameras can be found online, especially when the EVF in a camera was not as widely used as now. But why is the screen black when you are using strobes?

So what’s going on here?

In the older cameras, we used the sensor only as a replacement for film.
The image was still split into a part where you see the image, focus is done, etc., and a part where it’s hitting the sensor.
With the mirrorless cameras, everything changed.
First of all, we could get super accurate focus (well not at first, it was terrible at times) because you literally focus on the sensor, but we could now also use the viewfinder in a completely new way.

It started with the Sony A99

One day I got a call from Sony if I wanted to test a brand new camera that was “soon” to be released and do the press release in Dubai.
At the moment I wasn’t really into Sony. I was working with Canon cameras and absolutely loved the camera and the people at Canon (I still do :D)

But testing out new gear and getting carte blanche for my review, ……send it in.
Now there is a really funny story about batteries and Sony the Netherlands hanging up several times because they thought I was not serious seeing they didn’t know the camera yet. When it got solved I was literally stunned when looking through the viewfinder… this looks like fricking Topgun 😀
Yeah well, it was a huge improvement over the standard OVF (now I feel old).

The only problem with the A99 was the speed of the EVF. You probably remember the videos of people running through parking garages with their cameras and falling down because the EVF was too slow. In all honesty, when you do stuff like that it’s probably not just the EVF that has a … well ok it was funny 😀

Nowadays EVFs have greatly improved and yes you can now run around with them, although I would not recommend it.

Black Screen when using strobes.

But one problem remains; the black screen when using strobes

When you use the camera in the studio, the image you see through the viewfinder is totally black, and maybe when you press the shutter you can see a little bit of light. So what’s going on here?

The EVF actually does exactly what it’s supposed to do, it emulates the exposure….. ok let’s rewind.
Remember that A99?

Another thing that I found out with the EVF was that taking pictures outside was awesome, even the most difficult situations like backlighting were no problem anymore. Just change the exposure compensation till you see what you like and press the shutter. I called it the WYSIWYG display (What You See Is What You Get).

And this is the problem in the studio.
In a dark studio with the settings 1/125, F11, and ISO100 it should be 100% black in the viewfinder.
And of course, this also happened to me. And remember this was my first EVF. There was no manual and I had no contact person I could reach on the weekend. So, there was one solution, because this couldn’t be how it worked. I went through every single setting in the menu looking for something like LCD or EVF off. I couldn’t find it. Maybe it really was like this… no… ok now let’s try out all the settings. Finally I found a setting with the “not so clear for me” name “setting effect”. Because there was an option ON and OFF, I decided to go from ON to OFF… and like magic, there was my whole studio 😀

Black Screen when using strobes . A funny picture of a model with a camera

So the solution is actually pretty simple

In most cameras with an EVF, you can switch the EVF to roughly two modes.
One is an emulation of what you will get when you press the shutter with those settings.
and the other one is an emulation of what an OVF would show (optical view finder).

This means that in the studio we use the EVF on OFF and outside it’s in most cases best to leave it on ON.

On all cameras, the wording is a bit different but look for settings like “Emulation mode”, “Lighting emulation”, “Setting effect” etc.

To show it on my Sony A7RV I made a small video about the black screen when using strobes and how to solve it.
For this one, we made 2.
The first one is in English the second one is in Dutch.

If you have any questions feel free to ask.
Use the links in this blog post to order and support our work.
For the gear I use visit frankdoorhof.com/shop


Adding more storage to your MacBook Pro (or other laptops) and what to look out for

Apple is great but some things are insanely expensive

I’ve never been a huge Apple fan, but I do love their products.
Let me explain.
They just work, and they work great together. For me this is vital because I work mostly on my phone but want a fast and seamless integration with my laptop when needed, I also love to edit my images in Photoshop with the iPad Pro in extended screen mode. In other words especially the last few years, Apple found their way back to the creatives after releasing some horrible horrible laptops.

The M series changed it all for me.
My first M product was my iPad Pro, and in all honesty I still use the M1 12.9 iPad Pro.
It’s great for editing, reading comics and magazines, watching movies, browsing and of course connecting a controller and have some fun with Call of dutch mobile 😀

The M series in the iPad Pro actually made it possible for me to edit video better and faster than on my Dell XPS i9 windows laptop, which in essence blew me away, I never expected a tablet to hands down beat my super expensive laptop that was fully specked out.

At the moment I’m running a M1 Pro 14″ MacBookPro which will be replaced as soon as the M4 pro is released, not because I really need it, but I do find that when screen recording heavily AI driven software I do start to experience the limits of my laptop 😀
For normal use I would not know why to upgrade to be honest.

Although I feel that the MacBookPro’s at the moment give the best bang for the buck, there is one thing that is incredibly expensive when upgrading, and that’s internal storage. My photos and videos are all stored on 2 synology NAS systems but when working on several video projects, music recording etc. the internal drive is even with 1TB a “bit” on the small side. But upgrading is in my opinion way to expensive, so I was looking for a great solution.

Most solutions are based on the SD card slot which doesn’t make sense for me due to the speed hit and also the lack of really large storage. I need at least 4TB extra and also an option to work from that drive, or use it as a scratch drive.

On Amazon or your favourite supplier you can get pouches you can put on the back of your laptop.
I found that they are large enough to hold a small harddrive.
So I bought a 4TB small SSD and that’s where the troubles started.

Watch out and beware

Of course we all know (I hope) that there are different kinds of cables.
There are cables that are just for charging and cables that support USB3/C or ThunderBolt connections.
The USBC connector has many faces so to say.
And the problem is that often we don’t really notice it unless you start testing.

First of all
Don’t ever buy cheap cables.
Most of the cheaper cables will downgrade the speed of your external SSD to a very slow USB2 speed. Which means you think it works but copying files is incredibly slow. These cables are often only meant for charging your phone or tablet. But they do recognise the drive, which will often confuse the user.

Another thing is the shielding.
My first cable I tried was of a good shielded quality, but still my wifi was very unstable, losing connecting all the time and the speed was horrendous, all was great when I disconnected the cable.

At that point I almost gave up, but decided to order an even better shielded cable and finally, no more unstable wifi, no more slow transfer speeds, it just works like a charm 😀

When you order a cable make sure you order a very high quality USBc or TB cable.
Especially make sure the shielding is top notch.
I also highly recommend angled connectors. It’s always better to transport the laptop with the cable disconnected but it happens regularly that we don’t and with the angled connectors it never gave any problems, but to be sure, just take it out of the port.

Now because images say more than words, I made a small video for you.


How to read a light meter

How to read a light meter?

A light meter is a tool to meter your light. Some photographers think it is something from the old days. Others don’t “need” one. And some people never use it. I am a big advocate for using the light meter. In this article, I explain why and how you read a light meter.

Lightmeters are cool

Let’s start right away with a bold statement 😀
I know for a lot of people light meters are not the first thing they think about when starting with photography. But that’s wrong. I might say it’s one of the most important parts of your kit.

Why is the light meter so important?

First of all, we have to realize that we only see 3 colors as human beings.
We call those colors the primary colors, Red, Green, and Blue.
We also have secondary colors, Cyan, Magenta, and Yellow.
All colors are connected via the blackbody curve (white points for color temperature) and determine the colorspace.

Now how do they determine the colourspace you might ask?
Good question actually.
All colors within the colorspace have 3 coordinates, x y, and Y.
Hue, Saturation, and Luminance.
When we want accurate colors in our photos I think it’s clear we need to make sure the colors are captured as accurately as possible when shooting them.

We have 2 tools for this that work together.
The first one is the color checker (I’ll write a different post about that in the coming days) and the light meter.
The color checker is used to calibrate the colors in your RAW converter, but to get the colors (x,y) right we also need to get the Y correct and that’s where the light meter comes in.

It’s super easy actually

Sometimes, I feel a little bit like the light meter helpdesk with all the questions about the use of light meters. And most problems occur by not understanding the meter, so let’s dive in.

First of all, let’s make it clear…. it’s really super easy.

Let’s first take a look at the display.

how to read a light meter? I use this light meter

On the display, you see the shutter speed: 1/125
The ISO: 400
And the F-stop: F8.0 (4)

And that’s where it often goes wrong.
A lot of people will now set up the camera for F8 on ISO400 1/125 and… well the images are overexposed.. so how is that possible when using a light meter? Right?

Well because there is one extra number that is really important, and that’s the little 4.


It’s in the details

When we look at our camera you will probably know that you can change your F-stops in 1/3rd stops.
On most strobes, you can have 2 options, also in 1/3rd or even on 1/10th stops.
But don’t confuse the two. The settings on your strobes have nothing to do with what you see on the meter. It’s just the power output, and there are also settings like 2.8, 4.0, or 5.6 that are pure because… well those numbers are there.

So how do we proceed?

When your meter reads F8.0 (4) this means the meter reads F8 and 4/10th.
If you have strobes that can be adjusted in 1/10ths you can just lower it by 4 clicks and you’re probably reading F8.0 after that (if you have good strobes).

If your strobes can be adjusted in 1/3rd stops we have to improvise a little bit. Go down one click on the strobes and the meter should now read F8.0 (1) now its a matter of just moving the light a few inches further away and it will read F8.0

Now I have to be honest, for 1/10th I don’t really move my lights, but if you really need to be very accurate it does work great.

how to read the light meter. example of the settings Let’s try it out!

Here we see F5.6 (7)

We have a few options:
1. We can go down 7 clicks on a strobe with 1/10ths adjustments and get F5.6
2. We can go up 3 clicks on a strobe with 1/10ths adjustments and get F8.0

1. We can go down 2 clicks on a strobe that works in 1/3rd adjustments and move the light slightly for F5.6
2. We can go up one click on the strobe and end up at F8.0

1. Set the camera up for F8.0 and lower your aperture one click for F7.1
2. Set the camera up for F8.0 and raise your ISO 1 click (also the ISO is set in 1/3rd on most cameras)

The nice thing is that if you know how to read the light meter you can very quickly change settings.
Do you have problems with calculating settings like ISO, shutter speed, and the connection between the Aperture?
Don’t worry, if you use a meter you can just change one setting and you will the other settings change.

In other words, if you misjudged the lighting and you get a reading of 1/125,  ISO400,  F8.0 and you need a faster shutter speed, you can just change the shutter speed, ISO, and Aperture until you see the settings that will work. You don’t even have to do a new reading.

Are light meters only for strobes?

So is a light meter only handy when using strobes?
No absolutely not.
A light meter, just like your camera can be used in different configurations.
You can use it to determine your aperture or shutter speed and of course, play with your ISO.
It’s like the perfect pocketknife for all situations 😀

Ok, I’m sold, which light meter should I buy?

It’s no secret I love the Sekonic brand, but in essence, you can also get a different brand, just make sure you get the right one.
First make sure it’s a flash-compatible meter, so most very old meters will not work.

Also, make sure to determine if you need an incident meter or want both (reflective and incident).

Incident vs reflective

When we look at the difference between the two it’s easiest to compare the reflective meter to how your camera works. It will give you the value for 18/12% grey. These meters often have extra attachments (spot meters) or have the spot meter build in. Personally, I would highly recommend getting a meter like the Sekonic 758 or 858 with a very tight spot meter build-in. You can also buy attachments for some other meters but I don’t want to mess around with attachments that can be lost, so the 758/858 would be my choice.

But do you need it?

That’s a good question.
The main thing where we use light meters for is the incident meter.
This means you hold the meter in front of the area you want correctly lit and the meter gives you the correct value.

Now you might say… why would I ever use a reflective meter if it only gives me 18% grey?
GREAT question.
We use reflective often to make white backgrounds 100% white and not 98 or 110%. This prevents spill and shows all the details in clothing and hair which you would lose if you overexpose the background “too much”. Or we make sure that certain areas are 100% black. But you can also calculate light falloff.

Now I have to be honest.
Mostly I used the reflective meter outside to calculate the output of my strobes to create day-to-night images, fill light, and everything in between. But with modern cameras, there is a really cool trick for this.

Is the EVF a replacement for the light meter?

Yes you read it correctly the EVF can replace the “reflective” meter, but only in certain circumstances.
For example, if you are on location and want to create a cool day-to-night effect.
Just set the EVF up for emulation mode and fix the shutter speed where you want it, start to play with aperture and ISO, and just watch in the viewfinder, let’s say you love the look at F8, 1/125, and ISO100. Now, The only thing you have to do is set up your strobe for F8.0 for which you still need an incident meter (to do it fast and right).

How to read a light meter conclusion

Reading the light meter is super easy when you understand the extra numbers and how they interact with your camera and strobe.
The benefits are immense, you can work a lot faster, visualize and set up location shoots within seconds, and wow your customer by nailing the shot right away (something you see less and less).

When you look at eBay you can probably find a lot of meters but if you want to buy new (something I do advise with precision instruments) I would check out the Sekonic range like the :

Sekonic 858 (my meter)
or the Sekonic 758
but the Sekonic 358 is alright too
These are examples of the meters I owned over the years but they also have some really good alternatives like the :
508, 308x, 478 etc.

Check out Sekonic.com for more information on the different types.
Buy via our links to support our work.


Read this blog on a white background with only 3 umbrellas, I couldn’t have done it without the light meter

This article is about colors and sets


How to make wow images with sets and colors

Sets really add something

Often when I mention sets people think about big-budget solutions, but the opposite can be true, and mostly is in my work. In this article, I combine sets and colors to create WOW images.
It’s almost a sport to create cool-looking sets without breaking the bank.
So we also look for cool stuff on fleamarkets, attics, etc. you would be surprised what kind of “junk” you can buy for next to nothing that works great in a photoshoot.

And sometimes you use what’s there.
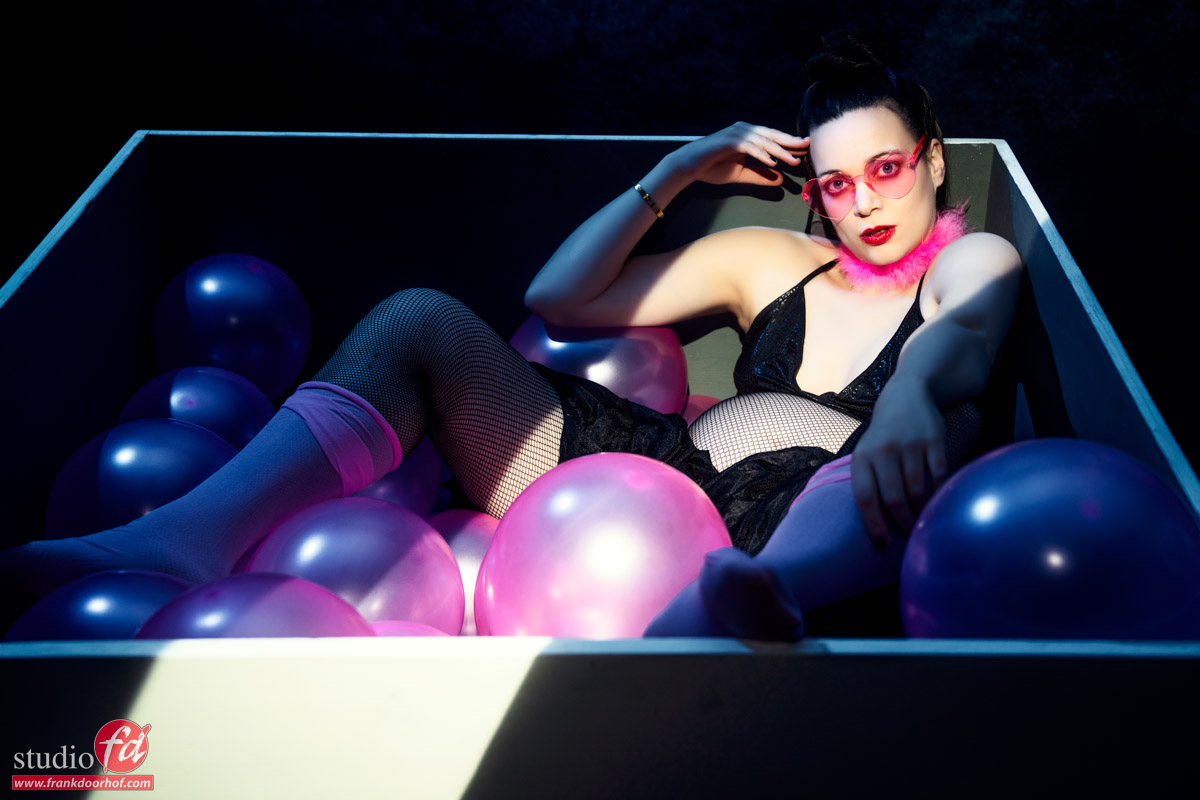
In this case, a customer brought in a huge projector for me to calibrate and it was packaged in a flight case. So…. yes indeed why not use it in a photoshoot?

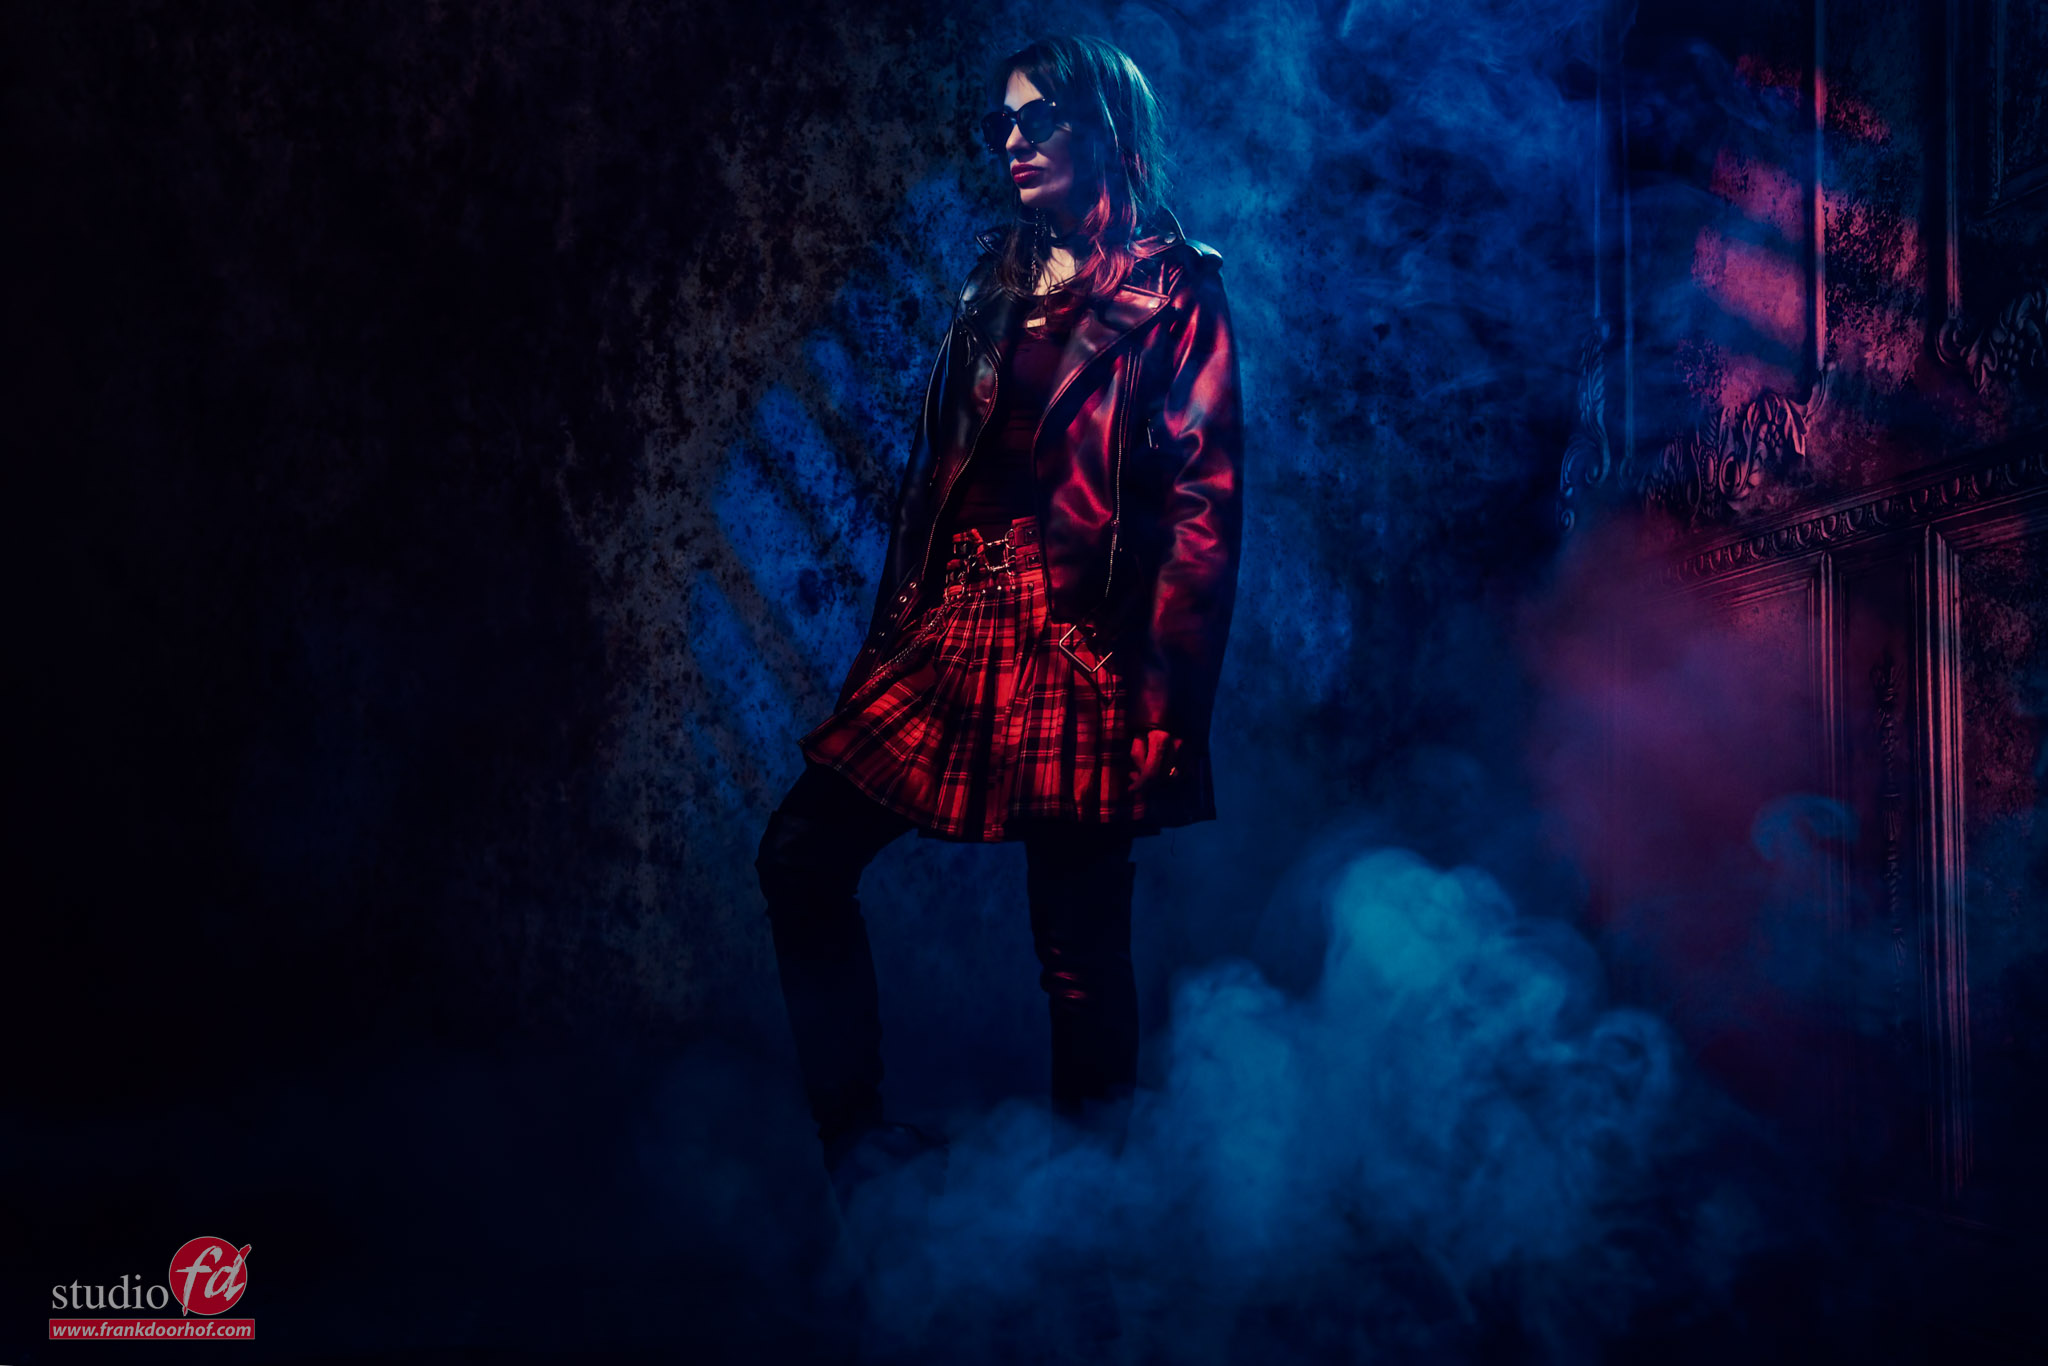
Today a small tutorial on how to spice up a small set with a touch of color.

Model: Claudia
Want to visit one of my workshops?
Check www.fotografie-workshops.nl

Do you live abroad and is travel out of the question?
We have you covered there, book a full-day 1:1 online workshop in English or Dutch.
Just mail me for more info

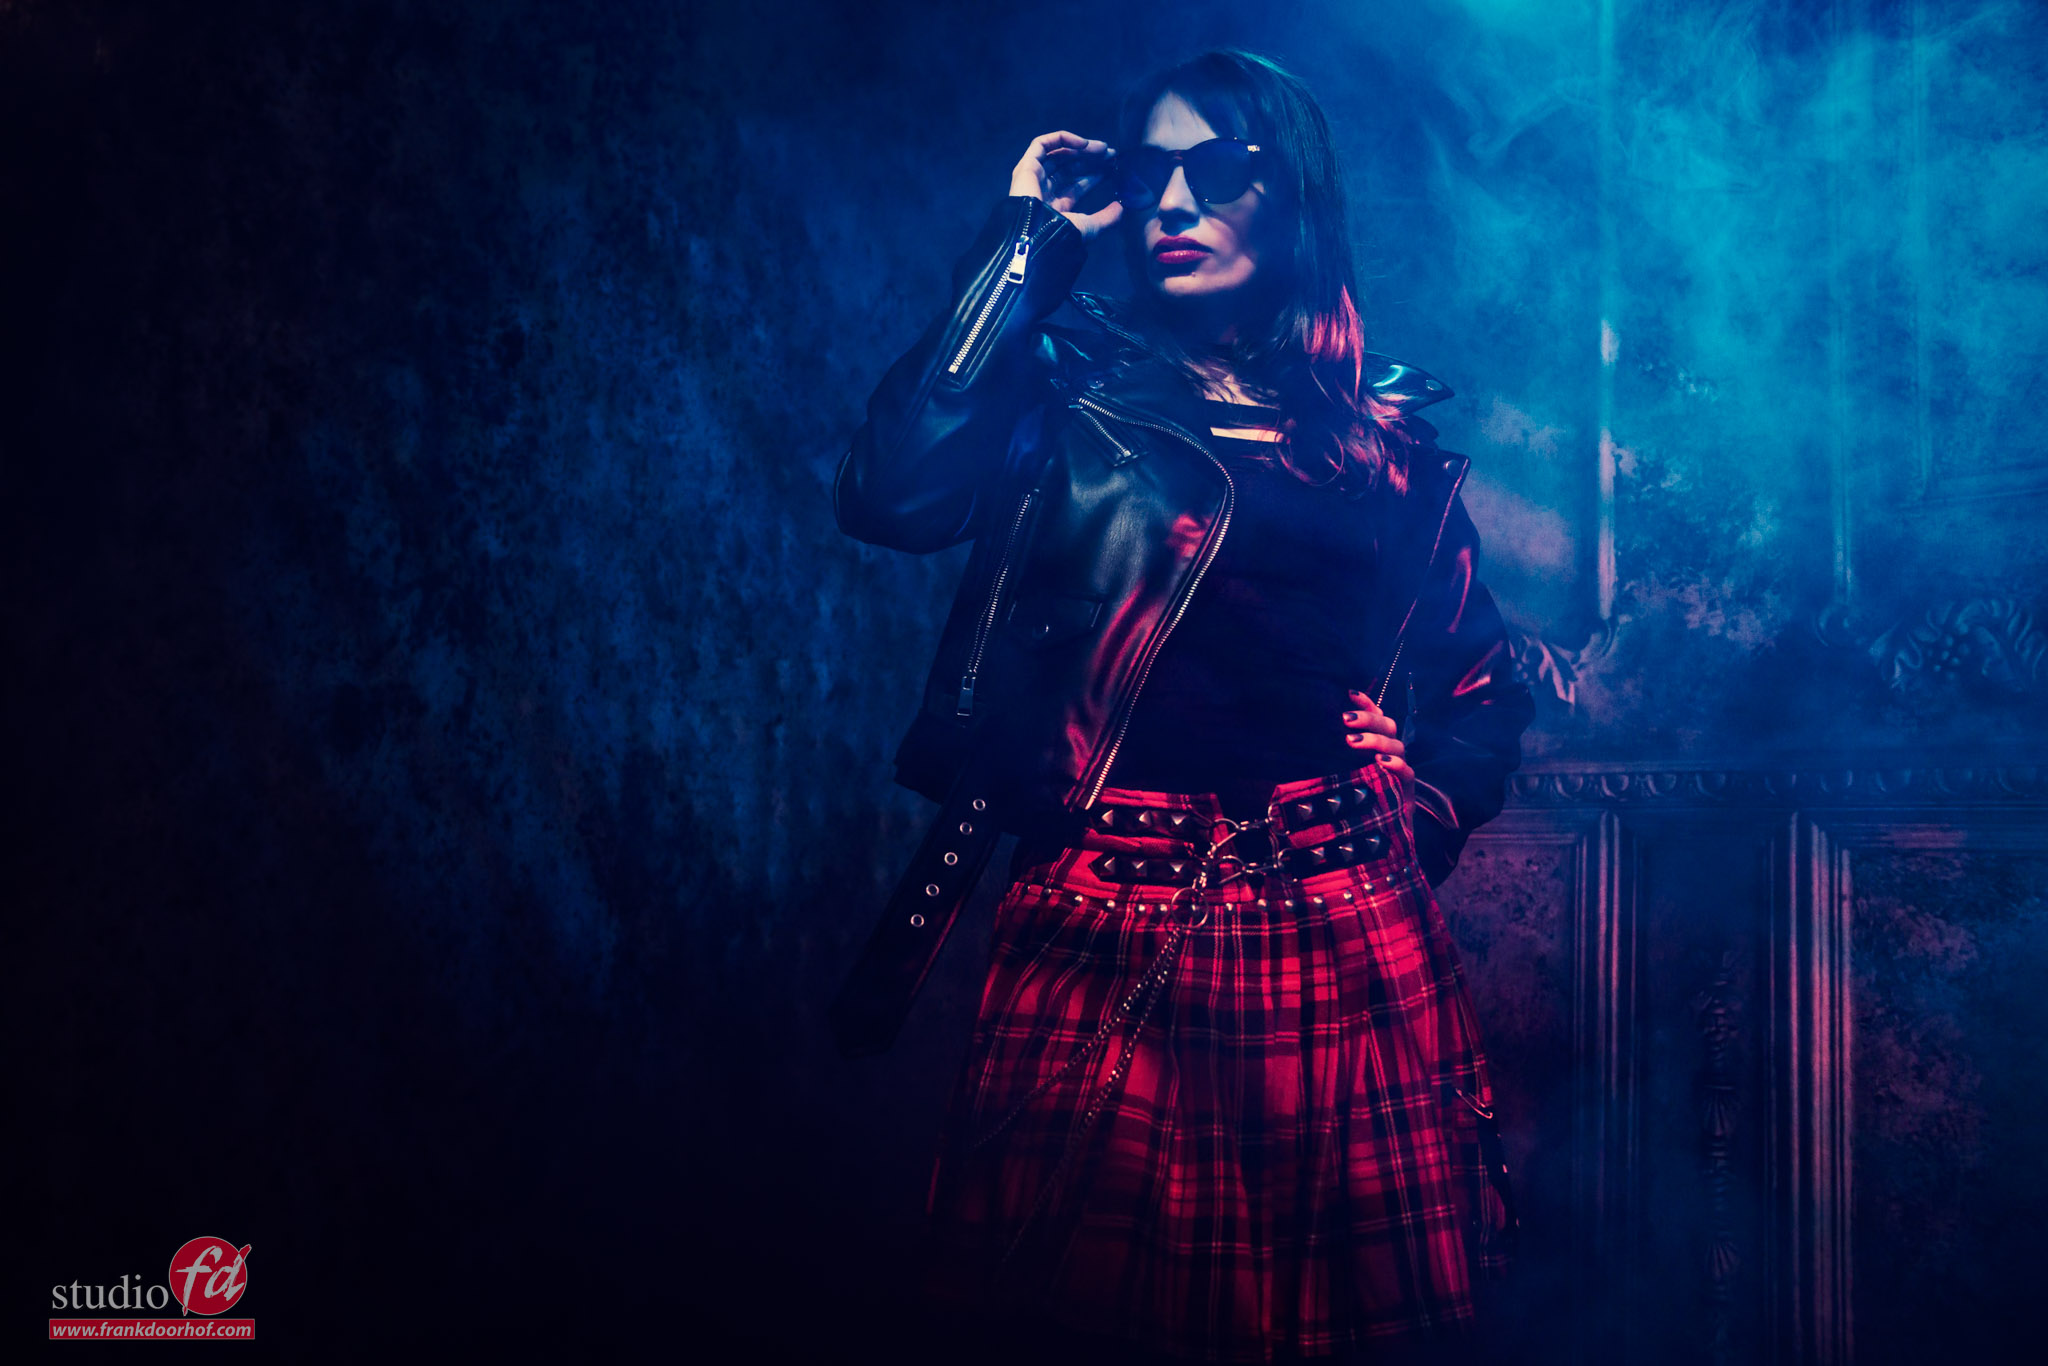
Below the video, the results of how I made WOW images with sets and colors

Model : Claudia

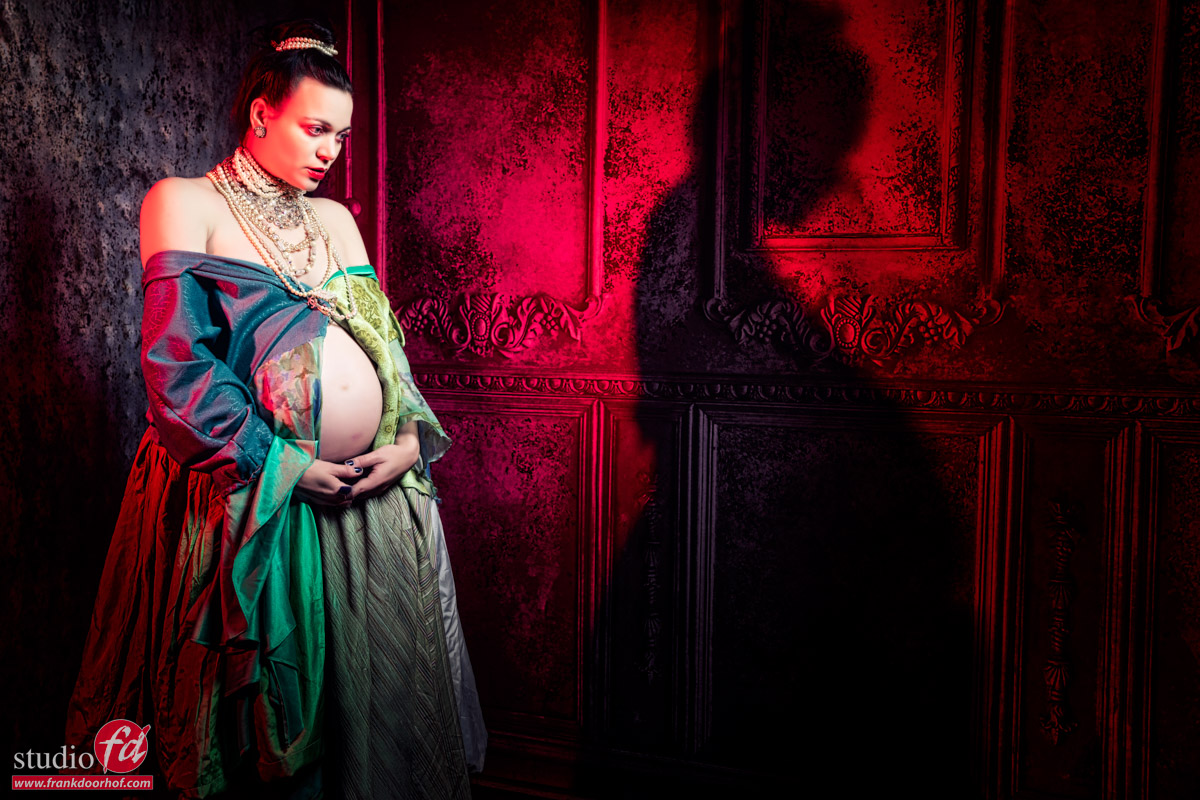
How to make WOW images with sets and colors How to make WOW images with sets and colors


Read this blog for more sets with Claudia and colors