Tag Archive for: tips

A clean sensor is a happy sensor

Loads of people ask me about my opinion about cleaning their sensor. Often people let specialized shops do it for sometimes a lot of money and don’t realize that the moment they zoom (with some lenses) or change lenses they have new dust building up. Let me start by saying that cleaning a sensor is easy as can be. You’re actually not cleaning the sensor itself but the toplayer. Which is actually pretty strong. There is one thing you, however, have to be careful for.

Some sensors (like the Sony) have onboard image stabilization, this means the sensor is “kinda” floating, so when you apply pressure to the sensor you will actually see it move, now that’s not good of course, to solve this just go into the menu and activate “sensor cleaning” this way the sensor will do it’s “magic” and it will lock itself unless you turn the camera off and on again, this is the moment when you can easily just clean your sensor.

Solutions

The in-camera one
To be honest, most cameras nowadays have sensor cleaning but to be clear, I never really had the idea it worked, yeah it sometimes did clean up a little bit but in essence, it’s the less effective way from what I’m going to discuss here.

Rocket blower
This is probably the most famous one, and for good reason, often all that is needed to get rid of that dust bulb is a good gust of clean wind. In all honesty, this really is a must buy, if you don’t own any of these well…. get out and get one. And don’t EVER blow into your chamber with your mouth, although cleaning a Medium Format sensor can be done by breathing on it and wiping it clean with a pecpad, this is something that should not and never been done inside a camera.

Get your rocket blower here


Arctic Butterfly
If I have to choose one device to use for cleaning, this is it. That’s also the reason I opened the article with an image of the arctic butterfly. I’ve been using them for quite some time now and the “new” versions with led lights are absolutely awesome. Operation is very simple, just activate the butterfly and let it run for a few seconds, stop and clean the sensor, it’s a very effective way of cleaning and takes out a lot more than the rocket blower. The main problem with dust is that not all dust is equal, some dust particles are just “resting” on the sensor and can be blown off, but some are a bit more sticky, and that’s where the butterfly comes to the rescue.

They are delivered in a sturdy case so you can take them with you on travels without worrying about damaging it. And trust me I’ve been in loads of situations where a rocket blower just didn’t do it’s work and being in the middle of nowhere without the option to clean your sensor at a camera store is amazingly annoying and takes a lot of time in Photoshop to clean up those beautiful shots, so if you only can take one device with you make sure it’s this one.

Get your butterfly here

Sensor swipes and Eclipse
If all else fails this is it. The wet method. In essence, there will always be dust that whatever you throw at it it will stay there, it’s like it’s glued to the sensor, now before you take out the paint remover (which you should not even thing about) you should invest in a bottle of eclipse and sensor swipes. I have to be honest, for me, wet cleaning is like a last resort, but it never let me down. I’ve cleaned sensors from students of mine that were so dirty that even on f8 you already saw the dust blobs appearing and after a good wet clean they were “perfect” again.

Get the sensor swipes here
And get the Eclipse here

Conclusion
There is one very important thing you have to keep in mind before you lose your sanity. There will ALWAYS be a little bit of dust on your sensor when shooting at f16 or f22, don’t worry about it, it will be gone in seconds in Photoshop/Lightroom etc. I actually never saw a 100% clean sensor in my life, there are some things you can do to prevent it from building up or getting really bad.

  1. Make sure you always switch lenses up side down and fast.
    don’t let the camera lay on it’s back with the lens mount wide open, change caps first and then the lens. No take the lens off with the camera facing down and immediately put the new lens on
  2. Don’t switch lenses in a windy or dusty environment
    Sounds obvious but you don’t want to know how many people I see changing lenses on the beach or even worse in the dunes.
  3. Don’t push the dust to the sides
    I see this a lot when people start out cleaning their sensors, they will move the dust to the sides of the sensor and don’t take notice, this dust will build up and before you know it it will be very hard to clean and you see a collection of dust particles in your corners or side.
  4. Make sure the dust is gone but don’t over do it
    A good cleaning should be pretty fast, don’t keep rubbing the sensor one good swipe from left to right and maybe one to check but that’s it. Check first and continue later


Of course there are more ways to clean a sensor including some I never even tried because somehow they feel a bit sketchy for me, like putting magic tape on your sensor and pulling it off (yeah I really read that somewhere) now let’s make one thing clear, yeah magic tape is supposed to not leave any trails but really seriously would you risk your sensor to that? I won’t. There are also some dustpickers out there with which you can select one dust particle and take it out via a sort of plunger effect, I never tried it because in all honesty with the 3 solutions above I never run into problems.

So what should you always bring?
One would say the rocket blower and although I use it a lot in the studio my choice is, however, the Arctic butterfly. It’s right in the middle of effectiveness between the rocket blower and the wet method and this means that when travelling within seconds I can clean my sensor more than enough to get clean shots for the rest of the trip when I’m home I can always do it “perfectly” with the wet method. And trust me nothing is more frustrating than being on a trip and shooting some stunning scenery and coming back in the hotel/RV and finding out your sky is littered with dust and you didn’t bring anything and there are no camera stores close by enough. Try driving an almost 10mtr RV into a city centre to get some cleaning stuff or lose some time on your trip to find a camera store that sells cleaning gear. So always bring at least one device that really does the trick and for me, the best allrounder is the Arctic Butterfly.


Any experiences from you guys?
Post them below


Support our work by using the links in the article, even if you need something else :-), just follow one of the links and continue your shopping.

That magic angle

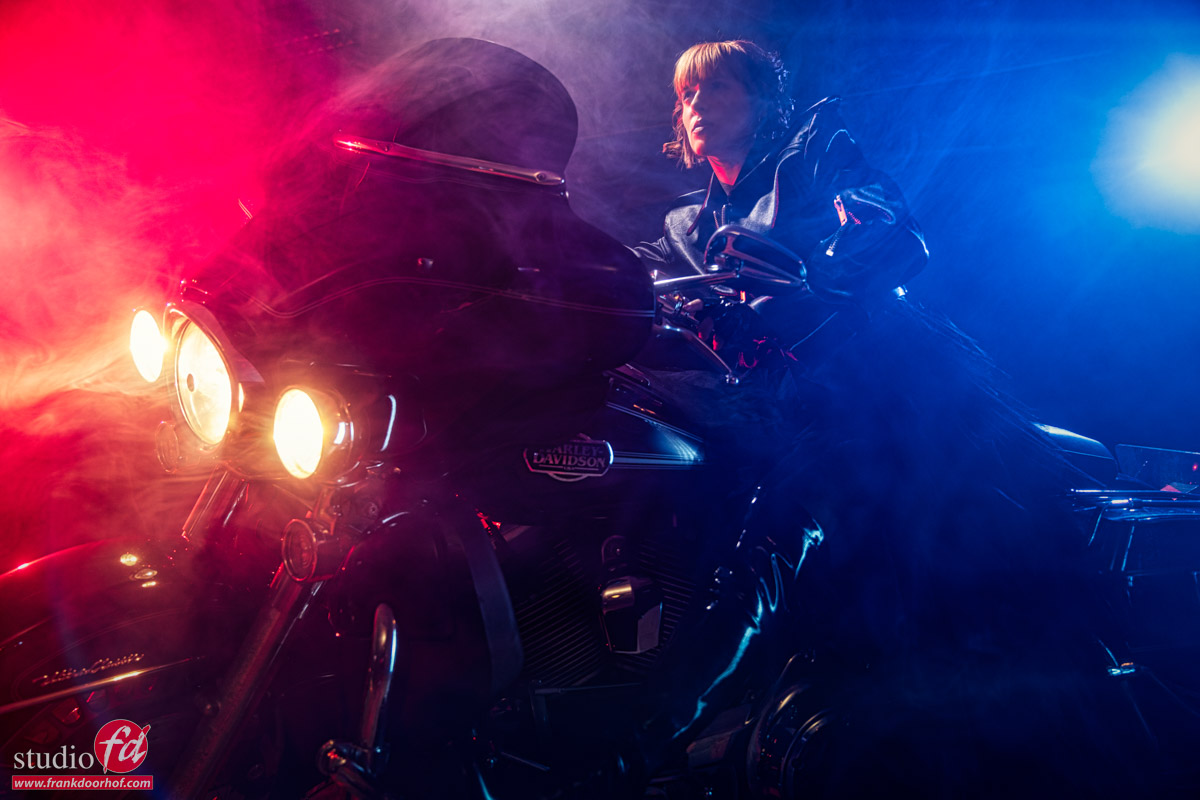
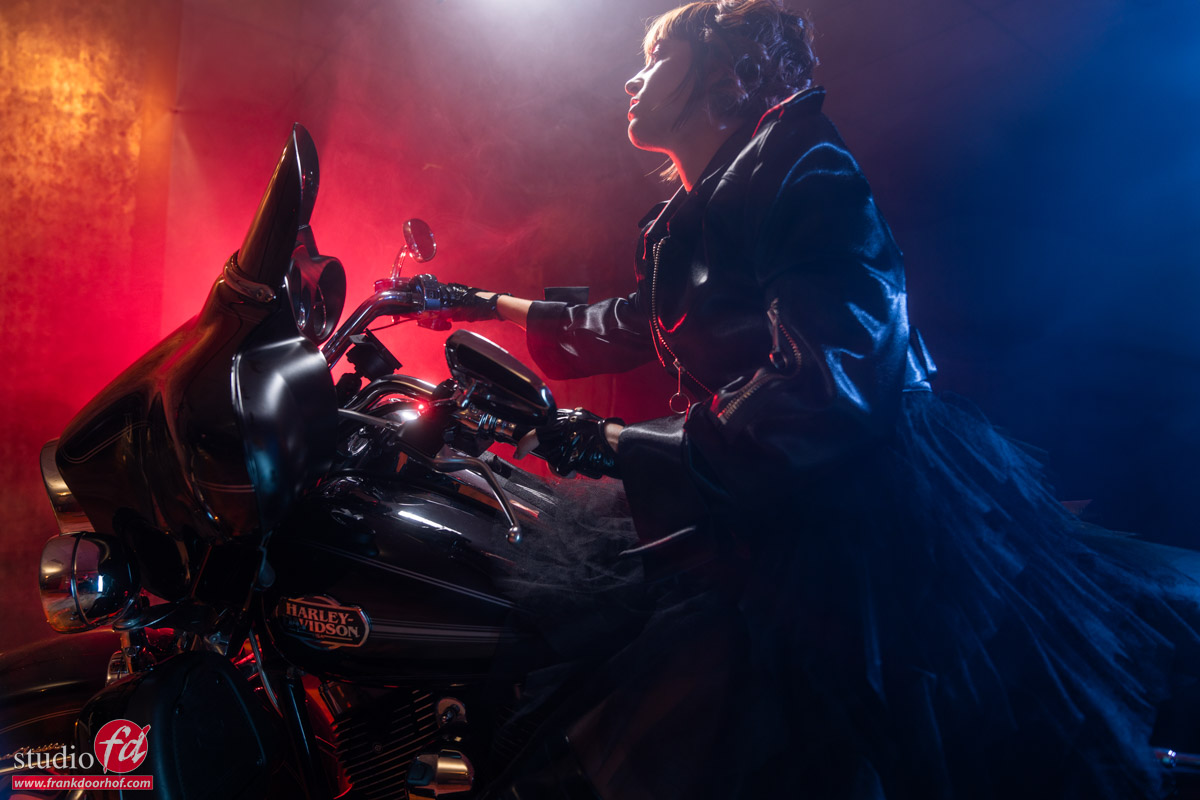
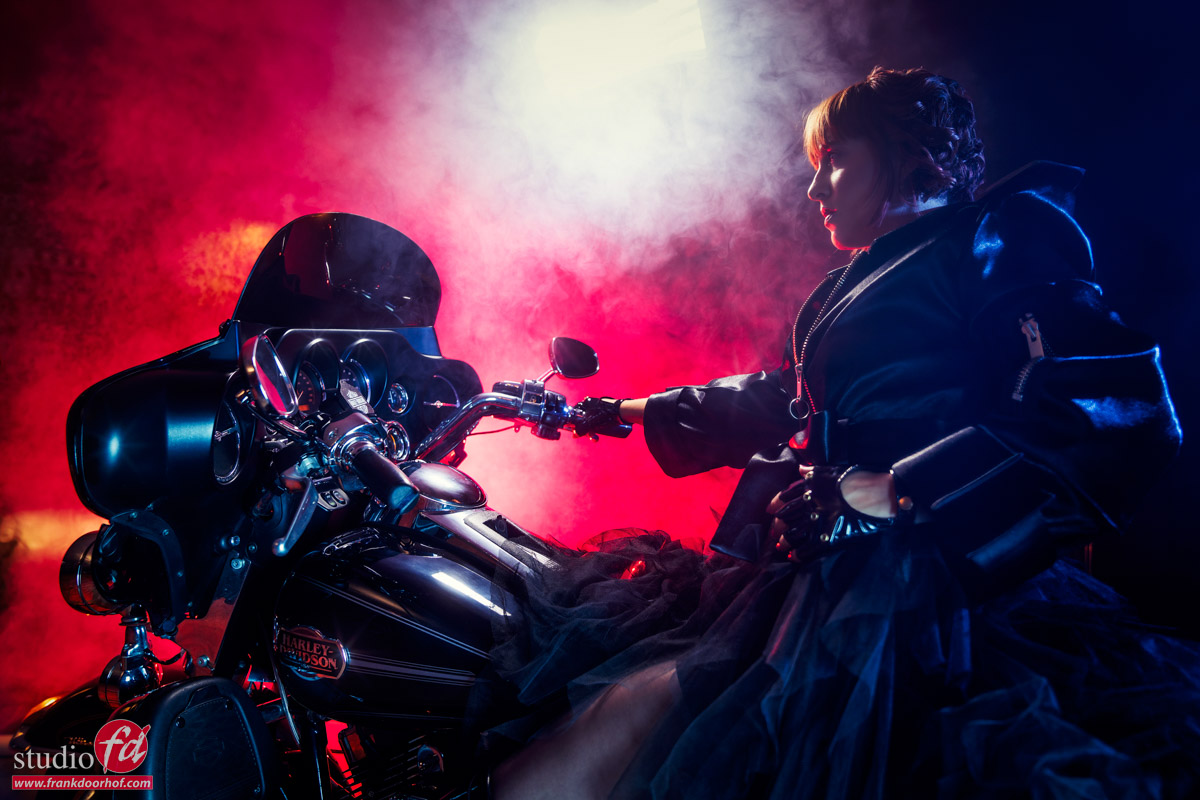
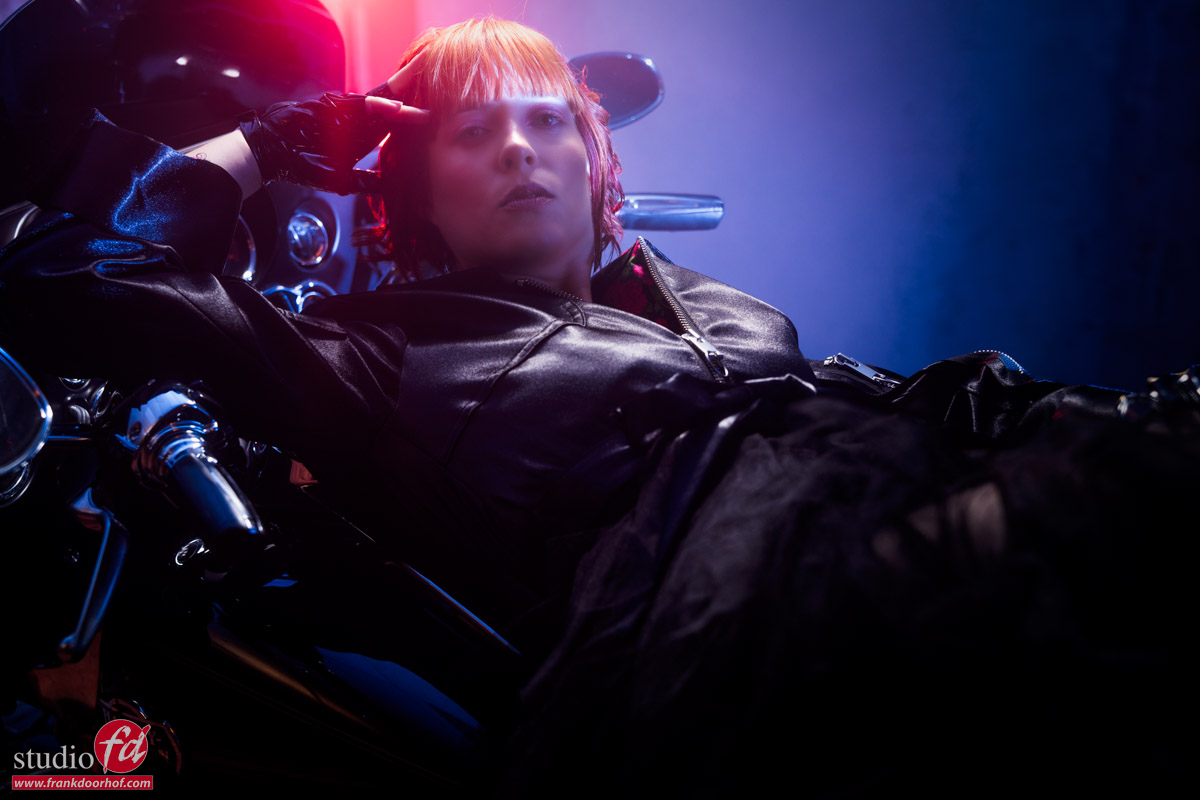
Often when shooting models, landscapes etc. we are shooting from the so called “eyes perspective”, meaning you hold the camera in front of your face and you shoot. This will indeed render the world/your subject the way that YOU see it… but is this the most interesting way… often not.

During workshops, seminars, demos etc. I always stress the attendees/viewers/visitors to really try out different ways of shooting a scene, not only do you trigger your own creativity but you also give your client, being your model or customer, more choices. And in all honesty, we are photographers not just “snappers” right? (hope that is a right expression by the way).

But experimenting with angles you are actually learning about the behavior of lenses, light but also about the poses of the model. This is incredibly important when you start out with photography and when you start with experimenting with poses etc. you will build a much stronger base for your future, at least that’s my opinion.

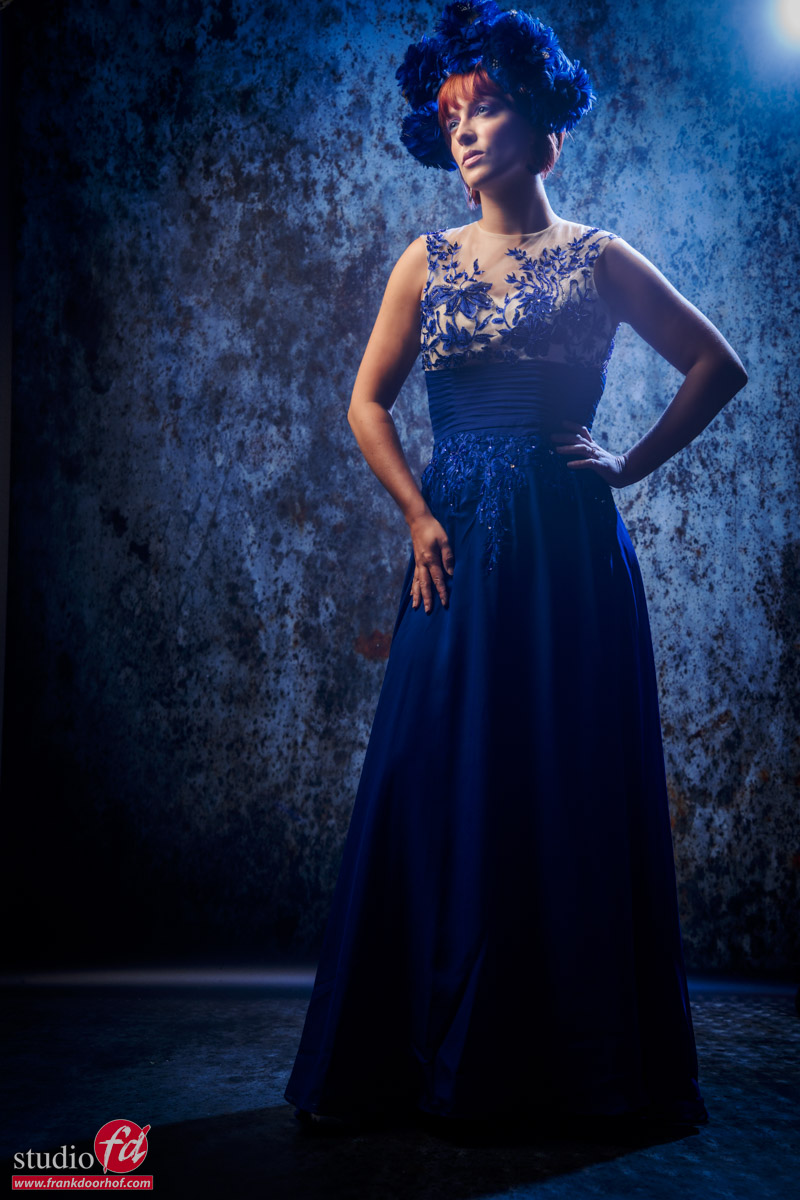
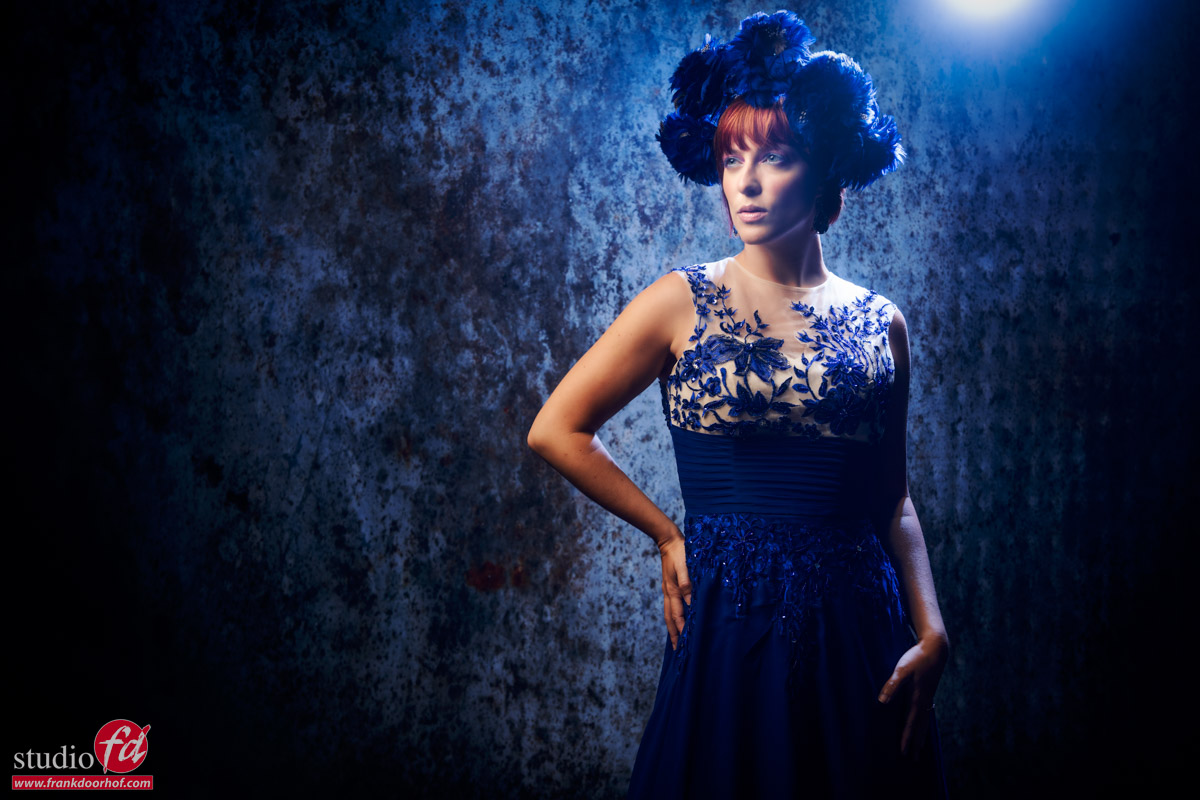
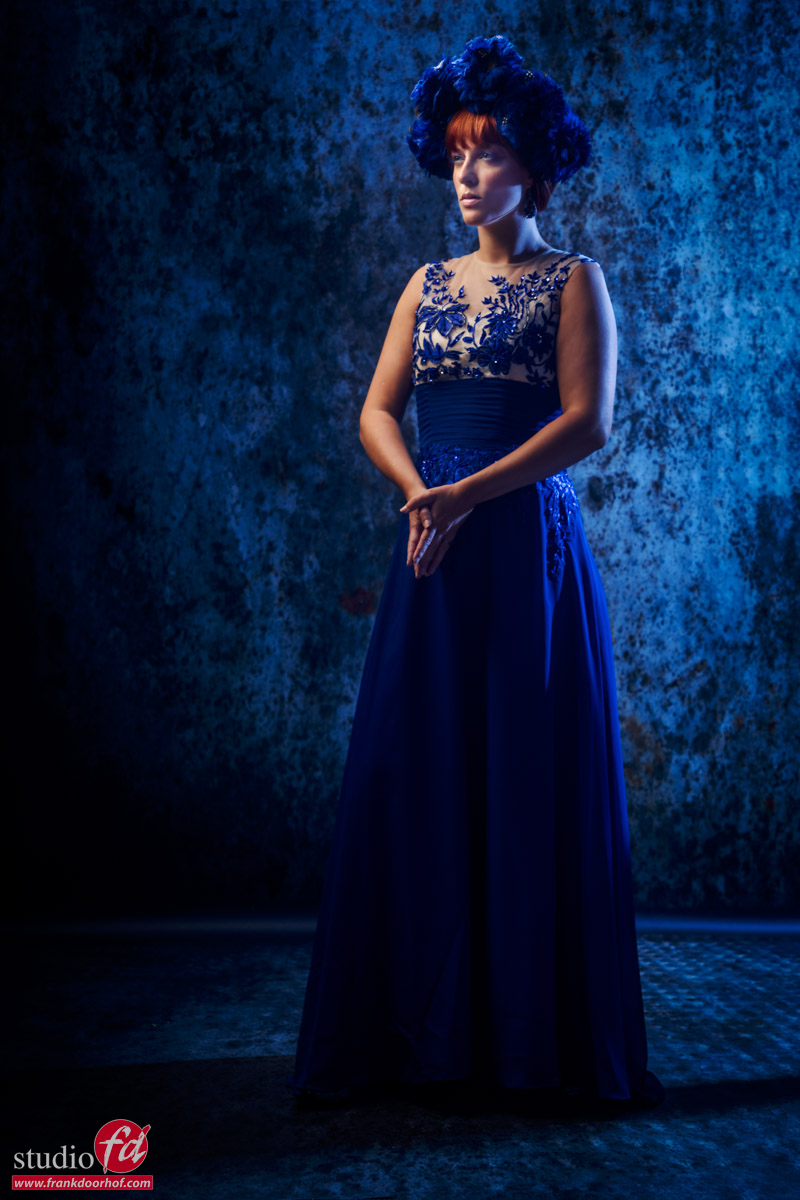
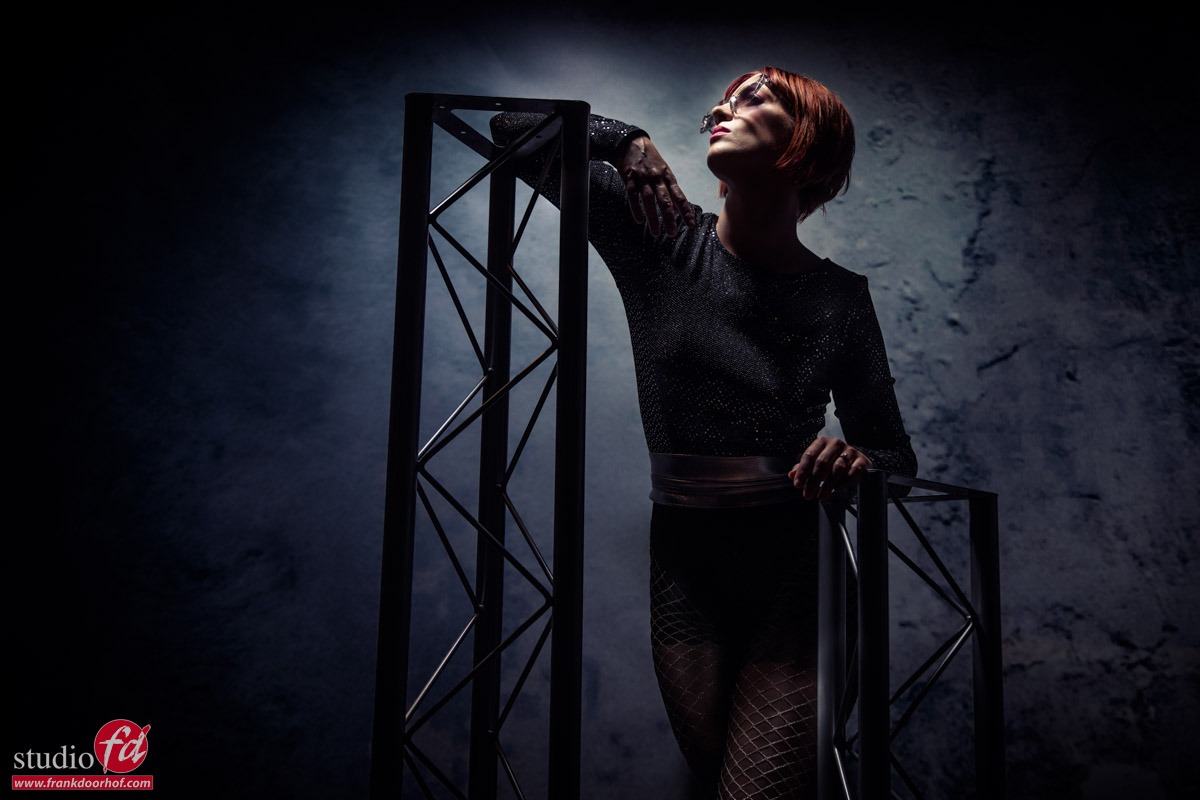
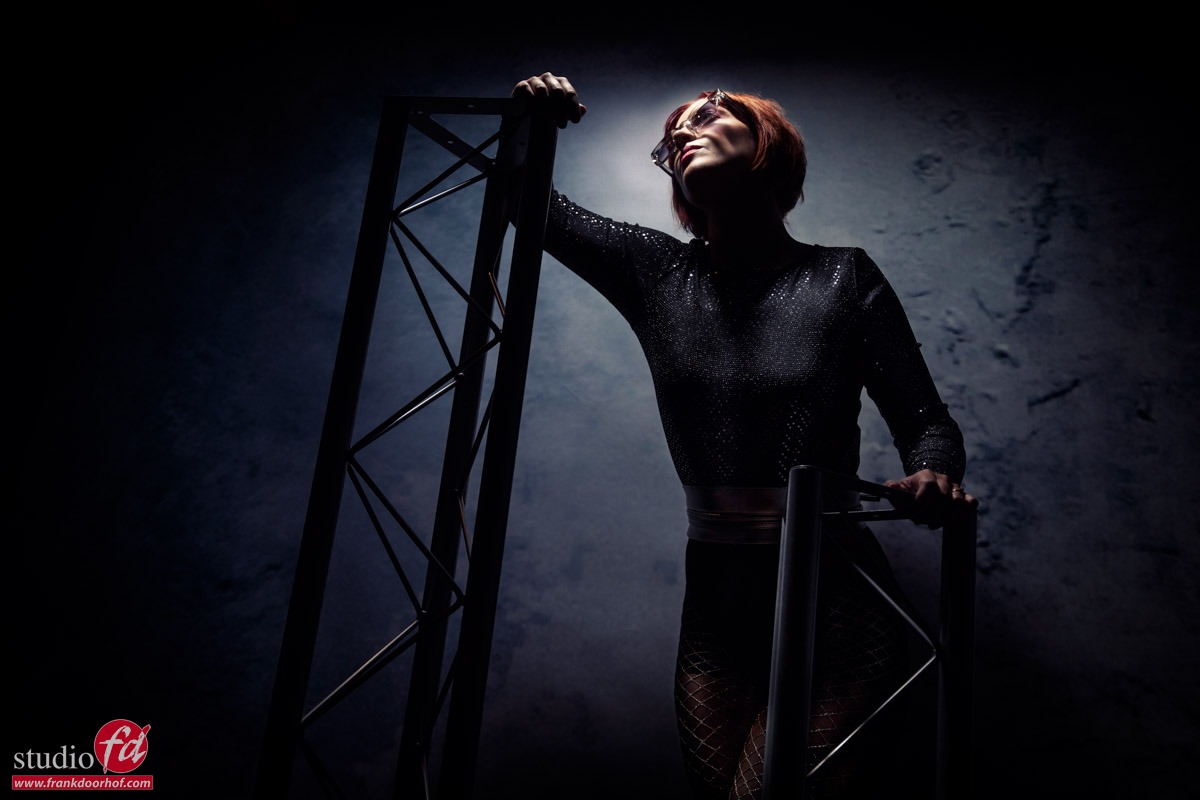
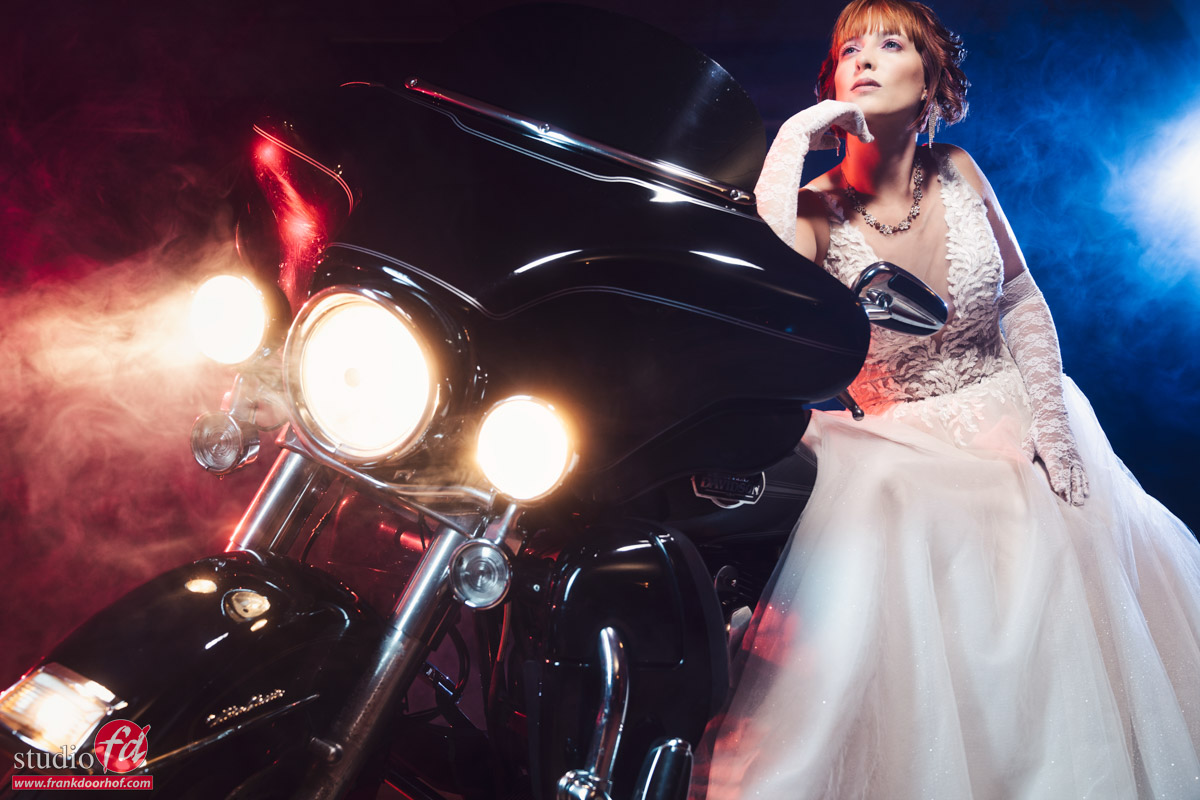
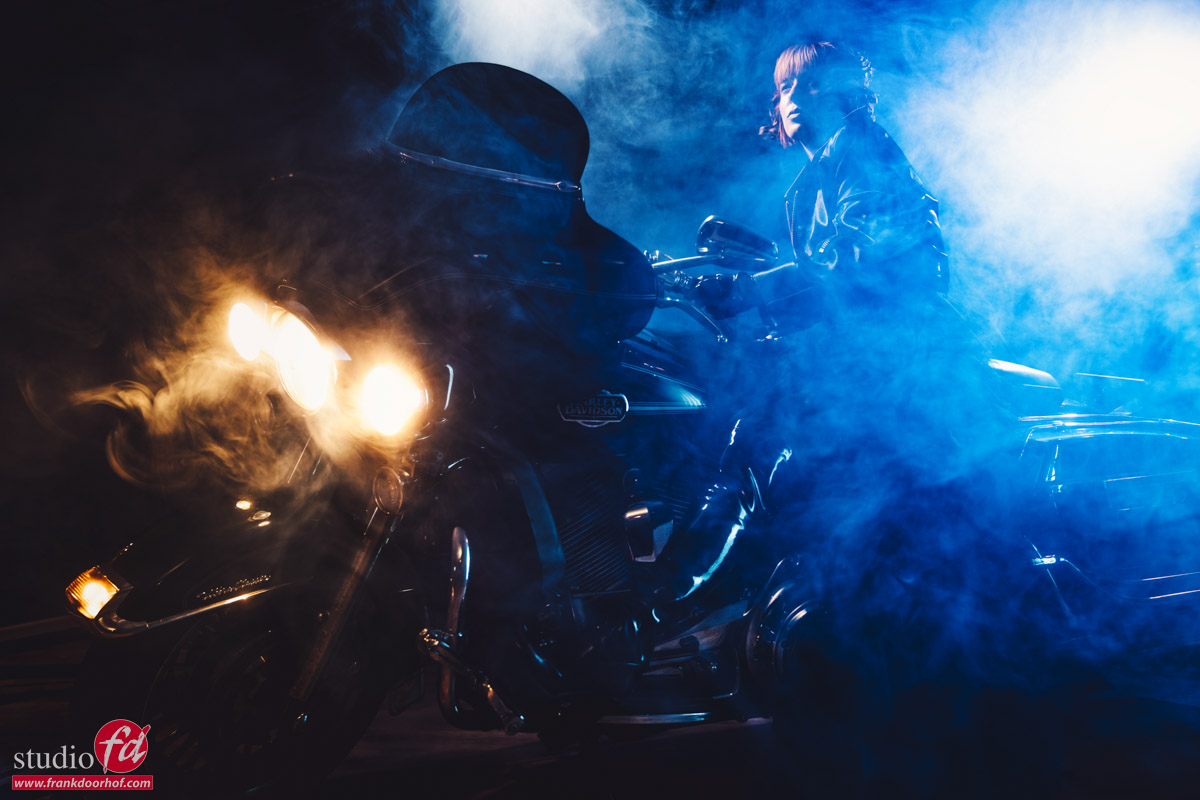
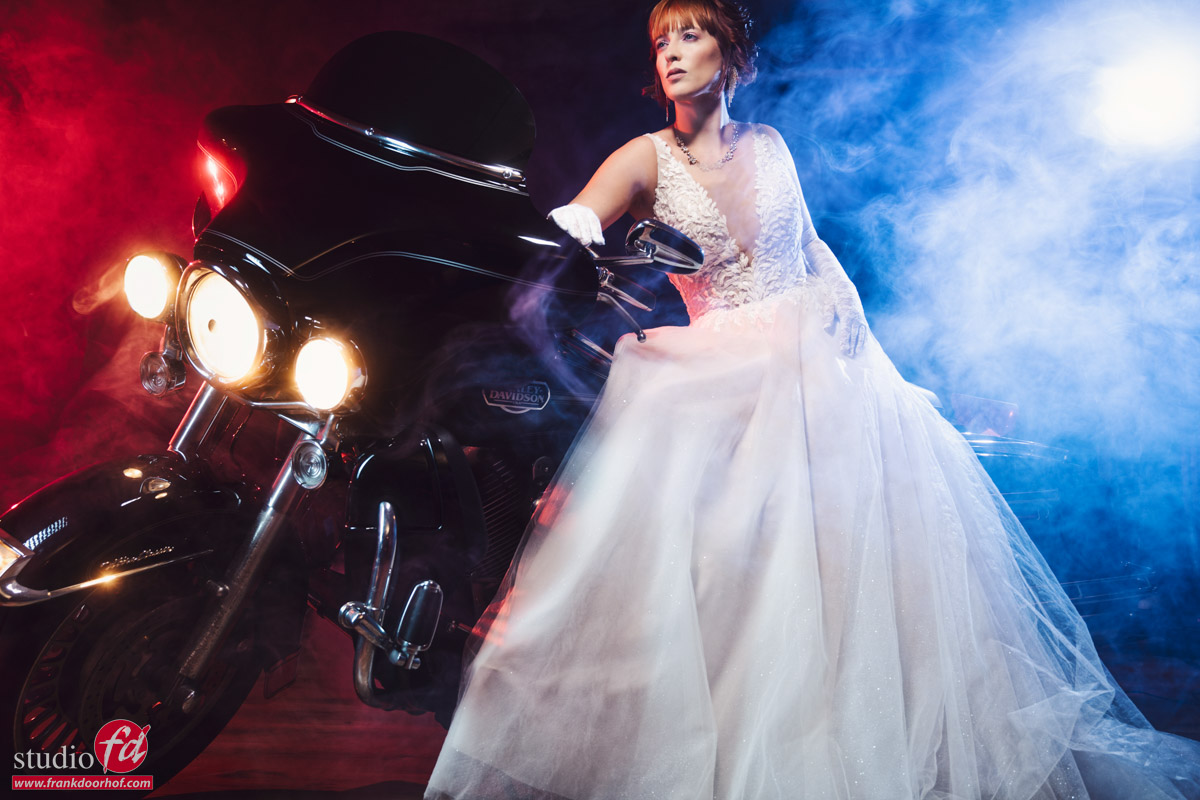
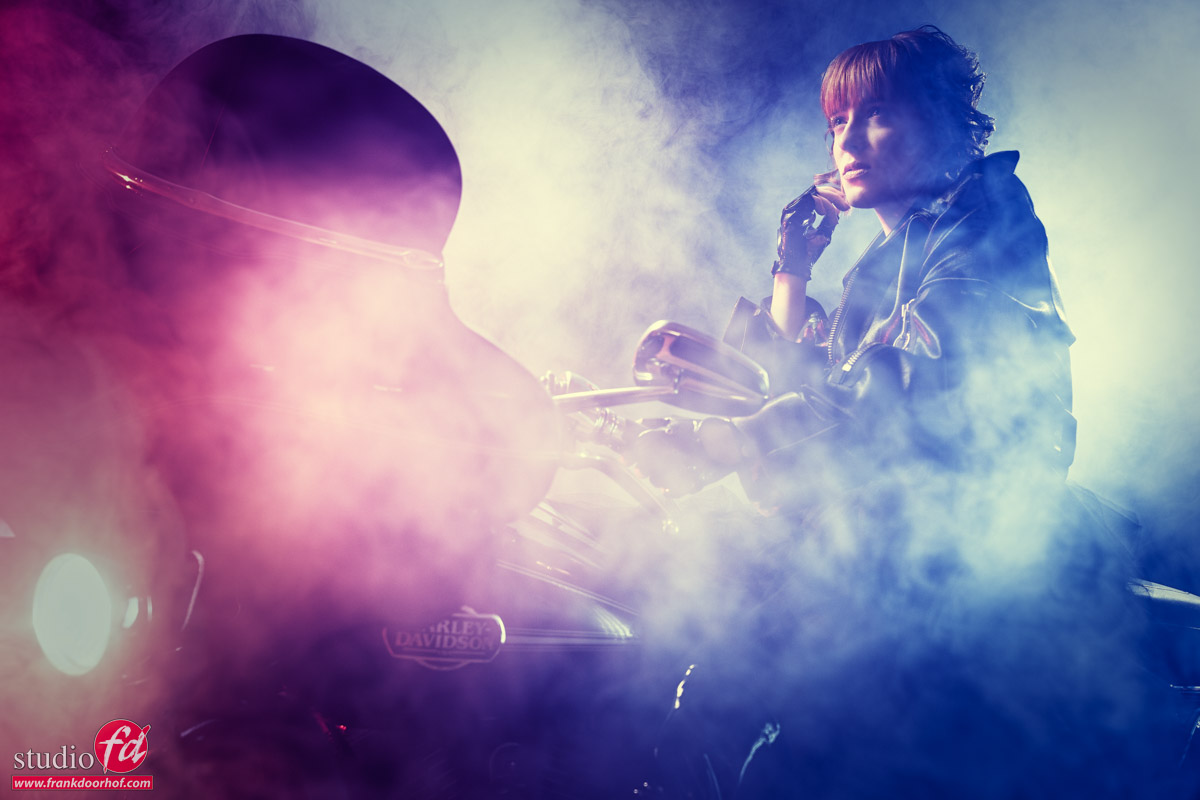
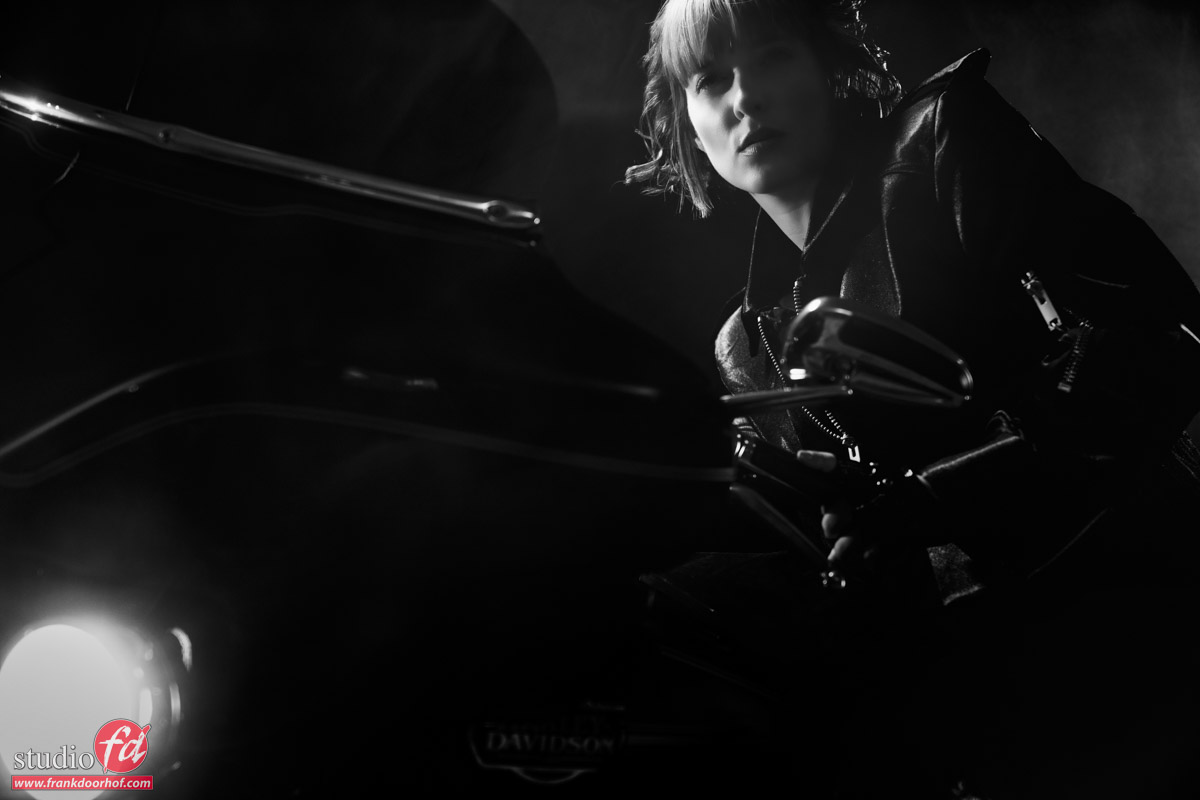
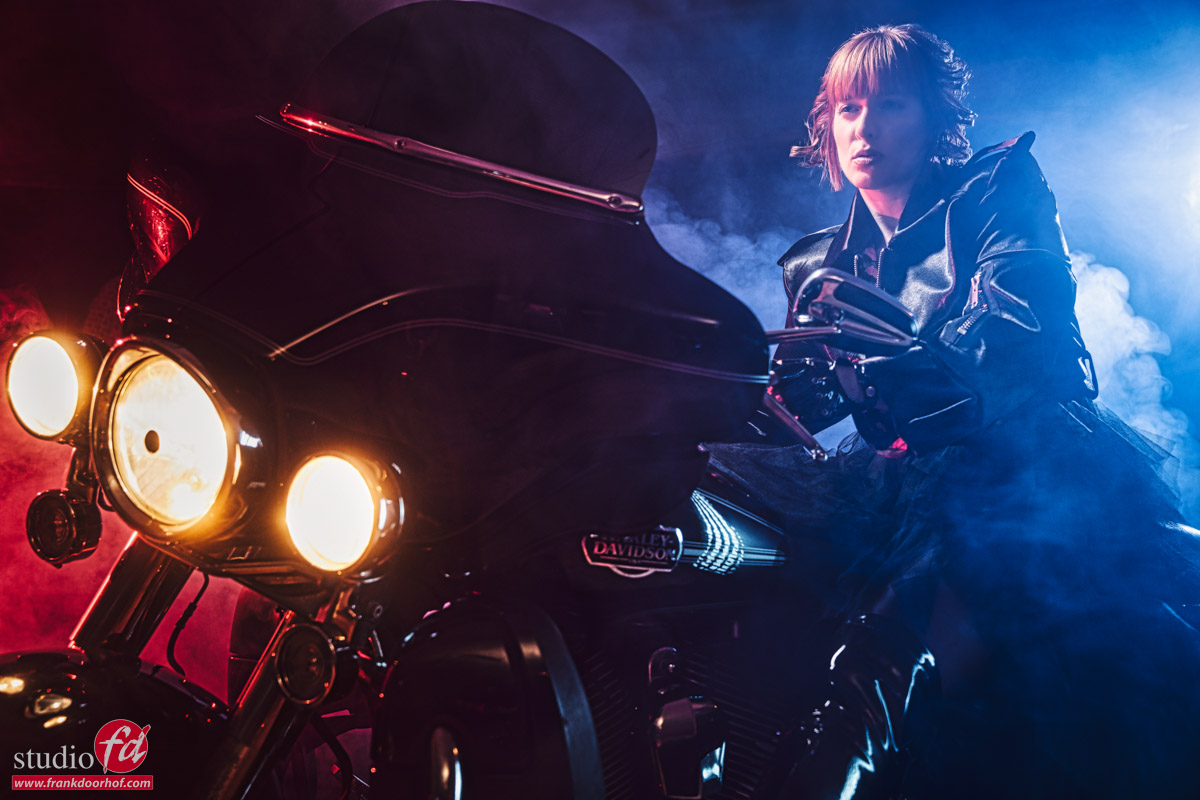
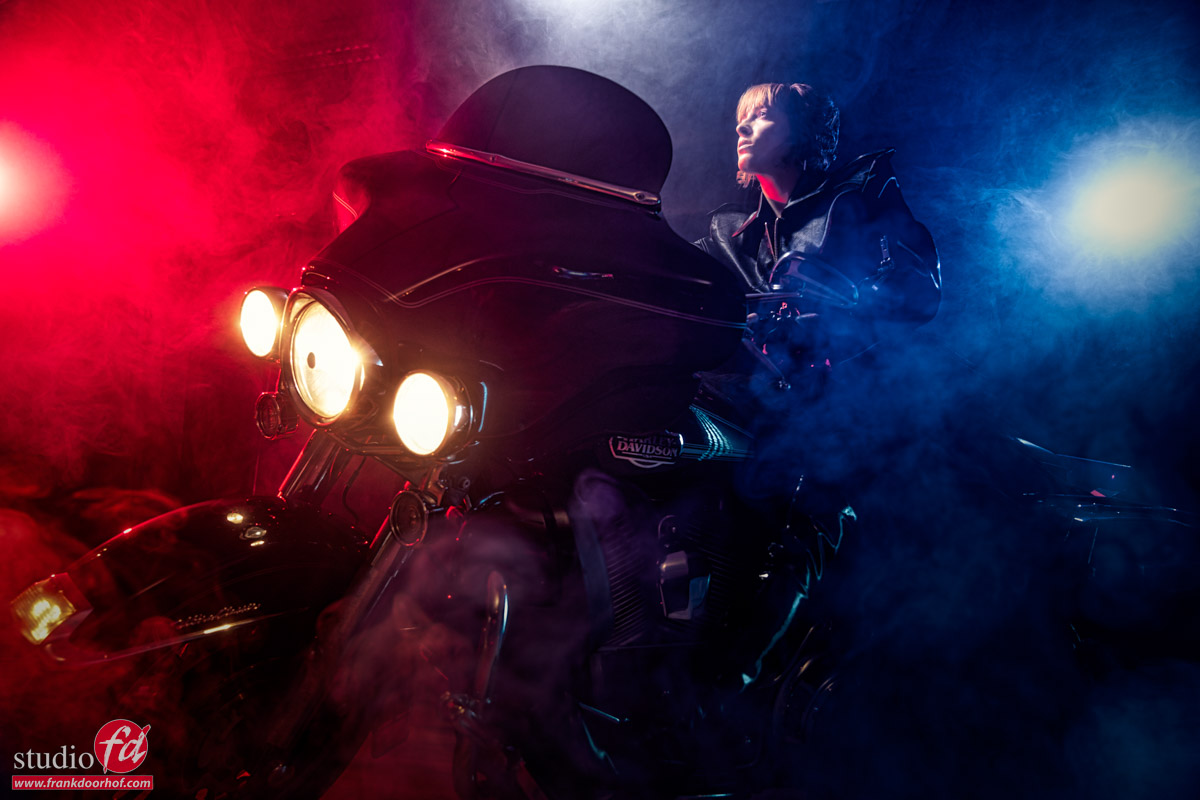
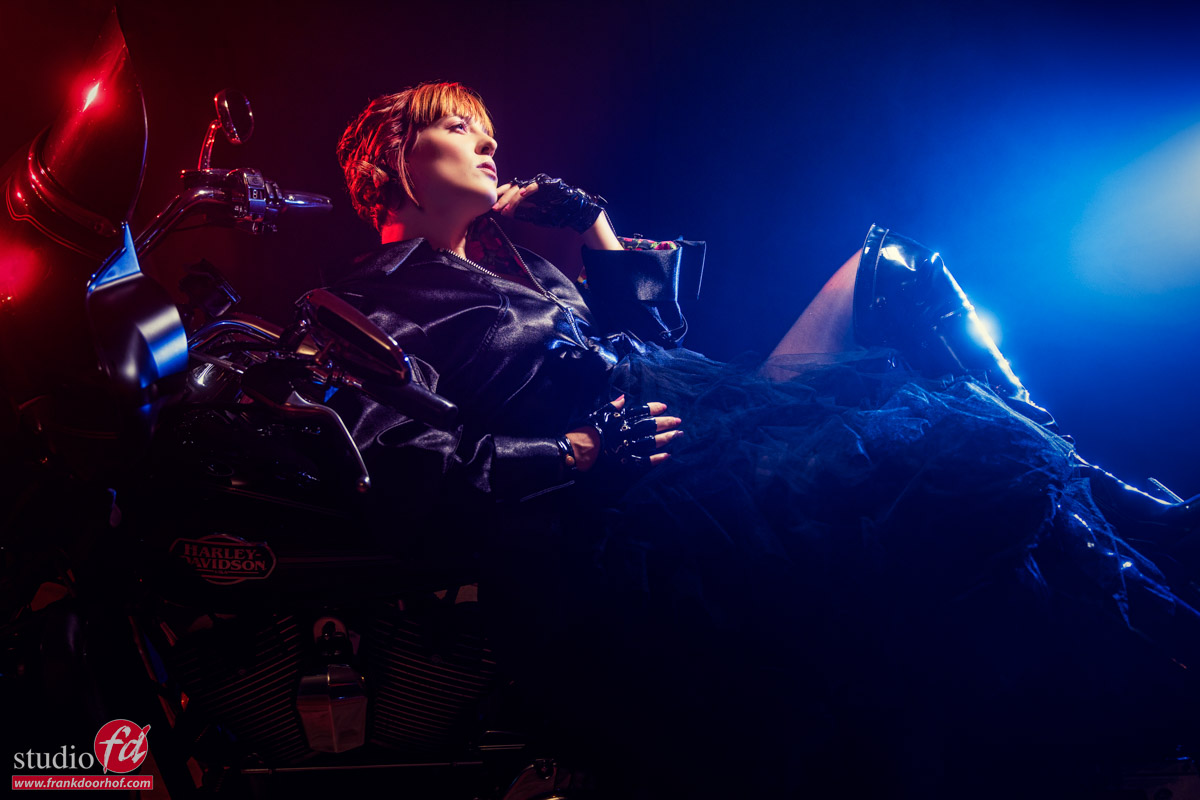
The shots in this blogpost were shot during a workshop with Anouk with the exact same light setup, as you can see by changing the angle I did not only change the look of the pose but also radically changed the behavior of the light. It may or might not be your taste, but at least try it 🙂

For much more tips visit www.frankdoorhof.com/videos and download our instructional videos
Or subscribe to www.youtube.com/frankdoorhof for free instructional material
And of course get my book “Mastering the modelshoot” via your favorite bookstore or amazon 


iPhone x

Ok so the iPhone x has been released what are your thoughts? Let me share mine.

I’ve been critical to Apple ever since the mbp. Since than my Apple Watch has been switched and even my Macpro and iPad are replaced. The reasons….. very simple.

Where Apple always was first and best it’s now the best in build quality and probably experience but it’s running behind on things that are already available with the competition.

So what are my thoughts.

Don’t worry this will be short.

Love love the iPhone x

Let’s be honest it’s gorgeous it’s amazing and incredible, almost magical (like Apple said) the design is really nice and I like the new camera options although in all honesty you can do the same very quickly in Lightroom mobile or other apps.

Love the depth effect on the front camera

Love wireless charging, although I don’t see me doing this at home. But at Starbucks, airports etc it’s very handy

Face recognition is WOW and I mean WOW. Awesome and magical.

And that’s about it.

I don’t care about animojis. Yeah it’s fun and I would love to use it for fun.

Now in all honesty I was almost planning on not switching to the Samsung note 8. I’m still a bit terrified to do it because I only had ios smart phones. But my experiences with the Samsung tab s2 has been nothing less than good and very positive.

So what did me change my mind…..

Something I never expected to say, the design of Apple iPhone x has a MAJOR flaw and I can’t believe that they did this.

We have all seen the mock ups with the top part where all the cameras are housed. My expectations were that when you watch a video or look at a photo that this part would be totally black. To my horror it isn’t. At first annewiek told me that that would be something I could get used to…… heck no. Never. It’s like a dust particle under my protector. My eyes just drift towards that gaping gap where video or photos are supposed to be…… it’s not the way I would expect a end design team to work. I’m actually quite shocked.

So what next

I’ve been waiting for a new phone because I wanted to do more with video on the phone and IS on the tele is very welcome plus external audio. The note 8 caught my attention to the very bright screen (1200 nits vs 750) which is awesome when flying my drone in the sun. Als the Samsung supports external mics

I love the depth effect but also want raw support and of course being able to alter the effect after taking the shot. Samsung offers this including the option to take both wide and tele shots and altering the effects afterwards.

AR looked awesome but in reality I will never use it. I’m just not a gamer. I shoot and edit photos and video, I consume media, do mail and social media and I love the idea of the spen for video editing. (Love iMovie but with your fingers on the iPhone 7plus was not really handy. With the iPad Pro it’s awesome).

So……

After many many years of Apple iPhones which I absolutely loved it’s now time to say farewell to my beloved iPhone series. And even when you take out the idea of the gap the pricing Is just insane. 999.00 will be 1159 euros in the Netherlands which means the 256gb will probably be 1350. The note 8 retails for 999 plus a free dex station valued at 159.00. Saves me a lot of money.

What will I spend that money on…..

On the Apple TV 😉

Finally 4k and hdr and with Apple TV you know for sure that Netflix and youtube will be supported plus I found a good working remote on android 😉

So what are your ideas?

Don’t get me wrong. I still love the whole Apple feel and mood. And will probably always be an Apple fanboy. Only now without Apple products.

Man it feels weird.

One more thing….

4k 60fps is superb but my other video material is all 4k 25fps so I have to integrate it into that timeline. Also 1080p 240fps is great but I hardly use it for “real” material. But hey that’s me. Your opinion might be totally different.

Everything can be a light source Part I

One of the most asked questions must be “what’s your favorite light”
One of the most heard excuses is always “I don’t have the gear to do this”


In reality the answer on both questions can’t be given 123.
Let me start with number 1.
My favorite light source is something I always have problems with explaining, somehow my mind never thinks about light sources, but in the total image, and I choose the light source that give me the look that I need…OR I use what I have with me. So saying I love light source XXX or YYY doesn’t really make sense because it could very well be that that light source doesn’t give me the end result I have in my mind. I strongly believe that is also one of the problems a lot of “starting” photographers struggle with, and also a part of my workshops where I always tell people to NOT think about lighting as a source but as a means to get the look you want for a certain shot.


Now let’s look at number 2.
Nobody will have all the gear in the world, so there’s always something you don’t own or can’t use, so if you REALLY want, there’s always an excuse to NOT be able to do something. However when (see number 1) if you don’t look at gear but only at a final result and work towards that you will very quickly find out that often the most simple light sources (and other gear) are more than enough to shoot your end result. You just have to flip that switch that tells you you need expensive gear.


So don’t I care about what I use?
Well yes of course, I love my Sony cameras or iPhone, but not because I can’t get my results with other gear, I can shoot the same images with Canon, Nikon, Medium Format, iPhone etc. It’s just that the quality of the end result will be different, and because I also love quality (and love gear) I’m actually always looking for that little bit of extra quality, which is why I ended up with Sony and still shoot Medium Format.


Lighting wise it’s the same story, during workshops I often have to shoot with different brands due to sponsors or organizers of an event, and I think I’m probably one of the easiest instructors out there because I don’t really care if I have to shoot another brand as long as they can do the things I need, and if they don’t I’ll just adjust my program to work with the limits (or extra possibilities) I have. Personally I absolutely love my Elinchrom gear, the modifiers are in my opinion the best out there for the look that I like, and the quality of the strobes is awesome, I’m always very careful with gear but they are in some harsh situations sometimes, especially during workshops where groups of 10-12 people have to shoot in warm or cold weather, and the Elinchroms actually never let me down, so indeed there is a preference.


A while ago I started a workshop called “Alternative light sources” in which I actually teach the points I made above.
By making the attendees understand that a photograph is in essence a story or a frozen moment in time and not a mix of gear you will quickly see that their mindsets also change and they start to take risks they normally never do. One of the things for example is shooting higher ISOs, many photographers are often afraid to shoot on that higher ISO mode because there is noise. And indeed there is noise in the shot, but you have to realize that this is something you often see on the screen but not in prints (not even larger prints). Looking at a picture on a monitor 1:1 is in essence something like looking at a HUGE print from a few inches, and let’s be honest… that’s not something you do, you move back. This is actually why I always tell people to just print an image you think has too much noise and I think you will be surprised how good the print looks.


As soon as you realize this you will often find out that there are a lot more light sources you can use instead of strobes. You can for example shoot amazing shots with just some Christmas lights and for example a smart phone. And this is exactly what we did as the first setup during the workshop.


Nadine is lit by two smartphones and the lights she used in her dress.
Of course it’s a higher ISO shot, but as mentioned before…. when you print it absolutely looks great 😀 (depending on your camera of course, some cameras are indeed very bad above ISO3200, but most will do just fine “enough” up to ISO6400.

nadine-november-5-r-2016-0001