Rocking the BW adjustment layers
Today a new episode of Quite Frankly, Episode 61 already pffff time flies.
In this episode a REALLY cool trick with the Black and White Adjustment layer to really rock your colors.
Today a new episode of Quite Frankly, Episode 61 already pffff time flies.
In this episode a REALLY cool trick with the Black and White Adjustment layer to really rock your colors.
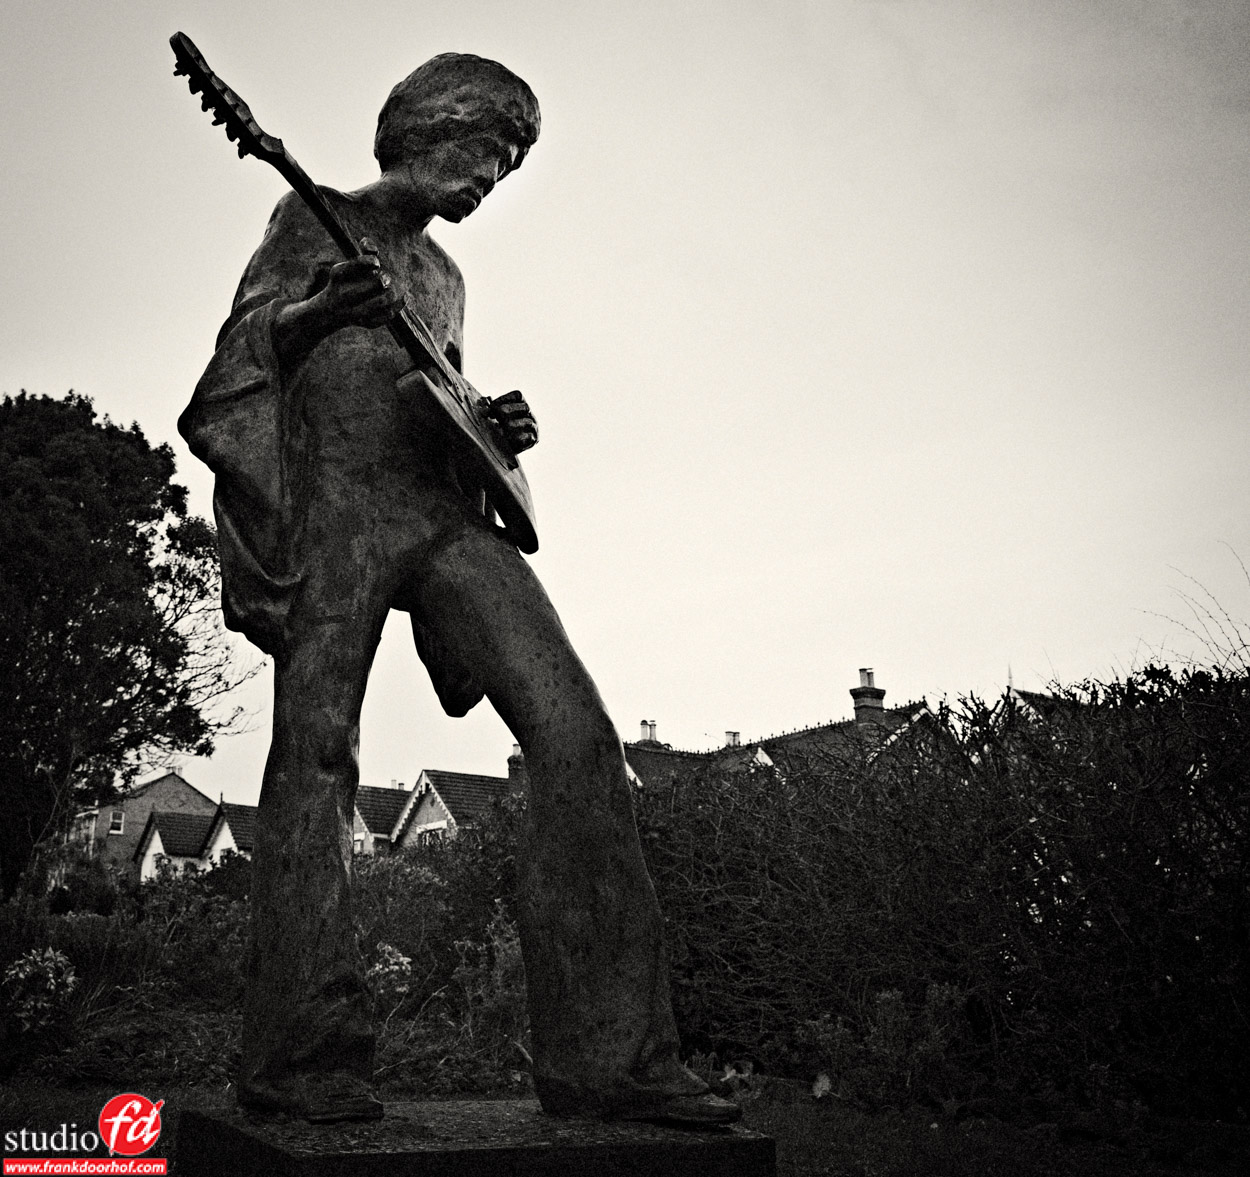
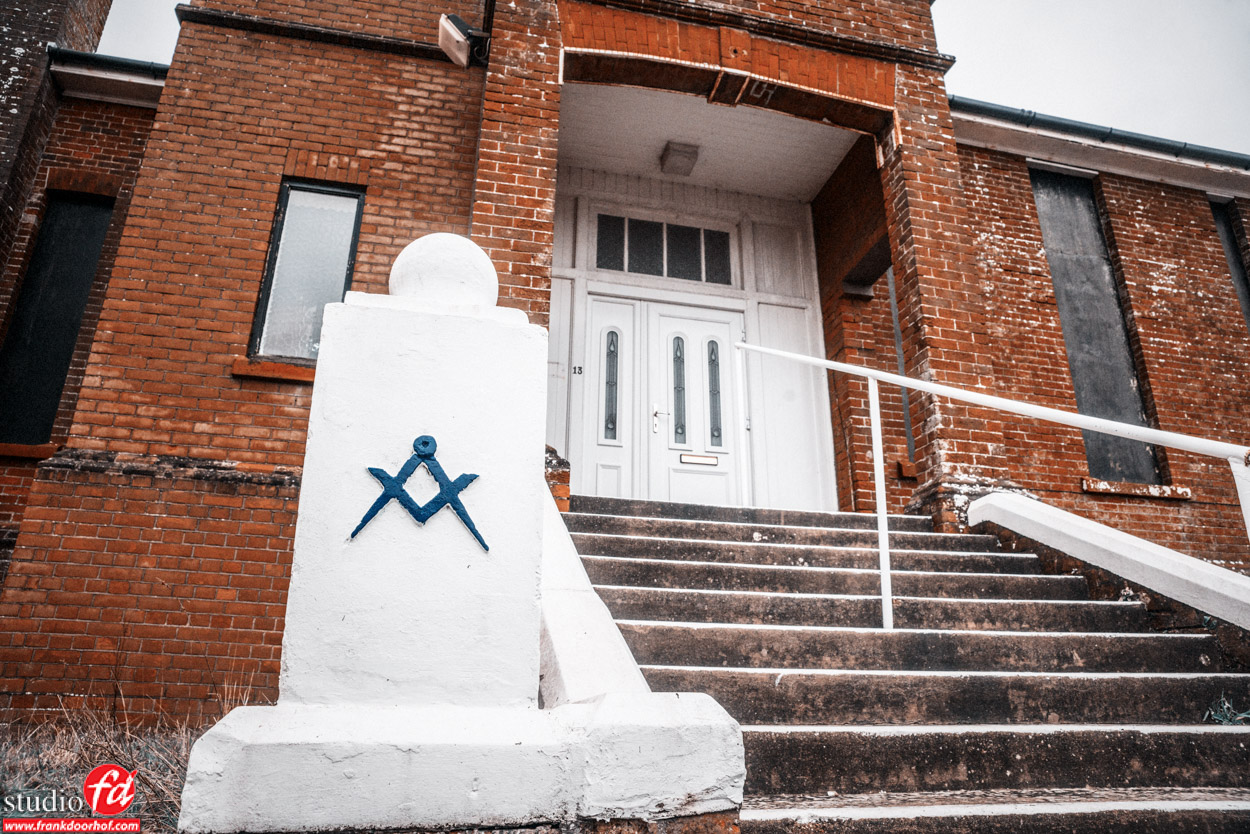
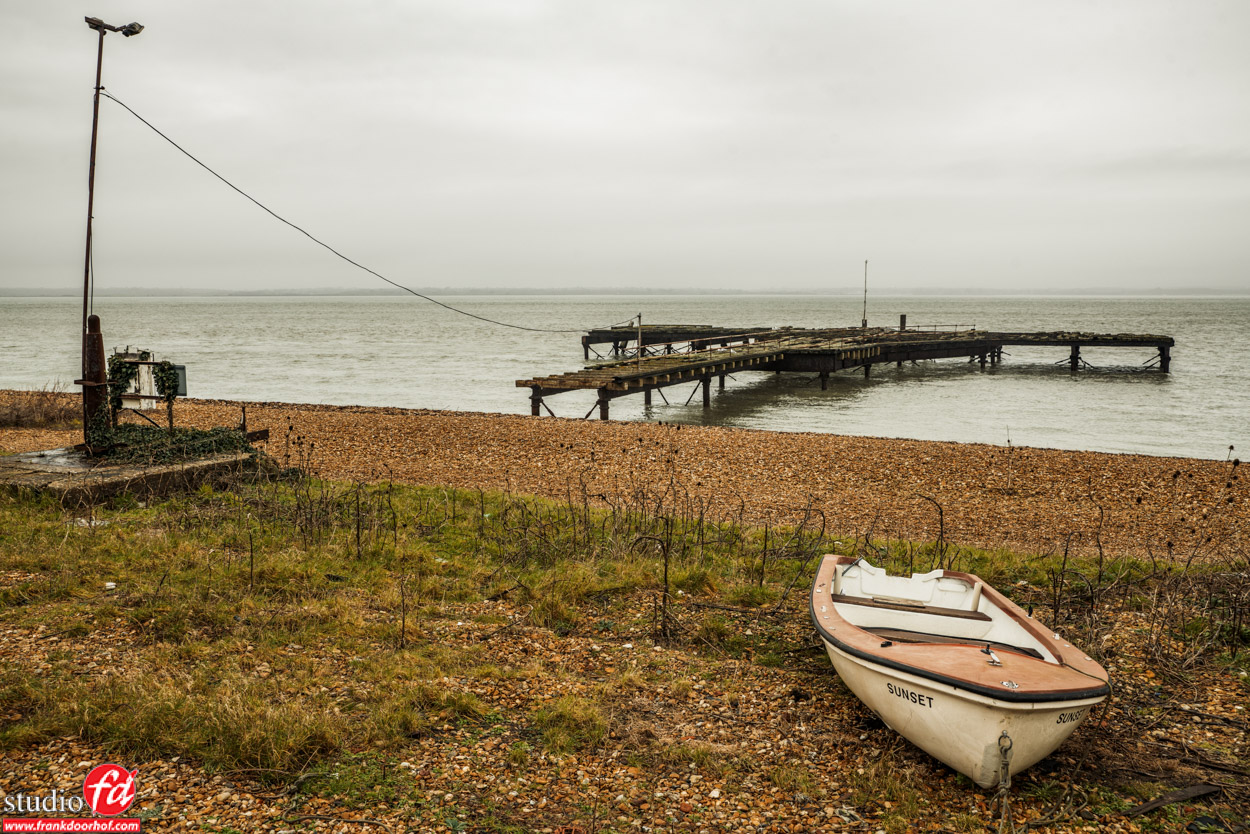
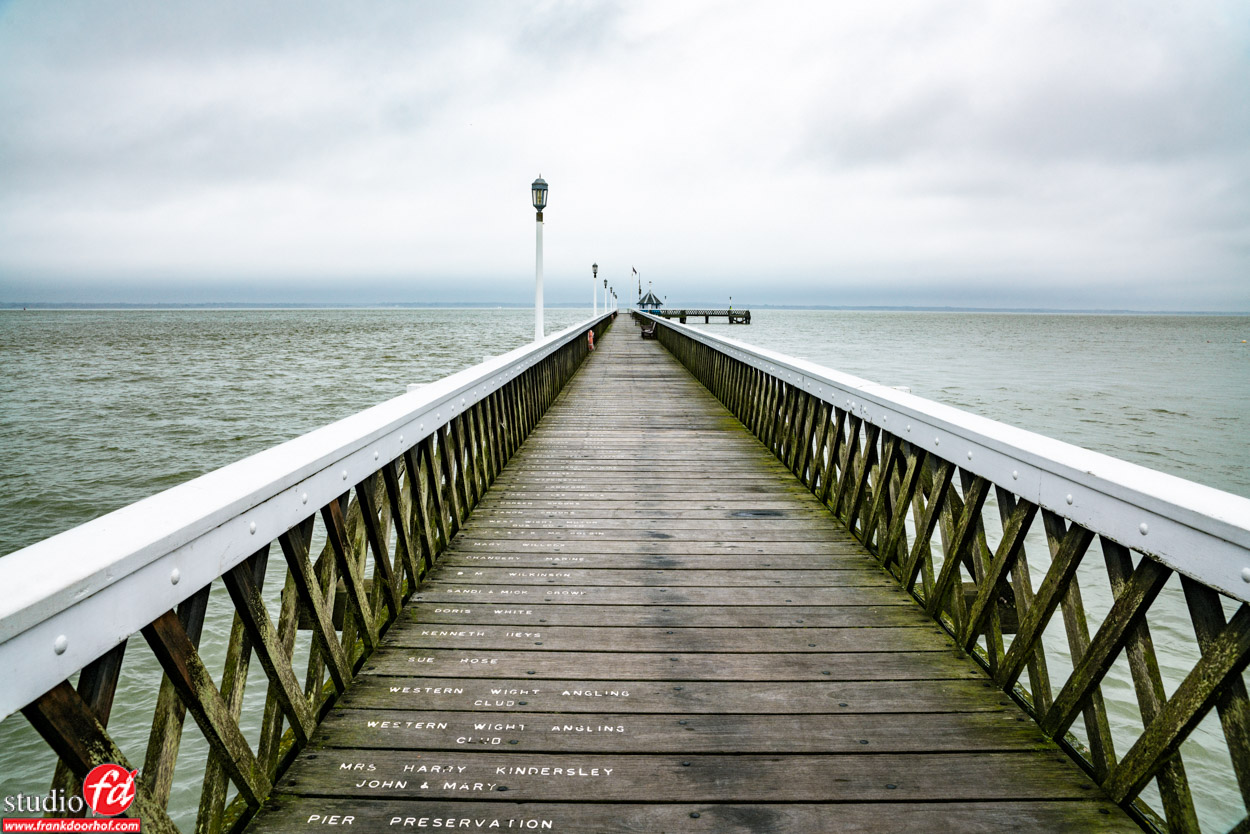
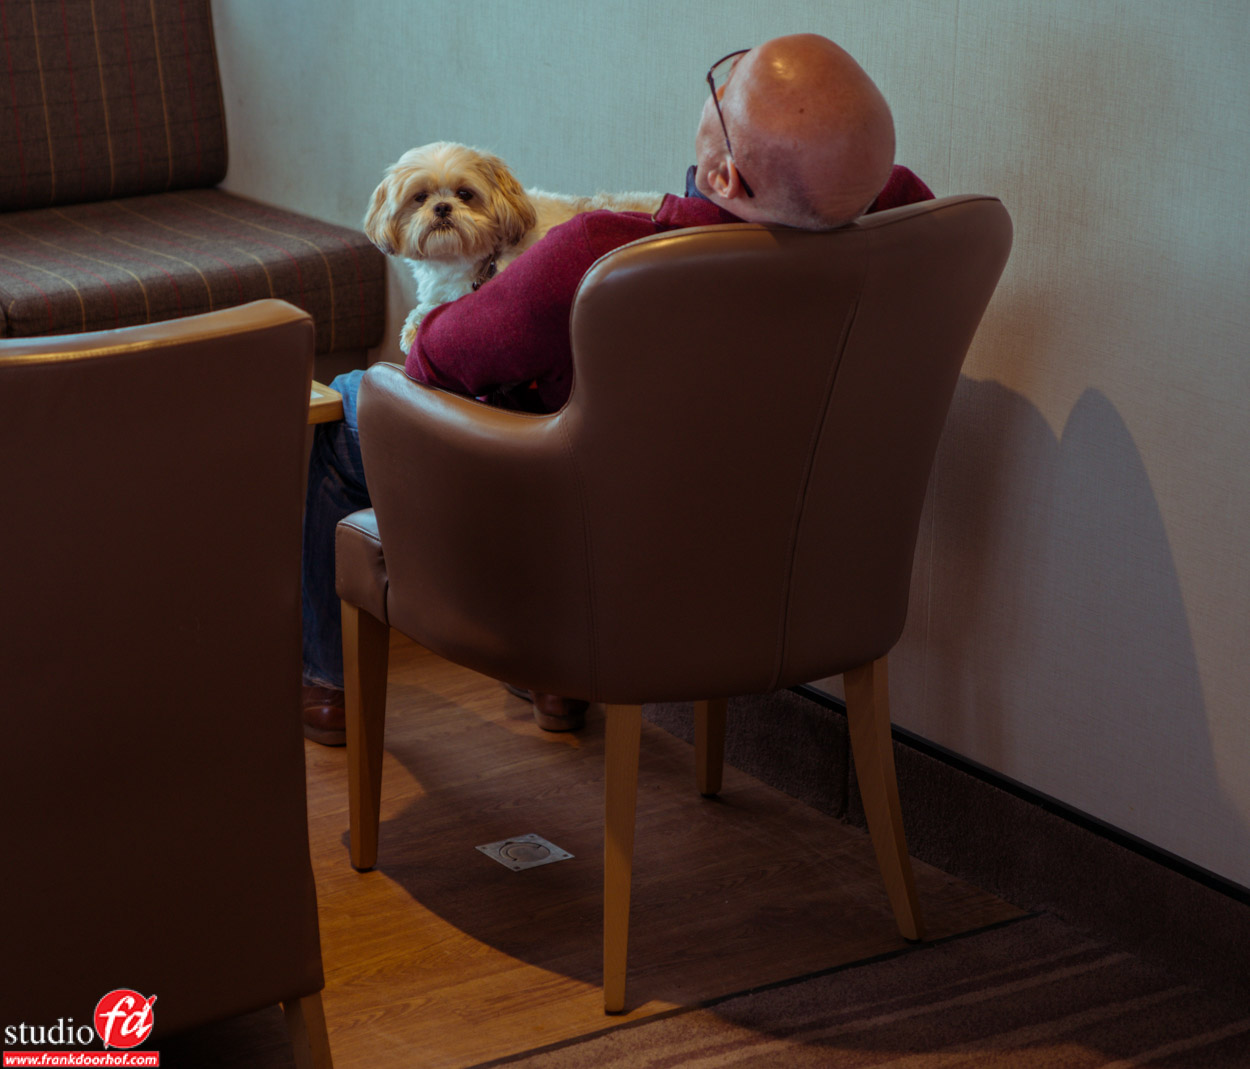
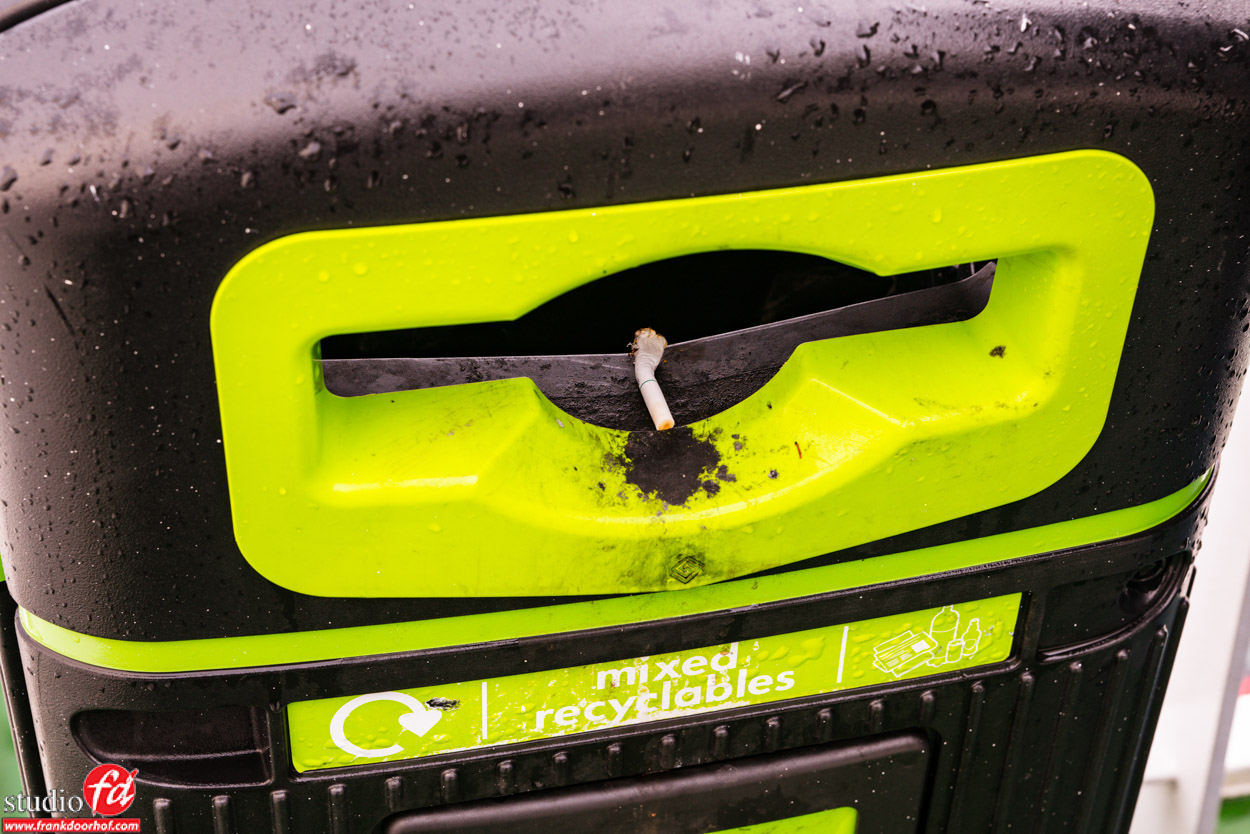
One of the best tips I can give people is to shoot from different angles than eye level.
Eye level is how we see the world but it doesn’t always give the best look for your images.
According to some publications our eyes are app 50mm, but I have to be honest I never really believed that, for example I find myself zooming almost constantly and going from wide to tele, and a lot of people I talk to have the same thing, although some claim to only see wide, and some claim to only see zoomed in…. what are you seeing?
Anyway.
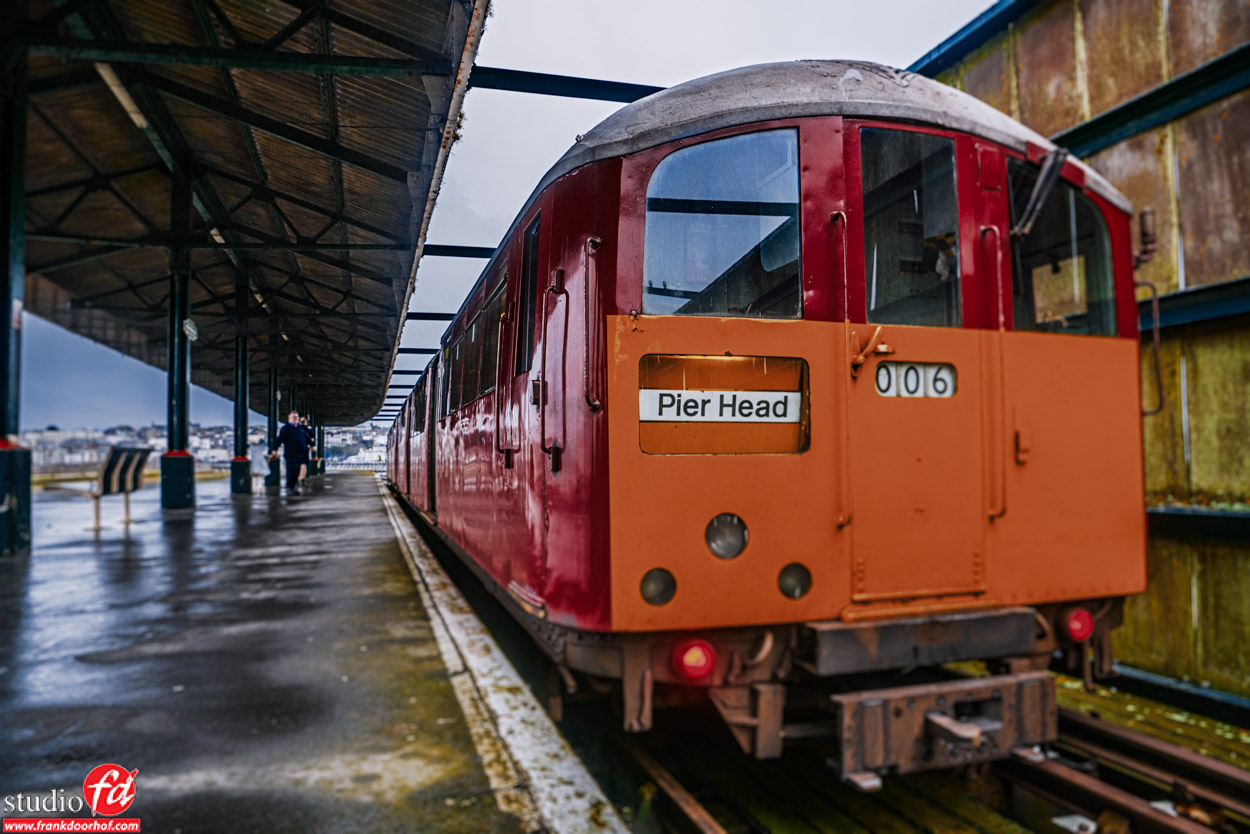
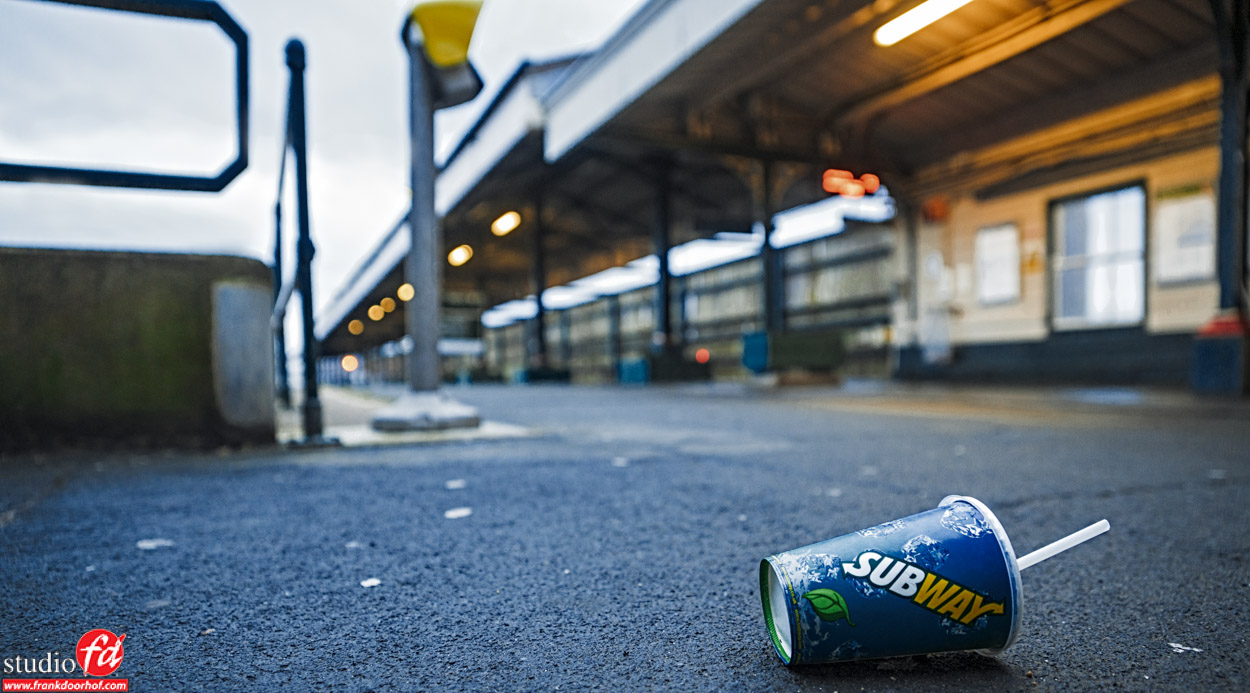
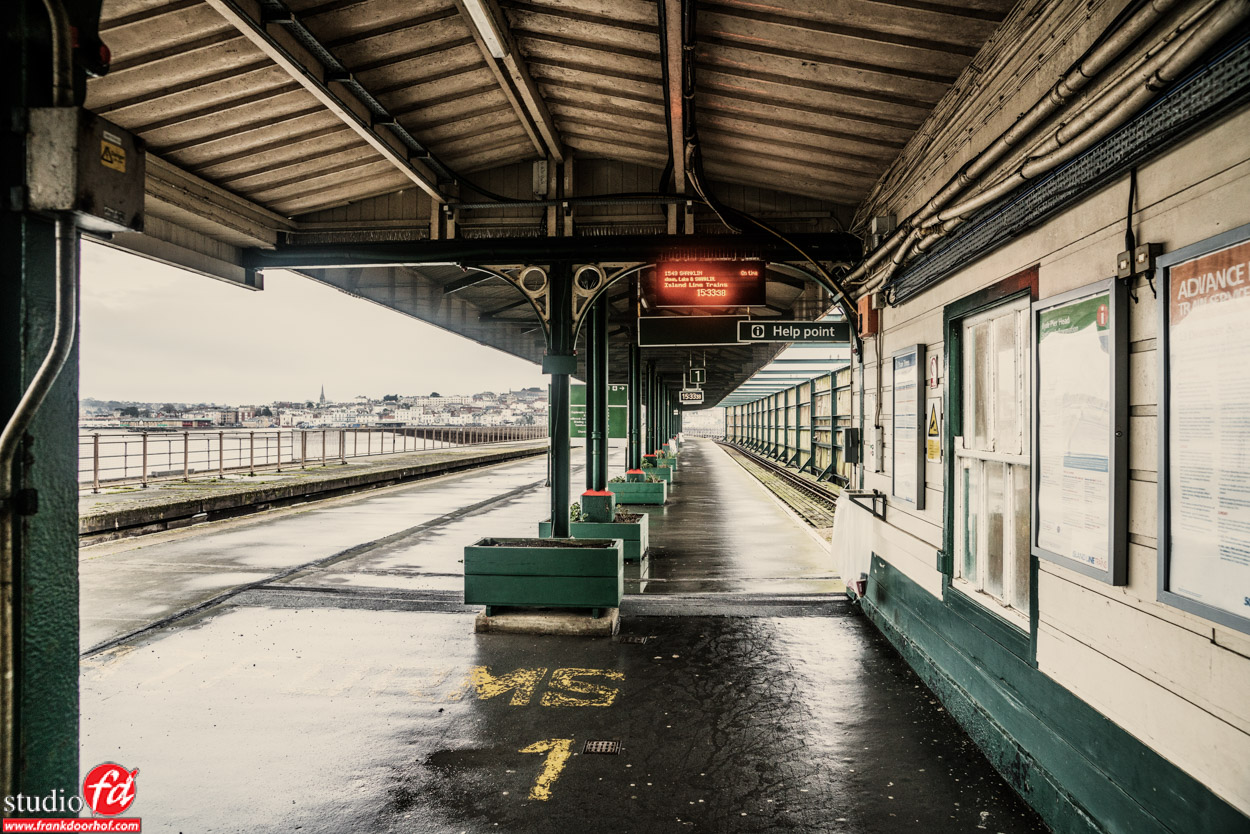
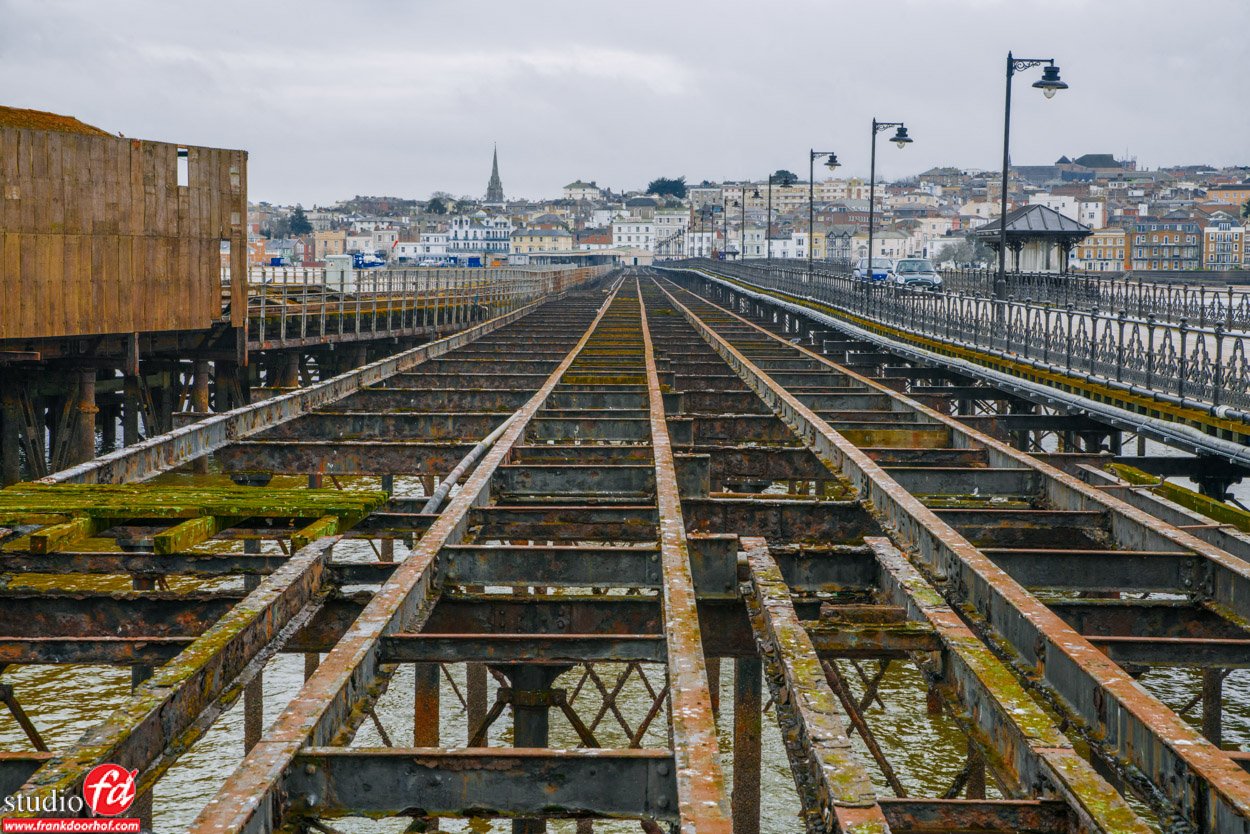
When traveling it’s always cool to shoot some images from a real low angle, and combine this with a nice wide angle and you get some really interesting images, do be aware that a wide angle can really distort the scene, so it’s important to “play with this” and incorporate it into your shot. It will also help to include some objects in the front of the composition that can act as leading lines or just make the image look more interesting. And sometimes your lucky to find a “Subway” cup in a subway station 😀
Today some examples of this technique, shot in different locations during our UK trip.
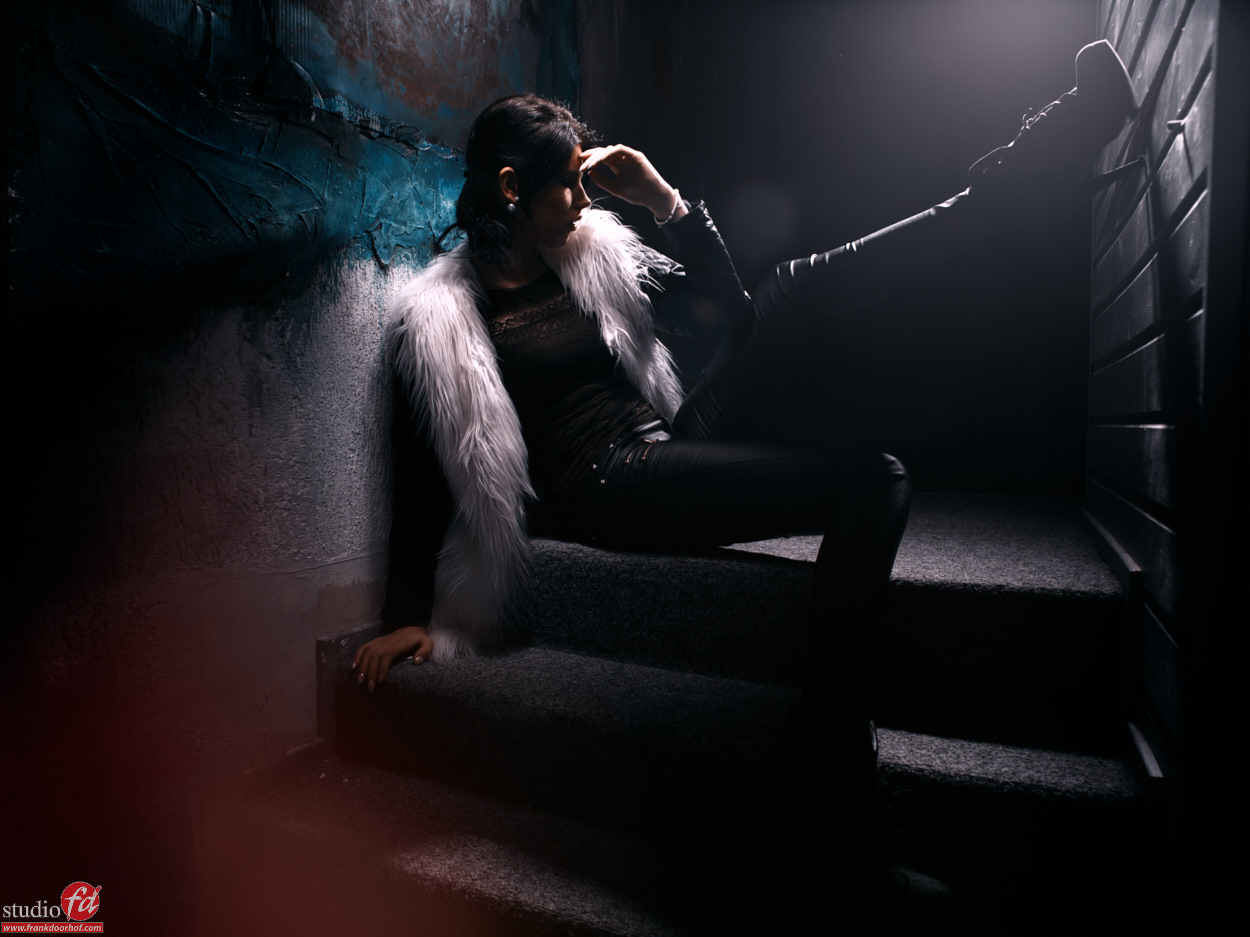
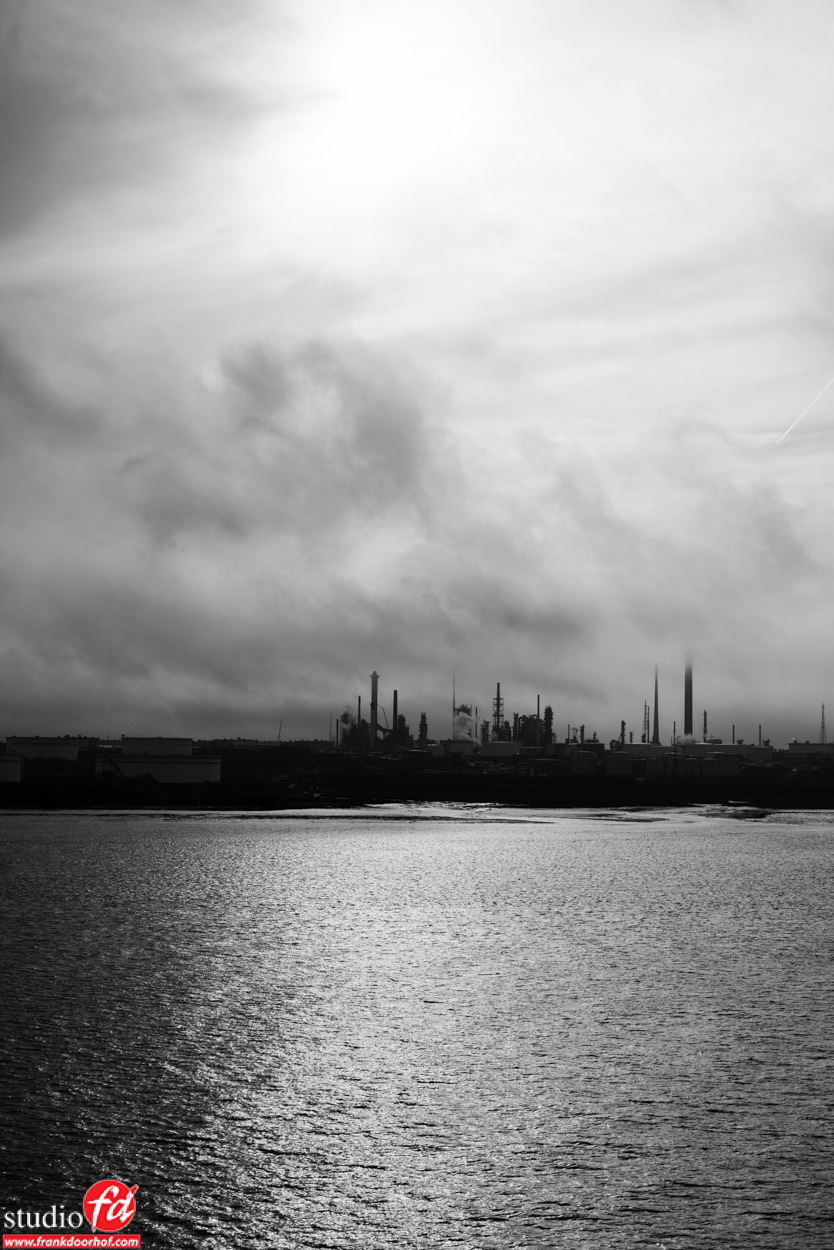
Light is the language of photography.
Learning to understand and control lighting is in my opinion vital for a photographer, in essence you should be able to take a good shot in almost any situation. That’s also why in my workshops and instructional videos I always give a lot of attention to the more “cool” lighting tricks you can pull off when you are able to manipulate your light.
In this blogpost a very simple tip, but a very powerful one.
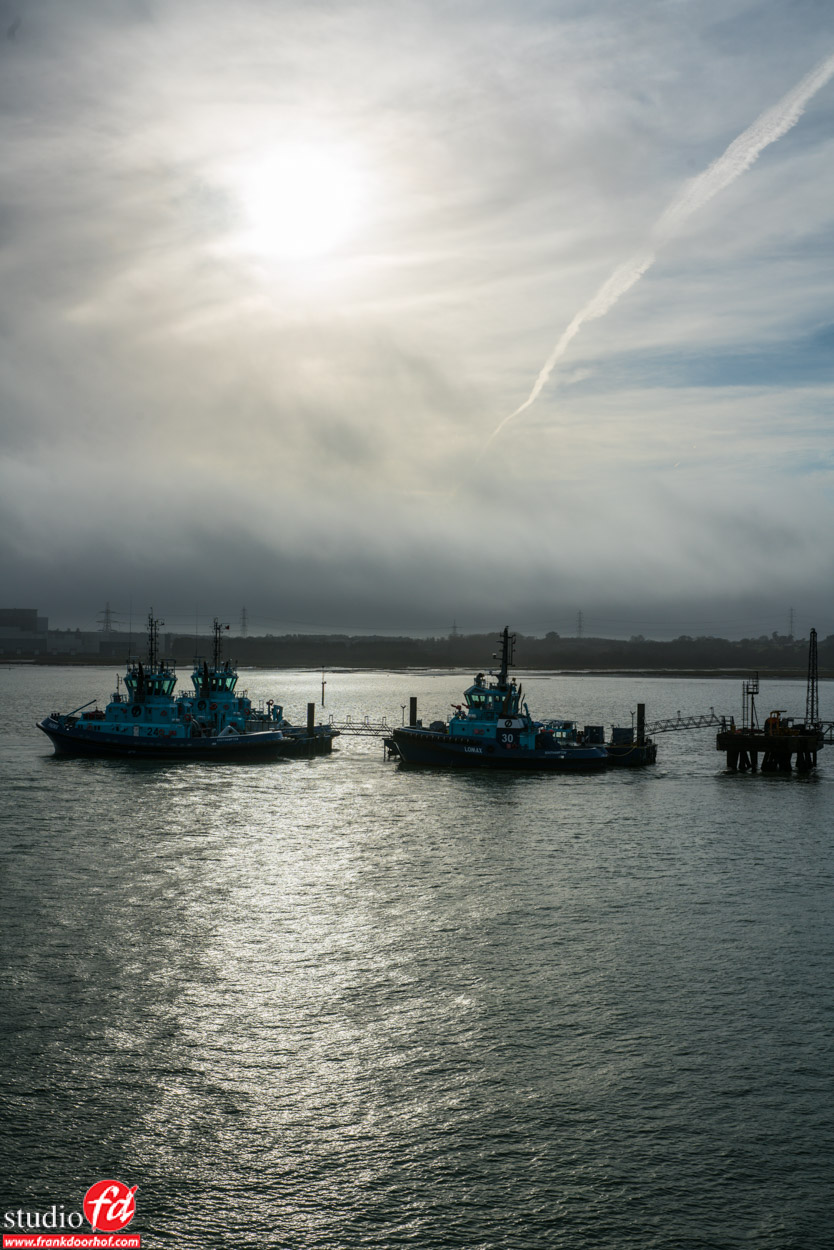
If you shoot with strong backlight there is a huge chance on lens flare, and although some think that is a bad thing, I actually love to play with it and also love the effect it has in a photo like this.
Now as you can see I show you two images, one with lens flare and one without… how did I do this?
It’s actually very simple.
Your lens hood has a certain “reach” and sometimes that’s just not enough to take away the lens flare if you want it out of the shot, the solution is however very simple… just use your hand to block off the lens flare, hold your hand above the lens hood and move it forward until (in the viewfinder) you see the lens flare go away. You can even spread your fingers and play with some cool effects 😀
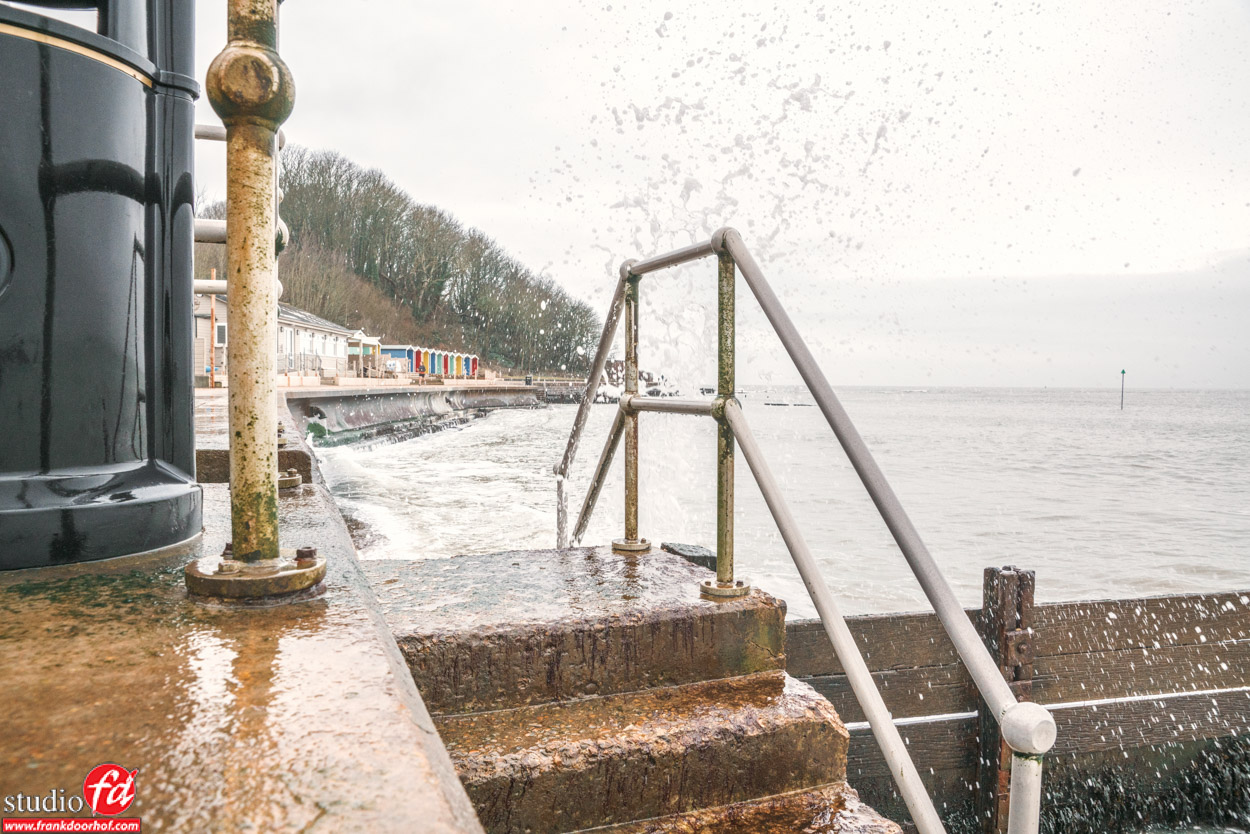
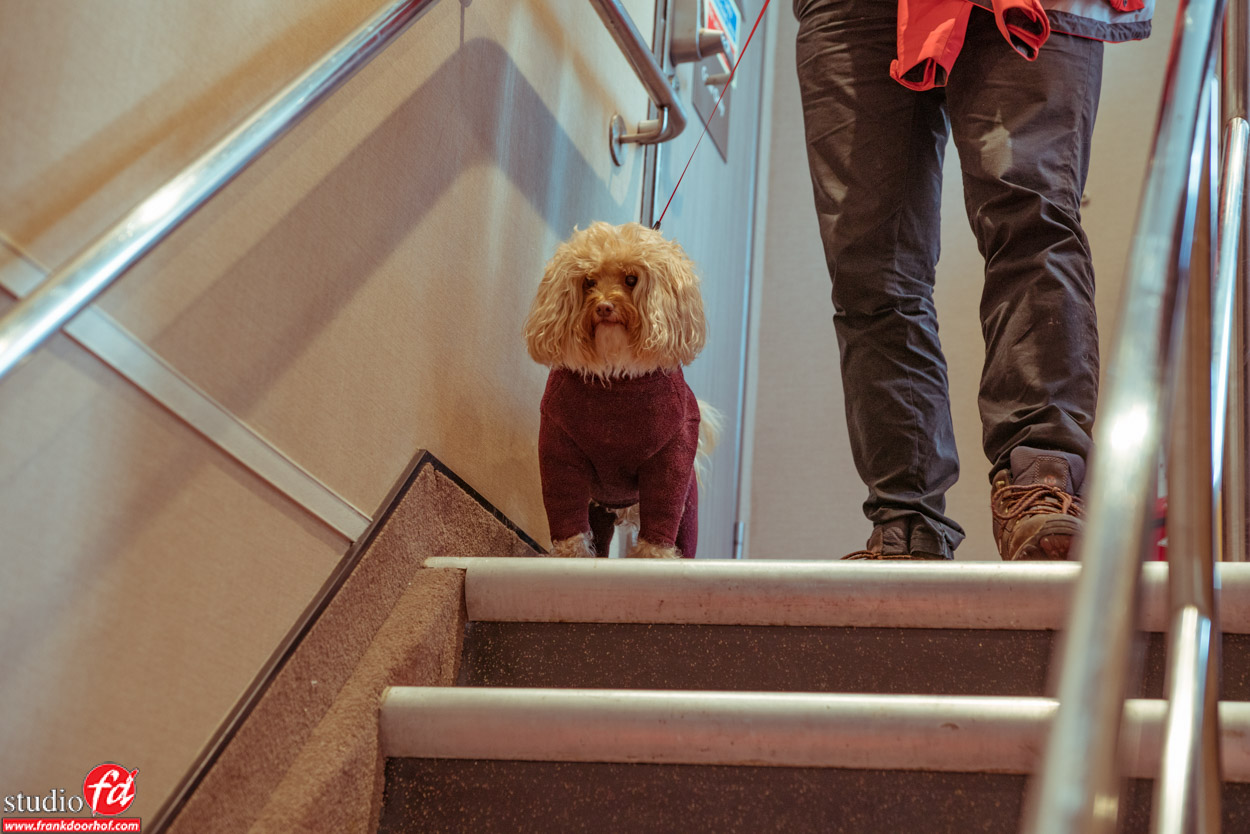
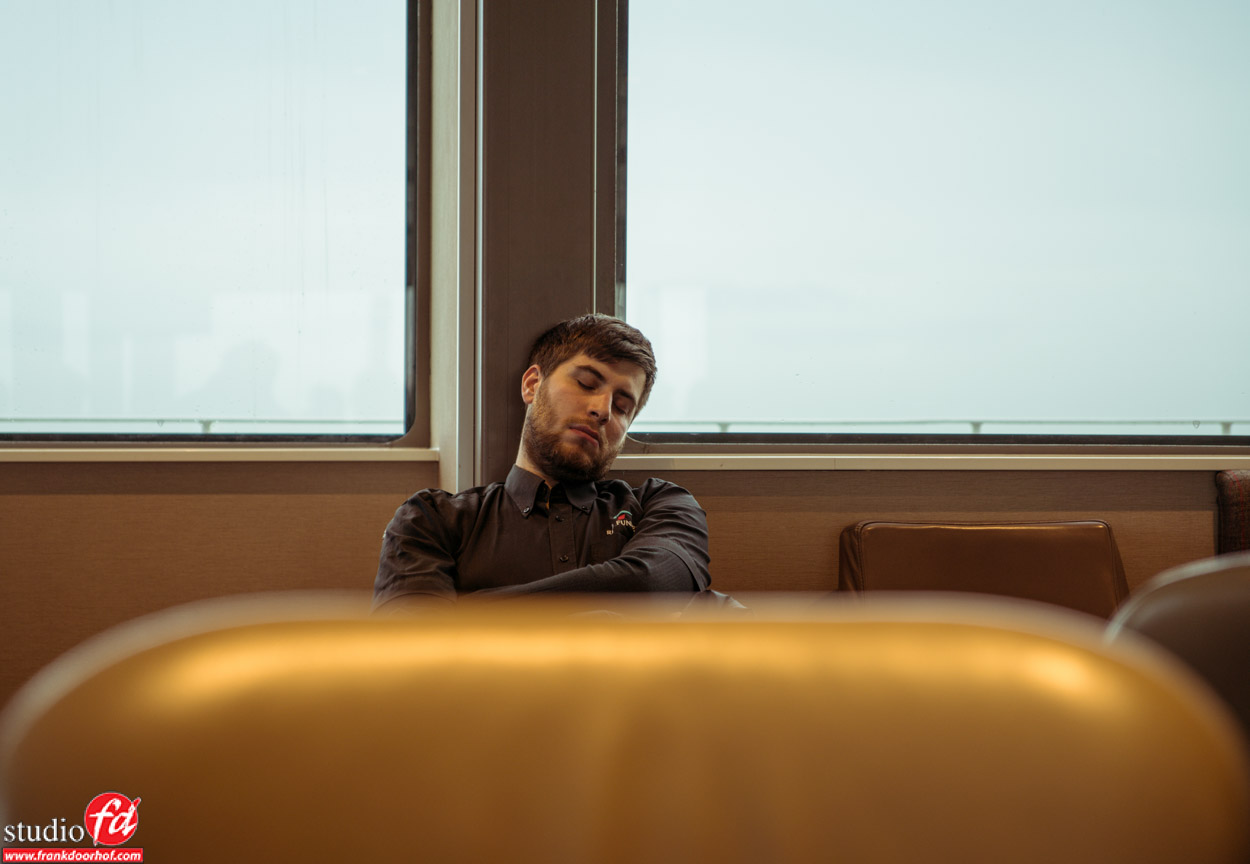
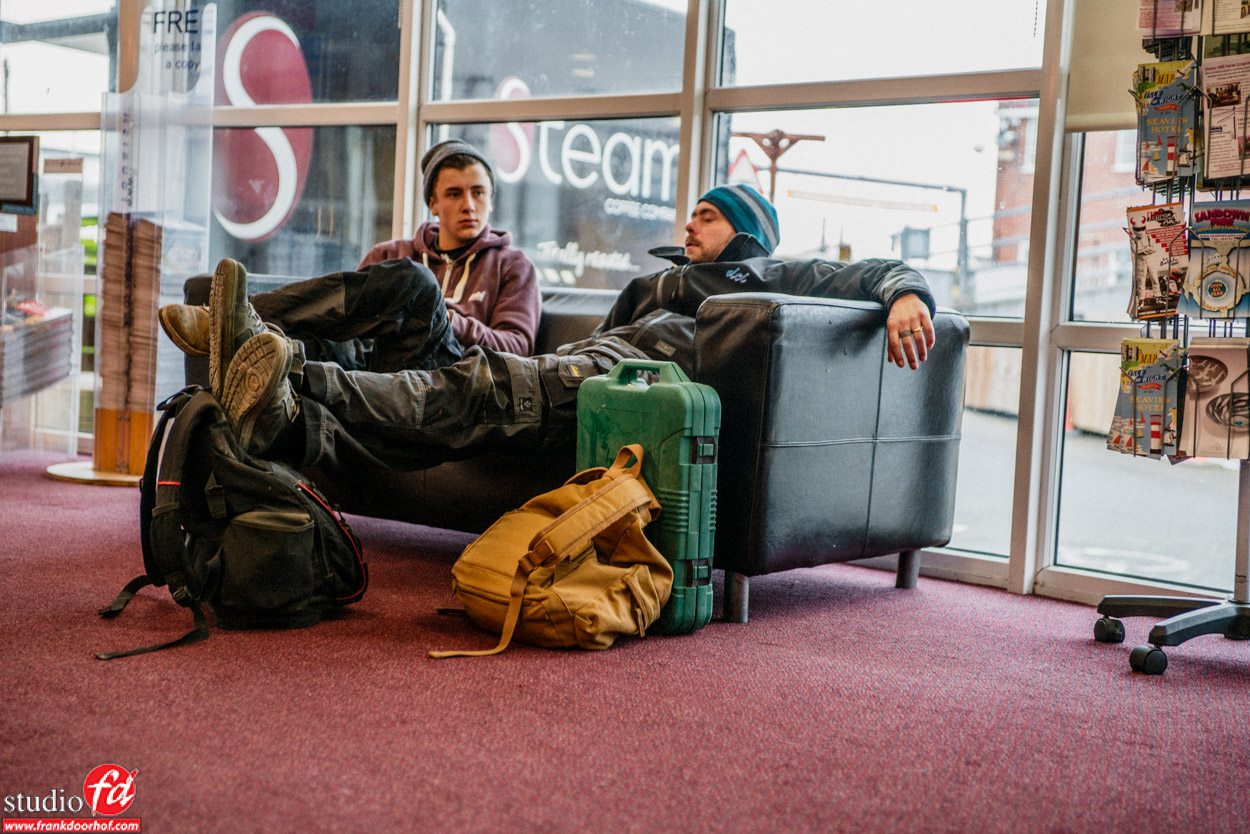
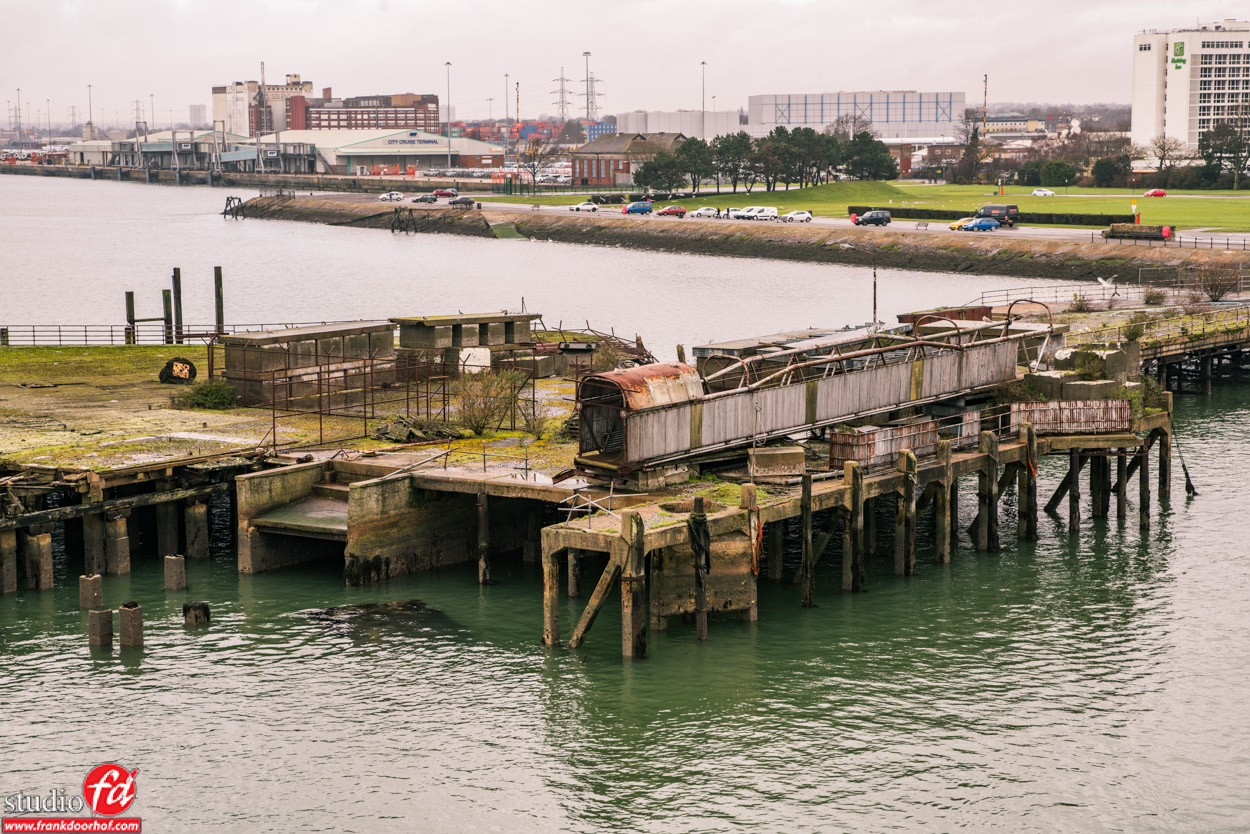
We all travel while traveling, right?
Often however I see photographers traveling with their camera in the bag just hanging in their seats waiting to arrive at the location, however there are often many cool options to shoot while traveling.
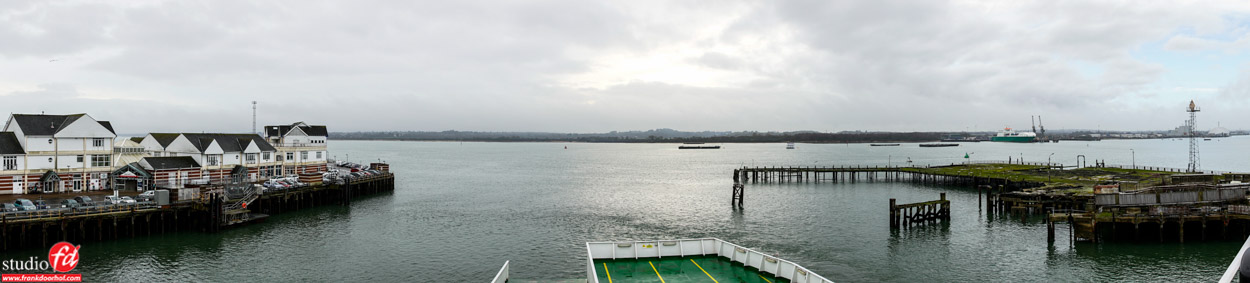
Today some images I shot on the ferry from the mainland UK to the Isle of Wight.
It’s only an one hour commute but there is a lot to shoot and the time flies when you’re shooting 😀


You must be logged in to post a comment.