Tag Archive for: technique

tethering without wires

I love Sony cameras, but sometimes I feel a little bit left out in the cold by manufacturers, I even sometimes feel they don’t care or don’t realize that Sony is really very fast becoming a major (if not THE major) player. For example I’ve been bugging CamRanger since day 1 for Sony support, their response is very basic… it won’t work and it will never work because Sony doesn’t support it…. well it’s weird that Capture One for example shows live view (which according to CamRanger is not possible…. don’t get me wrong I LOVE Camranger, heck I would buy one if they would support Sony in a heartbeat.


What do we/I really need?
Something a lot of manufacturers seem to miss.
For me personally I don’t need to see my live view, I don’t need to do settings or anything else fancy, I just want my images to come in, preferable the JPGs in small sizes, show the images and that’s it.


Now where do I want it?
The new iPad pro has me all excited, and yeah I know it’s “just” an iPad but the screen size is very handy for us on location and I strongly believe that (because it’s Apple) Adobe and other app makers will start making apps especially for the iPad pro and to be honest I see myself working on an iPad Pro much more than on my MBP when flying or traveling. So my initial thoughts was to use the Sony Remote control software to shoot tethered to my iPad Pro during workshops (which we now already sometimes do during location workshops with small groups) and that works flawless, however…. we can’t get the files to my MBP, so I was actually looking into that and while searching for solutions I found a company called DSLRdashboard


You might know their software for iPad, iPhone and Android, but you might not know they also have a desktop version, well at least I didn’t, and it works flawlessly just connect the Sony via their smart remote app to the wifi network and start the software, search for Sony and within seconds you’re up and running. And it’s fast, plus we tried it out throughout the whole studio area and we have pretty good coverage everywhere, so I’m very happy with this. Now the only thing Sony needs to fix is that the EVF doesn’t work in smart remote (which it did in the past).


But is that all?
No.
While doing my research online I more and more became convinced that although CamRanger might not support Sony there must be another solution, the CamRanger is in essence a rebranded and customized TP-Link router so what did they do, well very quickly you will find out that there is a firmware flash option that will run a modified firmware on the router and that will actually transmit your files, as long as the camera has a PC-Remote option, which the Sony has. So I thought “why doesn’t it work”… and the more I looked online the more it puzzled me, according to all the programers it would work with any camera that has PC-Remote and according to the app makers it wouldn’t work…. but what doesn’t work. If you read closely they all talk about the fact that Sony doesn’t allow to change settings etc. but I don’t care about that, I just want the files to come in and I couldn’t care less about time-lapse etc.


So I decided to just order the TP-Link somewhere and as soon as it’s in I’m gonna try to make it work to transmit just the JPGs, so keep looking at my blog and social media for this, I could be totally wrong but in my opinion it should be possible to do it, if the Sony smart Remote can make a connection and transfer RAW or JPGs why not via a router, what’s the difference if you only need JPGs…. I’m not a programmer but it doesn’t seem like much to just show images to students right?  we will see 😀


Anyway, long story short.
Here is a video in the digital classroom series on wireless tethering, and I also included a tip to shoot tethered with your iPhone without the need for internet 😀
Make sure to subscribe to my channel and share the link 😀

New instructional video MTM 2 On location

New Mastering the model shoot instructional video : OUT NOW !!!!

Today sees the release of the second video in the “Mastering the model shoot” series, Video 2 : On location.
Working on location is one of the most challenging things a photographer can face, but also one of the most exciting and of course it can give you great portfolio results, but there can also go so much wrong.

In more than 100 minutes you travel with me, Nadine, Lenaa and of course Annewiek through the UK and Scotland and you see me shooting in different amazing locations and with each locations I share the tips, techniques and the gear to go from ok to WOW.

Topics include :

GEAR
Working with small flash/speedlights, natural light, the Elinchrom Quadra. Old lenses on modern cameras.

TECHNIQUE
Metering the scene and calculating for stunning results on the fly, dragging the shutter, cheating to get out of the 1/125 rule without HSS, modifiers, working with wide angles or longer lenses and why.

COMPOSITION
What to look for in a scene, finding the right angles, changing positions for the perfect light, concessions you sometimes have to do and how to work around them

RETOUCHING
A complete run through of two images of the shoot from start to finish with loads of techniques and tips (I didn’t take the easy ones)

MODELS
Working with the model, coaching, poses, styling, story telling

And MUCH much more….

The video is now available on https://frankdoorhof.com/web/shop-videos-etc/direct-video-downloads/ and is priced at 35.00 euro.

We also created a new section with classic videos where you can download the first series of instructional videos for a very attractive price.


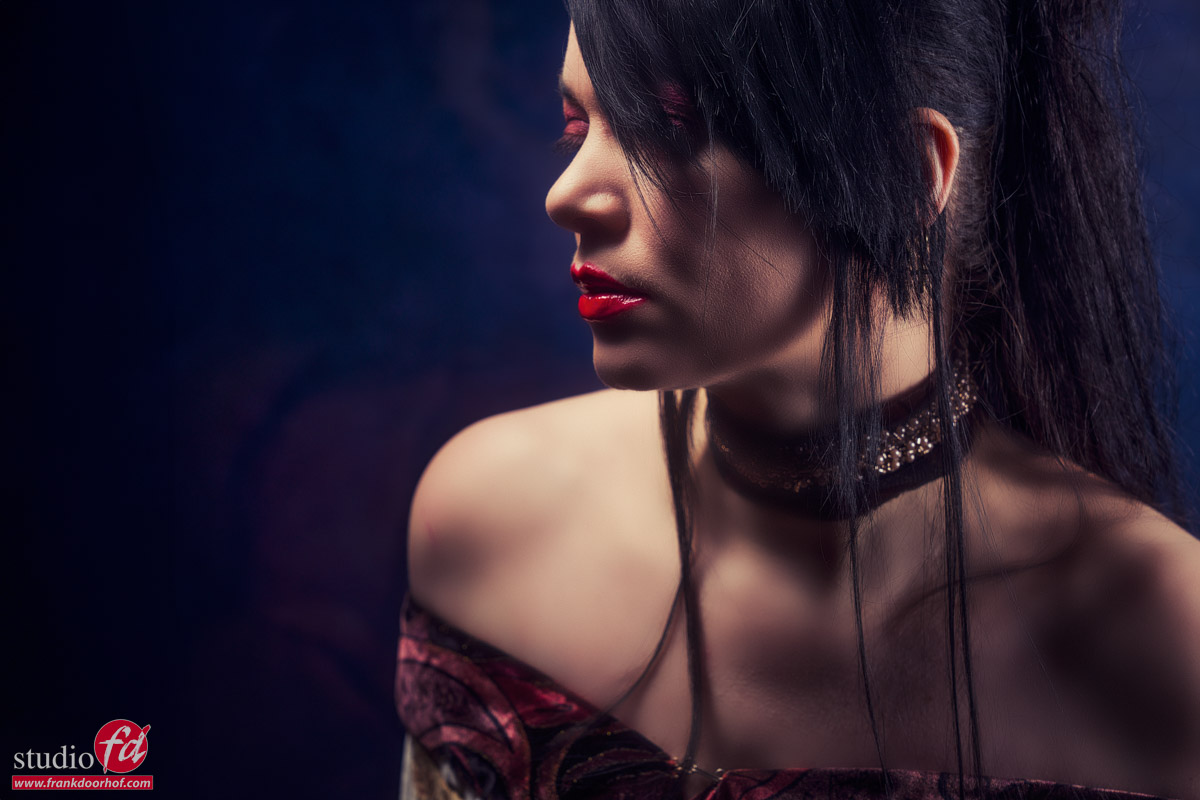
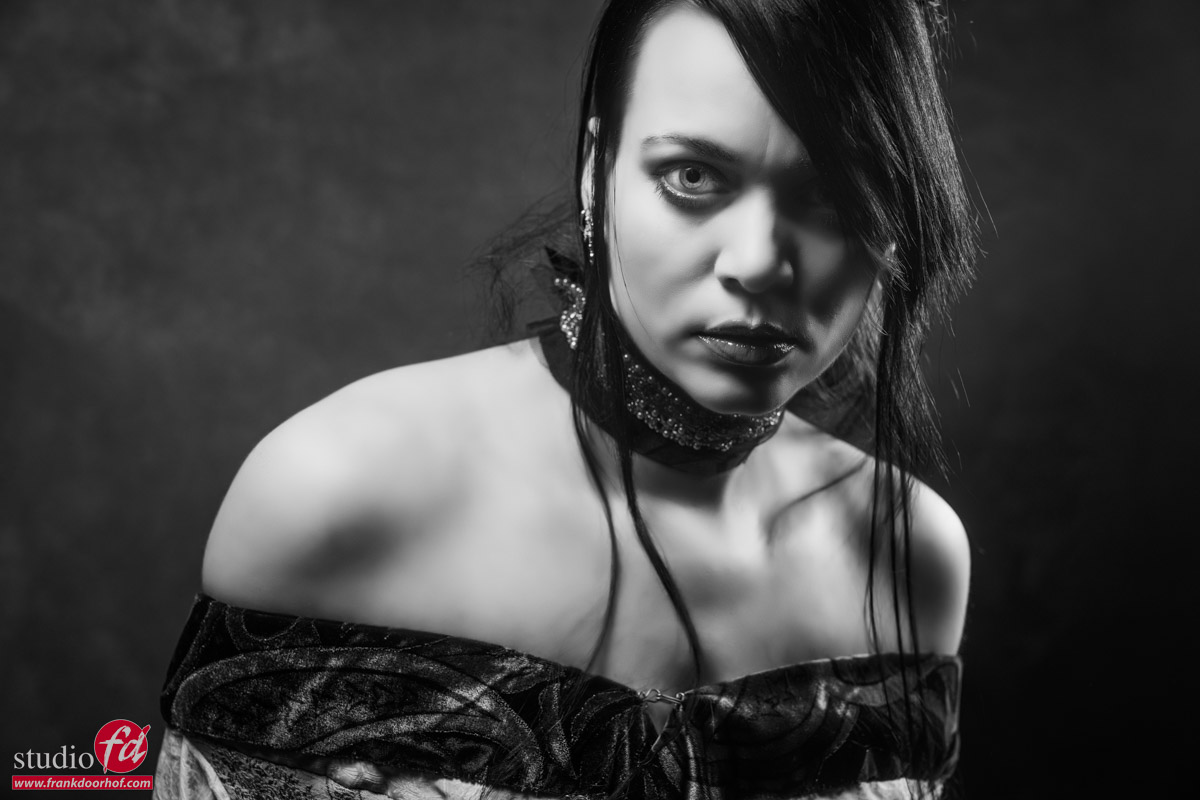
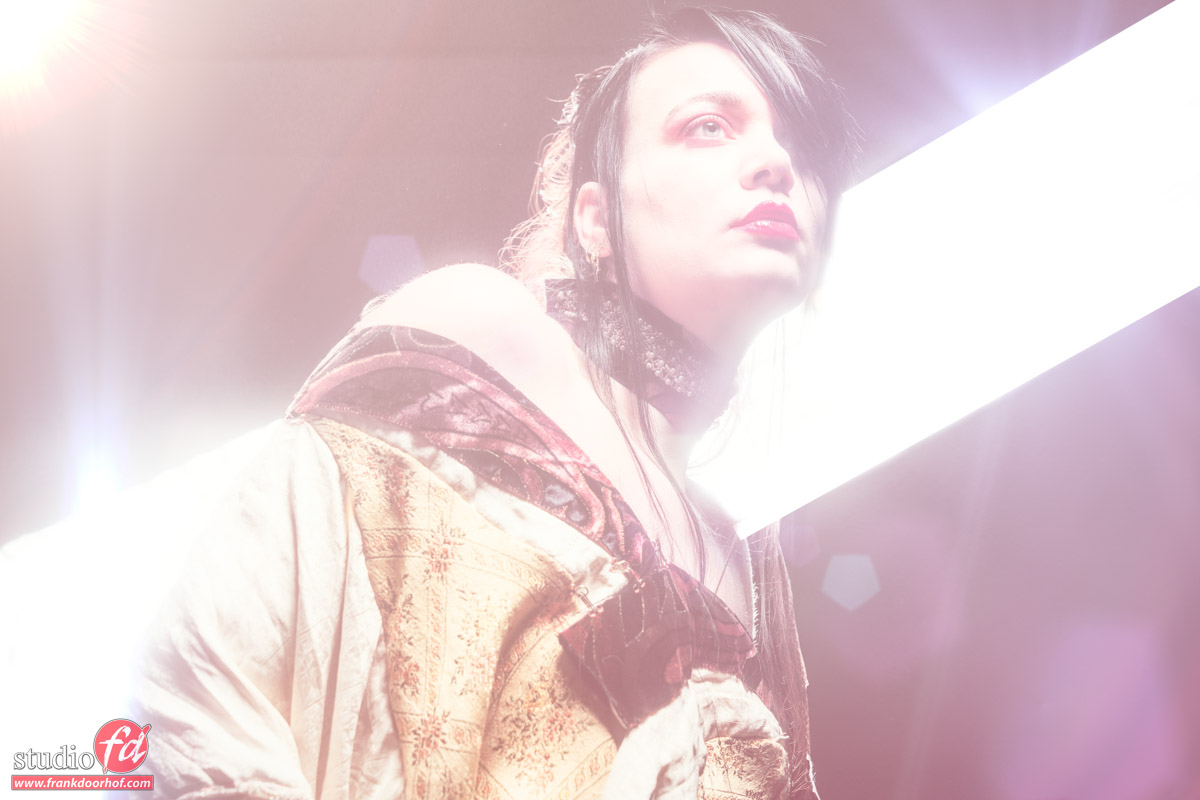
Only a few of the images shot during this trip.Nadine 113 - July 13 2015

nadine 10 - July 14 2015

Lenaa 40 - July 13 2015

Lenaa 25 - July 13 2015

UK (79 of 134) July 08 2015

UK (20 of 160) July 08 2015

Nadine Juli 9 2015 0091

Nadine 65 - July 13 2015

nadine 93 - July 14 2015

UK (72 of 134) July 08 2015 1

UK (138 of 160) July 08 2015 1


That easy lightbulb again

Every once in a while I will take it out of the closet… my favorite light source to play with… that simple 100W light bulb in the cheapest enclosure I could find. It’s always fun to see the reaction of the attendees of the workshops when they see the possibilities they can have while shooting with a light source most would label as “unusable for some cool shots”.


One of the things you always have to remember when shooting with light is “distance” or in other words “the inverse square law”.
In very simple terms, if you use a light source really close to your model the light will fall off very rapidly, meaning you will get a lot of contrast in your shot, if you move the light further away the light will fall off less rapidly. So if you want to light a group it’s often wiser to move the lights a but further away, and if you want a striking high contrast portrait you can move it closer (although many other factors play a role of course, but let’s keep it simple).

With the lightbulb the power, for me, lies when you use it really close to the model and the background. The outcome is always something that surprises people and often they ask me “How many strobes did you use next to the lightbulb” 😀


So if you have a lightbulb in your house, don’t be afraid to use it in your next shoot, it might surprise you.


For much more in-depth techniques, tips etc. get my book “Mastering the Model shoot” or download one of my videos from this website.

Manon Juni 13 2015 0594

Manon Juni 13 2015 0865

Monitor and calibration info

One of the hardest things for some people is choosing the right monitor.
And now that you own it…. what do you do with it?
And what is that stuff about calibration?


As you can see, it’s not as easy as “wow this one looks great, let’s get that one”
In this episode of “Quite Frankly” I give you some tips and tricks for choosing the right monitor, calibrating it and how an analyzer works.