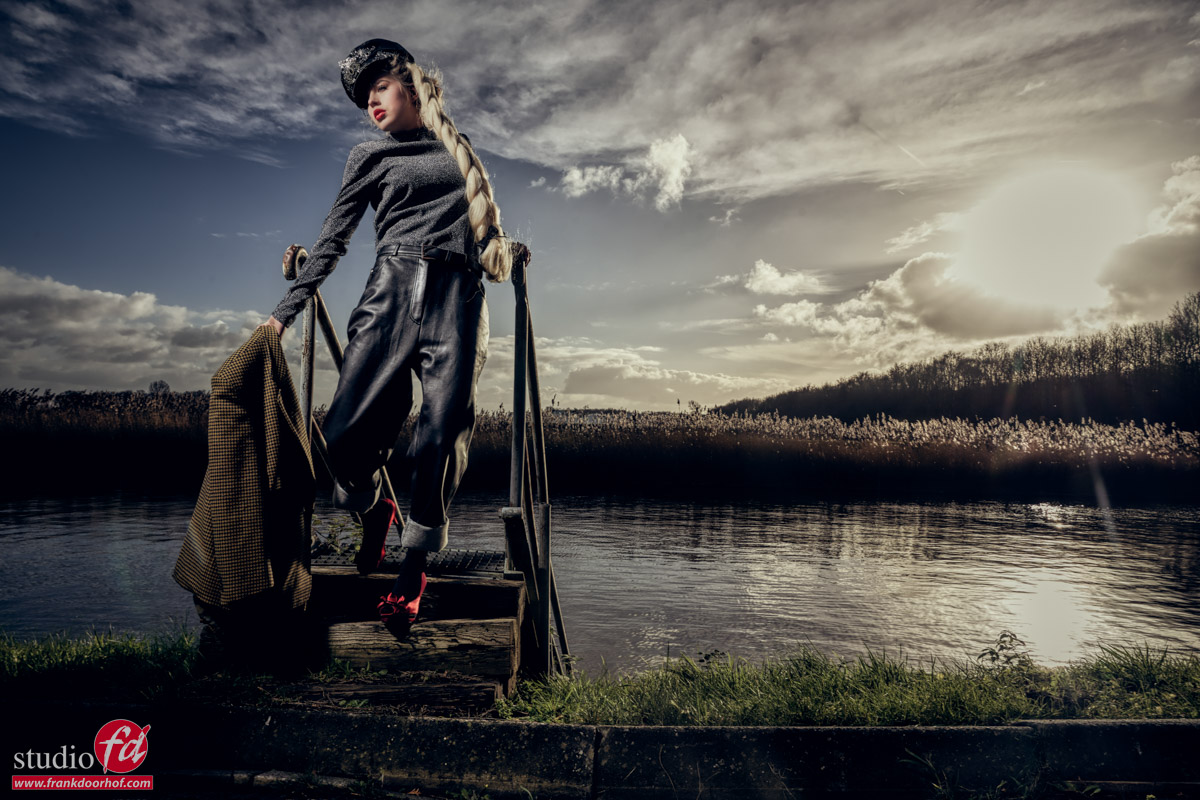
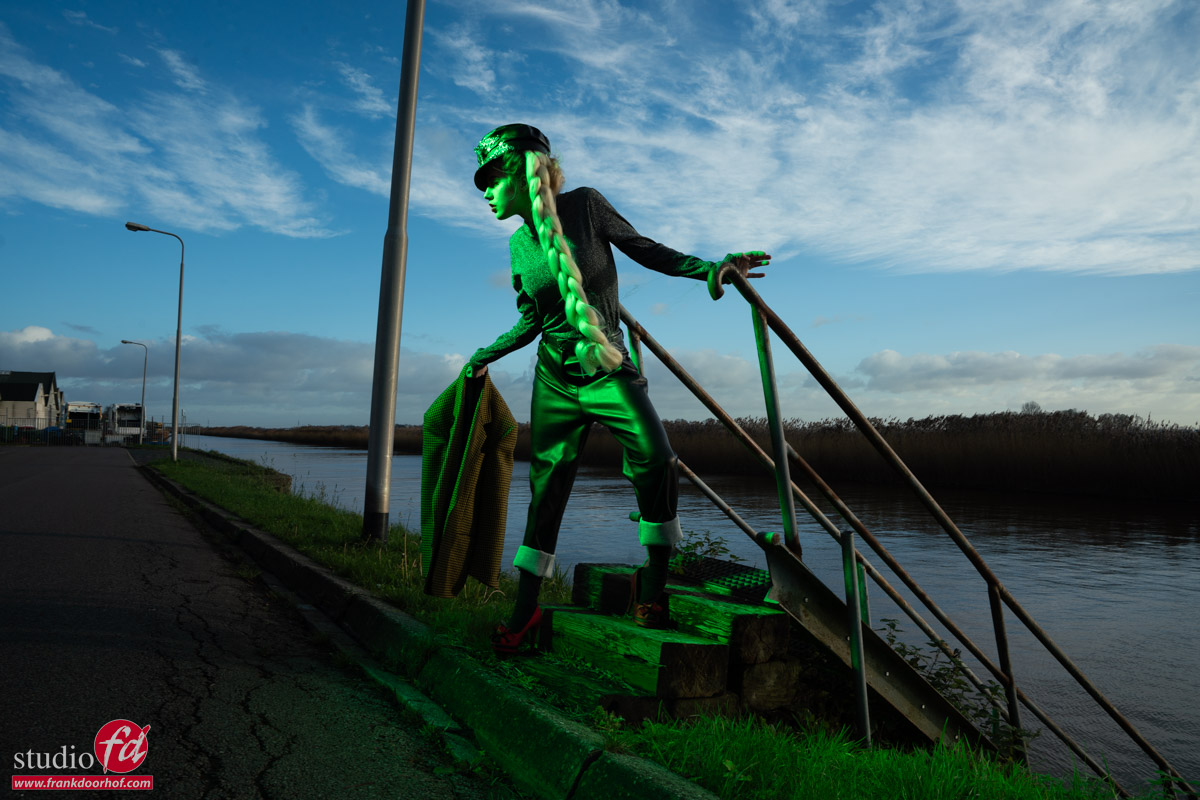
A surreal set and loads of colors
Workshops are always different
Want to know more about colors?
Check the following blog posts about color and color manipulation.
part I
Part II
One of the most important things for me when I teach workshops is that I have to keep challenging myself but also the attendees of the workshops
This means I’m always looking for new creative way to use light, color, backgrounds, sets etc.
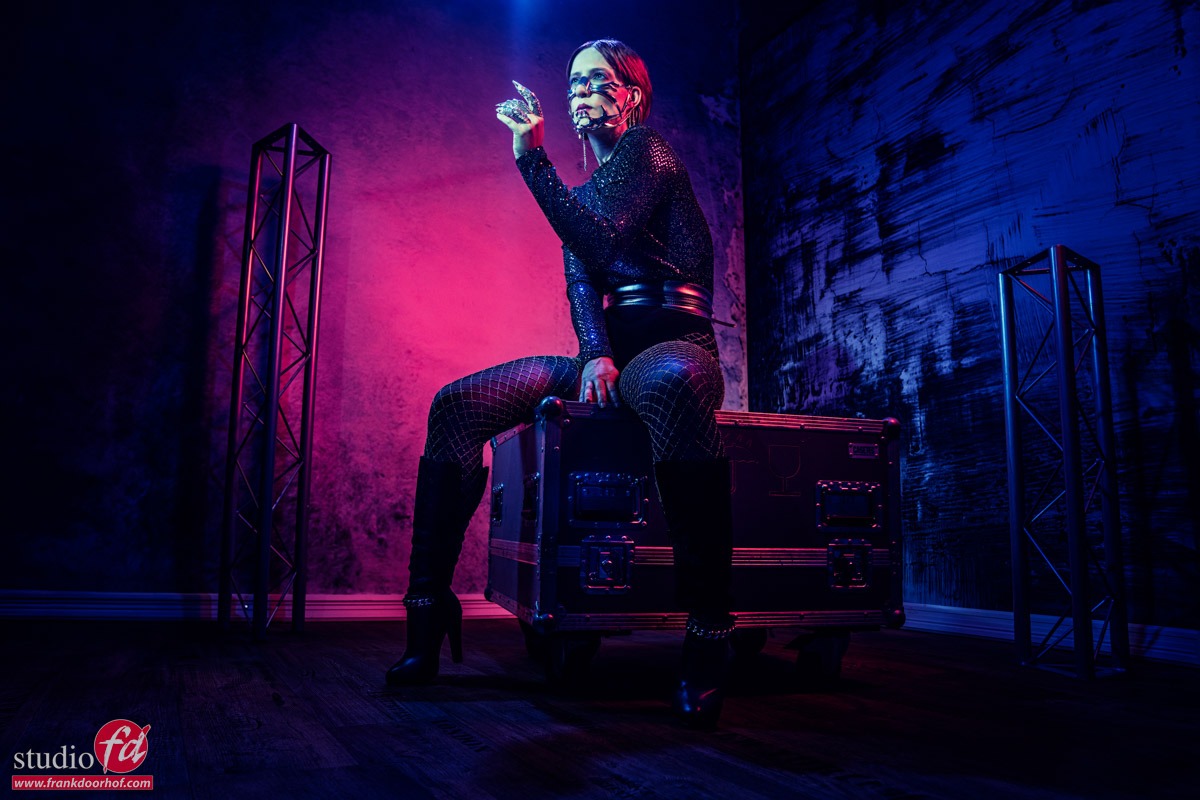
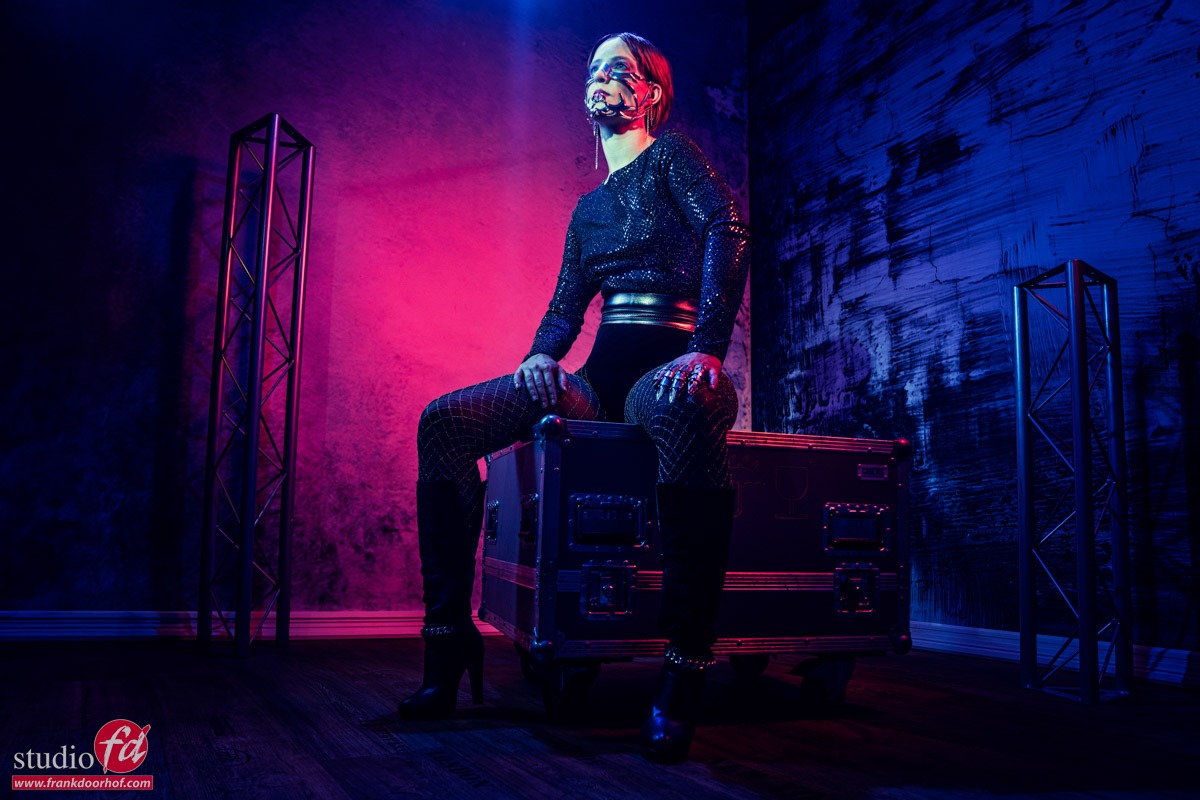
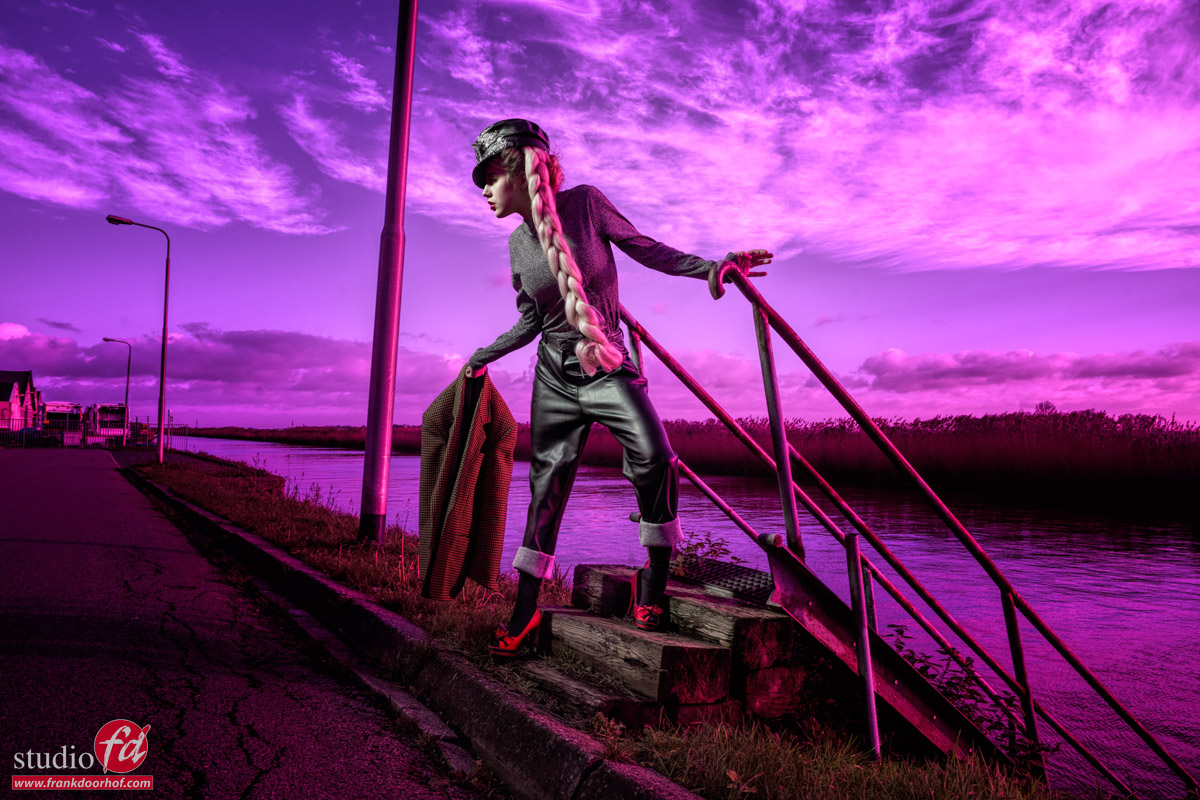
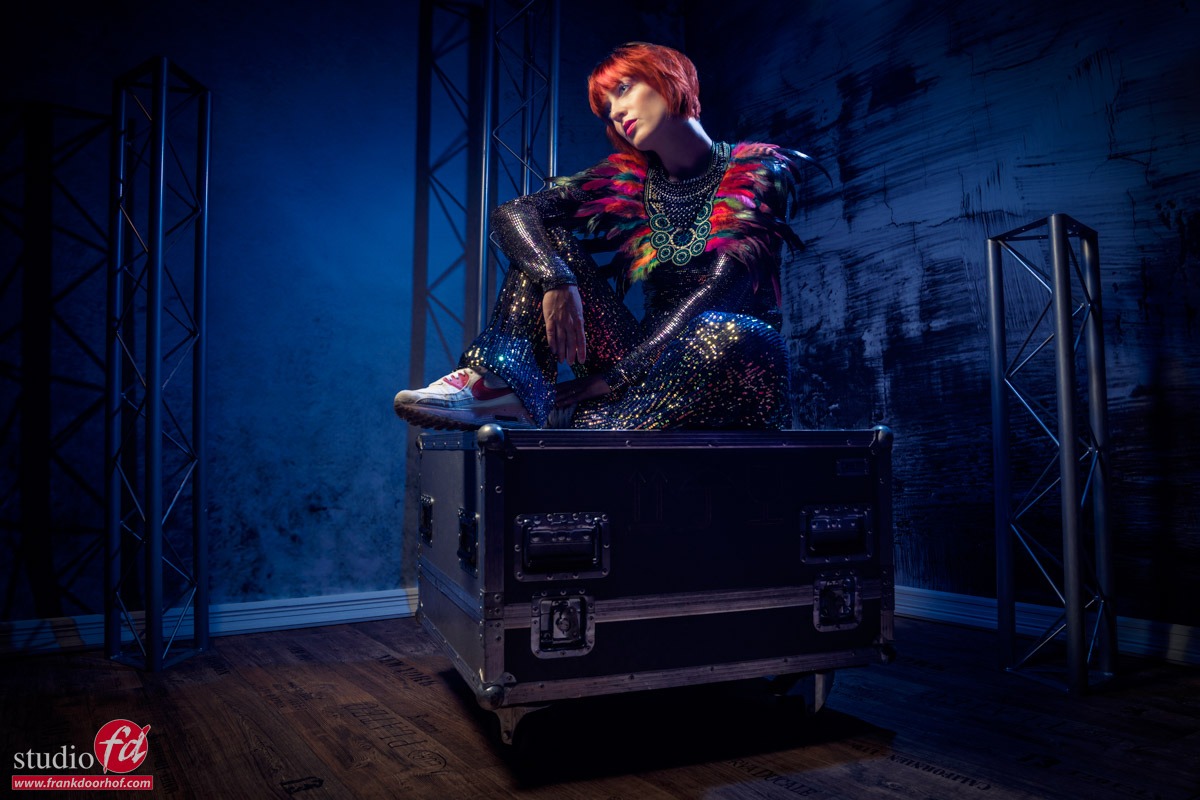
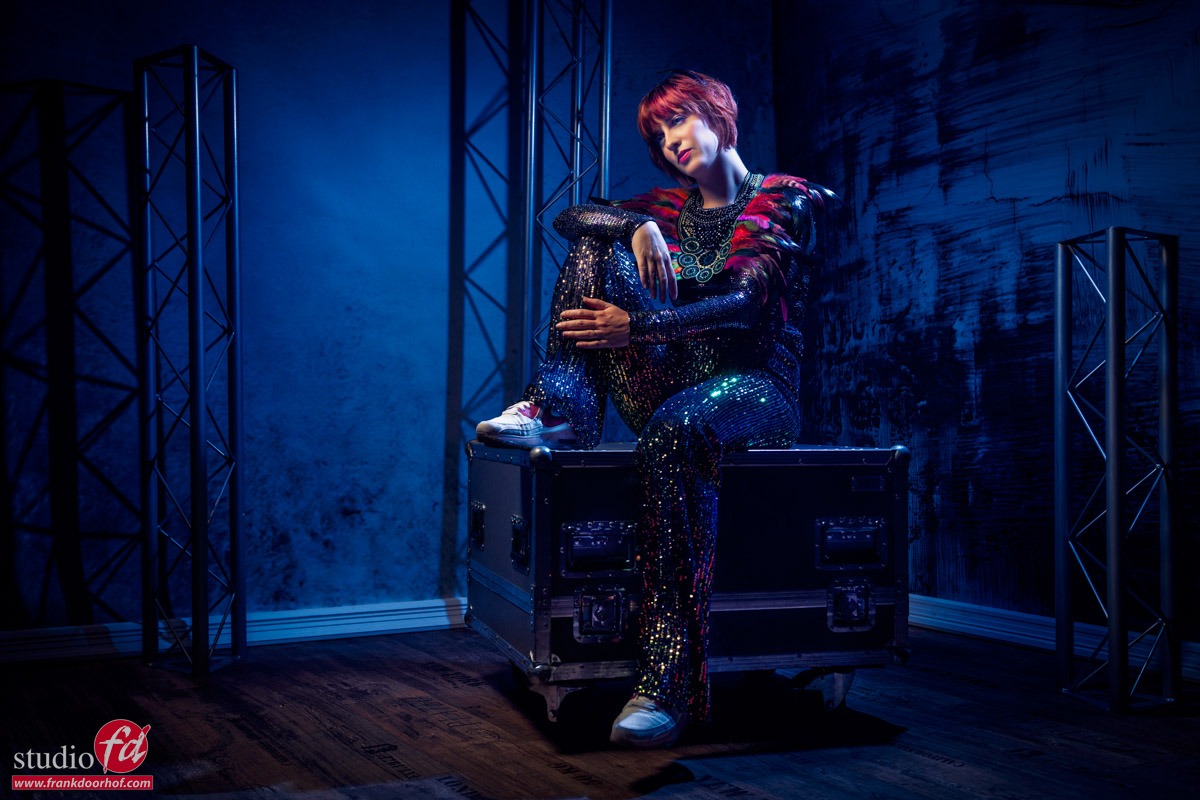
Today some images we shot during a workshop with our model Claudia.
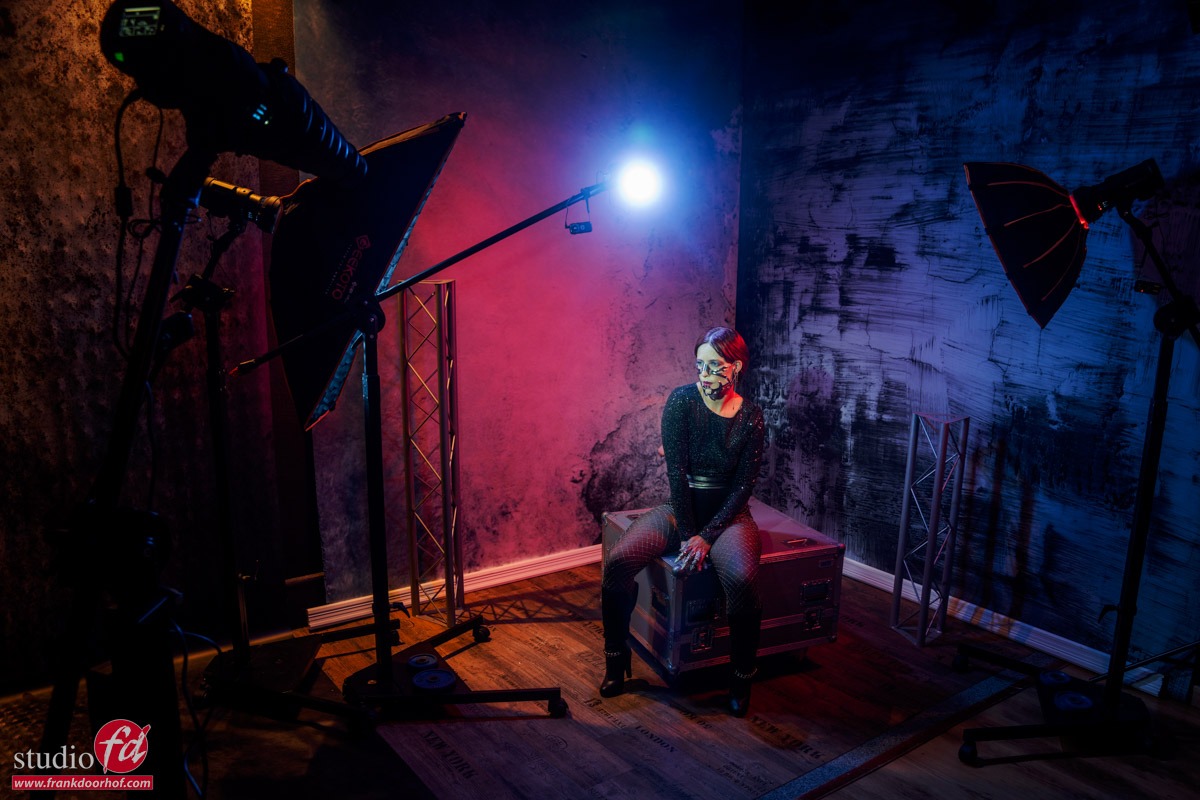
The lighting setup might look familiar.
I’m using two Geekoto strobes with a red and blue gel as accents.
To get the lensflare and blue light on top I’m using a Geekoto GT200 with a Rogue blue gel from the magnetic system.
On the model I’m using the awesome Rogue collapsible snoot with a green gel.
To help the lensflare I’m using a black diffusion filter on my lens (Sony A7RIV with 24-70 f2.8)
The set was build with 2 clickbackdrops backgrounds and a floor part.
Add some props and a very cool model + outfit and you just have to find the right angle 😀
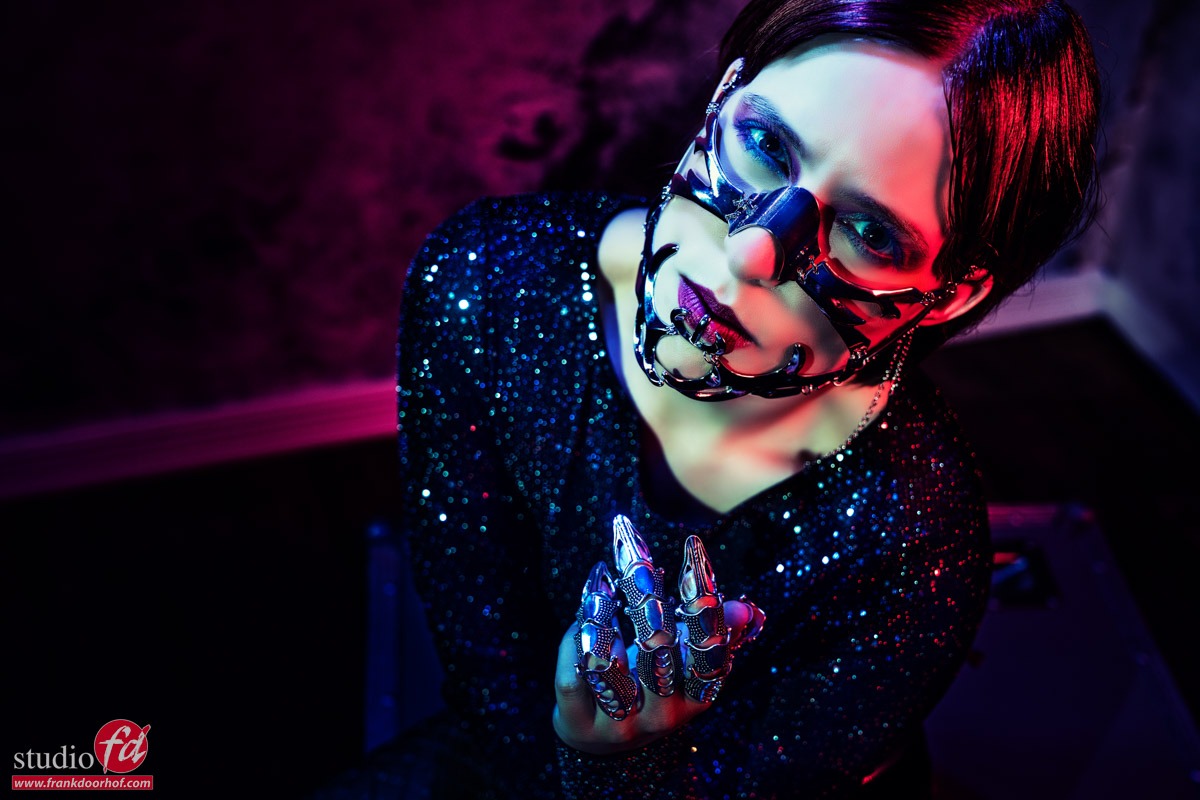
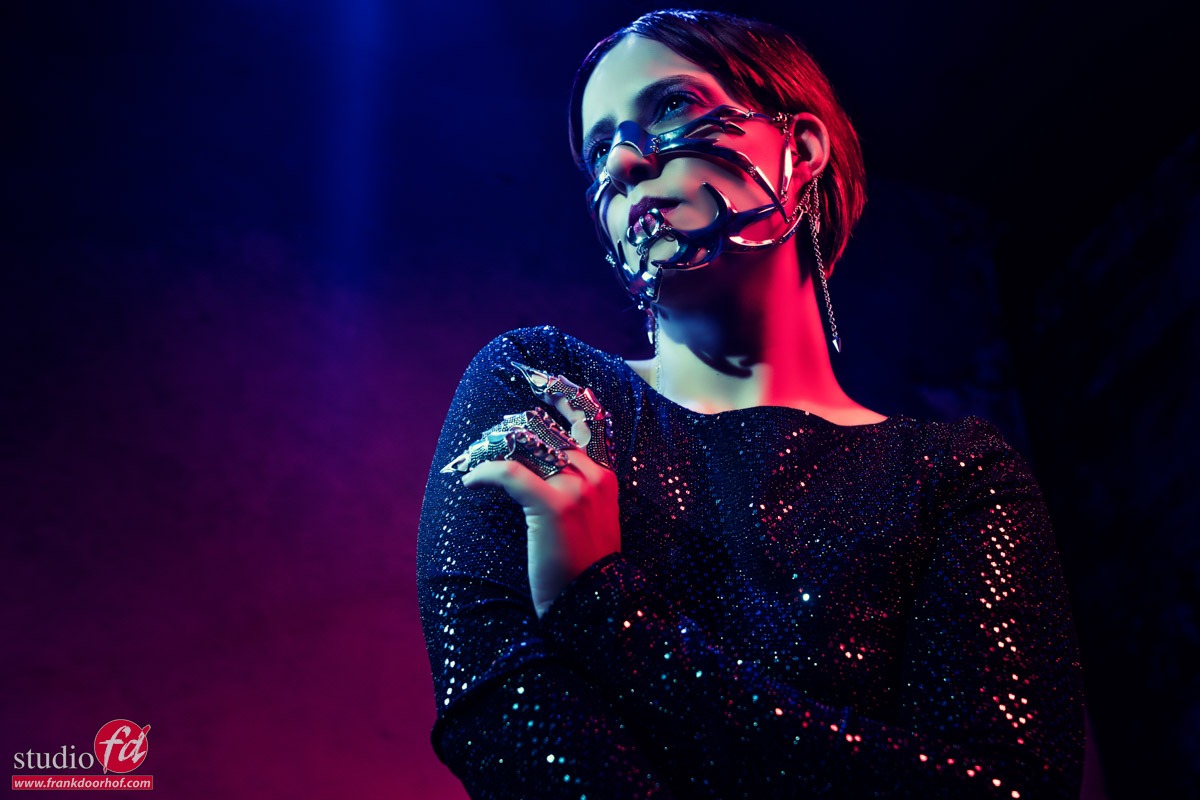
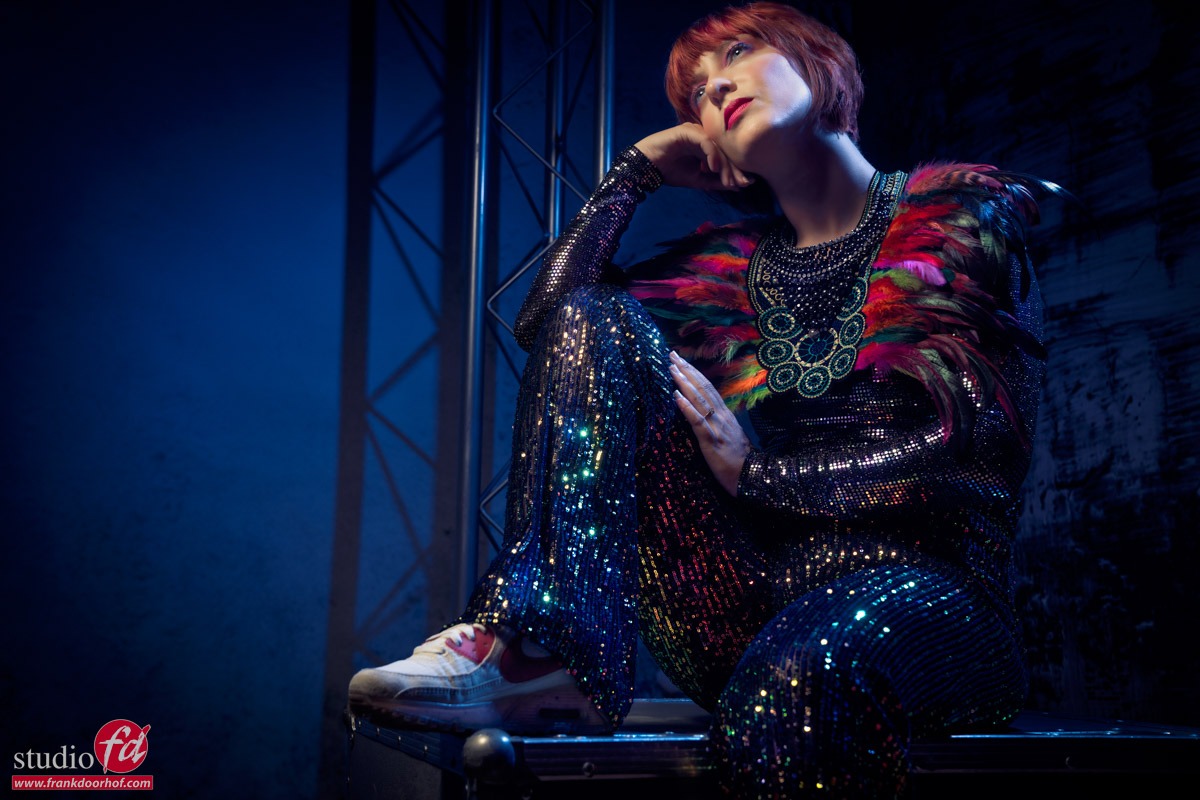
And of course we had to take some closeups.
Now let’s take a look at the lighting setup.
Want to visit a workshop?
I teach the workshops in our studio in Emmeloord mostly on Saturday.
The workshops are in Dutch but when you let us know a few weeks in advance we can switch them to English.
Visit fotografie-workshops.nl for more info
An extra tip
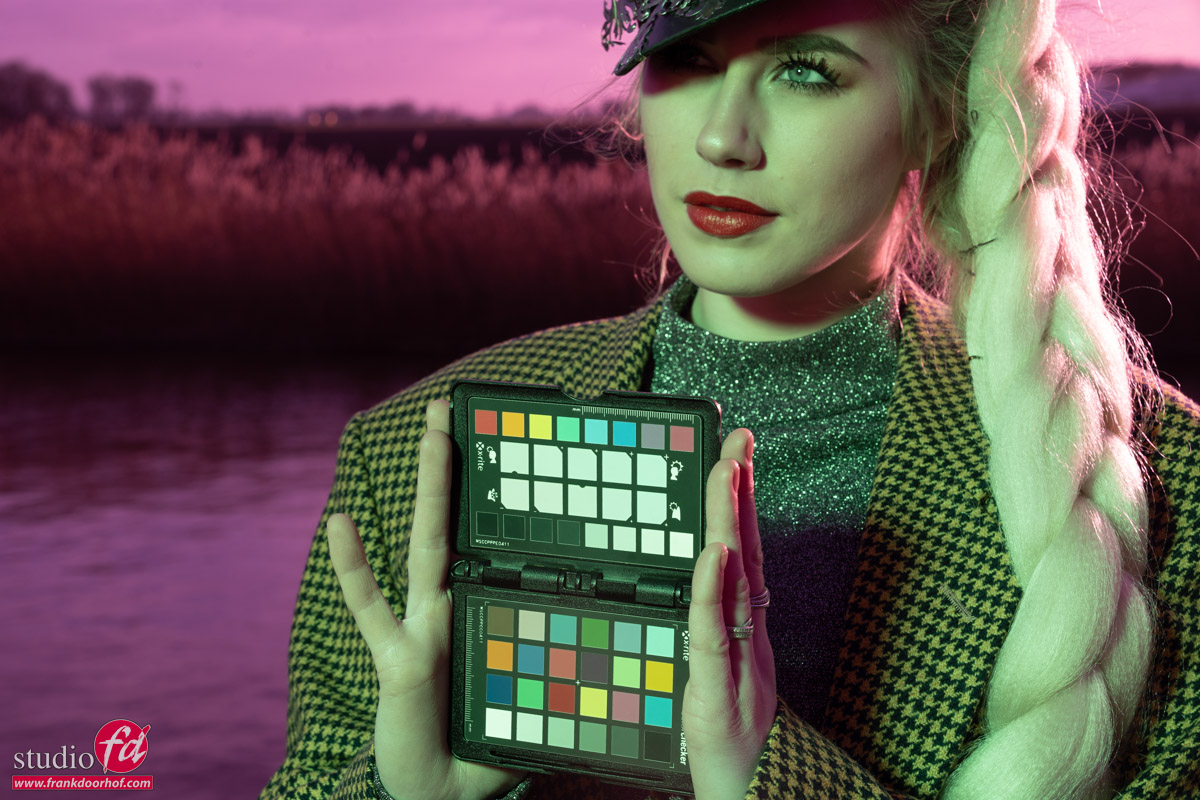
As you have read Key is the luminance of a color.
This means that if you don’t have a correct exposure of your shot the colors will not look accurate.
Now of course sometimes you want a more moody look, but it’s important to understand the basis of color to be able to manipulate them the way you want.
To be able to judge your colors correctly you need a proper workflow.
For me this contains a lightmeter and colorchecker.
This means I get my exposure correct and with the colorchecker I can create a profile and white balance for that series.
And do remember this is just to get all the images looking the same so that all the presets you run or anything else in your workflow has an expected outcome.
On the side of the monitor I’ve been using BenQ monitors for years and can highly recommend them.
They have a great line up of professional monitors and a great line of P3 colourspace monitors (in between sRGB and Adobe RGB) for very affordable prices.
Besides great quality most BenQ’s also support hardware calibration. Which means you don’t calibrate your operating system but straight into the monitor.
This is a much better way of calibrating your screen than via standalone software and of course the software is delivered for free.
We have a few 10% discount codes for our European vistors, please contact me for more info.


You must be logged in to post a comment.