Storytelling with a horror clown (in color)
For me, storytelling is always a vital part of my photography.
Even when I photograph a CEO or artist I always try to dive into the person/product/company to get something that really fits their company/person perfectly.
And sometimes you just go all out.
The fun with workshops
Teaching workshops is one of the things I love the most. Working with a group towards a result and in between explaining all the techniques, and ideas, work with styling, poses, and of course props. The images you are going to see today might not be something you shoot every day, but… and that’s the thing a lot of people miss.
If you can walk 10 km with ease, it’s no problem to walk 2-3 km.
This might sound a bit weird, but this works for many things.
If you can shoot super creative situations, and know how to handle your lighting, poses, and how to coach your model to do the most bizarre, weird, or awesome stuff it becomes MUCH easier to coach a CEO or to shoot a super creative image for a product.
Storytelling
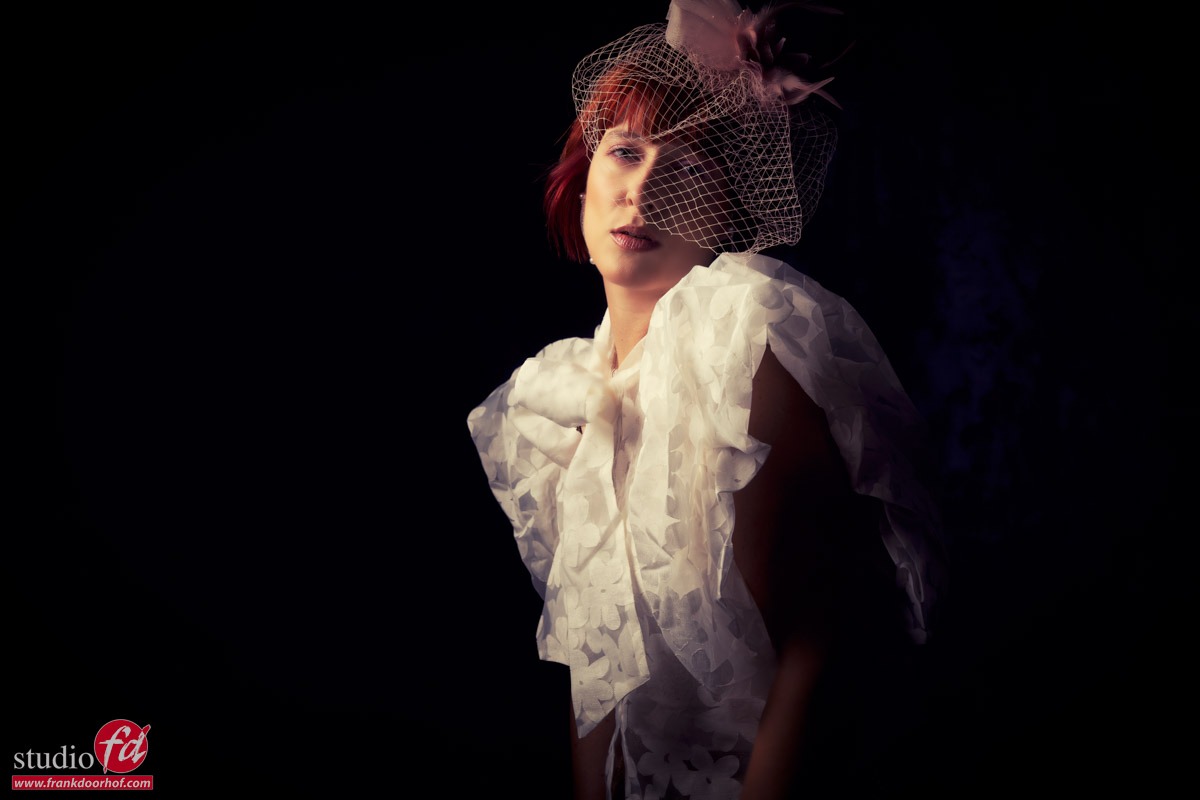
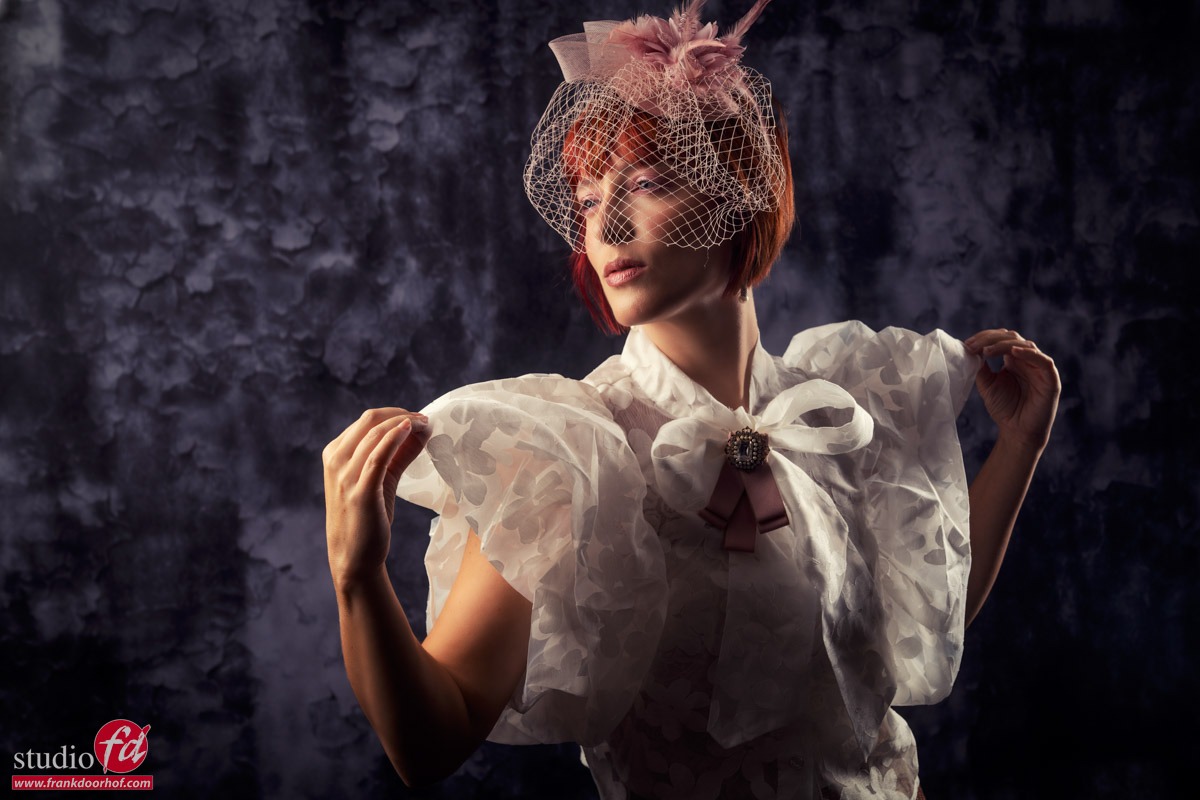
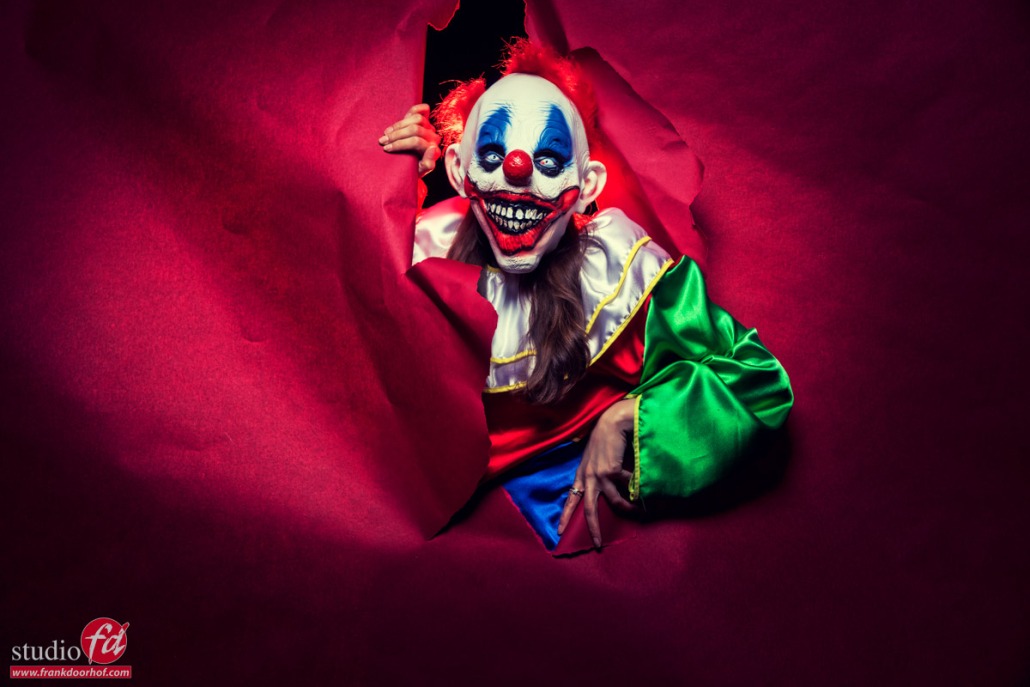
In today’s blog post the results from one set with our model Felisa.
And although you don’t recognize her, the choice of model is vital for these kinds of shots.
One might say, she is just wearing a clown suit and props, so what’s difficult?
When you take away the expression in the face, it’s all about body language, and believe it or not this can be incredibly difficult for a model, and photographer to pull off.
I think she did great.
So let’s take a look at some images first, and then I explain a bit more.
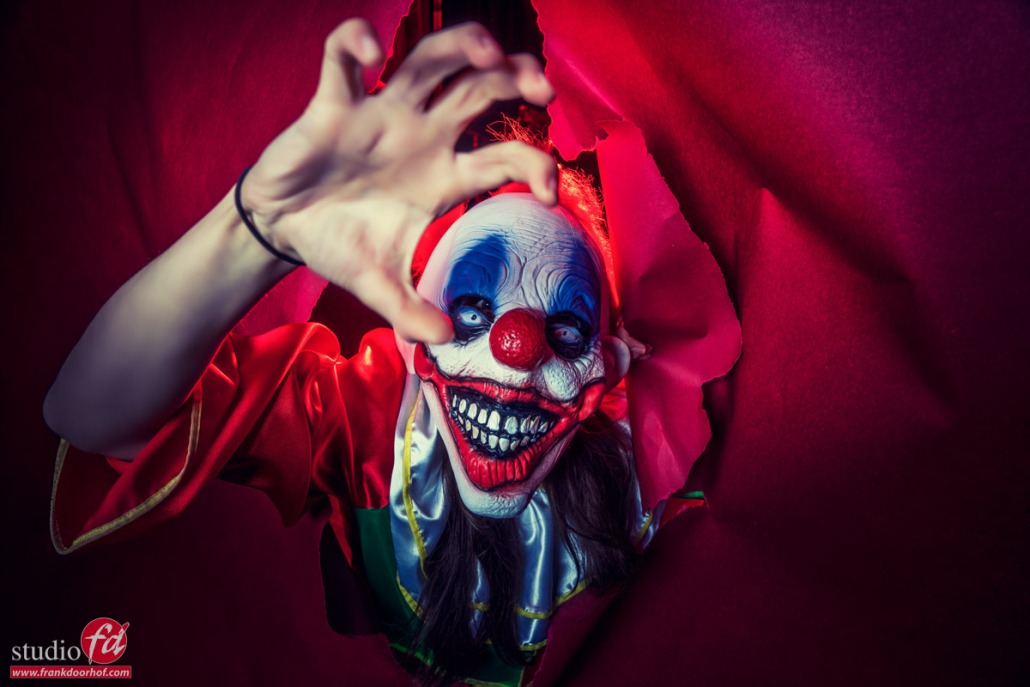
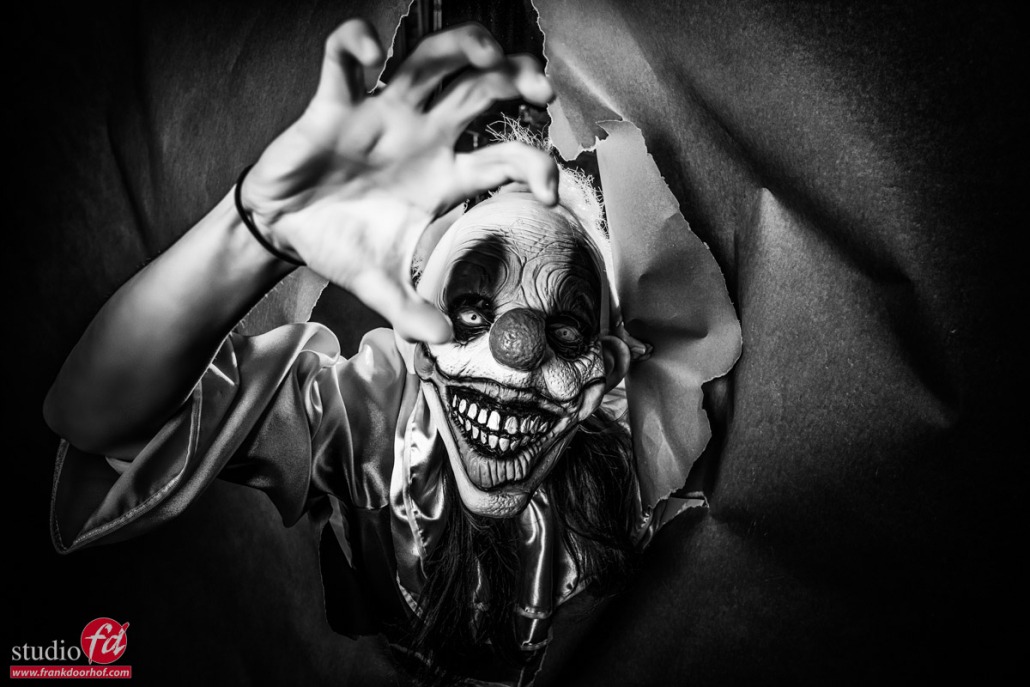
let you model try to grab the camera and it looks really scary
The idea of this shoot with the horror clown (in color)
I don’t really like to repeat myself, but sometimes ideas are just so much fun and open for changes that you can repeat them with a fresh outcome.
Many years ago I was invited to introduce a new Phase One 101MP camera in a studio in New York.
Let me first say I love New York so the prospect of shooting in a studio there is always exciting.
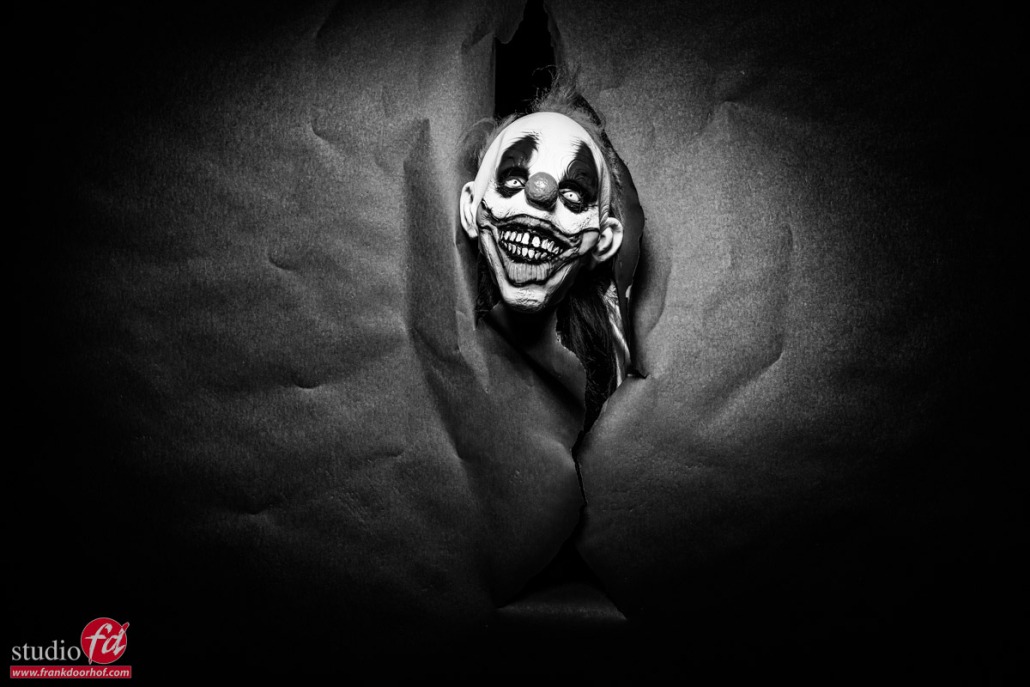
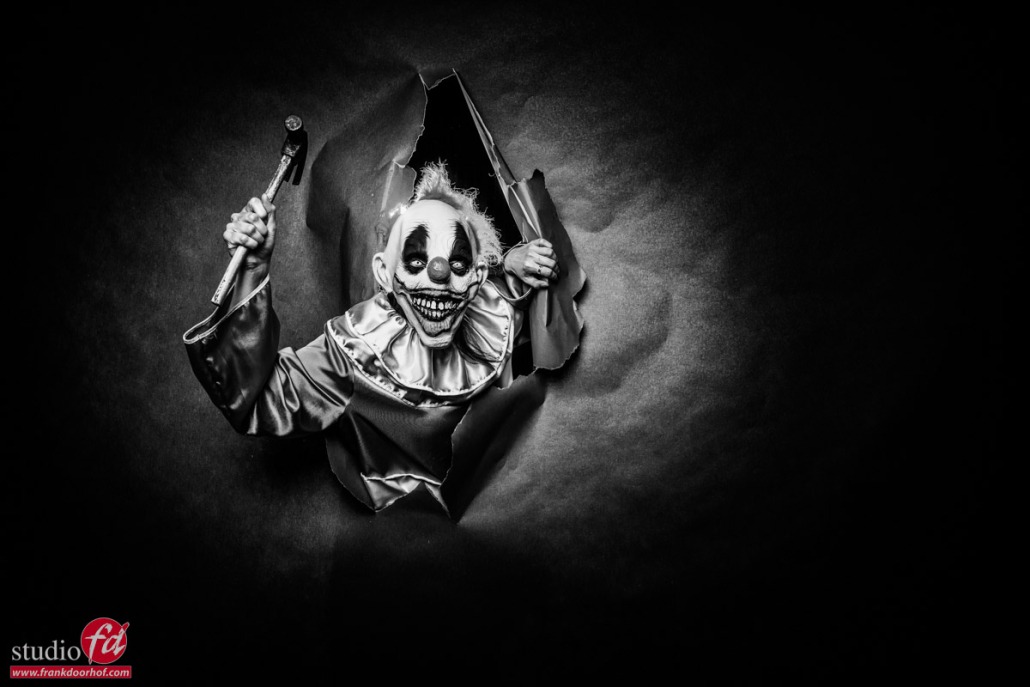
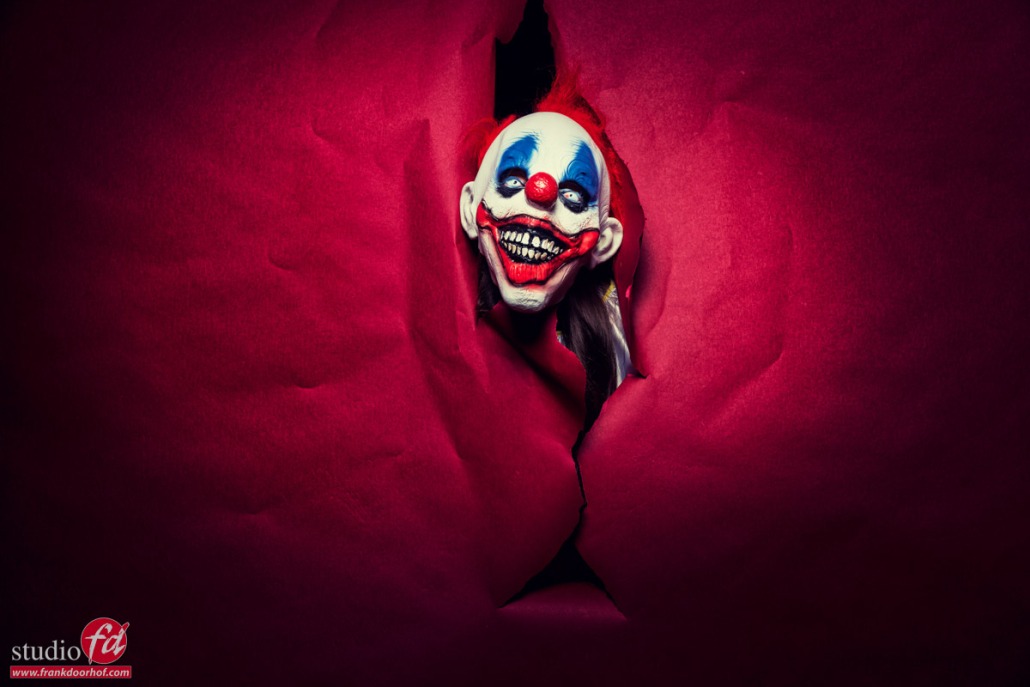
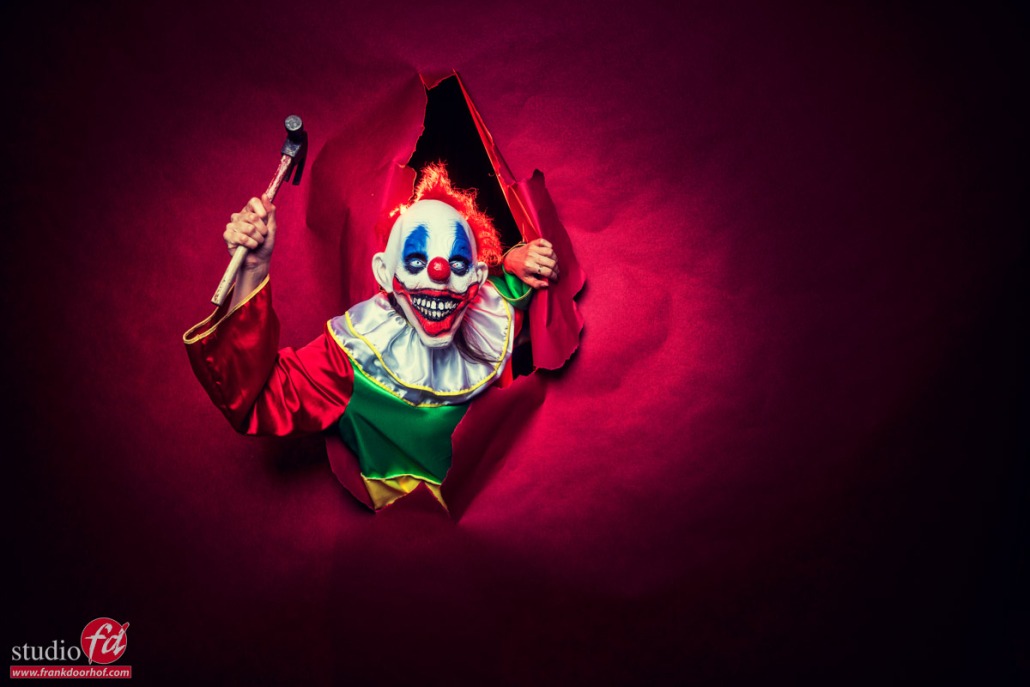
The problem was that I “had” to use a gray seamless background for some images and that day I didn’t feel like using that so I decided to just place the model behind it, cut a hole, and let the model just stick her head through and later hold the camera. Great shots and loads of fun.
A few years later I did a similar thing during a trade show in the UK. Both were more fashion and fun-related.
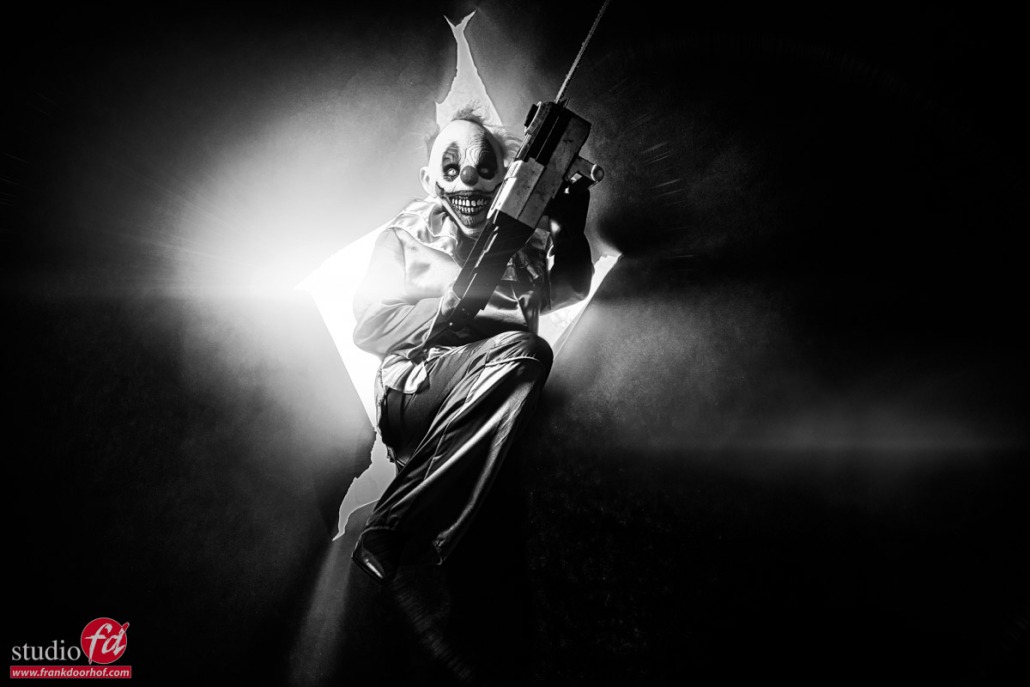
For this workshop, we wanted to do something completely different, and as a horror fan, the idea quickly popped into my head that it would be awesome to shoot it with a killer clown.
Getting props to tell the story
I already did something with a big knife in the past so this time we wanted to do something a bit more “big”.
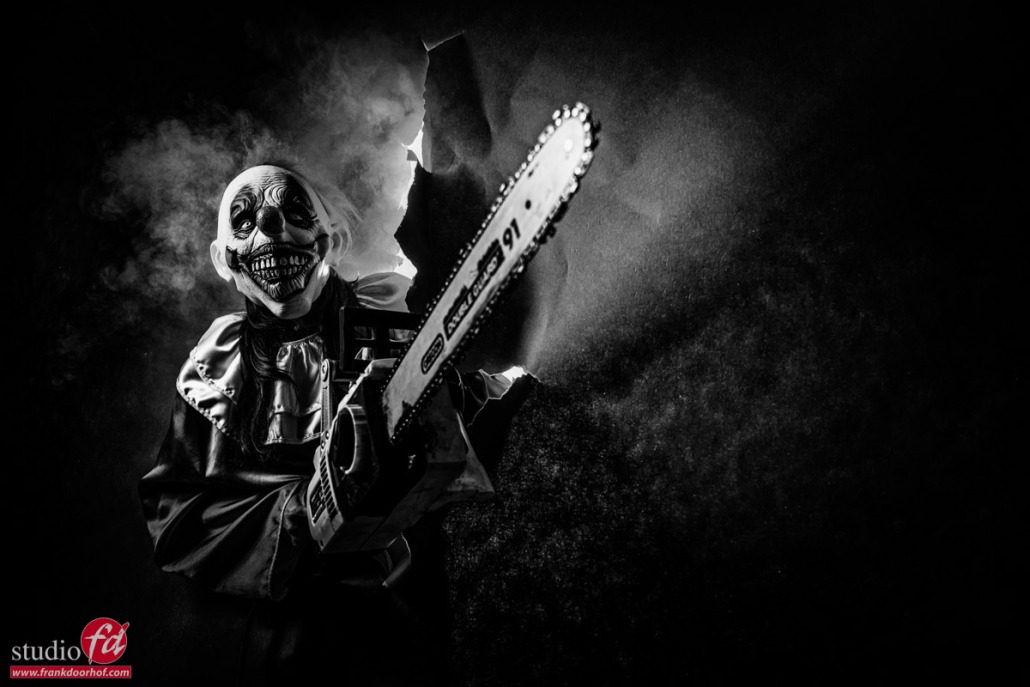
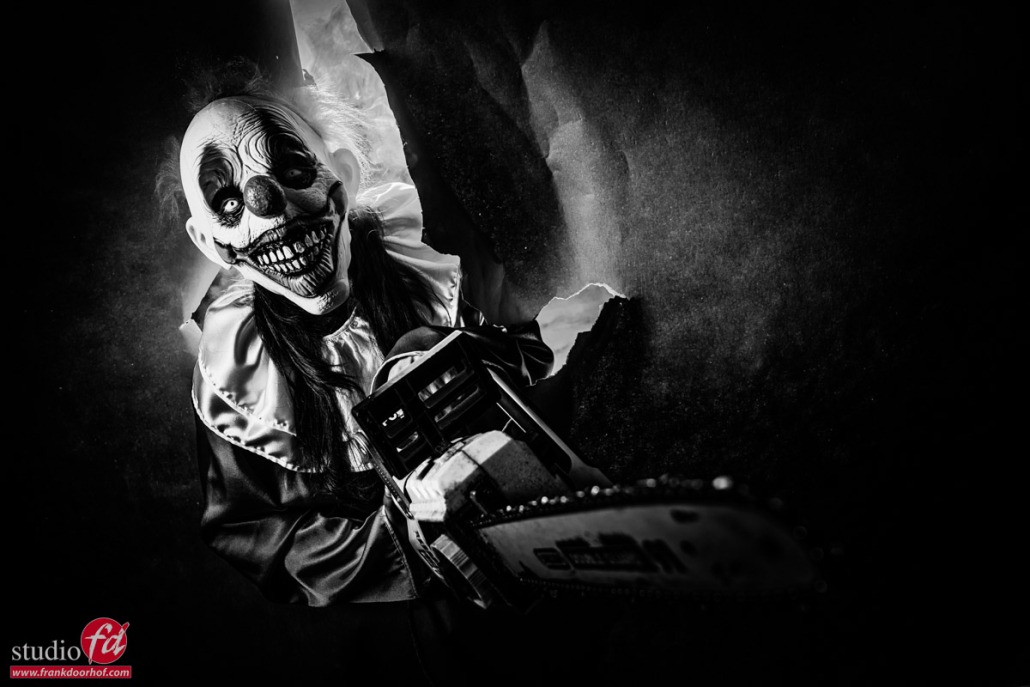
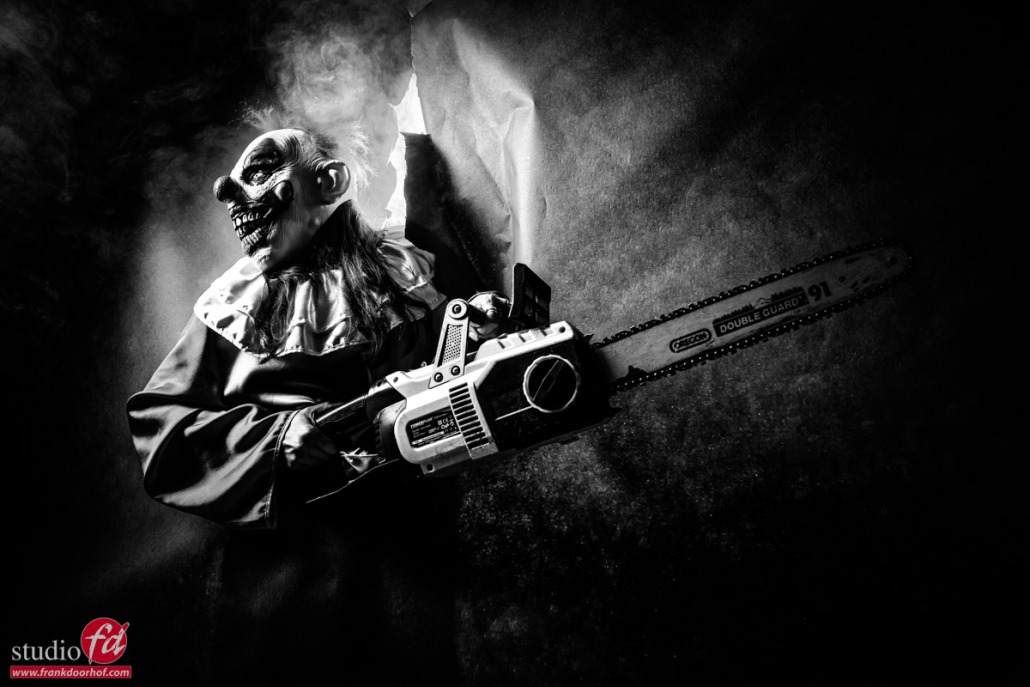
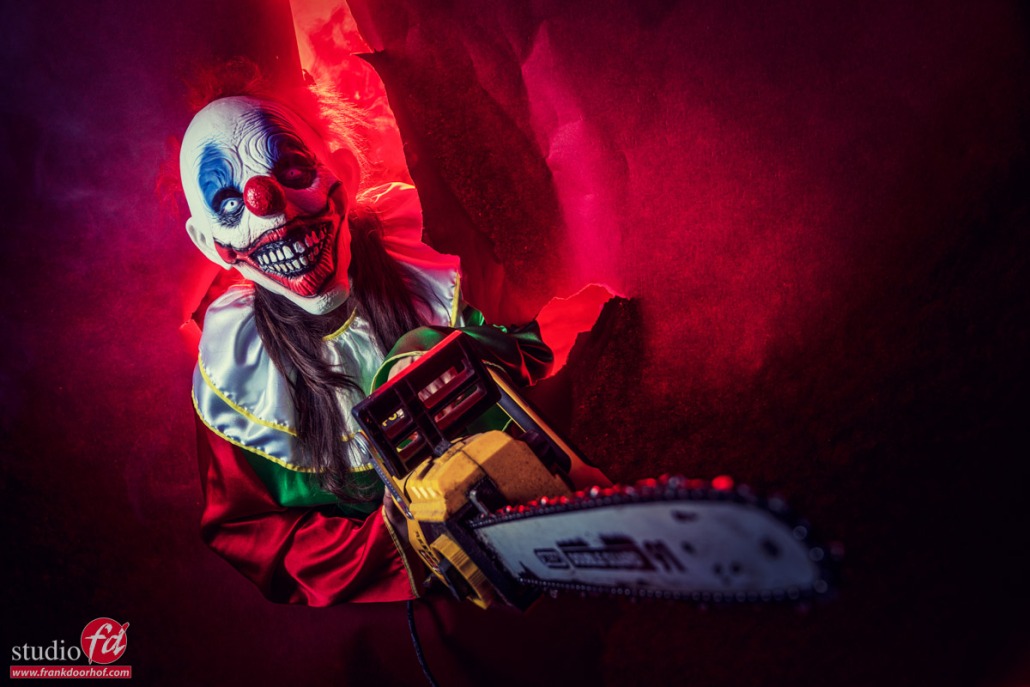
A hammer is fun, but what about a chainsaw, with a little bit of a hint to my all-time favorite actor and character Bruce Campbell/Ash.
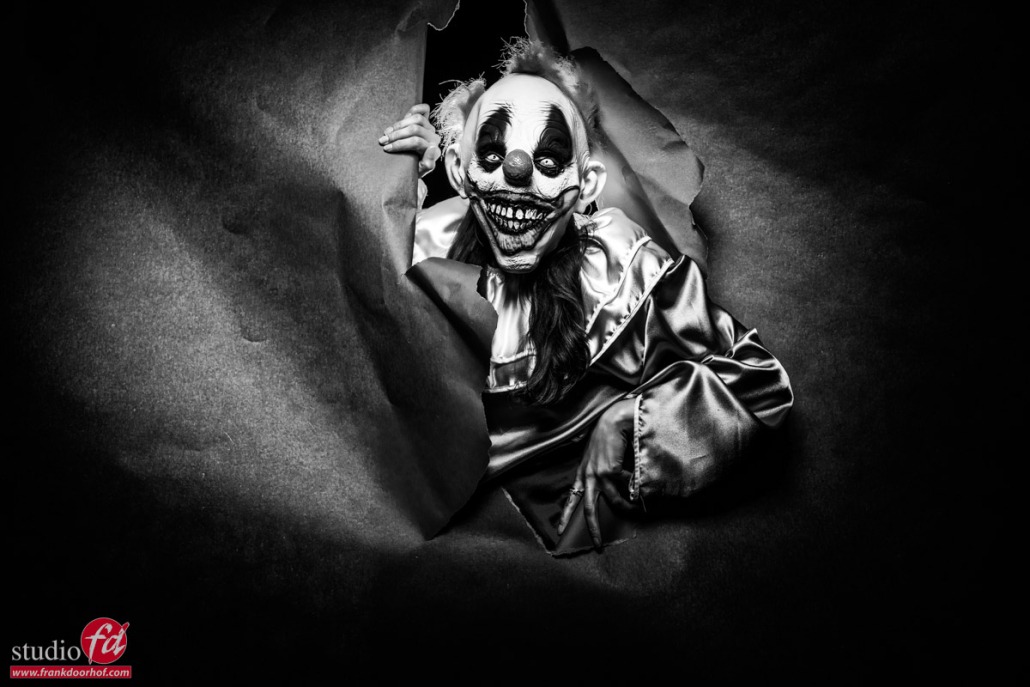
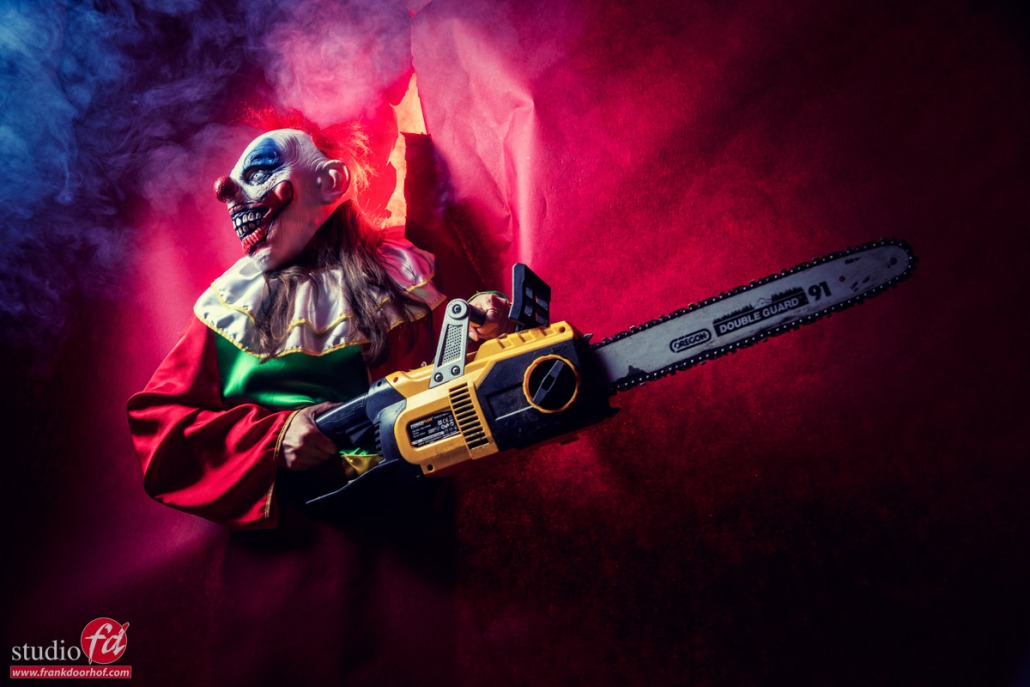
Of course, we needed some backlighting and smoke.
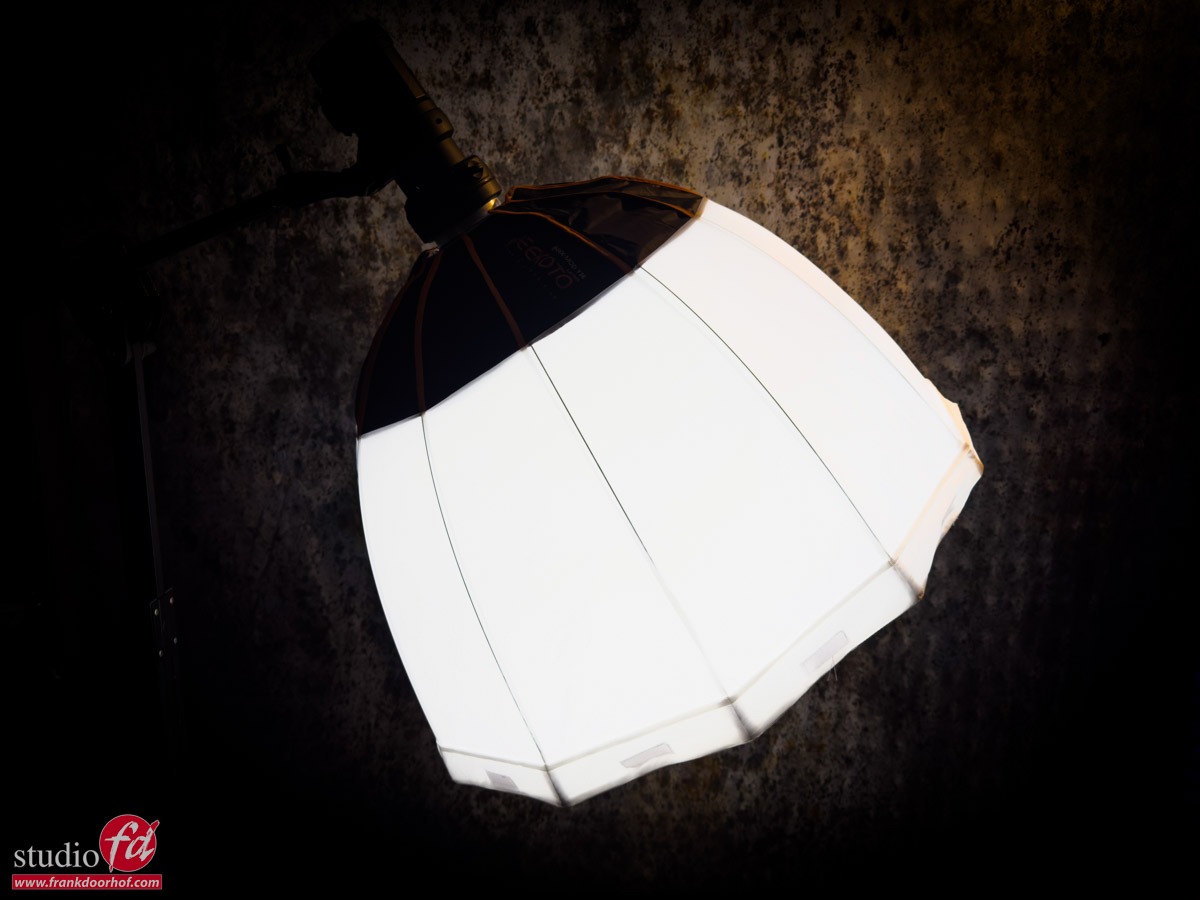
So I used a Geekoto GT400 in the back with a large reflector and red gel.
The reason I’m using a large reflector is because I needed a lot of light due to the seamless paper. If you would use a gelled softbox it would not emit enough light to pull this off.
In the front we experimented with a softbox and a striplight with a grid, you can probably spot which is which 😀
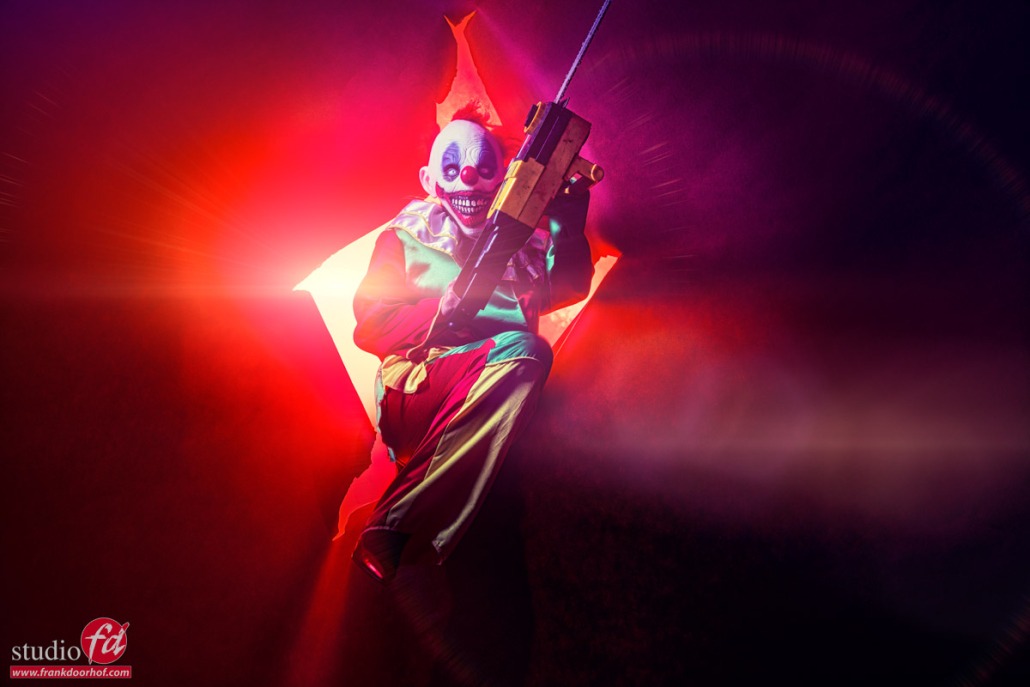
So let’s take a look at the rest of the images.
If you also want to visit one of my workshops and learn all about light and storytelling? Check www.frankdoorhof.com or www.photography-workshops.eu
We will be in The Netherlands, Belgium, and the UK this year for events and workshops.

Read the blog about the Outside Fashion Shot for Sunglasses with model and stylist Nadine
This blog is about Working creatively with seamless paper
This is the blog about a recent workshop: storytelling to set the mood