Backdrops are vital
Just some images
This is how I started this blogpost, just a post with no tips, no techniques just sharing some images.
But somehow that doesn’t work with me, so here is another tip.
Today it’s all about backdrops.
Backdrops are vital
I quickly started with custom paint on our walls in our first studio. I never understood why someone would waste so much space in a studio by keeping the walls all white. First of all it reflects and it just isn’t inspiring (well at least not for me), having walls with details, structure etc. gives you ideas and it just works much better as a backdrop.
Don’t get me wrong I absolutely love(d) seamless paper, and still sometimes use it, but having a “real” backdrop to work with often complements the shoot a lot more than paper.
Besides custom paints we also still use moveable walls in our studio with all kinds of wallpaper, always loads of fun to use and build small sets with.
Now with Ai a lot of people ask me why I not just add a backdrop in Photoshop…
Well it’s actually very simple.
First of all it’s a lot more work, selecting has become super simple and almost perfect but it’s still not as real as a shot you did not cut out.
Also the whole interaction with light, lens flares, edge transfer, focus/circle of confusion etc. are very hard to emulate in Photoshop if even possible. On a set with a proper background it’s a matter of pressing the shutter and you’re done. If you shoot your images with flat lighting it’s actually pretty easy to do, but when you start adding contrast lighting, flares and color gels it becomes harder and harder without it looking fake, or taking hours…so I just prefer my own moto “Why fake it when you can create it?” 😀
When we started with the distribution for ClickBackdrops I totally fell in love with their “old masters” backgrounds, very classical backdrops with great gradients. But also the more extreme backdrops are awesome for shoots. And the nice thing about ClickBackdrops is that the backdrops are designed by photographers for photographers (I also have a signature lineup with them).
But one of the backdrops I HIGHLY recommend getting is the “Soft Gray master with floor” which you can see in the images today.
This is a wonderful medium dark gray backdrop with a beautiful pattern the included floor makes it great for location but also for fashion shoots and the gray color makes it very suitable to not only play with color gels but also with tinting in Lightroom or Photoshop.
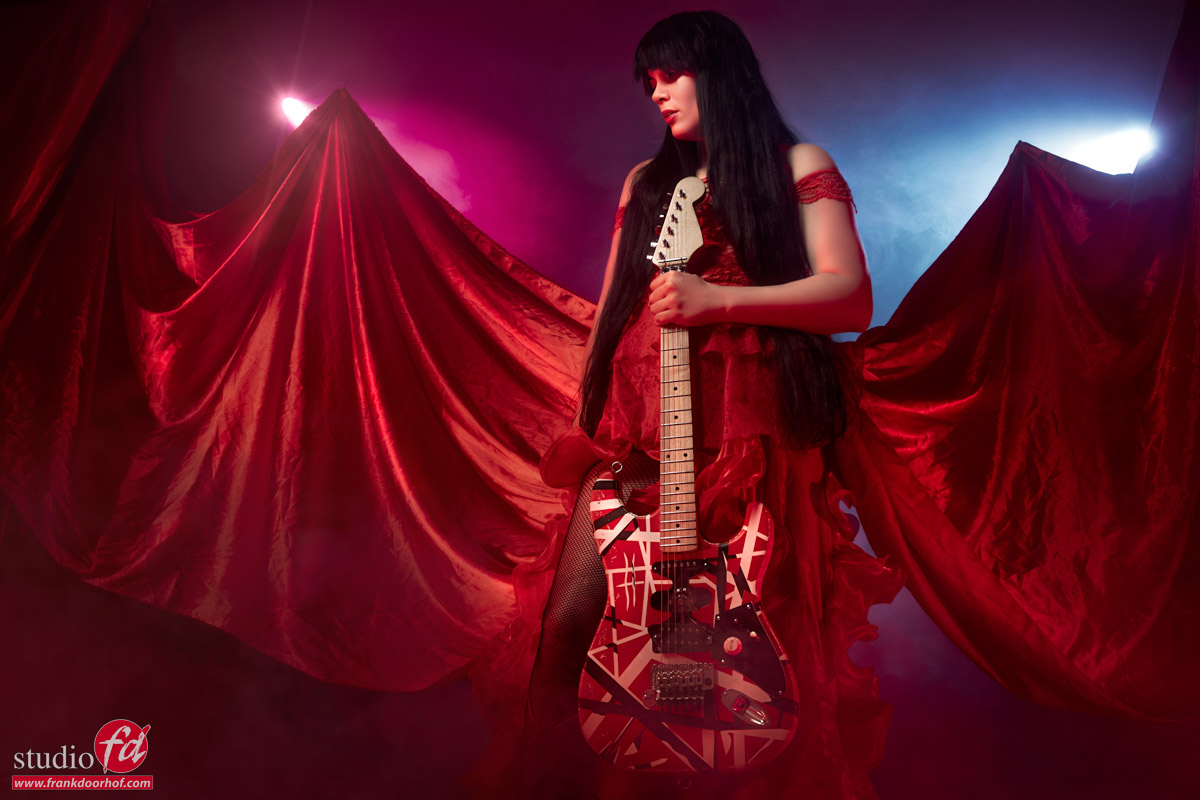
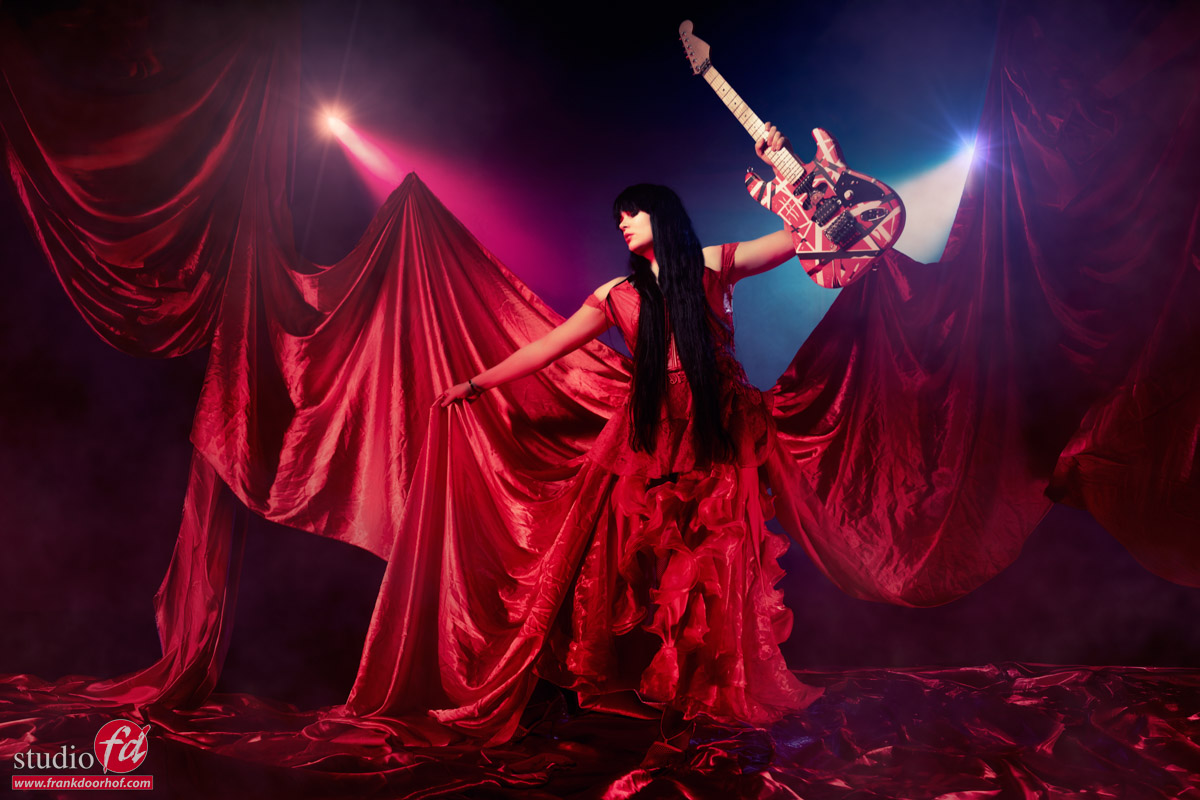
So today some images from our model Claudia on and against the backdrop.
As you probably know I love to add some motion to my shots so when Claudia showed me the outfit I just knew we had to add some extra oomph to the shots but keep the lighting relatively simple.


Also want to visit a workshop and learn all about lighting, styling, set building on a budget, coaching the model and a lot more?
Visit fotografie-workshops.nl for the Dutch workshops.
If you don’t understand Dutch, don’t worry… if you let us know a few weeks in advance we can switch the workshops to English.
Or, of course book a 1:1 workshop in our studio or even online.


You must be logged in to post a comment.