Tag Archive for: striplight

The difference between modifiers

Want to know how to predict your light?

And of course how to use the different modifiers to create some images with impact?
Than this is the digital classroom for you.

In almost 2 hours I show you the difference between a lantern, normal softbox, striplights and our new Geekoto Quicky softbox.

You see the setups from 3 different angles, plus all the images I shoot.
And of course there is a boatload with information in there as usual.

So enjoy the brand new Digital Classroom.
With our stunning model Jannaika.

Introducing the new Geekoto softboxes

You’ve already seen them

I’ve been posting some images online and on the blog already with the amazing new striplight and lantern from Geekoto.
But today I want to share the official video we made for the Dutch market (and English) about these brand new softboxes.

Of course both softboxes are super fast to setup and collapse plus they both can change the speedring. For the stroplight there is a totally new designed mount that makes assembling even faster (I thought it was not possible).

You can get the striplight and lantern and all other Geekoto gear via our webshop.
On the webshop you find all the gear I use and like.

Let’s take a look at the videos.
I’ve created an English and Dutch version.

everything you always wanted to know about light shapers

I know it’s a bold claim 😀
But I think in this episode of digital classroom we are combing close, I’m discussing all my favourite light shapers and I even show you the different lighting they create.

Digital classroom is a monthly live stream on our YouTube channel (we really appreciate a subscribe and like). During the broadcast the audience can interact with us and ask questions which will be answered during the broadcast. It’s a lot of fun 😀

Lightshapers

To control your light you need light shapers.
Do you need harsh shadows, or do you want a very soft quality of light?
Do you need to light a small area, or a very broad area?

All of these topics will be discussed, but we also talk about lightshapers that can be used in the studio vs light shapers for location work, and how you can mix them all together.

During the broadcast you get to see the shoot with our model Nadine via 3 studio cameras plus you can see the images coming in via the iPad Pro running Cascable.

If you have any questions feel free to leave them under the video, we check our channel every day for comments.

Use light in different ways for awesome portraits and more

One of the things we probably all start with are books with lighting diagrams.
Now don’t get me wrong, they are awesome to get a general idea of the lighting setup.
However I strongly believe you should be able to “read the light” by just following the shadows, it’s often not really important to know which light sources are used, as long as you can recreate the look.

We can shoot images with a beauty dish that can very close to a small softbox for example, but when we start to use Fresnell’s you can very quickly see the difference between a reflector and the Fresnell, this is something that you will quickly pickup when you start to look at the shadows and the different way the shadows change.

But then it becomes really interesting when you add the angle into play.
Of course we all know that changing the angle from higher to lower can have a huge impact in your end result, but for me the real game changer was when I started to move around my model. Just a slight movement to left or right can make an image look totally different.

Let’s take a look at some of the images I took of Nadine during a recent workshop.
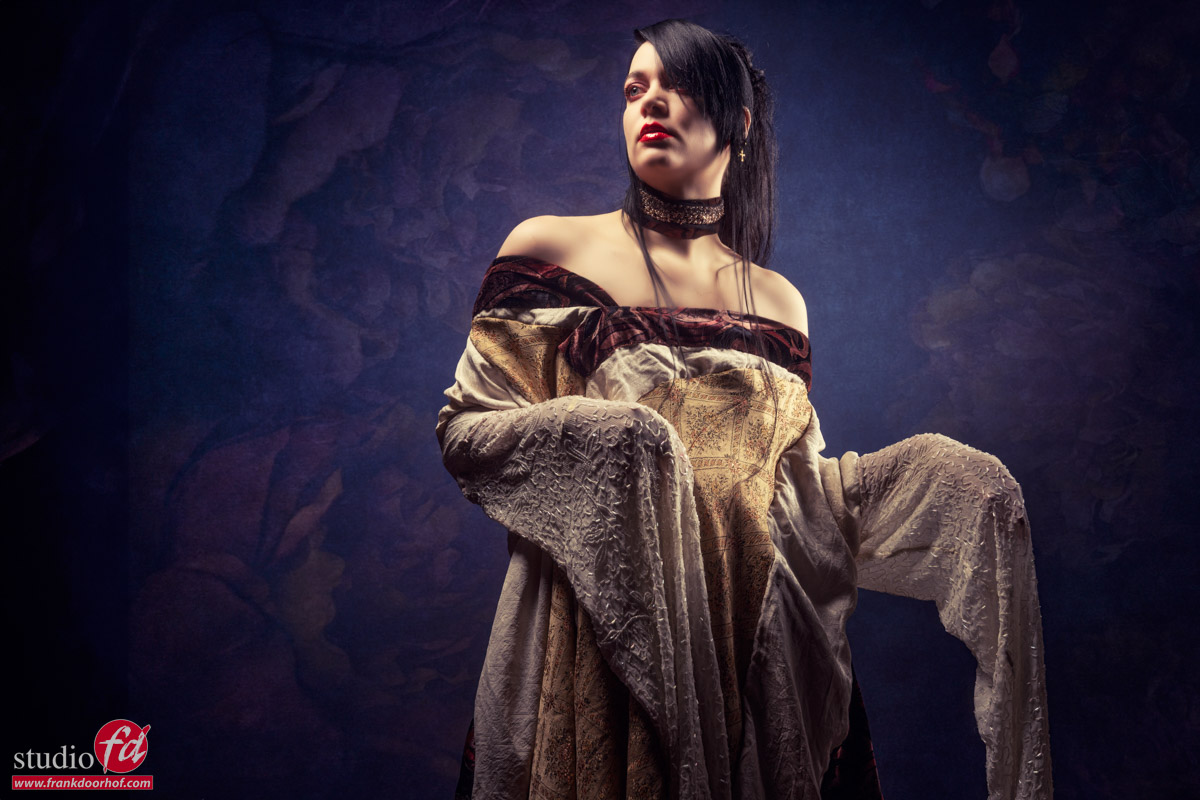
I’m using our Geekoto GT400 here with the Geekoto small softbox and grid
On the other side I’m using GT400 and the Nanlite striplight with grid.

One of the things I love about a striplight is that you can use it in a lot of different situations where you need to light a large area but don’t want any spill light.
In this case I’m using the striplight angled, this way I lights both my model and the background. By changing the angle of the striplight slightly I can balance the light on the background and the model. A very powerful technique.

By moving just a little but you can create some more powerful portraits.
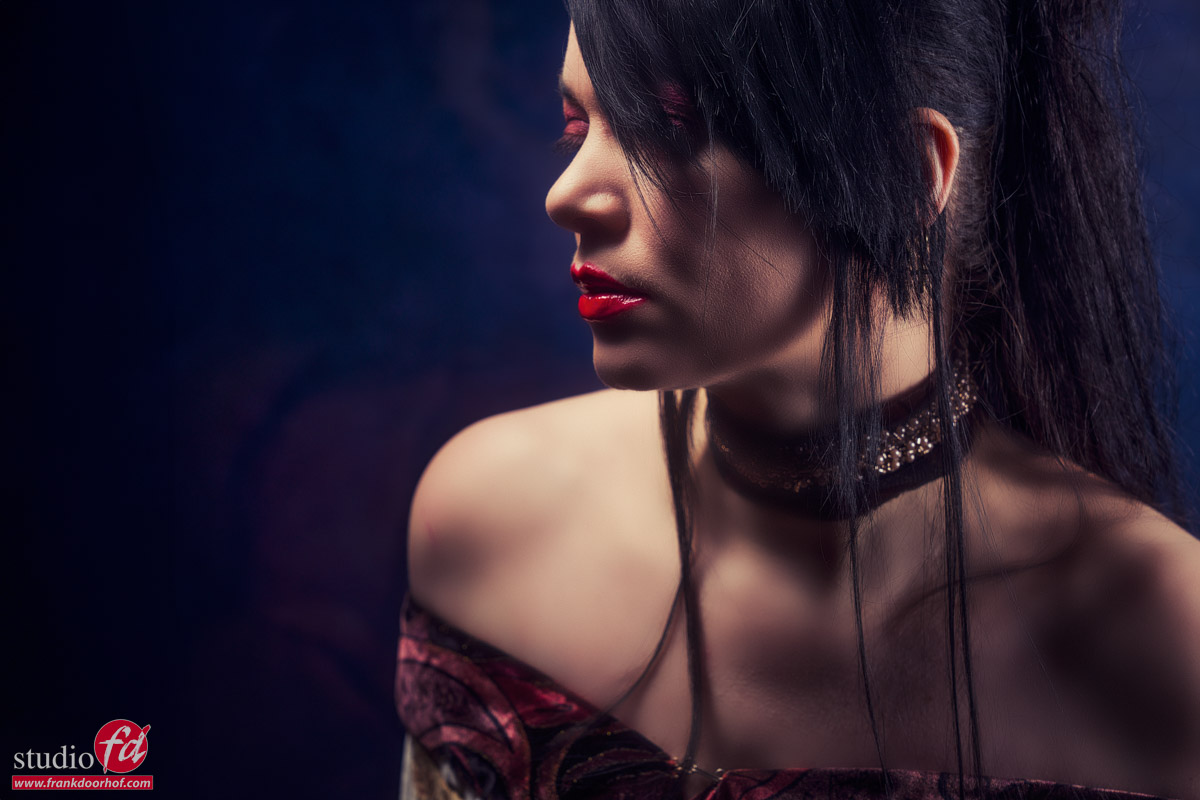
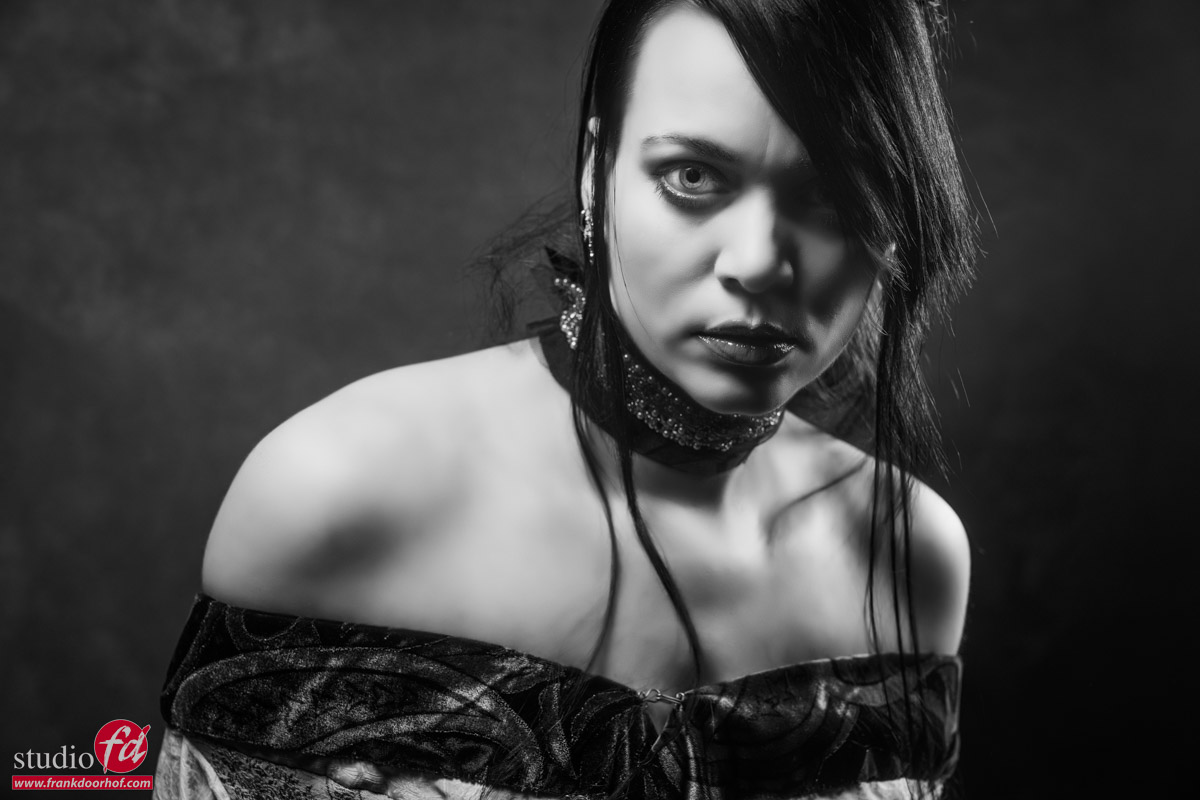
But sometimes you need a little bit more intensity?
Make it black and white, add some grain and contrast….. “instant art” and yes this one was in focus 😀
(inside joke).
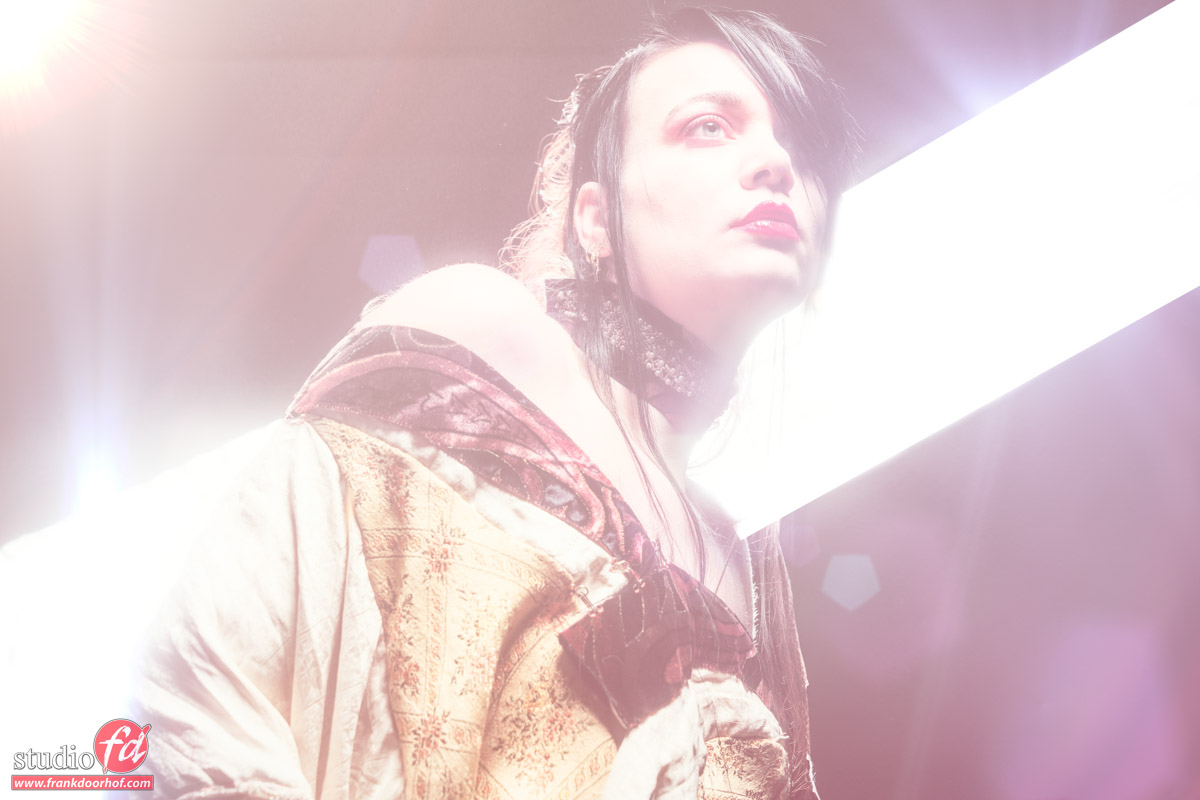
But let’s take one more step to the side and also include the striplight.
Now this one won’t be the shot you like or even want to try, but sometimes clients want something a bit different. And it’s just one step more to the side. Always try it.
If you have any questions, feel free to reach out.
We really appreciate a share on social media.