Tag Archive for: pro tips

How to read a light meter

How to read a light meter?

A light meter is a tool to meter your light. Some photographers think it is something from the old days. Others don’t “need” one. And some people never use it. I am a big advocate for using the light meter. In this article, I explain why and how you read a light meter.

Lightmeters are cool

Let’s start right away with a bold statement 😀
I know for a lot of people light meters are not the first thing they think about when starting with photography. But that’s wrong. I might say it’s one of the most important parts of your kit.

Why is the light meter so important?

First of all, we have to realize that we only see 3 colors as human beings.
We call those colors the primary colors, Red, Green, and Blue.
We also have secondary colors, Cyan, Magenta, and Yellow.
All colors are connected via the blackbody curve (white points for color temperature) and determine the colorspace.

Now how do they determine the colourspace you might ask?
Good question actually.
All colors within the colorspace have 3 coordinates, x y, and Y.
Hue, Saturation, and Luminance.
When we want accurate colors in our photos I think it’s clear we need to make sure the colors are captured as accurately as possible when shooting them.

We have 2 tools for this that work together.
The first one is the color checker (I’ll write a different post about that in the coming days) and the light meter.
The color checker is used to calibrate the colors in your RAW converter, but to get the colors (x,y) right we also need to get the Y correct and that’s where the light meter comes in.

It’s super easy actually

Sometimes, I feel a little bit like the light meter helpdesk with all the questions about the use of light meters. And most problems occur by not understanding the meter, so let’s dive in.

First of all, let’s make it clear…. it’s really super easy.

Let’s first take a look at the display.
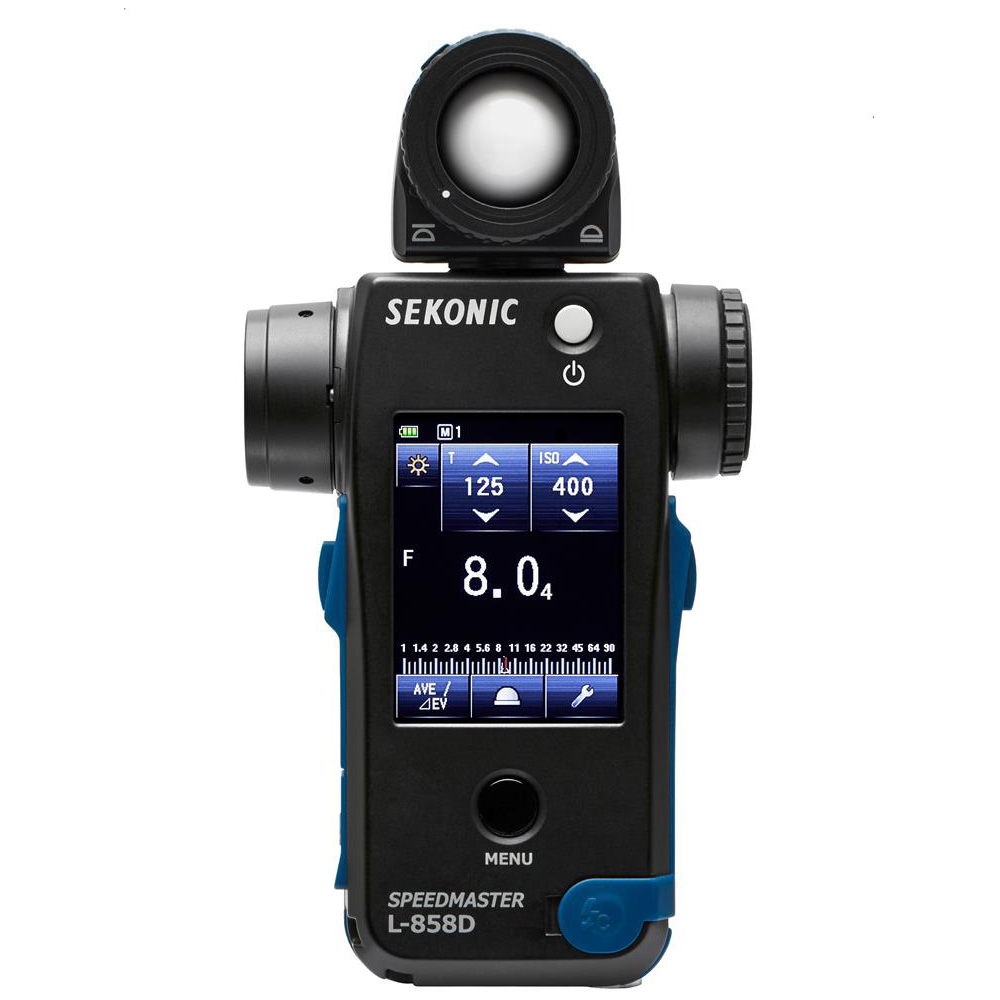
how to read a light meter? I use this light meter

On the display, you see the shutter speed: 1/125
The ISO: 400
And the F-stop: F8.0 (4)

And that’s where it often goes wrong.
A lot of people will now set up the camera for F8 on ISO400 1/125 and… well the images are overexposed.. so how is that possible when using a light meter? Right?

Well because there is one extra number that is really important, and that’s the little 4.


It’s in the details

When we look at our camera you will probably know that you can change your F-stops in 1/3rd stops.
On most strobes, you can have 2 options, also in 1/3rd or even on 1/10th stops.
But don’t confuse the two. The settings on your strobes have nothing to do with what you see on the meter. It’s just the power output, and there are also settings like 2.8, 4.0, or 5.6 that are pure because… well those numbers are there.

So how do we proceed?

When your meter reads F8.0 (4) this means the meter reads F8 and 4/10th.
If you have strobes that can be adjusted in 1/10ths you can just lower it by 4 clicks and you’re probably reading F8.0 after that (if you have good strobes).

If your strobes can be adjusted in 1/3rd stops we have to improvise a little bit. Go down one click on the strobes and the meter should now read F8.0 (1) now its a matter of just moving the light a few inches further away and it will read F8.0

Now I have to be honest, for 1/10th I don’t really move my lights, but if you really need to be very accurate it does work great.
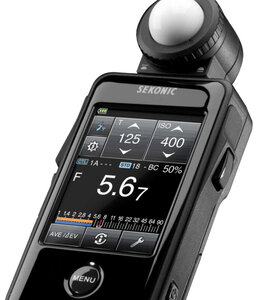
how to read the light meter. example of the settings Let’s try it out!

Here we see F5.6 (7)

We have a few options:
1. We can go down 7 clicks on a strobe with 1/10ths adjustments and get F5.6
2. We can go up 3 clicks on a strobe with 1/10ths adjustments and get F8.0

1. We can go down 2 clicks on a strobe that works in 1/3rd adjustments and move the light slightly for F5.6
2. We can go up one click on the strobe and end up at F8.0

1. Set the camera up for F8.0 and lower your aperture one click for F7.1
2. Set the camera up for F8.0 and raise your ISO 1 click (also the ISO is set in 1/3rd on most cameras)

The nice thing is that if you know how to read the light meter you can very quickly change settings.
Do you have problems with calculating settings like ISO, shutter speed, and the connection between the Aperture?
Don’t worry, if you use a meter you can just change one setting and you will the other settings change.

In other words, if you misjudged the lighting and you get a reading of 1/125,  ISO400,  F8.0 and you need a faster shutter speed, you can just change the shutter speed, ISO, and Aperture until you see the settings that will work. You don’t even have to do a new reading.

Are light meters only for strobes?

So is a light meter only handy when using strobes?
No absolutely not.
A light meter, just like your camera can be used in different configurations.
You can use it to determine your aperture or shutter speed and of course, play with your ISO.
It’s like the perfect pocketknife for all situations 😀
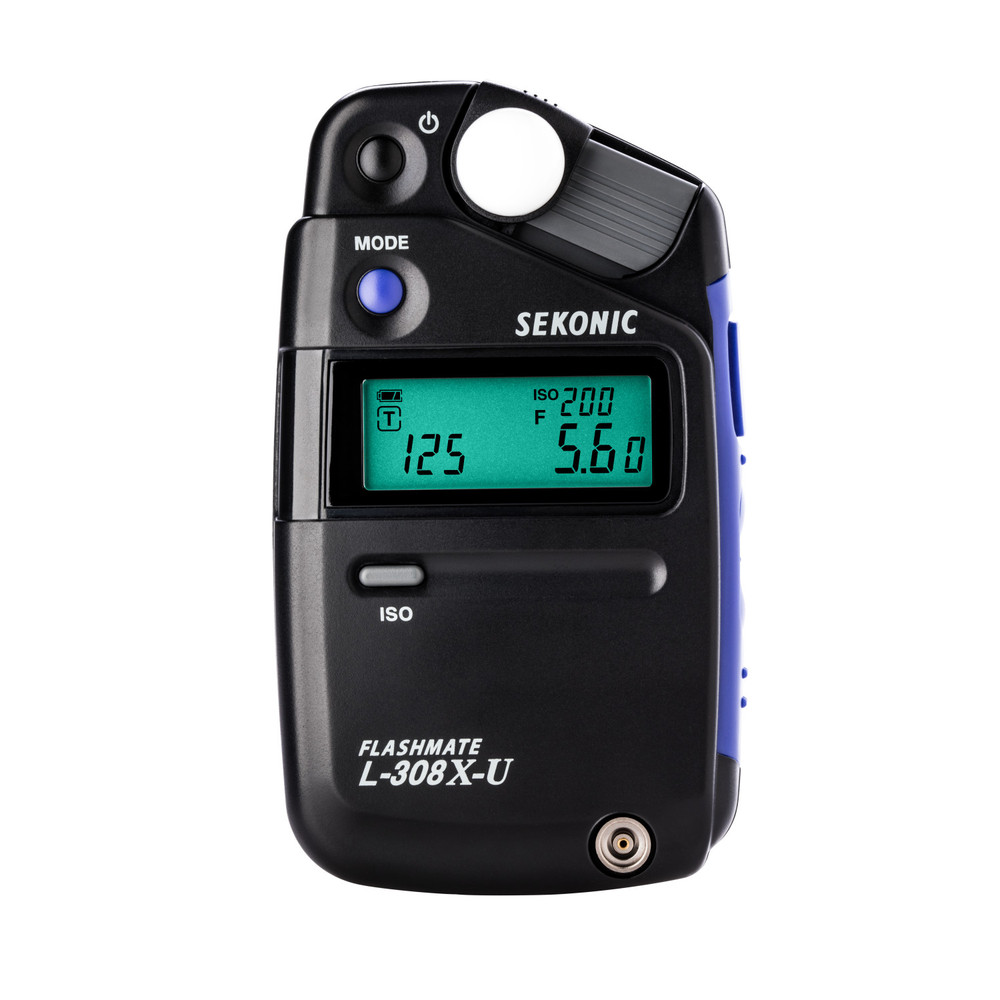
Ok, I’m sold, which light meter should I buy?

It’s no secret I love the Sekonic brand, but in essence, you can also get a different brand, just make sure you get the right one.
First make sure it’s a flash-compatible meter, so most very old meters will not work.

Also, make sure to determine if you need an incident meter or want both (reflective and incident).
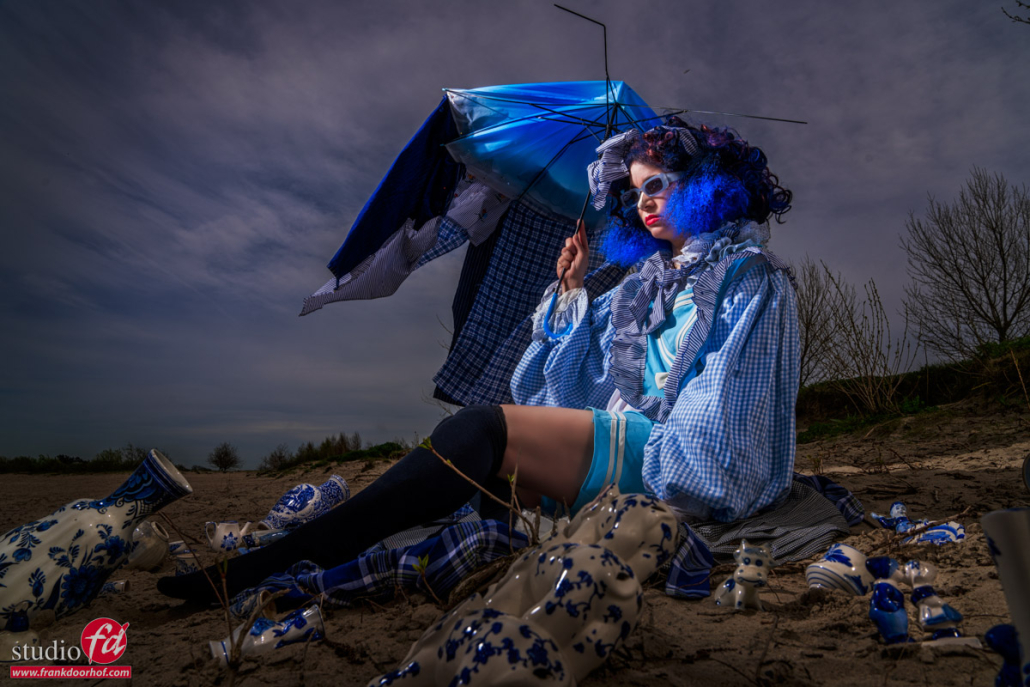
Incident vs reflective

When we look at the difference between the two it’s easiest to compare the reflective meter to how your camera works. It will give you the value for 18/12% grey. These meters often have extra attachments (spot meters) or have the spot meter build in. Personally, I would highly recommend getting a meter like the Sekonic 758 or 858 with a very tight spot meter build-in. You can also buy attachments for some other meters but I don’t want to mess around with attachments that can be lost, so the 758/858 would be my choice.

But do you need it?

That’s a good question.
The main thing where we use light meters for is the incident meter.
This means you hold the meter in front of the area you want correctly lit and the meter gives you the correct value.

Now you might say… why would I ever use a reflective meter if it only gives me 18% grey?
GREAT question.
We use reflective often to make white backgrounds 100% white and not 98 or 110%. This prevents spill and shows all the details in clothing and hair which you would lose if you overexpose the background “too much”. Or we make sure that certain areas are 100% black. But you can also calculate light falloff.

Now I have to be honest.
Mostly I used the reflective meter outside to calculate the output of my strobes to create day-to-night images, fill light, and everything in between. But with modern cameras, there is a really cool trick for this.
Is the EVF a replacement for the light meter?

Yes you read it correctly the EVF can replace the “reflective” meter, but only in certain circumstances.
For example, if you are on location and want to create a cool day-to-night effect.
Just set the EVF up for emulation mode and fix the shutter speed where you want it, start to play with aperture and ISO, and just watch in the viewfinder, let’s say you love the look at F8, 1/125, and ISO100. Now, The only thing you have to do is set up your strobe for F8.0 for which you still need an incident meter (to do it fast and right).

How to read a light meter conclusion

Reading the light meter is super easy when you understand the extra numbers and how they interact with your camera and strobe.
The benefits are immense, you can work a lot faster, visualize and set up location shoots within seconds, and wow your customer by nailing the shot right away (something you see less and less).

When you look at eBay you can probably find a lot of meters but if you want to buy new (something I do advise with precision instruments) I would check out the Sekonic range like the :

Sekonic 858 (my meter)
or the Sekonic 758
but the Sekonic 358 is alright too
These are examples of the meters I owned over the years but they also have some really good alternatives like the :
508, 308x, 478 etc.

Check out Sekonic.com for more information on the different types.
Buy via our links to support our work.


Read this blog on a white background with only 3 umbrellas, I couldn’t have done it without the light meter

This article is about colors and sets


Why the blog or website is more important at the moment

Frank Doorhof blog

Back to square one?

When we started with the internet (ok now I feel old) we used dial-up connections and a small booklet to write down the websites. And of course, as a company, we dreamed about having our own website on this amazing (but incredibly slow) internet. This article is about our Frank Doorhof blog, and why we (and you) need a website.

It wasn’t long before that dream came true and our company was on the World Wide Web.. We have several websites. FrankDoorhof, Studio FD (Dutch) and Photography-workshops.eu 

You can read English blogs on FrankDoorhof.com and Dutch blogs at StudioFD.nl

More reach means more customers

But how do you lead people towards your website? At first via the (believe it or not) newspapers, flyers, and stickers on our products and invoices. But then….. the revolution of social media started to happen.
In the Netherlands for a lot of people, it started with websites and discussion forums. For me, it was a site called Dutchheaven which really made a huge impact on how to reach people and network Plus there was a discussion forum and chat room.

Not a lot later in the Netherlands, we saw a new network called Hyves. In essence, you could compare this to Facebook. It was not yet interesting for a company, but it was a great way to get in contact with people with the same interests as you. And slowly of course also companies started to discover “social media”.

Social Media took over

When Hyves stopped most people (if not all) went to Facebook.
This was the first time for us that we really started to use Facebook for our business including the Photography studio and workshops. And it worked like a charm. Direct contact with your audience, a nice and clean interface, great messaging, and no spam.

Frank Doorhof Blog

Social media? or filtered media?

When I take a few steps back and look at the social media landscape at the moment, I have to be honest it’s not good. Facebook filters a lot of messages and comments, which means I don’t see comments (random), followers don’t see all my posts, and the last year using the message function is a disaster because 90% is spam with messages about my page being deleted (don’t click on those links :D) and deleting them is a one by one deal (please add batch delete).

But it isn’t much better on other platforms.
Instagram is nice, but there is no real community with discussions, for sharing images it’s great just like Threads, but it’s hard to explain techniques or lighting setups in depth when you can’t use links or layouts.

LinkedIn is nice but not for everyone in your target audience.

And X (Twitter), what can I say?
It has changed a lot, some things are better but I have a lot of issues with the hate, no moderation, and an enormous amount of fake news and conspiracy theories. Plus the limit on characters makes it almost impossible to explain lighting setups etc.


The solution: Don’t build your brand on rented land

Our website has been online for a long time and has always aimed at sharing photos but most of all also sharing techniques, tips and tricks, videos, and of course, answering your questions. In the last decade or so, the focus might have shifted away a bit from the website due to the immense popularity of social media. But as mentioned before I think it’s time for our website to be the main focus again.

I’ve been adding loads of new articles about lighting, photography in general, results from Digital Classrooms, and a lot more in the last few months, so I’m sure you will find something you like. And I will continue to add articles to the blog, so make sure you add them to your bookmarks,  or……

Frank Doorhof's Blog

on our blog, we share how-to lighting setup, including results

Building a community

As mentioned before one of the strongest points for education is that you can always ask whatever you want and get an answer or opinion from the community or the site owner. And this is exactly what makes social media great for connecting people and education.

So under each article, you can leave a comment on the blog
Feel free to ask questions, share your work, or just share your tips about the subject. Registration is 100% free and you help us to build the community which leads to more articles.


Conclusion

I think a lot of people and companies have been focusing a lot on social media in the last decade or so. However, the generation now is leaving school is already a lot less active on social media. I think that’s why it’s now the right time to, besides your social media presence, also to focus on a nice website where your clients can connect instead of just watching static pages.

Feel free to add your opinions, and share the article with your social media followers 😀

Do you want to be updated on our news updates?  (We don’t send out spam)
Subscribe to our Dutch newsletter
Subscribe to our English newsletter

Responding to the Frank Doorhof Blog also helps our ranking on Google!  So other people can find us too.


Thanks again for your support

Frank & Annewiek Doorhof


Outside fashion shot for sunglasses with extreme styling and flash Part IV : let’s talk backgrounds and angles

Wow that’s a different…

This is one of the most heard comments when we use extreme differences in the background, especially when the model wears something more eye-catching, or dark/bright.

Chasing the perfect background on location is one of my favourite things. And it’s not always that the most interesting looking background is also the best. It’s great to have a cool background but we don’t always want them to compete with each other. I always try to choose a background that will help my model to pop-out, or disappear into.

This is the 4th part of this blog series and I highly recommend first reading the previous ones.
Let’s talk about the flash
Let’s talk about gear
Let’s talk about storytelling

The forest/beach

One of the things I love about the area we live is the diversity for photography.
Although you see totally different images in this series they are all shot in walking distance from each other, or right next to our studio. And trust me, I’m pretty sure you will have loads of interesting locations near your home, you just have to look with your “photographers-eyes” 🙂

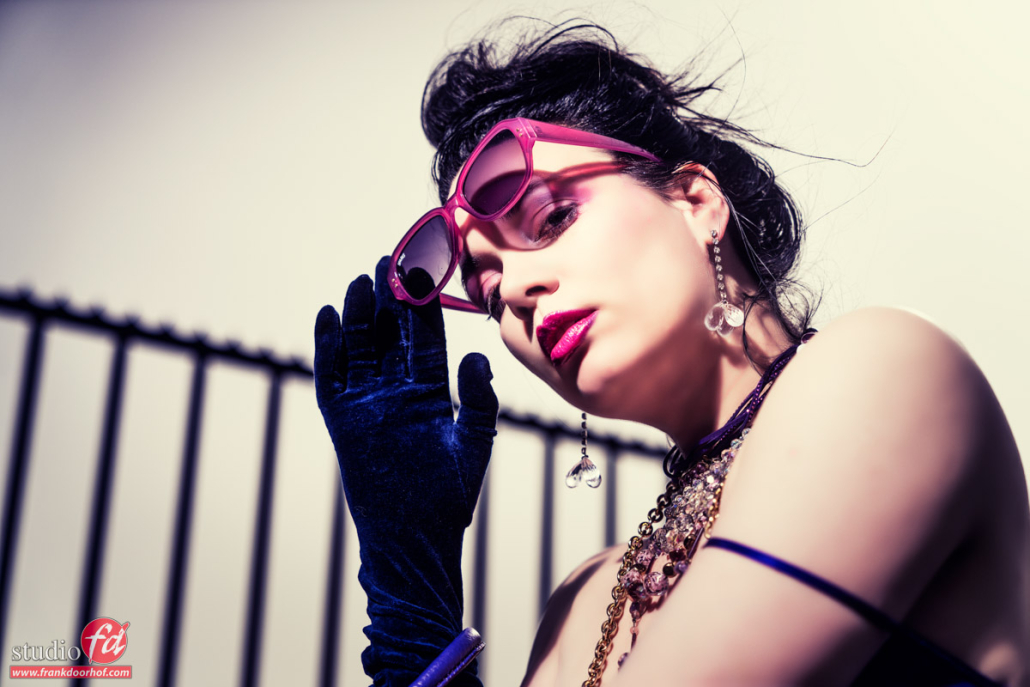
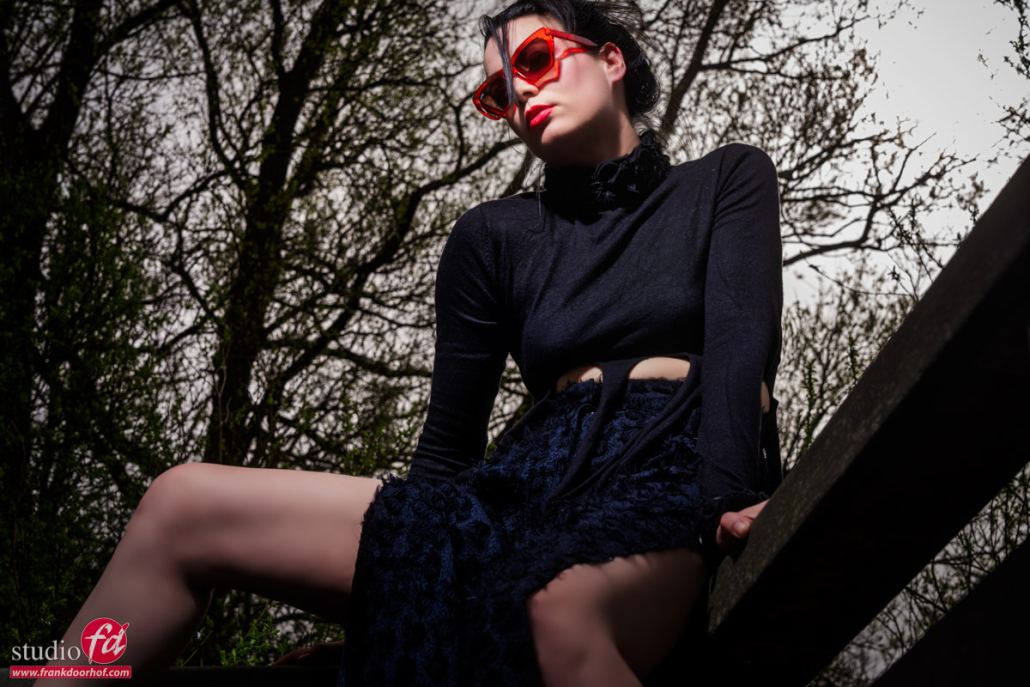
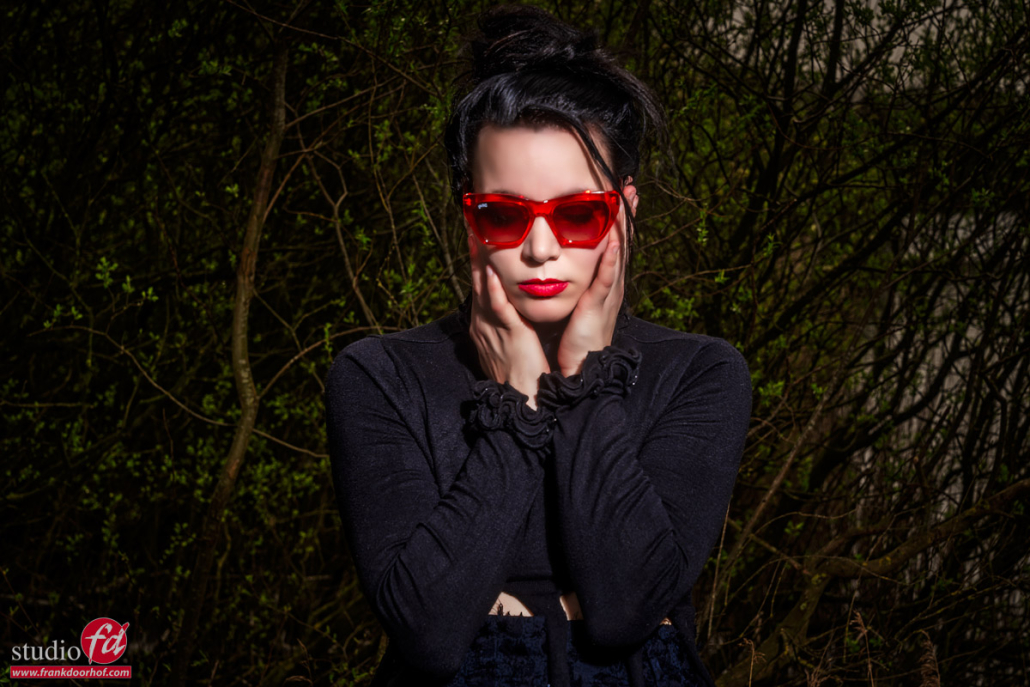
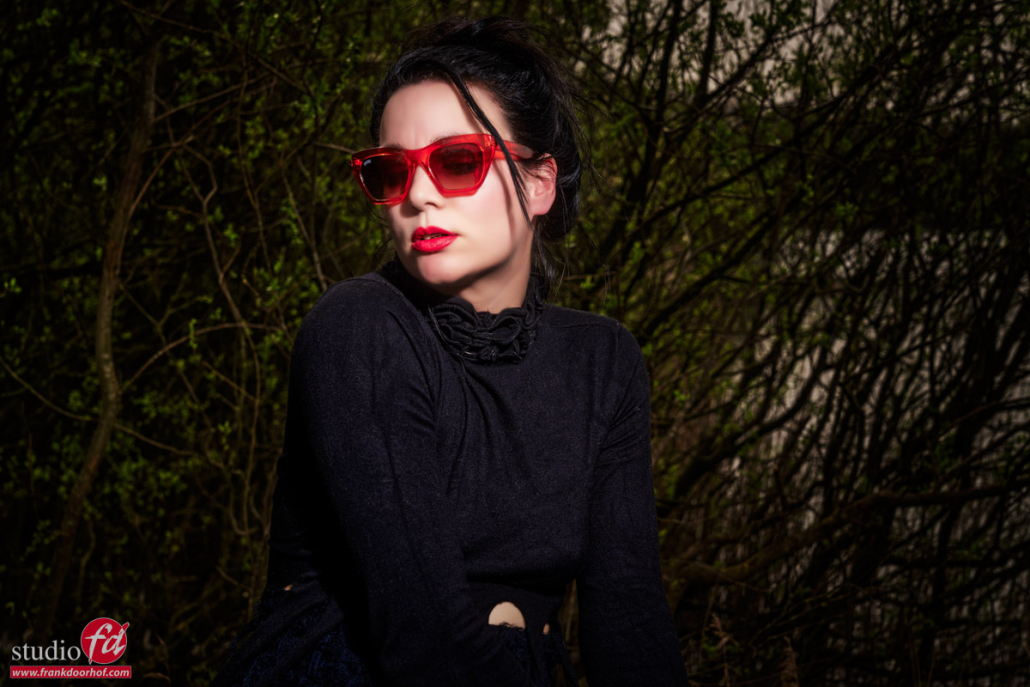
In this case Nadine was wearing a non reflective black outfit (thank you very much) and some cool Sparks red sunglasses.
I didn’t tell you this yet, but during this workshop we also shot some images for our friends from Sparks sunglasses, a cool trendy brand of sunglasses for which we also did the introduction shoot for their new collection. Most of the time I also ask some sample to use during workshops and give our client some extra material which can promote their brand, my work but also the models. A win-win situation.

Anyway.
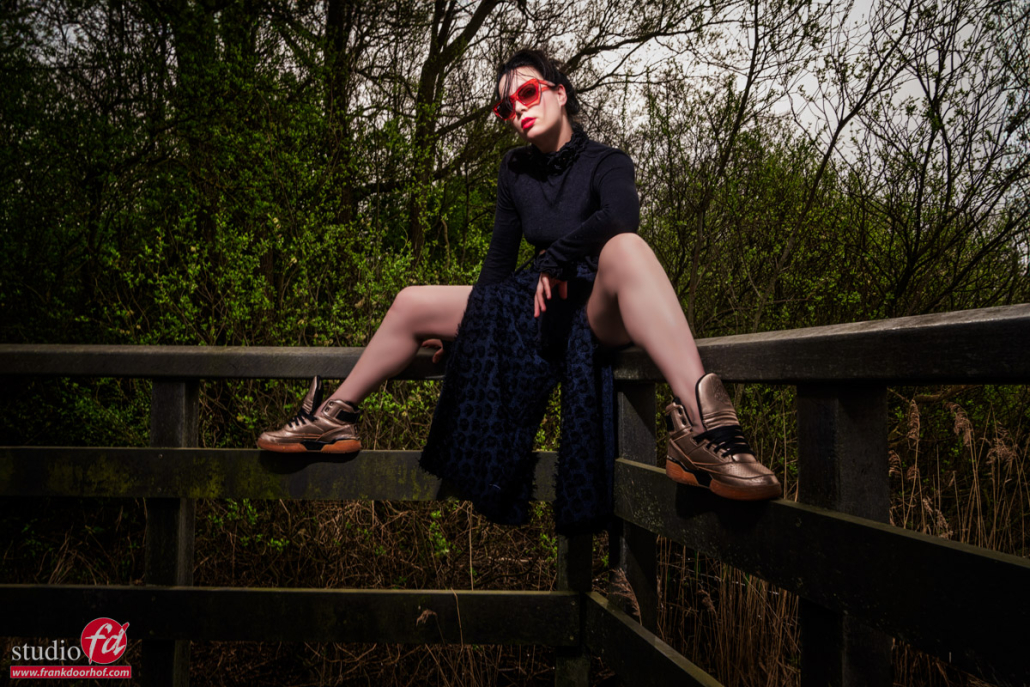
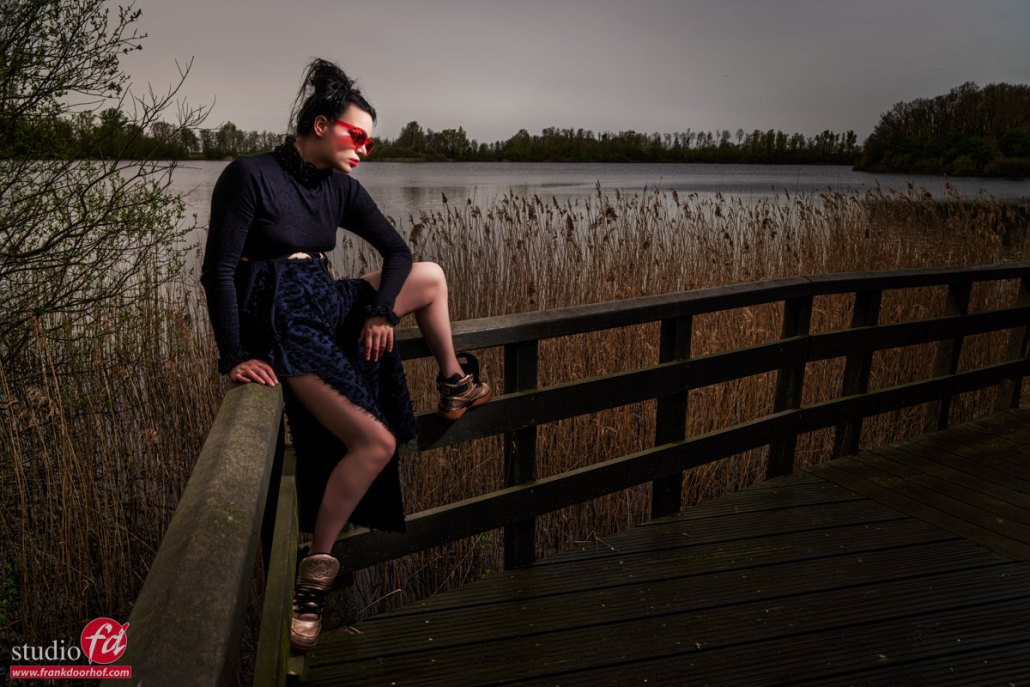
Because Nadine was wearing black it made it a challenge to shoot against the overcast sky, or against the dark forest.
One could say it’s impossible because you will blow out the sky, or block up the shadows, and with a dark forest the model will disappear.
yes, that could be one way to look at it.
OR….
You use exactly that “problem” and use it to your advantage.


The shoot

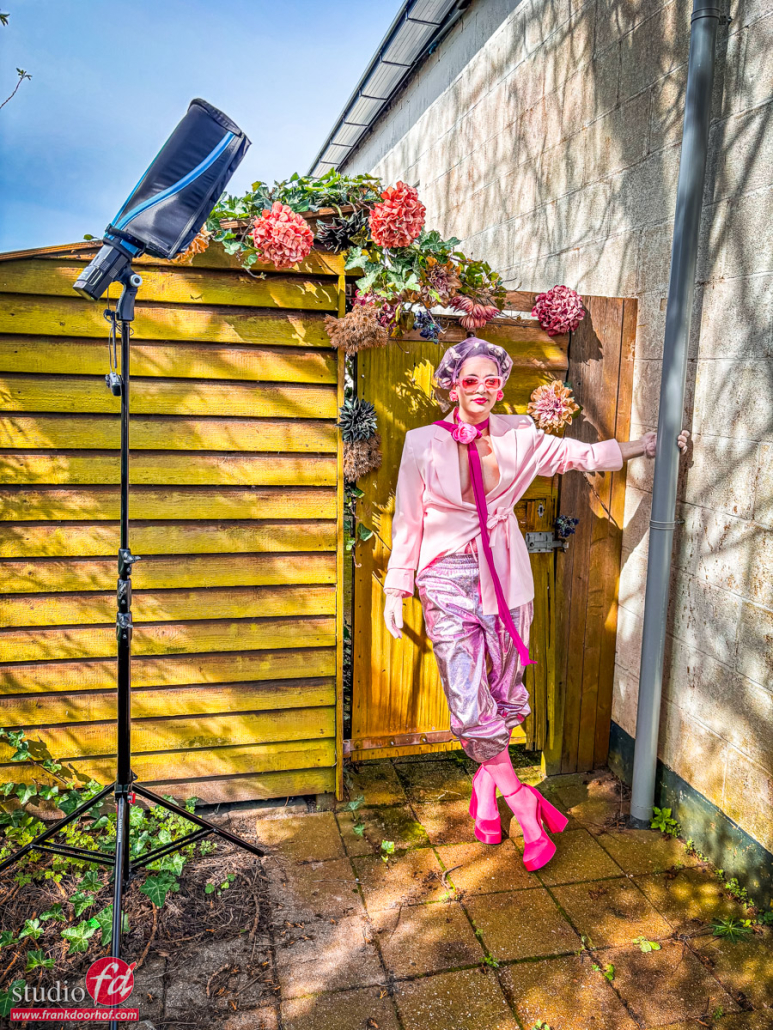
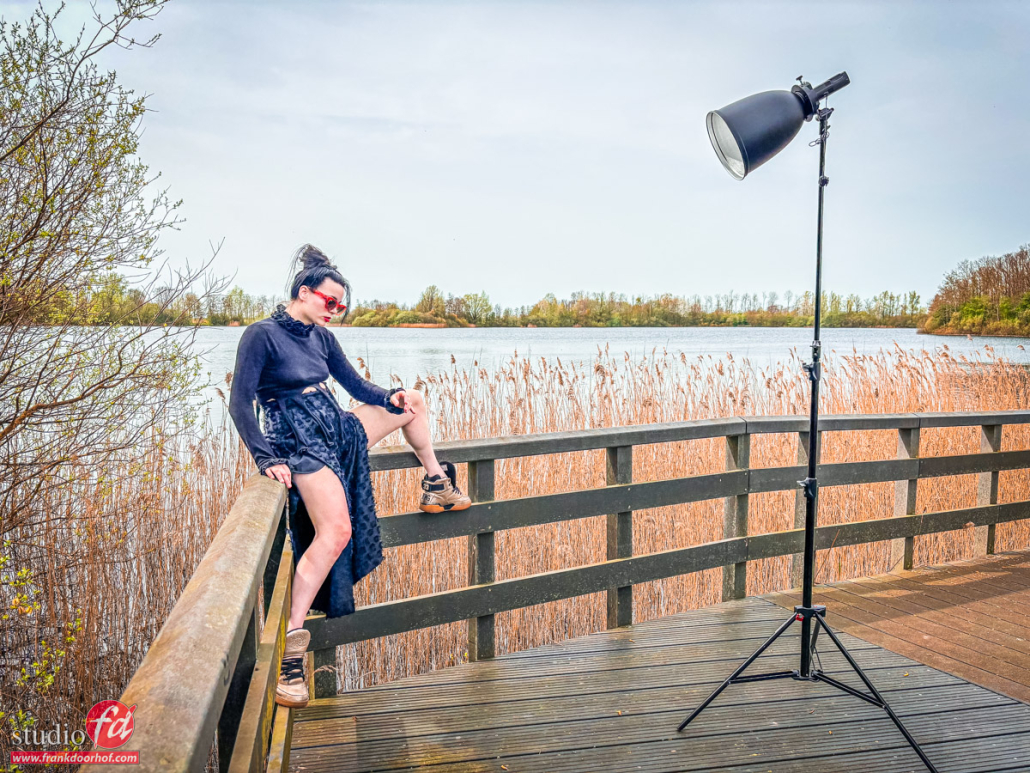
Here is the setup of the shoot.
I’m using the same Geekoto GT200 with a large reflector.
I love this location for the strong leading lines and the way the model can pose with the bridge parts. Also the two totally different backgrounds by just changing your angle makes this one of my favourite locations to use for workshops and shoots.

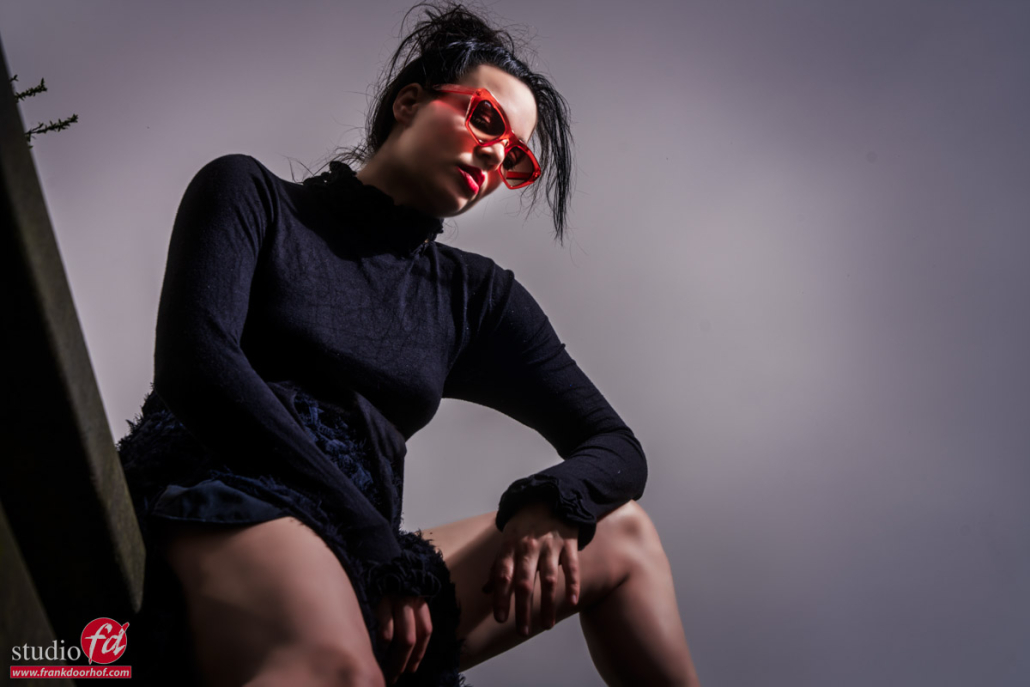
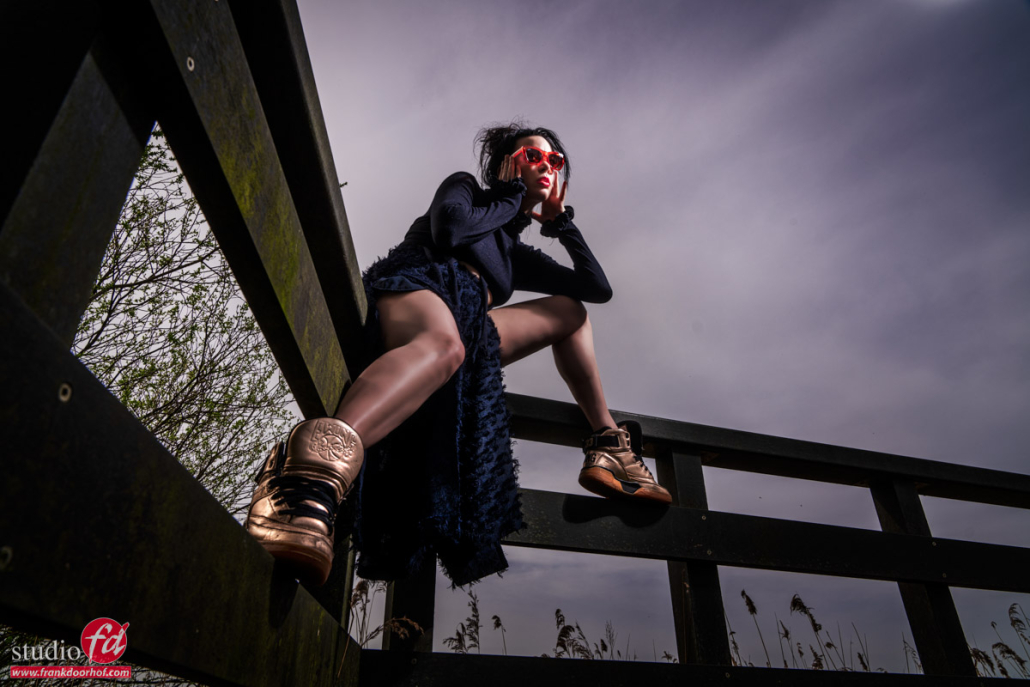
I love to shoot from more extreme angles on this location and using a more wider angle gives that really nice “distortion” in the image that draws the viewer towards our models face. I also use this a lot in the studio. Wide angles can be terrible for portraits or even full body shots, but if you use them carefully they can be awesome.

Because the clothing was so dark, Nadine’s legs were getting a lot of light/attention, so when you find yourself in a situation like this, use a grid on your strobe or make the model cover part of the legs, you do want to see some, but not too much light areas in the darker areas of the shot. hope that makes sense.

I decided to actually embrace the dark clothing and use it create some really nice edgy contrast in the shots, add the red sunglasses and some cool poses, and you have a very simple lightsetup, an ok location but some killer shots.

Model/Styling : Nadine
Sunglasses : Sparks

www.fotografie-workshops.nl for the Dutch workshops
www.frankdoorhof.com/shop for my gear


Quick portraits on location and to show how easy it is we have a cute labradoodle

Quick Portraits on location

Quick portraits on location are always a challenge. You have to think fast, find a location, set up your lighting and often only have a few minutes with your client. Today we are going to take a look at how we set up a location session and what I use.

Make it easier on yourself

There is always a way to make it harder, but let us focus on the things that can make everything go as smoothly as possible. The first thing is, of course, preparation.

I love to mess around with lighting in the studio but often also have more than enough time. On location, I often have to set up and hit the ground running. This is why we talk with our clients about what they want for most on-location sessions. This means that when I arrive on location I already know where to place my lights, do a quick light meter check, and can start immediately.

Now you might wonder… “Didn’t you forget something?”
Yeah, I know what you think.

The background for a quick portraits on location

Of course, when we talk to our client before the shoot we also show different kinds of backdrops so the client can choose which one fits their look and brand. Because I’m using strobes I know that ambient light in most cases won’t cause any problems. However, don’t ever forget to take a ColorChecker image during the shoot. On location, you can have the most weird situations that can mess up your color that at first, you won’t notice because you’re using flash.

Now in the past, I’ve used solutions that worked pretty well but were always just a bit too short, narrow, or too large so they didn’t fit in my car forcing me to take the van (I prefer to drive electric of course :D)

Recently ClickBackdrops released the Clicki backdrop system and it’s become my favourite backdrop for quick on-location shoots. It’s wide enough to fit one person for wide (landscape-style) portraits. And with a little bit of AI in Photoshop I can easily shoot 3/4 shots in landscape mode because the subject doesn’t overlap anywhere. Somehow I prefer to shoot in landscape orientation which makes the width vital for me.

The Clicki fits with ease in my car (Hyundai Ioniq EV) and only needs a stand to be assembled on location in under a minute.
Of course, I also need to bring strobes.

Strobes

When we talk about speed I also have to be able to move fast and setup fast. So bringing heavy strobes or battery packs is out of the question.
For location work, I’m using the Geekoto GT200 and GT250 

The main advantage is that I can easily adjust the angle of the strobes via the pistol grip. So I can use almost any studio stand, which not only saves space but also makes setting up much easier and faster. The Geekoto also supports both ETTL and HSS. Combined with a 200/250W power output and 450-500 shots per battery makes it a very versatile setup that can easily suppress sunlight outside. And you can use the thicker more saturated colorgels for some really gorgeous color effects.

And the final piece of the puzzle…

What Light shapers to use for a quick portrait on location

Of course, I’m not using the strobes bare.
Although that can be a nice effect, it’s often not what the client wants to see.
So we need something to modify the light.

If it needs to be compact I love the Rogue products. Especially the new magnetic system is awesome for creative use on location (and in the studio) and of course the “famous” Frank Doorhof Flashbender :D. But for this setup, I’m using the Geekoto 26″ softbox. The main advantage of this system is that it just folds up very small but it also has a detachable speedring which makes it super easy to carry with you.

Enough talk, let’s take a look at the setup.

a quick portrait on location. this is how I did it

As you can see we just placed the Clicki behind the table. So the dog didn’t have to move and the whole setup was done in seconds (everything was set up, I just had to slide it there). Because we mark the floor when doing the meter readings, it’s a setup that makes it possible to almost immediately start shooting and thanks to the size of the Clicki you can also shoot from a few different angles.

So let’s see the results. It’s never perfect with these kind of one-minute sessions but the owner loved them. And for the trimmer, it’s just an extra service or something they can charge for.

So now you know what I use for quick portraits on location. If you have questions, find me on social media and let me know.

Quick portrait of a lovely labradoodle on location quick portrait on location of a dog a quick portrait on location


see the introduction of the Clicki Backdrop on Photodays in Brussel (2023)