A while ago we bought an RV (in Dutch Camper) for the location workshops for the simple reason I was growing tired of playing tetris with our baggage and gear every night or ending up on locations without facilities, so an RV seemed like the best solution, just drive to the location and you’re all set, and when you have to travel a lot Annewiek can drive and I can do some work. Another reason was that we actually never ever can book a holiday because in our line of business you never know when you have a week off (actually almost never) or if you have a week off something interesting can come up so you have to cancel one (and most of the times the holiday will loose), with an RV you just turn the key and drive away so everything can be last minute. This is also how our trip to Sweden went, nothing was planned we just left (with some help from a student of mine who is from that area for some cool spots of course).
In the coming blogposts I’ll share some of my (what I call) holiday snapshots and share some of the stories behind them, see it as a peek into our trip and of course I hope you enjoy them. One added note, during the trip we decided to film several tips on the road and on the locations we visited and Annewiek is (as we speak) editing this all together for my first ever instructional video on travel and street photography.
Fjällbacka
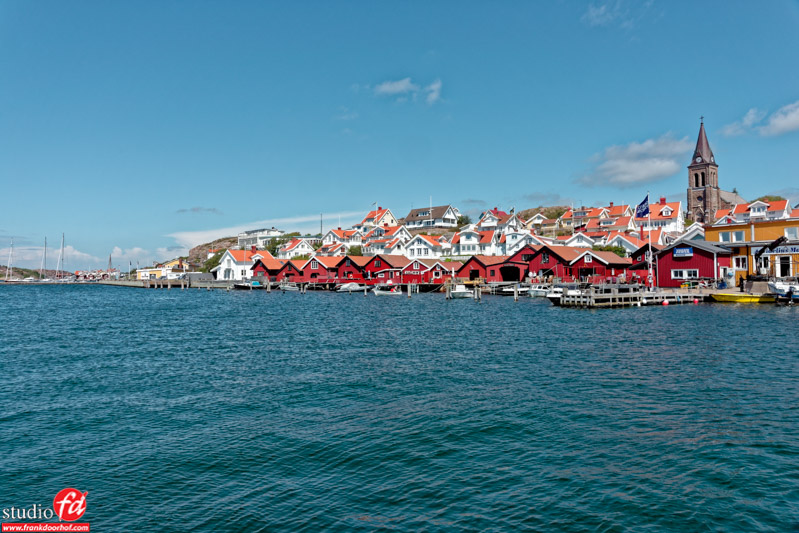
Stop number 1 was Fjällbacka.
I wanted to visit this place because according to wikipedia it was the home of Swedish crime writer Camilla Läckberg and many of her books take place in or around Fjällbacka. And it was the favorite place for Ingrid Bergman so it had to be something special. And it was.
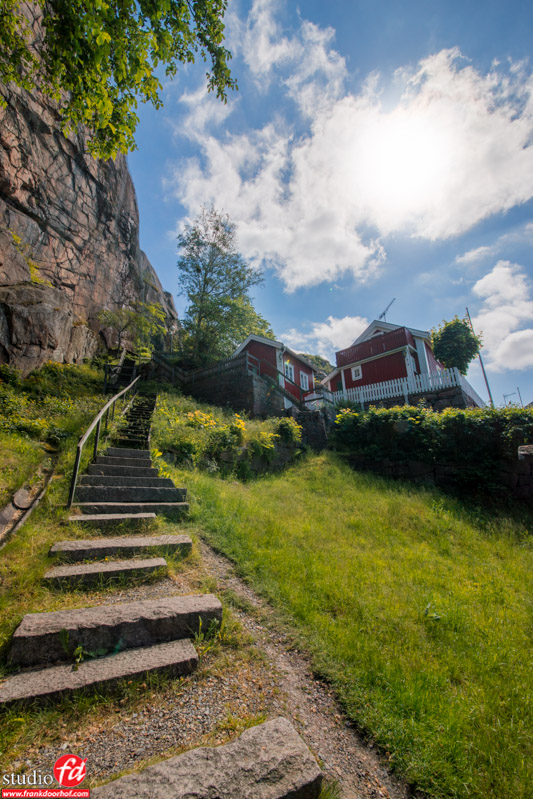
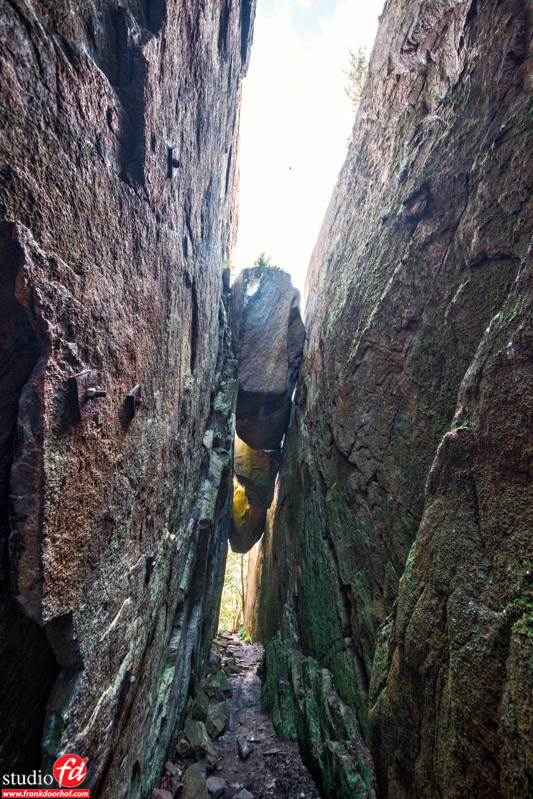
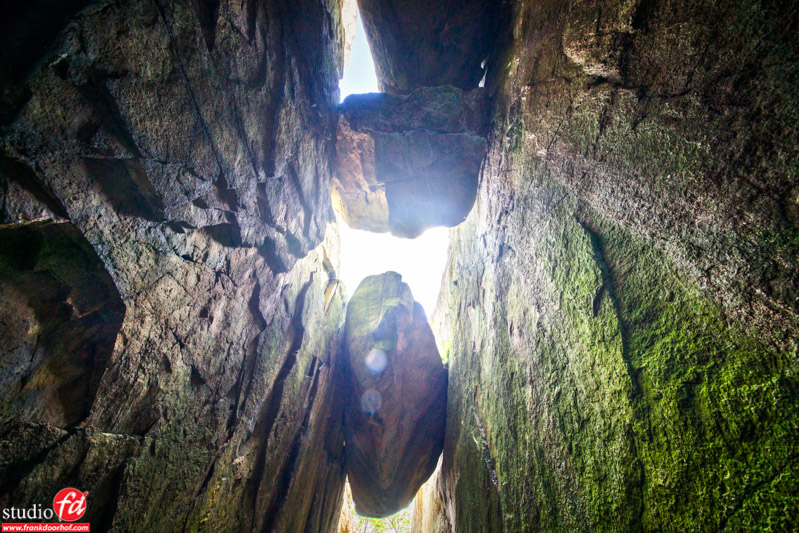
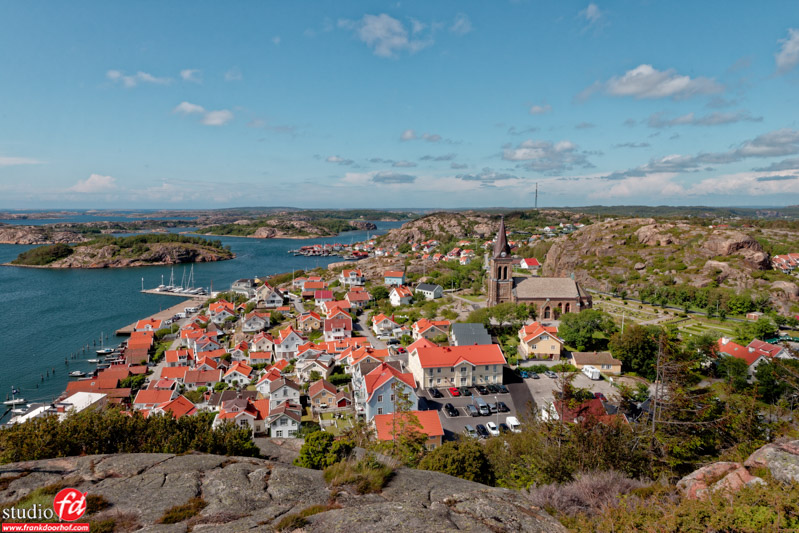
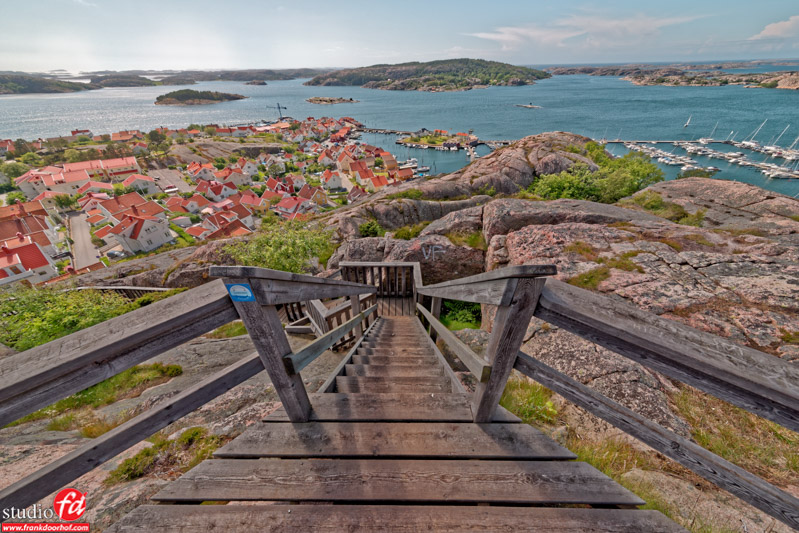
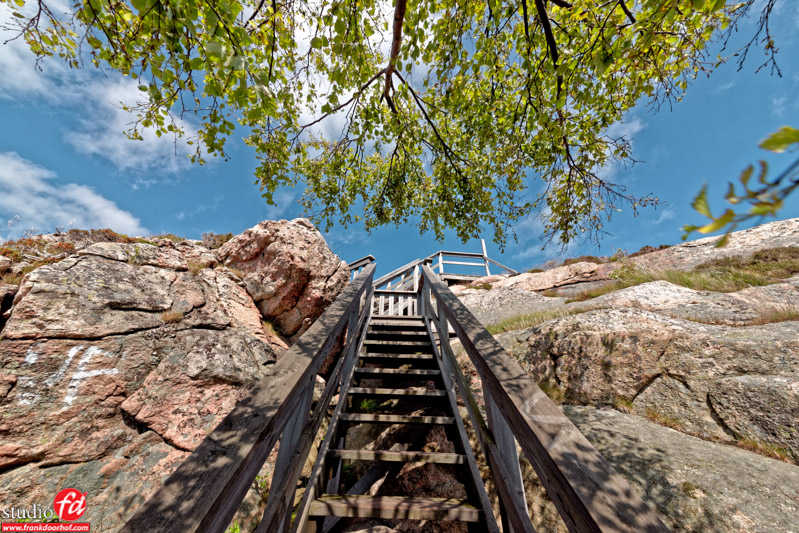
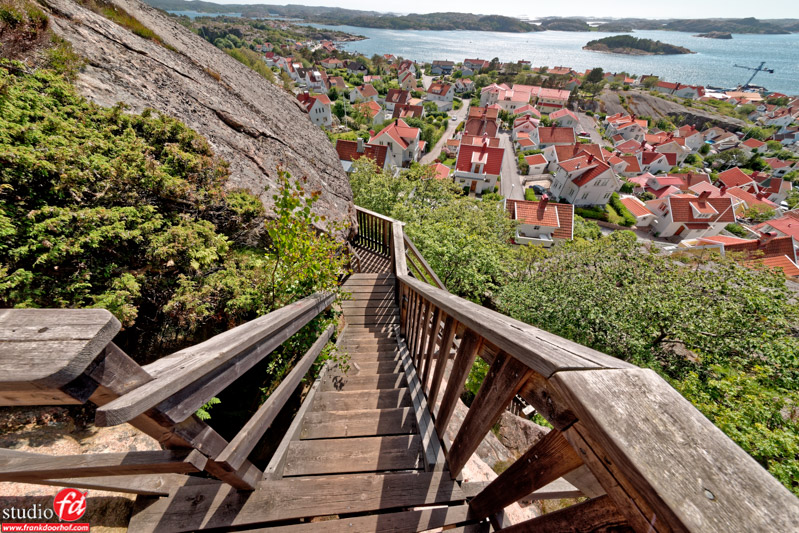
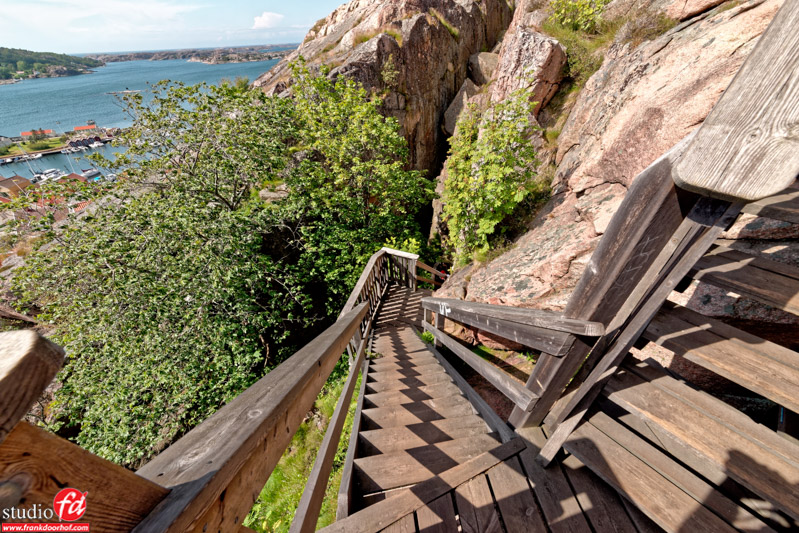
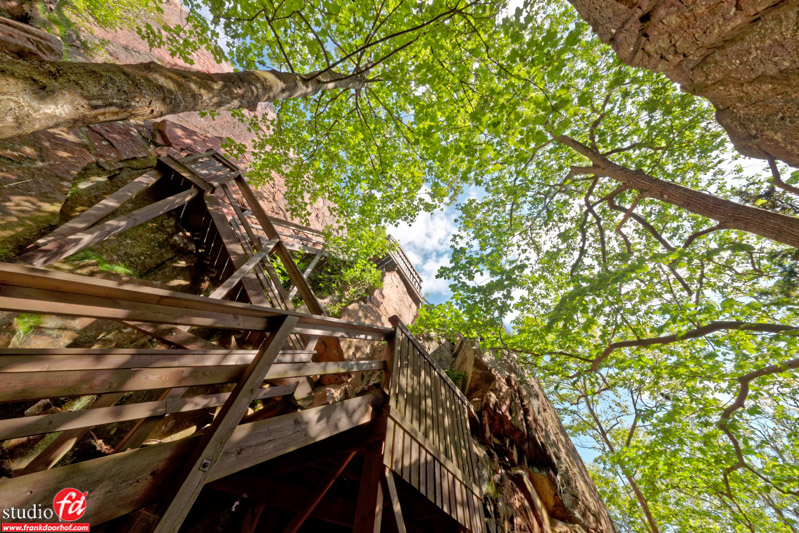
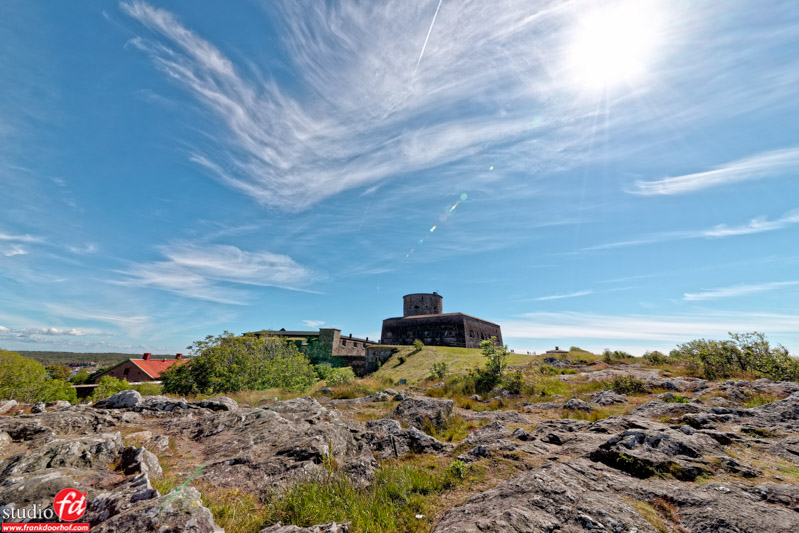
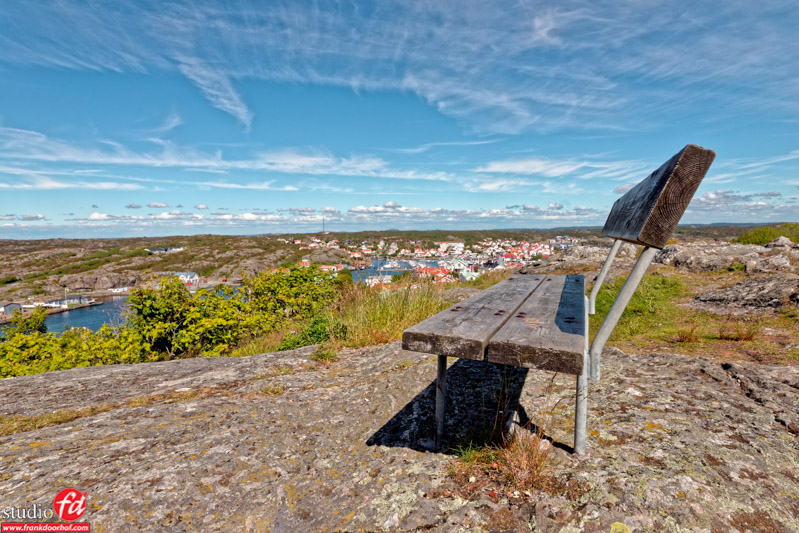
Up the mountain
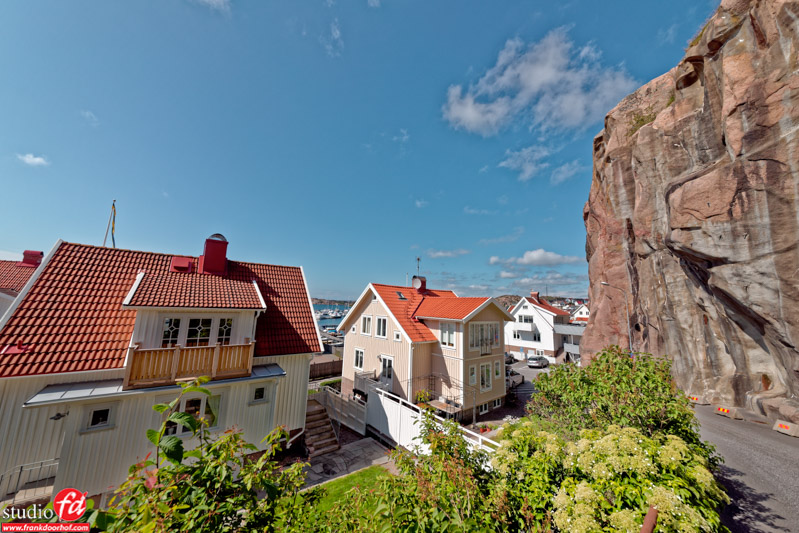
Now I love to hike and see things so when I saw an option to climb a mountain I thought “why not” and although it was hot it was very much worth the while, the views were absolutely stunning, however you had to off the path for the really nice views, but hey isn’t that always the case (just make sure to not fall down because there are NO barriers, which actually surprised me a bit).
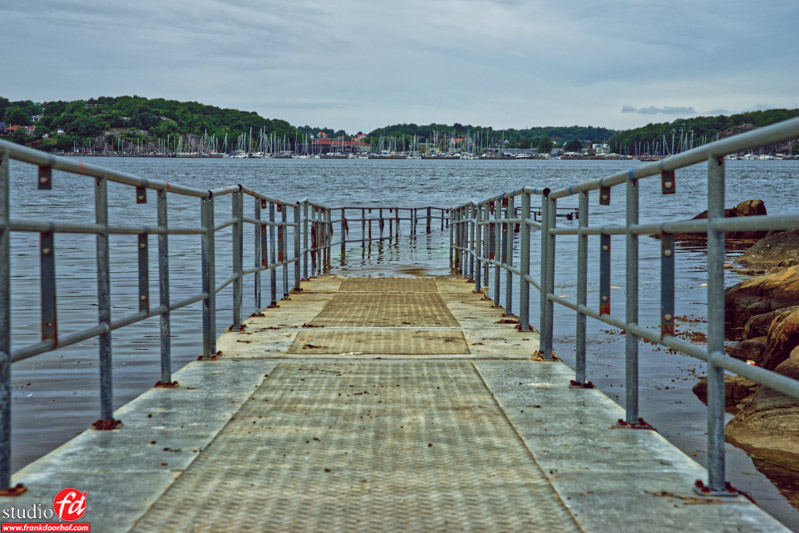
Here are some images from the hike and the view.
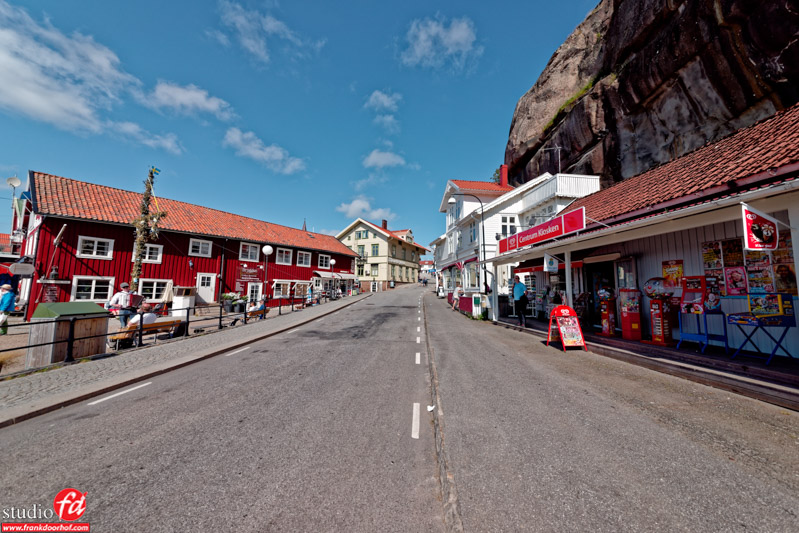
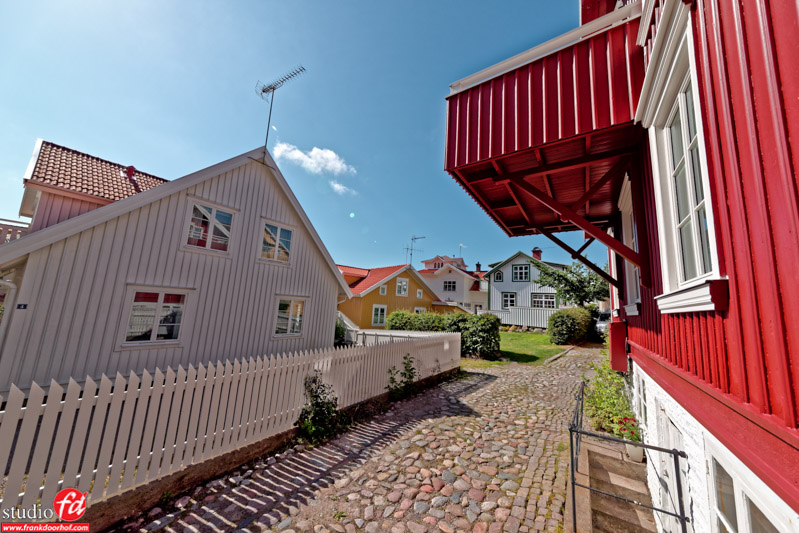
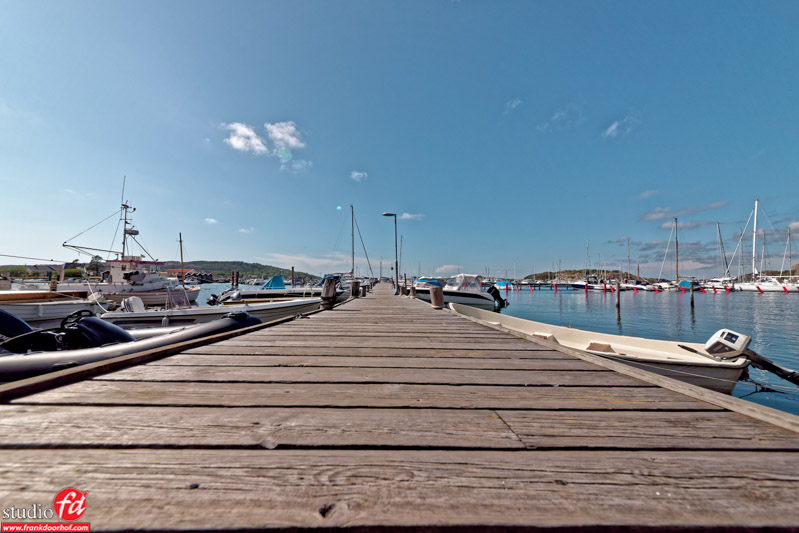
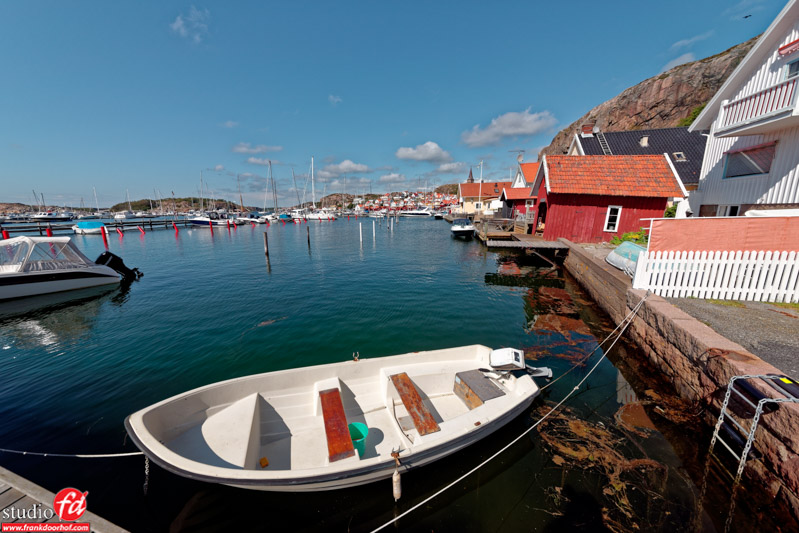
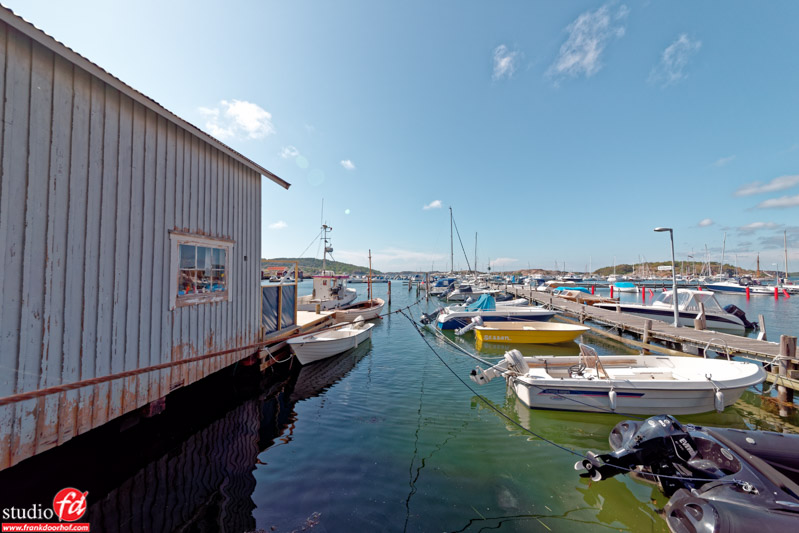
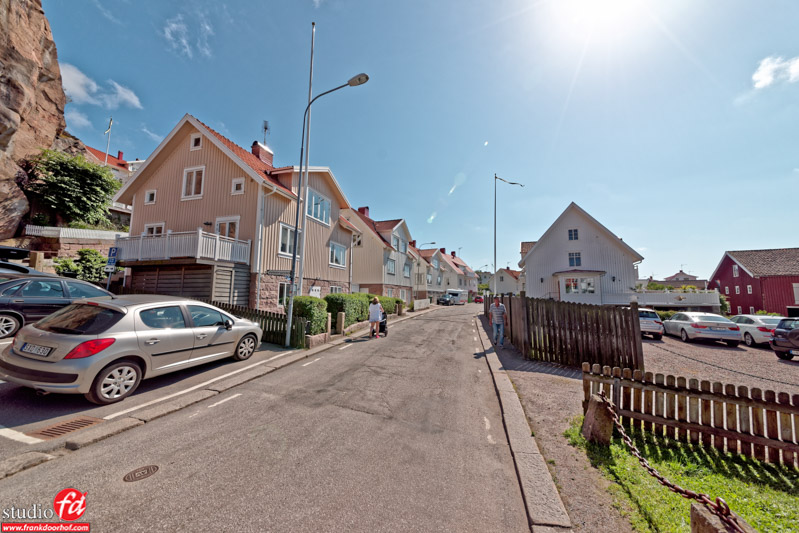
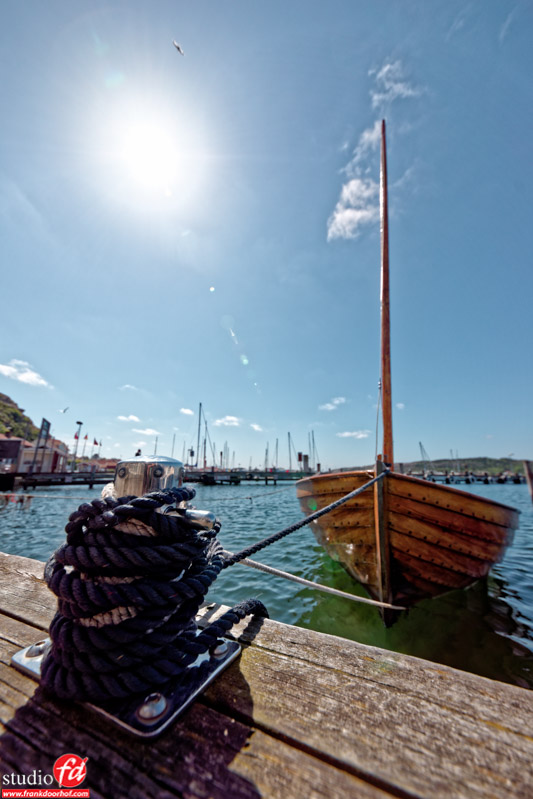
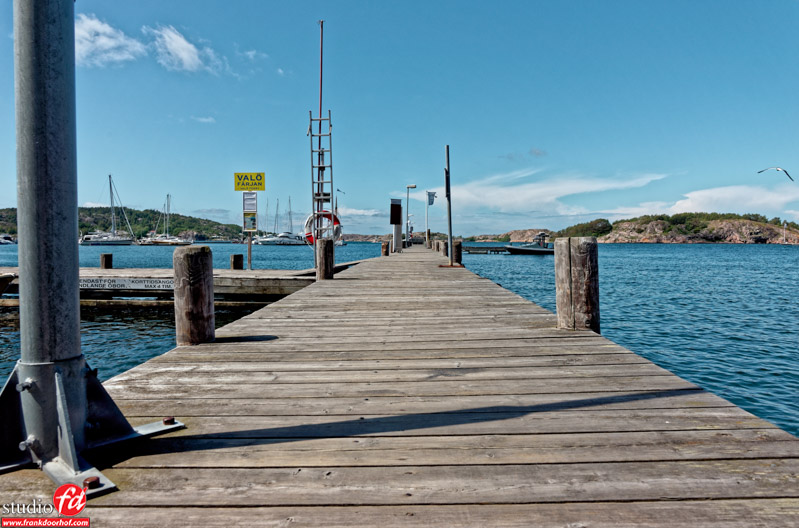
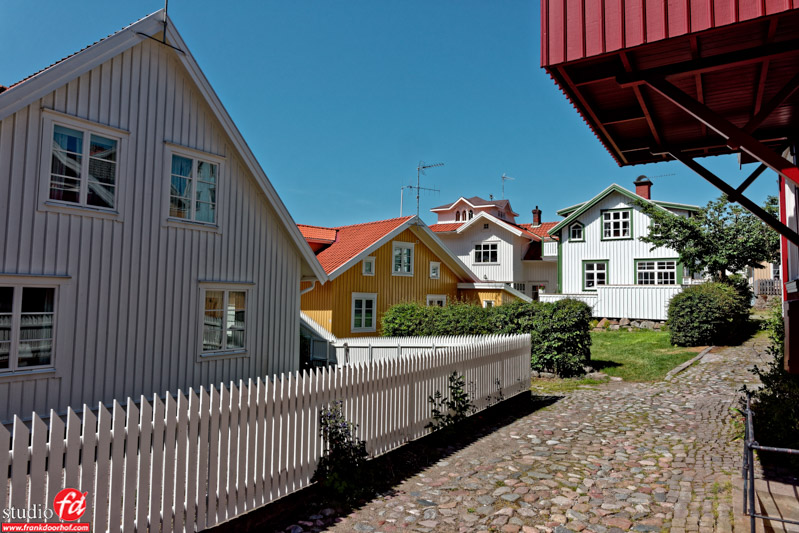
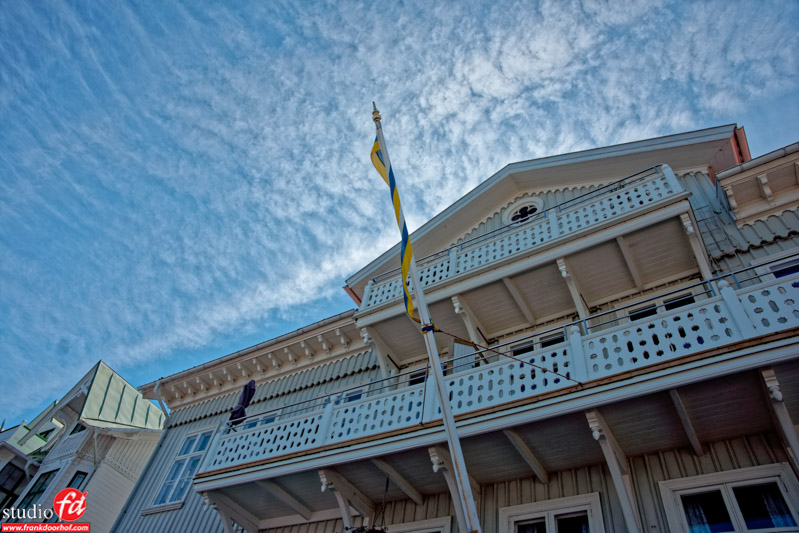
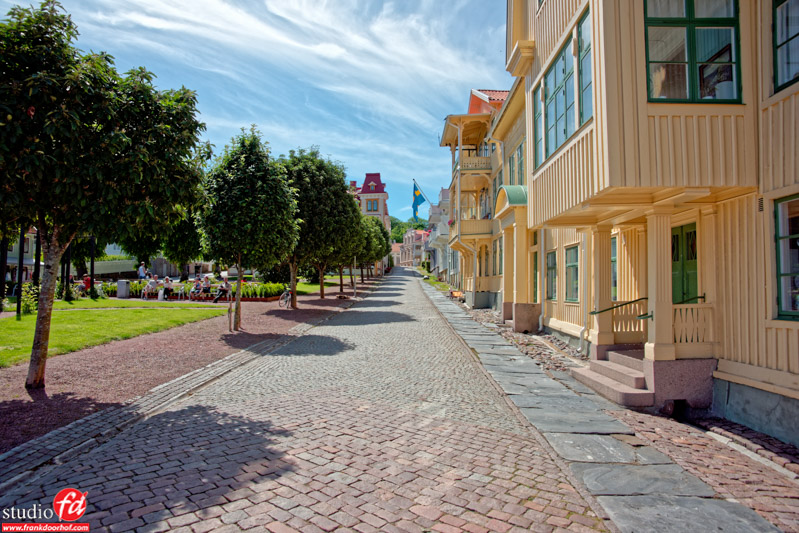
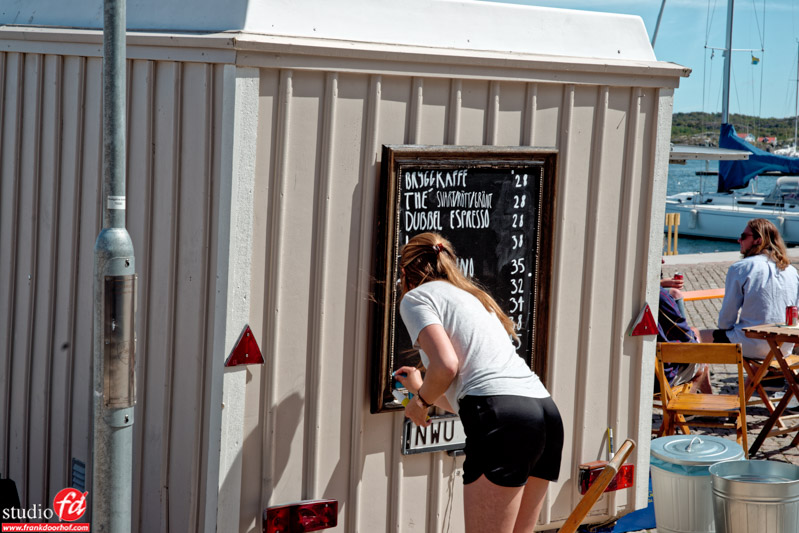
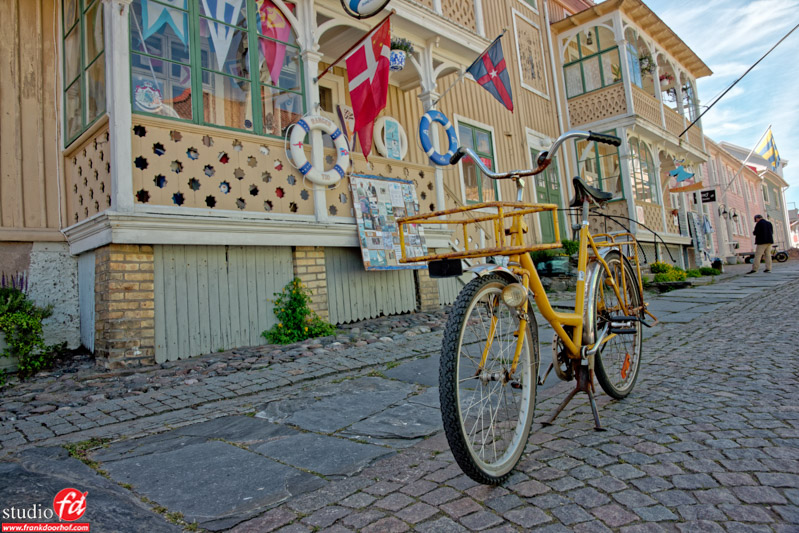
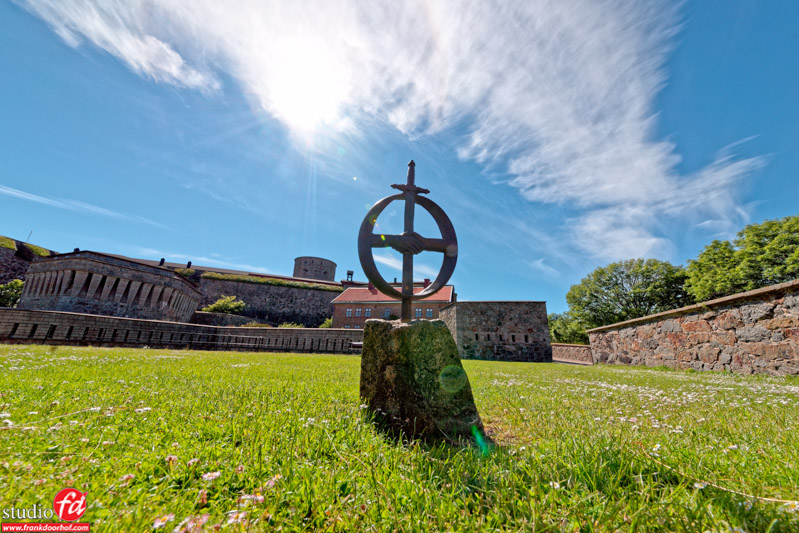
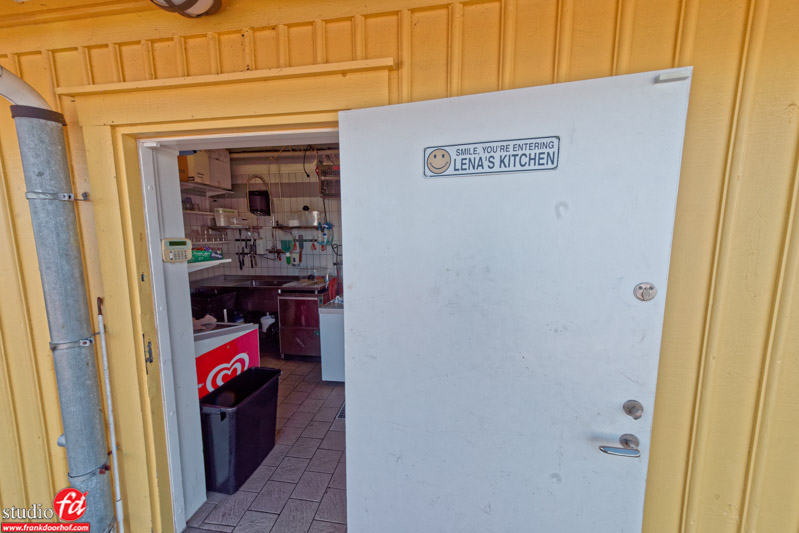
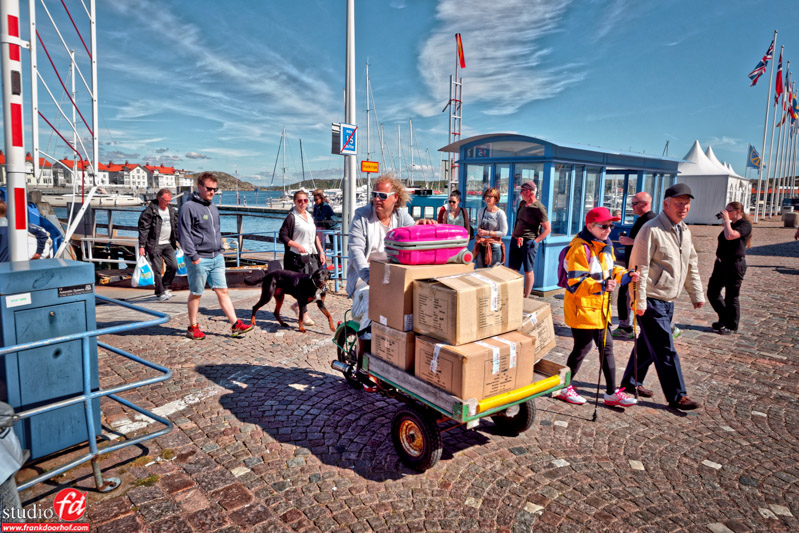
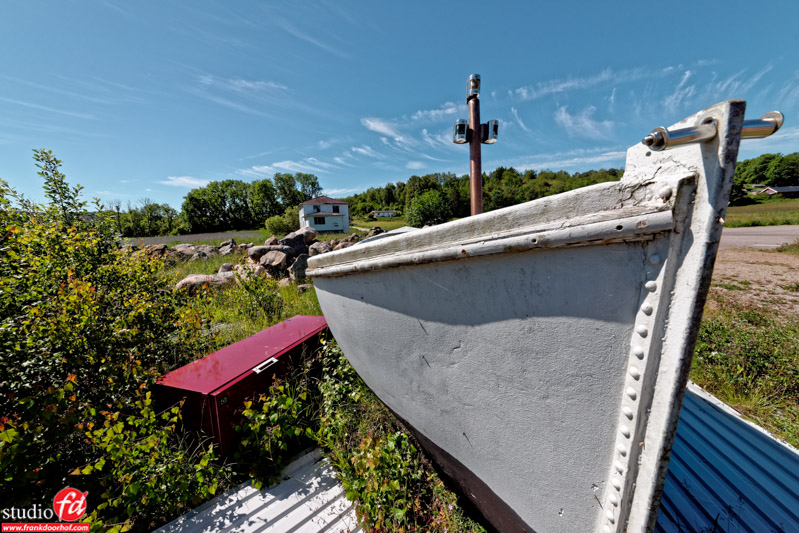
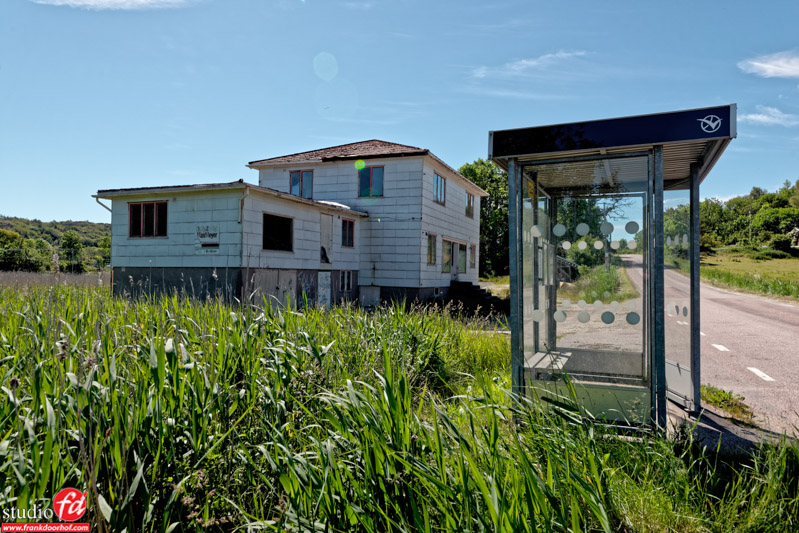
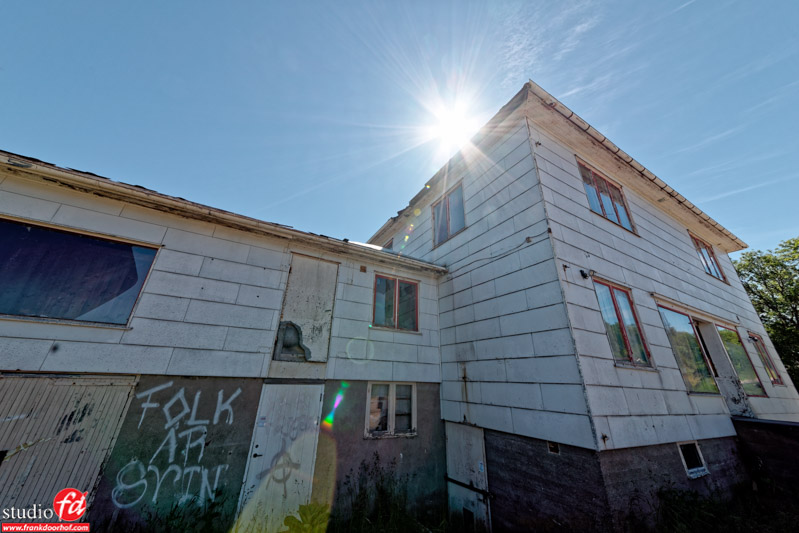
But there was a lot more to see of course, so here are some images from the town itself, as you can see loads of water and boats, but also some interesting people 😀
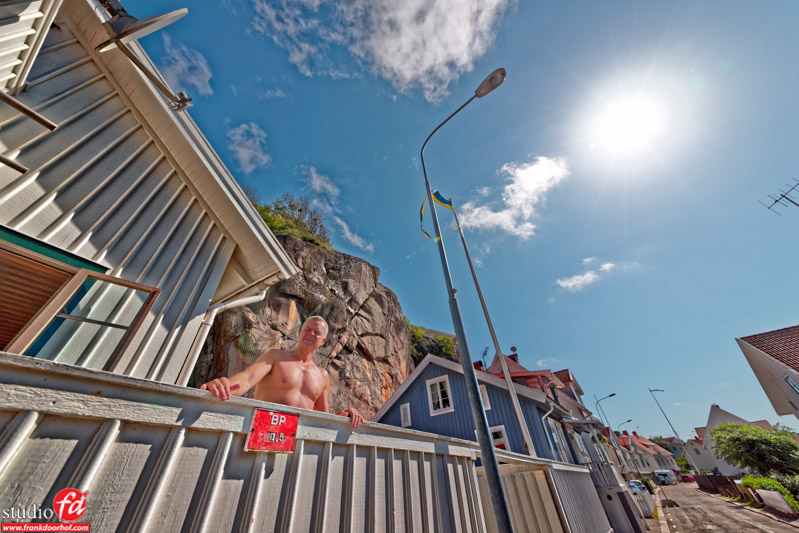
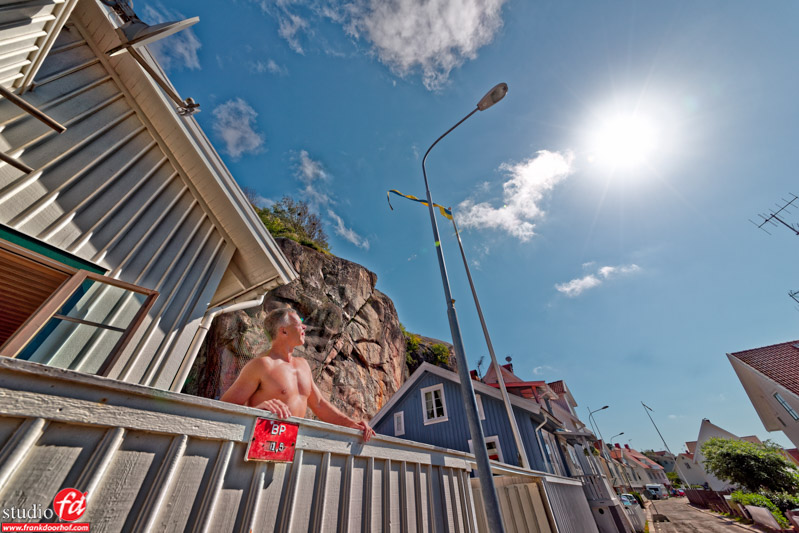


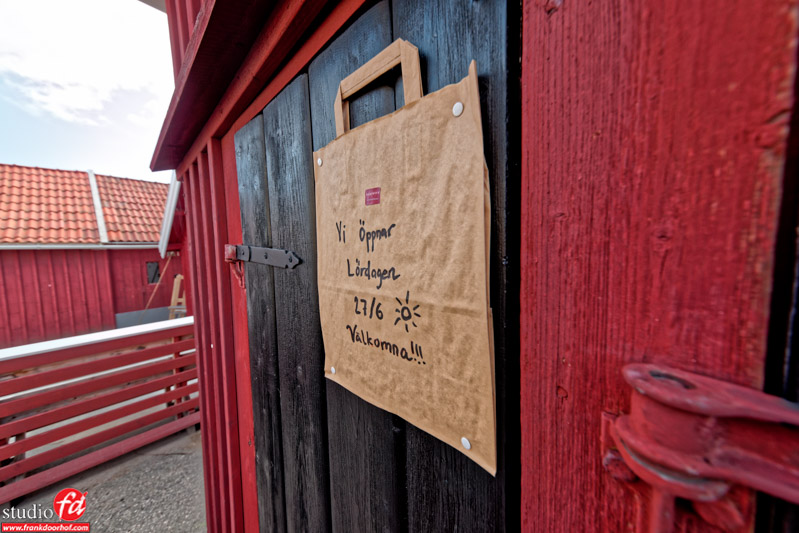

Like this:
Like Loading...


You must be logged in to post a comment.