Tag Archive for: photography

TIP : don’t fear the sun

A lot of people are somehow afraid to shoot straight into the sun….
Well I agree that there is a lot of talk online that it can fry your sensor but in all honesty if that was really true….well my sensors would have all been fried, just be smart and don’t look at the sun too long and keep the exposure time to your sensor limited, because… well it is a lot of light that is aimed at your sensor via a lens so don’t keep it on a tripod for an hour (just saying).

As soon as you overcome that “fear” of shooting into the sun a lot of cool options open up.
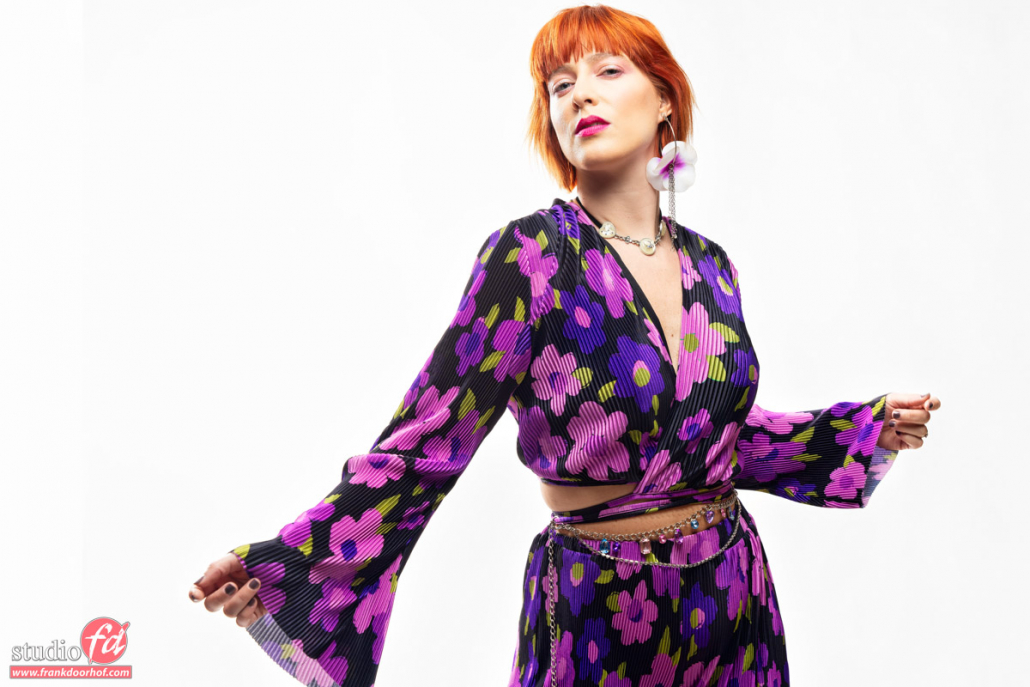
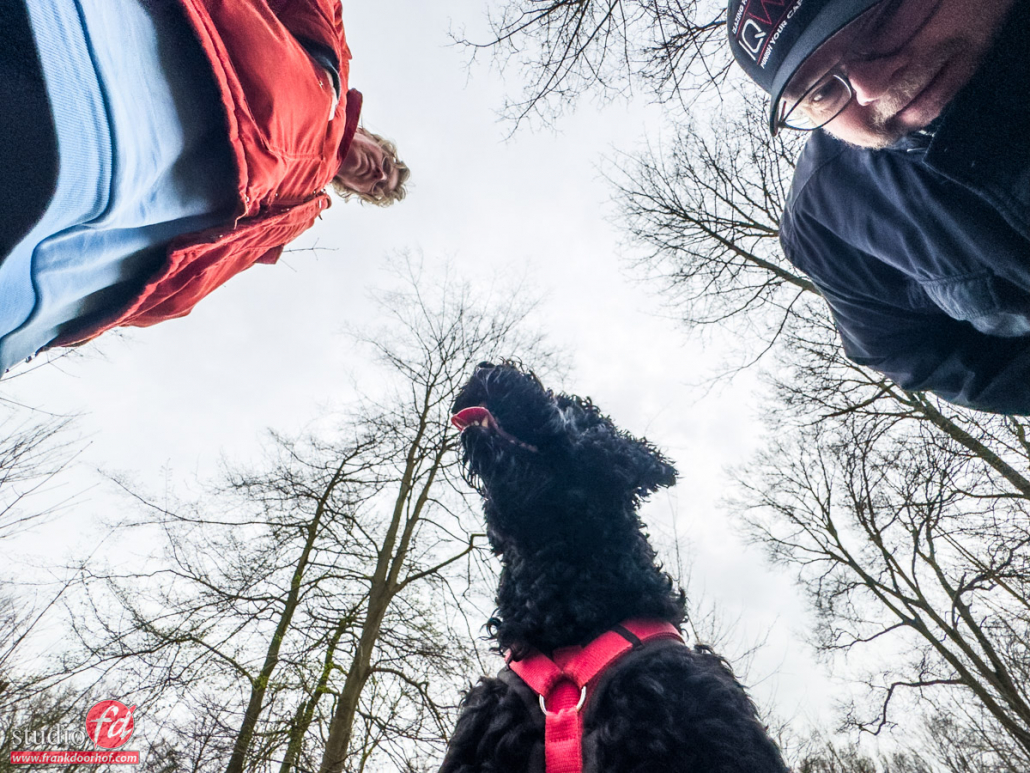
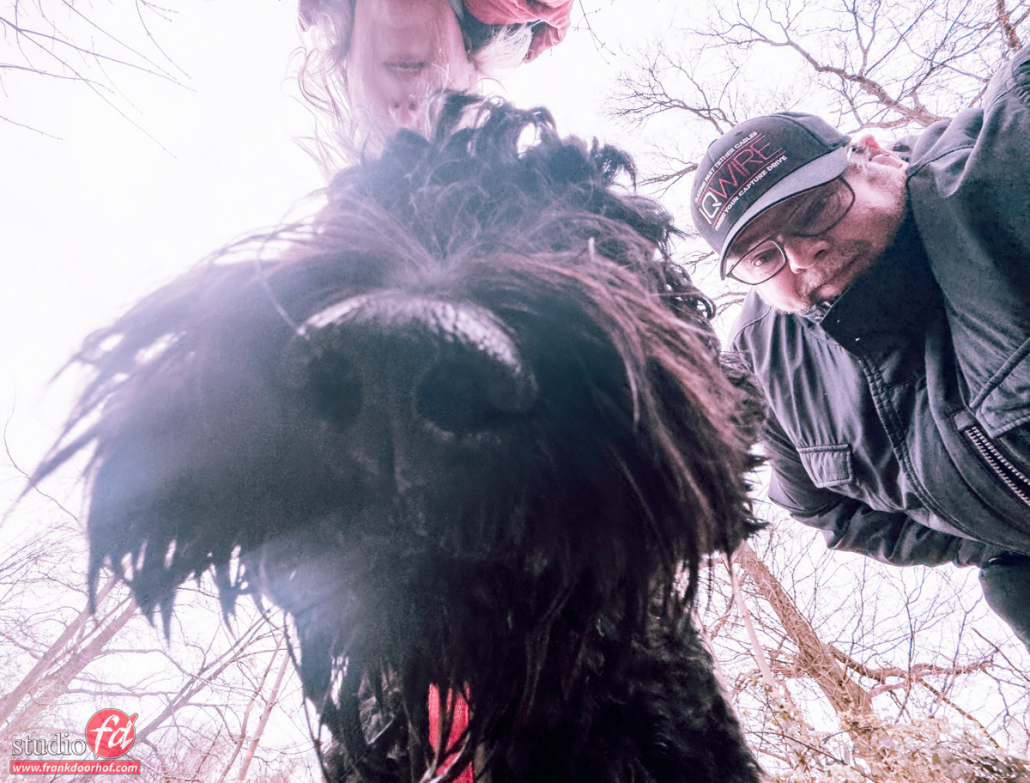
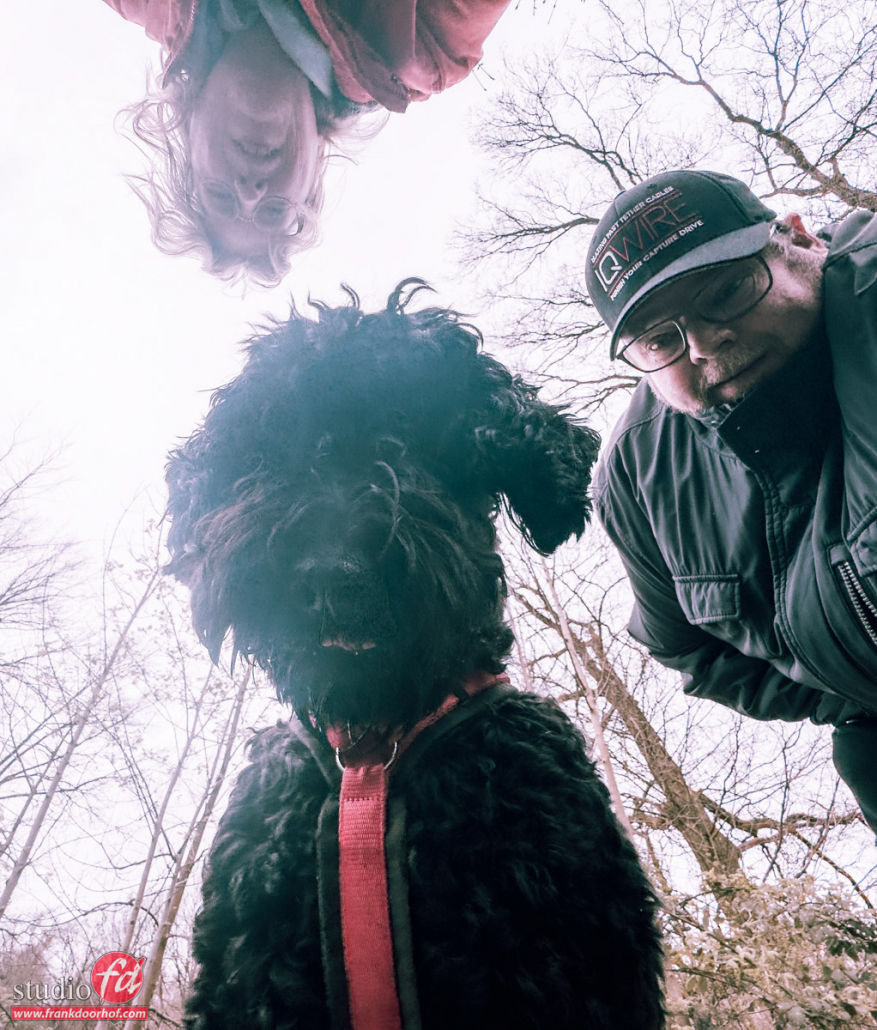
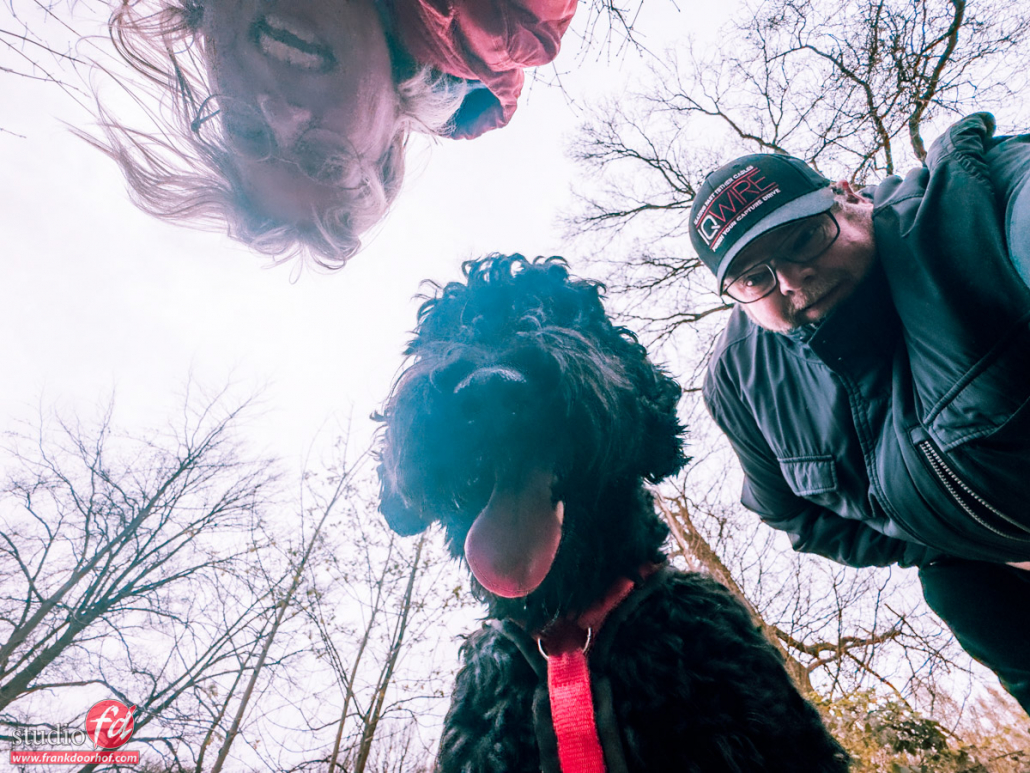
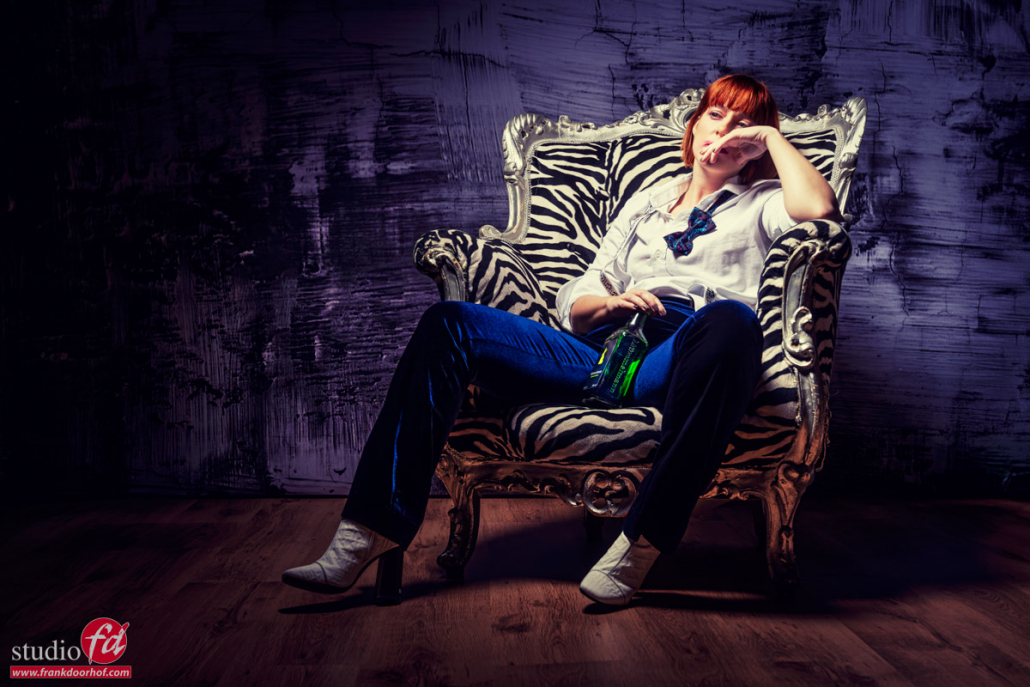
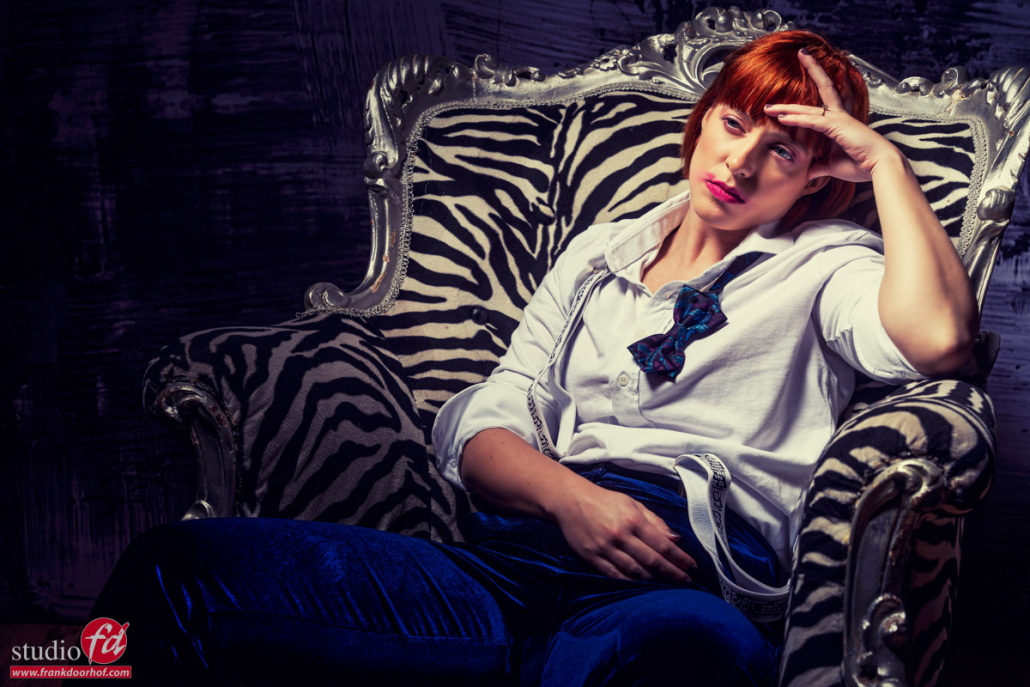
The shot you see in the opening post was done during a workshop with my DxO one connected to my iPhone, I choose a low angle because of the background (our studio).

So you do you meter something like this.
Here it’s important to understand the dynamic range of your camera a bit.
Especially knowing how much you can get back from both the highlights and shadows.
Always make sure you get enough detail in your models face, so don’t underexpose too much, but also don’t expose correctly for the model… and there are 2 reasons for this.


  1. If you expose your model correctly the background will be almost pure white due to the high brightness of the sun/sky. Also the model will look glued on the background, so always make sure the model is slightly underexposed which will make the shot look much more natural. This same tips also goes for sunsets, always make sure you underexpose your model slightly when using strobes (and light from the side) this way the model looks more natural in the scene.
  2. If you underexpose your model to the “max” of your dynamic range you can still raise the shadows/midtones in your RAW convertor enough to get the detail/exposure on your model that you want, the extra advantage is that with the highlights slider you can lower the brightness of the sky a lot more simply because it’s still in your dynamic range.


Planning a shot and knowing the limits of your gear is incredibly important when you like to be on the edge of lighting.
In most cases I’ll shoot as perfect as possible in camera, but when you know there is a lot of backlighting and you don’t use a reflector or strobe (like in this case) it’s always good to know these limits because now you know how much you can underexpose to “save” as much as possible from the sky, and actually almost mimic the use of a reflector or strobe.

Now don’t be afraid of noise/grain in you’ll probably shoot these kind of shots on ISO100 and often you will open up a max of 2-3 stops so in essence you’re shooting on 400-800 max for the model and with modern day cameras that is no problem at all.

So the next time you’re shooting on location try a few shots with just this technique (so no strobes or reflectors) you’ll see what your camera can do, plus it will help you in situations where you have no choice….


Want more in depth tips and techniques?
Check out my book “Mastering the model shoot” or one of the many instructional videos via this site (see the menu on the left).


Interview with Joel Grimes

We travel a lot to teach on trade shows and of course our own workshops and one of the most exciting things for me is meeting up with other photographers and pick their brains about what drives them, pushed them forwards in their careers and their visions on our trade.

After professional imaging (the largest Dutch tradeshow) we invited Joel Grimes over to our studio to show him our area and of course squeeze in an interview for our videowebpodcast “Quite Frankly”, today you can see the video via our blog. Joel and me talked about a lot of topics ranging from working with handicaps to inspiring other people and of course the “perfect” lightsetup.

Enjoy.
And please subscribe to our channel.

Rock that low and wide angle

One of the best tips I can give people is to shoot from different angles than eye level.
Eye level is how we see the world but it doesn’t always give the best look for your images.


According to some publications our eyes are app 50mm, but I have to be honest I never really believed that, for example I find myself zooming almost constantly and going from wide to tele, and a lot of people I talk to have the same thing, although some claim to only see wide, and some claim to only see zoomed in…. what are you seeing?


Anyway.
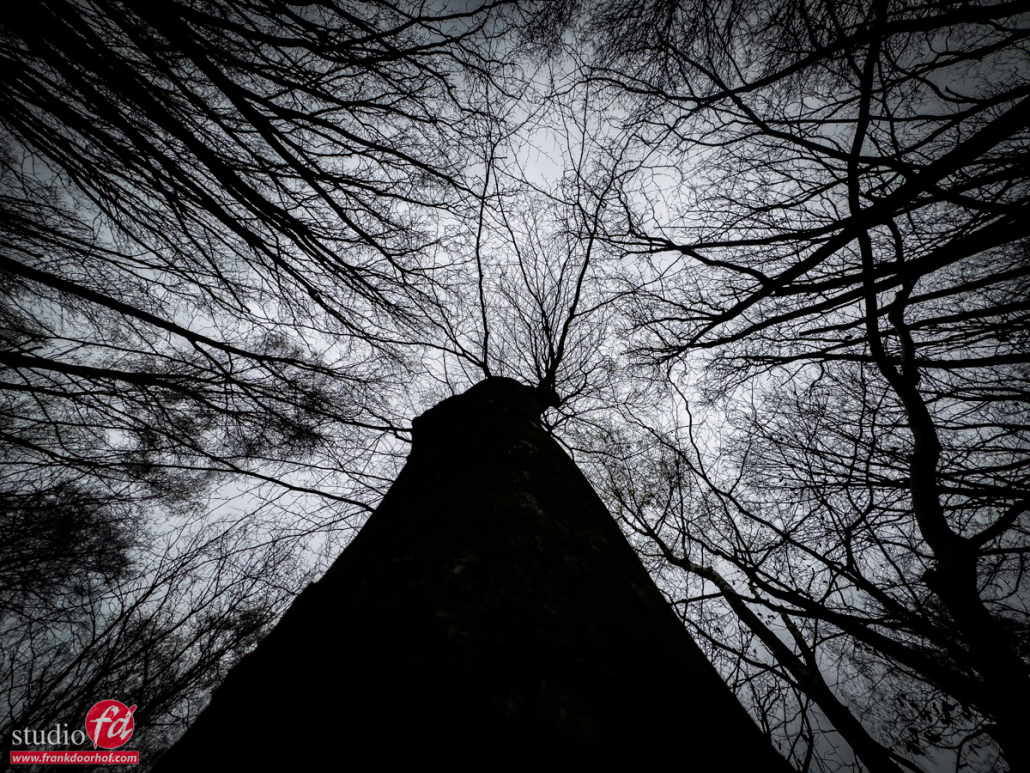
When traveling it’s always cool to shoot some images from a real low angle, and combine this with a nice wide angle and you get some really interesting images, do be aware that a wide angle can really distort the scene, so it’s important to “play with this” and incorporate it into your shot. It will also help to include some objects in the front of the composition that can act as leading lines or just make the image look more interesting. And sometimes your lucky to find a “Subway” cup in a subway station 😀
Today some examples of this technique, shot in different locations during our UK trip.

UK - 78 - January 23, 2016-Edit

untitled - 251 - January 24, 2016-Edit

untitled - 316 - January 24, 2016-Edit

untitled - 329 - January 24, 2016-Edit

untitled - 395 - January 24, 2016-Edit

untitled - 411 - January 24, 2016-Edit

untitled - 424 - January 24, 2016-Edit

untitled - 480 - January 24, 2016-Edit

untitled - 509 - January 24, 2016-Edit


Lens flare control can be very easy

Light is the language of photography.
Learning to understand and control lighting is in my opinion vital for a photographer, in essence you should be able to take a good shot in almost any situation. That’s also why in my workshops and instructional videos I always give a lot of attention to the more “cool” lighting tricks you can pull off when you are able to manipulate your light.

 
In this blogpost a very simple tip, but a very powerful one.
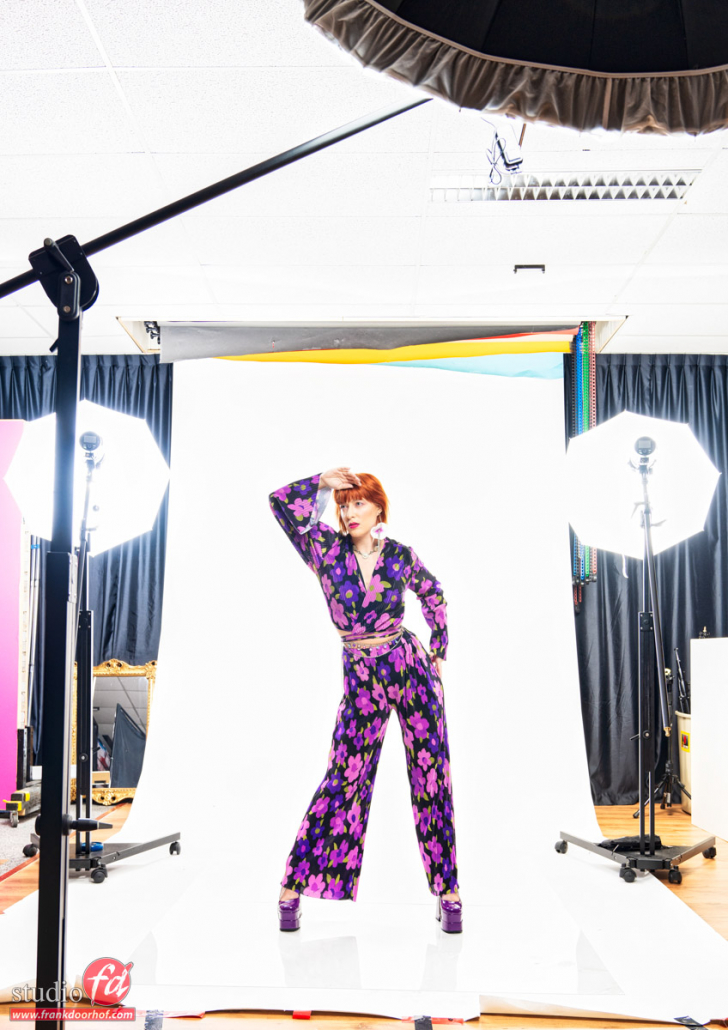
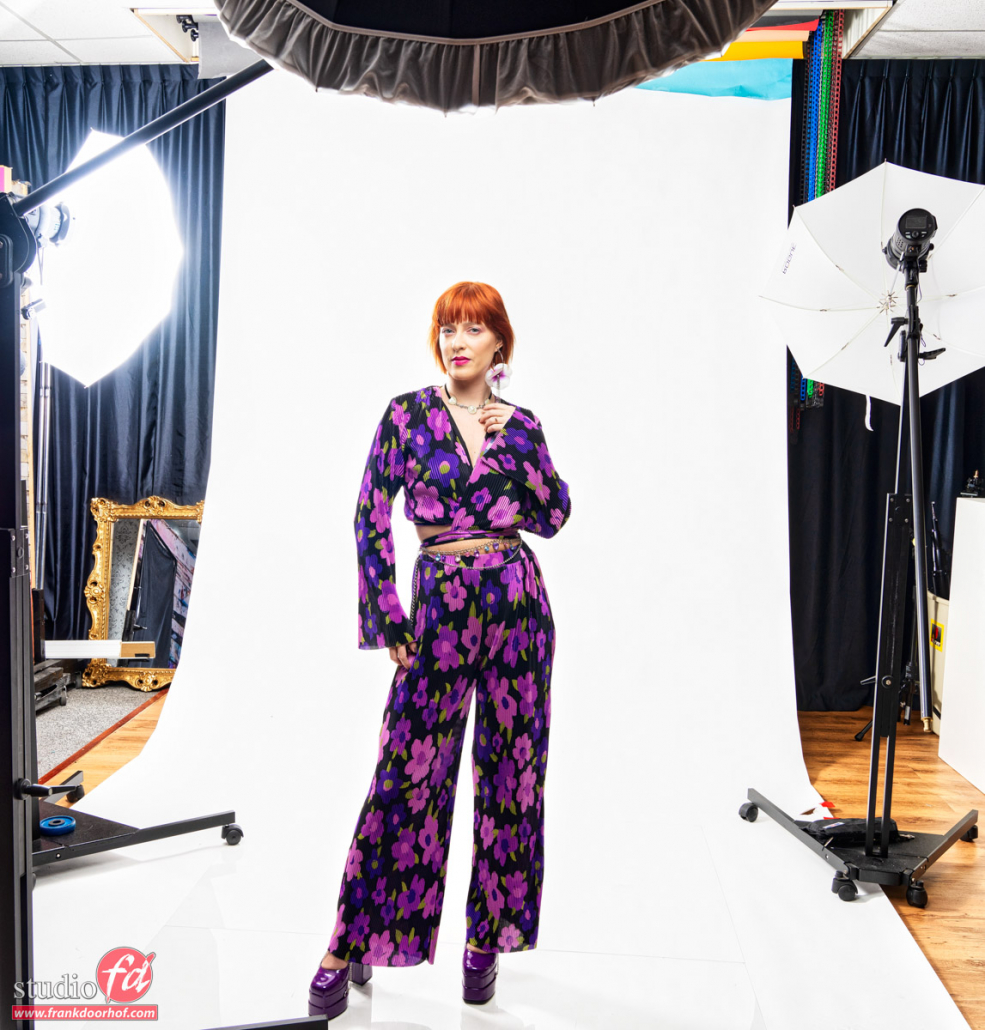
If you shoot with strong backlight there is a huge chance on lens flare, and although some think that is a bad thing, I actually love to play with it and also love the effect it has in a photo like this.


Now as you can see I show you two images, one with lens flare and one without… how did I do this?
It’s actually very simple.


Your lens hood has a certain “reach” and sometimes that’s just not enough to take away the lens flare if you want it out of the shot, the solution is however very simple… just use your hand to block off the lens flare, hold your hand above the lens hood and move it forward until (in the viewfinder) you see the lens flare go away. You can even spread your fingers and play with some cool effects 😀

Sharon Januari 8 2016 30840