Tag Archive for: photography

What we did during the workshop with Lois

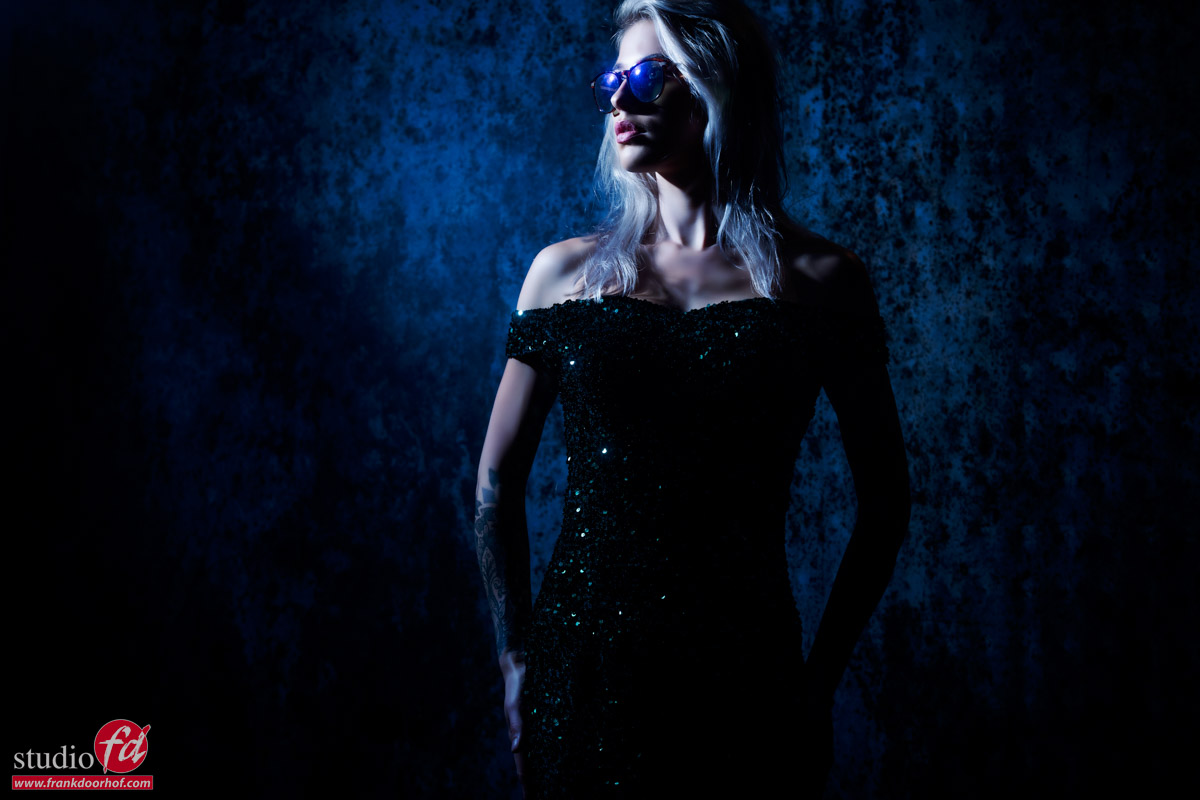
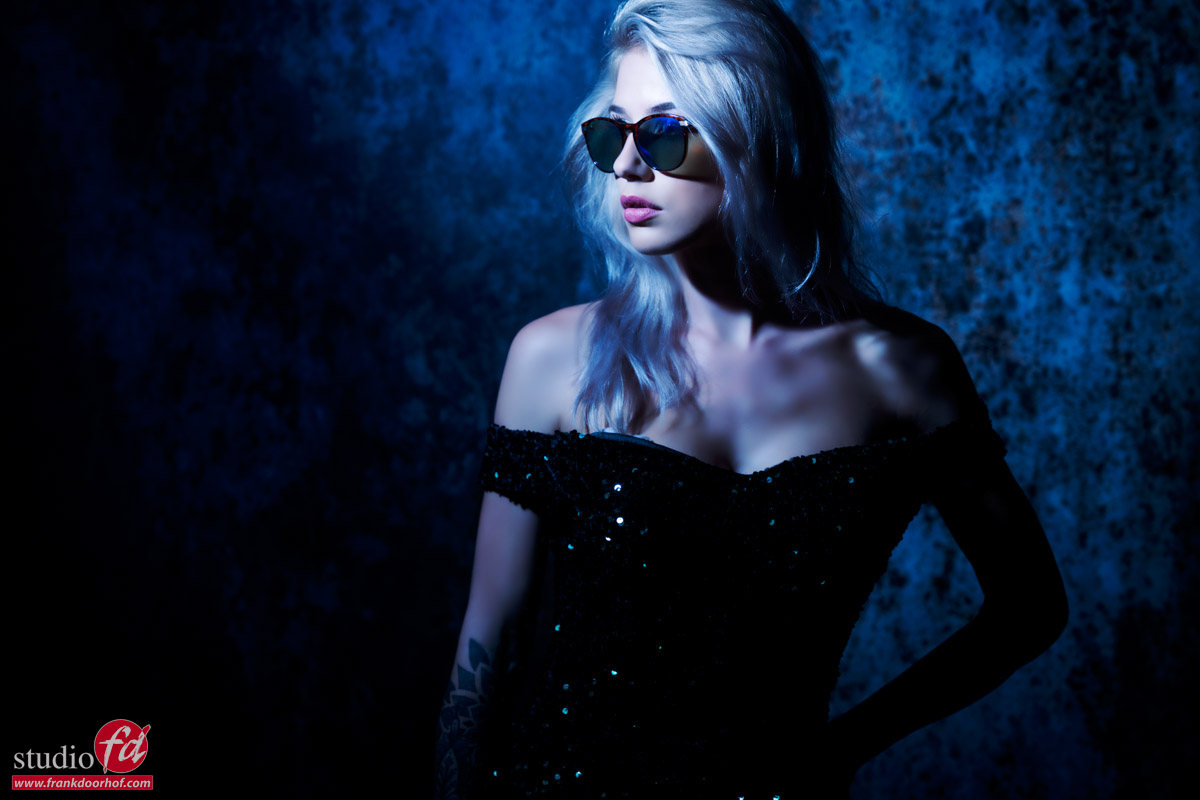
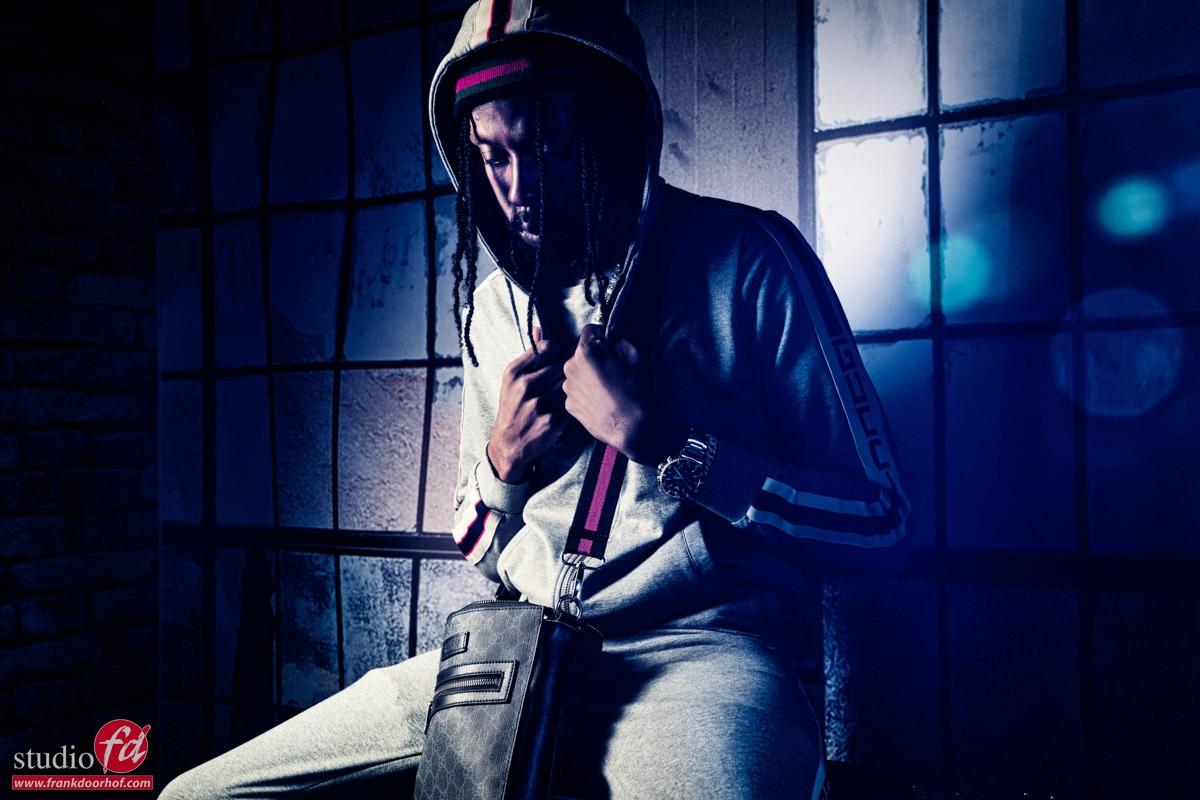
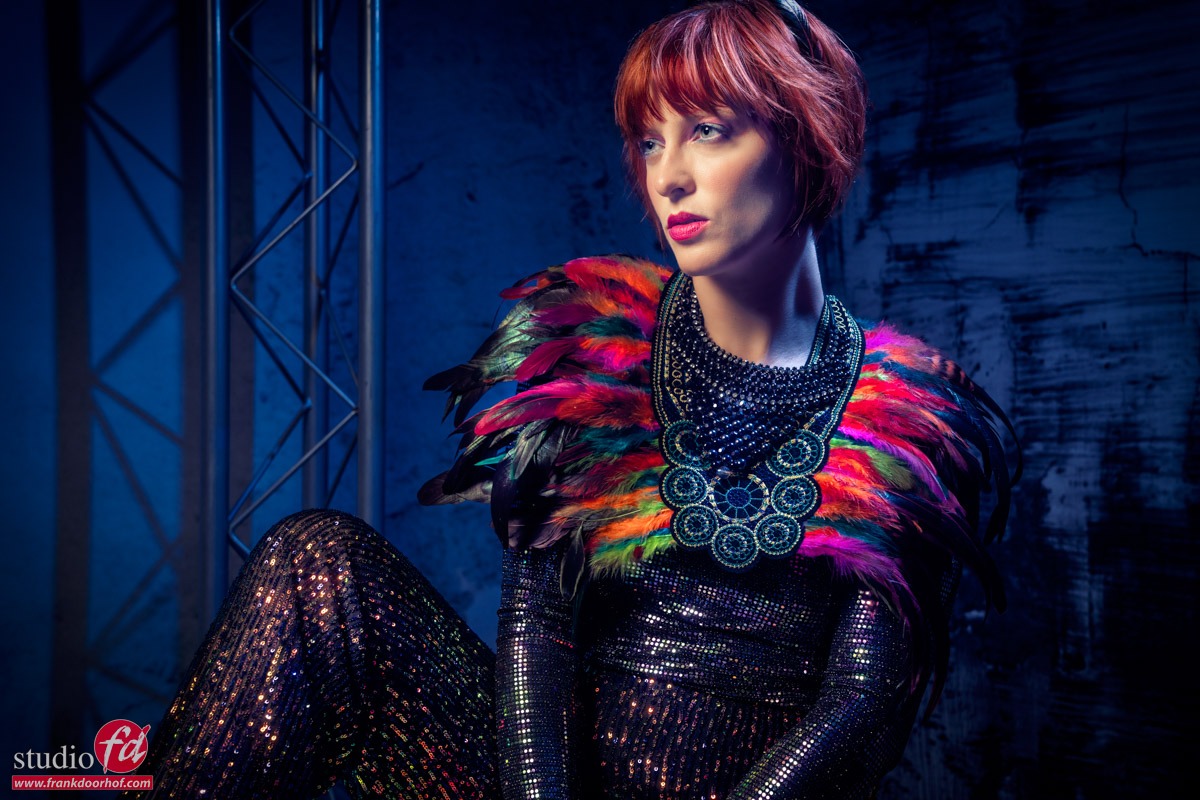
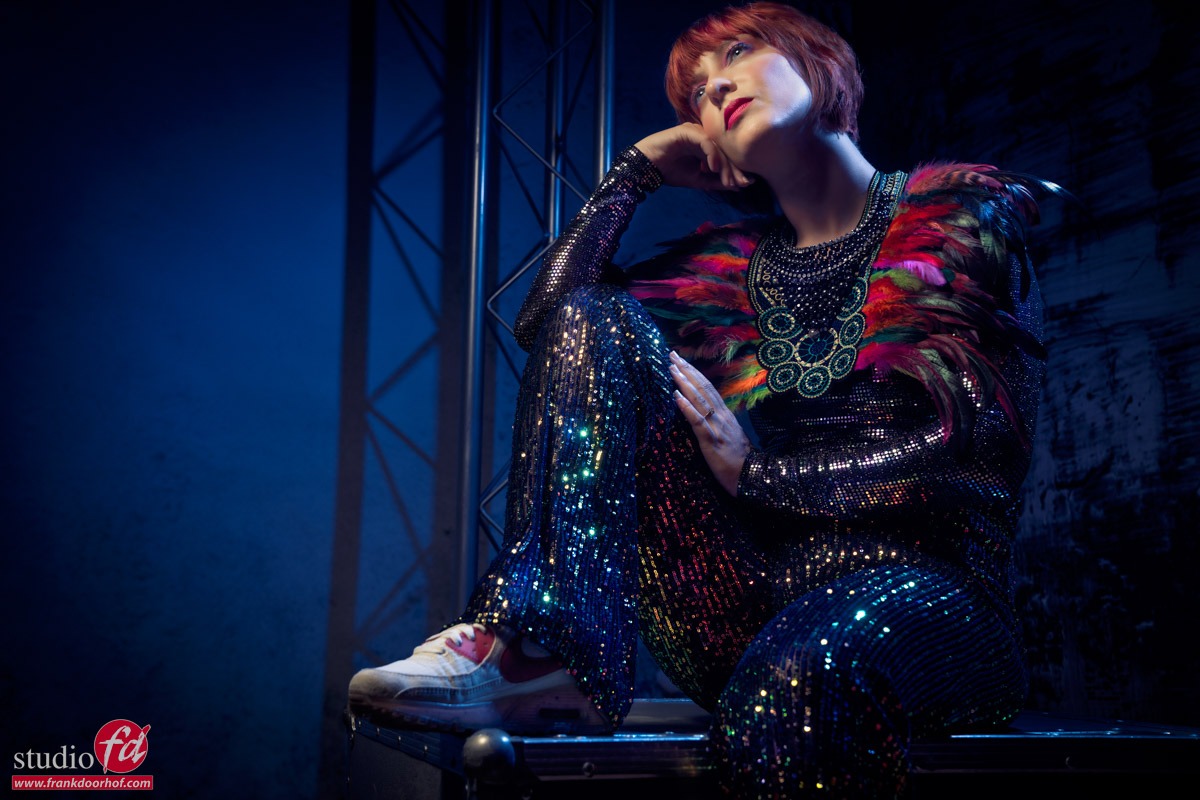
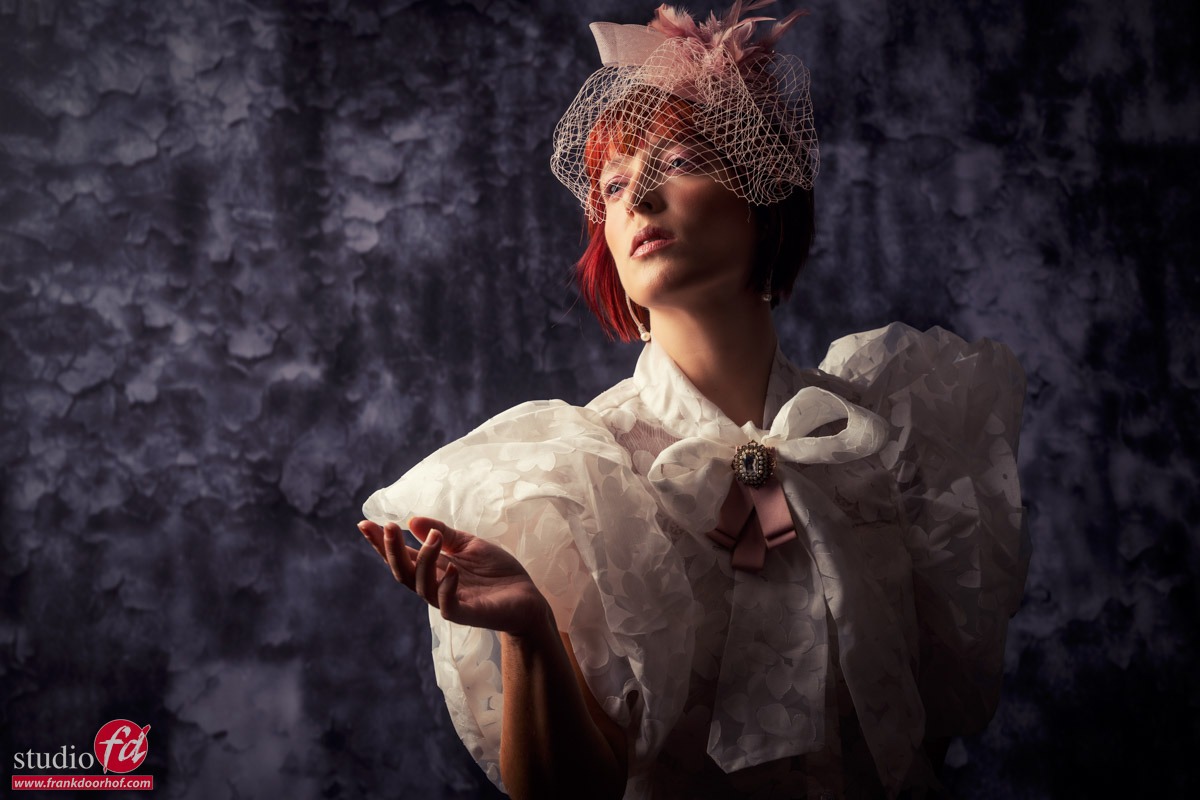
Today a few results of the workshop with Lois.
During the workshops there is always a theme, but within the workshops the rest is free on the base of what the group wants to learn, this way you always experience a workshop that is exactly tailored to your needs.

The theme of this workshop was “essential lighting techniques” based on the Tutorial with the same name (I highly recommend getting that one), I sometimes call this the “starters” workshop but actually that is not entirely true, this is the workshop where we work with more standard setups such as the butterfly and Rembrandt but this is often quickly supplemented with adjustments to make the image a bit more spectacular.

During the first set we use a Brown Punch background from Clickpropsbackdrops.
This is a very nice background which can be used in almost any situation.

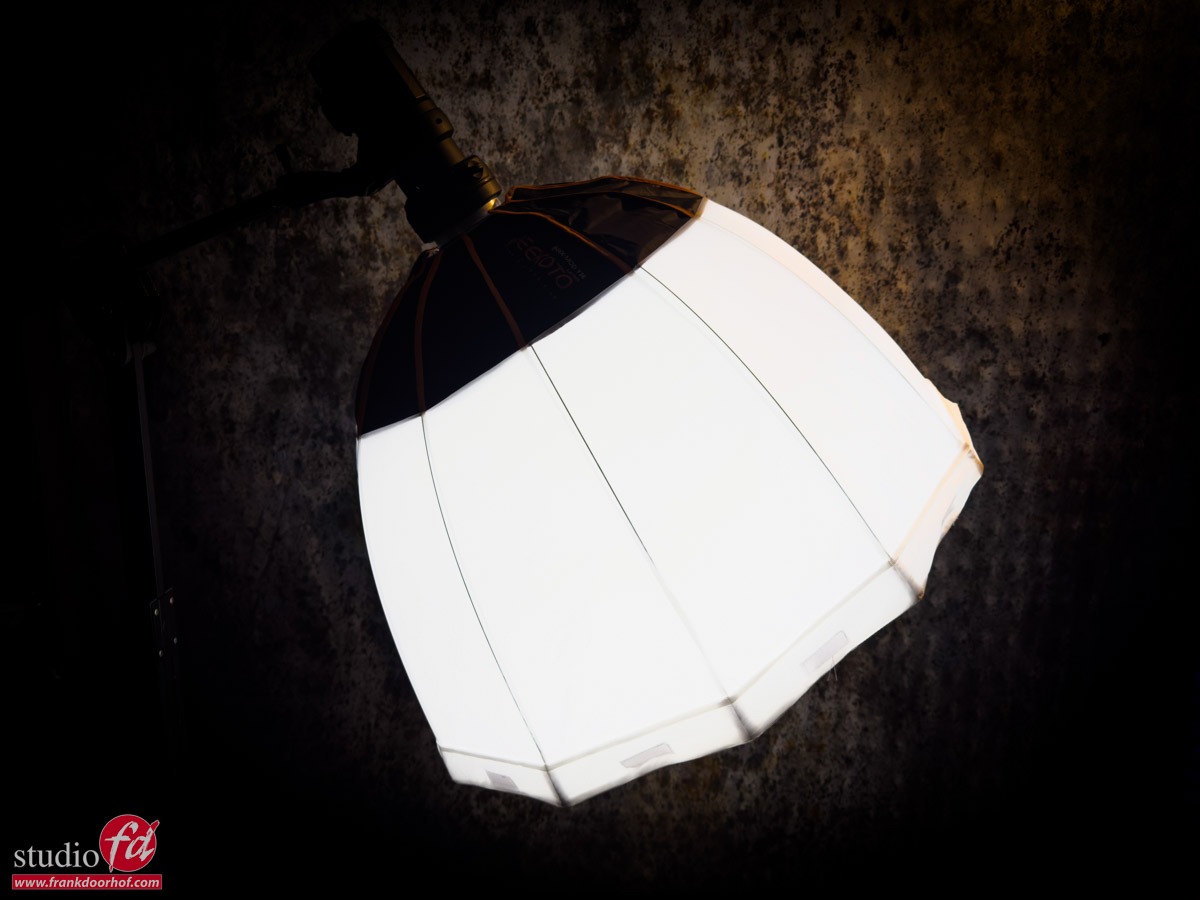
In this set I only use a softbox from Hensel with grid focused on the model but in such a way that there is also some light in the background.

In the next set we use the Earth stacked master background.
This is a background with a fantastic 3D effect, this is of course fantastic to process in a light control workshop, or always pay attention to how the shadows fall and you can get fantastic results.
As an extra flash I end up using a blue gel here for some extra atmosphere and accent on our model.

With this set it was not only important to make it look like we were really shooting on location, but I also used a technique here where I color the set via a fill in flash with gel. And as you can see from the focus effect, I have used the Lensbaby here. The graffity door 1 background is awesome for this kind of sets. You can really use if for story telling, and I absolutely love that in backgrounds.

This remains one of my favorite setups for beauty portraits.
Of course, there is a bright background, and in this case I have chosen the Sweethearts.
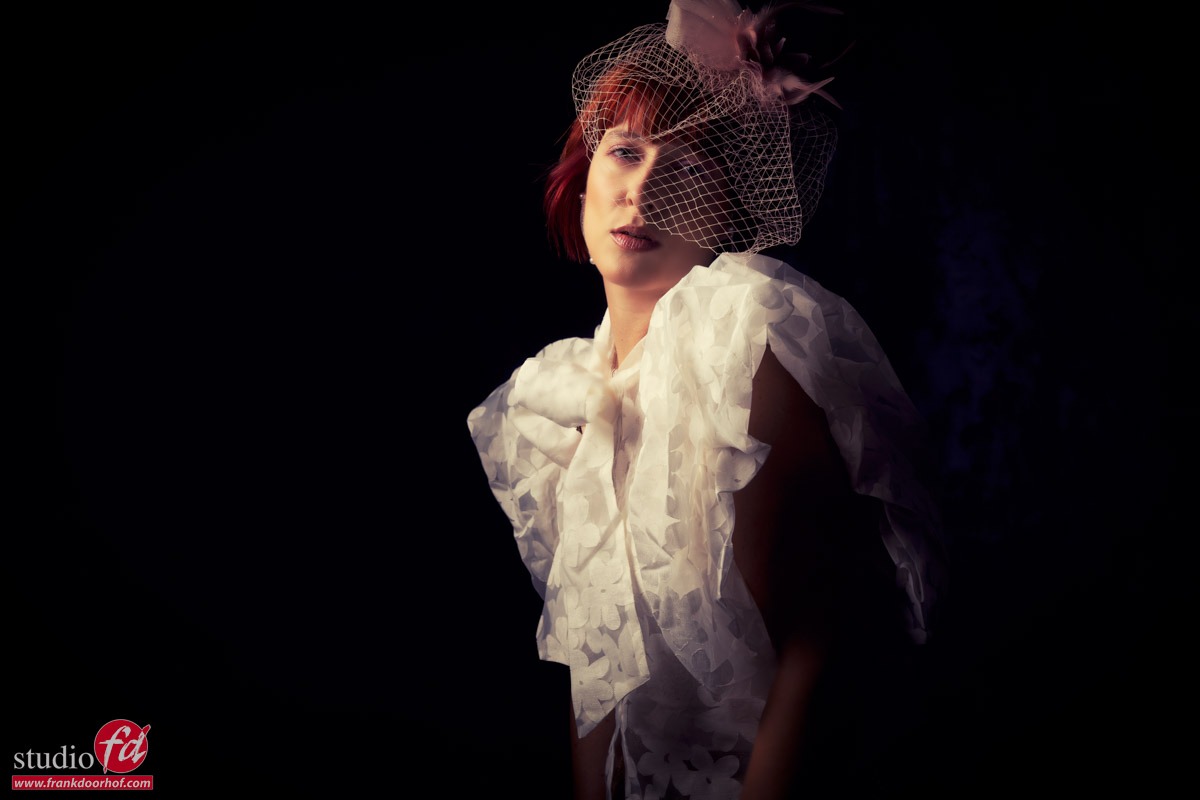
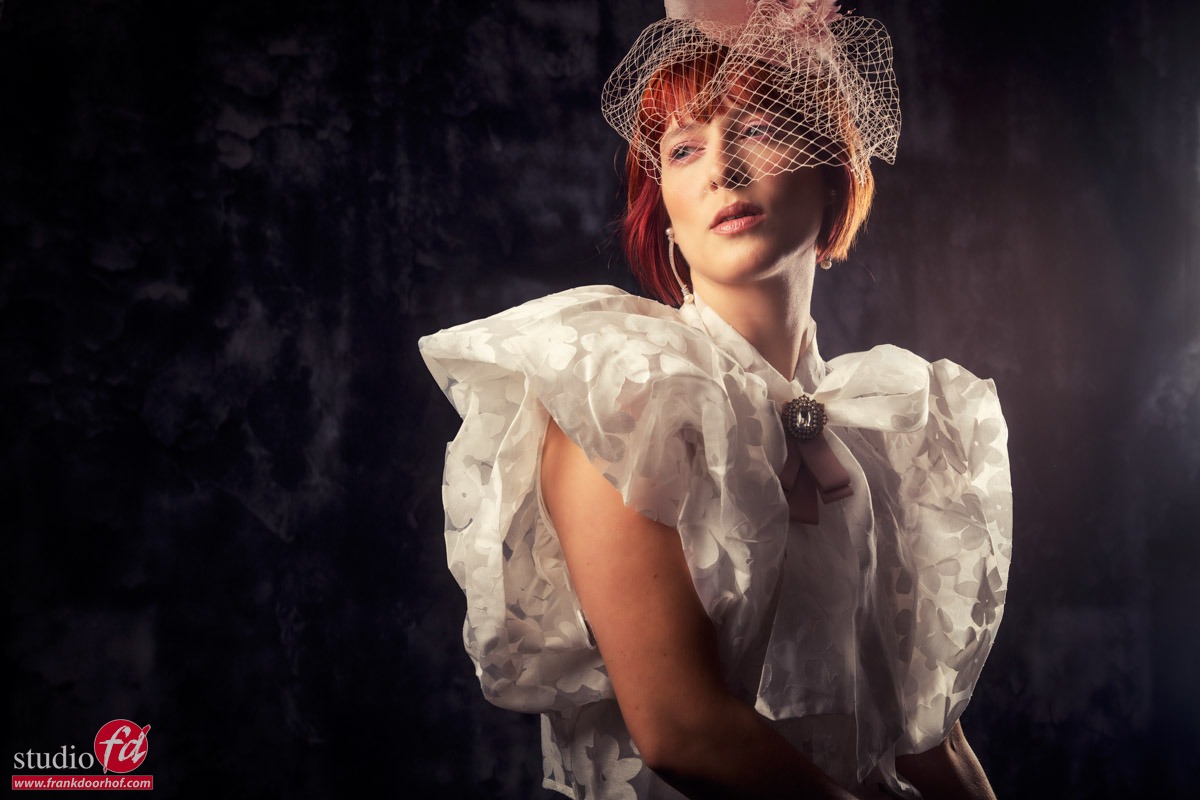
I use a triflection system here to open the shadows, and the sides of the clothes. On both sides are strips with grids that provide a considerable output. By feathering this I get a lot of lens flare, this lens flare is turned on even more by the K&F Concept Black Mist filter. You can see an ascending effect here from no filter to 1/4 and 1/2.

Lets start with no filter.

Now we move up to the 1/4 strength

Ok now lets start to add a bit more lens flare by switching to 1/2 and playing a bit more with angles so we can also get the left strobe in better, due to the added strength both will now be easier to capture.

And the final result with an added vignette.

And finally it was time for the set.
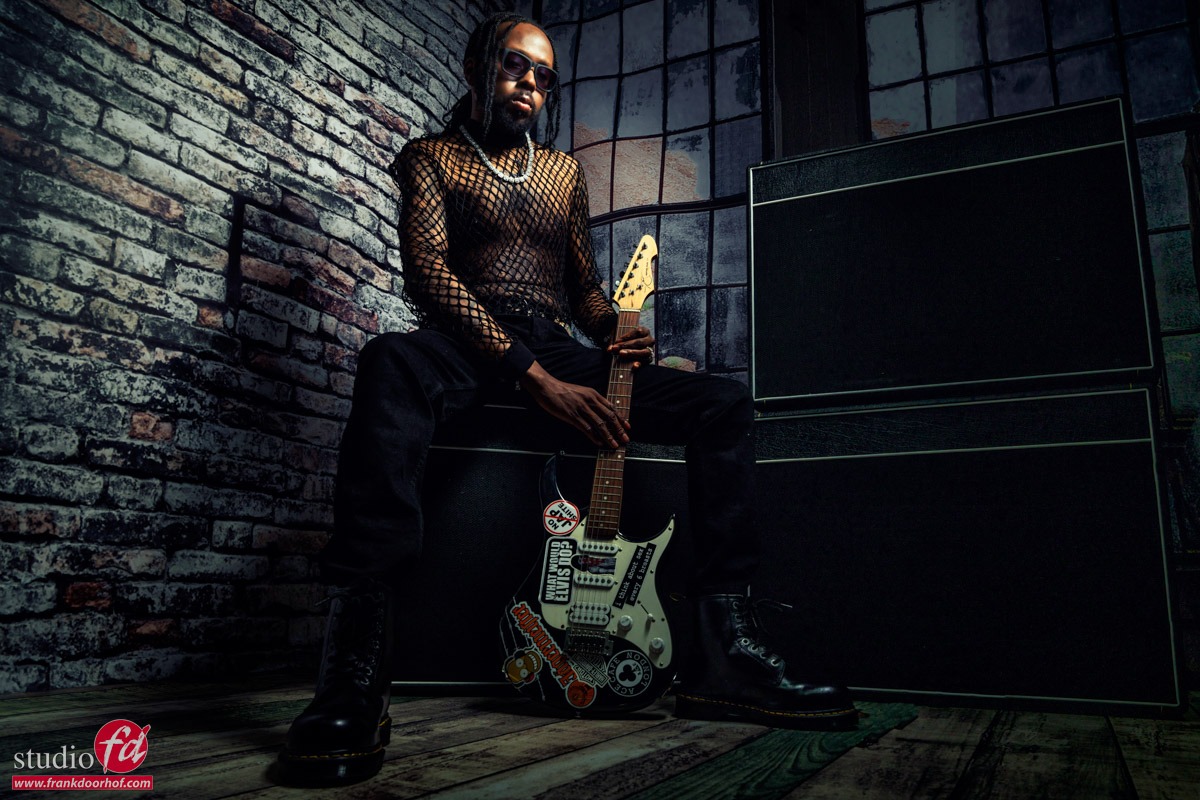
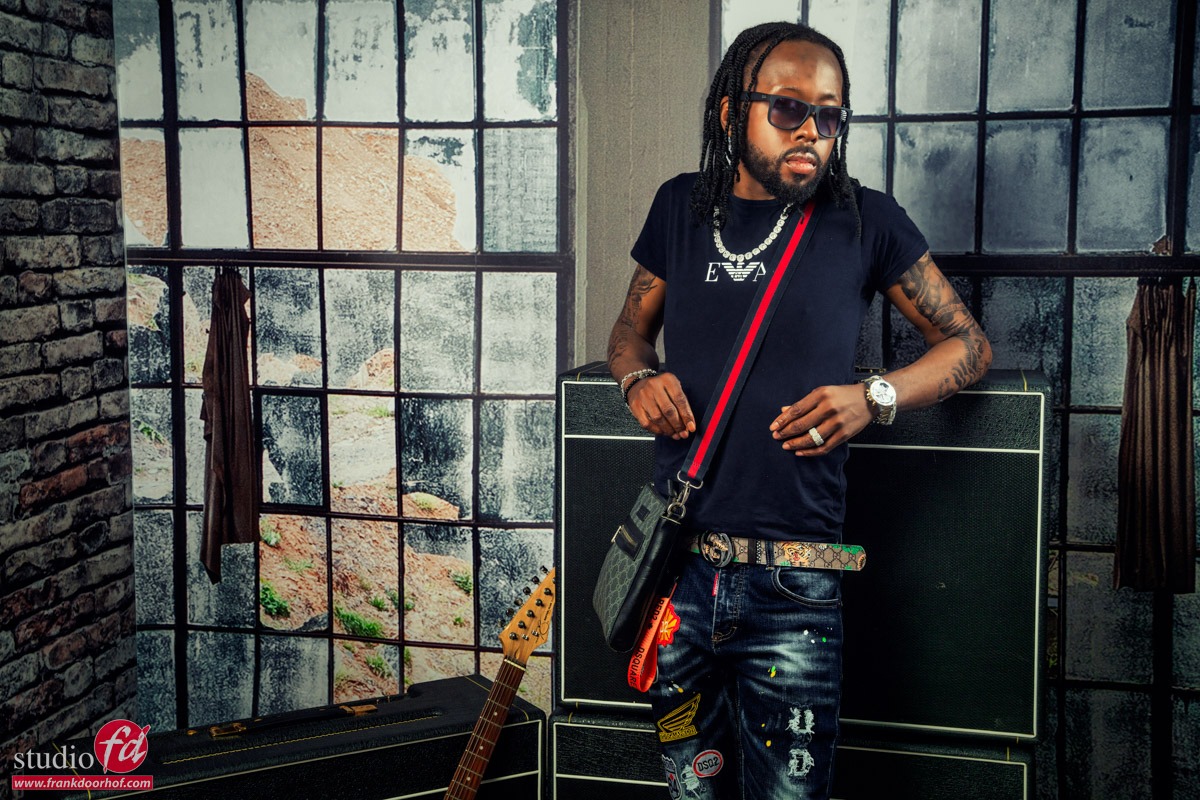
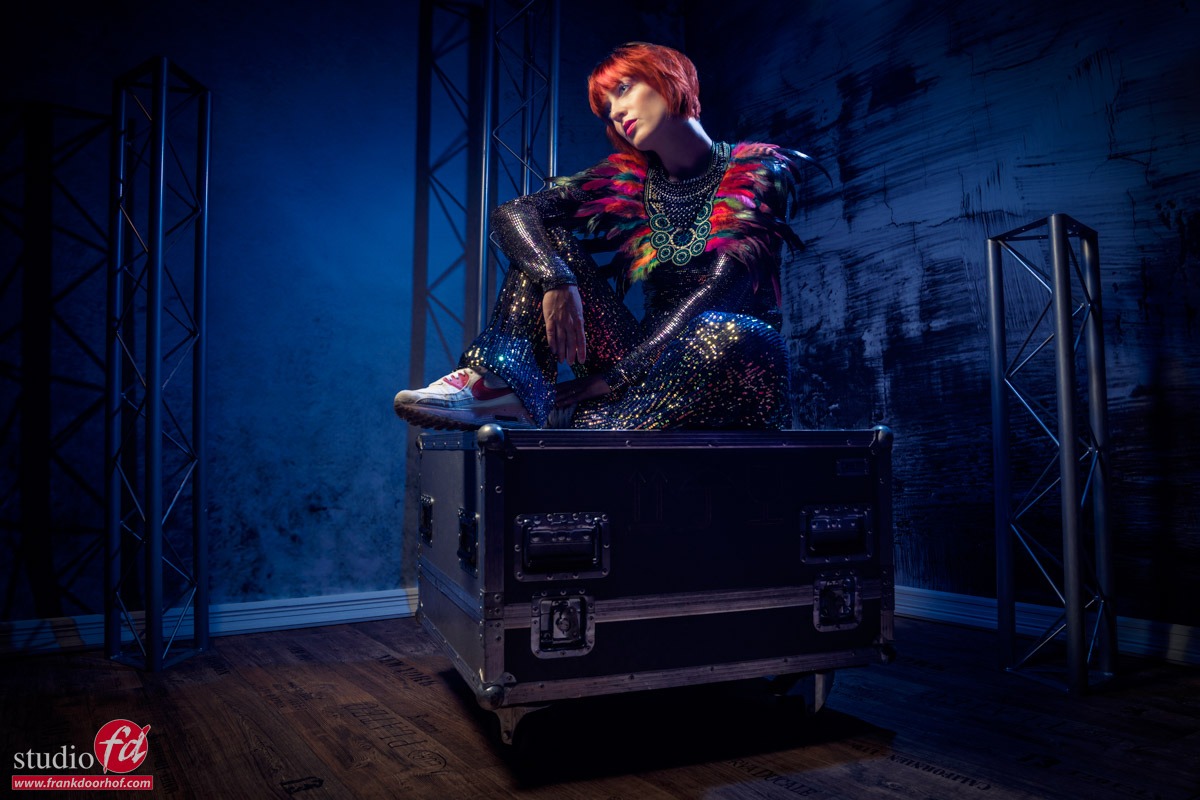
This is a really fantastic part of the studio to get creative. I use the Antique wall navy as “main background” and on the top to create a corner a ProFabric Chintz reclaimed, I chose this because it is quite dark and I can easily use it as a very dark background in the photo but still show some detail due to the print so that the photo / set looks a bit more “organic”. But the material also responds very well to color gels and can even be illuminated from behind, so it gives me a huge amount of possibilities. On the ground I use a floor part from ClickPropsbackdrops. A big advantage of loose floorboards is that you can change freely and thus build up a much larger variety than just the floor that is present in the studio.

Besides the main light I’m using a red gel here, because the light is pretty far from the model the 1/2 strength KF concept filter really helps with the lens flare. When the lights are close to the model the 1/4 is a great allrounder but when you want a bit more room in the set the 1/2 is absolutely awesome.

The first image is without the red gel, I already love the way the effect of a real location is created. The vinyl prints are really awesome on photos and add to the illusion of being somewhere else.

But let’s start by adding the red gel and see how the background material responds to the light. This is something that is often overlooked, but every material will respond differently on lighting. And I just love the way the Vinyl mixes the colors.

In the coming week we will release a video per set with an explanation of the lighting on our YouTube channel

You can get everything I use in our webshop via www.frankdoorhof.com/shop

Samsung Galaxy S22 Ultra first camera test

It’s not secret that companies promise you the world when they want you to buy their products.
I remember one for the first smartphones I bought and the response from the seller was “you’ll never need another camera anymore, yes it’s that good, I don’t use my DSLR anymore”

Now this was many years ago when the quality of the photos always made me wonder if it was night all the time or if there was some weird snow or rain falling in the shots, in other words, muddy shots with loads and loads and repeat loads of noise.

Ok, when you shoot under perfect conditions there…. no I’m not even going to try they just plain sucked.
And in all fairness not a lot has changed, look at the presentations from Apple, Samsung etc. and they all promise you the perfect camera experience and better performance than before (yeah it would be weird if they said, it’s worse than last year)

I love gadgets and smartphones so most of the times I will upgrade almost every year when the latest and greatest is released and in all honesty I’m mostly highly disappointed. Up until I got my first Huawei phone… wow now that was a difference, it was far from perfect but for the first time I owned a phone that I would label as a hobbyist camera. In other words if I walk around without a real camera I’m more than happy with the smartphone images. But the UI and operation of the camera was… well it’s a smartphone you probably know what I mean right? It just doesn’t feel like a camera.

This changed when I got my Sony Xperia 1 II
Now when we talk about a real camera experience I must say Sony hit the nail on the head and hammered it all the way in. Yes it’s that good. If you ever used one of their amazing Alpha cameras it immediately feels familiar. They do use two apps but when you use the Pro version there is really hardly anyway to go back to the original camera. Also the dedicated shutter button is absolutely genius and works like a charm, the camera is super snappy and switching between the three lenses is fast and easy, even with gloves. The whole experience is a big 10+, The output is also very good in RAW, especially under ok lighting, as soon as it gets to dark the Sony really dives down in quality, and this is something I did miss dearly on the Sony, the Nightmode I got so used to on the Huawei series. But as a photographer I’m honestly more interested in RAW output without any tinkering than a nightmode… but still….

Well if you saw the Samsung presentation one might get the impression that they finally solved all the problems, this is the camera that can also make calls…..Because I did need a new smartphone I decided to take the jump and ordered the Samsung Galaxy S22Ultra 256GB. So lets make clear that I paid full price for my phone and I’m not at all associated with Samsung in anyway.

I’m totally going to skip the Android part, the only thing I can say is that I’m always pretty easy in switching OS and get used to things very easily, but some things I do want to point out.

Most people are active on social media and this is also where a lot of our images end up (when is the last time you printed your images?) so the sharing menu for me is incredibly important that it’s fully customisable and easy/fast to use. This is something that a lot of phones can improve and Samsung did do it right here by making it possible to have a lot of destinations in custom order meaning I can just follow the same order every time I post something I can’t express how important that is.

So up to the cameras
Specs are impressive for a smartphone with a 108MB (binned) main sensor, a 12MP Ultra Wide and 2 10MP tele lenses (3x and 10x).
When looking at the main camera app almost everything is there that you would want (and again fully customisable) we have standard modes for video and photography, a pro mode for both, panoramic mode in wide and ultra wide (nice), nightmode and some more cool things including a ONE SHOT.. (which takes one shot in all the modes you select, now that’s cool).

The standard camera app supports RAW (which is a surprise and awesome) and saves both RAW and JPG files (like most), only on the mainsensor you can opt for the binned output of 12MP or the full 108MP output.

If have to be honest the files coming out of the main camera app are pretty decent and have a lot of play room.
Samsung also has an Expert RAW app which you have to download separately (why not just include it), this app is pure aimed at the pro (they say) and has some real magic going on behind the scenes, 16bits RAW files are already impressive but they also work some internal magic with combining several shots to get some really sharp images that will rival pro cameras.

So is this all true?
Let me start that on the screen of the Phone the images just made my jaw drop on the floor and bounce back a few times. I’m not easily impressed but wow this is something else. But after loading them into Lightroom and looking at them on my 12.9″ iPad Pro there are already some issues, but still they look more than decent, I would even say impressive).

Where it all just gets a lot worse is when you open the images on a desktop.
Where the Sony RAW files exhibit plenty of detail and enough dynamic range to do some proper editing the Samsung files in expert RAW do have the same or slightly better dynamic range (especially from the main sensor) but it does cost you dearly.

When zooming in on a proper calibrated BenQ monitor it’s clear that Samsung needs to go back to the drawing board and do some fine tweaking for people like me.

I’m not saying the images are bad, oh far from.
But they suffer from an insane amount of sharpening that should NEVER EVER happen in a RAW file, in Lightroom I have to lower the sharpness all the way to zero to get some of the ringing out of the shots but it’s never totally gone. Now I have to be honest I did not held back in my test images, which you can see at the bottom of the review. Loads of small cables from the boats and of course a high contrast backlit sky. So in most normal situations this will be a non issue or not noticeable but hey we are doing a proper review not a consumer point and shoot review 😀

Where it gets worse is in the combination of images. Somehow you can see that the AI messes up considerably by adding the images together, again I chose some pretty difficult things to shoot, but not that difficult. Some areas of the images are very nice and detailed but a bordering detail can be very painterly or not even sharp, it’s a weird combination of sharp areas and painterly blotches.

Today I intentionally only used the 108MP sensor in the normal camera app and the other images were all shot in Expert RAW, I’ll repeat the test very soon by using only the main camera app in RAW to see if that “stacked” problem is less obvious there.

JPG vs RAW
Where I do have to give a lot of credit to Samsung is the quality of the JPGs.
As you can imagine I’ve seen a lot of different cameras and smartphones but man when looking at the pure JPGs coming from the Samsung one REALLY starts to wonder if shooting RAW is actually worth it. In the gallery I did add some images that are both JPG and RAW, where I have to be honest I do like my RAW processing more because I feel the Samsung is overdoing it a bit/a lot BUT that being said for most users I think they will prefer the JPGs, and on social media I honestly feel the JPGs do a tremendous job and I would not advise using RAW for that kind of usage. Of course if you want a bit more… RAW is the only way I think.

But let’s just for fun already compare two shots.

After my text it’s easy to spot the JPG (second one) but you can also see something else when you take the original files.
Samsung does a lot more than just play with shadows and highlights. I tried to get the exact same look in Lightroom and I just couldn’t without using some kind of masking so for a smartphone this is I think very impressive. The question is do you like it…..?

For who is this phone/camera?
And is it like the Sony a camera that can do other things, or is the Samsung a Phone that can take images?
Well it most definitely doesn’t come close to the UI and dedicated shutter button of the Sony, you can start the camera/expert RAW by double clicking the power button and use the volume buttons as shutter but this is very unnatural, the volume buttons are on the left top side of the phone and ALL cameras (as far as I know) have their shutter buttons on the right side. Meaning I’m always covering my screen when taking a shot, or I have to force myself to use my left hand, which for me feels incredibly unnatural.

That being said, I think the output is very impressive.
During day time the Sony wins hands down when using RAW and 12MP. The files are much cleaner and can be pushed more than enough. The Samsung however wins hands down with special modes like nightmode (which I love), one shot, more range with tele etc.

So… when walking around and shooting images for social media the Ultra 22 might actually be a total overkill camera, the quality is insanely good and it’s almost a shame to post the images on social media only, but that’s where the problem also arises, they are so nice on the smaller screens that you are almost disappointed when you look at them on the big screen, loads of painterly effects, way to much sharpening etc.

Conclusion for now
One could say this is more a review about the Expert RAW app which I absolutely love. Giving all the freedom to the photographer for shutter speed, ISO, focus (with peaking :D) etc. is essential if you want me to take product serious, but RAW for me is RAW meaning a total readout of the sensor without ANY interference that could be labeled as preference. Working with the Ultra S22 leaves me literally split in the middle.

For social media I think this is without a doubt the phone to beat, it crushes everything I saw so far in options, 10x tele might seem useless but the quality is so good it actually does make sense, HOWEVER I’ve seen several reviews that zoom in from the main app, this is not using the tele lens as I understand it (also explaining the very bad quality they show) you really have to switch between lenses, and than the tele lenses are very very good for a smartphone.

For professional use, I would love for Samsung to change some things in the expert RAW app, PLEASE turn down that bloody sharpening and noise reduction, it’s insane we can do that ourselves in Lightroom so if you label something expert don’t treat the users like dummies, we know what to do 😀 I think if Samsung would dial down on those settings you’ll get a lot more noise in the images but I’m 100% sure that Lightroom can do it a lot better than what I see now.

Still I have to be fair towards Samsung, this is one bloody good camera and maybe it’s totally unfair of me comparing it to a real SLR but hey if you claim it, you better make it so and although this is a really really good smartphone camera it’s nowhere near the quality you could get out of a $700 SLR. But putting that into perspective it’s now finally getting to the point where someone (like me) can say “it’s good enough”.

I would however love it when Samsung somehow made it possible to switch between the standard camera app and the expert raw possible within the apps itself. I find myself constantly switching and that means I can use one app without starting my phone and if I want to use a feature from the other one I have to close everything and open up the phone. It would be a huge deal if that wasn’t necessary and there would be a switch (like switching between selfie and front) that would just switch between the apps.

I do have to add one more thing.
In the Ultra22 Samsung did something that I think is really smart, they replaced the Note series. One can argue that the phone is too bulky or squared off and I agree, but a smaller phone doesn’t give me the options I need to edit the images easily, and my case will make it more rounded and easier to hold, so it’s a large phone…. we know. The thing I however feel would really draw creators in is the inclusion of the S-pen, now talk about something insanely handy and professional.

I could do a whole review on how to use the S-pen to take photos from a distance, or make it follow you with the camera, but most of the times I use it to retouch images on the screen, using the healing/clone tool in Lightroom with your fingers is terrible, on the iPad Pro it’s awesome with the Apple Pencil but the Samsung S22 ultra with the S-pen strikes it perfectly with the balance between the pen (not too small) and the screen size, retouching on the iPad Pro 12.9 is still a lot easier but for on the road the Samsung with S-pen will do just fine and will really be a part of the package that photographers/creators will fall in love with.

Here you can find some images in the gallery.
I also enclosed the original files for you guys to play with, it’s a hefty 500MB download so make sure you sit tight.
Download the file here.

I’ll do a follow up if necessary with the stock camera app and nightmode.
If there is anything you want me to test just ask.

Weird lines…

I do want to add one more remark. When starting the phone and using the fingerprint sensor I see some weird colored bars on the screen. Also it seems the proximity sensor doesn’t work as it should with taking screenshots. Let’s hope this will be solved by a firmware upgrade.

Mobile workflow iPad (pro) photos and lightroom and small review section

As you all know we are working on figuring out if the iPad pro can be a full replacement for a laptop. Well let me rephrase that, it will never fully replace a laptop, but let’s say I want to see if for travel we will be able to leave our laptops at home and do everything on an iPad pro.

So what do we do?
Well first off it’s the simple things like Email, browsing, media consumption, reading comics/magazines, playing games while flying etc. and I can say… well as expected no problem at all.

But I also do a lot of video editing, and this was a bit of a challenge on the Android tablet, although there is a good file system (please hurry up with iPad OS Apple) there are no real killer apps for video, of course we have Powerdirector which is pretty awesome but also pretty limited, I could do my videos on it but only if I’m willing to cut corners, which in all honesty is ok for once but certainly not for every video. Project Rush is awesome but only on Samsung phones, so this actually pushed us towards the iPad pro, now I have to add that although I love project Rush, when travelling I need a bit more (seeing I can’t finish projects in Premiere when I don’t bring a laptop) but luckily there is LumaFusion, and oh my… if there ever was a reason to run out and buy an iPad pro it’s LumaFushion, I can’t really express in words how awesome this app is, think about everything you want from a good video editor and LumaFusion has it, and editing with touch…. it’s just awesome.

Ok but today it’s about something else.
And it’s actually about something that will be easier soon, but still I wanted to give you this tip.

The Lightroom CC problem
Lightroom CC is a game changer, let me make that a bit more clear it’s a GAME CHANGER… sorry for shouting, but it really is. The moment Adobe released Lightroom Mobile I was intrigued to see where this would lead, and in all honesty it never went anywhere, it was a total disaster, this might sound harsh but I’m totally honest it was just unusable due to the fact you were very limited to what it would hold picture wise. Lightroom CC changed everything, now you can really work on your files both in the cloud and locally and it’s just a very well thought out application. I still miss some things but I’m pretty sure Adobe will add this to the future releases.

But it’s not all perfectly.
Let me just walk you through the frustration and how I solved it (well pretty much). I’ll give you 3 solutions that will hopefully fit everyone.
Do remember that when iPad OS is released, it will be a LOT easier.

Normal situation
We shoot outside and come home with 300 images.
Downloading the images on the iPad pro is no problem, I use a 512GB version so for small trips this is more than enough to hold all the images, but… when shooting in cities like New York for a week it hardly is enough (I really shoot a lot of images on the streets)


The DJI Copilot is at the moment a must have when you want some serious work done on an iPad (pro)

So my idea was the following
Use the DJI CoPilot to empty the card to let’s say folder “Day 1”
Now import all the photos into Lightroom CC and….. oh wait this is Apple.
First import all the photos into photos, and than import all the photos into Lightroom CC.
Now star/flag the ones I want and delete everything else.
Now edit the files and just leave them on the device in the album “Day 1”

Day 2 comes and we do the same.
Empty the card on the DJI CoPilot.
Import, flag, delete, edit… done.

Well yeah, sounds great right?
When I’m home I just copy all the days with all images from the DJI CoPilot to my desktop.
Now sync up Lightroom CC and choose “Save original + settings” and just copy these OVER the files that are already on the desktop.
Now when you sync everything up in Lightroom Classic it will import all the images and will show you the flagged images including the retouches so you can save them as TIFFs, or just leave them there, whatever fits your workflow.

Sounds great right?
Well yeah it is, it saves you a lot of space on the iPad pro, all your files are save on the external drive and the retouched images are in the cloud, or on the iPad pro when there is no internet to upload, easy peasy awesome….. well not quite.

The Apple issue
When you delete all the images in Lightroom CC that you did not select, it doesn’t delete those images from Photos (film roll). So you have a few options to work around this.

When you don’t shoot a lot of images
Don’t
If you only travel for a weekend or don’t shoot a lot, no problem at all 512GB is a lot of space so you will not have any issues at all.
Just backup everything from the iPad when you’re home and you’re done, and with Lightroom CC you don’t even have to connect anything it just syncs everything.

When you shoot a lot
Creative Cloud storage is not free, and it isn’t much in most cases, for me it’s 100GB sounds like a lot, but if I can fill a 512GB iPad… well do the math (it’s not that hard). So we have to find a way around.

Solution 1 (not perfect)
Import ALL photos into Photos (filmroll)
Now just browse and select everything you like with a hart, this will put it into the favorites folder
Now it’s easier to select all the other images and delete them so only the favorites stay, import only the favorites into Lightroom CC and you’re done.
This is already a very fast workflow and works pretty well. But we want more speed of course.

Solution 2 (pretty cool)
Import ALL photos into Photos (filmroll)
Now download the free app called “Slidebox”
This is a really cool app.
When you open the app you can “tinder through your images”
Swipe left and right to go to the next or back
Swipe UP and you thrash an image, selecting the keepers this way is incredibly fast, and Slidebox saves your trashcan so after your selection process just look in the trashcan before you say “delete all” and you’re all done.
Now import the left over images into Lightroom CC and… voila.

Solution 3 almost perfect, well at least it’s very close
On the road just empty the cards on the DJI Copilot
Now via the browser app from DJI create the folder structure and copy everything where you want it, do remember that renaming is not possible in batch (yet)
Now instead of creating the selection in photos, just import everything into Lightroom CC, but put your tablet/phone on airplane mode (unless you have a steady and fast internet connection).
Make your selections and only keep the images you like (the 5 stars)
Now Lightroom CC only has the selects
Take your device out of airplane mode and let Lightroom CC sync to the cloud
It will now upload all the files that are still in Lightroom CC
When this is done.
You can now safely remove all images from your photos app (remember the full res originals are now in the cloud)
When you’re home copy everything to your Lightroom Classic locations, don’t rename yet
Now sync Lightroom Classic with the cloud
Drag the images to the same locations as the RAW files
And now you can rename everything but keep the edits

This workflow is the fastest and saves you a lot of space on your tablet. The only disadvantage is that first you have to trust the cloud (remember the originals are still on your drive so the worst that can happen is losing the edits) and when you’re without wifi or connection you can edit in Lightroom CC but not in an external program for the simple reason the original files are not on your device, only smart previews, unless of course you set it up that Lightroom CC saves the original files, but that will cost you space.


Conclusion Photography workflow
The main problem with all Apple products like iPhone, iPad etc. is that you don’t have a proper file system, when I look at what my Android devices do it’s so much easier to work with larger file amounts, you can just open with an app from every directory where on the iPad I often have to move files from one folder to the other via via (it’s not user friendly and the chance that you make a mistake is huge), however with the announcement of iPadOS this will all change (September), after that update you can just use external drives and work from those and you will have a proper file system, I just hope the apps will also support this…. but I guess productivity apps like LumaFusion and Lightroom will do this without a doubt.

Now when you read the solutions you might think it’s a lot of work… but trust me it isn’t.
IF there is a good file system it will be faster but in all honesty solution 2 is a very fast way to work around this and solution 3 is using all the sync options from the cloud which makes that one actually my favorite, the only thing you have to keep in mind is that you don’t rename your images before the synced images and the ones from the drive are all together in one location.


A keyboard case is a must if you want the iPad to replace a laptop. I’m using the Logitech slim because of the back lit keys.

Conclusion on the iPad pro so far
I get a lot of questions about what I think about the iPad pro so far.
Let me state by saying I’ve always been an Apple fanboy, and although I didn’t own any Apple products anymore I still followed the news and keynotes and it actually really hurts me seeing Apple has lost it’s way to be attractive to creators like me (people that are willing to spend some money but don’t have a money tree in the garden) however with the arrival of iPadOS this might totally change for the iPad line up, especially the Pro line up, let me quickly explain.

Video editing
The limitation is without a doubt that you work with apps instead of full programs, on the other hand…. isn’t an app also a full program?
When I look at for example LumaFusion (coupled with a good filesystem (and this is really key)) I can only say that although it’s an app on a tablet I can do the same things I can do with premiere or Final Cut, ok this is not true… let me say it like this, I can do everything I need. And believe it or not, but editing on the iPad pro is actually faster than on my Dell XPS 9570 i9 with 32GB, yep I hear some people going like “Really Frank, come on be serious”, oh I’m very serious (almost to a point it hurts). I’ve edited a vlog the other day including some H265 drone video material, my normal 4K material I can edit on the Dell without using Proxy (as long as I don’t grade), but H265 drone material…. well it doesn’t every play on the time line on 1/4 resolution, if I don’t use proxy it’s unworkable, and rendering afterwards takes a long time.

On the iPad pro believe it or not, drop it on the time line, grade as much as you want and it’s buttery smooth, I actually didn’t notice a difference between the normal 4K H264 and the Drone 4K H265 material, and that boys and girls, ladies and gentlemen is SERIOUSLY sick and impressive. Rendering same story, 10 minute 4K vlog in the highest quality renders in almost real time, 10 minutes and 5 seconds….. wow. On the Dell this is app the same but again that’s one of the fastest laptops on the market as far as I know.

Photography
When I look at Lightroom CC it’s perfect for mobile workflows, same with Project Rush although at the moment I prefer LumaFusion because it has more options that I need (like speed ramps). Also with Lightroom CC I can’t really say I’m feeling I’m working with a crippled app, and let’s be honest when the whole iPad “pro” started that was what you got, shameless promoted very limited apps that in all honesty couldn’t be take seriously. If you can’t export files in anything else than HD JPGs I really can’t take an app seriously, unless you’re an Instagramer maybe.

I can’t wait for Photoshop to arrive on the iPad Pro, for the time being I’m using Affinity Photo and in all honesty I was blown away by what it could do, but…. also a bit dissapointed about the speed, I tried to create a 21 file panorama from my Mavic Pro 2 (Hasselblad version) and this took a staggering 20+ minutes…. yeah serious, my laptop does it in under a minute in Lightroom Classic. Seeing how fast the iPad pro edits video there must be some bugs in Affinity because this is really slow. On the other hand I’m not a programmer and it could very well be that the limitation here is actually the 4GB internal memory of the iPad pro. Overall Affinity is relatively smooth on the iPad pro even with 60MP files it all goes very well, inpainting (a sort of content aware fill) is sluggish on larger areas and far from what Adobe does with Content Aware Fill but…. for an app on a tablet I take my hat off to Affinity and take a deep bow, this is a pretty good and solid photo editor that actually gives you everything you need to retouch.

Doodling or serious drawing
What can I say.
The new iPad pro (my previous one was a 2015 model) has a much better Apple Pencil experience, mostly because you have a different screen and now there is hardly any space between where you touch the glass and where you draw, now in all honesty I draw ok but not good enough to even notice that, but I can imagine that real artists see this as a huge improvement. Same for the insane 9ms lag….. I already thought the 20ms was insanely fast.

For drawing I highly recommend Adobe of course but also check out Procreate or MediBang Paint, especially when you’re into Manga you will love the last one, but Procreate is for me the allround winner, start drawing with it and I can guarantee you you will be hooked. The Apple pencil and the iPad pro are a dream for people that love to draw (I guess).

What’s missing?
A few things.
Somehow I couldn’t get my Powerpoint presentations to run, I stored them all as odb files (Open Document files) mainly because I want them to work in all situations also when I have to change laptops with someone, but this was apparently a mistake. Everything about 300MB wouldn’t open in both Keynote and Powerpoint. Solution was to open it on the desktop, save as PPTX and import that into Keynote and save and voila… now it all works. I just need to find a good remote to control Keynote.

Filesystem we talked about and that is coming, and I hope that solves my other problem.

With tethering I can use the Sony app, which works like a charm, it’s fast, it’s stable and it does exactly what I need, showing images on the screen when I shot them within a second. And I can also switch to Live View mode so students can see what I see and how I frame a shot. BUT…. there is a huge problem with wireless tethering. Although it works at home, in the studio or out in the open field, don’t ever try it on a tradeshow floor and expect it to go flawless, yes it can work, but most of the time it will be flaky or you have to stand really close to the tablet. With iPadOs and the opening up of that USB-C port I really hope we will soon find a solution to shoot tethered into lightroom CC via USB, that would really be the ultimate solution.

What’s so cool?
Well let’s keep it short ok?
When editing video and photos on my laptop the battery runs down fast and I mean FAST.
On the iPad pro of course the battery runs down faster than when surfing the web but in all honesty I’m stunned by how long the battery actually lasts during heavy loads, if I remember correctly editing the vlog took me about 45 minutes, rendering took me another 10 and I believe I lost about 15-20% of my battery life, that’s insane. This makes it 100% possible to edit on the plane and don’t worry about losing your media consumption tablet when you’re done.


add the amazing Omnicharge to the package and you will “never” run out of juice on location.
See my review here : YouTube review for the Omnicharge

But there is more to that.
When you run on the battery on a laptop you are almost forced to use the on board GPU which is VERY slow compared to the dedicated GPU which you can use when on power. And when you’re running a tablet like the Surface book 2 (without the base) you don’t even have the option to force the dedicated GPU plus the battery will die incredibly fast. Now in a hotel that’s not a big problem, just charge, but on a plane you can often charge a tablet via USB (in almost every seat) but power for a laptop…. well not so easy unless of course you fly business.

And finally…..
Oh my……
As you all know I love playing guitar, and recording yourself is of course possible on Android and on iOS, but writing your own music is a different story. Garageband from Apple is one of those genius programs, you can’t really understand what I mean unless you’re a musician or ever tried Garageband, I can literally find NOTHING on Android that comes even close, and yeah I really tried a lot of apps, nothing compares to Garageband, the autoplay instruments, awesome loops, style drummers…. pffff I get so excited by writing this I want to play and record something, it’s so addictive, and the end result is fully usable.


Garage band alone (coupled with an iRig HD2) would be a reason to invest in an iPad

Of course there will be people that say “just bring a laptop, I can’t understand why you would spend money on a tablet”.
Well I have a very good answer for that (I think).
My laptop that I need for video editing has to be specked out, so it retails for app 2800.00 Euro.
The iPad pro I now use is the 11″ 512GB version and retails for under 1500.00 Euro, including a keyboard case and the Apple Pencil.
Plus when travelling I don’t need to bring : the Dell, the powersupply, my Wacom Tablet, Mouse. Which in all honesty saves me not only a lot of weight but also stuff to carry around and take care off. Add to this that I never worked on my laptop when flying or on a bus, but the iPad you just grab from your bag and you can work on it. It’s a totally different experience.

I will post some more updates when you guys are interested, and feel free to ask me questions about problems I encounter or solutions. I’m having a boat load of fun to be honest figuring everything out, and it’s painfully clear that the iPad pro was NEVER a pro device, but with the filesystem in iPadOs it will be.


Be inspired

I’ve said it many times

One of the best things to look at to find inspiration is movies or and videoclips. Both are not only stories but when you look closely you will see that the power of those stories are heavily enhanced by the use of color and lighting

Imaging a movie like Edward scissorhands in muted colors…. Gets a totally different atmosphere or how about that one in black and white with some cool film noir lighting.

Even better what about a horror movie with saturated colors and flat lighting…. Nah takes away the mind tricks

And there we have it. Mind tricks

Our mind is easily fooled. Take a dark room where you hardly see anything and I’m pretty sure that if we fed you stories about the famous shadow figures you will start to see them, out of the corners of your eyes that is.

Now floor the room with light and…gone is the whole illusion.

So lighting and color for photography are for me the best ways to effectively tell a story.

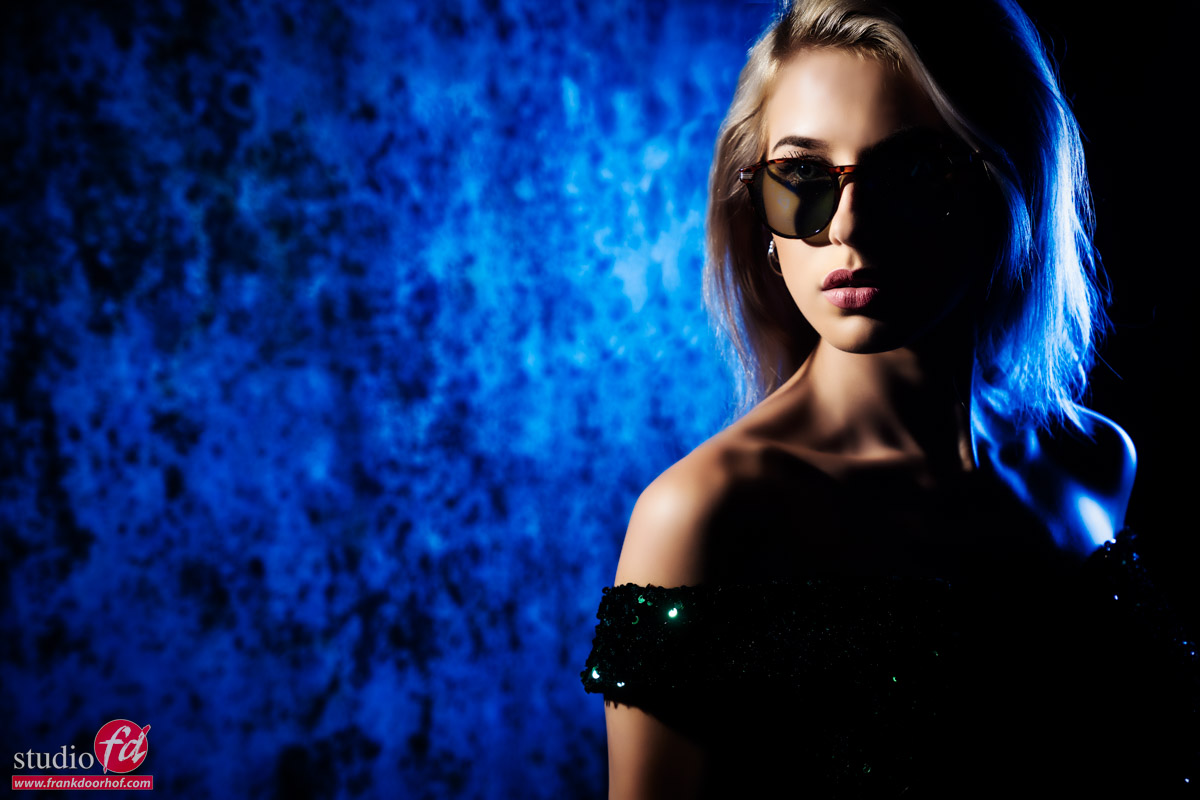
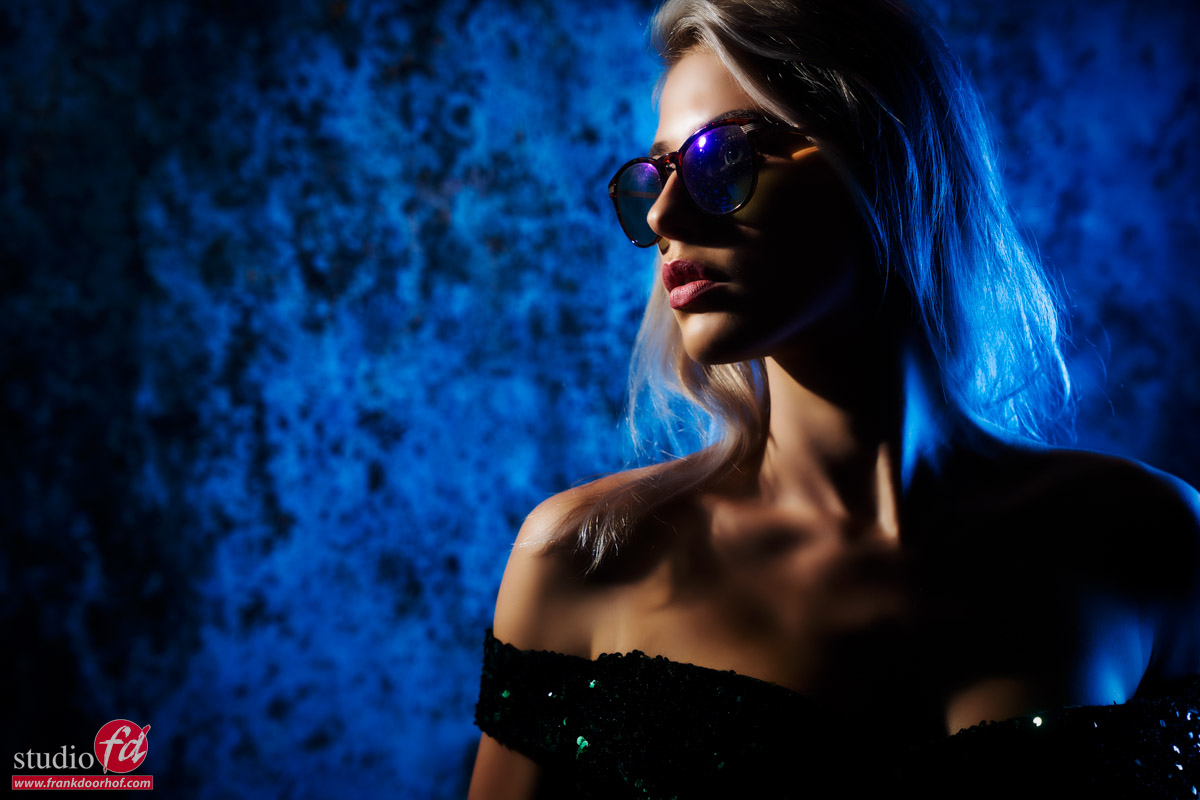
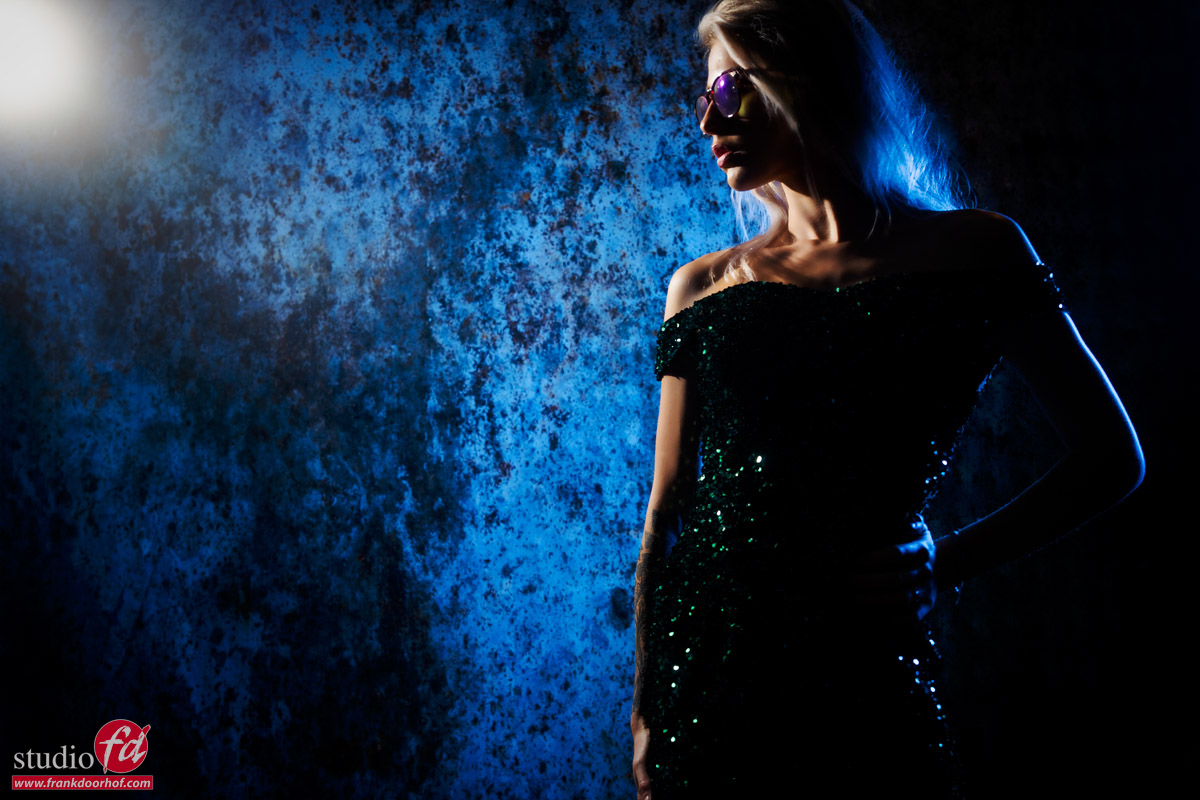
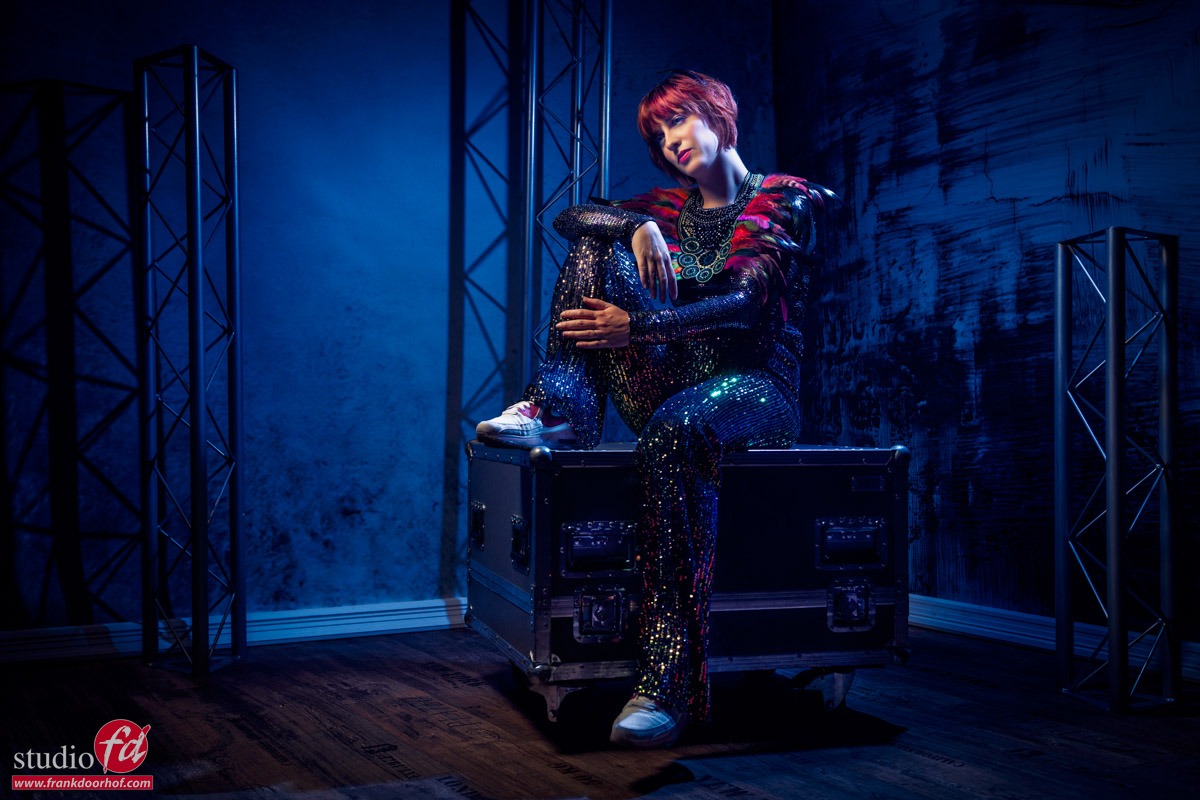
And the best way to practice this is to actually try to recreate some scenes. The images in this blog where shot during a cosplay workshop (one out of four sets of that workshop) and although it doesn’t really represent an actually scene you can see the inspiration.

The most important thing is not to hit that scene exactly but to get a mood and feel. And I think we succeeded in that one.

Now what is that of use for you?
If you’re training yourself to be able to recreate more extreme sets you start to learn more and more what lighting, color, retouching can do for an image. And when your done with something extreme, the next time a client asks you for a certain mood and feel… Well it will be a lot easier.

Practice extreme to become a much better photographer I would say 😉

Many thanks to Marloes and jamilla for their awesomeness