Tag Archive for: on location

Outside fashion shot for sunglasses with extreme styling and flash Part IV : let’s talk backgrounds and angles

Wow that’s a different…

This is one of the most heard comments when we use extreme differences in the background, especially when the model wears something more eye-catching, or dark/bright.

Chasing the perfect background on location is one of my favourite things. And it’s not always that the most interesting looking background is also the best. It’s great to have a cool background but we don’t always want them to compete with each other. I always try to choose a background that will help my model to pop-out, or disappear into.

This is the 4th part of this blog series and I highly recommend first reading the previous ones.
Let’s talk about the flash
Let’s talk about gear
Let’s talk about storytelling

The forest/beach

One of the things I love about the area we live is the diversity for photography.
Although you see totally different images in this series they are all shot in walking distance from each other, or right next to our studio. And trust me, I’m pretty sure you will have loads of interesting locations near your home, you just have to look with your “photographers-eyes” 🙂

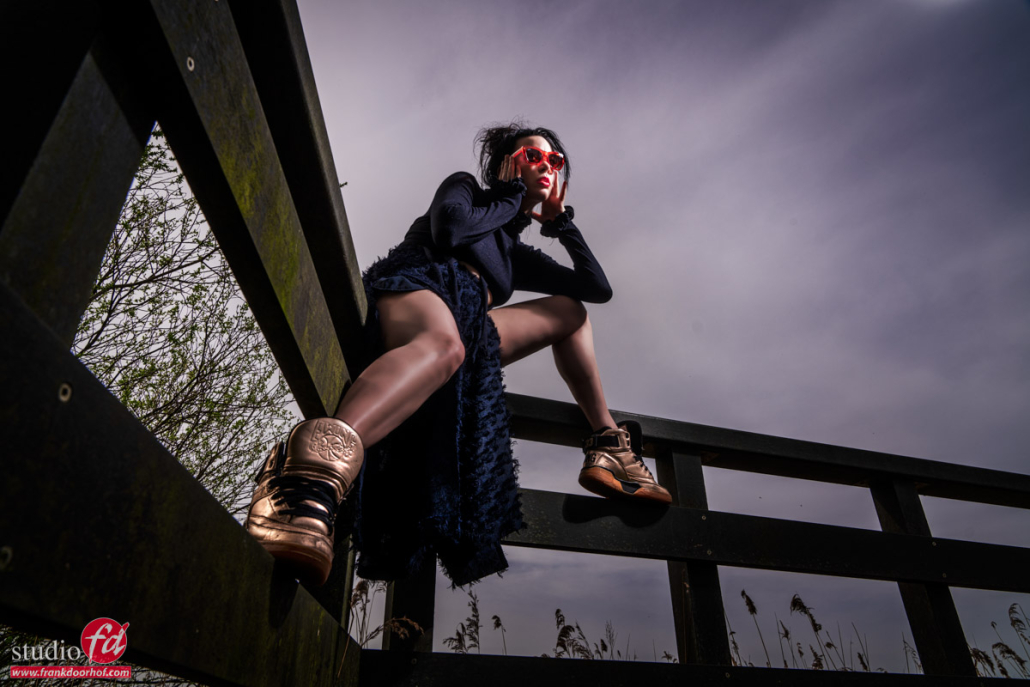
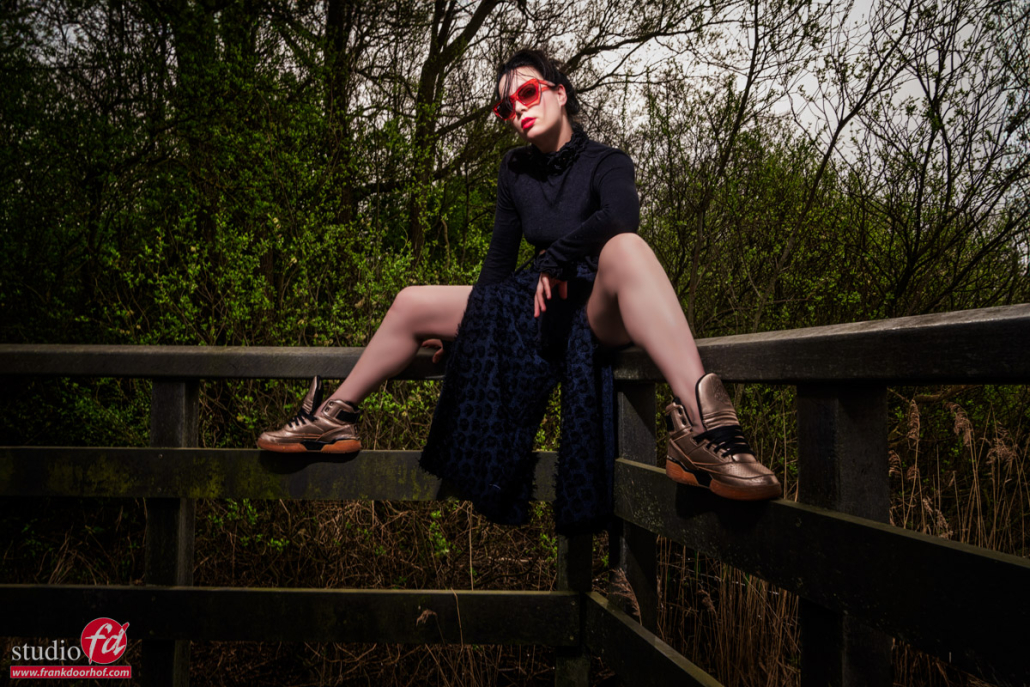
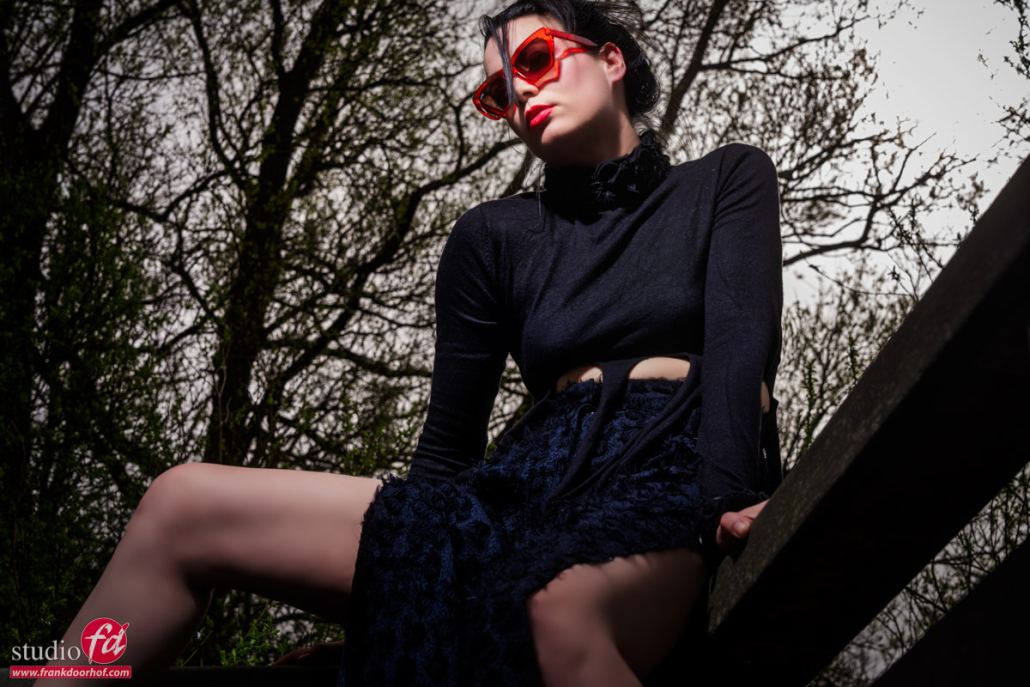
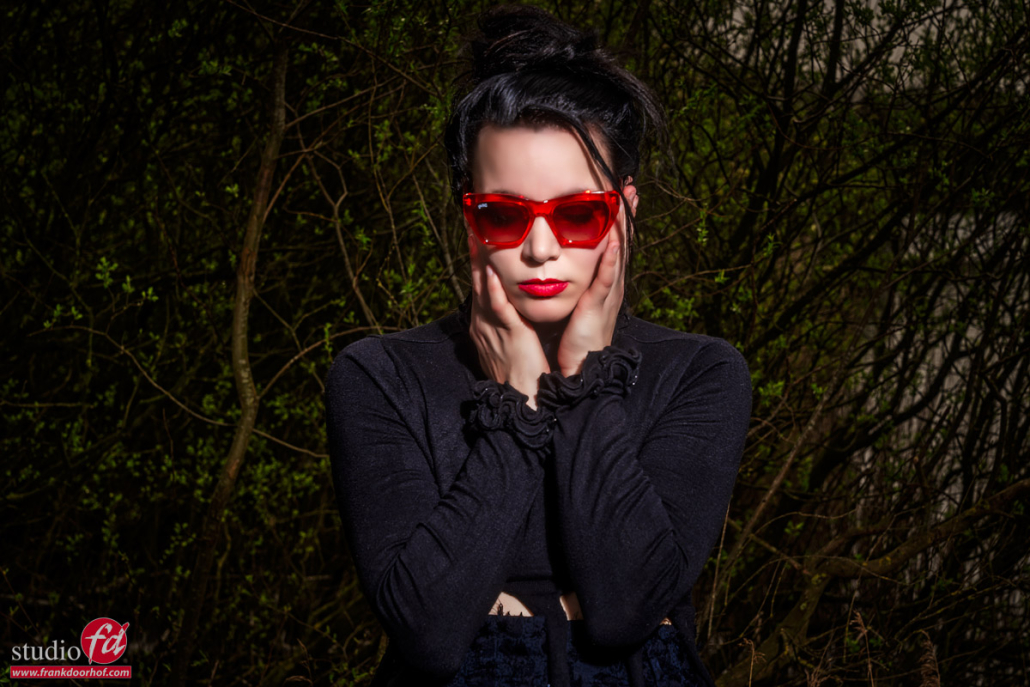
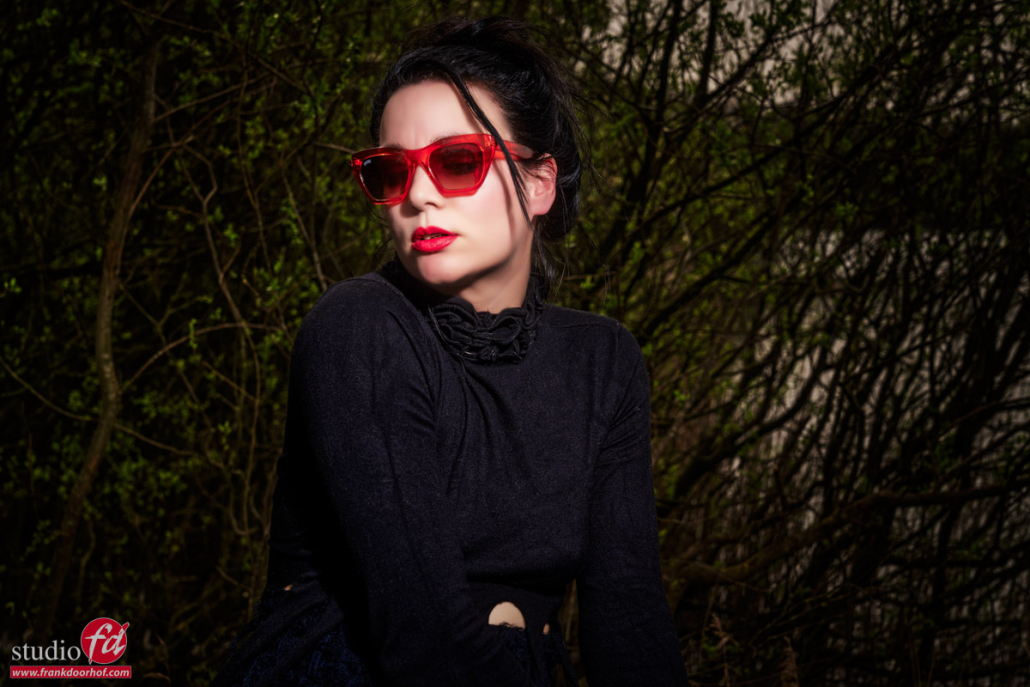
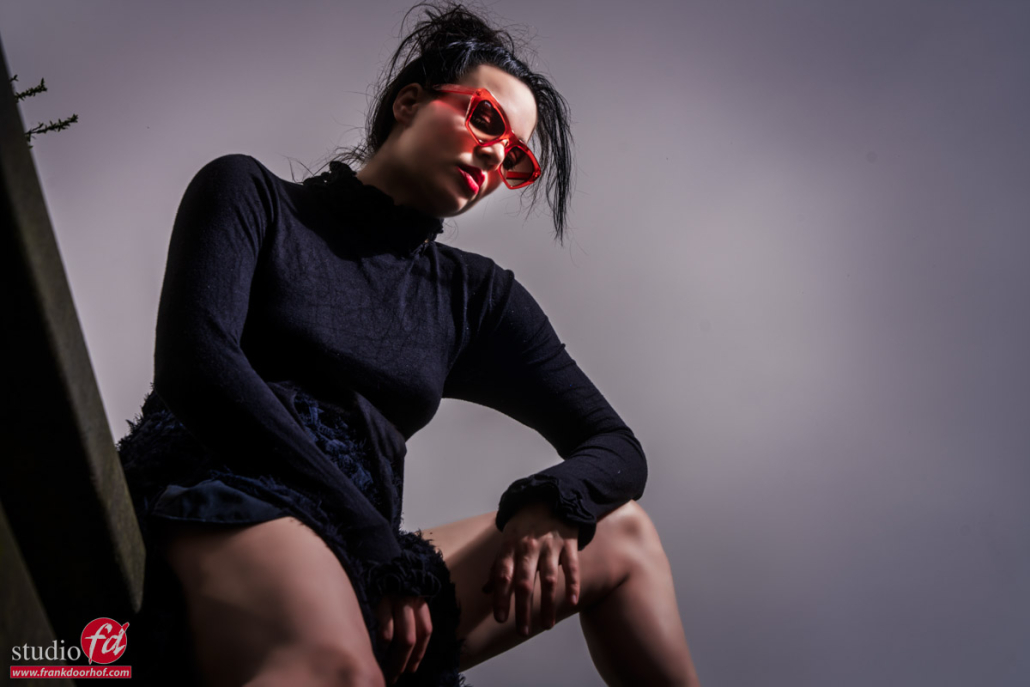
In this case Nadine was wearing a non reflective black outfit (thank you very much) and some cool Sparks red sunglasses.
I didn’t tell you this yet, but during this workshop we also shot some images for our friends from Sparks sunglasses, a cool trendy brand of sunglasses for which we also did the introduction shoot for their new collection. Most of the time I also ask some sample to use during workshops and give our client some extra material which can promote their brand, my work but also the models. A win-win situation.

Anyway.
Because Nadine was wearing black it made it a challenge to shoot against the overcast sky, or against the dark forest.
One could say it’s impossible because you will blow out the sky, or block up the shadows, and with a dark forest the model will disappear.
yes, that could be one way to look at it.
OR….
You use exactly that “problem” and use it to your advantage.


The shoot

Here is the setup of the shoot.
I’m using the same Geekoto GT200 with a large reflector.
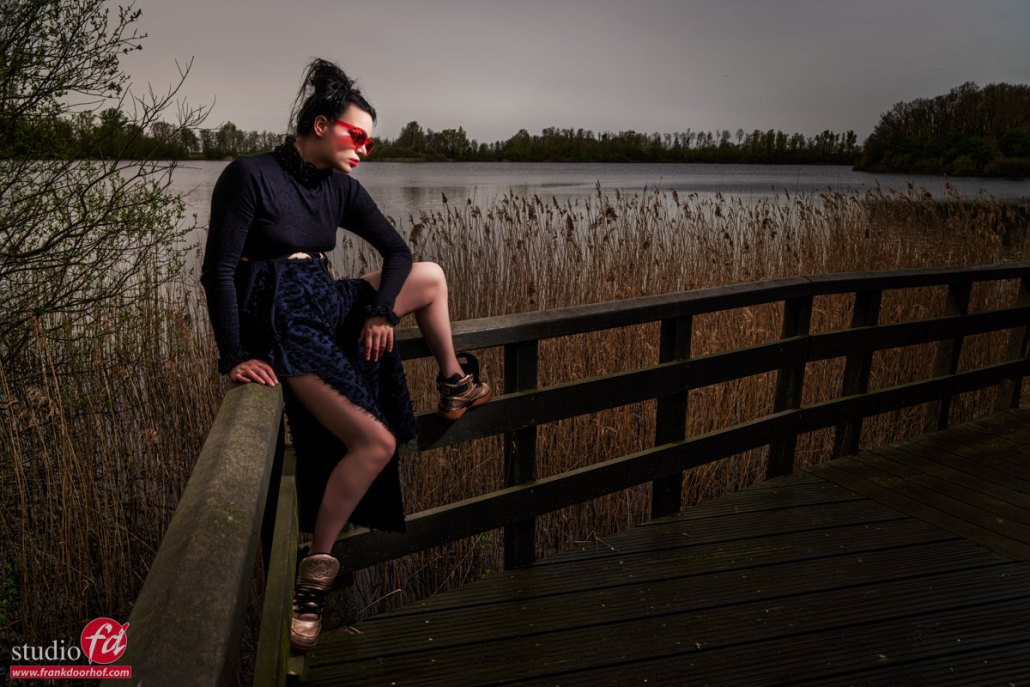
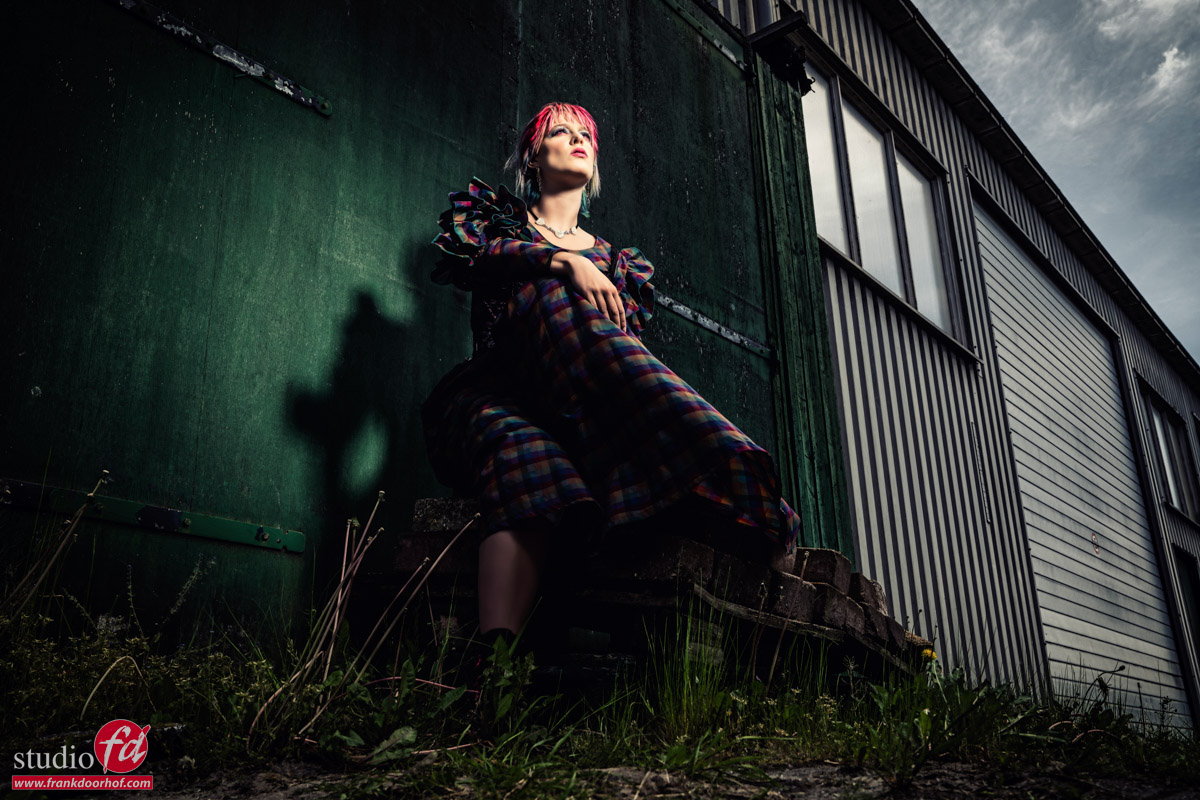
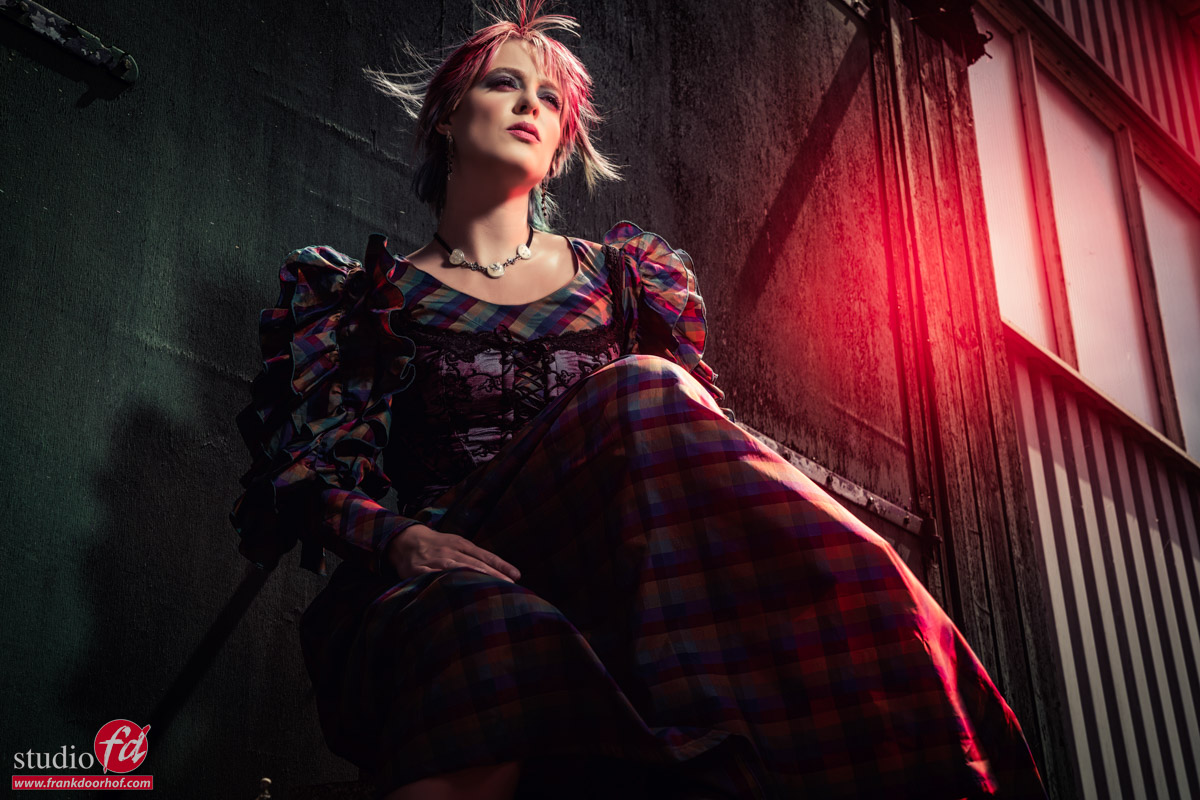
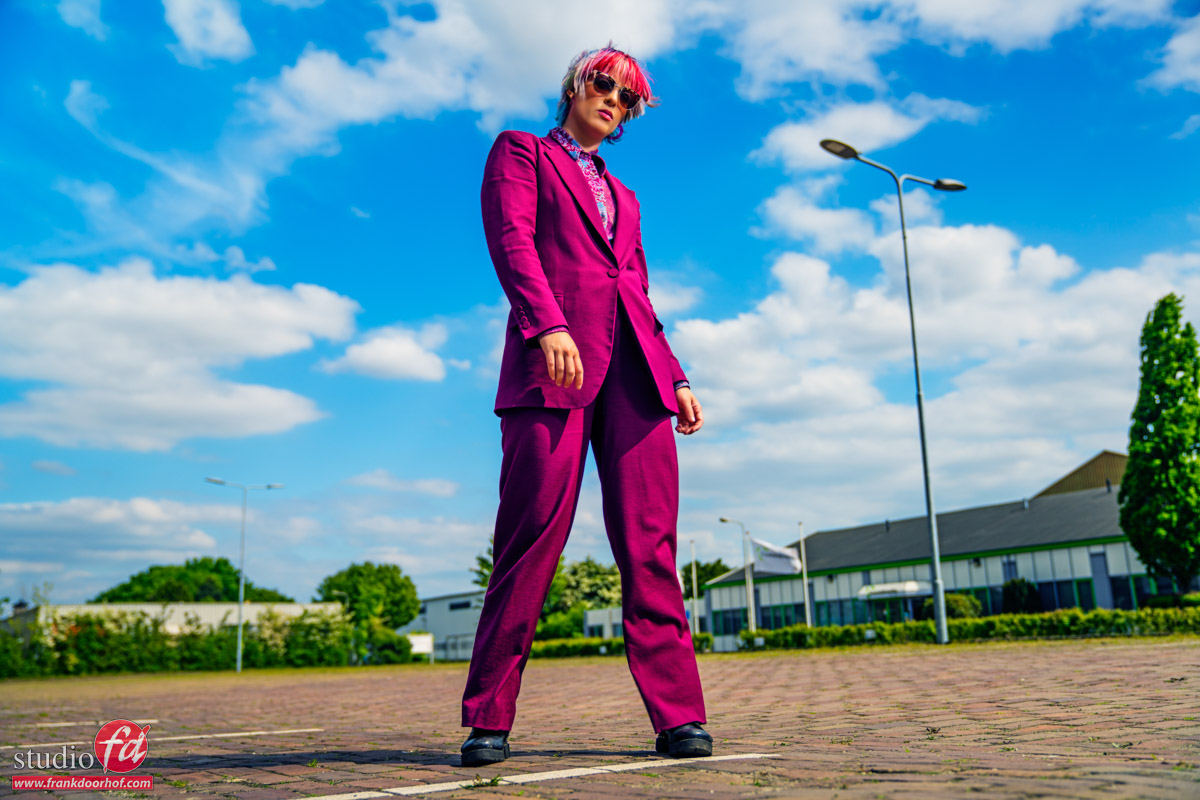
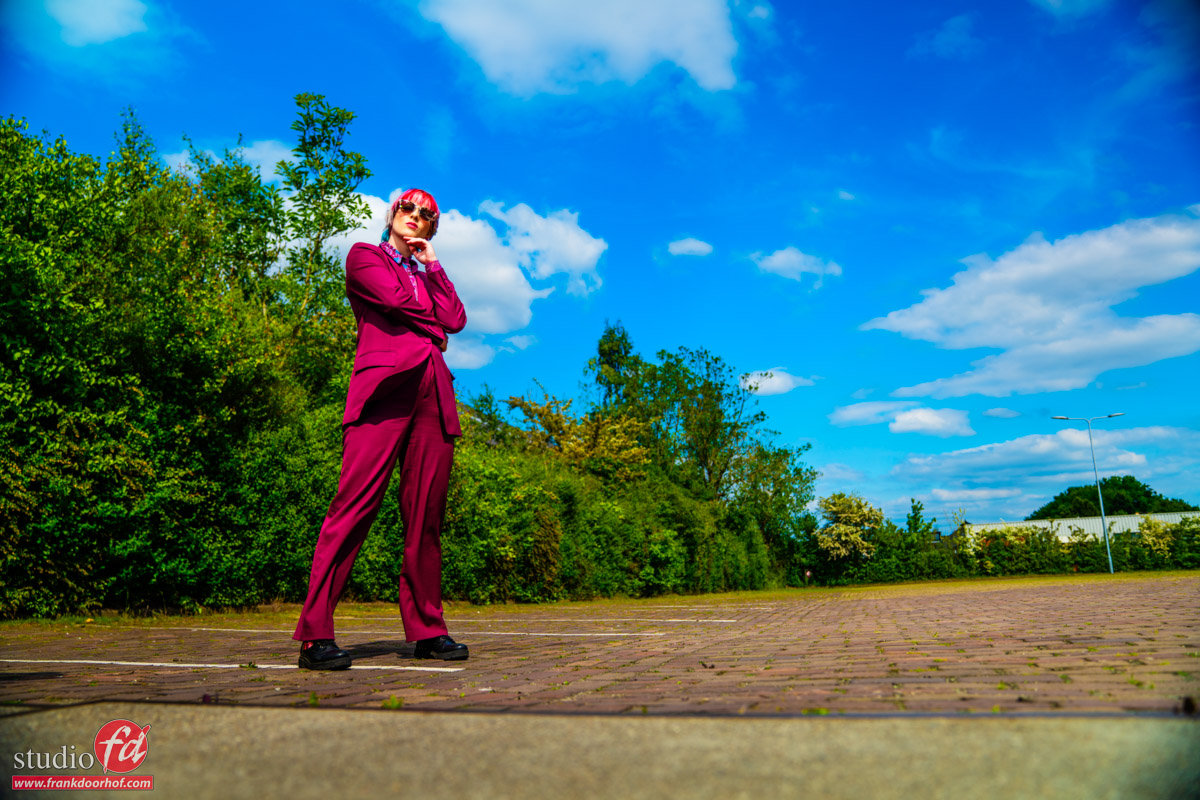
I love this location for the strong leading lines and the way the model can pose with the bridge parts. Also the two totally different backgrounds by just changing your angle makes this one of my favourite locations to use for workshops and shoots.

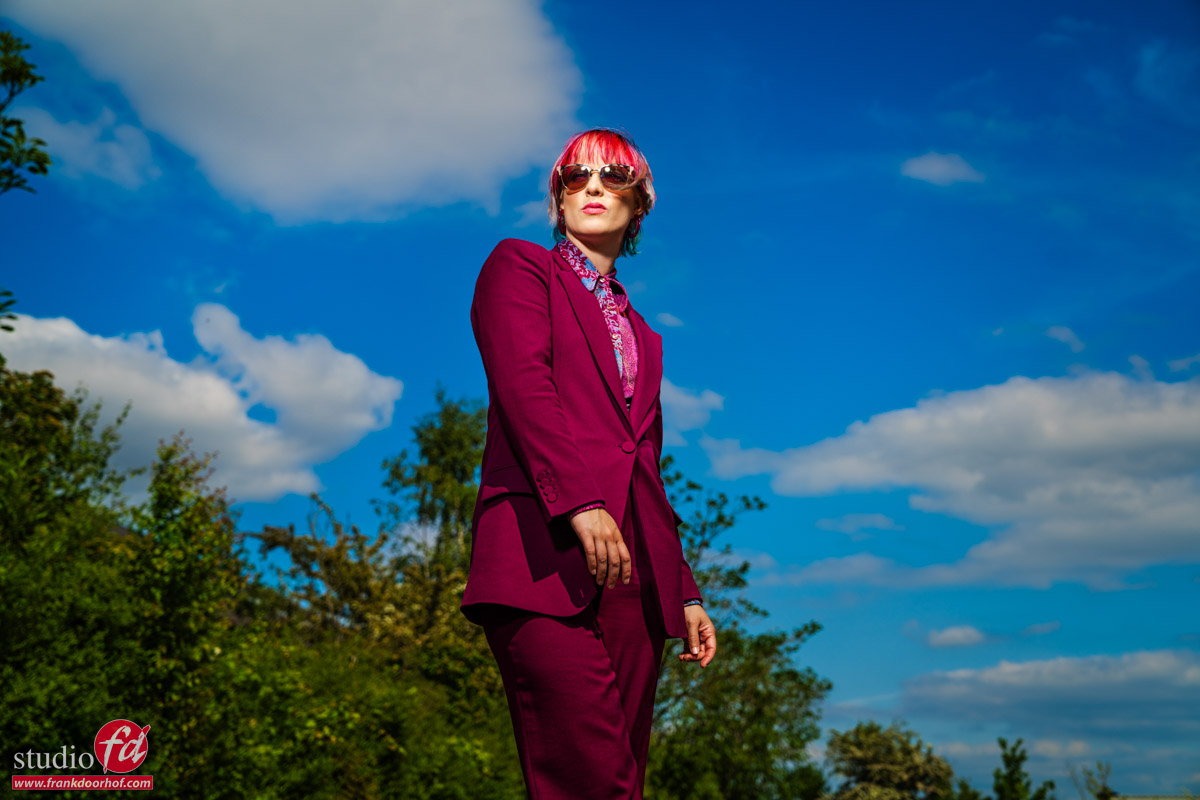
I love to shoot from more extreme angles on this location and using a more wider angle gives that really nice “distortion” in the image that draws the viewer towards our models face. I also use this a lot in the studio. Wide angles can be terrible for portraits or even full body shots, but if you use them carefully they can be awesome.
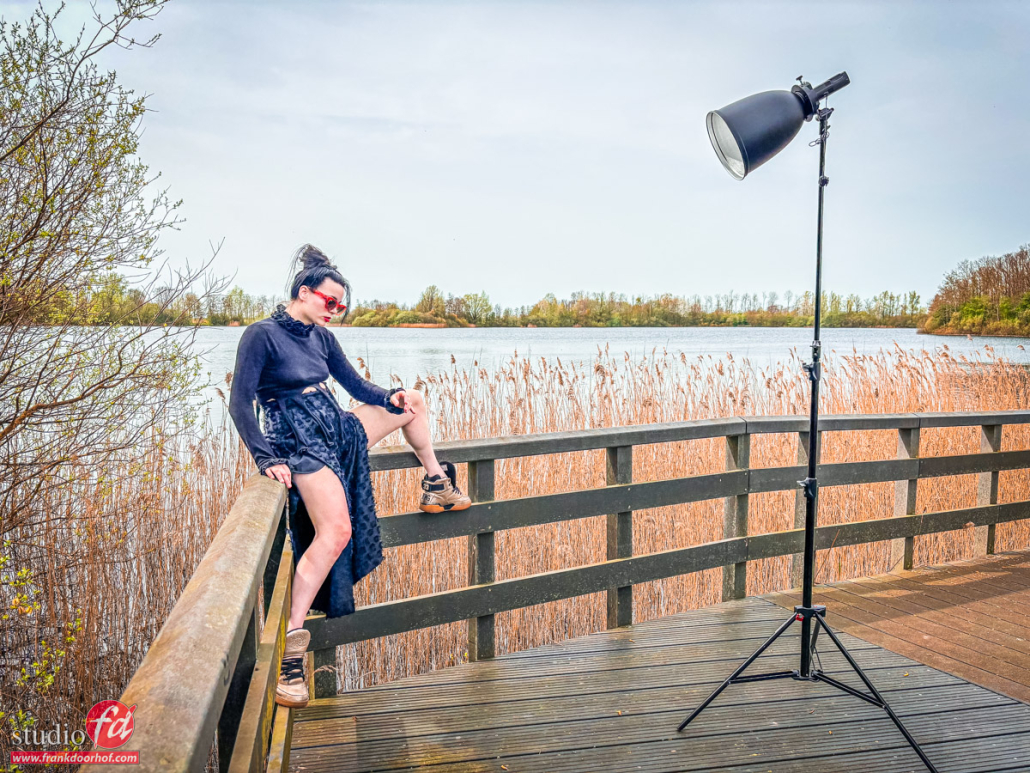
Because the clothing was so dark, Nadine’s legs were getting a lot of light/attention, so when you find yourself in a situation like this, use a grid on your strobe or make the model cover part of the legs, you do want to see some, but not too much light areas in the darker areas of the shot. hope that makes sense.

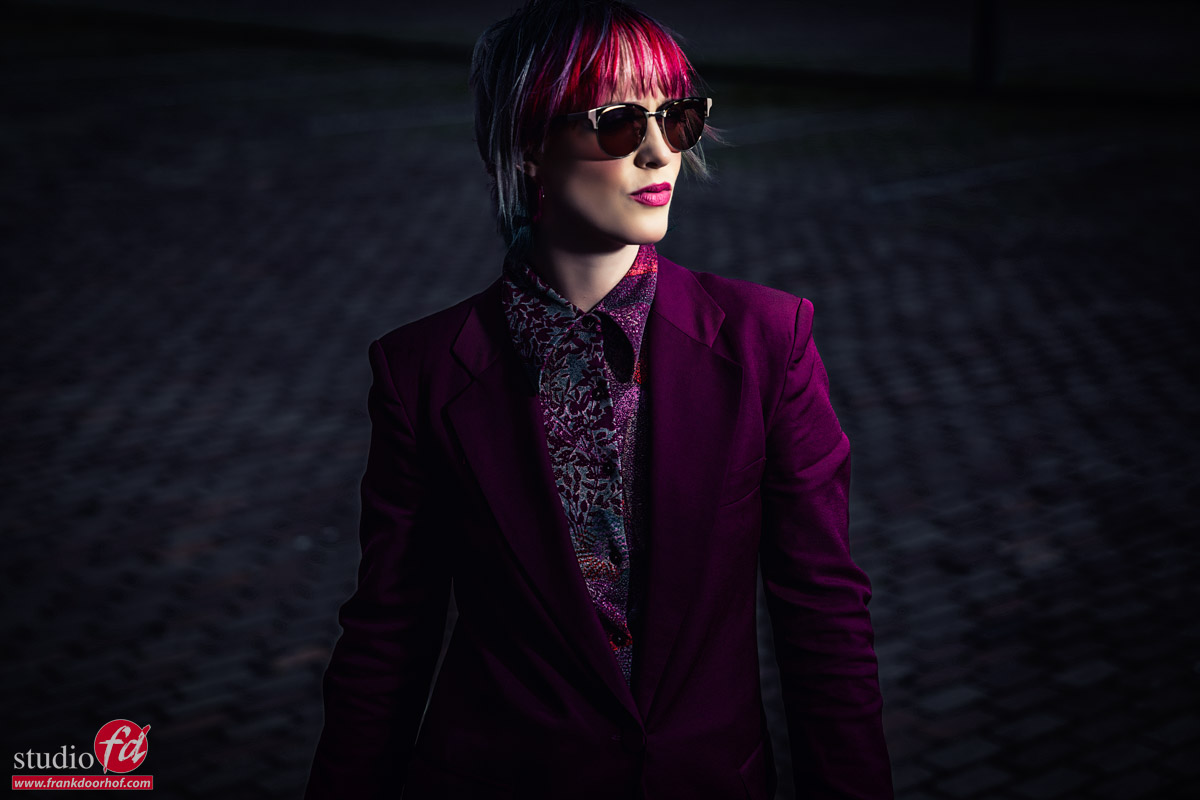
I decided to actually embrace the dark clothing and use it create some really nice edgy contrast in the shots, add the red sunglasses and some cool poses, and you have a very simple lightsetup, an ok location but some killer shots.

Model/Styling : Nadine
Sunglasses : Sparks

www.fotografie-workshops.nl for the Dutch workshops
www.frankdoorhof.com/shop for my gear
 

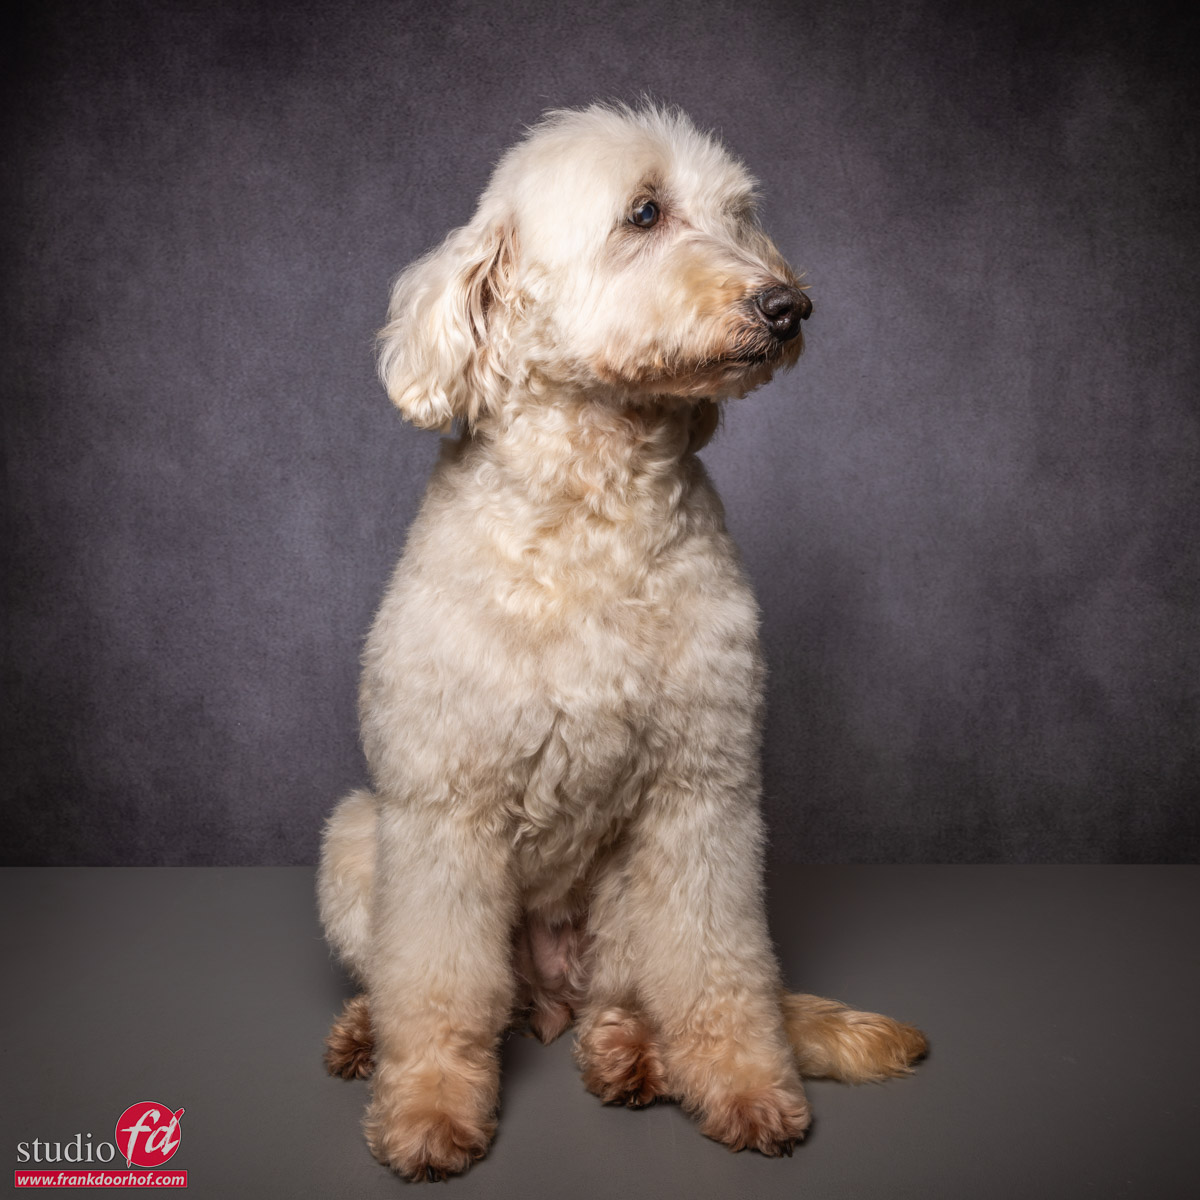
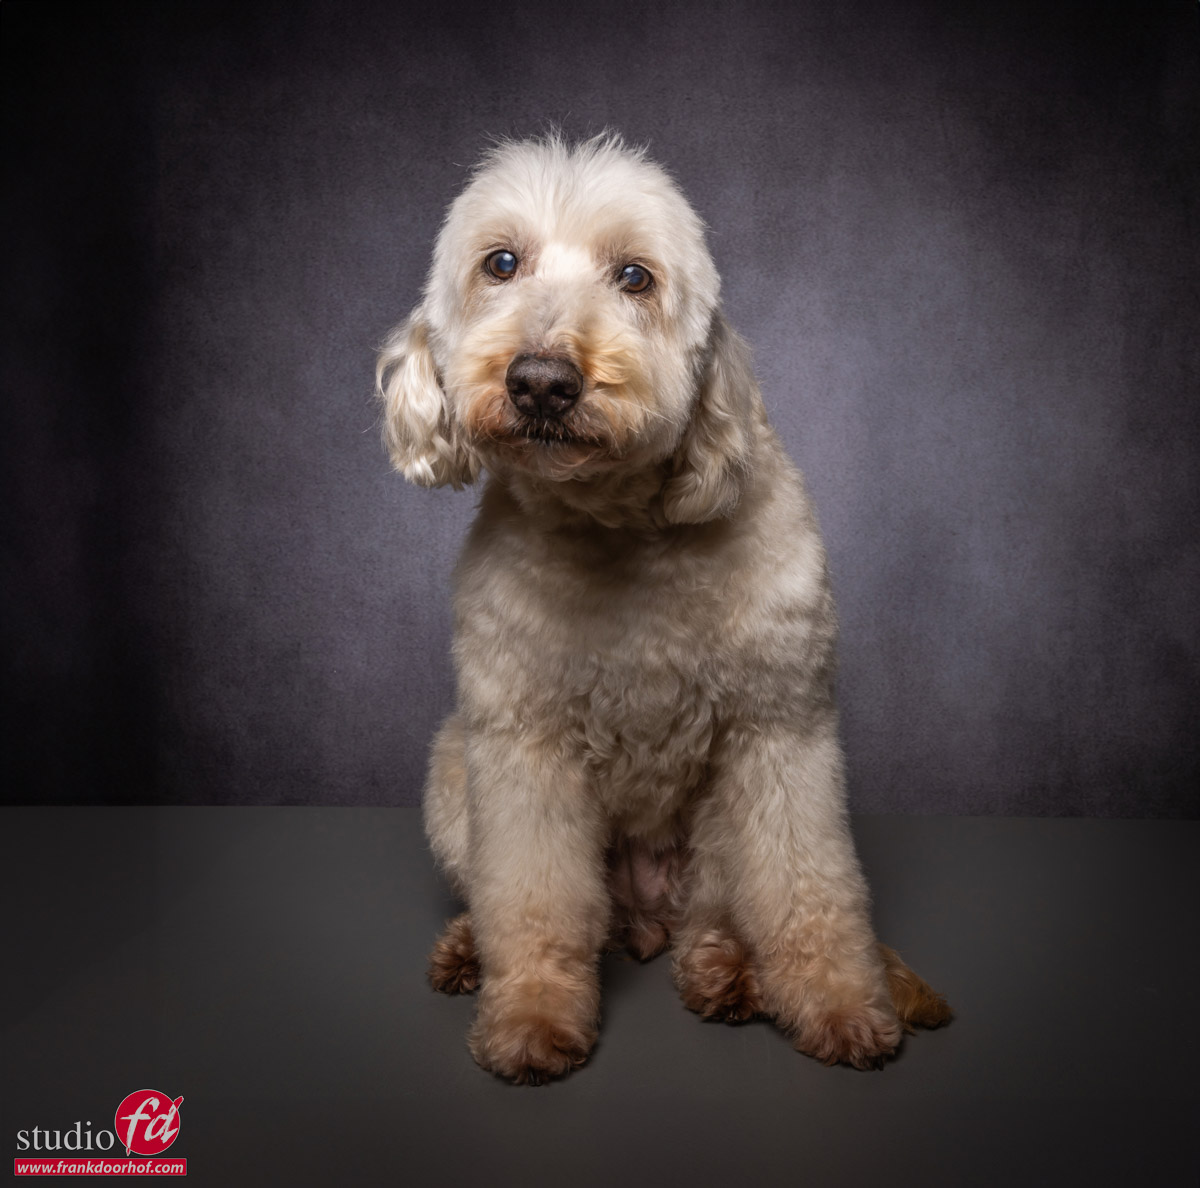
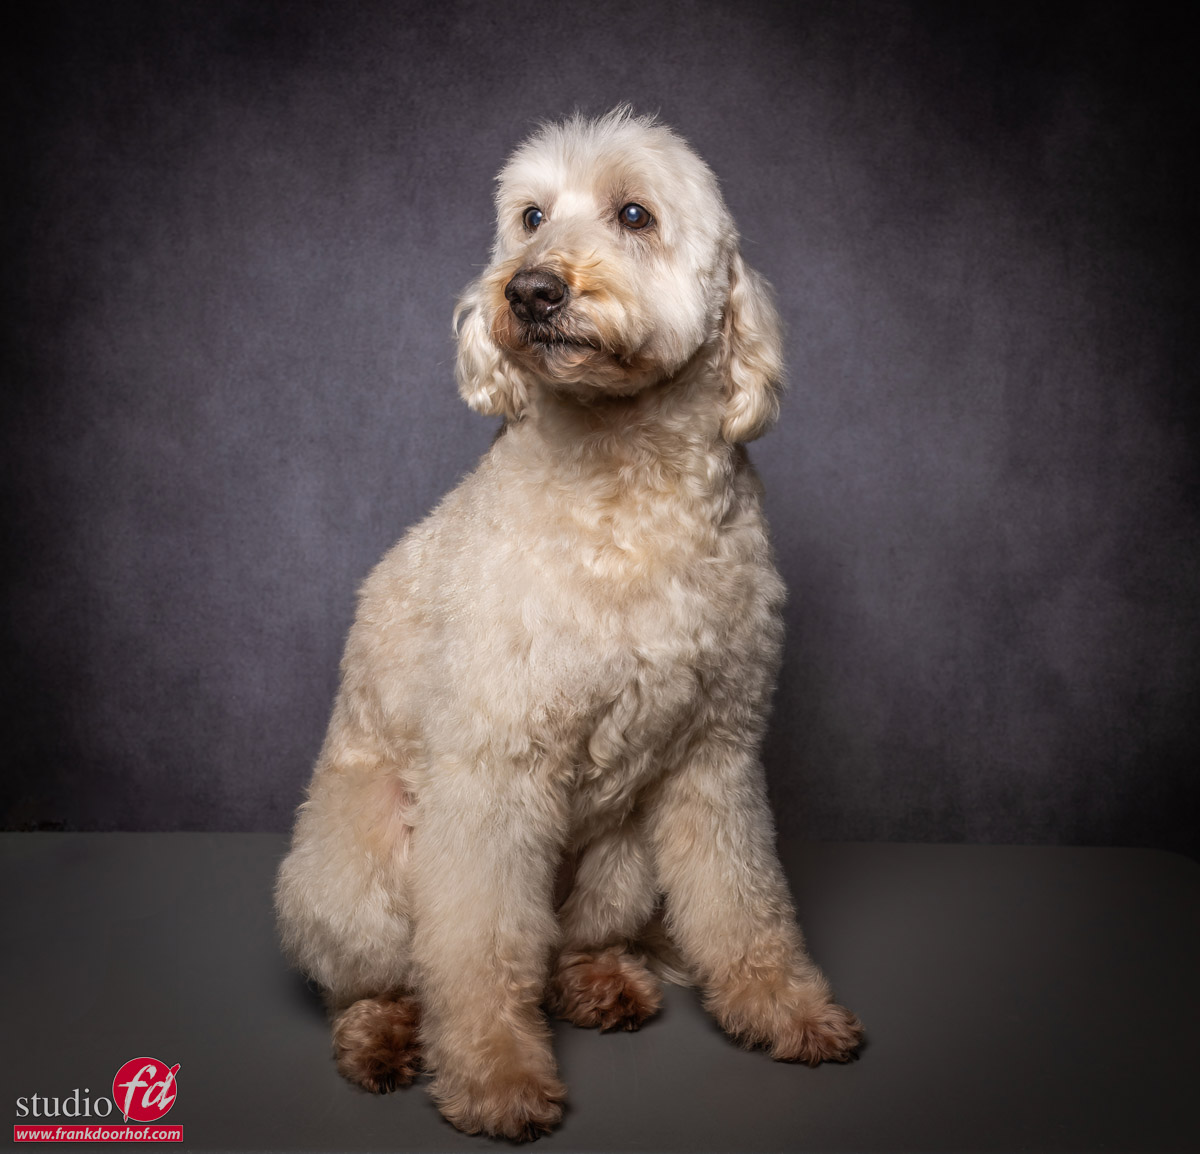
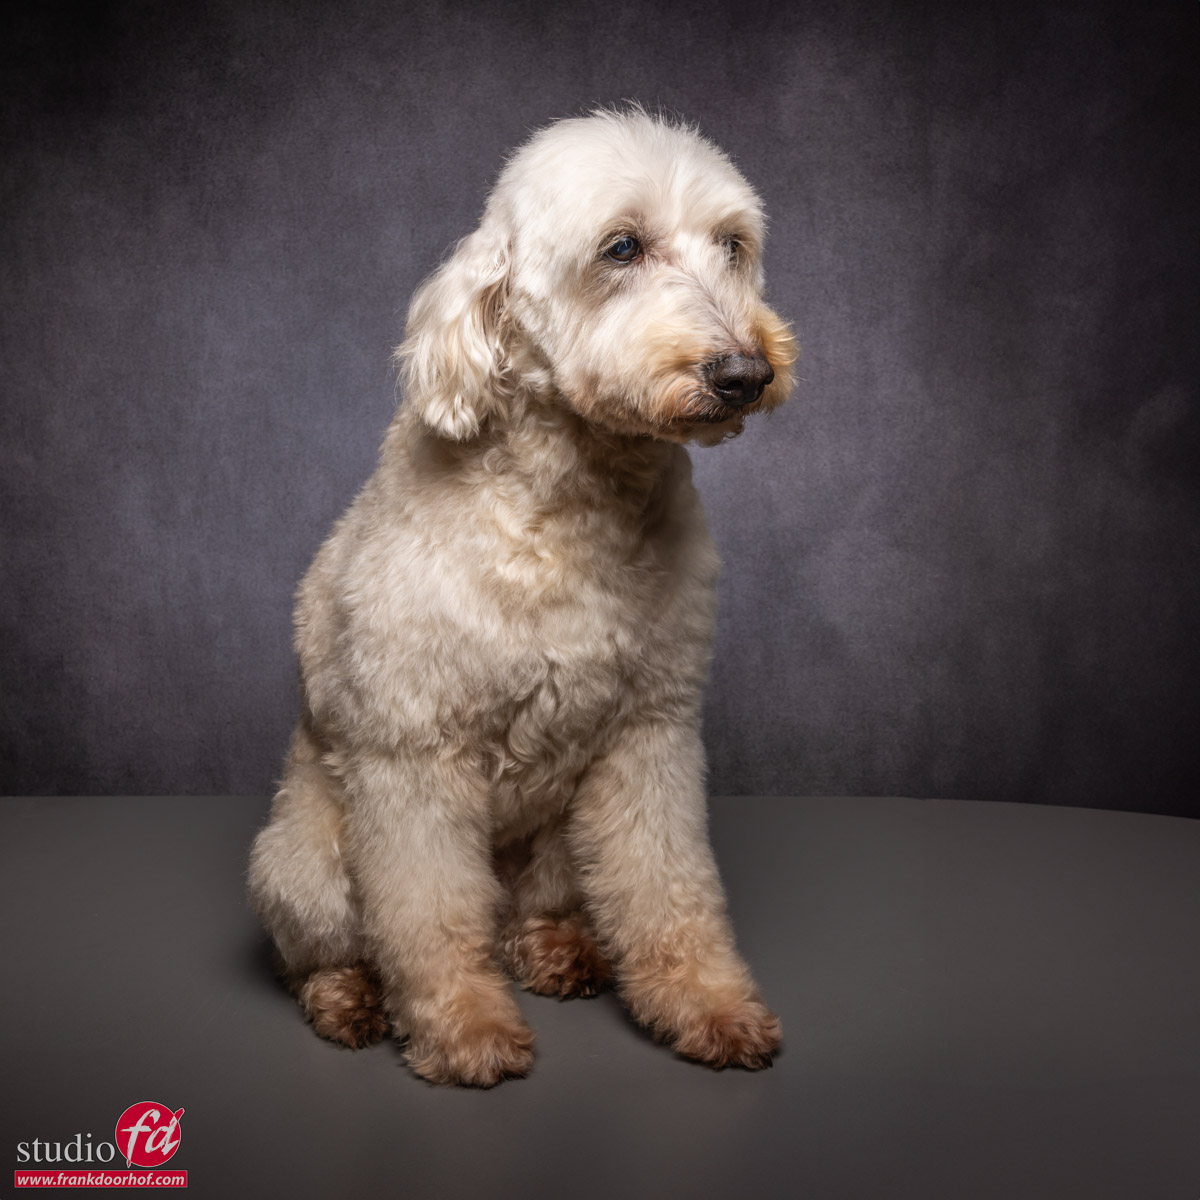
Quick portraits on location and to show how easy it is we have a cute labradoodle

Quick Portraits on location

Quick portraits on location are always a challenge. You have to think fast, find a location, set up your lighting and often only have a few minutes with your client. Today we are going to take a look at how we set up a location session and what I use.

Make it easier on yourself

There is always a way to make it harder, but let us focus on the things that can make everything go as smoothly as possible. The first thing is, of course, preparation.

I love to mess around with lighting in the studio but often also have more than enough time. On location, I often have to set up and hit the ground running. This is why we talk with our clients about what they want for most on-location sessions. This means that when I arrive on location I already know where to place my lights, do a quick light meter check, and can start immediately.

Now you might wonder… “Didn’t you forget something?”
Yeah, I know what you think.

The background for a quick portraits on location

Of course, when we talk to our client before the shoot we also show different kinds of backdrops so the client can choose which one fits their look and brand. Because I’m using strobes I know that ambient light in most cases won’t cause any problems. However, don’t ever forget to take a ColorChecker image during the shoot. On location, you can have the most weird situations that can mess up your color that at first, you won’t notice because you’re using flash.

Now in the past, I’ve used solutions that worked pretty well but were always just a bit too short, narrow, or too large so they didn’t fit in my car forcing me to take the van (I prefer to drive electric of course :D)

Recently ClickBackdrops released the Clicki backdrop system and it’s become my favourite backdrop for quick on-location shoots. It’s wide enough to fit one person for wide (landscape-style) portraits. And with a little bit of AI in Photoshop I can easily shoot 3/4 shots in landscape mode because the subject doesn’t overlap anywhere. Somehow I prefer to shoot in landscape orientation which makes the width vital for me.

The Clicki fits with ease in my car (Hyundai Ioniq EV) and only needs a stand to be assembled on location in under a minute.
Of course, I also need to bring strobes.

Strobes

When we talk about speed I also have to be able to move fast and setup fast. So bringing heavy strobes or battery packs is out of the question.
For location work, I’m using the Geekoto GT200 and GT250 

The main advantage is that I can easily adjust the angle of the strobes via the pistol grip. So I can use almost any studio stand, which not only saves space but also makes setting up much easier and faster. The Geekoto also supports both ETTL and HSS. Combined with a 200/250W power output and 450-500 shots per battery makes it a very versatile setup that can easily suppress sunlight outside. And you can use the thicker more saturated colorgels for some really gorgeous color effects.

And the final piece of the puzzle…

What Light shapers to use for a quick portrait on location

Of course, I’m not using the strobes bare.
Although that can be a nice effect, it’s often not what the client wants to see.
So we need something to modify the light.

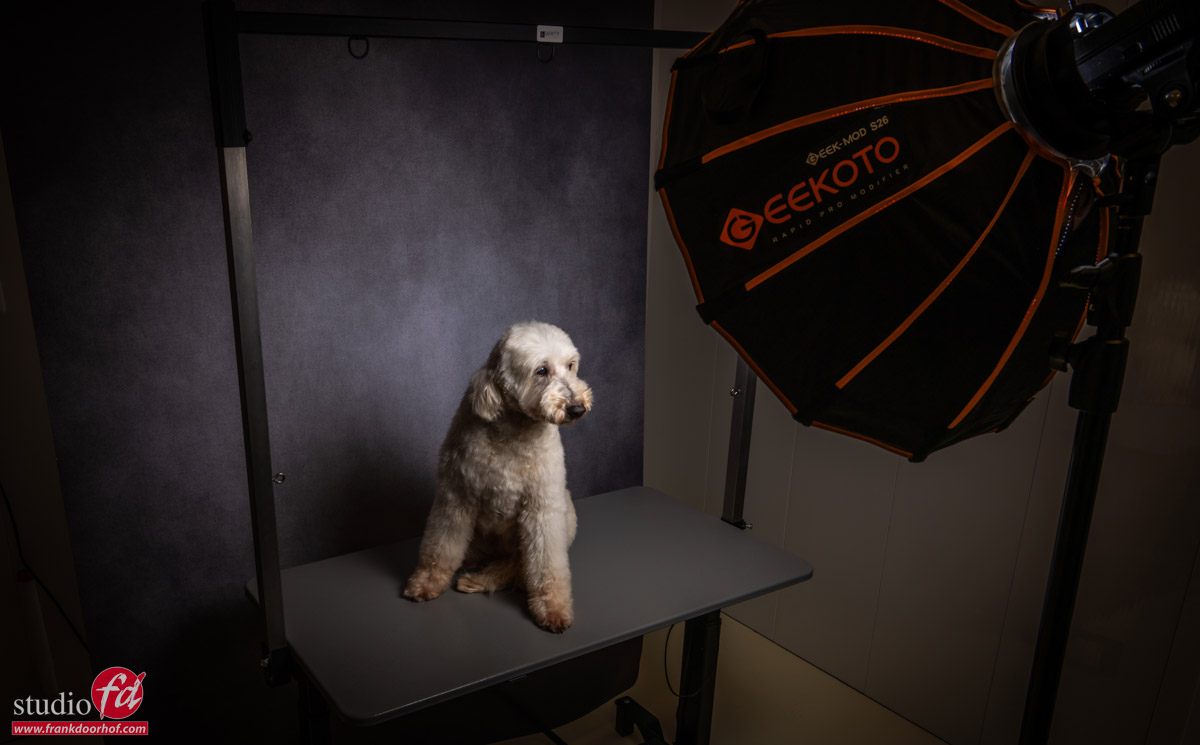
If it needs to be compact I love the Rogue products. Especially the new magnetic system is awesome for creative use on location (and in the studio) and of course the “famous” Frank Doorhof Flashbender :D. But for this setup, I’m using the Geekoto 26″ softbox. The main advantage of this system is that it just folds up very small but it also has a detachable speedring which makes it super easy to carry with you.

Enough talk, let’s take a look at the setup.

a quick portrait on location. this is how I did it

As you can see we just placed the Clicki behind the table. So the dog didn’t have to move and the whole setup was done in seconds (everything was set up, I just had to slide it there). Because we mark the floor when doing the meter readings, it’s a setup that makes it possible to almost immediately start shooting and thanks to the size of the Clicki you can also shoot from a few different angles.

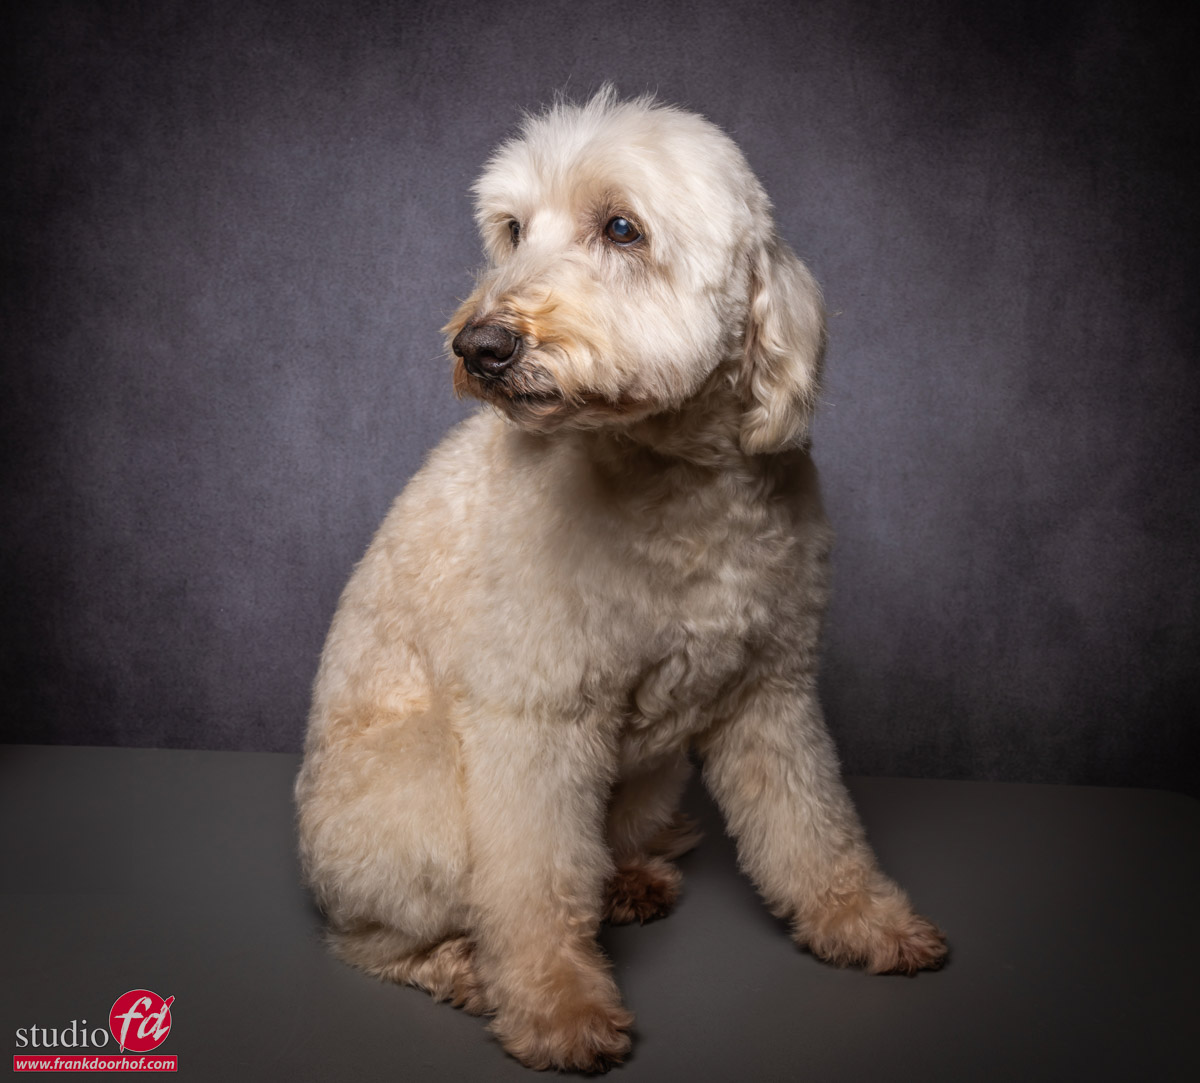
So let’s see the results. It’s never perfect with these kind of one-minute sessions but the owner loved them. And for the trimmer, it’s just an extra service or something they can charge for.

So now you know what I use for quick portraits on location. If you have questions, find me on social media and let me know.

Quick portrait of a lovely labradoodle on location quick portrait on location of a dog a quick portrait on location


see the introduction of the Clicki Backdrop on Photodays in Brussel (2023)


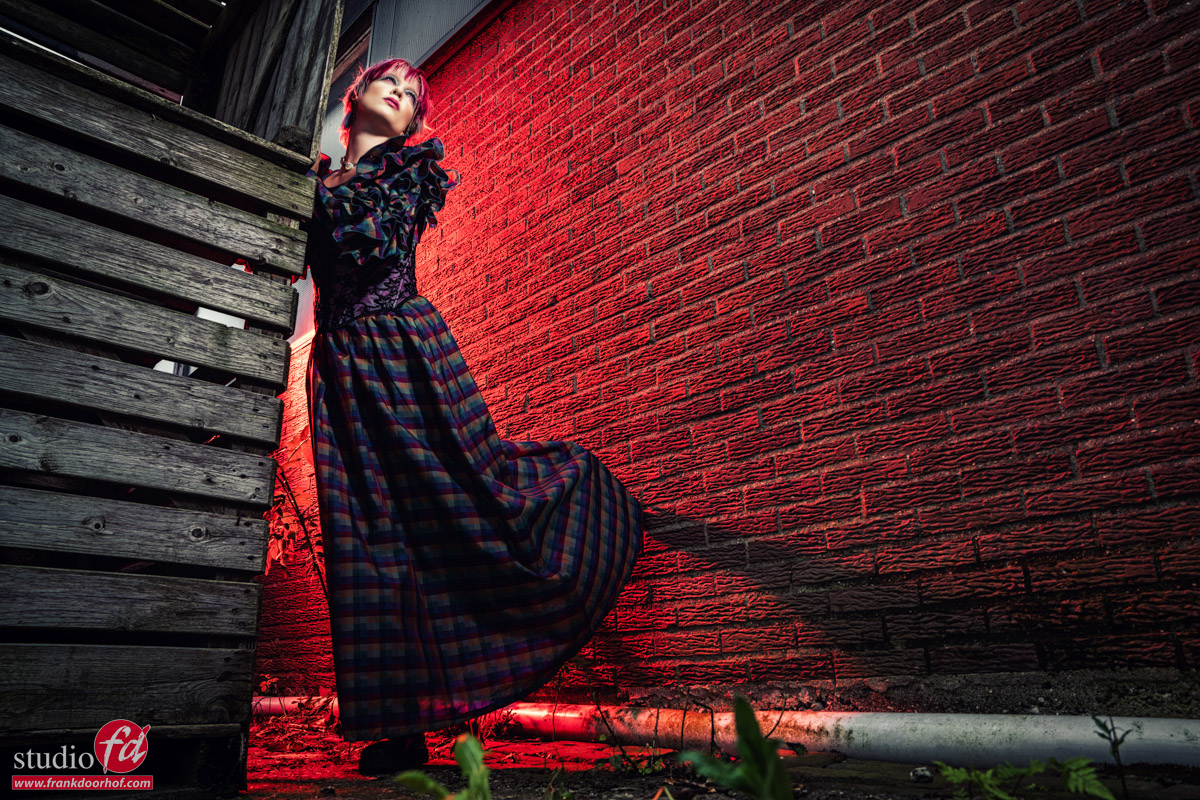
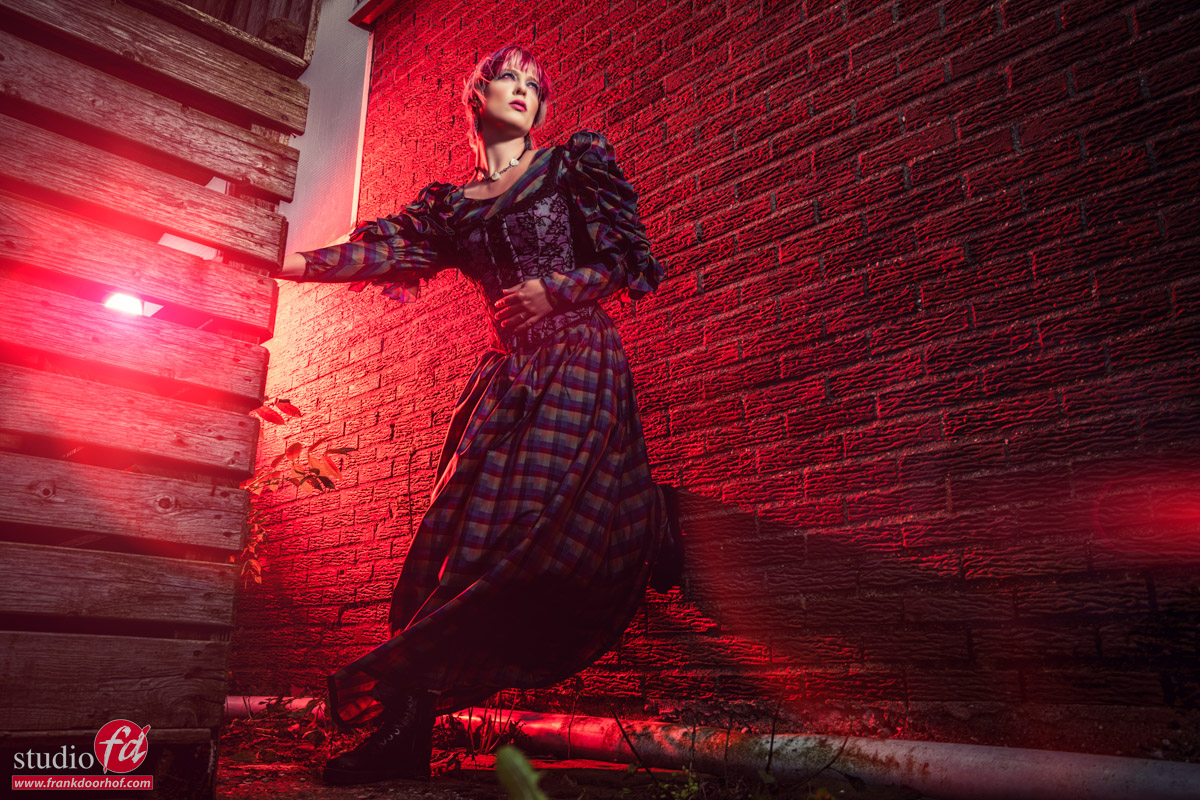
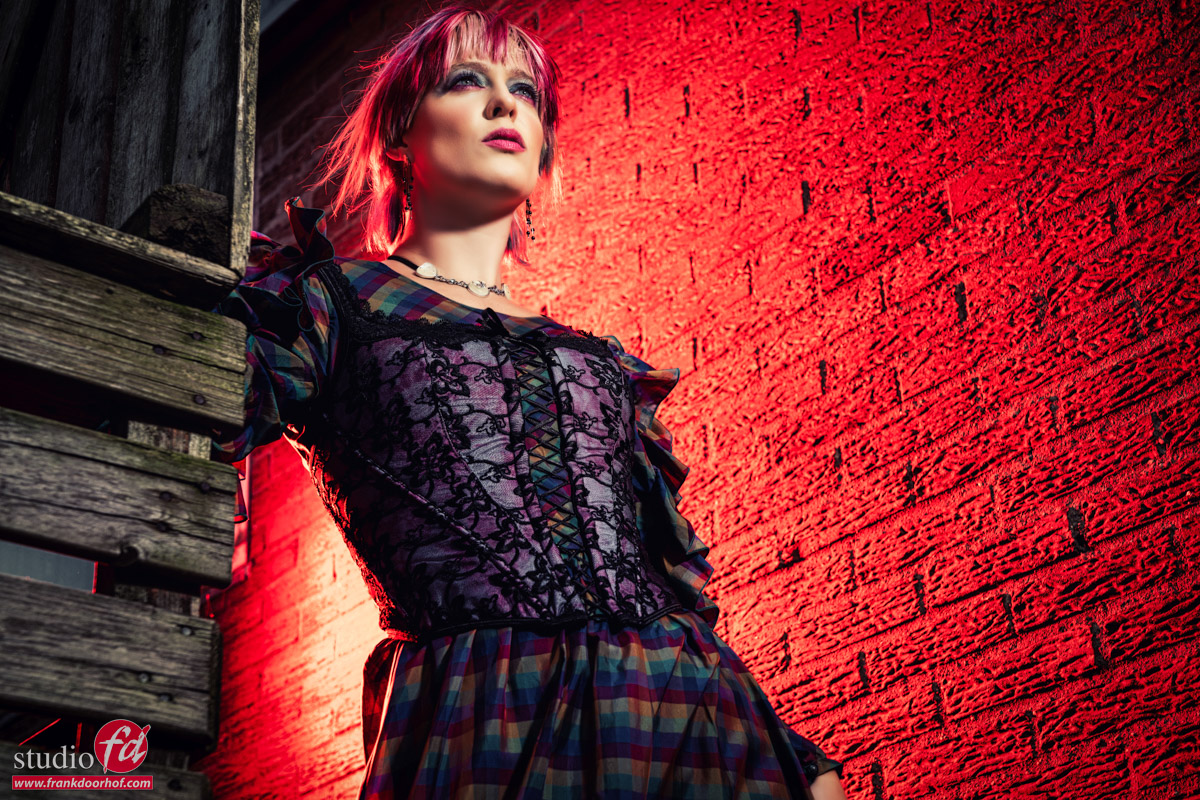
Adding a touch of color

In the past few days you have seen some images from the workshop “on location in Emmeloord” with our model Claudia where we look for interesting locations around our own studio.
Today the final part.

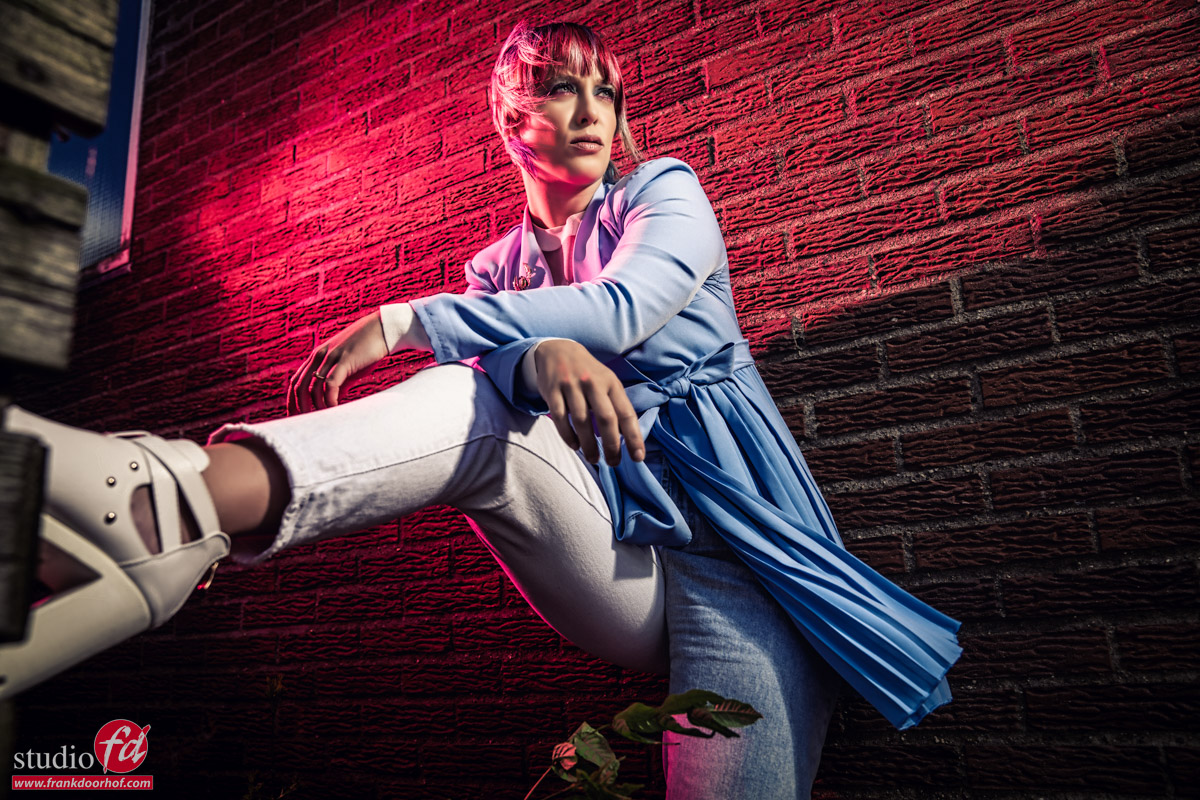
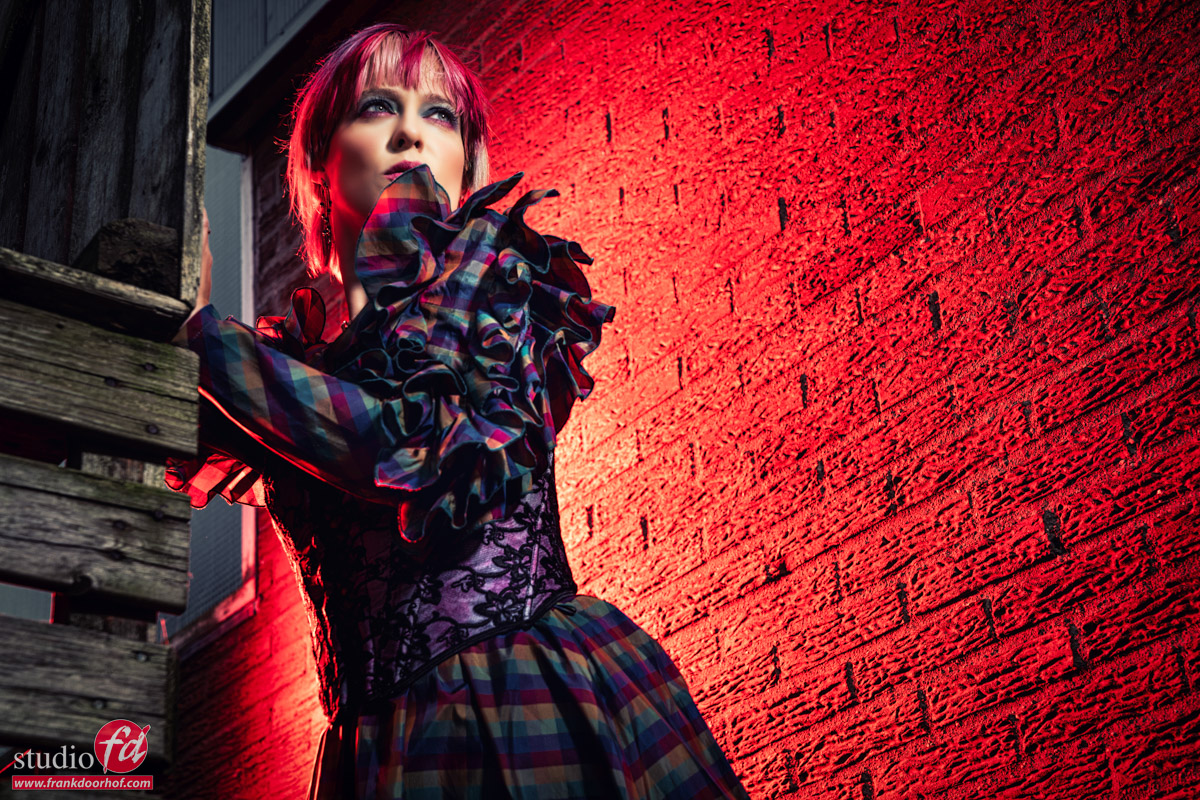
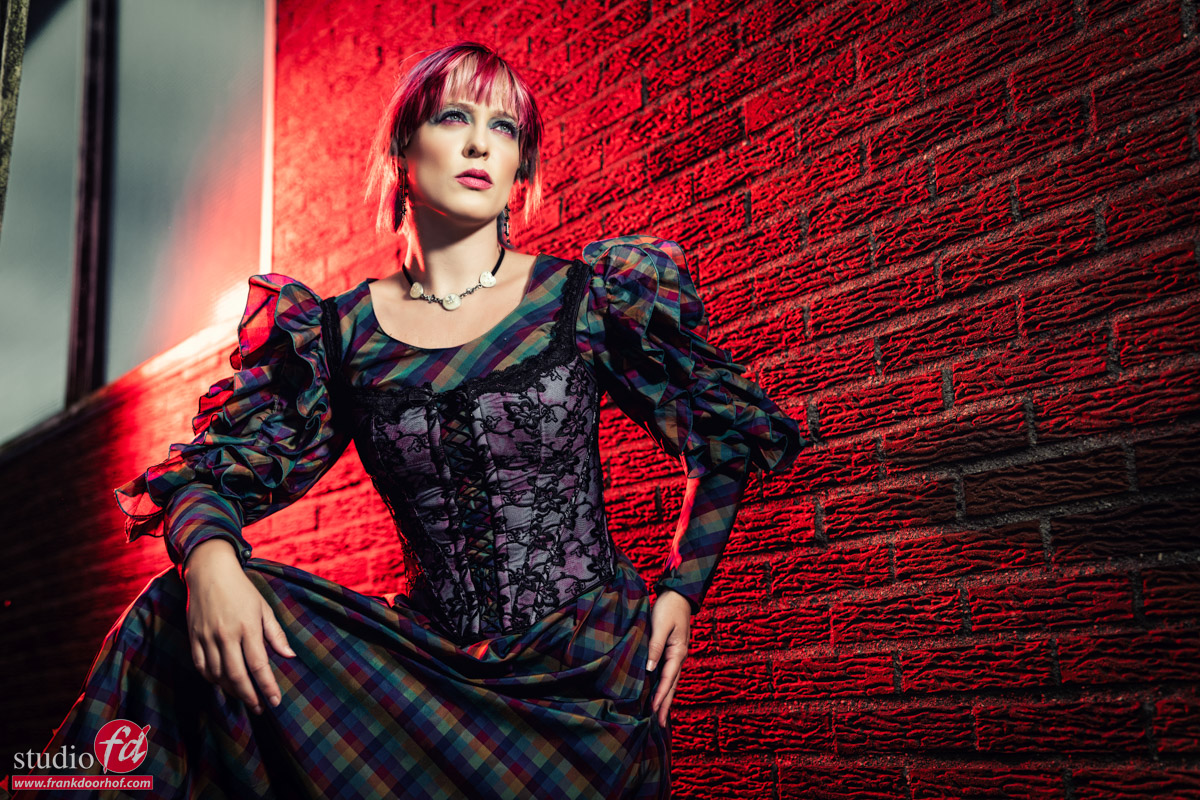
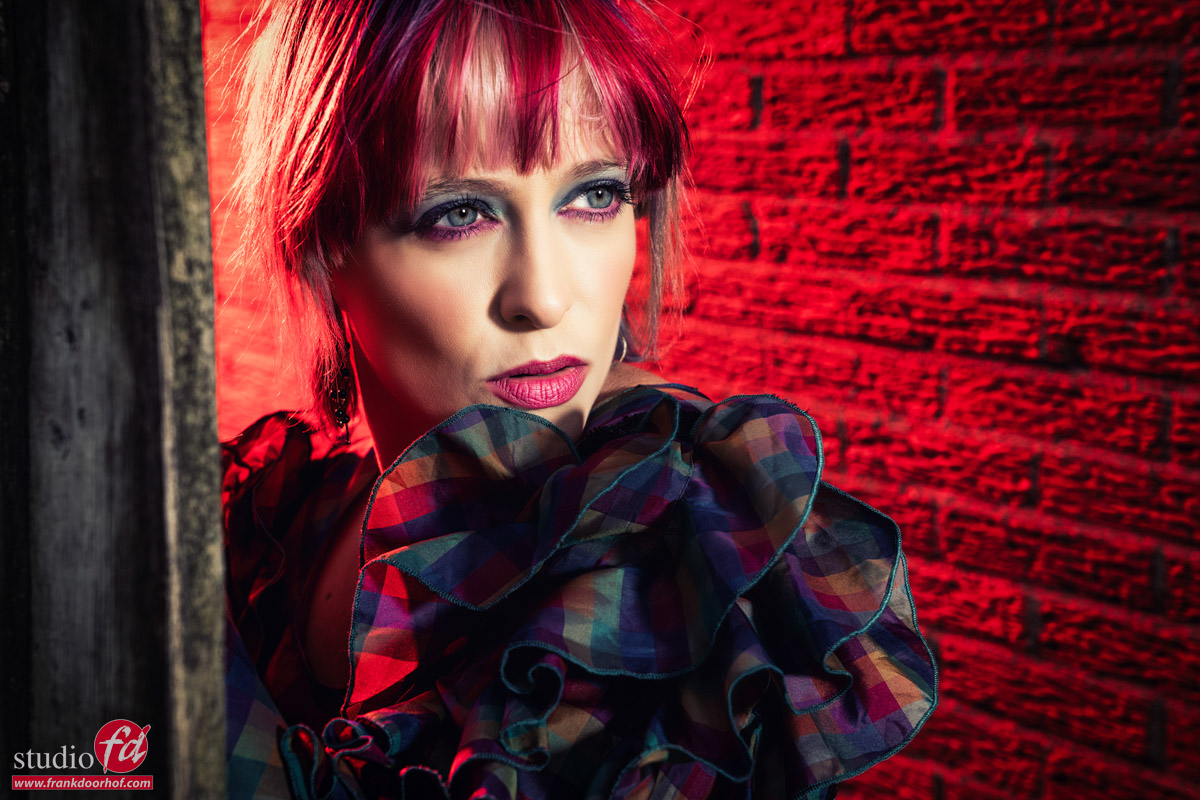
One of the things I absolutely love to do on location (or in the studio) is add a touch of color.
Always remember that color evokes emotion.
Think about watching a movie without any tinting or music, you will probably pretty quickly leave the cinema disappointed, unless of course the story is strong enough. But in most cases the reason we love certain scenes/movies is because of the tinting/music used.

So today let’s take a look at some images where I added color on location.

This image is without any added color.
I’m using a Hensel Porty here with the 14″ reflector.
This reflector gives a lot more light than a standard reflector and makes it possible to shoot amazing images even in bright sunlight.
I’m using a variable ND filter to be able to shoot on a wider aperture. When using the Geekoto system I can chose for the HSS options where you can shoot on faster shutter speeds but with standard battery packs like the Hensel Porty you are stuck with the X-sync which is often between 1/125 and 1/200. In situations like this that means that you are almost always shooting at F16 or F22. By using a variable ND filter you can take away some/a lot of light and shoot wide open or on any aperture you like.

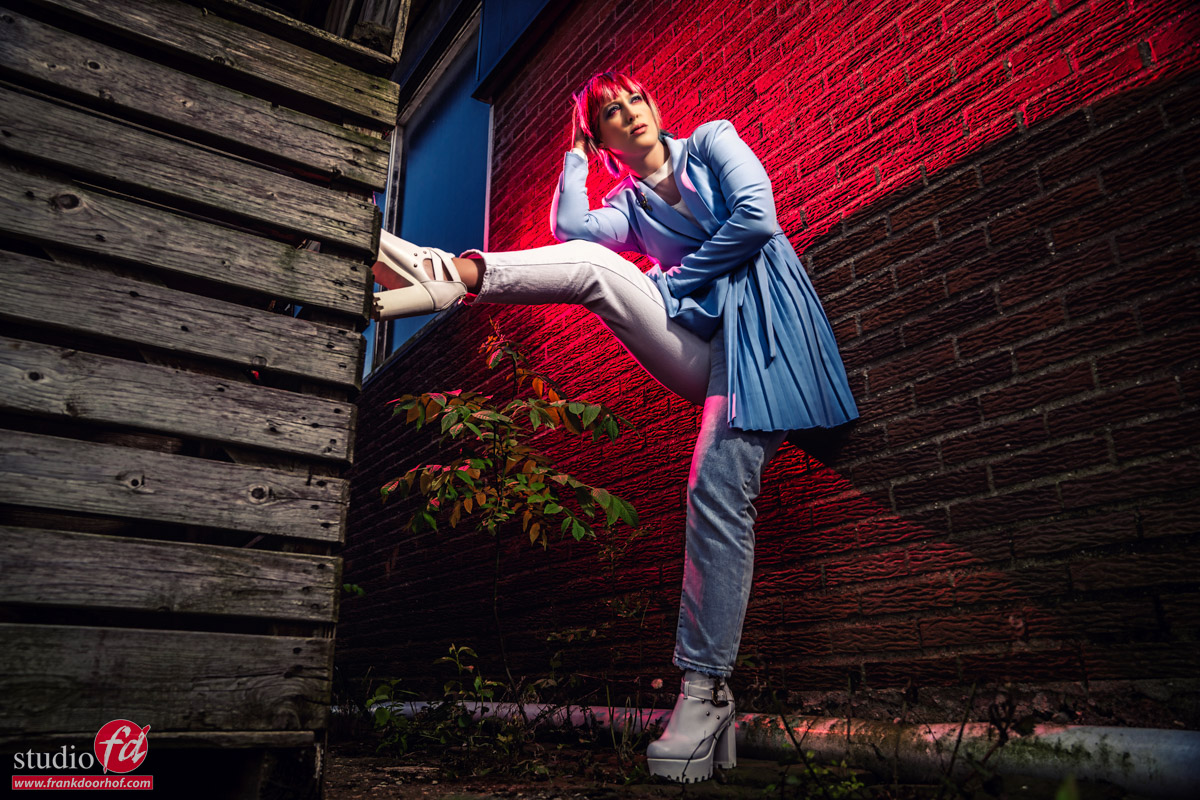
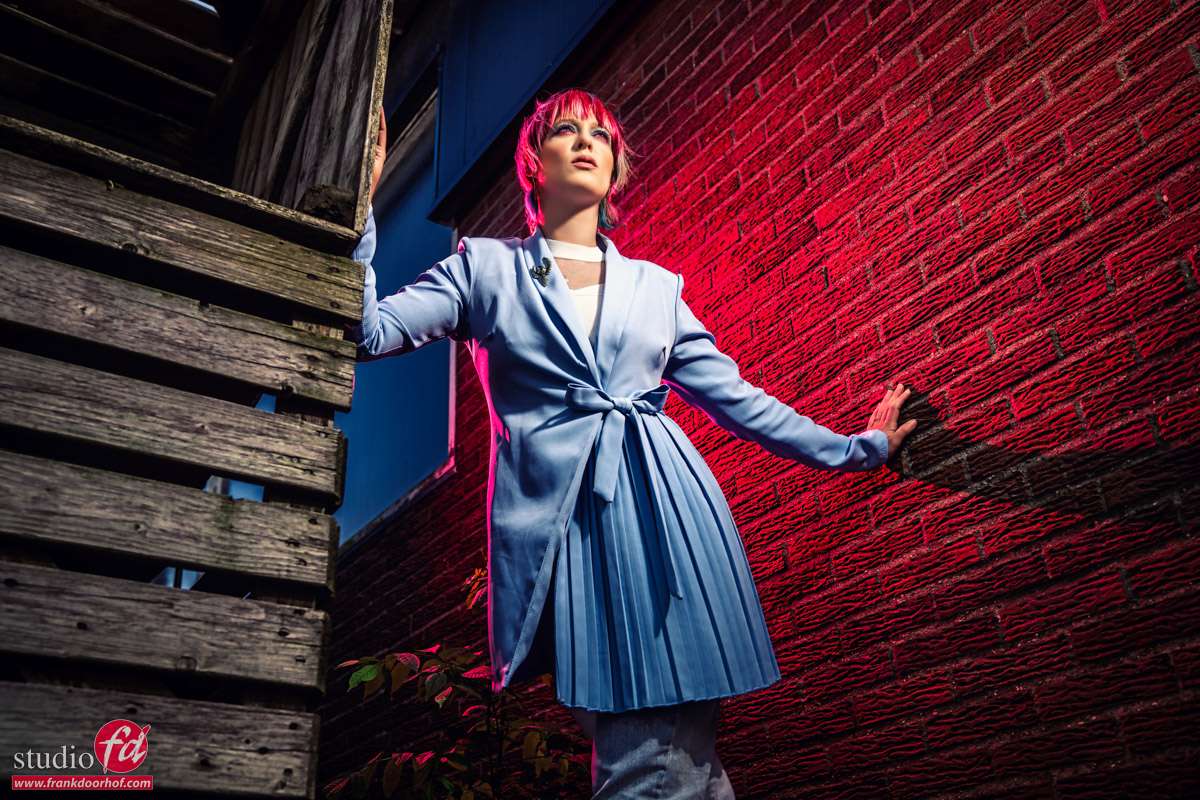
For the next shot I’m using a second Hensel Porty but this one is covered with a thick red gel.
I’m using the black diffusion filter here (from the same kit as the variable ND filter) to create a nice lens flare.

I love both shots, but the second one does give me a nice extra mood/feel.
You might say that you can add this in Photoshop in postprocessing, but I disagree, you can mostly easily see when it’s done in real life or added in post processing.

Now you might remember the blogpost where I showed you the Geekoto system for the first time with the red gels.
Let’s to refresh your memory show some of those images.

These were shot with the Geekoto GT200 and GT250.
Small strobes that can shoot on HSS. As you can see I’m creating a nice Day2Night look here and the red really jumps off ow youthe background.

Now for the next images I’m using the exact same setup in the same location but here I switched the Geekoto for the 1200W Hensel porty system.

The Hensel system does have a lot more power but doesn’t support HSS and as you can see they give you results that are incredibly close to each other.
I think this is one of the most interesting parts of the smaller flash systems like the Geekoto they don’t like like much compared to a system like the Porty but due to the use of HSS they do pack an incredible punch.

Of course they can’t compete with the Hensel on durability, recycling speed, flash duration and raw power. But if you don’t need that raw power I think you can do awesome things with the smaller systems, something that wasn’t possible in the past when we still were depending on speedlights only.


Working on location and what does flash do?

During the workshop on location in Emmeloord with our model Claudia the theme is to find locations that might look boring and make them interesting enough for some cool shots. in my opinion this is one of the best things you can do to train yourself to create better images.

The reason most people don’t shoot images close to their home is probably that they see it every day and don’t realise anymore that some locations can be great to shoot images in or against. Every day I walk Chewie I see locations where I think “this would be nice to place a model” but somehow you always travel to cool locations to do the same while in essence you could take the same kind of images close you your own location.

Now of course we do want to introduce also some interesting lighting, because if you just shoot something with ambient light it’s boring right?
Or maybe not….
So during the workshop we actually run through several different lighting solutions.

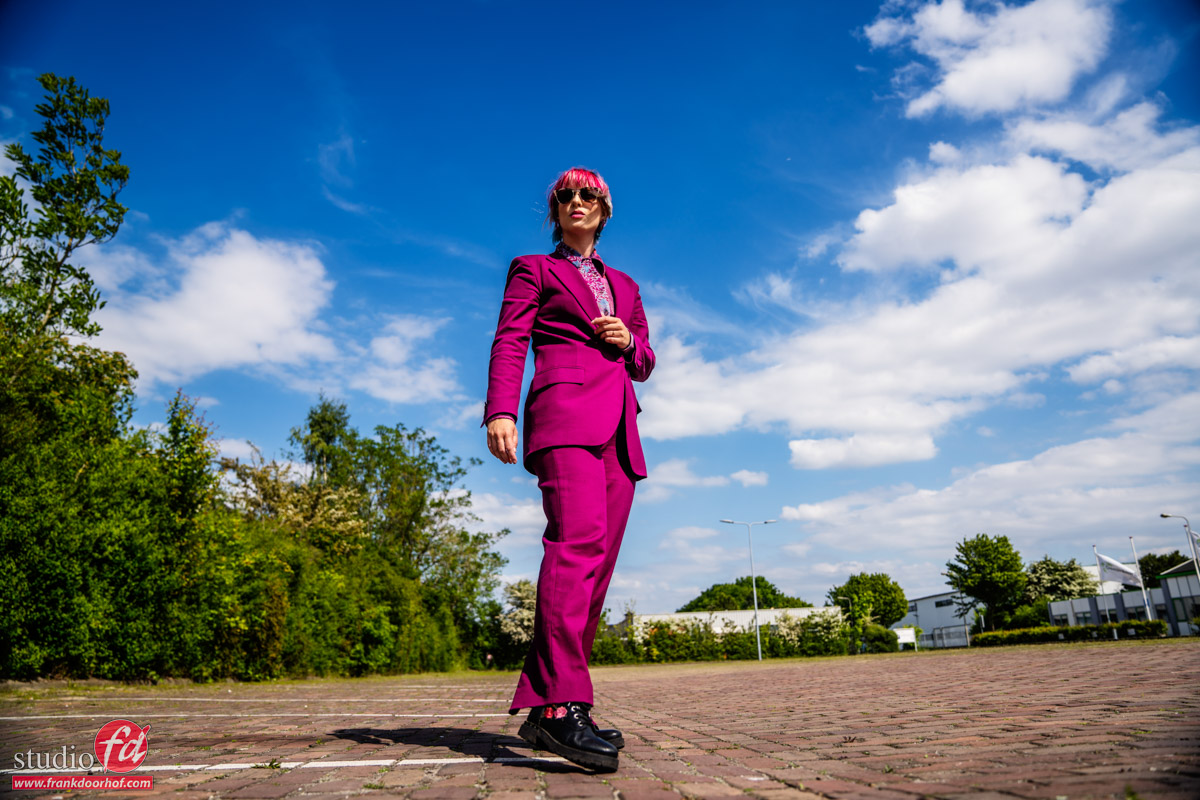
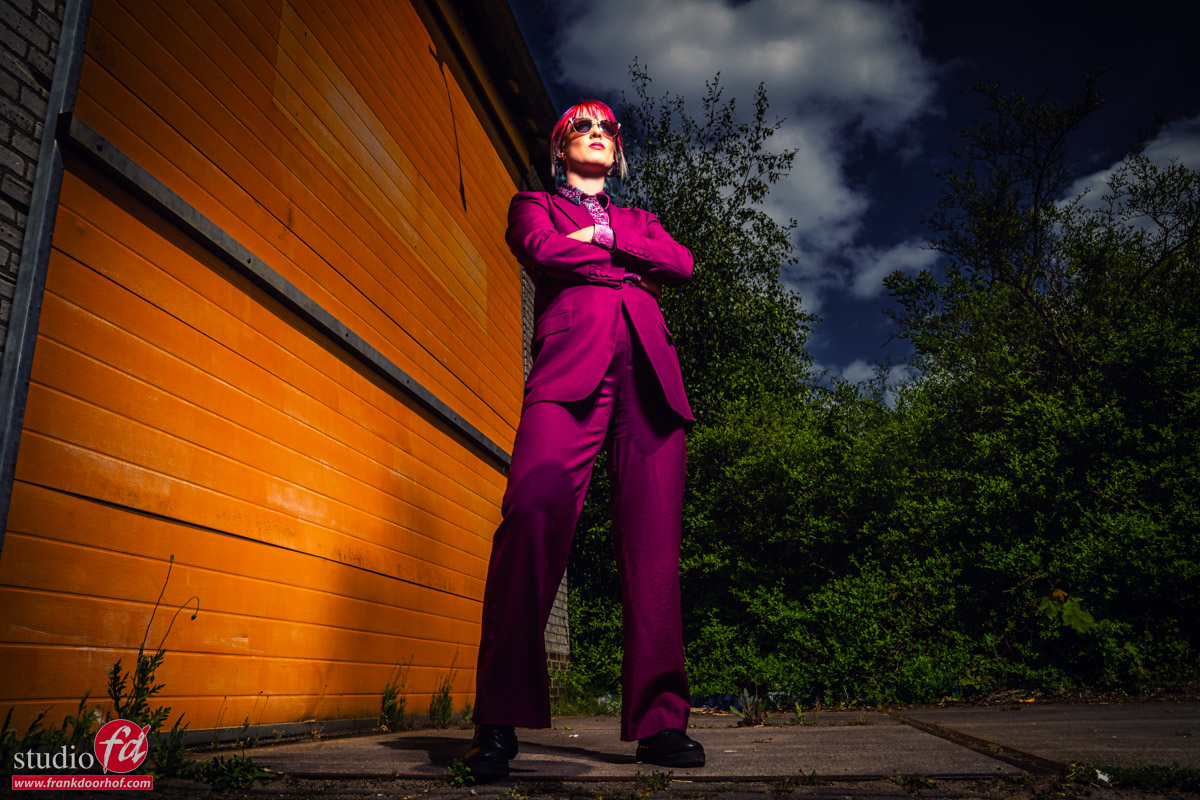
So today let’s take a look at what you can do with just an open parking place.

Let’s start out with ambient light only.

A low angle and a standard preset I created in Luminar AI (you can get those on frankdoorhof.com/shop)

Now let’s add a just a slight amount of flash.
I’m using a Hensel Porty with a 14″ reflector here and to get this effect you really don’t need a lot of power, in essence I’m overpowering the ambient by just 1-1.5 stops.

With retouching you could get something similar quite easily.
Now one of the limitations of shooting with the Hensel Porty is that you are limited to the X-sync which in most cases lies between 1/125 and 1/200. So you will mostly shoot on smaller apertures when using a lot of power. This is why I’m using a variable magnetic ND filter on my lens when shooting with the porty system outside.

I’m using the K&F concept version which you can find in the Frank Doorhof kit which includes 2 Black diffusion filters (1/4 and 1/8) and the variable ND filter, all magnetic of course.

Ok, so now let’s add a lot of light.

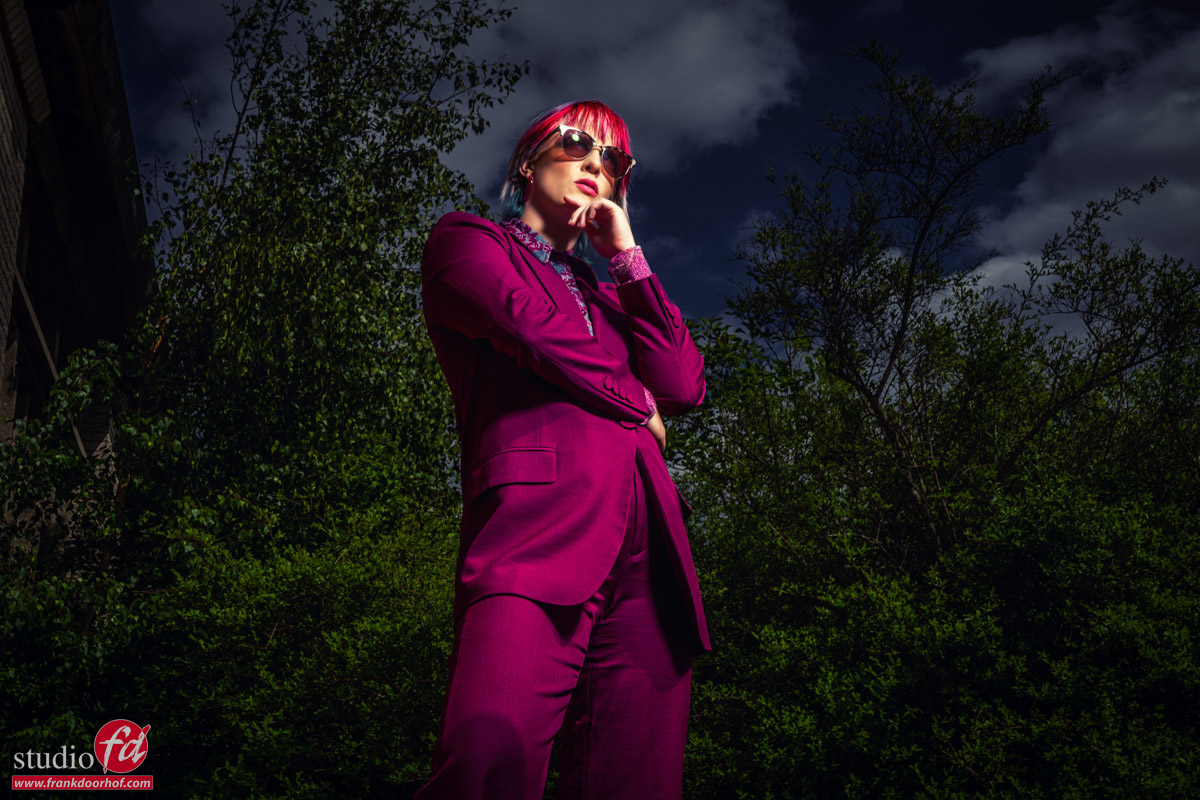
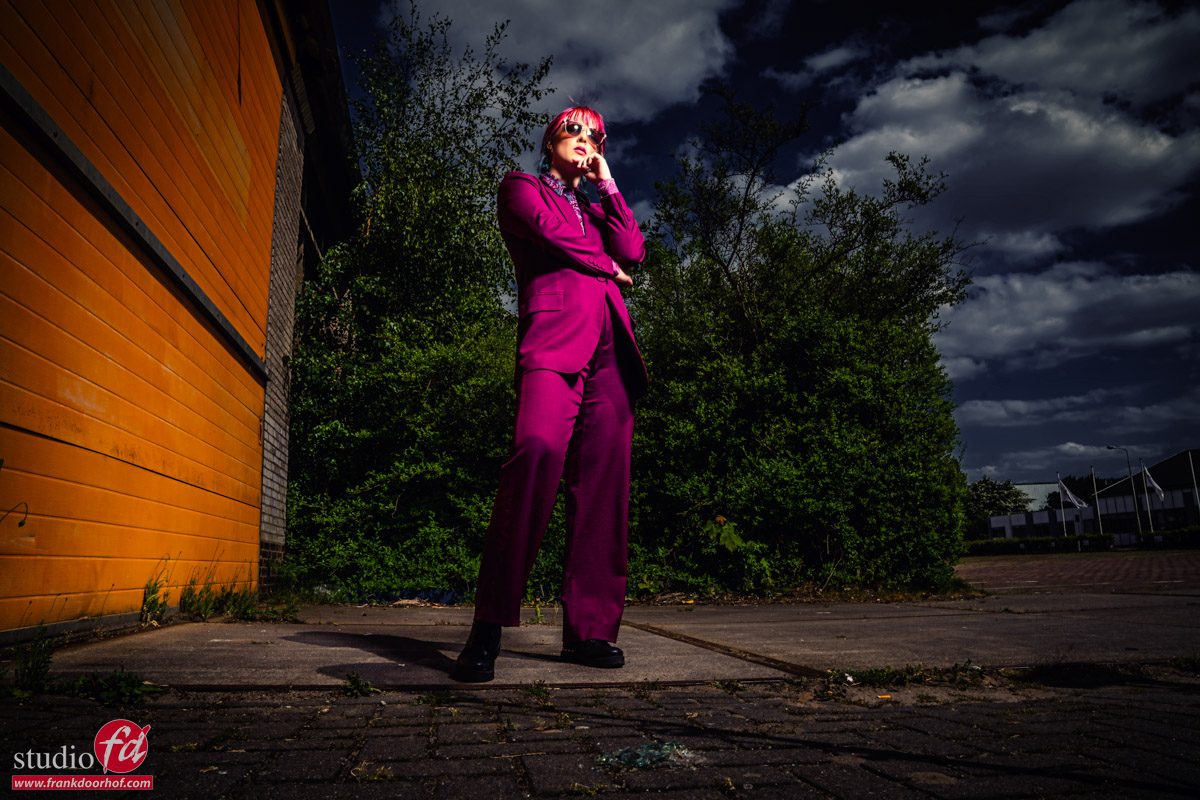
Here I’m totally overpowering the ambient light and also chose a different angle to enhance the contrast even more.
One might say…”hey this is cheating because we don’t see the sky anymore”
So of course I also shot some with the sky included but we did move the set a bit to make the series more varied.

This is something I always highly recommend.
If you shoot all images from the same angle and in the same location it can be very nice but also a bit boring, and you don’t have to travel or even walk to another location, it’s often a matter of choosing a location where you can shoot from different angles and create something new with every angle. It doesn’t only speed up your workflow but also give your client much more different images for the same price, so they will be much more willing to hire you again for another job.

As you can see there is a huge difference between the first and last images.
However in reality it’s “only” the difference in lighting and by choosing different angles.

So the next time you are shooting on location look around for areas that can be shot from different angles and don’t be afraid to shoot with or without strobes.