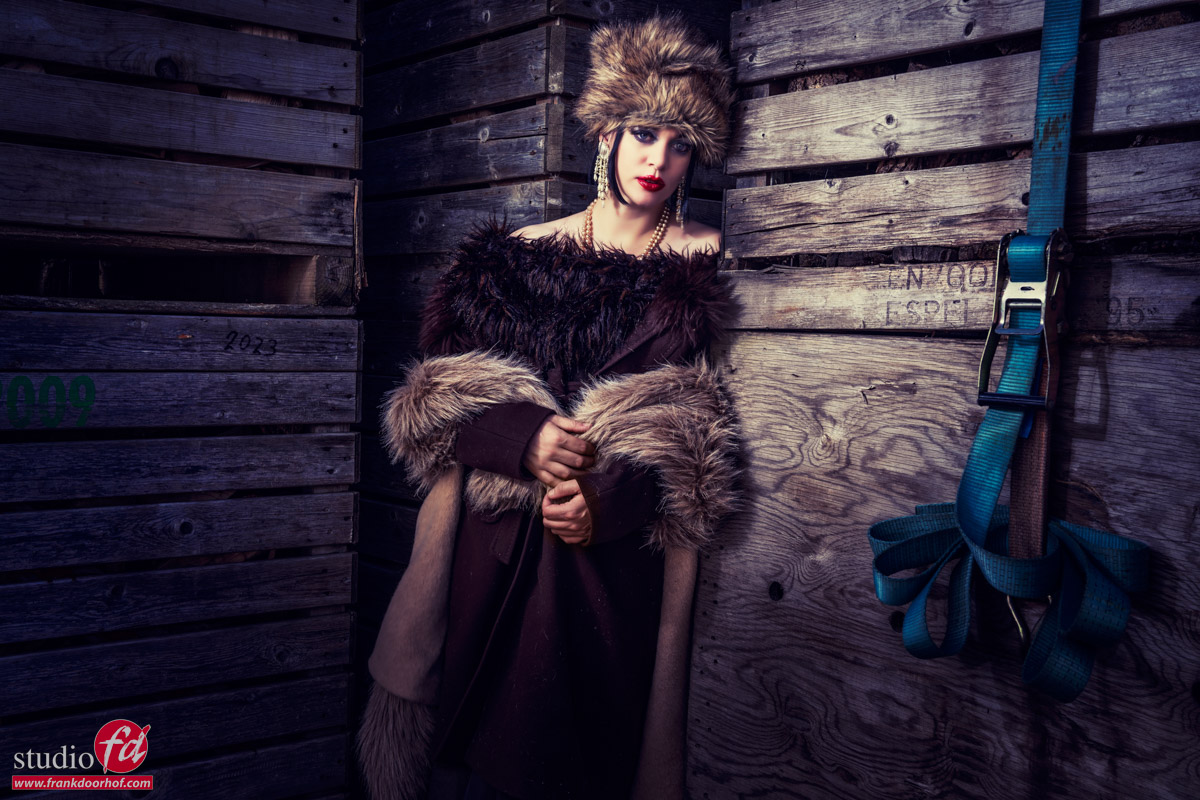
Using the foreground to add dimension to your images
Sometimes we need something extra
We all know that when we want to show scale it’s handy to include something to show the scale.
In the case of a mountain we can of course place some people in front but today we are doing something else.
During the workshop “on location in Emmeloord” the challenge is to find locations that look not so interesting but still create some cool images.
If you ever visited our studio you know there always was an old building just in front of our studio, it didn’t look nice but it had some great walls to shoot against 😀 one of them actually made it into my signature ClickBackDrop backgrounds.
Recently they demolished the building and we ended up with a large empty building area.
Of course a great option for this workshop.
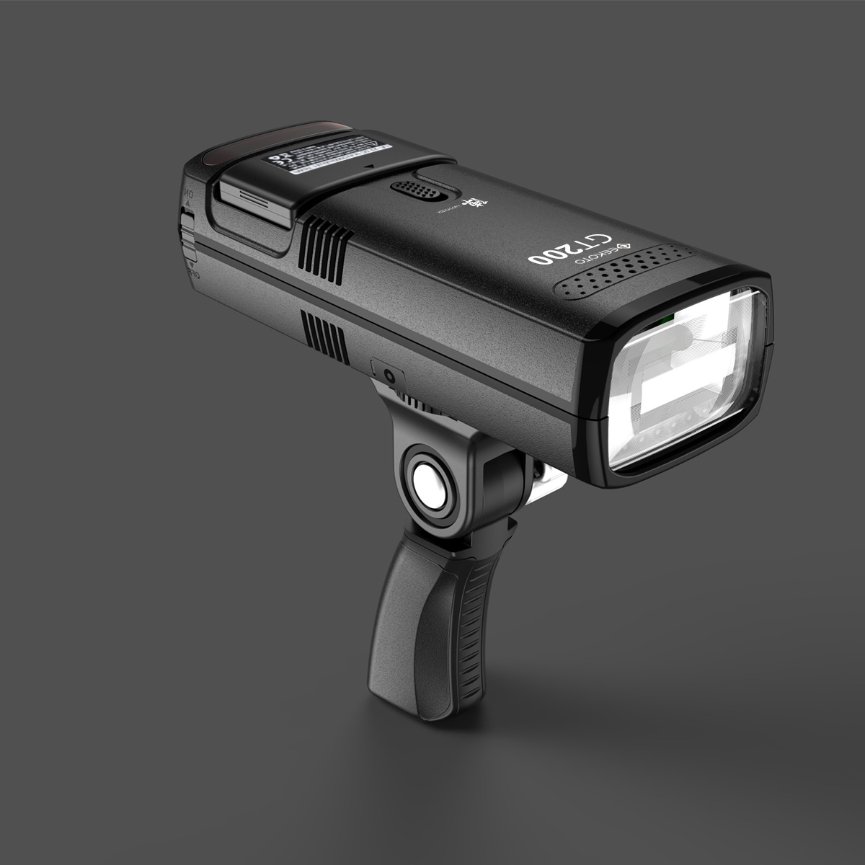
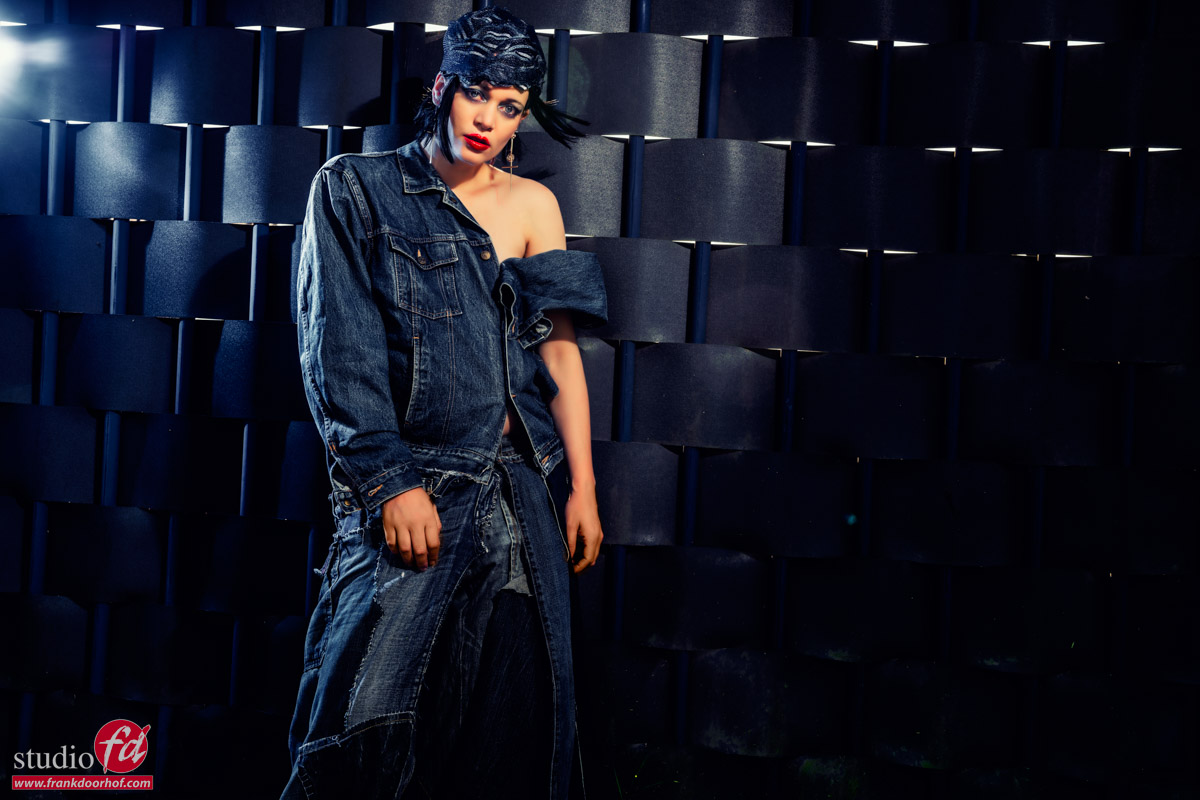
The lighting setup was pretty simple, one Geekoto with a large reflector shooting on manual mode.
During the workshops we have to shoot with so called universal triggers due to the different camera brands that are used during a workshop, this means we can’t use extra options like HSS and ETTL.
The setup itself was ok.
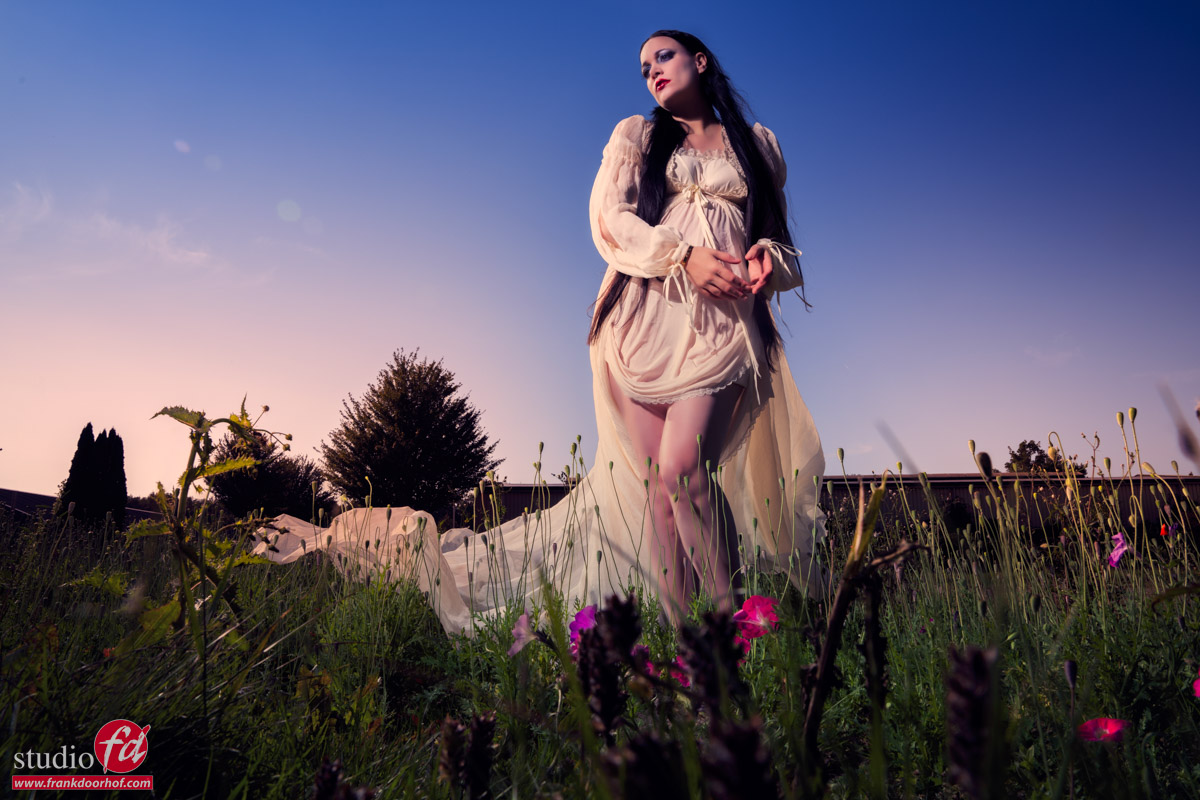
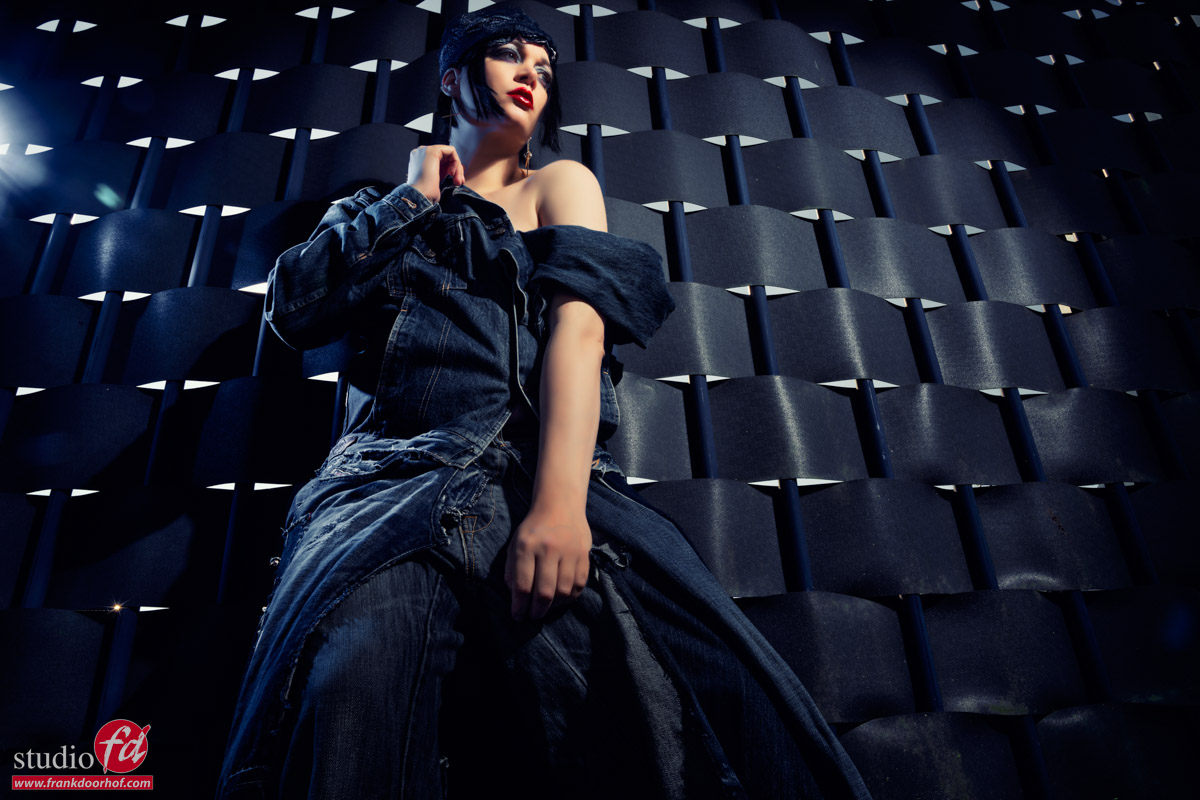
But I wanted something more. Something to give the image more dimension and framing.
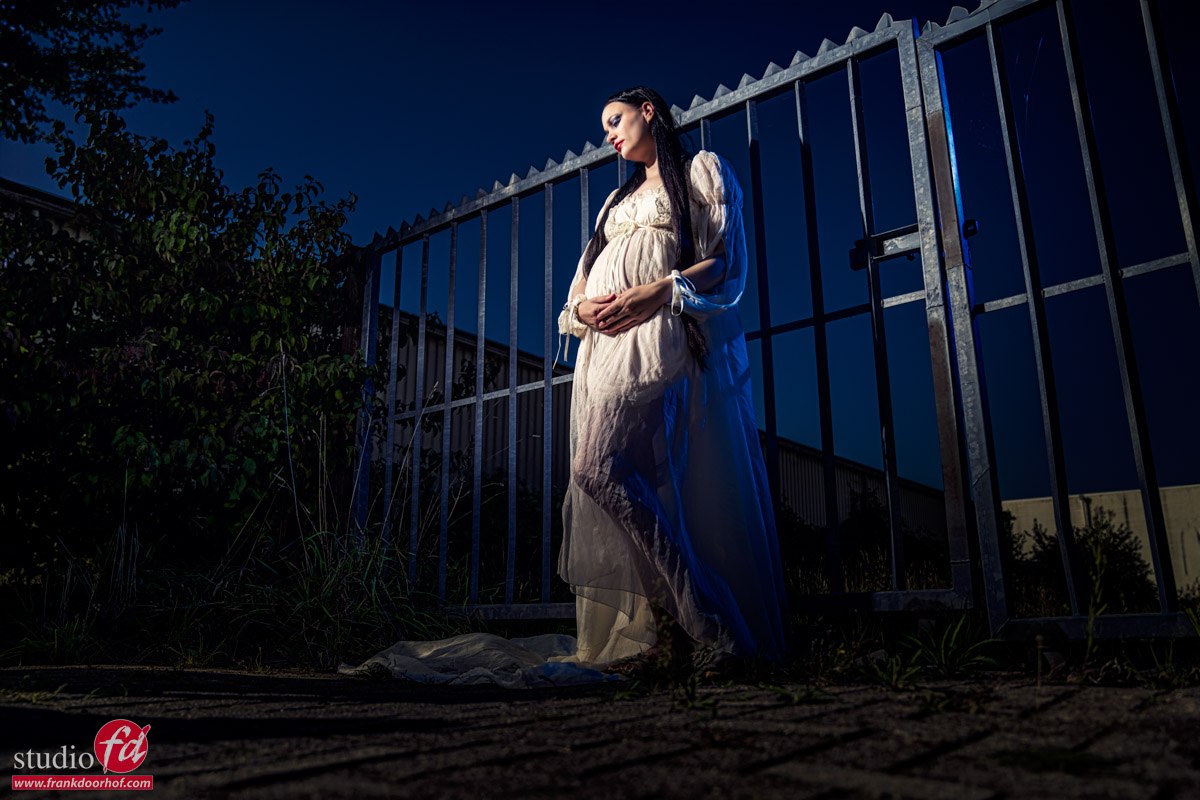
Because I’m shooting from a very low angel I decided to include a few of the flowers in the frame.
This already made a huge impact.
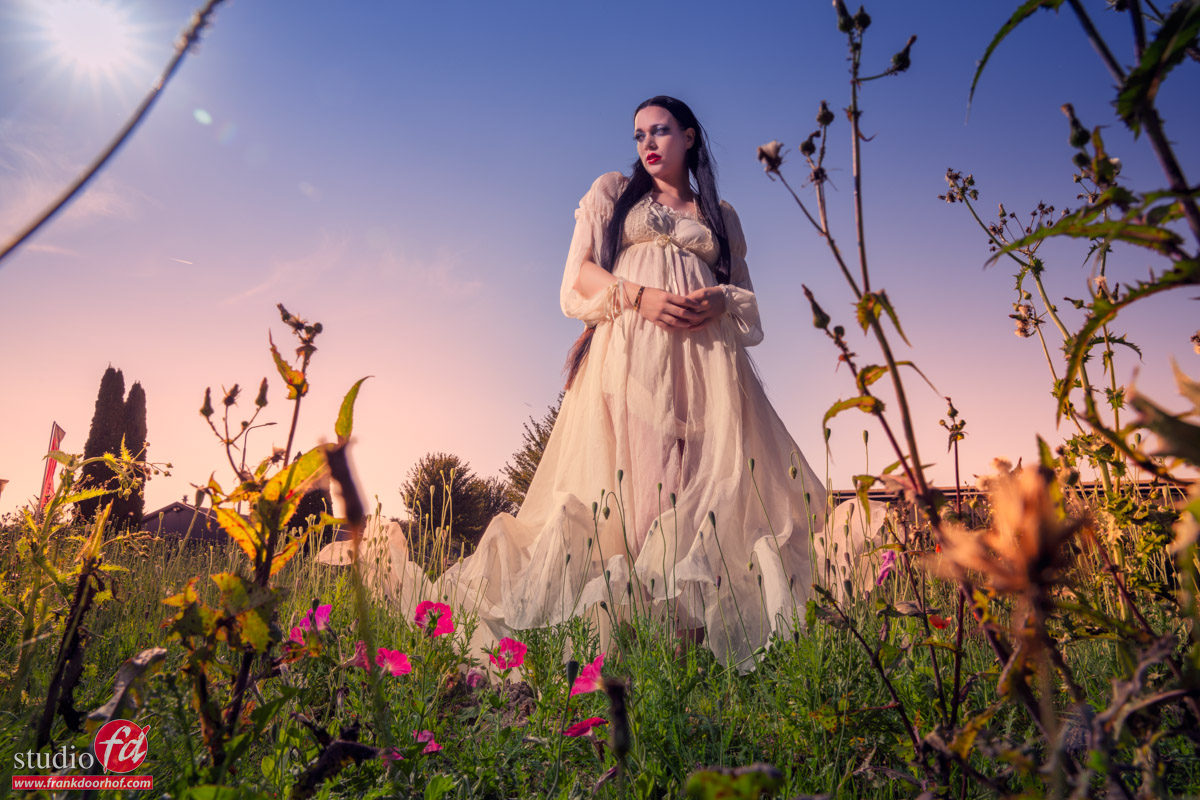
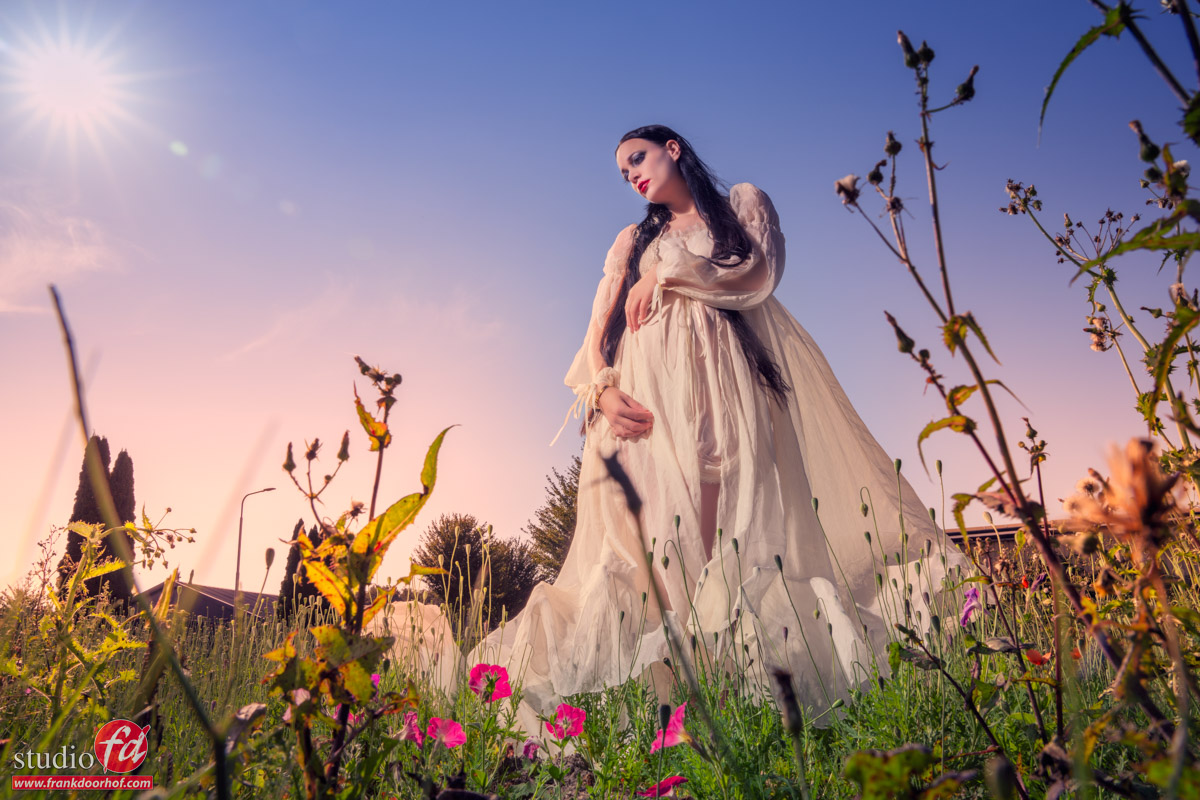
But because Nadine is pregnant we also needed a slightly different pose, and I slightly tilted the camera for a nice effect and include the sun.
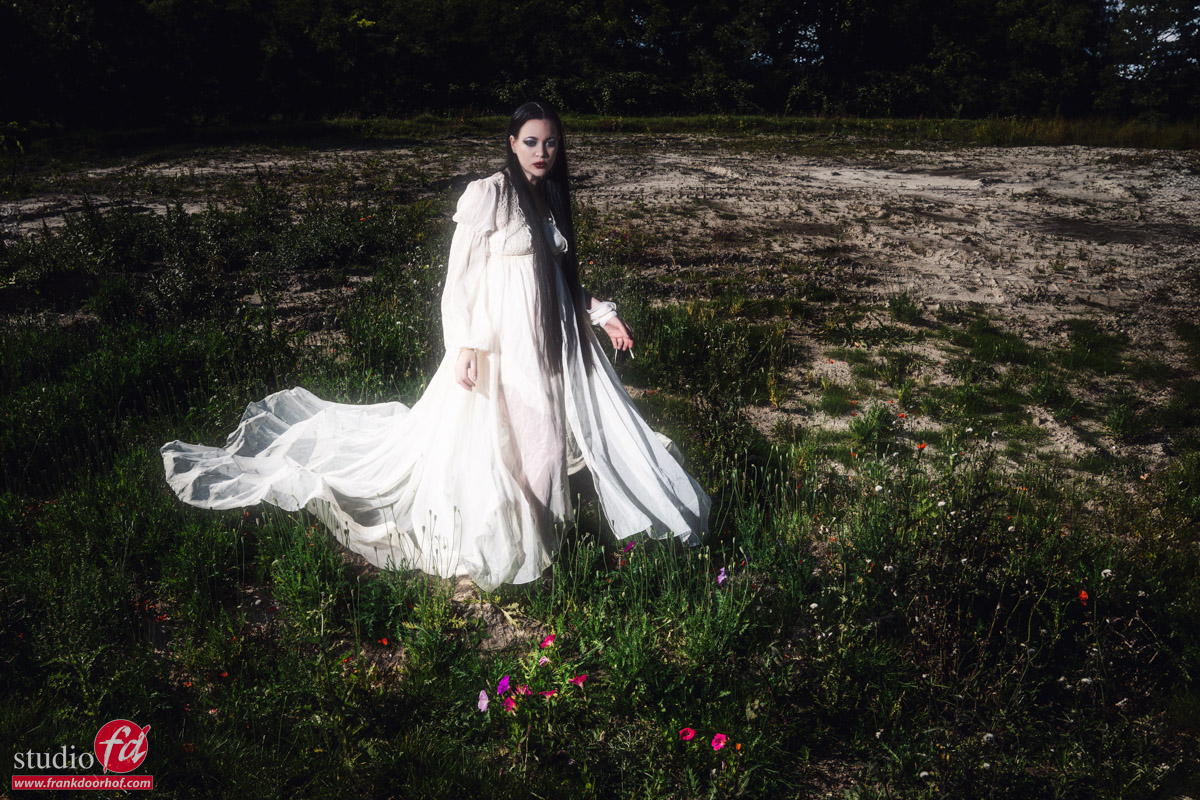
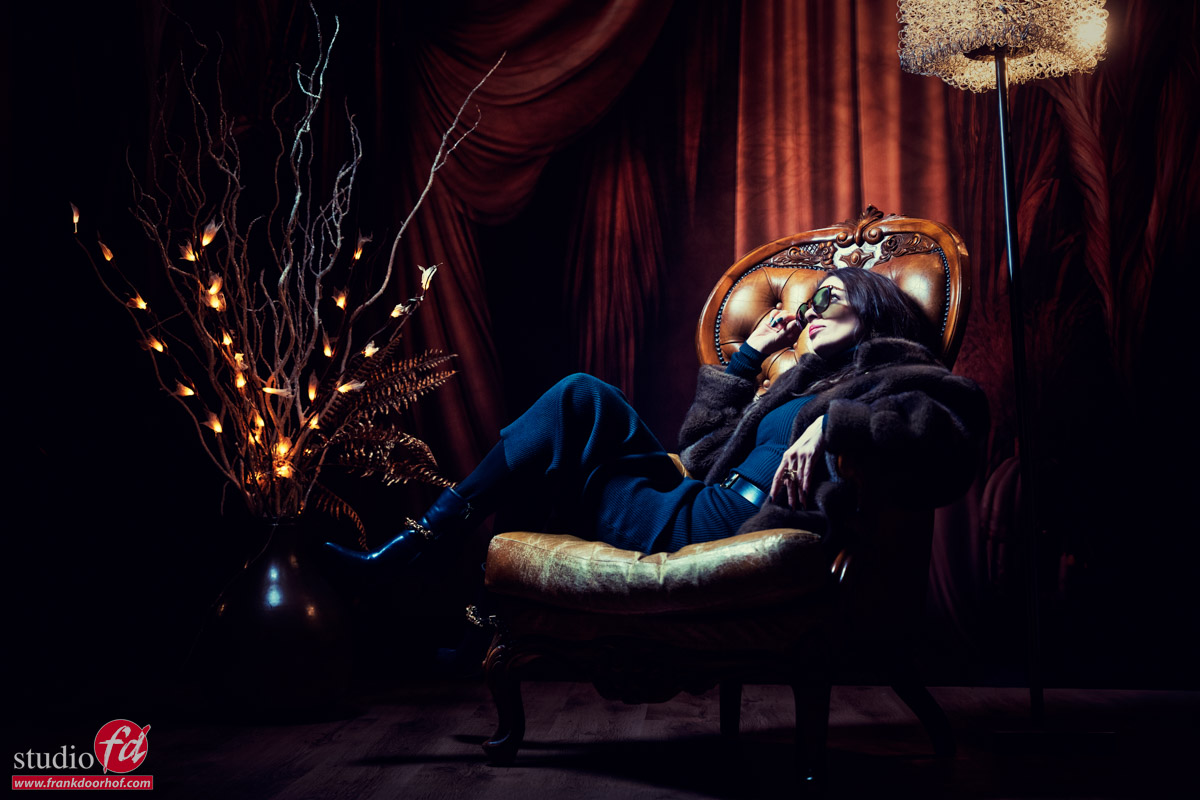
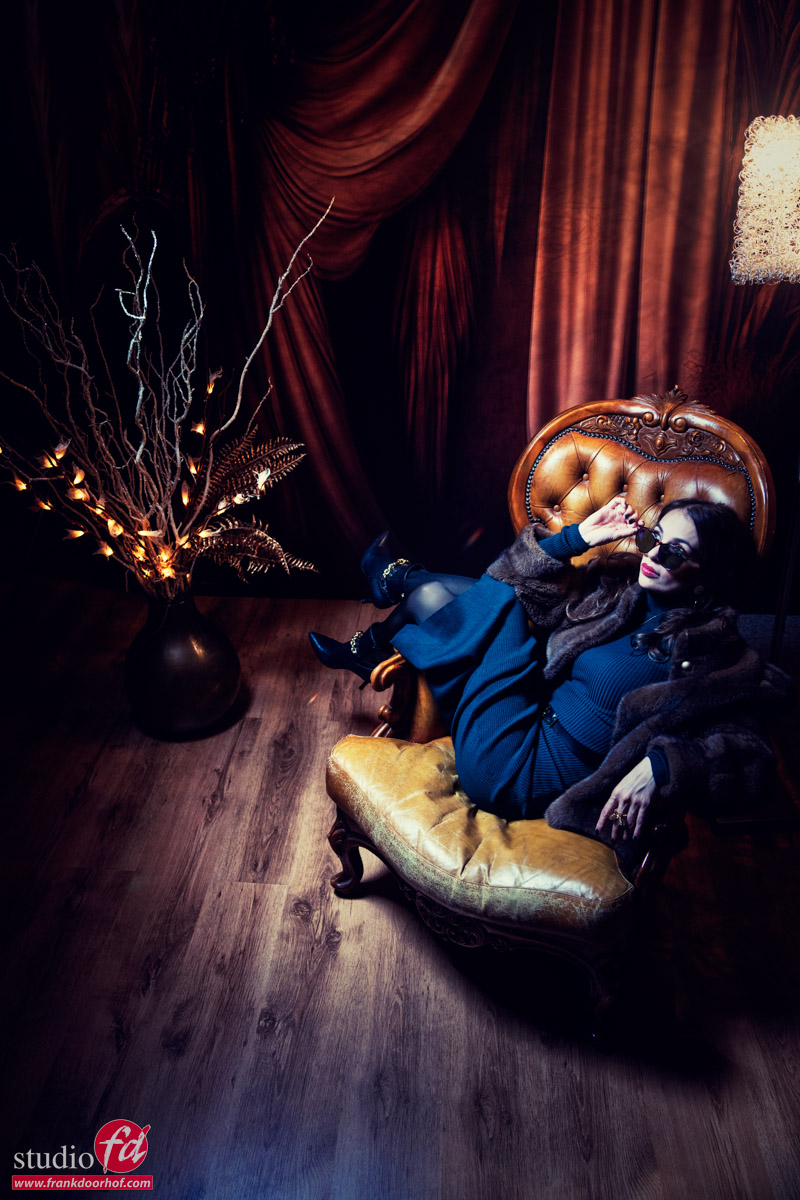
I also shot on extra image from a slightly higher angle to experiment with.
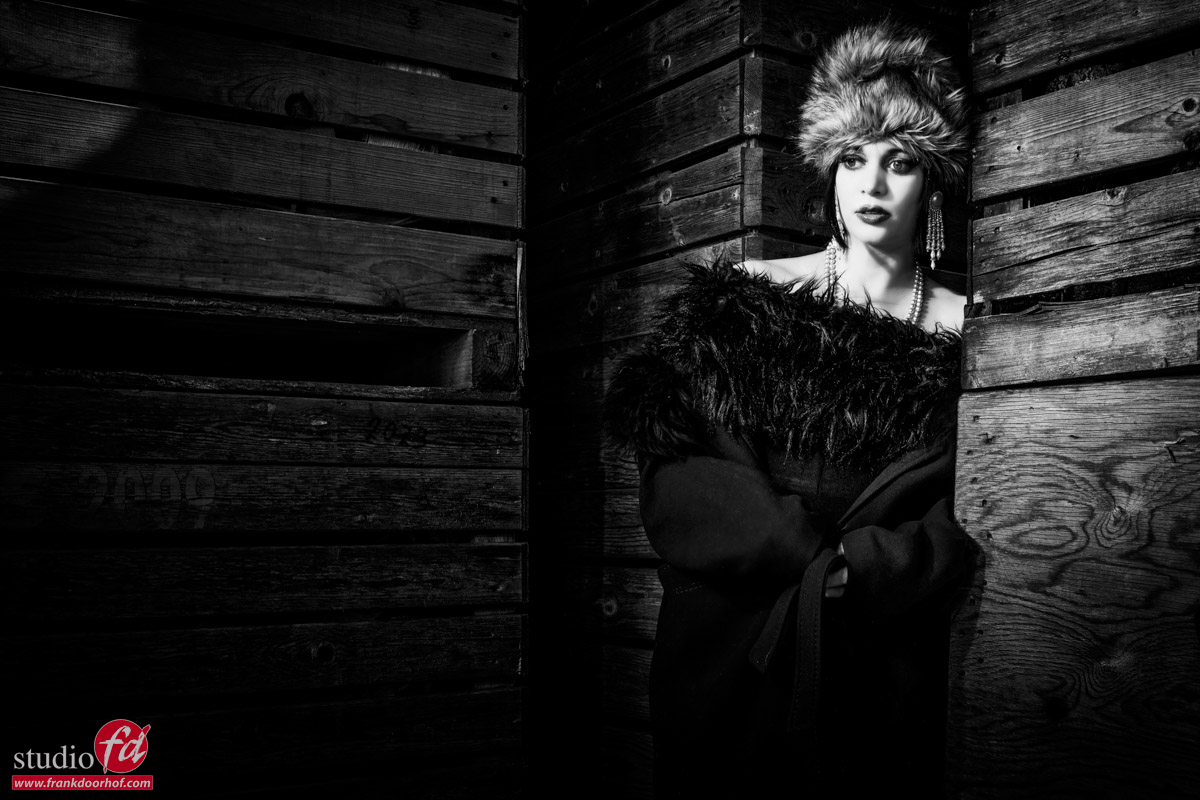
I ended up with a darker look which to my surprise became the favourite image for Nadine 😀
So always shoot something different, you never know what hits the spot.
Now that we talked about the setups and the framing of the shot, let’s take a look at the video from this setup.
Also want to visit a workshop?
Today I showed you one of the different sets we did during the workshop outside with Geekoto strobes “on location in Emmeloord” with Nadine.
During the workshops I always try to use 3-4 different setups explaining different techniques and of course it’s a great way to get a good addition to your portfolio.
If you think “that’s for me”
Than visit photography-workshops.eu for the Dutch workshops.
But if you are not living in the Netherlands or don’t speak Dutch we also have other options.
If you let is know 2 weeks in advance I can teach the workshop you want to visit in English.
Or if you can’t travel to our studio we also now offer the option to get a full 1:1 experience with 5 different camera angles, lightroom/Photoshop view and a talkback channel, you also get all the raw files and retouched results from the workshop. Visit our online workshops page for more info.


You must be logged in to post a comment.