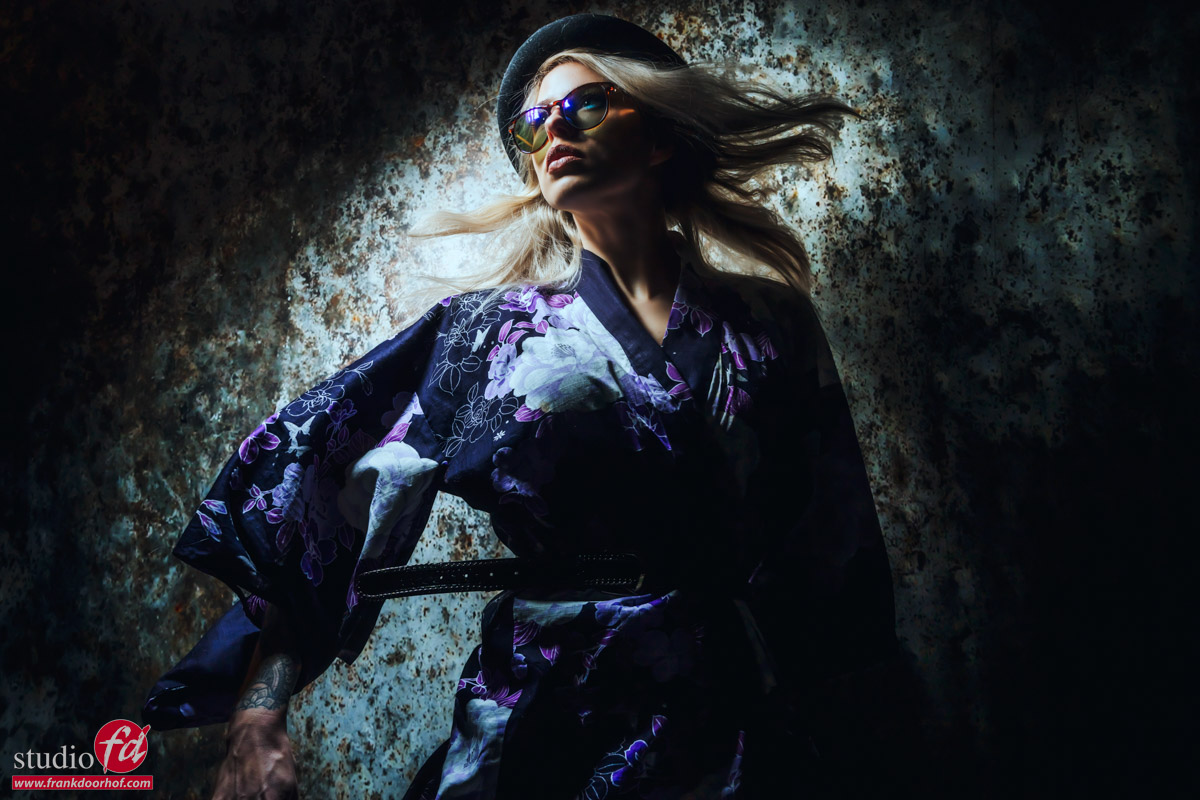
Tag Archive for: Lindsay Adler

That Hollywood effect

It’s weird but it does work

When we watch movies there is one thing that always draws my attention.
The flashlights.
Let me explain.

When I walk in a dark room and use my flashlight I can see the whole room light up, and… well that’s about it.
Well unless there is a LOT of dust in a room, but in those case I’ll be gone very fast.

So why is it that in almost every movie when someone enters a room there is distinct beam of light from the flashlight?
Well…. because it looks cool and draws you more into the movie.

So how do they do it?

You probably will know, but just in case.
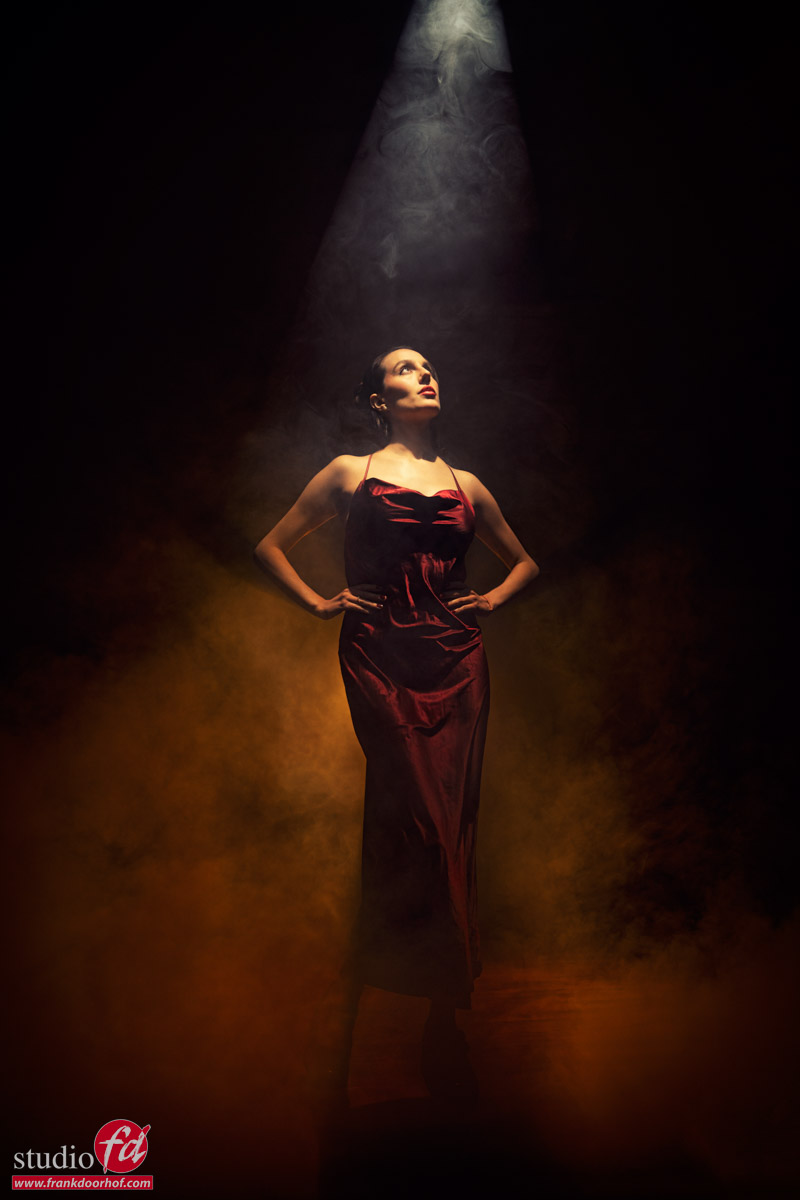
You can get these effects by using a very nice focused flashlight and make sure the room is filled with haze, a very light smoke that is hardly visible.
In the previous posts we already talked about backlighting smoke, and that’s exactly what happens, and because the beam of light is very focused you can see the beams of light.

So how can we create something like this in our studio?

There are several solutions to create patterns in the smoke.
Of course you can chose to use a flashlight and no strobes. With modern cameras and great high iso performance this will be no problem.
When using strobes you can use for example a snoot, or a reflector with a very narrow grid and place the strobe far away from something that will project your pattern in the smoke. You can use branches, a ladder etc. As long as the strobe is far away it will create nice effects.

However if you want to do it easily and much better…
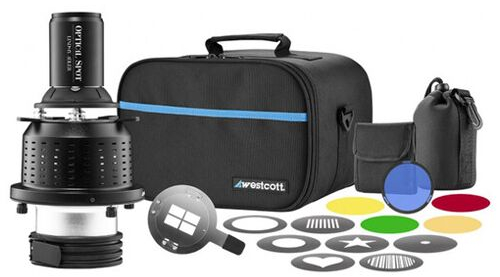
Use a gobo projector

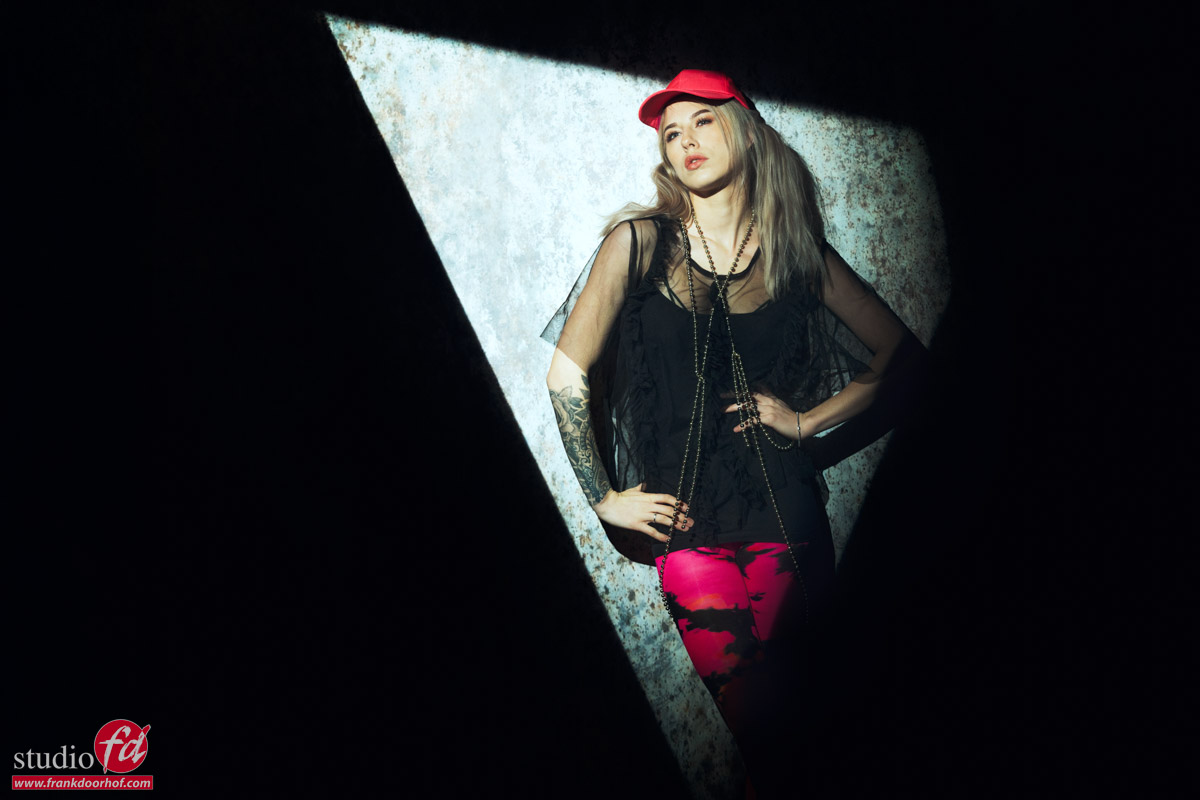
Probably one of my favorite toys in the studio is the Westcott Lindsay Adler optical spot.
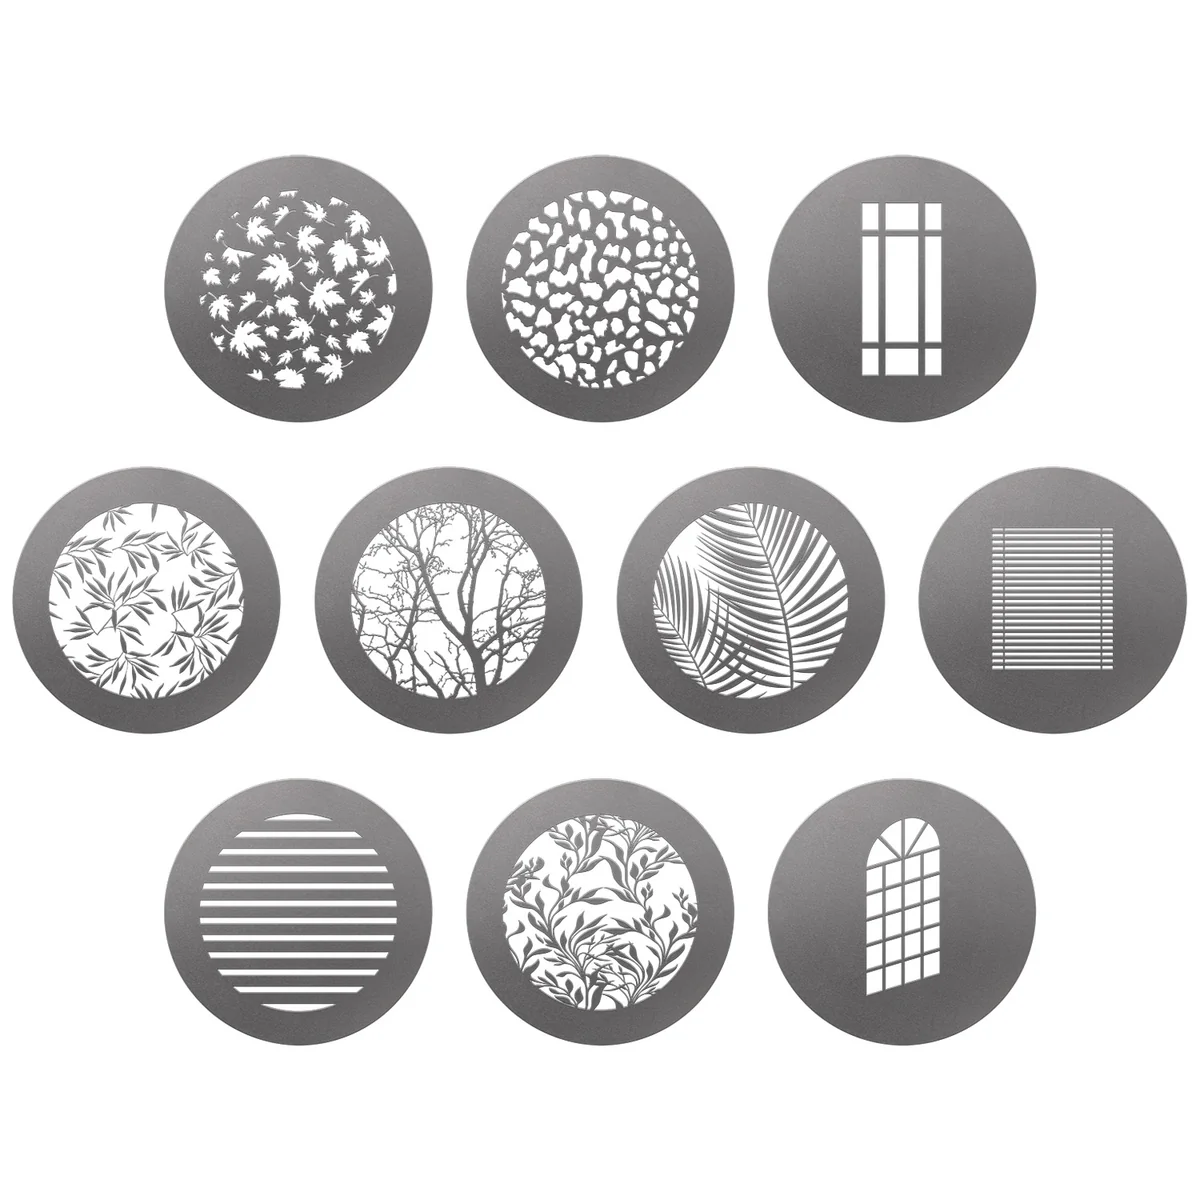
This is a device you place in front of your strobe and you can use the blades to create a light pattern but you can also place metal discs with patterns that can be projected in the smoke.
The unique feature of a gobo projector is that on the front you will find a lens that will literally focus the pattern from the gobo. This means you can place the projector close to your subject and have 100% control over the sharpness of the patterns.

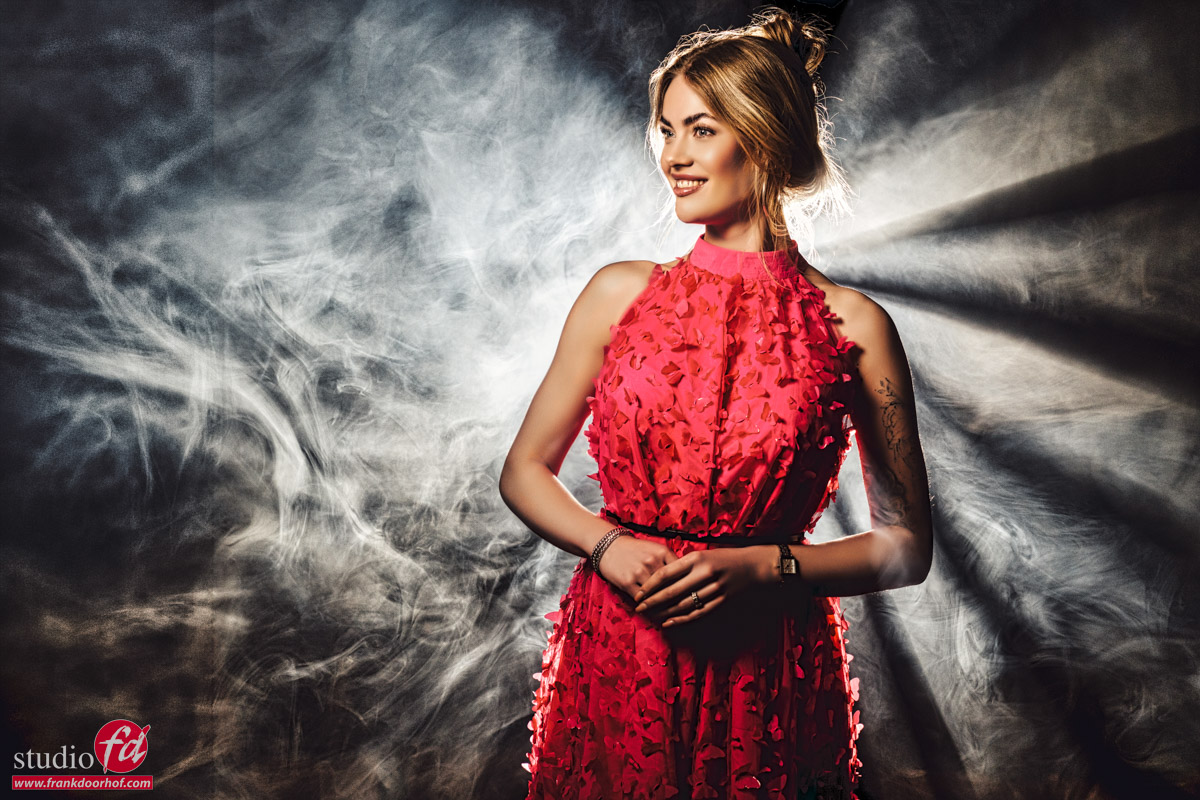
So let’s take a look at how this looks.
Ok that might be nice, but how about adding two extra strobes?
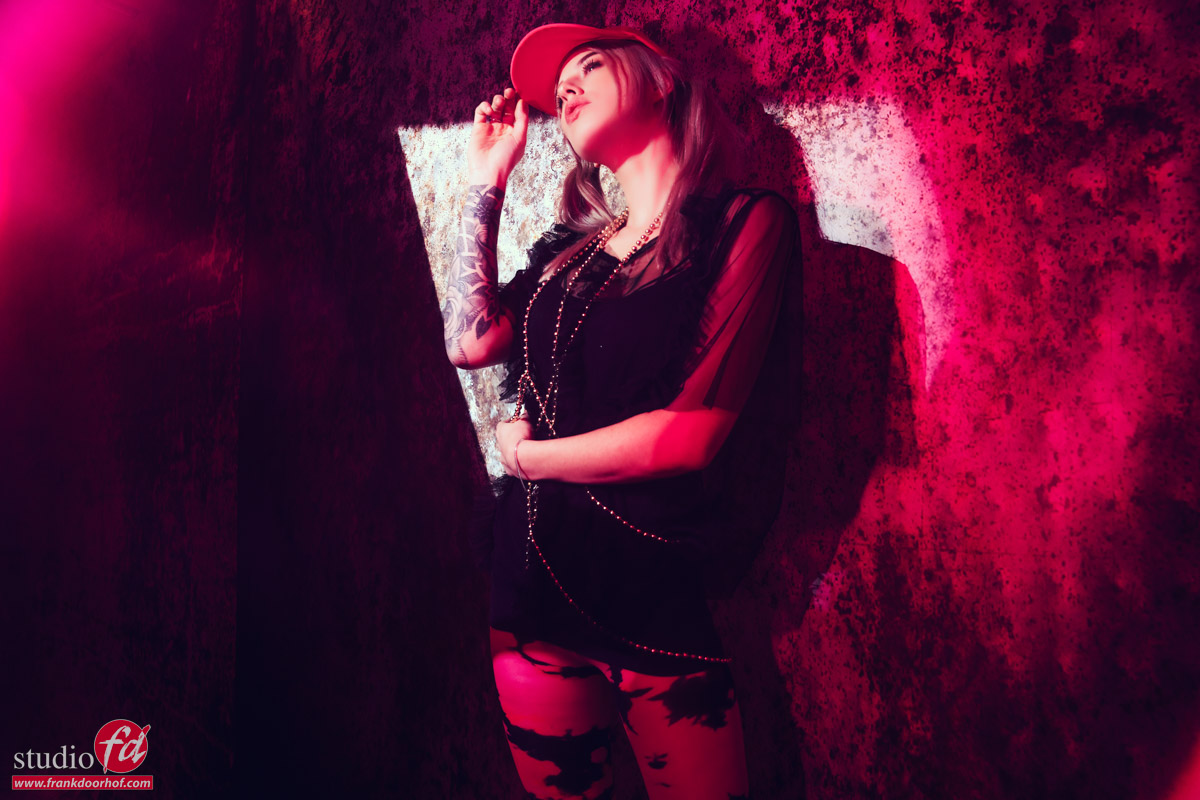
By adding some colors you can spice up a shot, especially with smoke.
I’m using two Geekoto GT200s with the Rogue Magnetic system gels.
When you add too much smoke the pattern will disappear, during the workshop I often have less time to let the smoke disappear, so as you can see in the following results the smoke was a bit too thick for an optimal effect.
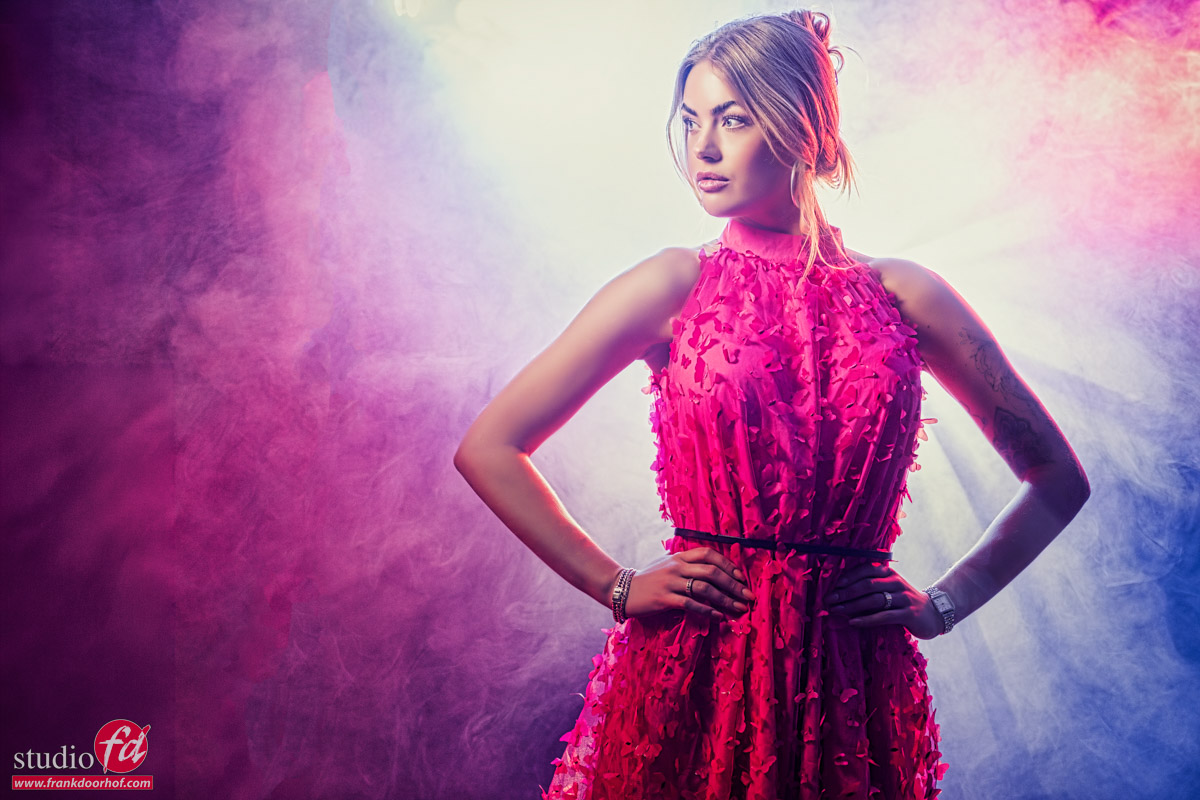
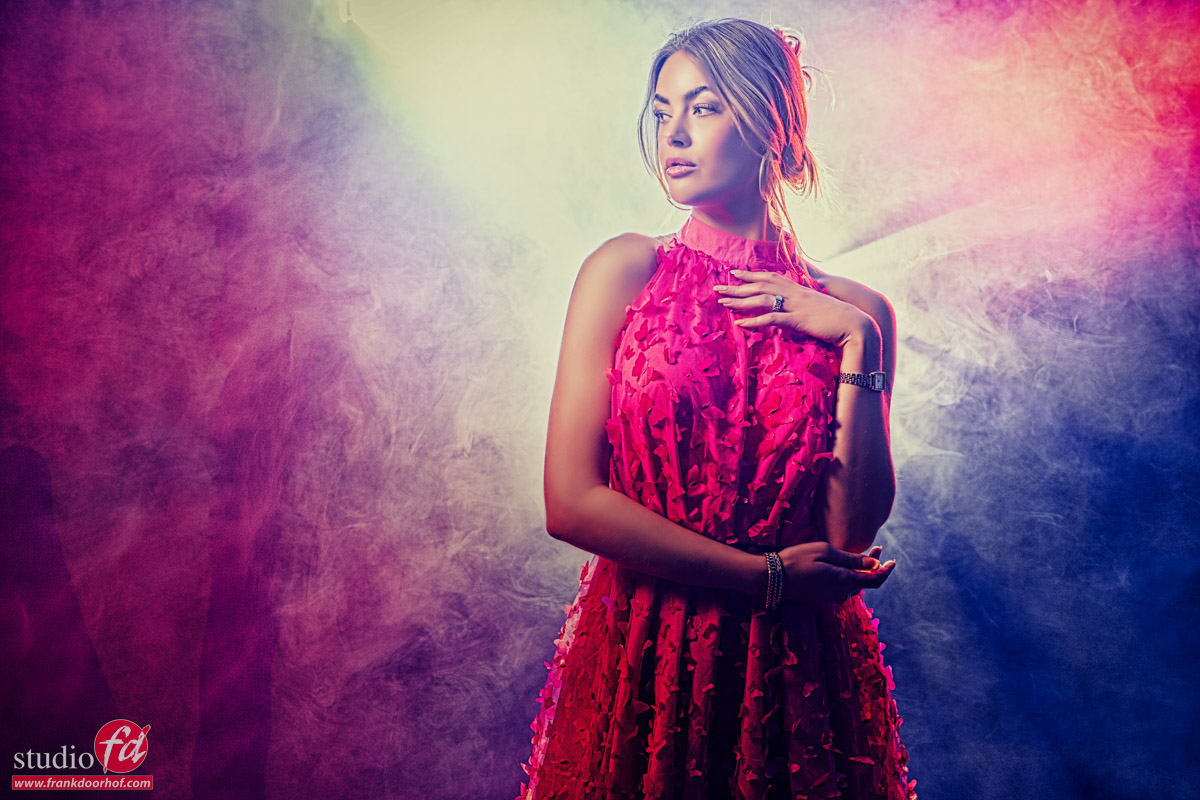
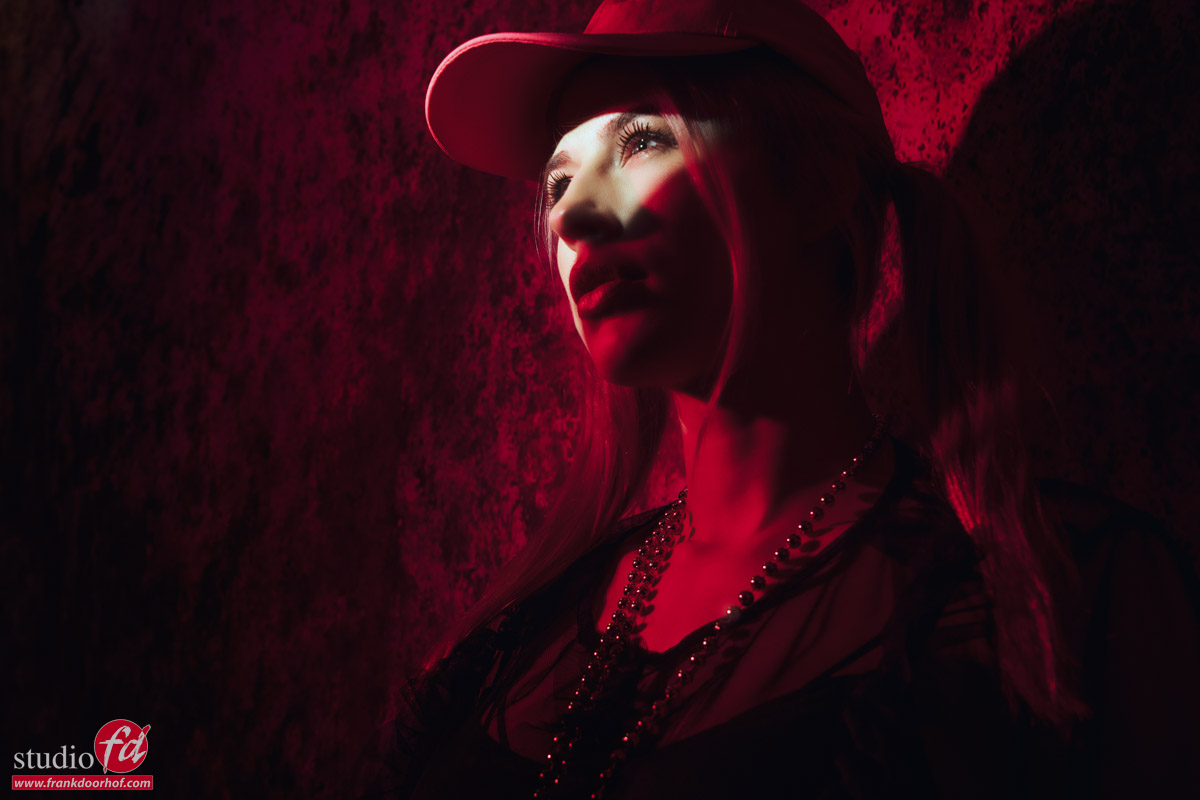
As you can see, adding the colors totally transforms the scene into something completely different.
Personally I like them both, but my preference are the ones with color.
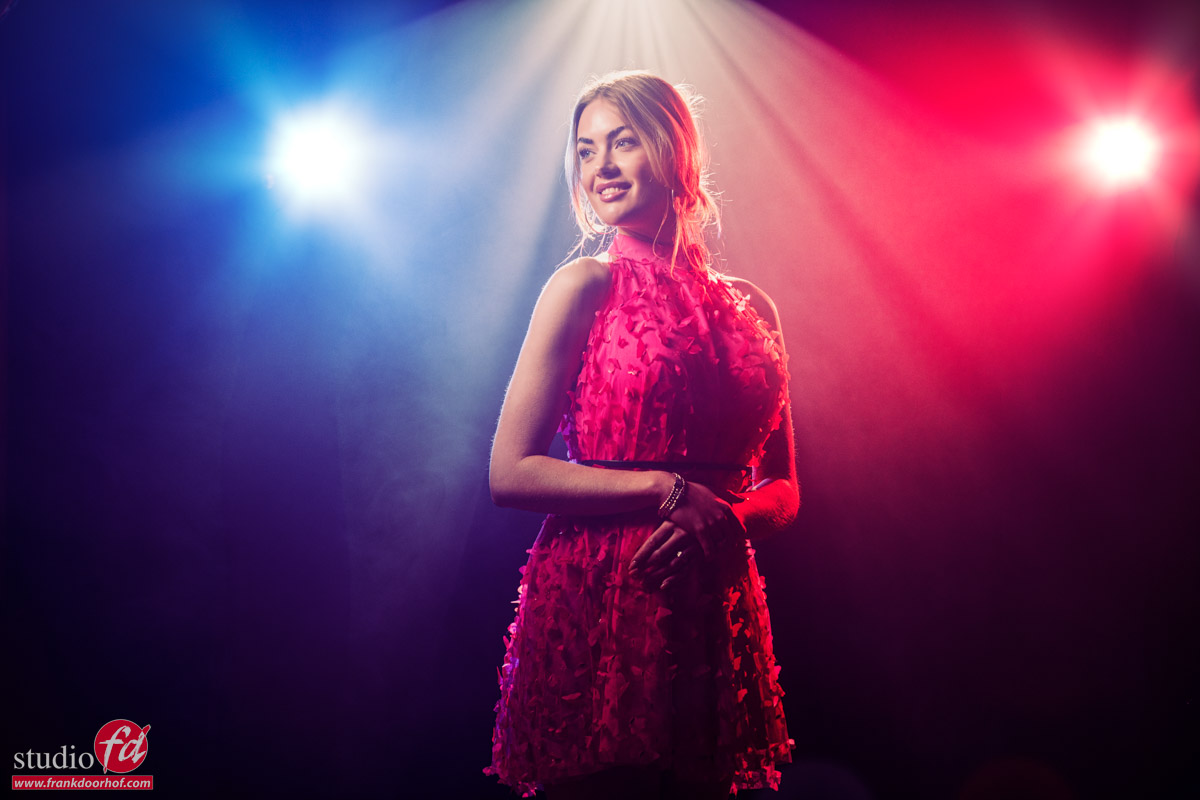
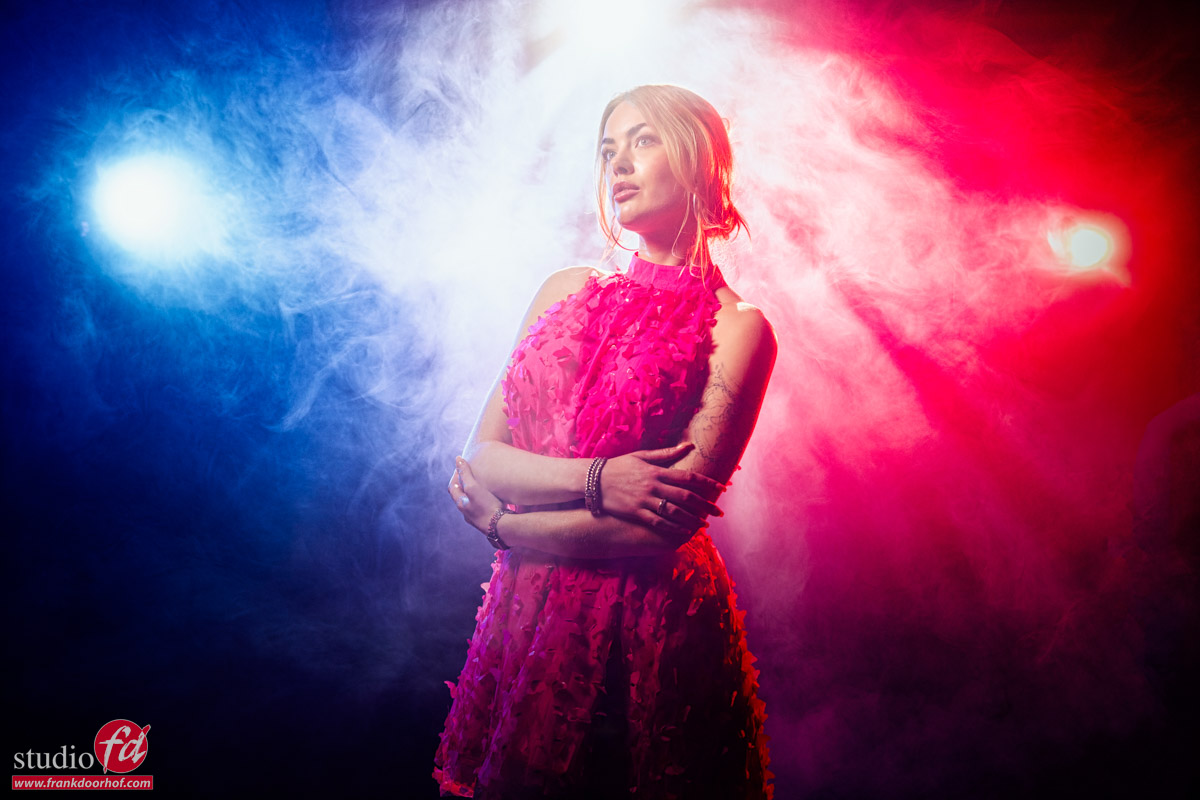
However having the patterns from the back did lose some impact, so at one point we decided to raise the stand and let the projector aim down at our model.
This way the pattern will cut through the smoke a bit different and make it more visible, even when using a bit more smoke.
More fun

Working with smoke is already loads of fun, but by adding patterns or/and a Gobo projector makes it a lot more fun.
I can highly recommend getting one for your studio. Especially when you like working with smoke and emulate the old masters or film noir techniques, now that I think about it, it’s also great for fashion 😀

Next time it’s about adding motion in the smoke and the model.

Workshops

Want to learn everything about light control?
Want to visit a workshop where it’s not just shooting a model with a fixed lighting setup, but see how the setup is built and adjusted to the taste of the group?
And of course learn how to work with poses, backgrounds, small sets, styling, retouching, and a lot more…..

If this all sounds awesome, visit fotografie-workshops.nl and book your workshop.
If you don’t speak Dutch, no problem, let us know a few weeks in advance, and we can switch the workshop to English.
Not possible to travel to the Netherlands?
We got you covered with our 1:1 online workshop.
We have a full streaming setup in our studio. 4 detail cameras and of course the retouching software, so you can see every detail and of course ask questions during the day. Plus, you get all the RAW files after the workshop.
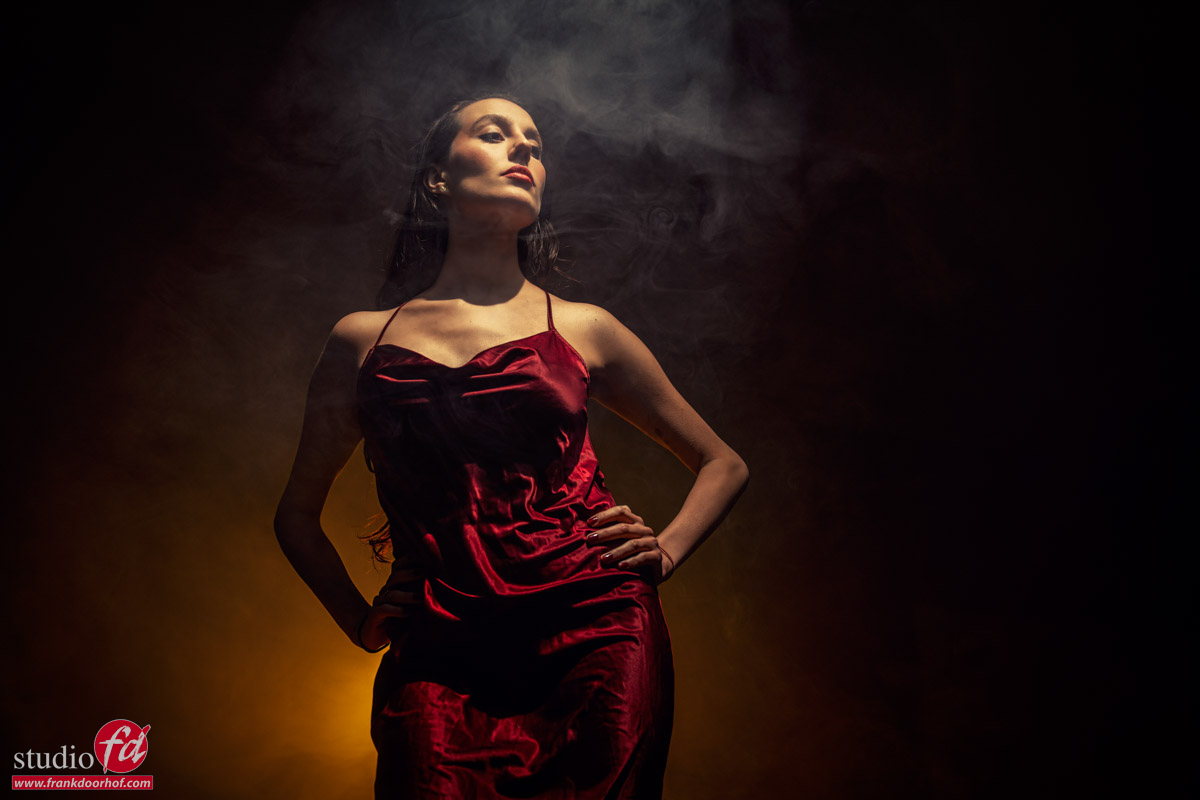
 

An awesome glamour lighting technique to focus your light

Some lighting setups are just awesome

And for me this is one of them.

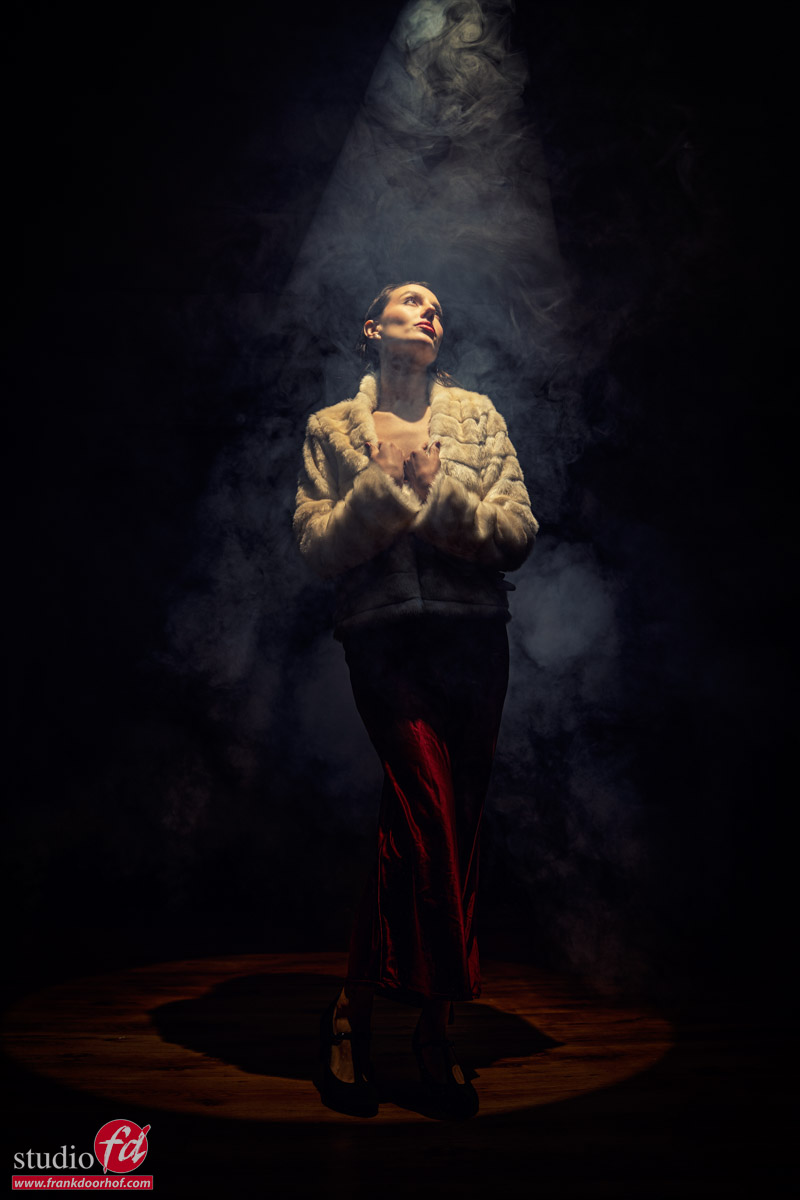
As the main lightsource I’m using the Westcott Lindsay Adler optical snoot.
The advantage of the optical snoot is that you can focus the light beam and get some real nice very sharp lighting effecting.
I love using it straight on the model or on the background, or like you see here, to create some special effects.

The trick of course is smoke, otherwise you don’t see the beam of light.
But also make sure you place the light slightly in front, otherwise the model has to look straight up.
But I think a video will explain this much better 😀

And some more of the final results

Want to visit one of the workshops?
Check fotografie-workshops.nl for the agenda and more information.
The workshops are normally in Dutch, but if you let us know a few weeks in advance we can switch to English.
But of course also 1:1 workshops are possible, in real life and even online.
If you want to learn, we have a solution.

Awesome glamour lighting effect with smoke

Some lighting setups are just awesome

And for me, this is one of them. I love this glamorous lighting with smoke. Model Malin has a perfect classical face for these kinds of shots. We never did this light setup before.

Glamorous lighting with smoke

a classical looking model in a gala outfit with fur in a beam of glamorous light from above, filled with some smoke

What gear did I use for this glamorous lighting?

As the main light source, I’m using the Westcott Lindsay Adler optical snoot.
The advantage of the optical snoot is that you can focus the light beam and get some real nice, very sharp lighting effects.
I love using it straight on the model or on the background. Or, like you see here, to create some special effects.

The trick, of course, is smoke; otherwise, you don’t see the beam of light.
But also make sure you place the light slightly in front, otherwise the model has to look straight up.
But I think a video will explain this much better 😀

And some more of the final results


These shots were all taken during the workshop “Classical Masters”, where we are making lighting setups used by the old photographers in the analog era.  The attendees shot these images as well. Check this link to see the pictures of one of the students of this workshop with glamorous lighting with smoke 


Want to visit one of the workshops?


All our workshops are tailor-made. Every workshop has a theme (like this one, “Classical Masters”) and starts with a Q&A where you can ask anything about photography or lighting related to the topic. All your questions will be answered or incorporated into the shoot with the model.


Check fotografie-workshops.nl for the agenda and more information.
The workshops are normally in Dutch, but if you let us know a few weeks in advance, we can switch to English.
But of course also 1:1 workshops are possible, in real life and even online.

If you want to learn, we have a solution.


Check out some more images we took during this workshop with glamorous lighting with smoke

Lois vs the Gobo projector

The Gobo Projector, Westcott Optical Spot by Lindsay Adler

Some images are special

In this blog I tell you more about the Westcott Optical Spot by Linsday Adler and how I use it.

Creative images are without a doubt my favorite kind.
Of course, we also shoot families and events. But when I have the chance to have a bit more freedom I love to use light shapers that give something special to the shoot. One of my favorite light shapers is the Lindsay Adler Westcott optical spot, sometimes also called a Gobo projector.

The Gobo projector projects patterns on your subject or background via metal plates.

Westcott Optical Spot by Linsday Adler

Westcott Optical Spot by Linsday Adler the Gobos. But you can also use the blades

By using a lens in front of the gobo it’s possible to focus the shadows. In other words, you can easily create razor-sharp or super soft shadows in all kinds of patterns. And even when you don’t want to use the metal gobo’s the spot also has blades which are great to create more straight shapes.

During the recent Digital classroom I used the spot for most of the sets.
Today the results.
Do take into account that these were shot during a live stream with video lights, so they are a bit “rough” with the lighting, it’s very hard to see in a bright studio 😀

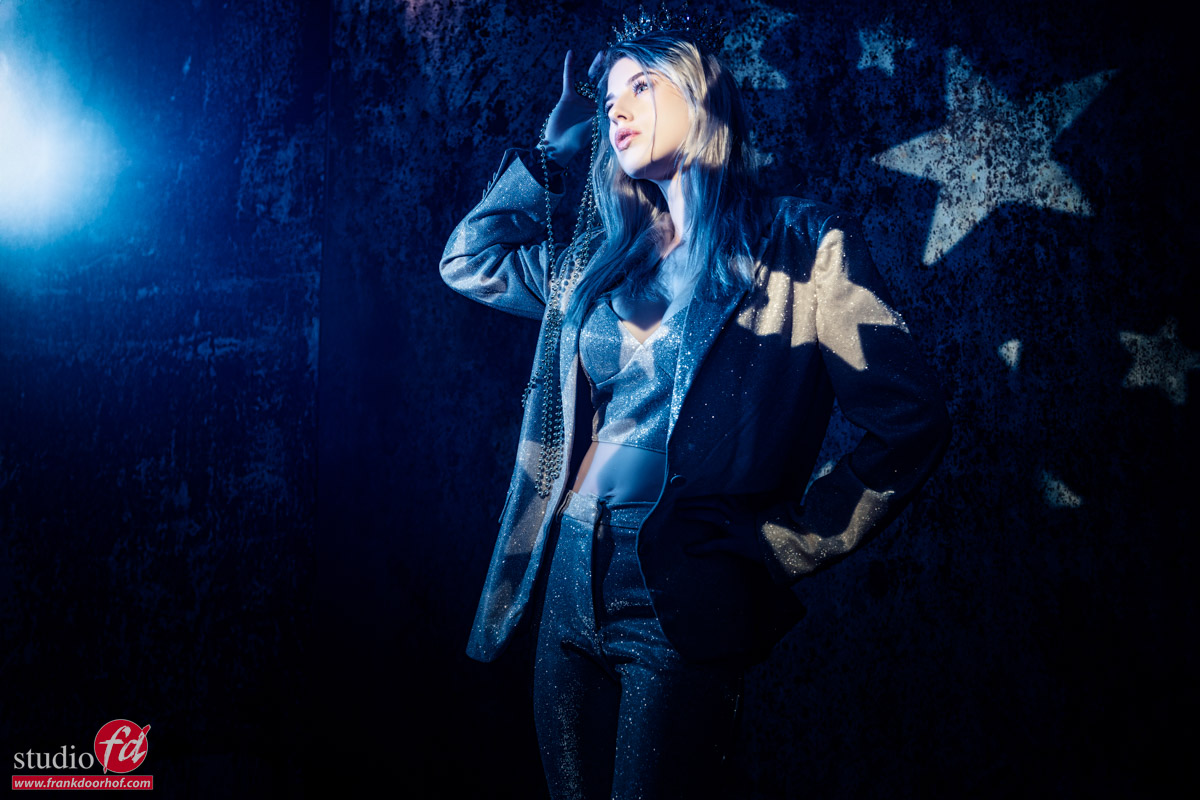
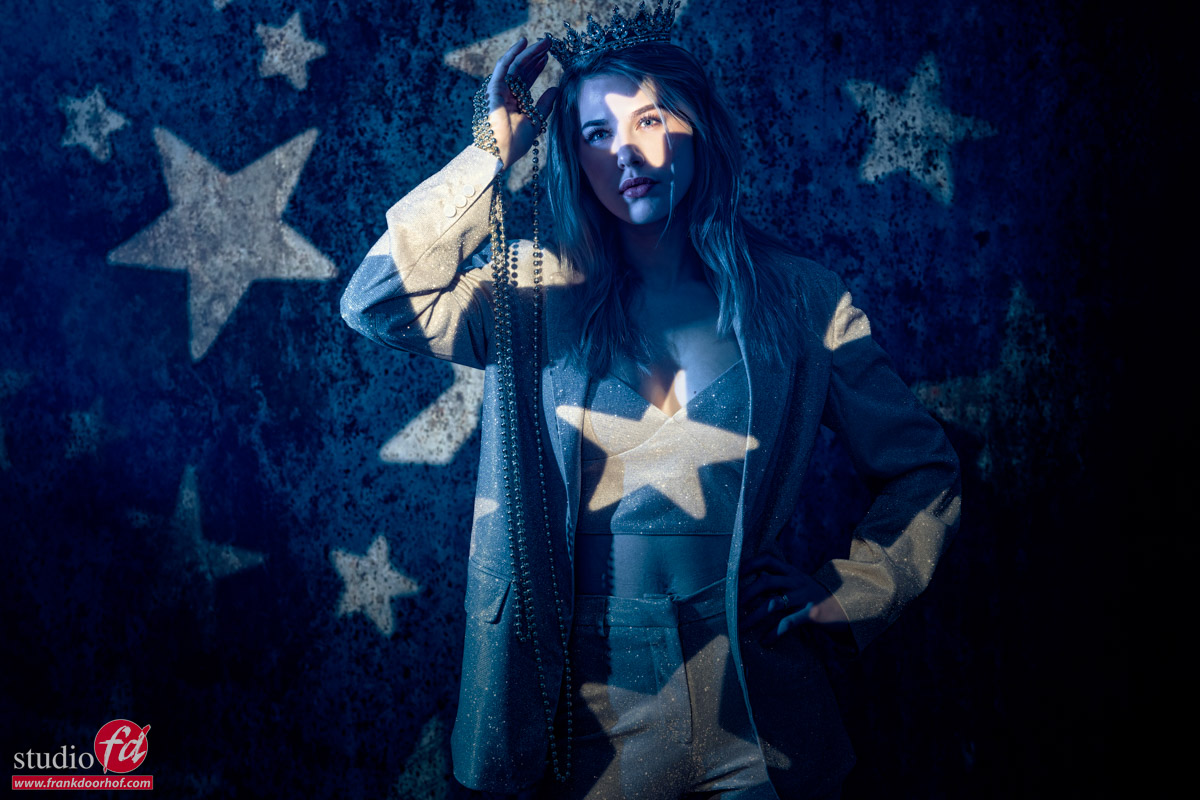
Set 1 with the Westcott Optical Spot by Linsday Adler

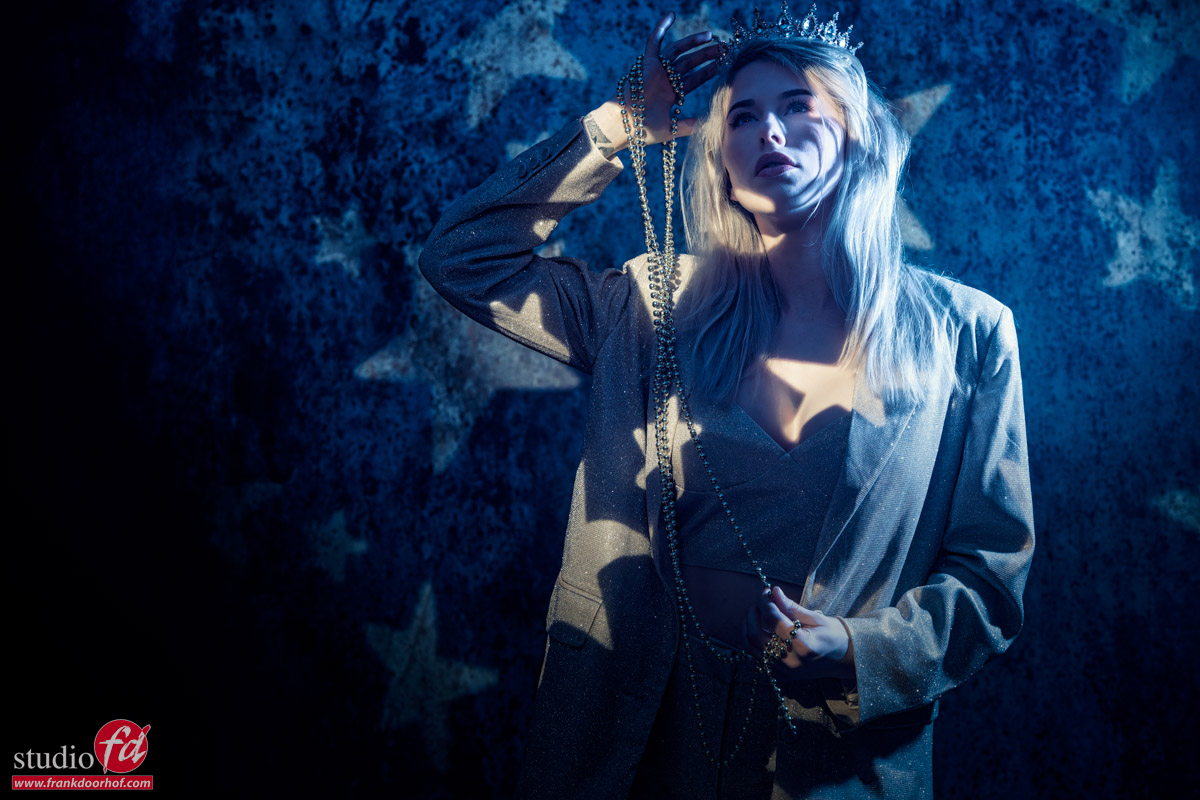
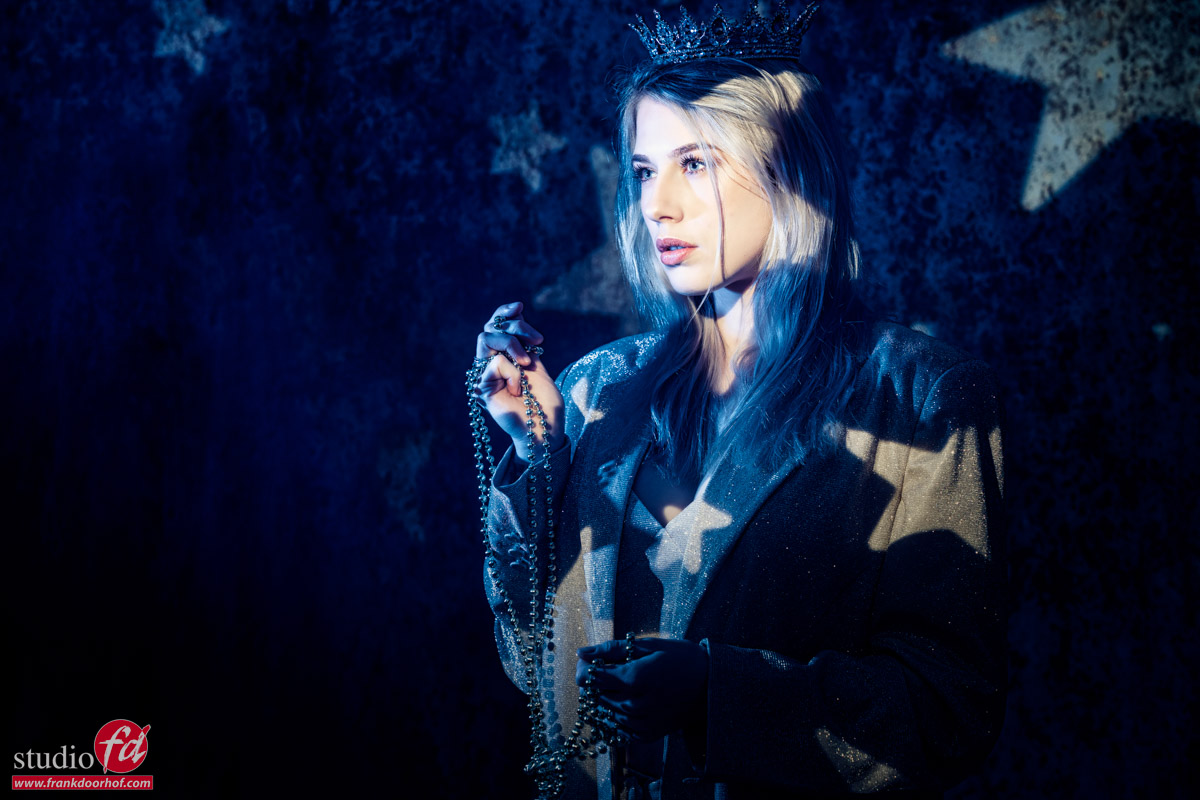
With the stars Gobo on a Geekoto GT400
As an accent light a Geekoto GT250 with the Rogue magnetic system and a blue gel.

Westcott Optical Spot by Linsday Adler Westcott Optical Spot by Linsday Adler

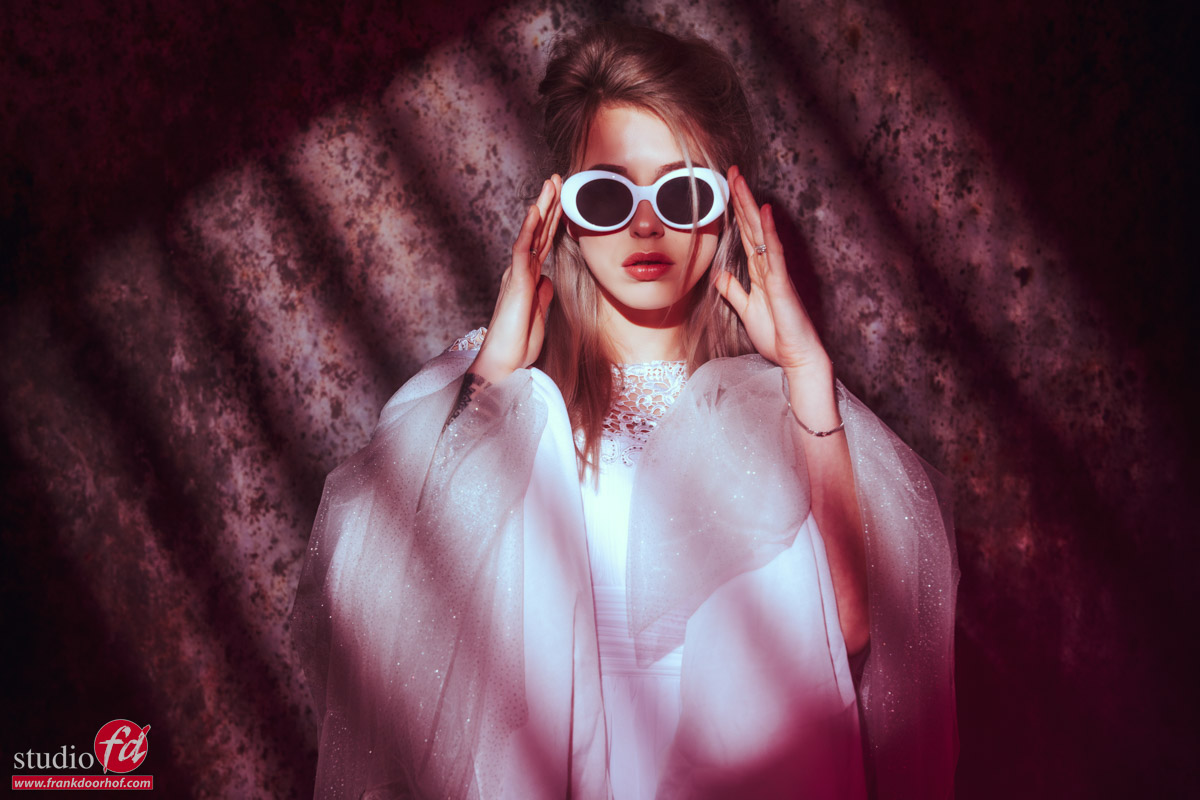
Set 2 Westcott Optical Spot by Linsday Adler

For the second set, I’m using the same Geekoto GT400 with the spot only this time I’m using the diagonal lines.
During the setup, I added a red gel on our Rogue magnetic system in different positions giving it different lens flares and looks.

Westcott Optical Spot by Linsday Adler Westcott Optical Spot by Linsday Adler

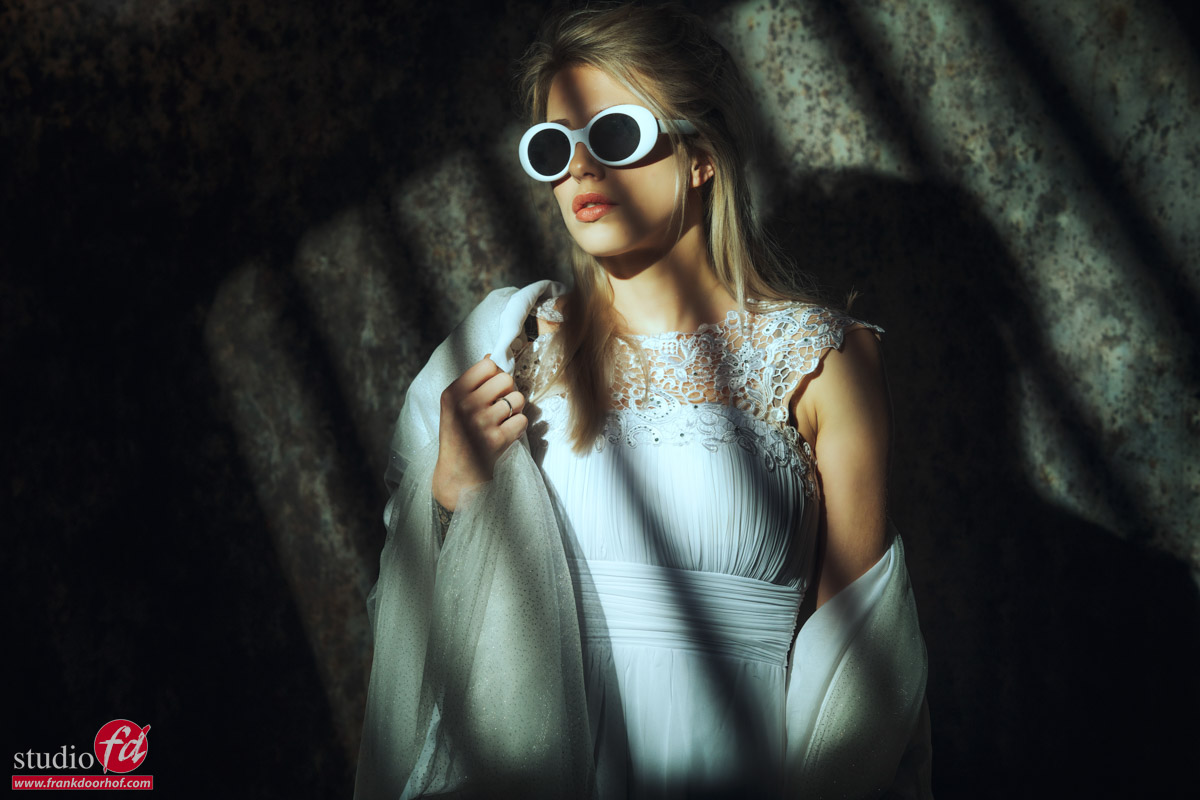
Set 3 Using only the blades of the Westcott Optical Spot by Lindsay Adler

For this set, I’m not using a gobo but the blades inside the optical spot.
As an accent a red gel from the side which I varied in output and angle during the shoot.

Westcott Optical Spot by Linsday Adler Westcott Optical Spot by Linsday Adler used on model Lois

Set 4 not with the Spot, but with the Frank Doorhof FlashBender v3 XL Pro

We always get a lot of questions about the Rogue FlashBender (Frank Doorhof edition), so also this time during the digital classroom I did an extra set with the FlashBender. I’m using it on a Geekoto GT200 in the striplight configuration.

Want to see the live stream again, and see all the setups?


Digital Classroom

Every month we stream a live broadcast from our studio in Emmeloord. Most of the time with a model, but sometimes also about street and travel photography (my other passion) or just retouching tips and tricks). But also from our workshops, we make short “how did I shot this” videos. 

We don’t sell the Lindsay Adler Projector but you can buy it from our friends at B&H 

Check out this video when we used the Westcott Optical Spot by Lindsay Adler for a pregnancy shoot with Nadine