Tag Archive for: lightmeter

How to read a light meter

How to read a light meter?

A light meter is a tool to meter your light. Some photographers think it is something from the old days. Others don’t “need” one. And some people never use it. I am a big advocate for using the light meter. In this article, I explain why and how you read a light meter.

Lightmeters are cool

Let’s start right away with a bold statement 😀
I know for a lot of people light meters are not the first thing they think about when starting with photography. But that’s wrong. I might say it’s one of the most important parts of your kit.

Why is the light meter so important?

First of all, we have to realize that we only see 3 colors as human beings.
We call those colors the primary colors, Red, Green, and Blue.
We also have secondary colors, Cyan, Magenta, and Yellow.
All colors are connected via the blackbody curve (white points for color temperature) and determine the colorspace.

Now how do they determine the colourspace you might ask?
Good question actually.
All colors within the colorspace have 3 coordinates, x y, and Y.
Hue, Saturation, and Luminance.
When we want accurate colors in our photos I think it’s clear we need to make sure the colors are captured as accurately as possible when shooting them.

We have 2 tools for this that work together.
The first one is the color checker (I’ll write a different post about that in the coming days) and the light meter.
The color checker is used to calibrate the colors in your RAW converter, but to get the colors (x,y) right we also need to get the Y correct and that’s where the light meter comes in.

It’s super easy actually

Sometimes, I feel a little bit like the light meter helpdesk with all the questions about the use of light meters. And most problems occur by not understanding the meter, so let’s dive in.

First of all, let’s make it clear…. it’s really super easy.

Let’s first take a look at the display.
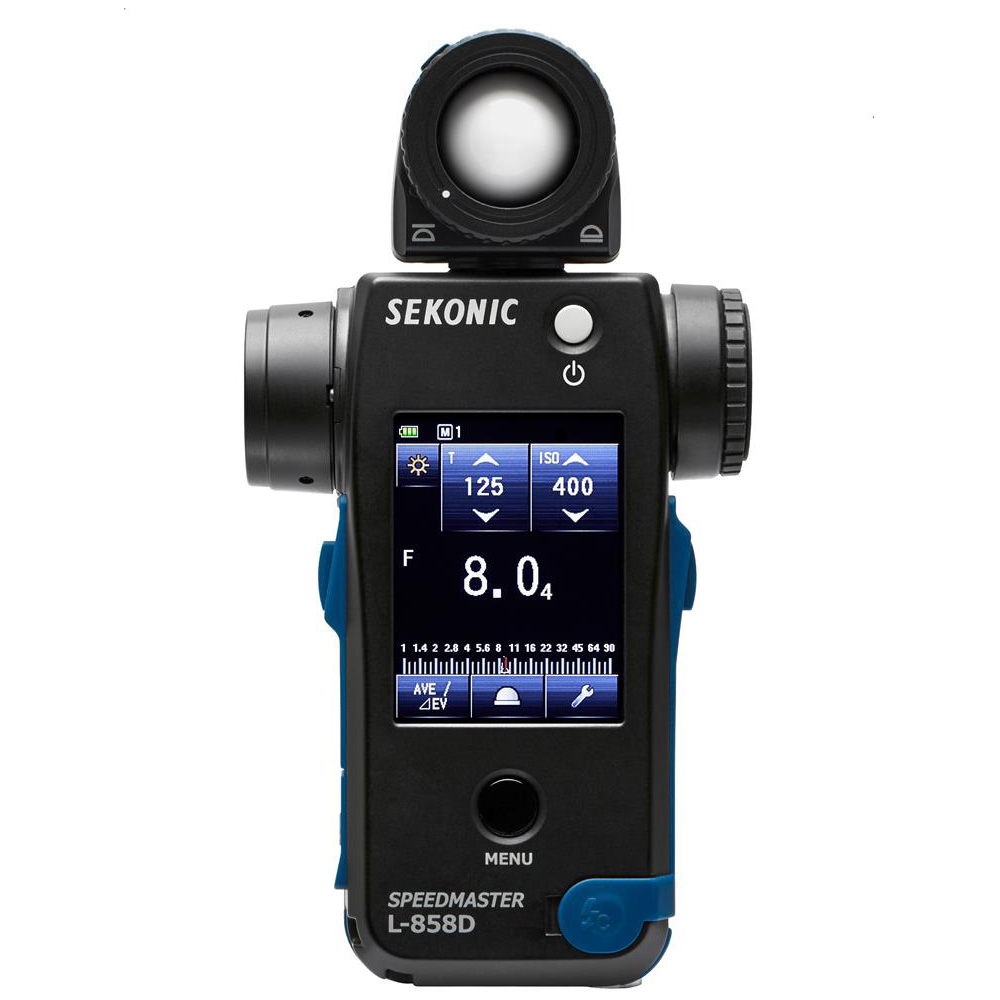
how to read a light meter? I use this light meter

On the display, you see the shutter speed: 1/125
The ISO: 400
And the F-stop: F8.0 (4)

And that’s where it often goes wrong.
A lot of people will now set up the camera for F8 on ISO400 1/125 and… well the images are overexposed.. so how is that possible when using a light meter? Right?

Well because there is one extra number that is really important, and that’s the little 4.


It’s in the details

When we look at our camera you will probably know that you can change your F-stops in 1/3rd stops.
On most strobes, you can have 2 options, also in 1/3rd or even on 1/10th stops.
But don’t confuse the two. The settings on your strobes have nothing to do with what you see on the meter. It’s just the power output, and there are also settings like 2.8, 4.0, or 5.6 that are pure because… well those numbers are there.

So how do we proceed?

When your meter reads F8.0 (4) this means the meter reads F8 and 4/10th.
If you have strobes that can be adjusted in 1/10ths you can just lower it by 4 clicks and you’re probably reading F8.0 after that (if you have good strobes).

If your strobes can be adjusted in 1/3rd stops we have to improvise a little bit. Go down one click on the strobes and the meter should now read F8.0 (1) now its a matter of just moving the light a few inches further away and it will read F8.0

Now I have to be honest, for 1/10th I don’t really move my lights, but if you really need to be very accurate it does work great.
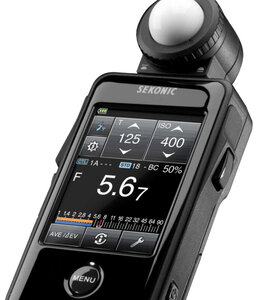
how to read the light meter. example of the settings Let’s try it out!

Here we see F5.6 (7)

We have a few options:
1. We can go down 7 clicks on a strobe with 1/10ths adjustments and get F5.6
2. We can go up 3 clicks on a strobe with 1/10ths adjustments and get F8.0

1. We can go down 2 clicks on a strobe that works in 1/3rd adjustments and move the light slightly for F5.6
2. We can go up one click on the strobe and end up at F8.0

1. Set the camera up for F8.0 and lower your aperture one click for F7.1
2. Set the camera up for F8.0 and raise your ISO 1 click (also the ISO is set in 1/3rd on most cameras)

The nice thing is that if you know how to read the light meter you can very quickly change settings.
Do you have problems with calculating settings like ISO, shutter speed, and the connection between the Aperture?
Don’t worry, if you use a meter you can just change one setting and you will the other settings change.

In other words, if you misjudged the lighting and you get a reading of 1/125,  ISO400,  F8.0 and you need a faster shutter speed, you can just change the shutter speed, ISO, and Aperture until you see the settings that will work. You don’t even have to do a new reading.

Are light meters only for strobes?

So is a light meter only handy when using strobes?
No absolutely not.
A light meter, just like your camera can be used in different configurations.
You can use it to determine your aperture or shutter speed and of course, play with your ISO.
It’s like the perfect pocketknife for all situations 😀
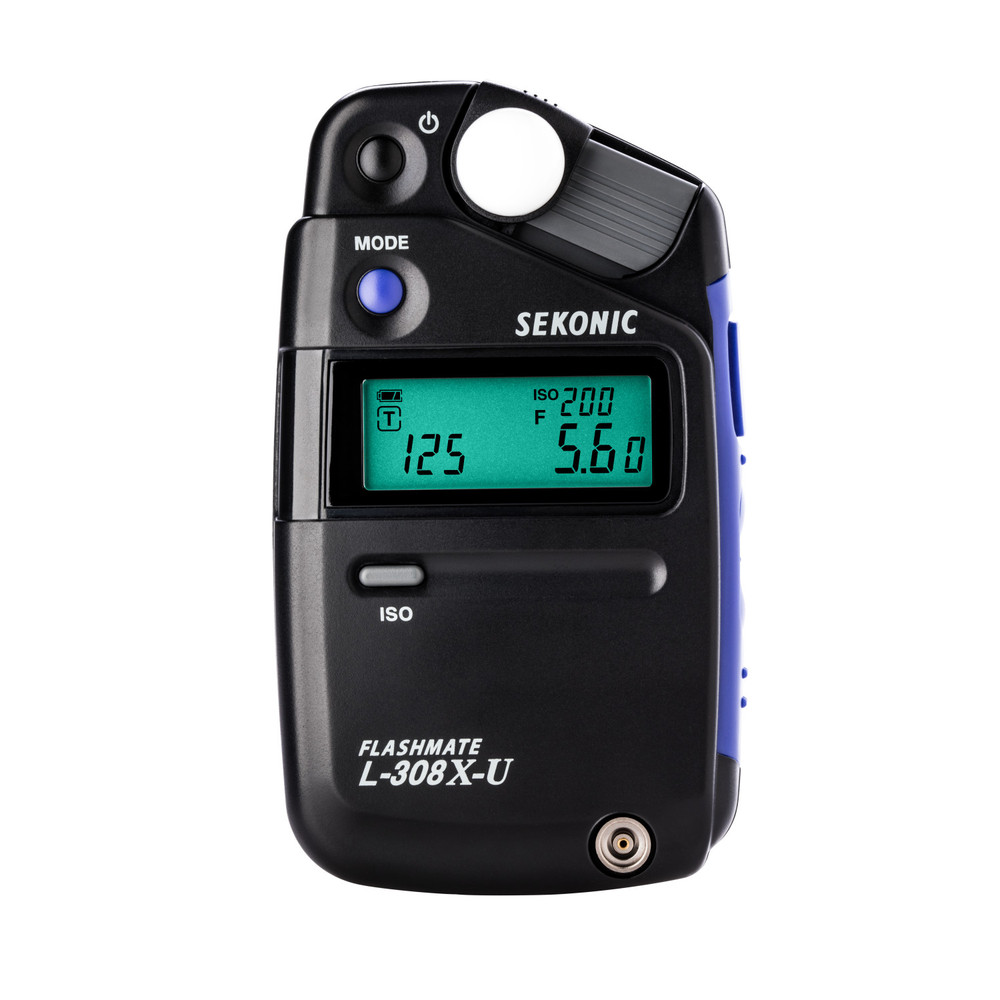
Ok, I’m sold, which light meter should I buy?

It’s no secret I love the Sekonic brand, but in essence, you can also get a different brand, just make sure you get the right one.
First make sure it’s a flash-compatible meter, so most very old meters will not work.

Also, make sure to determine if you need an incident meter or want both (reflective and incident).

Incident vs reflective

When we look at the difference between the two it’s easiest to compare the reflective meter to how your camera works. It will give you the value for 18/12% grey. These meters often have extra attachments (spot meters) or have the spot meter build in. Personally, I would highly recommend getting a meter like the Sekonic 758 or 858 with a very tight spot meter build-in. You can also buy attachments for some other meters but I don’t want to mess around with attachments that can be lost, so the 758/858 would be my choice.

But do you need it?

That’s a good question.
The main thing where we use light meters for is the incident meter.
This means you hold the meter in front of the area you want correctly lit and the meter gives you the correct value.

Now you might say… why would I ever use a reflective meter if it only gives me 18% grey?
GREAT question.
We use reflective often to make white backgrounds 100% white and not 98 or 110%. This prevents spill and shows all the details in clothing and hair which you would lose if you overexpose the background “too much”. Or we make sure that certain areas are 100% black. But you can also calculate light falloff.

Now I have to be honest.
Mostly I used the reflective meter outside to calculate the output of my strobes to create day-to-night images, fill light, and everything in between. But with modern cameras, there is a really cool trick for this.
Is the EVF a replacement for the light meter?

Yes you read it correctly the EVF can replace the “reflective” meter, but only in certain circumstances.
For example, if you are on location and want to create a cool day-to-night effect.
Just set the EVF up for emulation mode and fix the shutter speed where you want it, start to play with aperture and ISO, and just watch in the viewfinder, let’s say you love the look at F8, 1/125, and ISO100. Now, The only thing you have to do is set up your strobe for F8.0 for which you still need an incident meter (to do it fast and right).

How to read a light meter conclusion

Reading the light meter is super easy when you understand the extra numbers and how they interact with your camera and strobe.
The benefits are immense, you can work a lot faster, visualize and set up location shoots within seconds, and wow your customer by nailing the shot right away (something you see less and less).

When you look at eBay you can probably find a lot of meters but if you want to buy new (something I do advise with precision instruments) I would check out the Sekonic range like the :

Sekonic 858 (my meter)
or the Sekonic 758
but the Sekonic 358 is alright too
These are examples of the meters I owned over the years but they also have some really good alternatives like the :
508, 308x, 478 etc.

Check out Sekonic.com for more information on the different types.
Buy via our links to support our work.


Read this blog on a white background with only 3 umbrellas, I couldn’t have done it without the light meter

This article is about colors and sets


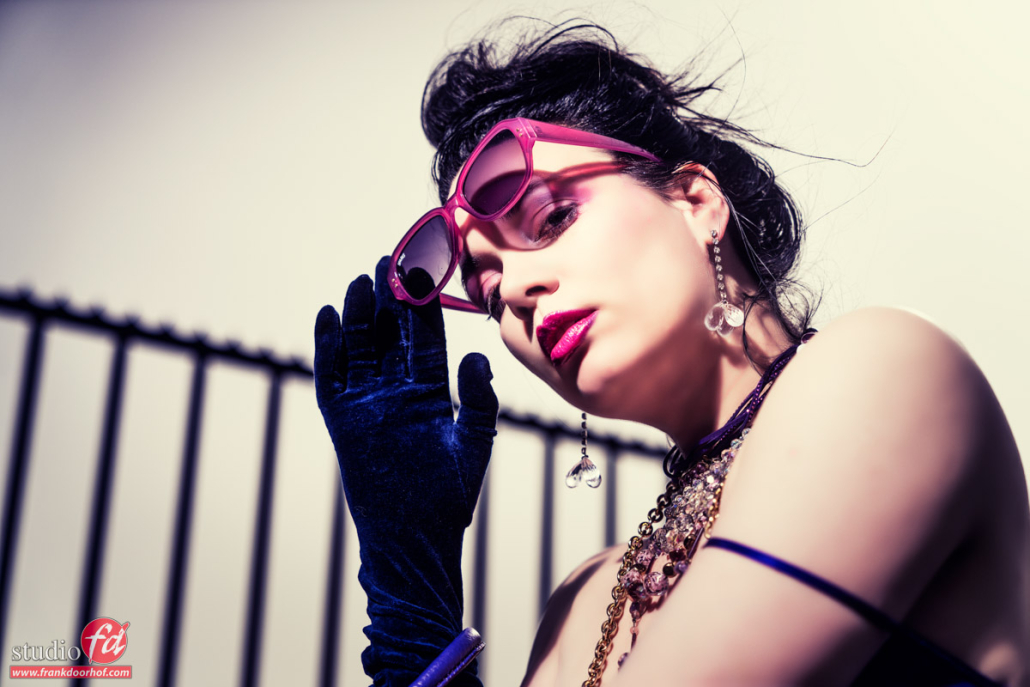
Outside fashion shot for sunglasses with extreme styling and flash Part V : let’s talk about something grungy

The final setup

Today in the blog the final setup from the workshop “on location in Emmeloord”
In this workshop we use locations close to our studio, that at first sight might look uninteresting, but by using light/poses/angles and of course styling are still suitable to create awesome images.

If you didn’t already I highly recommend reading the previous blogposts.
Let’s talk about the flash
Let’s talk about gear
Let’s talk about storytelling 
Let’s talk about backgrounds and angles

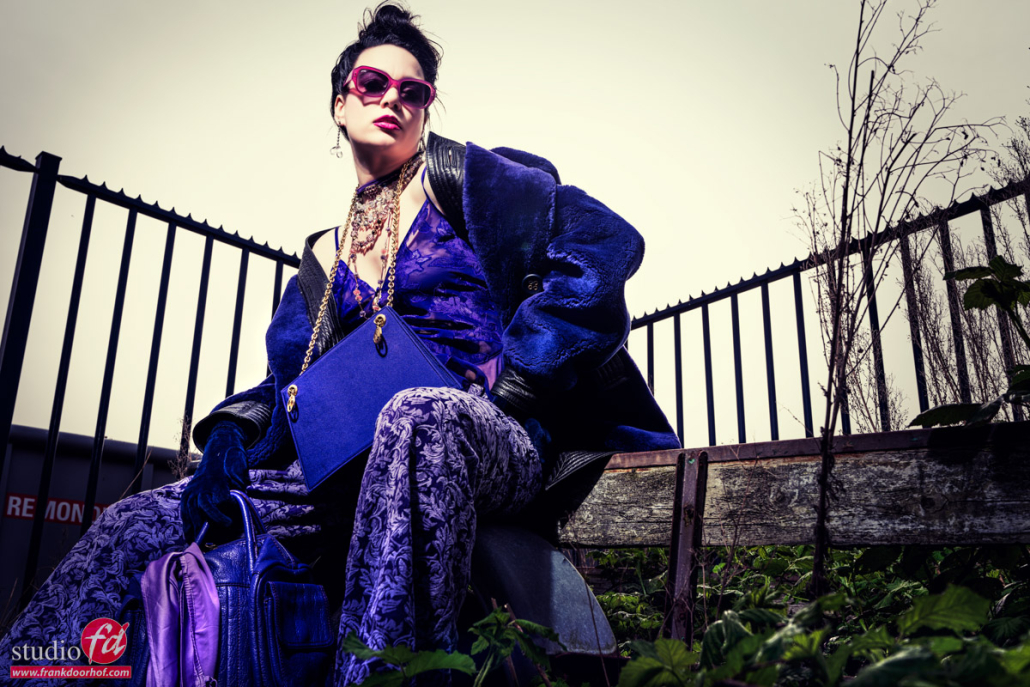
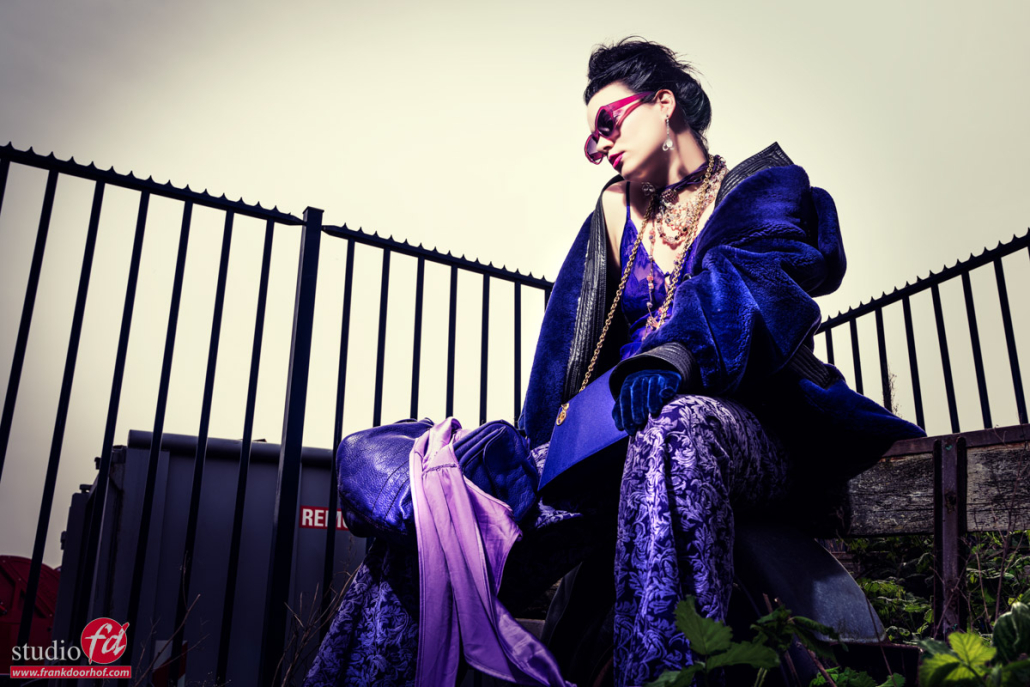
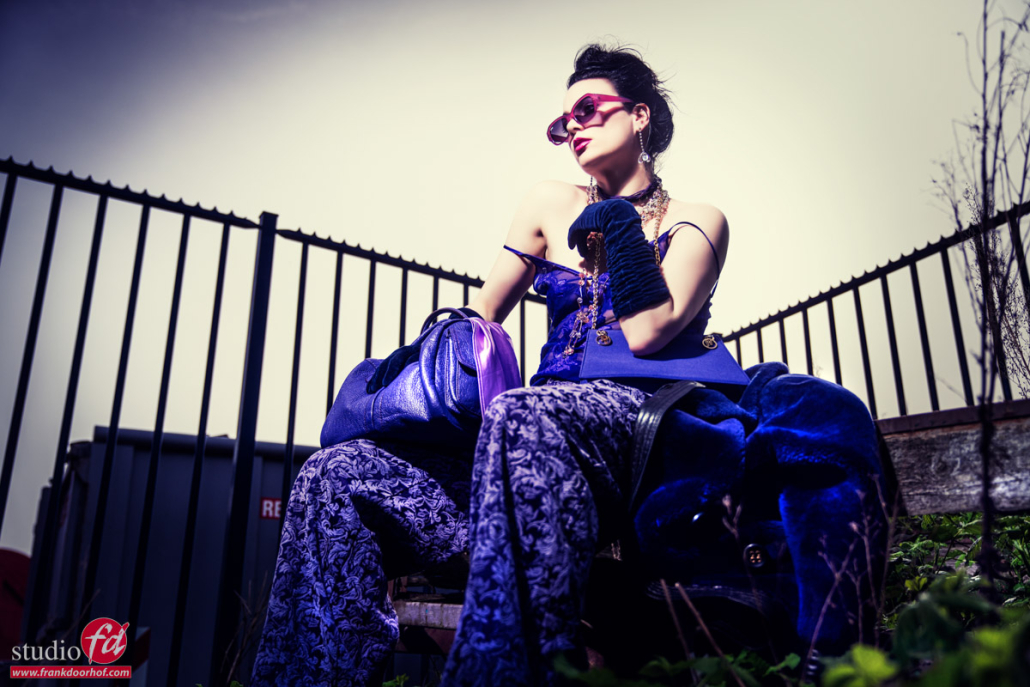
For the final setup we are still using the same lighting setup with the same Geekoto GT200 with a large reflector.
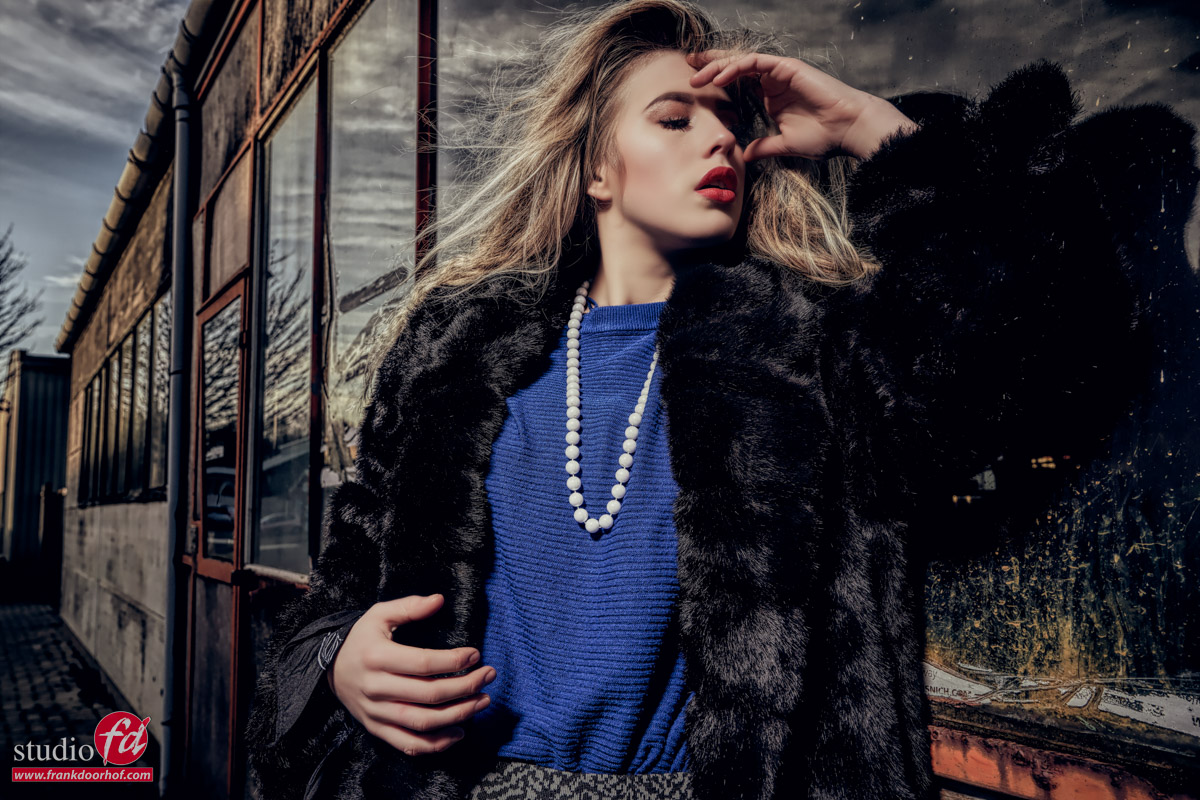
This is what we sometimes call our “outside studio” or in other words a part of our studio (away from the public eye) where we just leave everything (within reason), so it looks very “grungy”/”urbex” this part is based around an old trailer with some bushes and is great as a location, especially when shooting from a low angle the fence in the background and the angle it creates can be very nice.

In this setup I’m also using HSS for the last images.
During the workshop I did not use HSS because when working during a workshop it’s better to shoot with a so called “dumb” trigger, this means I can setup the strobe with my Geekoto Commander  and just let the attendees shoot via their own trigger. HSS and ETTL only work correctly with a commander that fits your system. With Canon, Nikon and Sony we have special commanders, but this workshop we also shot with a Leica so the choice was made to let HSS rest till the end.

The main advantage of shooting HSS is that you can break the 1/125th second limitation of normal cameras/strobes.
By the way, Sony just released the first camera with a global shutter that will make it possible to shoot on much faster shutter speeds with strobes not using HSS. This is a HUGE deal for flash photography on location and will change the way you can work forever. I hope to be able to test one of them in the near future.

With HSS you can break this rule which means you can shoot day2night but still have a very shallow depth of field.
Now don’t just set your camera to 1/8000 and F16 ISO100 because you will be disappointed.
HSS is awesome but it takes a HUGE hit on your output. Where with a large reflector shooting F22 on ISO50 is no problem at all with HSS you will end up with a pitch black image not even seeing the strobe.


HSS Technique

Also with HSS I’m using the same technique.
I set the camera to manual and use the EVF (or lightmeter) to determine the look I like. But I do take into account that I leave the aperture below F4 and I try to keep the shutterspeed sensible, and only at the speed I need. When you are used to setting up for HSS you will find that it really adds a lot more different looks to your arsenal, and… that’s always a good thing 🙂

So let’s take a look at the final results… can you spot the images I was shooting with HSS?

Model/Styling : Nadine
Sunglasses : Sparks

www.fotografie-workshops.nl for the Dutch workshops
www.frankdoorhof.com/shop for my gear

How to meter light on location, outside

. PIn today’s blog post, we look at a topic that is super easy when you “get” it. But can be super confusing when you start out. Do you know how to meter light on location outside? Continue reading if this is a problem for you.

Metering outside to kill the sun

Ok, it sounds a bit harsh we don’t really kill the sun. But when using strobes outside the right way you can make it day-to-night without any problem.

See my previous article about Combining/mixing light sources

Now with the day-to-night technique, there is no real problem. So let’s start there.

When you don’t have a modern camera with an EVF you can use a light meter and spot meter for the area you want to be totally in shadow but just show a slight amount of detail. And now set the aperture for the strobe app 4-4.5 stops higher. Or meter the clouds and open up the aperture max 2.5-3 stops to keep detail in the whites.

With a modern camera, we can use the EVF (Electronic Viewfinder). Just make sure it’s set up to show you the results of the settings in the camera. I always call this the WYSIWYG method. From here on it becomes super simple. I mostly lock my shutter speed at 1/125 (Xsync) and ISO at 50/100 I will then use the aperture dial to dial in the look I like when I get the look I want that’s the aperture I will meter the strobes on.

Xsync is the max shutter speed that can be used without HSS, when you use HSS you do need an HSS-capable light meter like the Sekonic 858, everything else I discuss stays the same.

So if I love the F16 ISO50 1/125
The only thing I have to do is set the light meter to ISO50 and meter the strobe till it hits F16.

The nice thing about using the EVF is that you can already see the end result before you take the shot. Although a light meter is a very accurate tool it’s very hard to “imagine” how the end result will be by just metering. I can predict it for about 75% but using the EVF is 100% and much more accurate. The only thing you have to be aware of is that you have to “imagine” the model to be lit in the image while in essence you probably see him/her as a dark outline.

How to meter light on location, outside. in this article I explain.

The problem area

I sometimes call it the Twilight Zone or the Outer Limits. In essence, it’s not far from the truth, and it’s an easy way to remember what the problem actually is. So what do I mean?

When we meter for day-to-night photography it’s standard that you start with the strobe on the highest setting. Let me be honest, you know you’re going to need it right?
So when you meter the strobe it will probably register as F22. And you lower it one stop and it will meter F16 and you’re there. But even when you lower the strobe another stop it will probably read F11. And probably also F8 after another stop…… Do you feel where I’m going?

There is a point where you MIGHT think you are influencing the strobe. But in essence, you are metering the clouds in front of the sun… So what’s going on, and why doesn’t it happen with day-to-night?

Fill in flash

When we shoot day-to-night we start from a high power output. And because we are overpowering the sun/ambient light we have loads of headroom to go down even more before we hit the Twilight Zone.

When we use fill-in flash, we are in essence adding a little bit of flash to the ambient light. Just to open up some shadows, or maybe just give an essence of extra mood, or mimic a lamp in the room, fill-in flash is subtle and most of the time not even visible (until you don’t use it).

So how do we set up the lights in this situation?
Indeed… where from day-to-night we went from the highest setting slowly down. We are now probably starting on the lowest setting and this is where the problems arise which I call the Twilight Zone.

It’s the light meter’s fault

When we look at how the light meter works it’s very easy to say that the light meter is the cause of this problem.
The light meter has a photosensitive cell and meters the light hitting that cell within the values you setup in your meter.

So let’s say I’m in a situation where my ambient light is: F4 ISO400 1/125
Now when I set up my light meter for ISO400 1/125, the meter will literally give me the value for the aperture with those settings. So where is this a problem? well, it also does that in flash mode, not just in the “sun” mode.

Let’s say I’m using a strobe with softbox at 1mtr from my model. I set my strobe up for the lowest setting, walking up to the model and meter the light… and wow what a piece of luck it’s F4…. That was easy. I walk back and take the shot…. And to my surprise, there is no strobe. Of course,  check the connection, and I see the strobe firing, so I re-meter and the same thing happens. I raise the output of the strobe and the meter keeps saying F4…..

Does this mean the light meter is useless on location?

No not at all, in fact, it does exactly what it’s supposed to do 😀
On some meters you will actually see a percentage, this is actually the number of strobes vs continuous light. So in my situation, the strobe is probably not outputting F4 but more likely F2.8 or even lower. The meter does respond to the strobe but meters F4 on 1/125 ISO400 which is actually the ambient light as we had determined before.

So how do we solve this?

When I set up for fill-in light I will always put my strobes a bit higher than what I think I need.
I’ll first meter the ambient light via the EVF or light meter (depending on the subject). And then I’ll meter the strobes.
If my ambient light meters F4 I will make sure I first meter F5.6 on the strobes. And from there I will go down 0.5 stops if the meter also drops 0.5. I know that I’m in sync with the meter and the strobe vs the ambient light. From there I will go down 0.1 stops just as long as the meter also drops 0.1. As soon as the meter doesn’t drop anymore just add 1/10th and you have the perfect balance between ambient light and strobe. Now in all honestly I never use this technique, but it’s important to understand it, in theory, to see that there is a zone where the ambient light simply overpowers the strobe.

In most cases, I want a little bit more on our subject. So in most cases when my ambient is F4 I will set the strobes up for F8 and lower the strobes a full stop. If the meter also drops a full stop I know I’m fine and get the effect I want.

How to meter light on location, outside for a good exposure. You will read it in this blog post.

Why not just adjust and shoot….?

I get it.
Why use light meters, calculations, etc. to get something perfect when you can also just shoot, adjust and shoot.
First of all, when you adjust, shoot, adjust, shoot, adjust, shoot it takes up more time. Plus you waste a lot of battery power. When working for a client it doesn’t really give confidence if you as a photographer can’t nail your lighting with the first shot. And if you work with a model she won’t be your best friend if you have to do that every time something changes.

When using a light meter in all setups (except the 100% balanced fill-in flash) you only need to meter twice. Once for the current output, adjust the strobes and meter again to check, and if you trust your strobes…. Well, you don’t even have to do the second one.

When you understand the concept and get some speed in balancing your lights you can very quickly change the total mood of a setup. Like these images I shot during a workshop in Sweden in the meeting room. We go from fill-in flash to more extreme settings.

If you have questions, feel free to leave them here or on our social media.

A little bit about the light meter

Todays fact :
How to make Frank sad….

Sometimes we work together with a company that sells some of our videos, and don’t get me wrong we love those guys and we have had a great relation, so this is not to bash them in any way but it does EXACTLY show what’s “wrong” with photography today.

Recently I recorded a new instructional video on the use of the light meter called “Mastering the model shoot : the light meter” this video explains not only how to read and use the meter but also shows examples of light setups that are normally really difficult to figure out and take a lot of test/trial and error shots while with the meter they can be set up in seconds. The video literally shows everything a photographer should need to know about the meter.

The responses on this video has been incredibly well so I thought why not offer them this video also for a nice action, right?

Imagine my surprise when I got this response this morning:

—————————————————–
Actually we were reviewing this Lightmeter video and it looks great, no doubt but its just that we feel the light meter nowadays is only used by very few photographers. It was mostly used in the early 2000s and before.

So we may not get good sales for this deal. Can you refer us some other product of Frank which is doing great now a days?
Would love to know more details if there is any.
——————————————————-

Excuse me?
The fun thing is, and really mean this… this is one of the things I hear A LOT…. and it’s just very short sighted.


Let me give you an example
You go the doctor and you have to have surgery.
You are on the bed and just before you close your eyes you hear this Doctor :”Hummmm nurse where is the appendix again?”
Nurse :”Pfff I don’t know, why don’t you just start cutting and if it’s not there you can always close it up”
Doctor :”good idea, but with my experience I will probably be close enough”

Sounds ridiculous right?
Well it’s about how photographers perceive photography today, we will just take some test shots, compare it on the “digital polaroid” on the back and we will correct the rest in Photoshop. Or even better… I can guess it very good… I’m normally about a stop off… (Yeah that’s double the amount of light so pretty close dude)

Or how about this one, a real story:
“I never ever use a light meter…. it just doesn’t make any sense…. you know why?… I love to overexpose all my shots by about 0.5 stops to get my signature look, so a light meter….. (scuffs) not for me”

Yeah “dumbo” so how do you know to over expose by 0.5 stops if you don’t know the correct setting.

And don’t even get me started about videos online that get thousands of views where photographers claim they don’t use a light meter because models are not 18% gray…. that’s reflective metering smartypants not incident, in fact that’s why you SHOULD use a meter because your camera tries to make everything 18% gray…. and I can go on and on and on and on.


In Essence…
The light meter is a tool, it’s just like a ruler a carpenter uses it’s not an old fashioned tool it’s hypermodern, there are versions with touch displays, there are apps on your phone that can do it. The light meter is not a vampire that will sucks all the creativity out of you at night when you leave it too close to you on your nightstand (btw don’t think I sleep with my light meter).


The light meter is a device that meters your light
In photography light is our language.
If people would take the time to LEARN that language they would find that they don’t need a meter to take photographs but that the meter is a tool that will help them to INCREDIBLY speed up their workflow, get CONSISTENT results and cut down their time in Photoshop and Lightroom AT LEAST in half, and on set probably tenfold.

People discarding the meter as pre 2000 are still thinking light changed when we switched to digital, but in essence it didn’t, we still need an Aperture and shutter speed and ISO, that didn’t change… I don’t tell you you NEED a light meter to take the photos you see from professionals, heck even a lot of pro’s don’t use a meter, what I do tell you is that if you want to make those (or your) photos QUICKER and more CONSISTENT you should really try a light meter.

In all these years I teach I have converted more people to a light meter than you can count (and I can remember), NONE of them came to my workshop with the idea they were missing it, MOST (if not 99% of them) leave the workshop with they idea they actually need a light meter for the simple and pure speed I set up my lights.

And that’s all it is… a very simple tool to help you with that.
And to be honest if you take the 70 minutes to watch the video you will actually know the meter by heart, because in essence it’s incredibly easy to use and to operate (despite of what some people tell you online)

So to make a long story short :
Head over to https://frankdoorhof.com/web/shop-videos-etc/direct-video-downloads/ and select the light meter video and use the code “light” and get a 20% discount (about the same the other offer would have been).

But I do ask you, and I normally don’t do this that much…. feel free to retweet, repost and tell people about this little rant… because I really do feel sad that a tool that is so handy for photography is put into such a bad light (no pun intended).

I will keep this code active for the next 1-2 weeks.
And if you try it on all our other videos… well it might work too 😀

Here is also the trailer we shot for this video :

Again this blogpost was not made to bash the company which we consider as dear friends (we really do) but to actually point out a “prejudice” I encounter all the time and to be honest I don’t know how it ever was created but I really wish people would think before they take their position against the light meter.