Tag Archive for: light

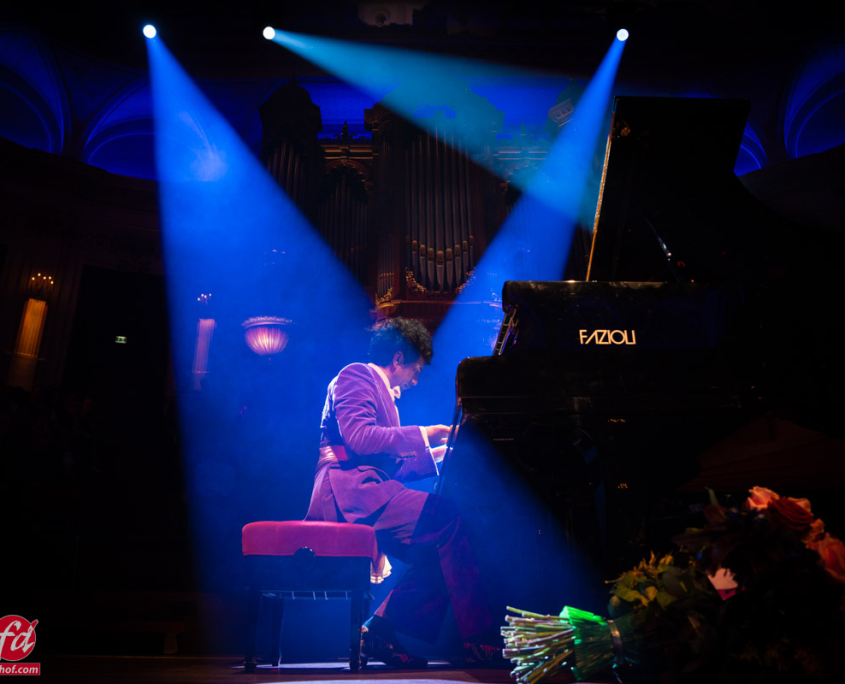
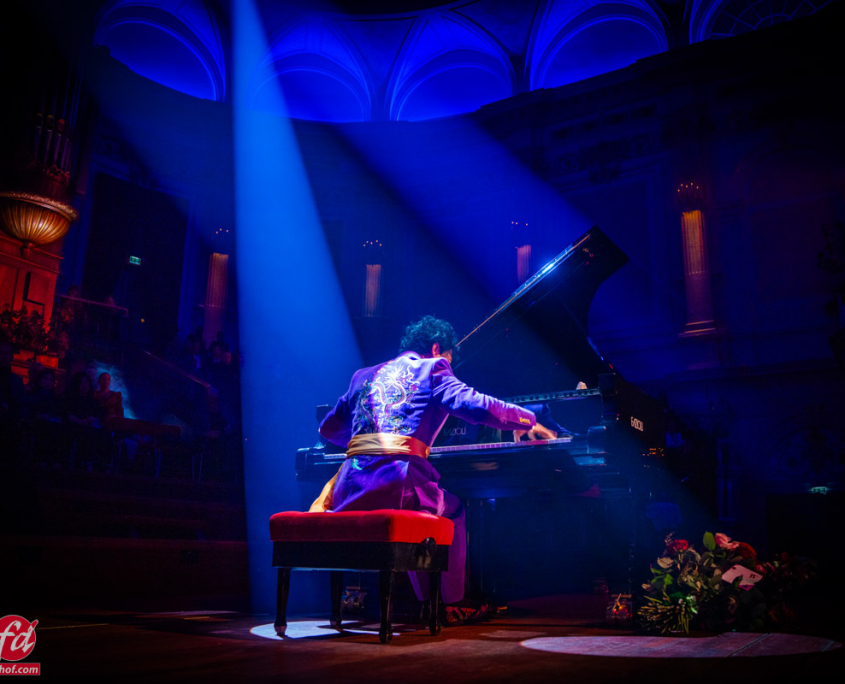
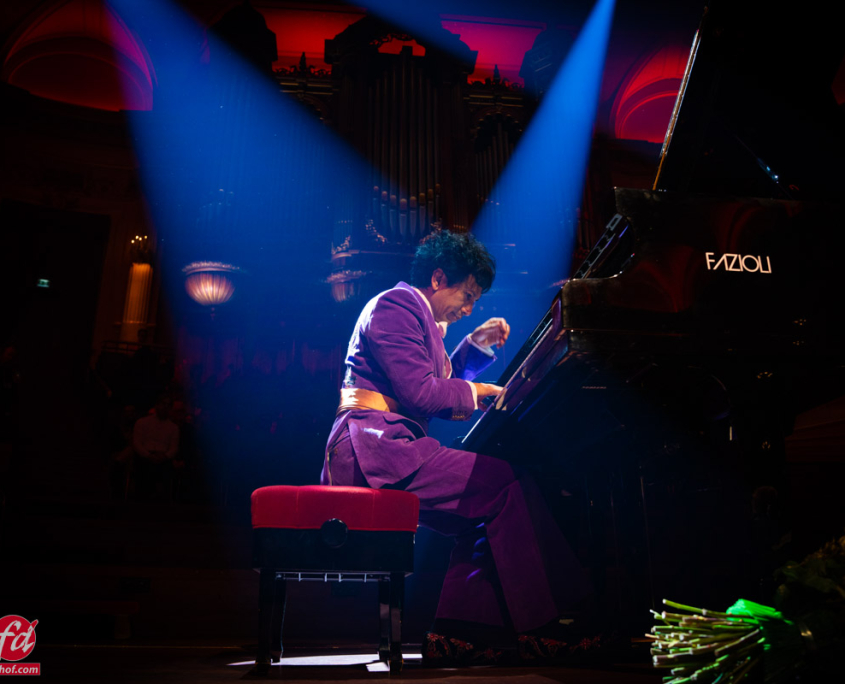
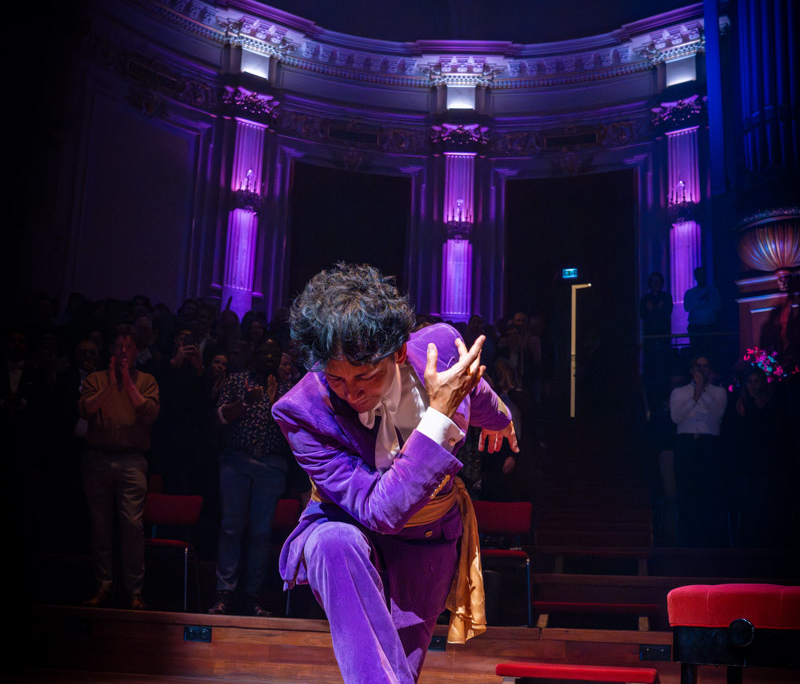
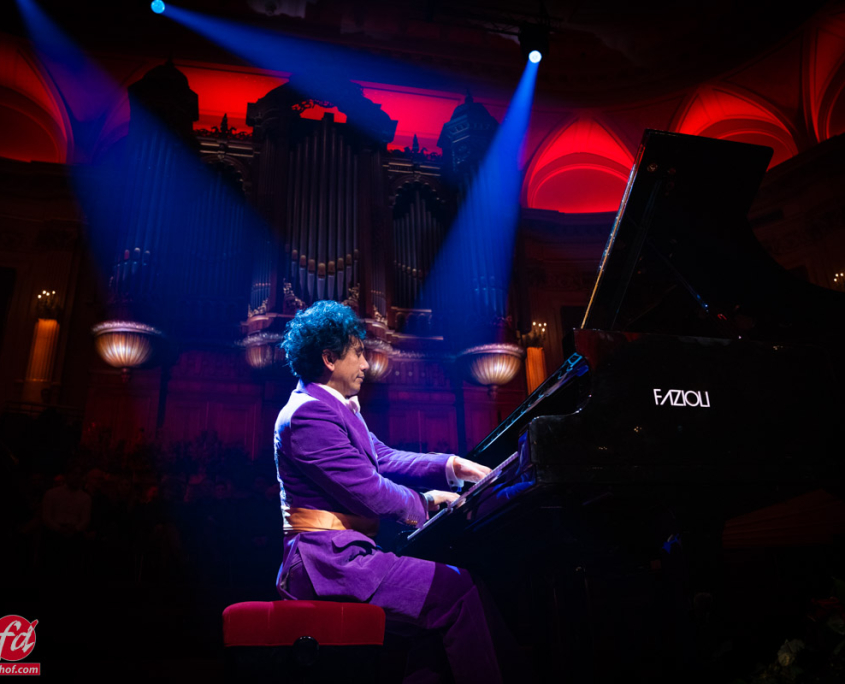
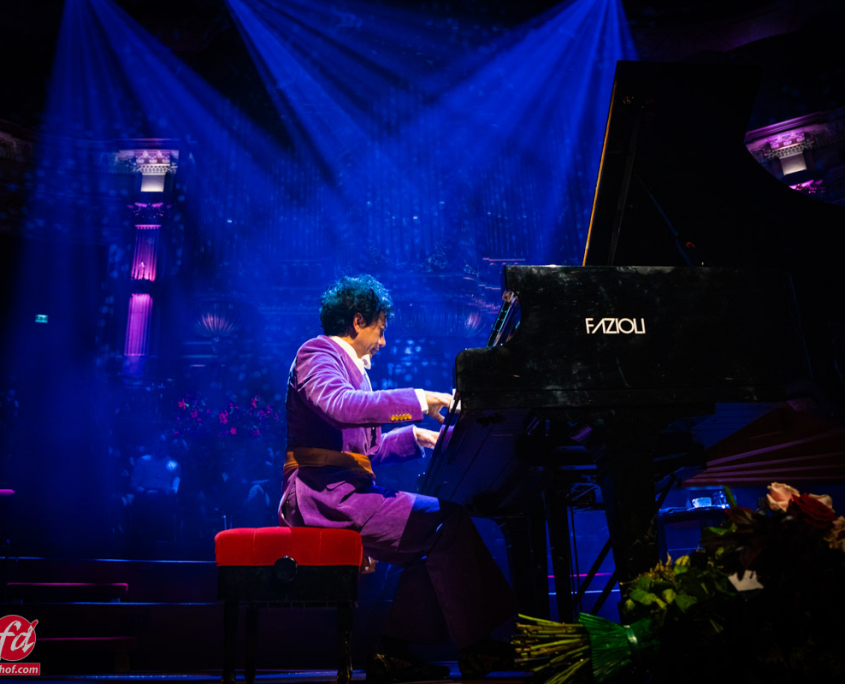
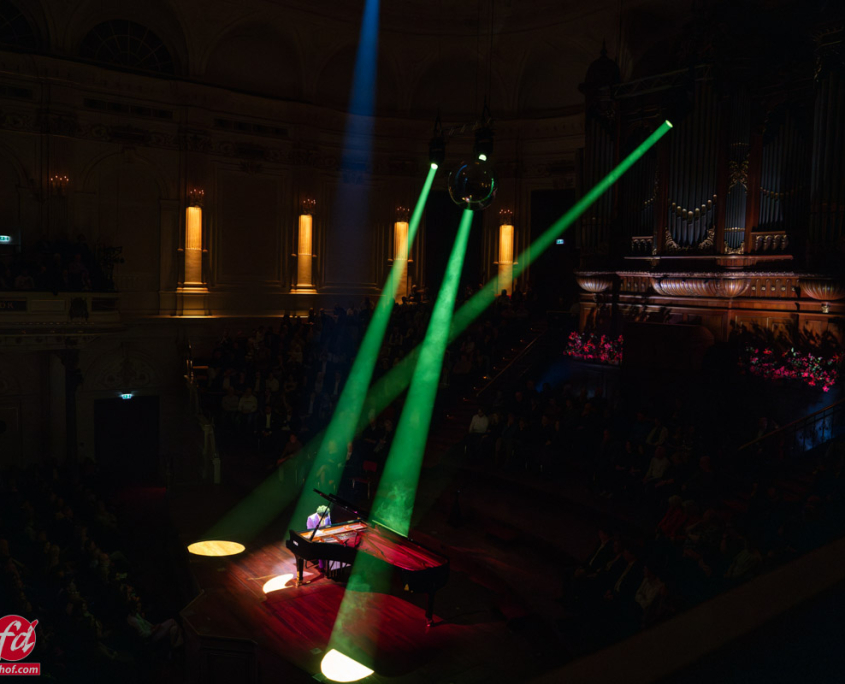
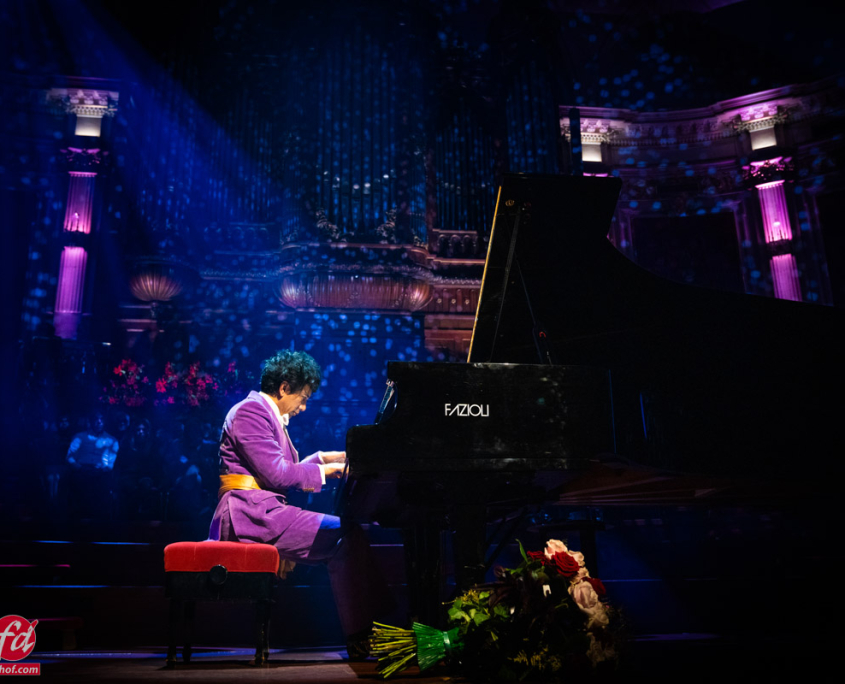
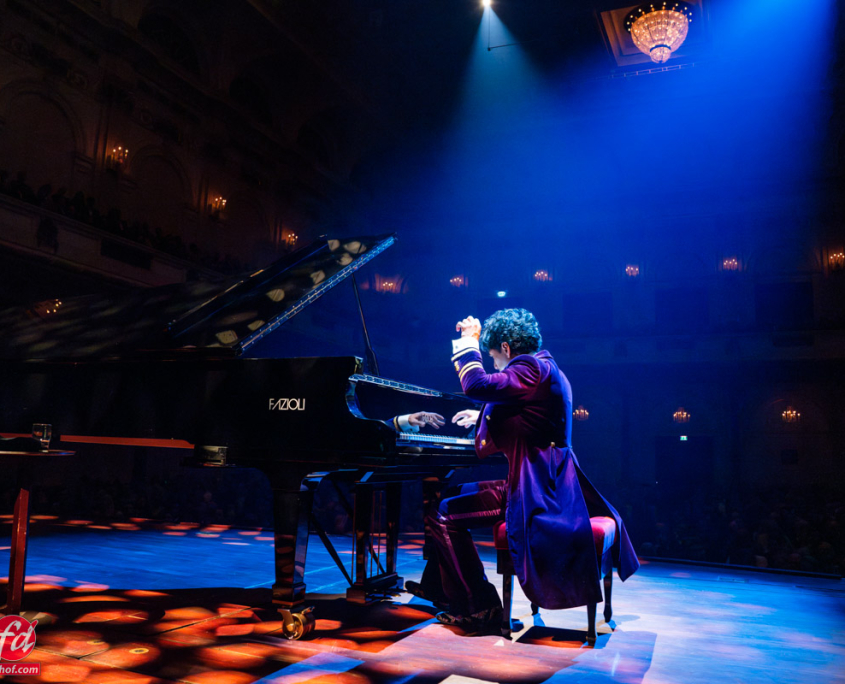
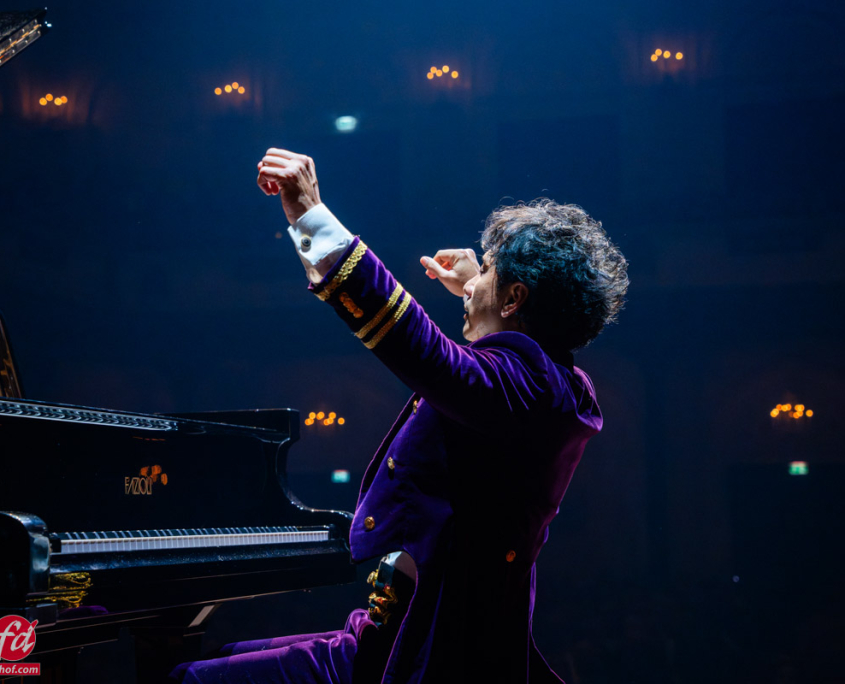
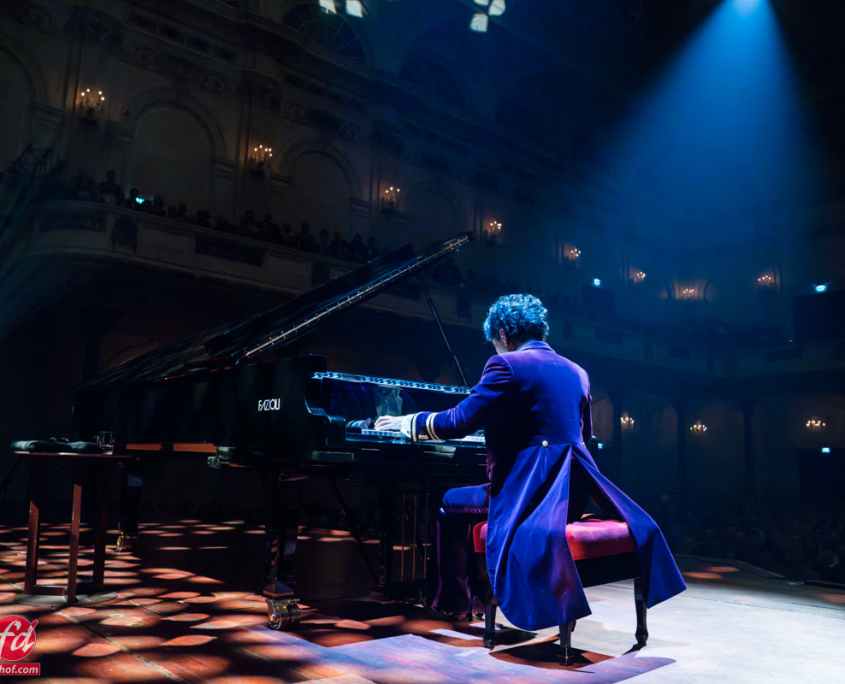
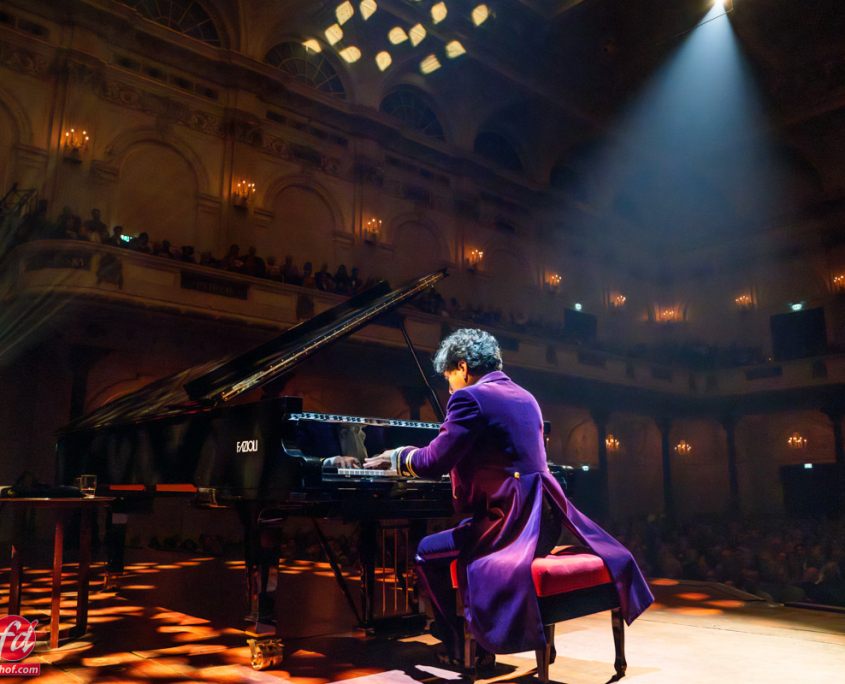
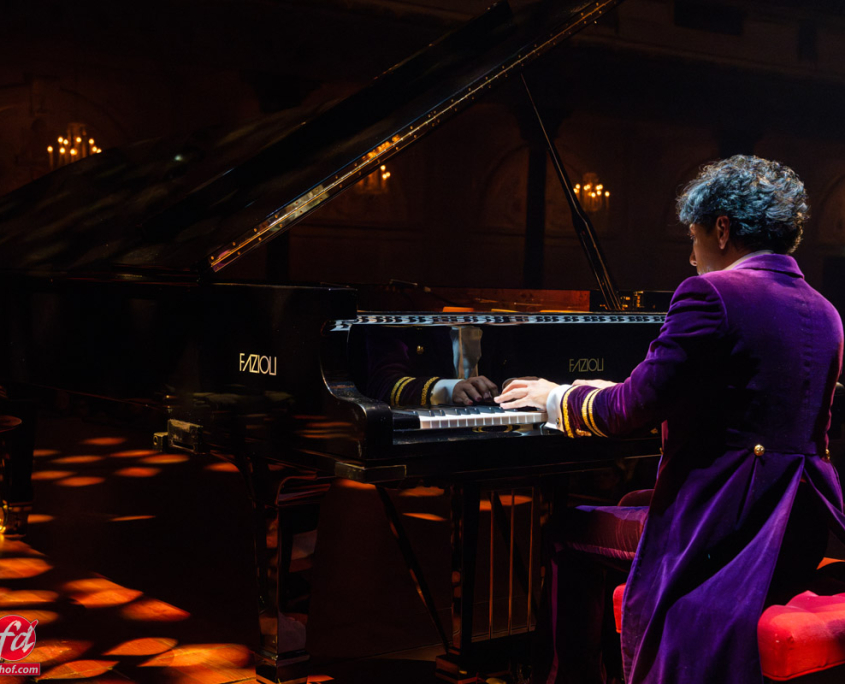
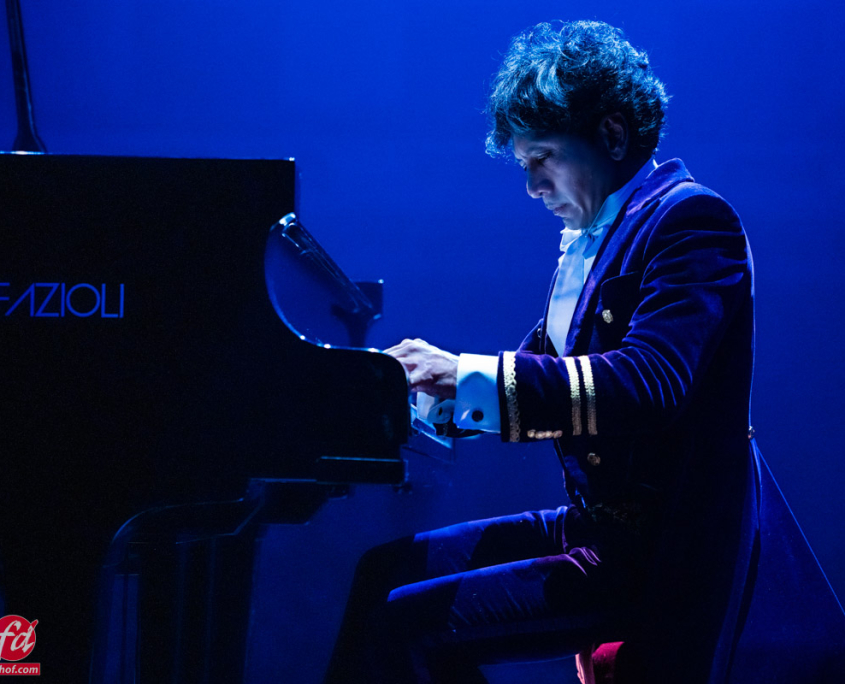
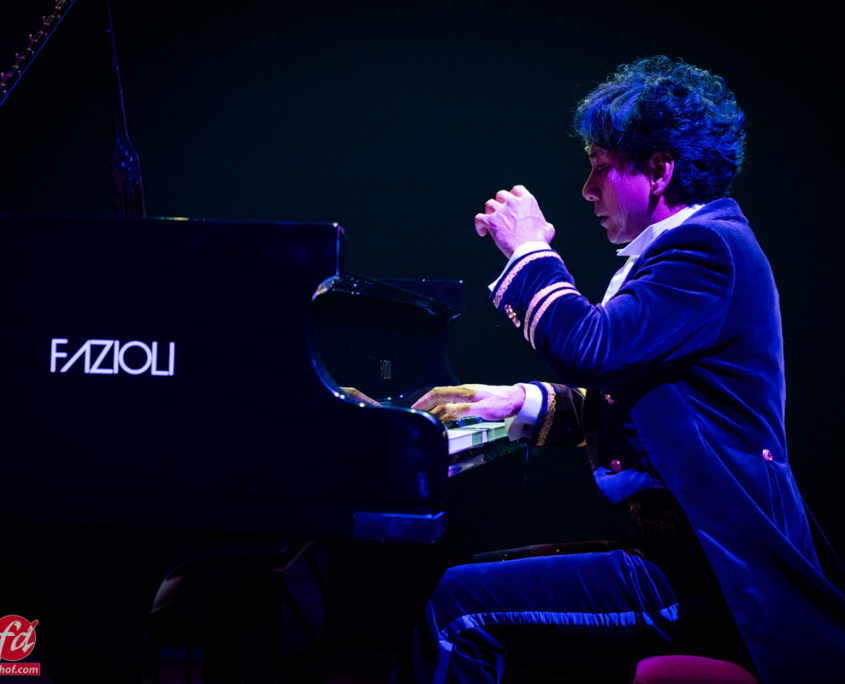
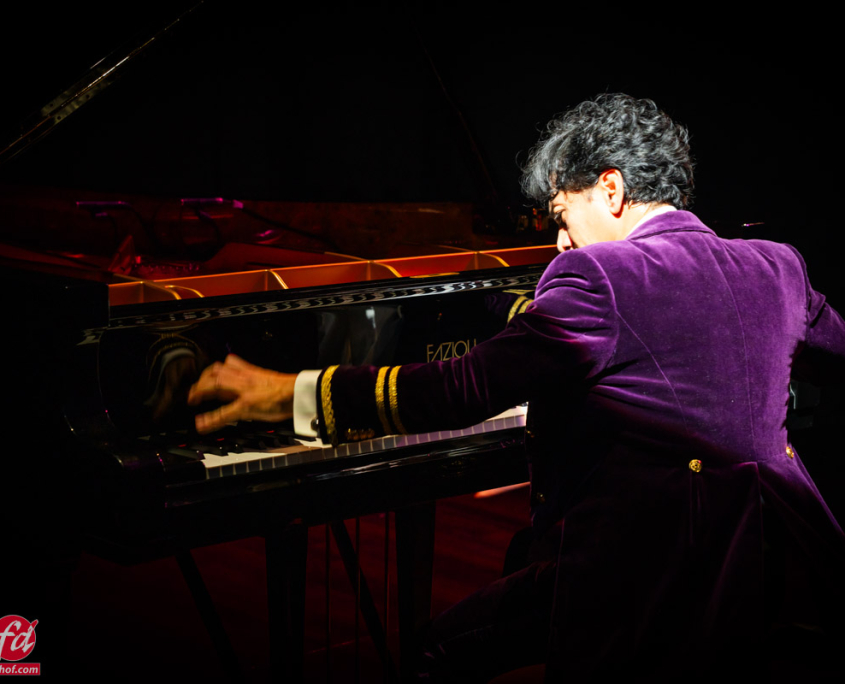
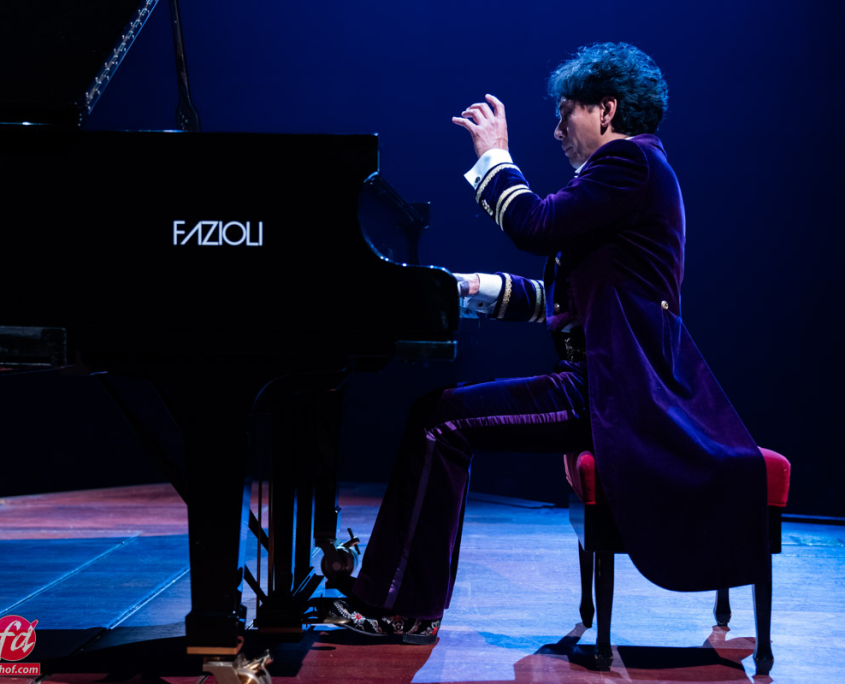
The highlight of the year, the Wibi Soerjadi concert 2024

Live photography has its challenges, but I love it

Every year has its ups and downs. But for us both as a family and as photographers there is one highlight that stands out.
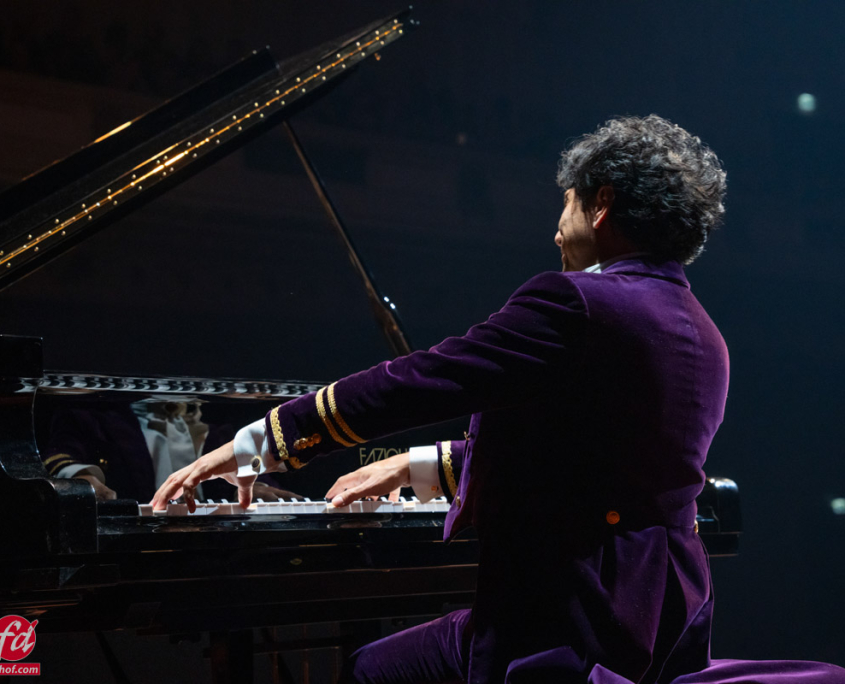
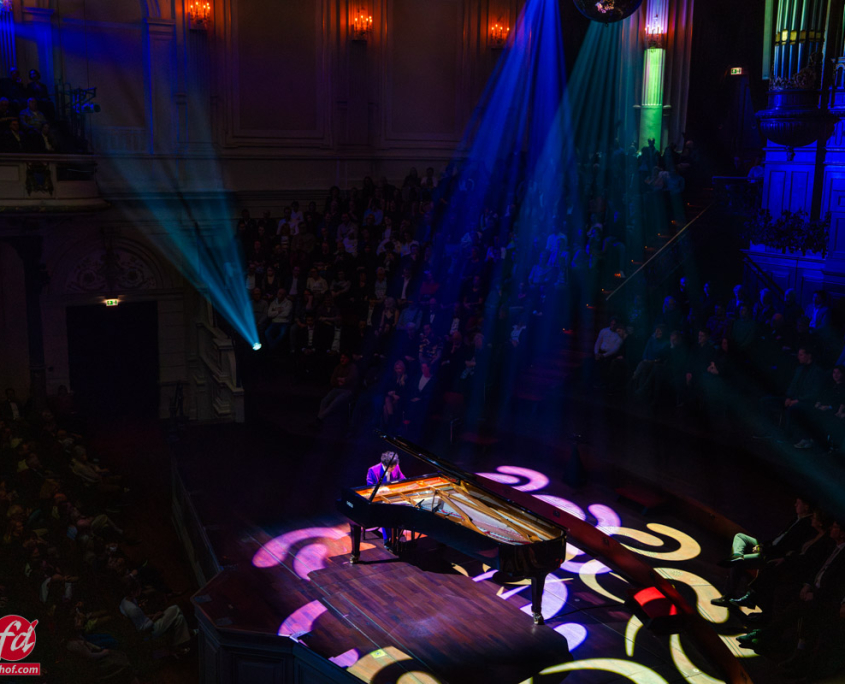
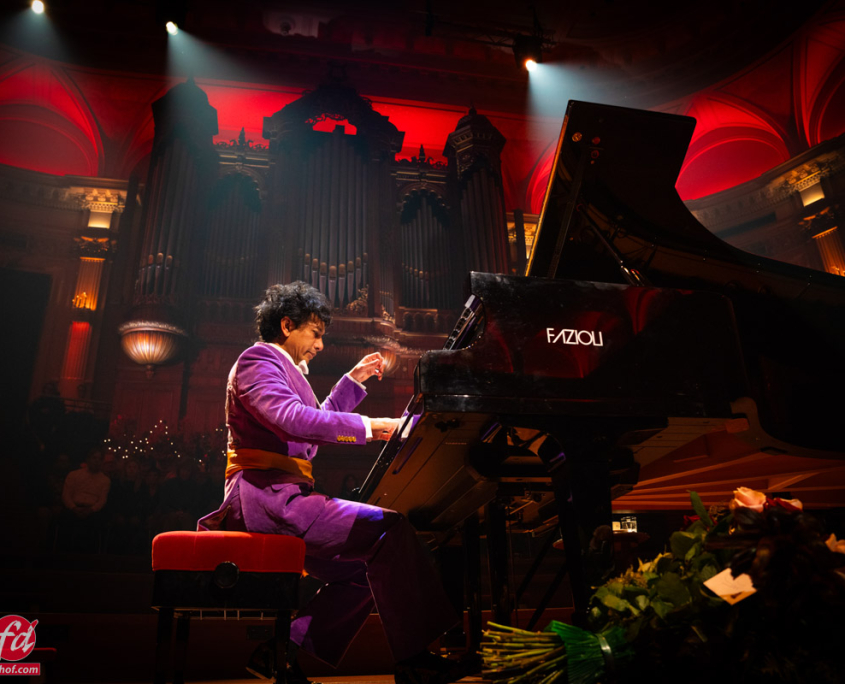
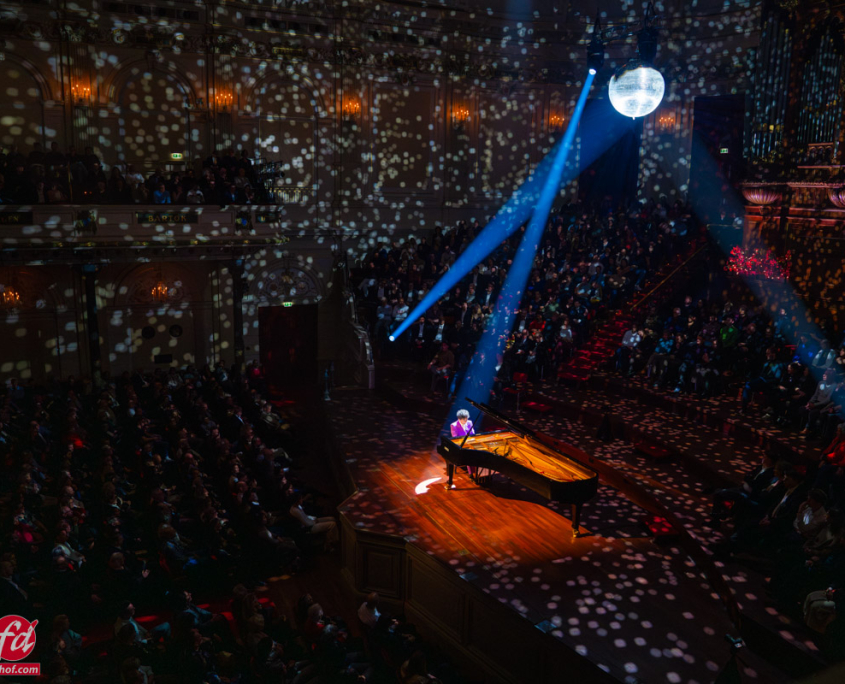
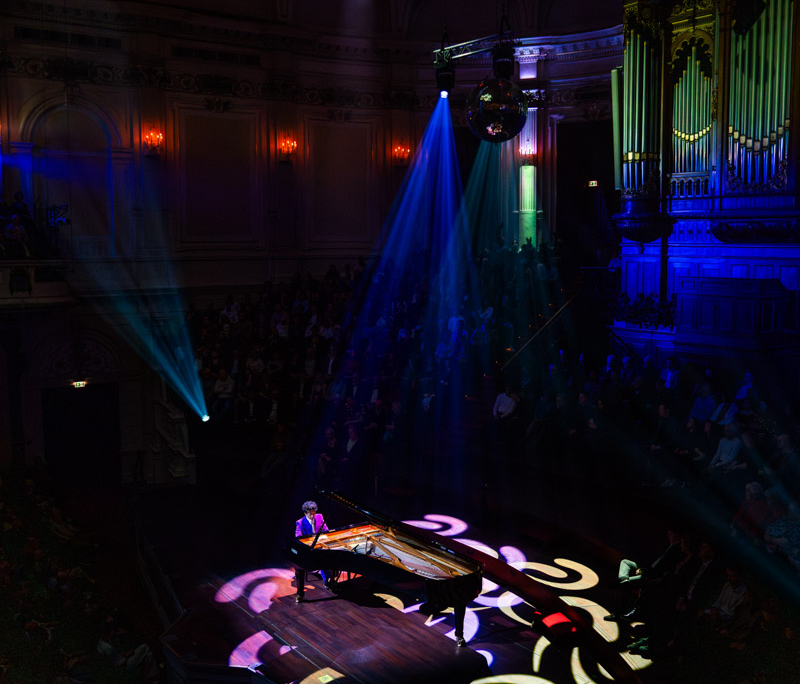
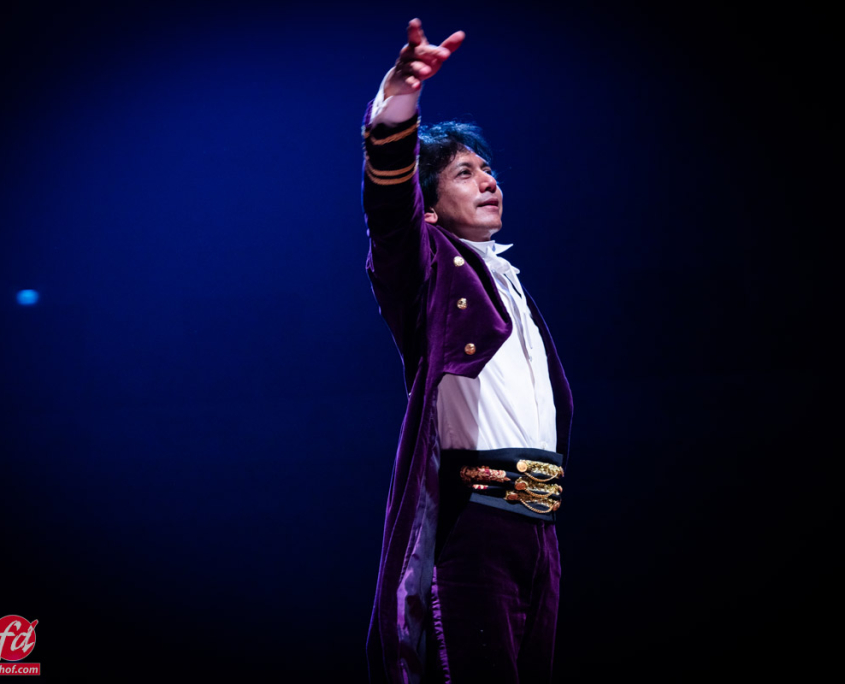
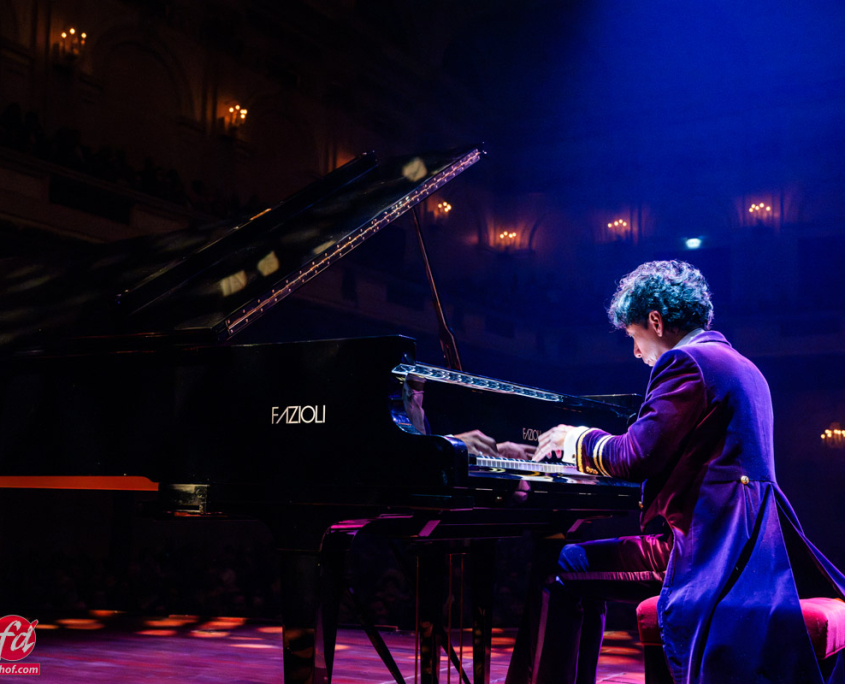
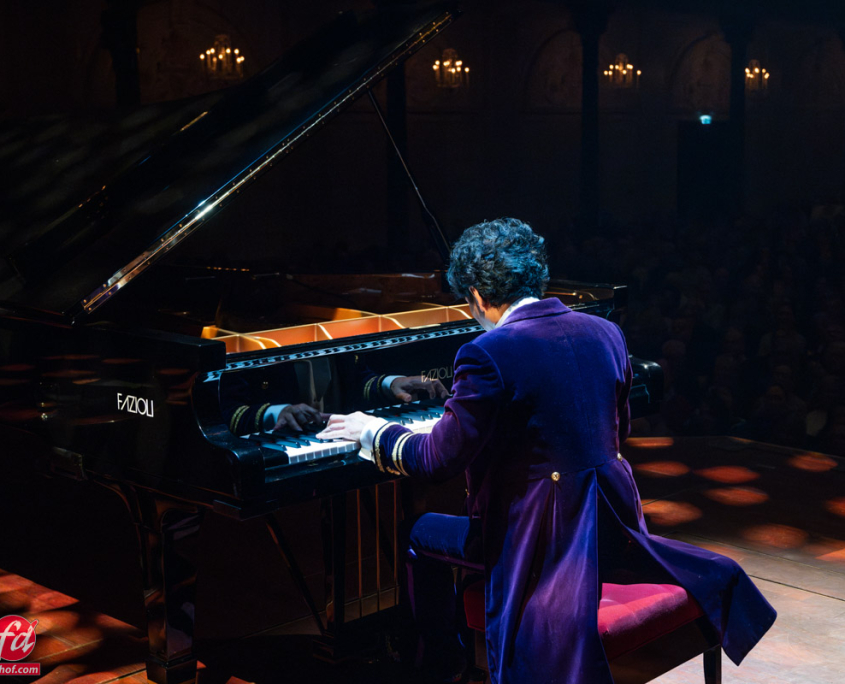
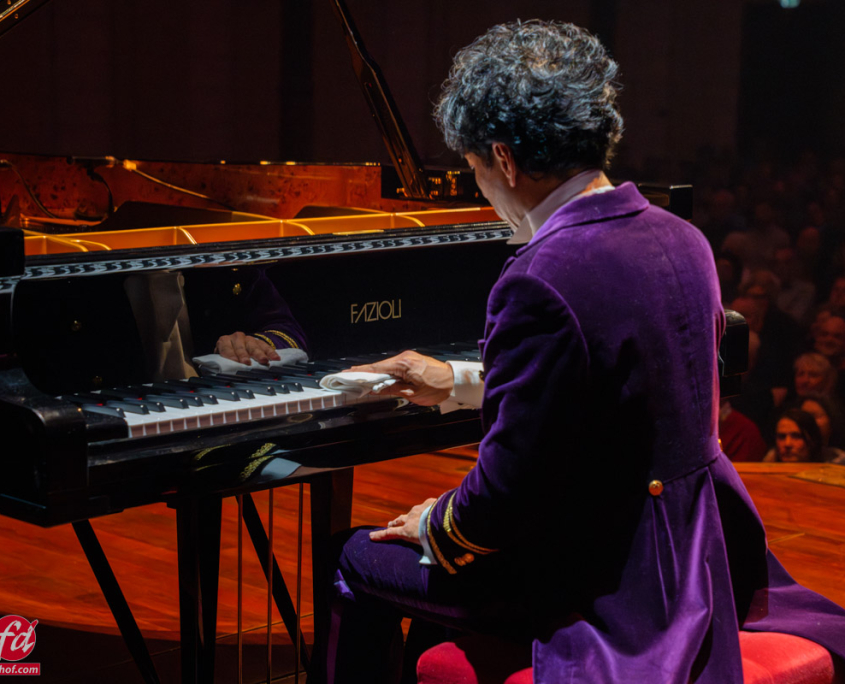
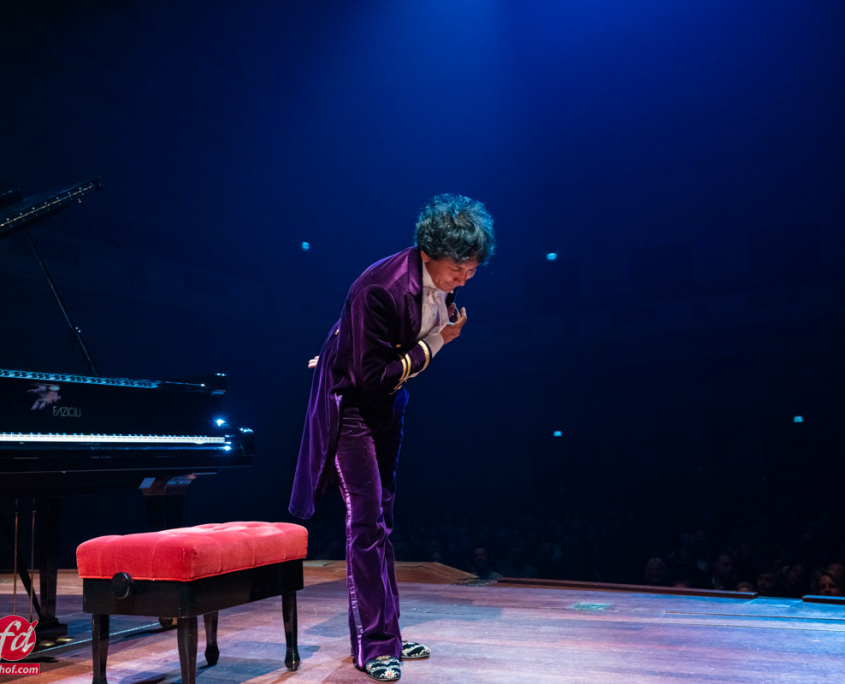
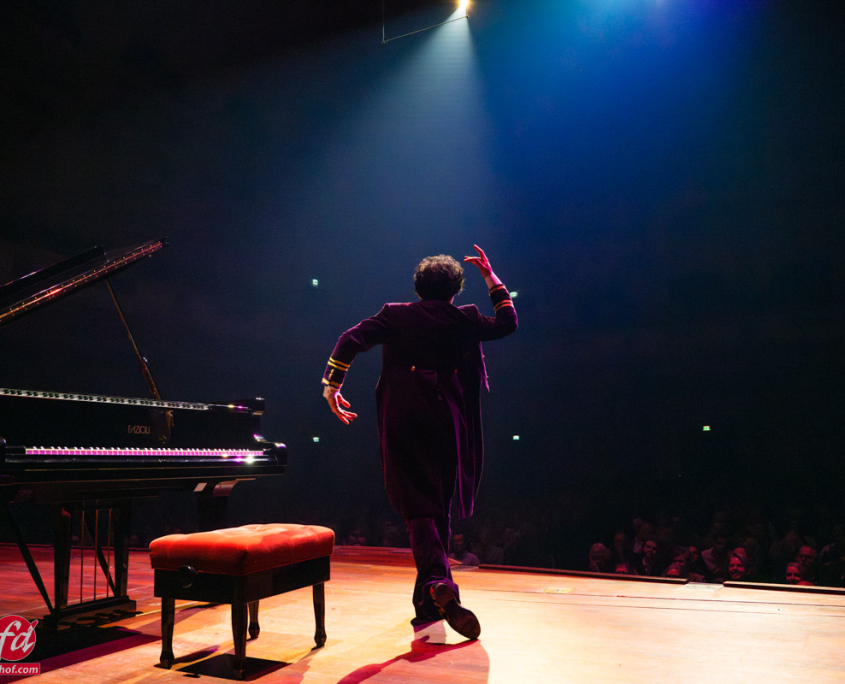
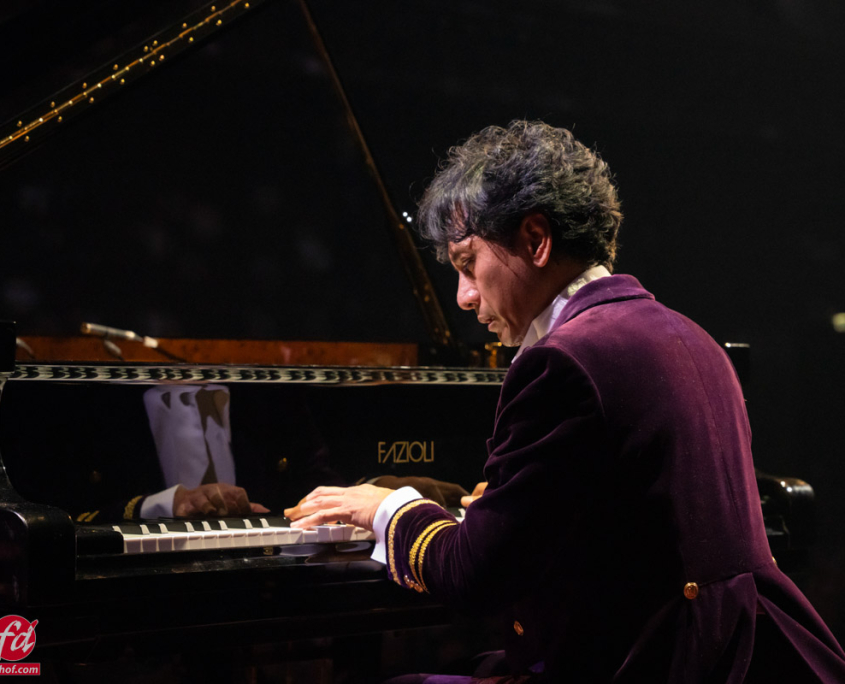
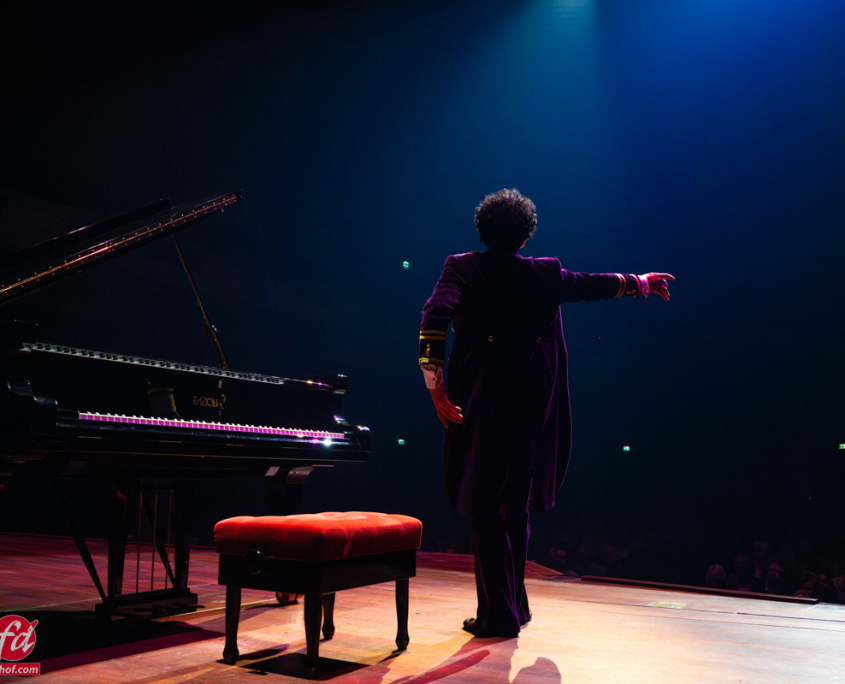
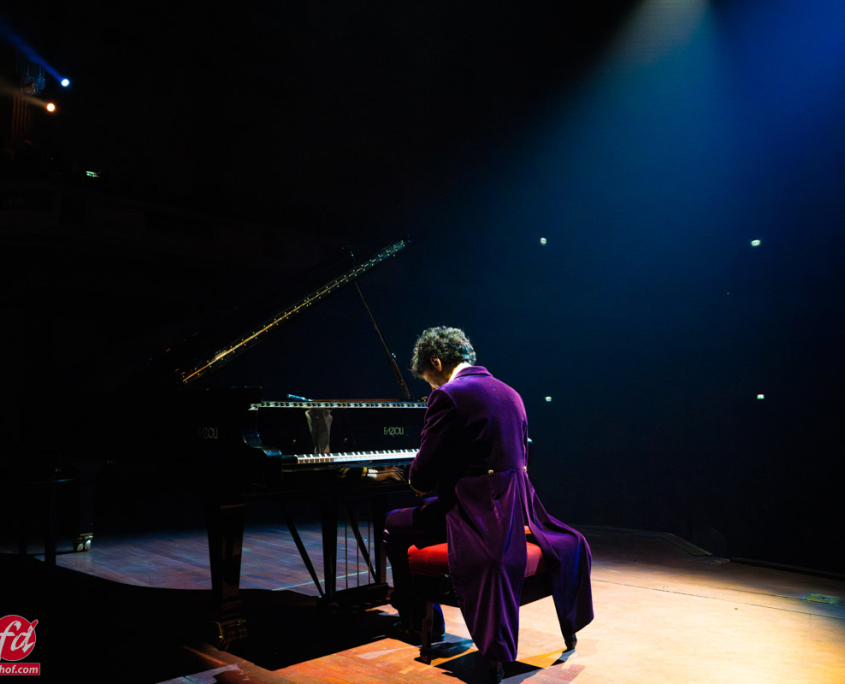
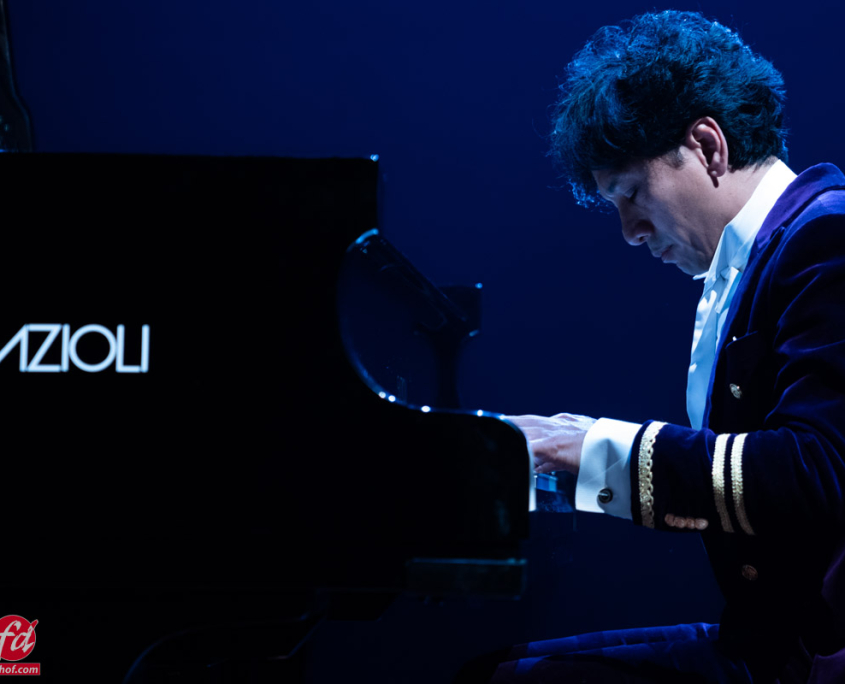
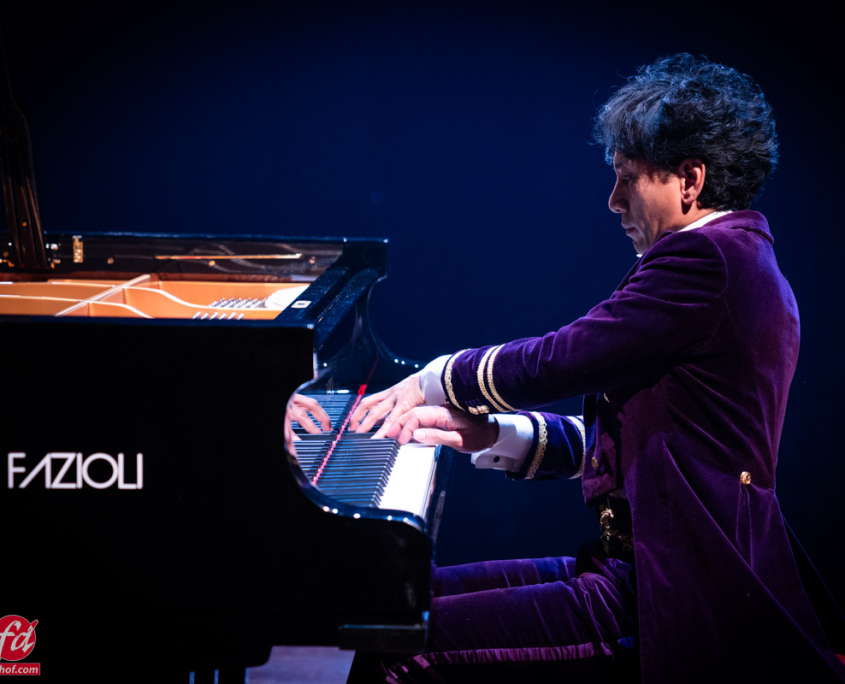
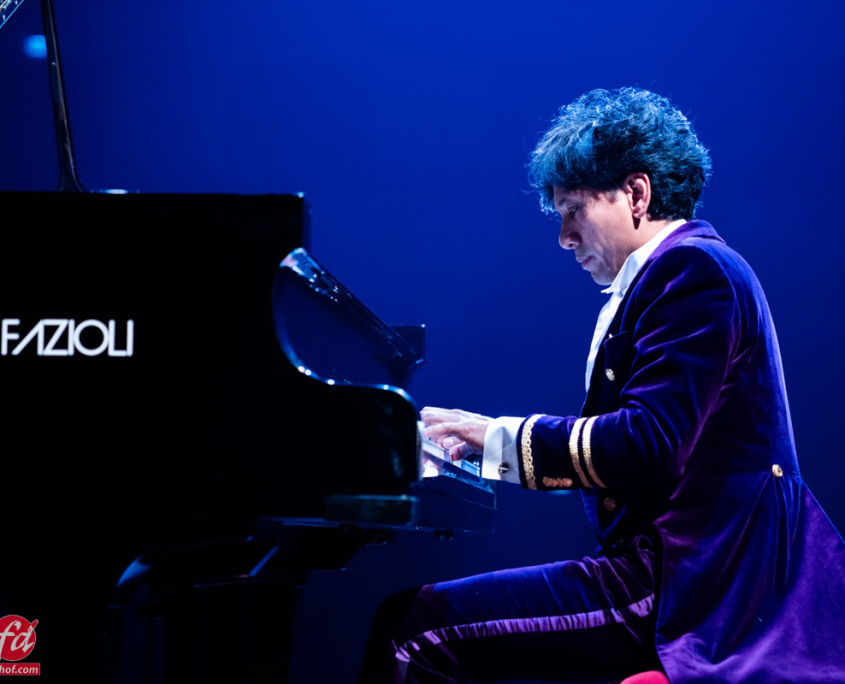
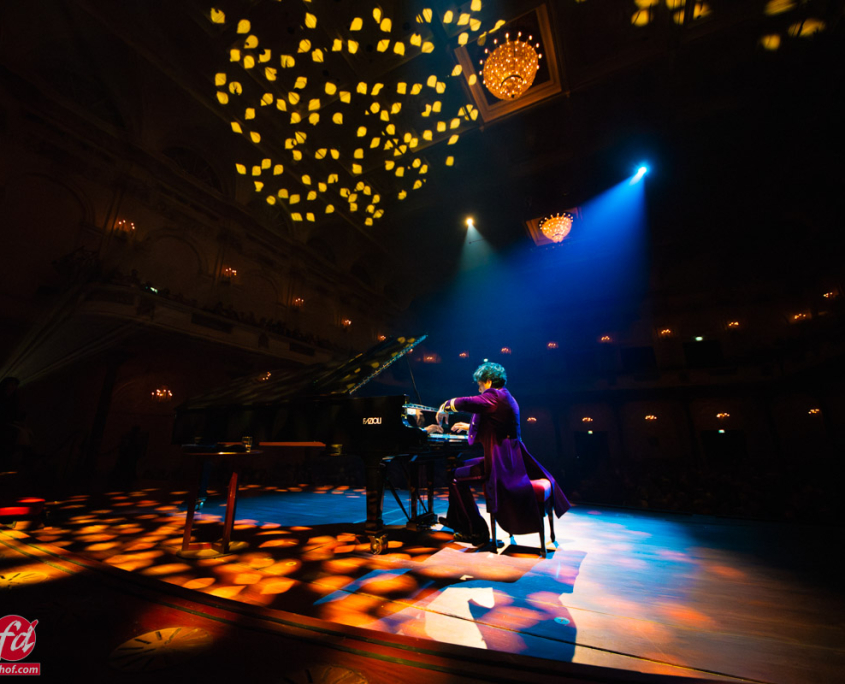
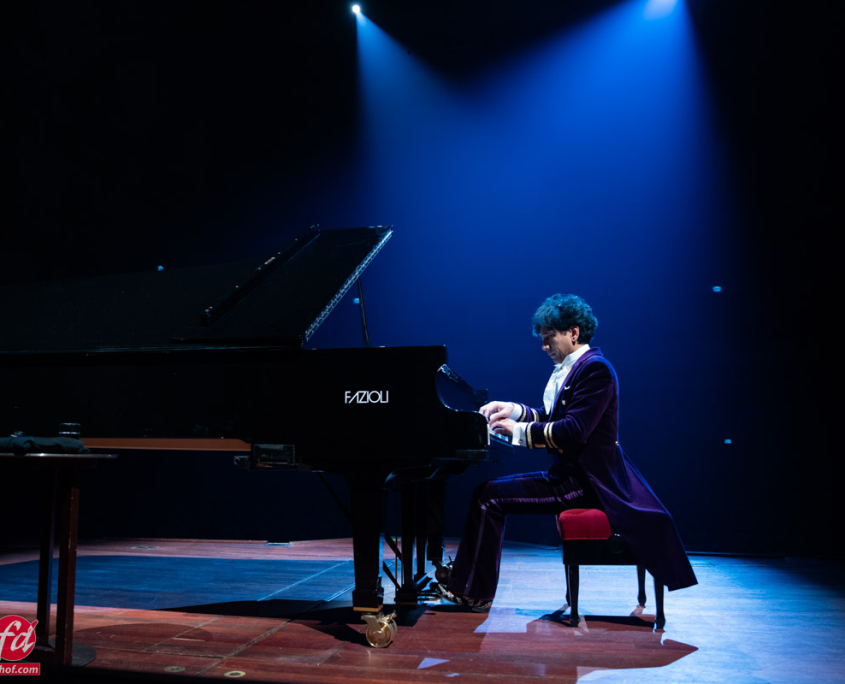
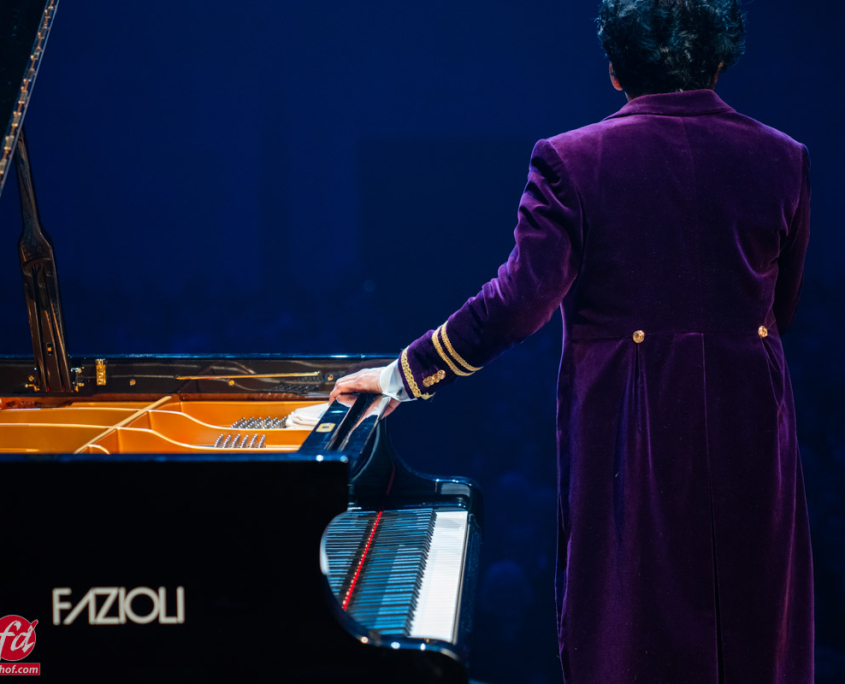
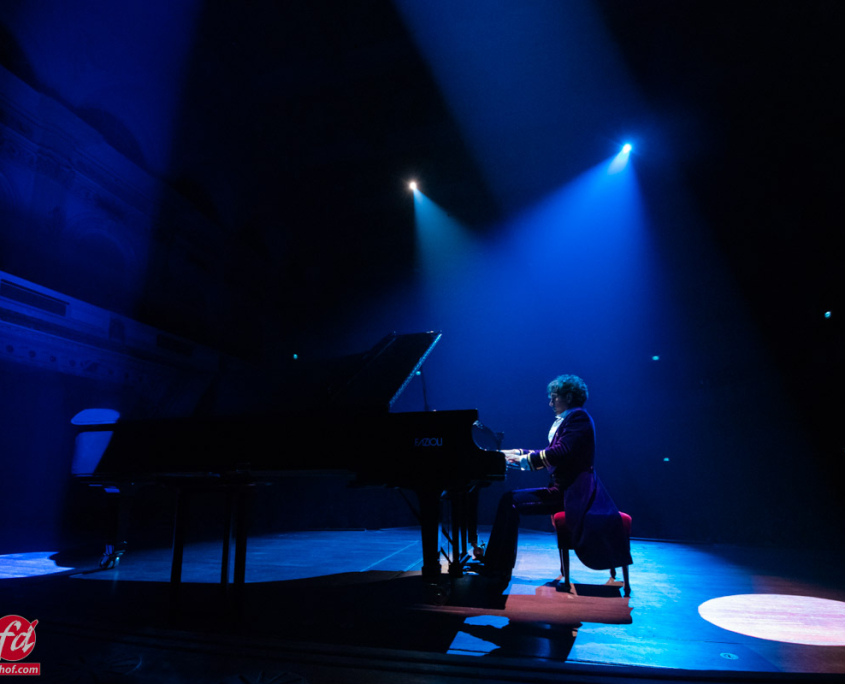
The Christmas concert in Het Koninklijk Concertgebouw Amsterdam with Wibi Soerjadi. The Wibi Soerjadi concert in 2024 was his 30th anniversary.

Wibi and I met many years ago without any connection to photography. Still, we talked about it, and before I knew it, I was shooting my first real international celebrity. I can already tell you I was incredibly nervous, but Wibi was absolutely nothing like I imagined. He was very creative and knew what he wanted, but he was 100% open to the photographer’s opinion.


Wibi Soerjadi Concert, 30th anniversary

At the end of the year just after Christmas Wibi ends the year with an always sold-out concert in one of the best-sounding concert halls in the Netherlands, Het Koninklijk Concertgebouw Amsterdam. When he asked me to shoot some images I started from the balcony with a long lens. I was sitting in the family part so we had a great view. But the images… well were basic. So we started talking about how we could get something more interesting. The problem is that with most concerts and especially classical concerts, it’s not allowed to shoot for a longer period. And of course, I also had to abide by that rule. So the next year I did get some better images but at that point, I think also Wibi started to have fun with the whole shooting of the Christmas concert so we started to joke around how to make it even better.

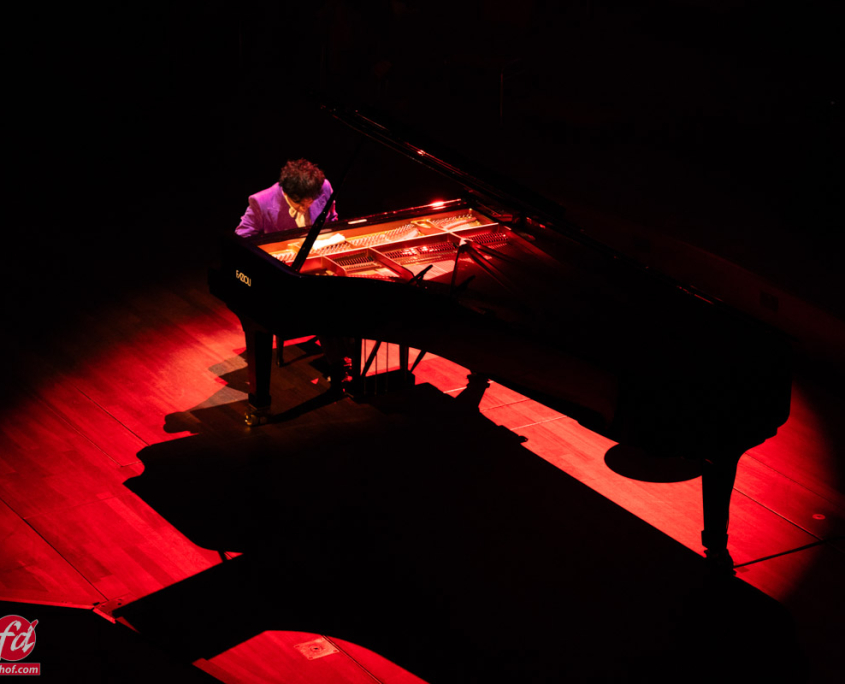
Wibi Soerjadi Concert 2024

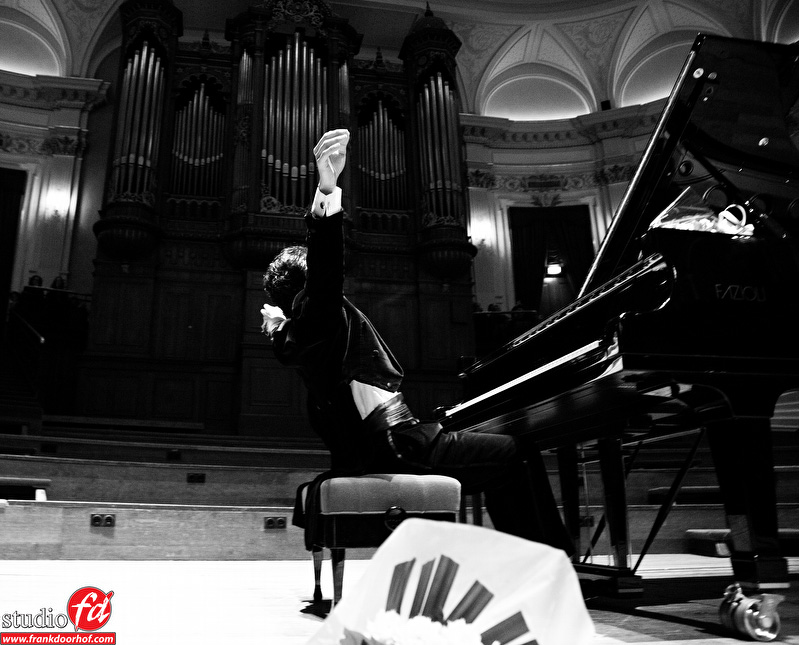
Wibi after the awesome Queen transcription at the 2011 concert

Better locations and more spectacular every year

I said “Well maybe when I lie under the piano” to which he replied (If I remember correctly) “Yeah, we’re going to do that”.
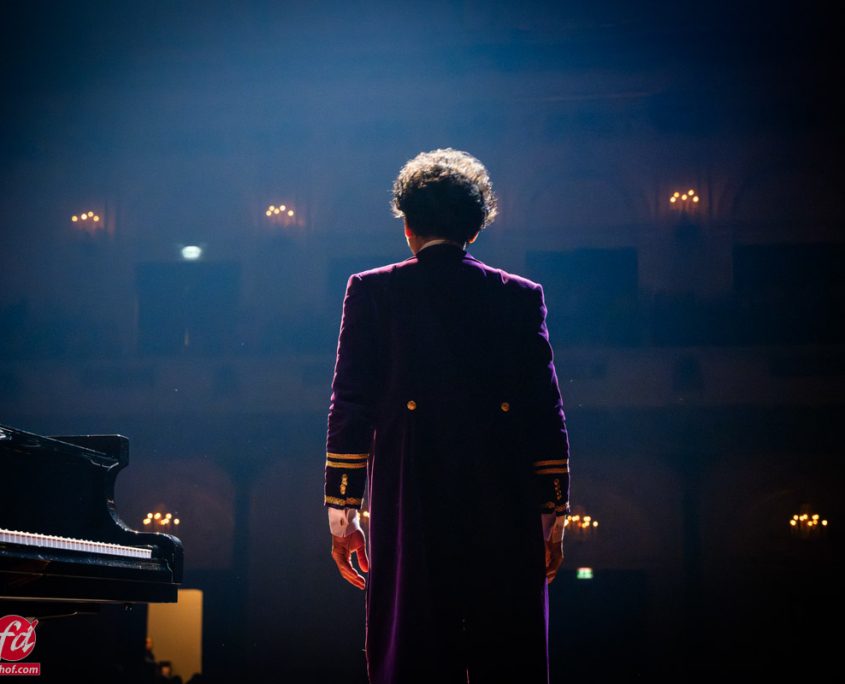
Well, in all honesty, I’m a pretty shy guy, and that idea I did not want to execute, but at that point, we did decide to take it one step further—shoot from the stage.

I was incredibly nervous, first of all with this chance but also with all the challenges you get when shooting under those conditions. But it went great… but we wanted more.

Over the years, the Christmas concert grew into something that overshadowed everything I ever saw from a solo artist.
I think it’s a shame he never played with the Concertgebouw Orchestra, I think they would sell out for a long period.

Last year’s concert

Last year I shot some of my best live work ever. But this year Wibi decided to up the ante and really push the limits (wait till next year).
The problem with a lot of different lighting setups is that I have to choose my spots very carefully.
Although I’m an all-access area photographer and am allowed to shoot from every location during the show I still have my responsibility to the visitors who paid for the tickets and don’t want to be disturbed.

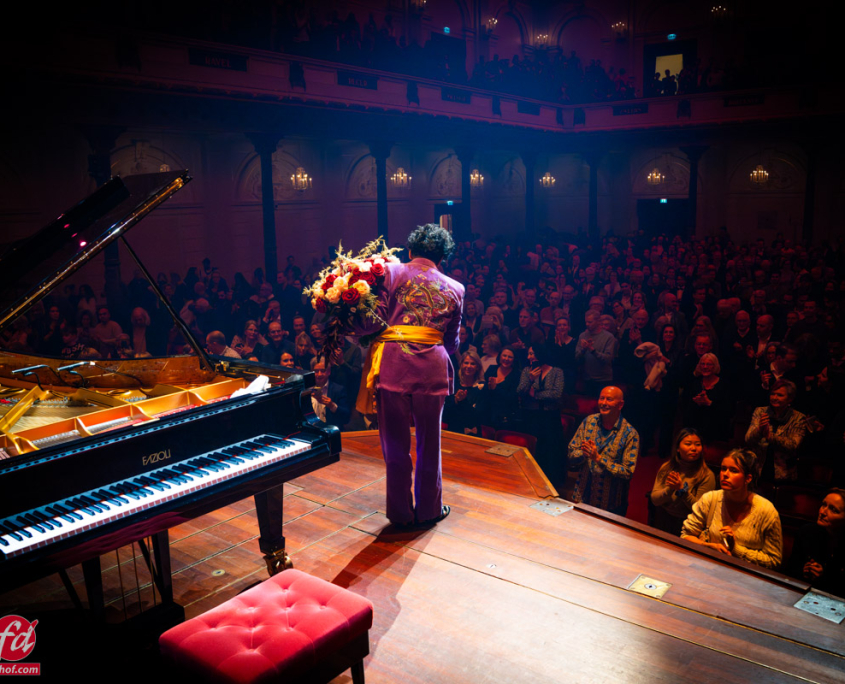
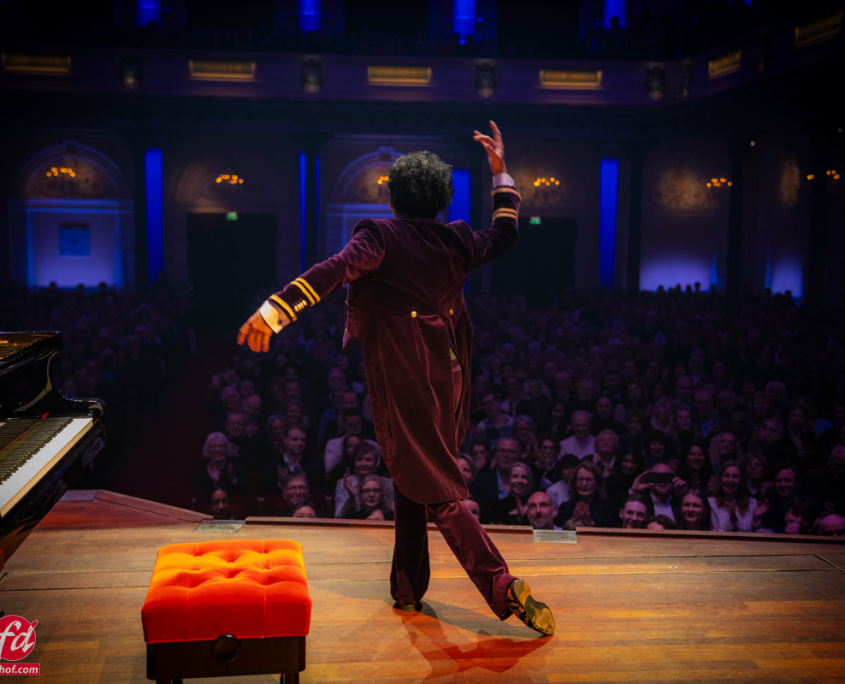
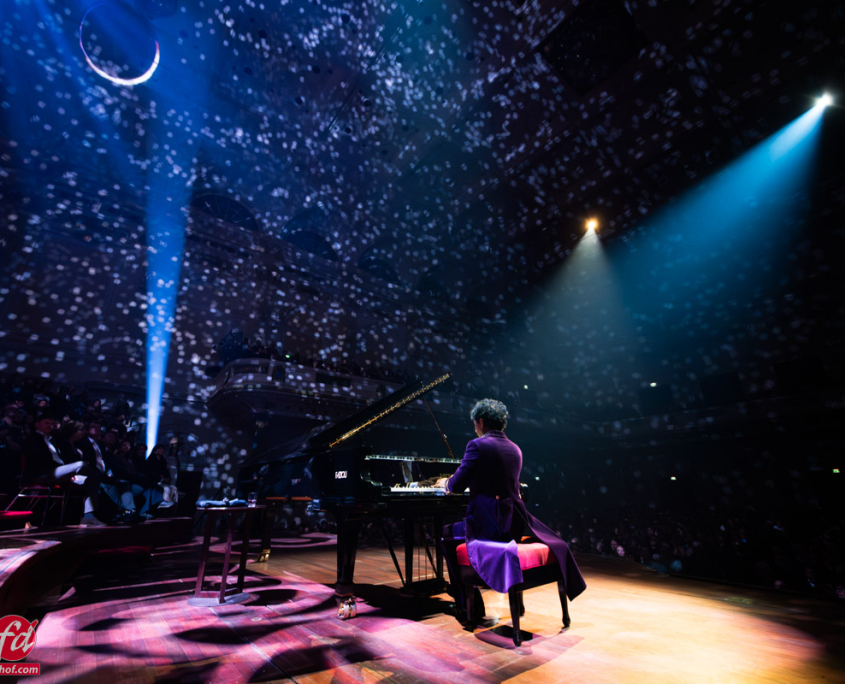
Wibi Soerjadi Christmas Concert 2024

For me, this meant this year I started on the podium at approximately 1-2 meters away from Wibi.
Right after the break I ran to the balcony and shot the second part of the concert from there for more oversight shots. The lighting on the stage is totally different from the other side. After the last notes, I had to run through the building to end up right in front of the stage for the final encores. This is one of my favorite locations to shoot due to the extreme angle which gives it almost a rock concert look. It’s not a series you can use for everything but it does complete the concert for me.

The gear

Today I show you a very small selection of the images I shot.
Thanks to the dynamic range of the modern cameras (A7RV) and low noise (or Topaz/Lightroom Denoise) the quality of the full resolutions are absolutely breath taking.

For the wide angles, I used the A7rIII with a Sigma 12-24
For the other shots the Sony A7RV with the Sony 24-70 F2.8

I hope for the end of the year you have some time to enjoy the images.
And for 2025 we wish you all the best and hope that 2025 will be a much better year than 2024.

CLICK ON THE IMAGES TO START THE GALLERY
And see them in the correct aspect ratio

last year I also made a short BTS video

So much fun with cheap materials and lights

It doesn’t have to be expensive

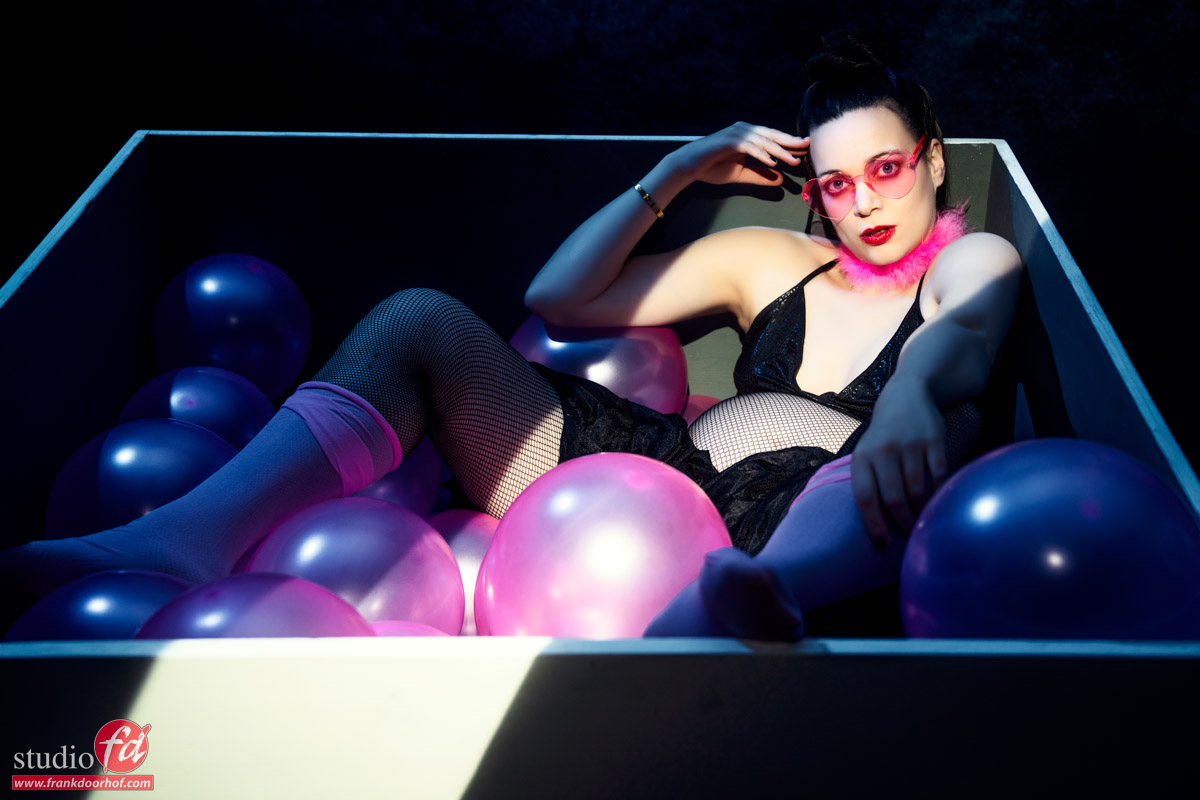
There is often a discussion about what you need to get a great image. And often it boils down to “I can’t do it because I don’t have any budget”. Well, it might surprise you but 99% of the images I post are shot during workshops, events, and trade shows. So not really situations where I have time or even a budget to really use large sets. Today a blog post about model photography with cheap materials and lights. In our studio, we do use the ClickBackdrops backgrounds of course 😀

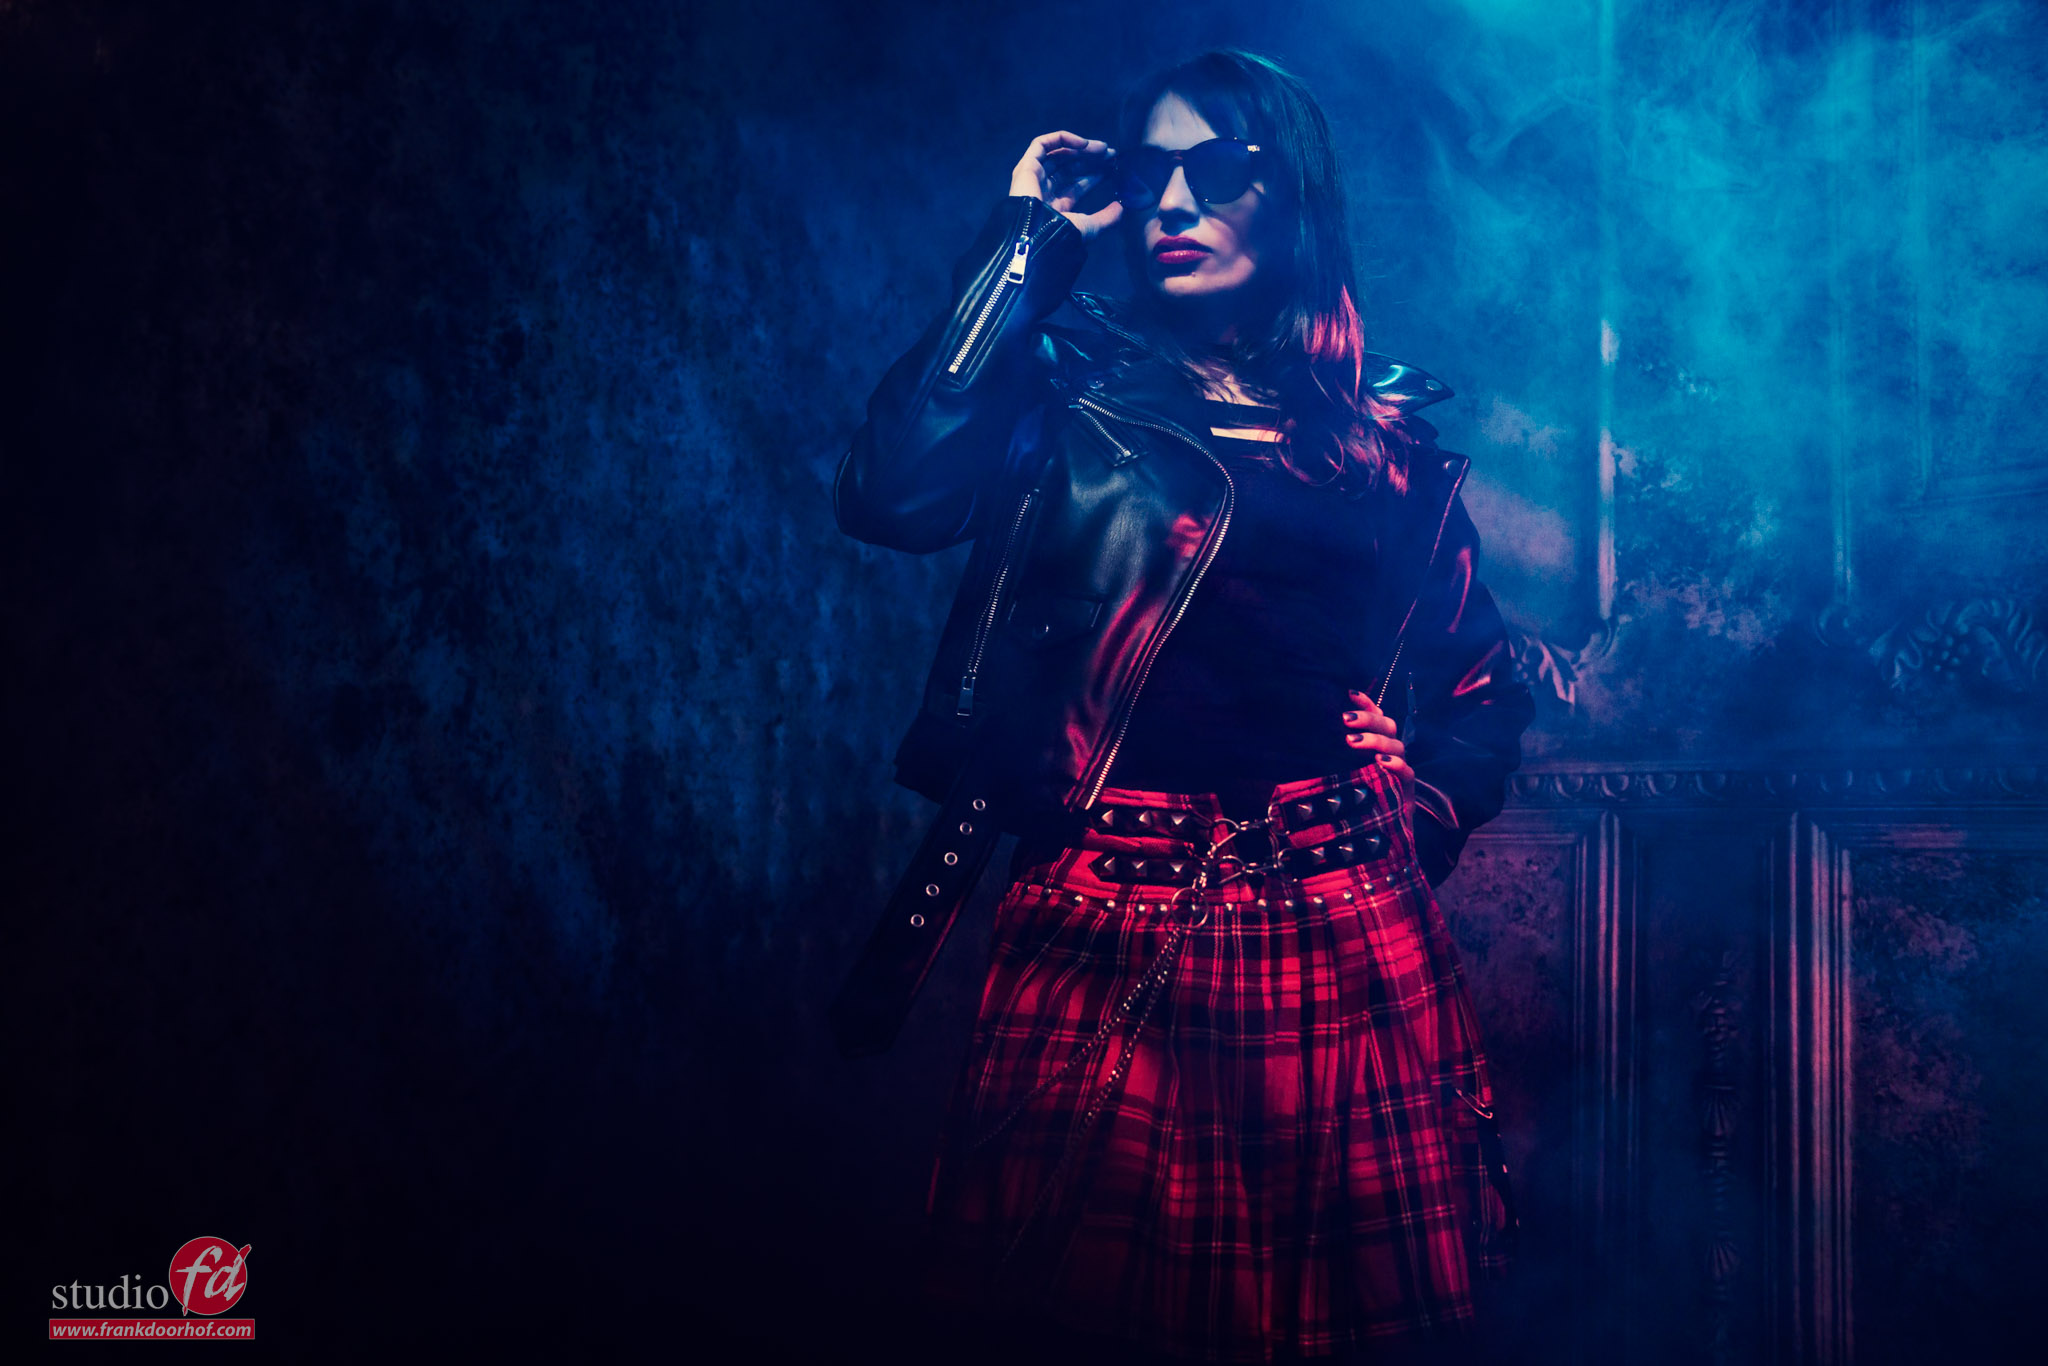
Experiment with cheap materials and lights

One of the things I love to experiment with ar cheap lighting solutions.
This can be a string of fairy lights, Christmas lighting, or a magic lantern.
With modern cameras and great noise reduction in Lightroom or Topaz, you can really push the creative limits.

One of the biggest advantages of the strobes (Geekoto) I’m using now is that they can be adjusted to output a very slight amount of light.
Because most of these light sources are very faint it’s great that I’m now able to mix strobes and continuous lighting much easier.


Setup

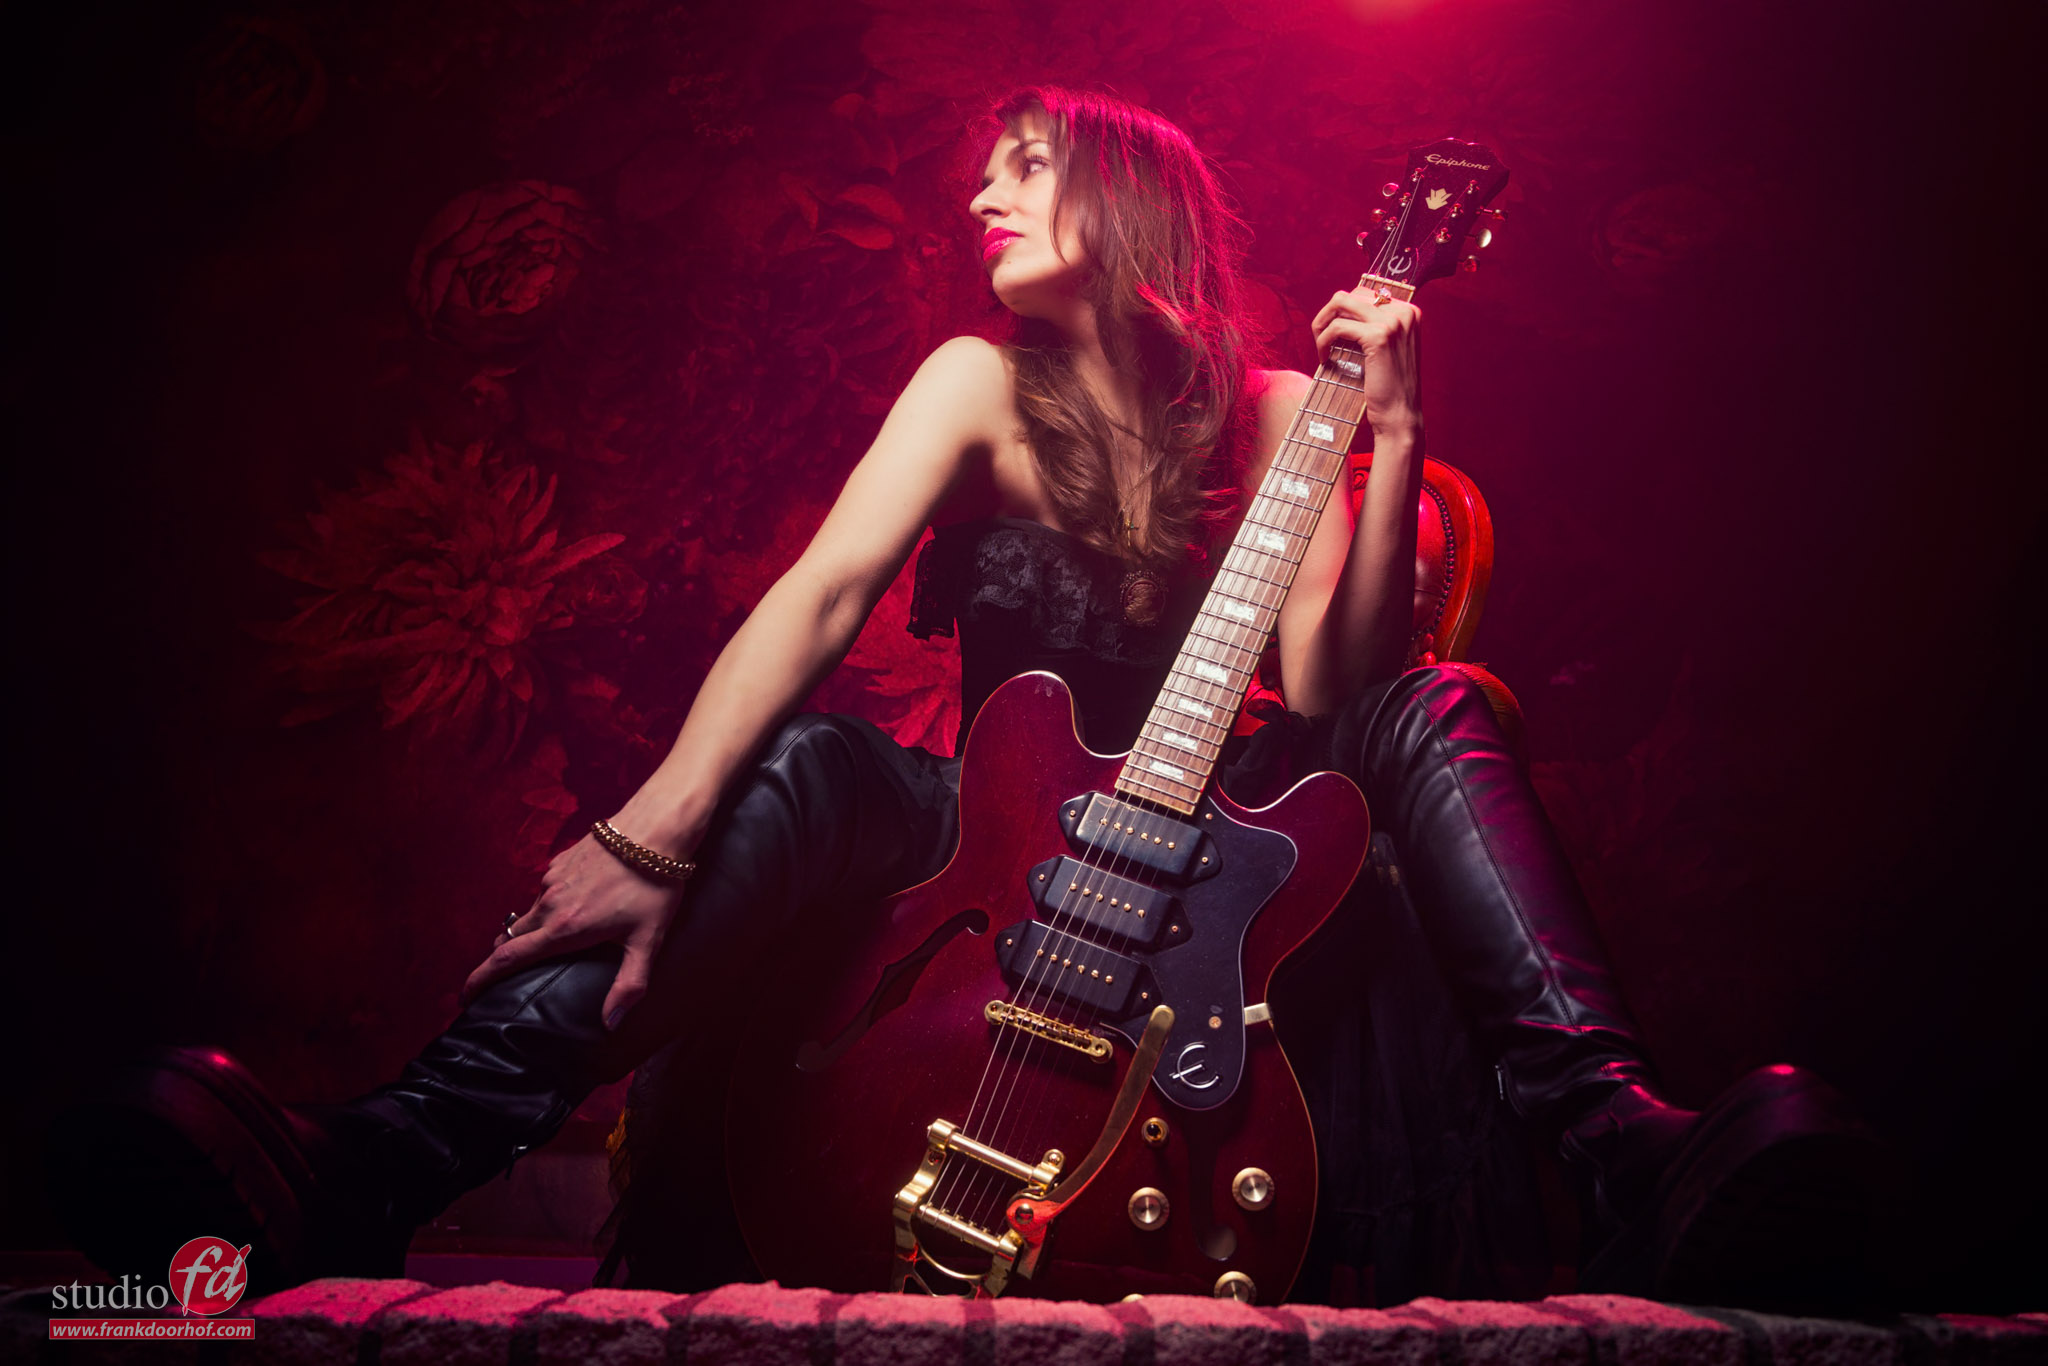
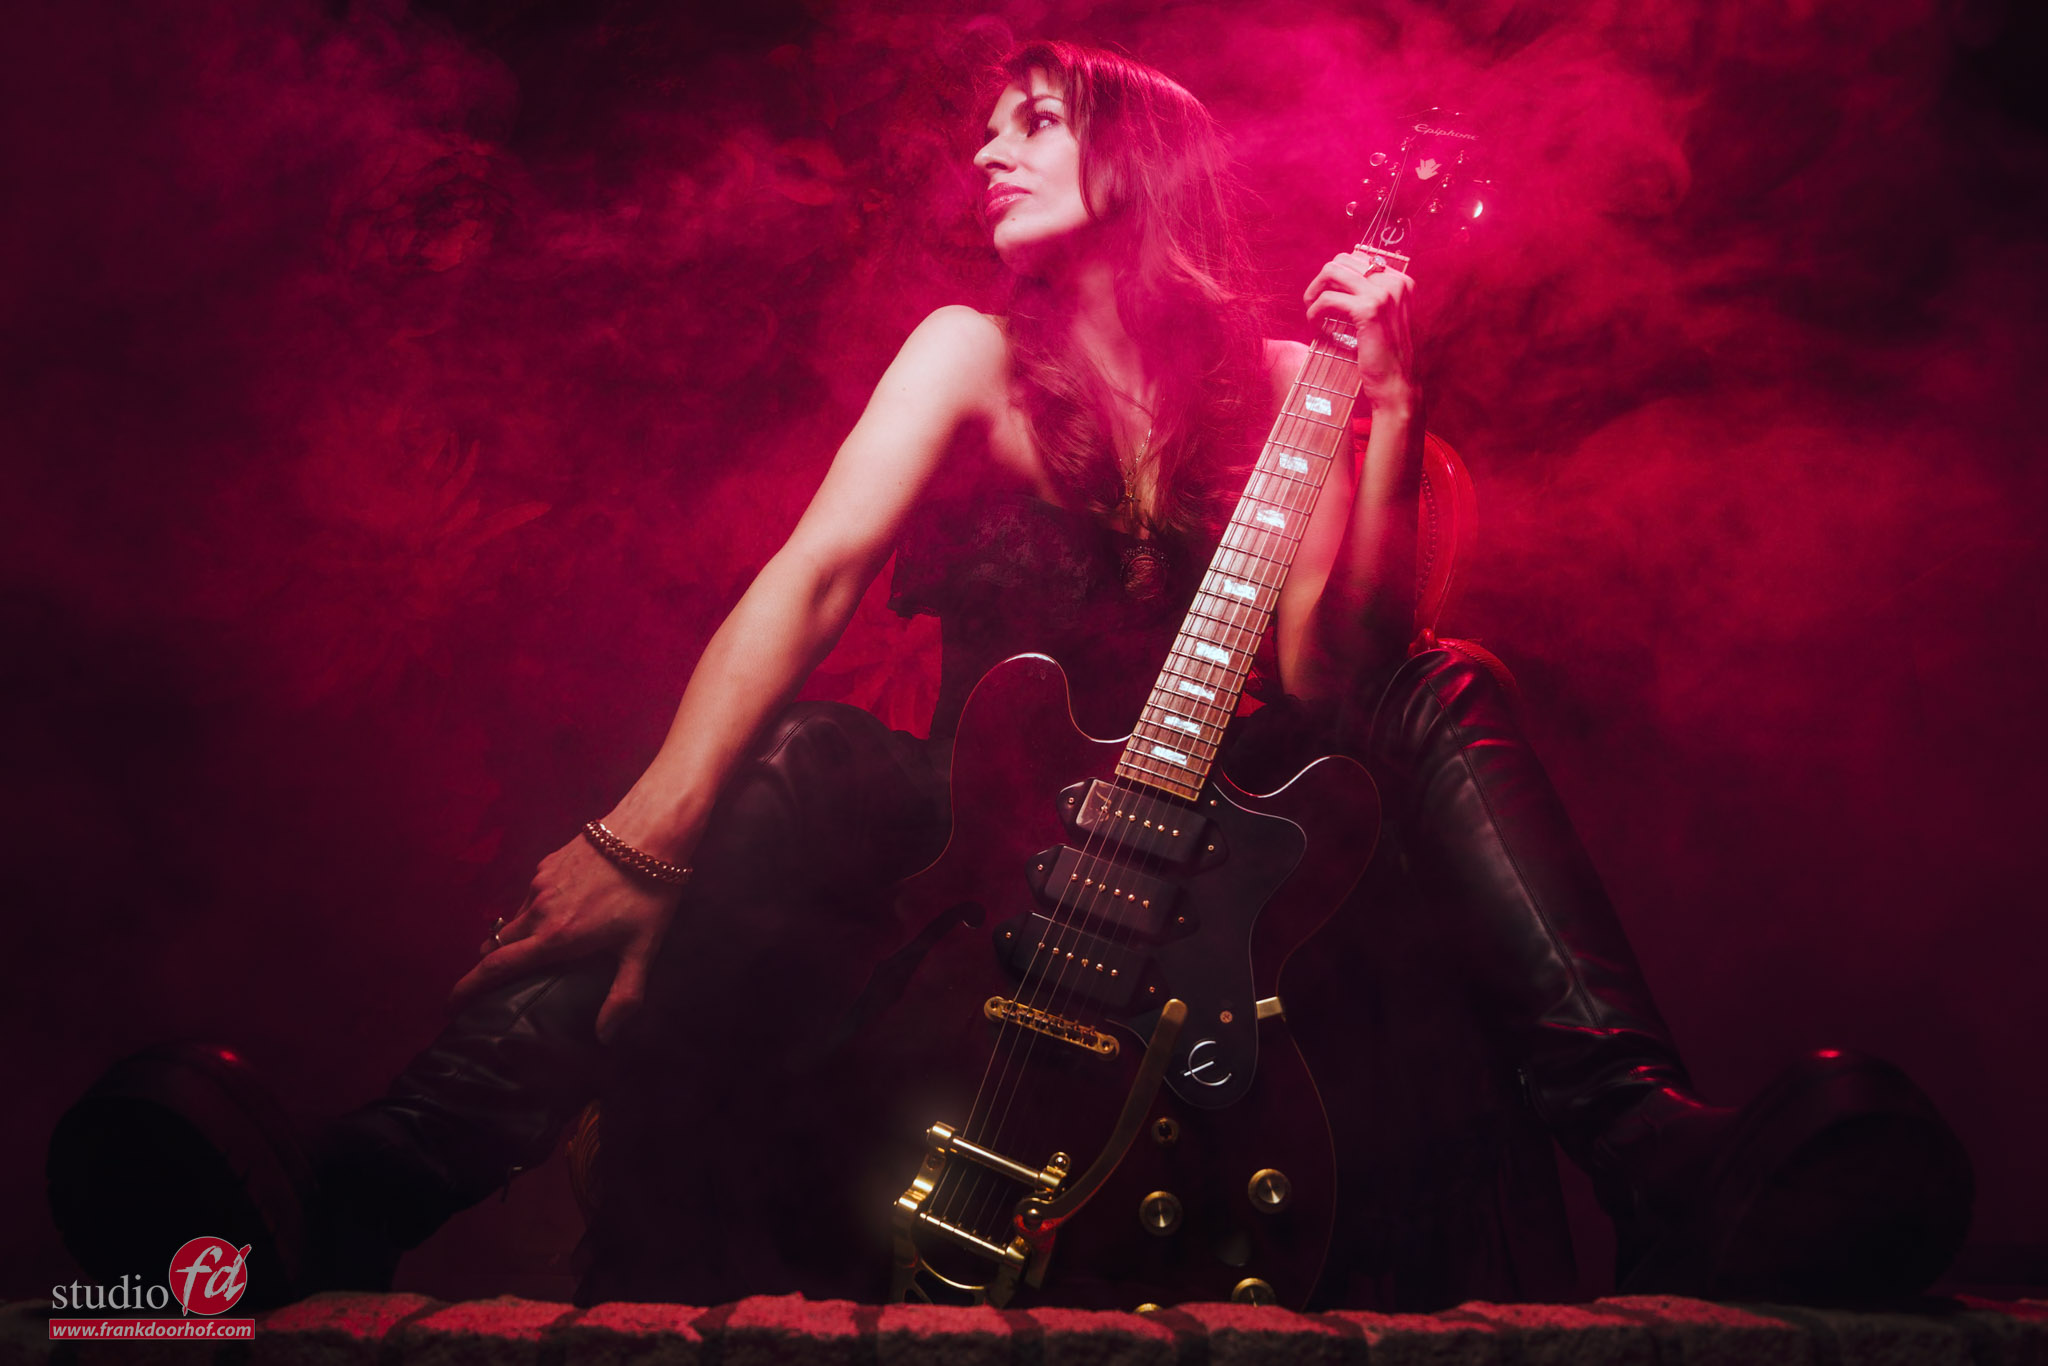
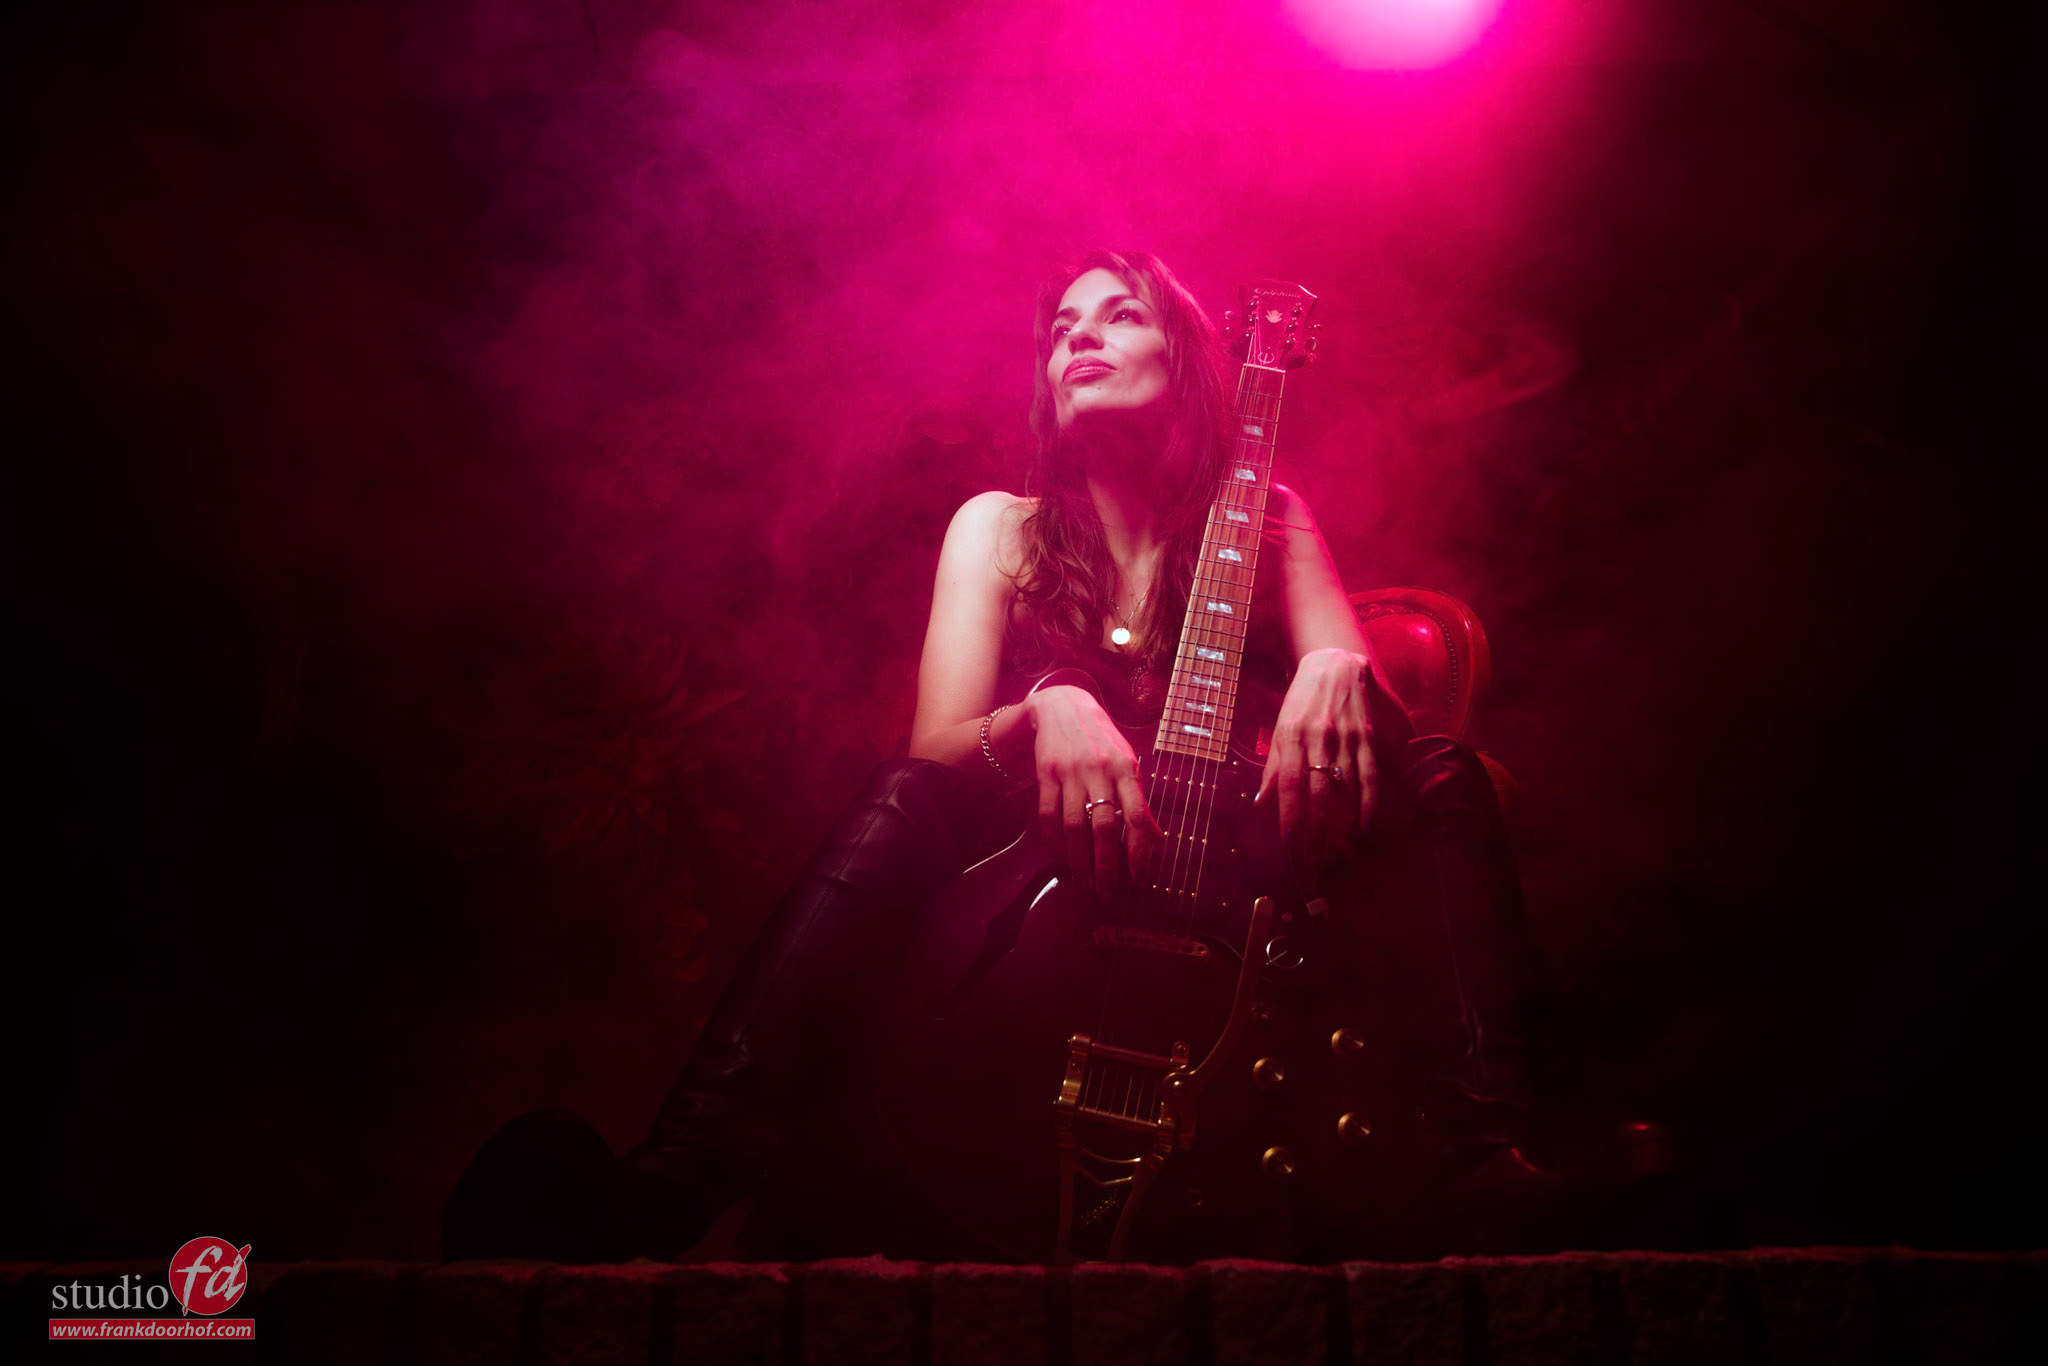
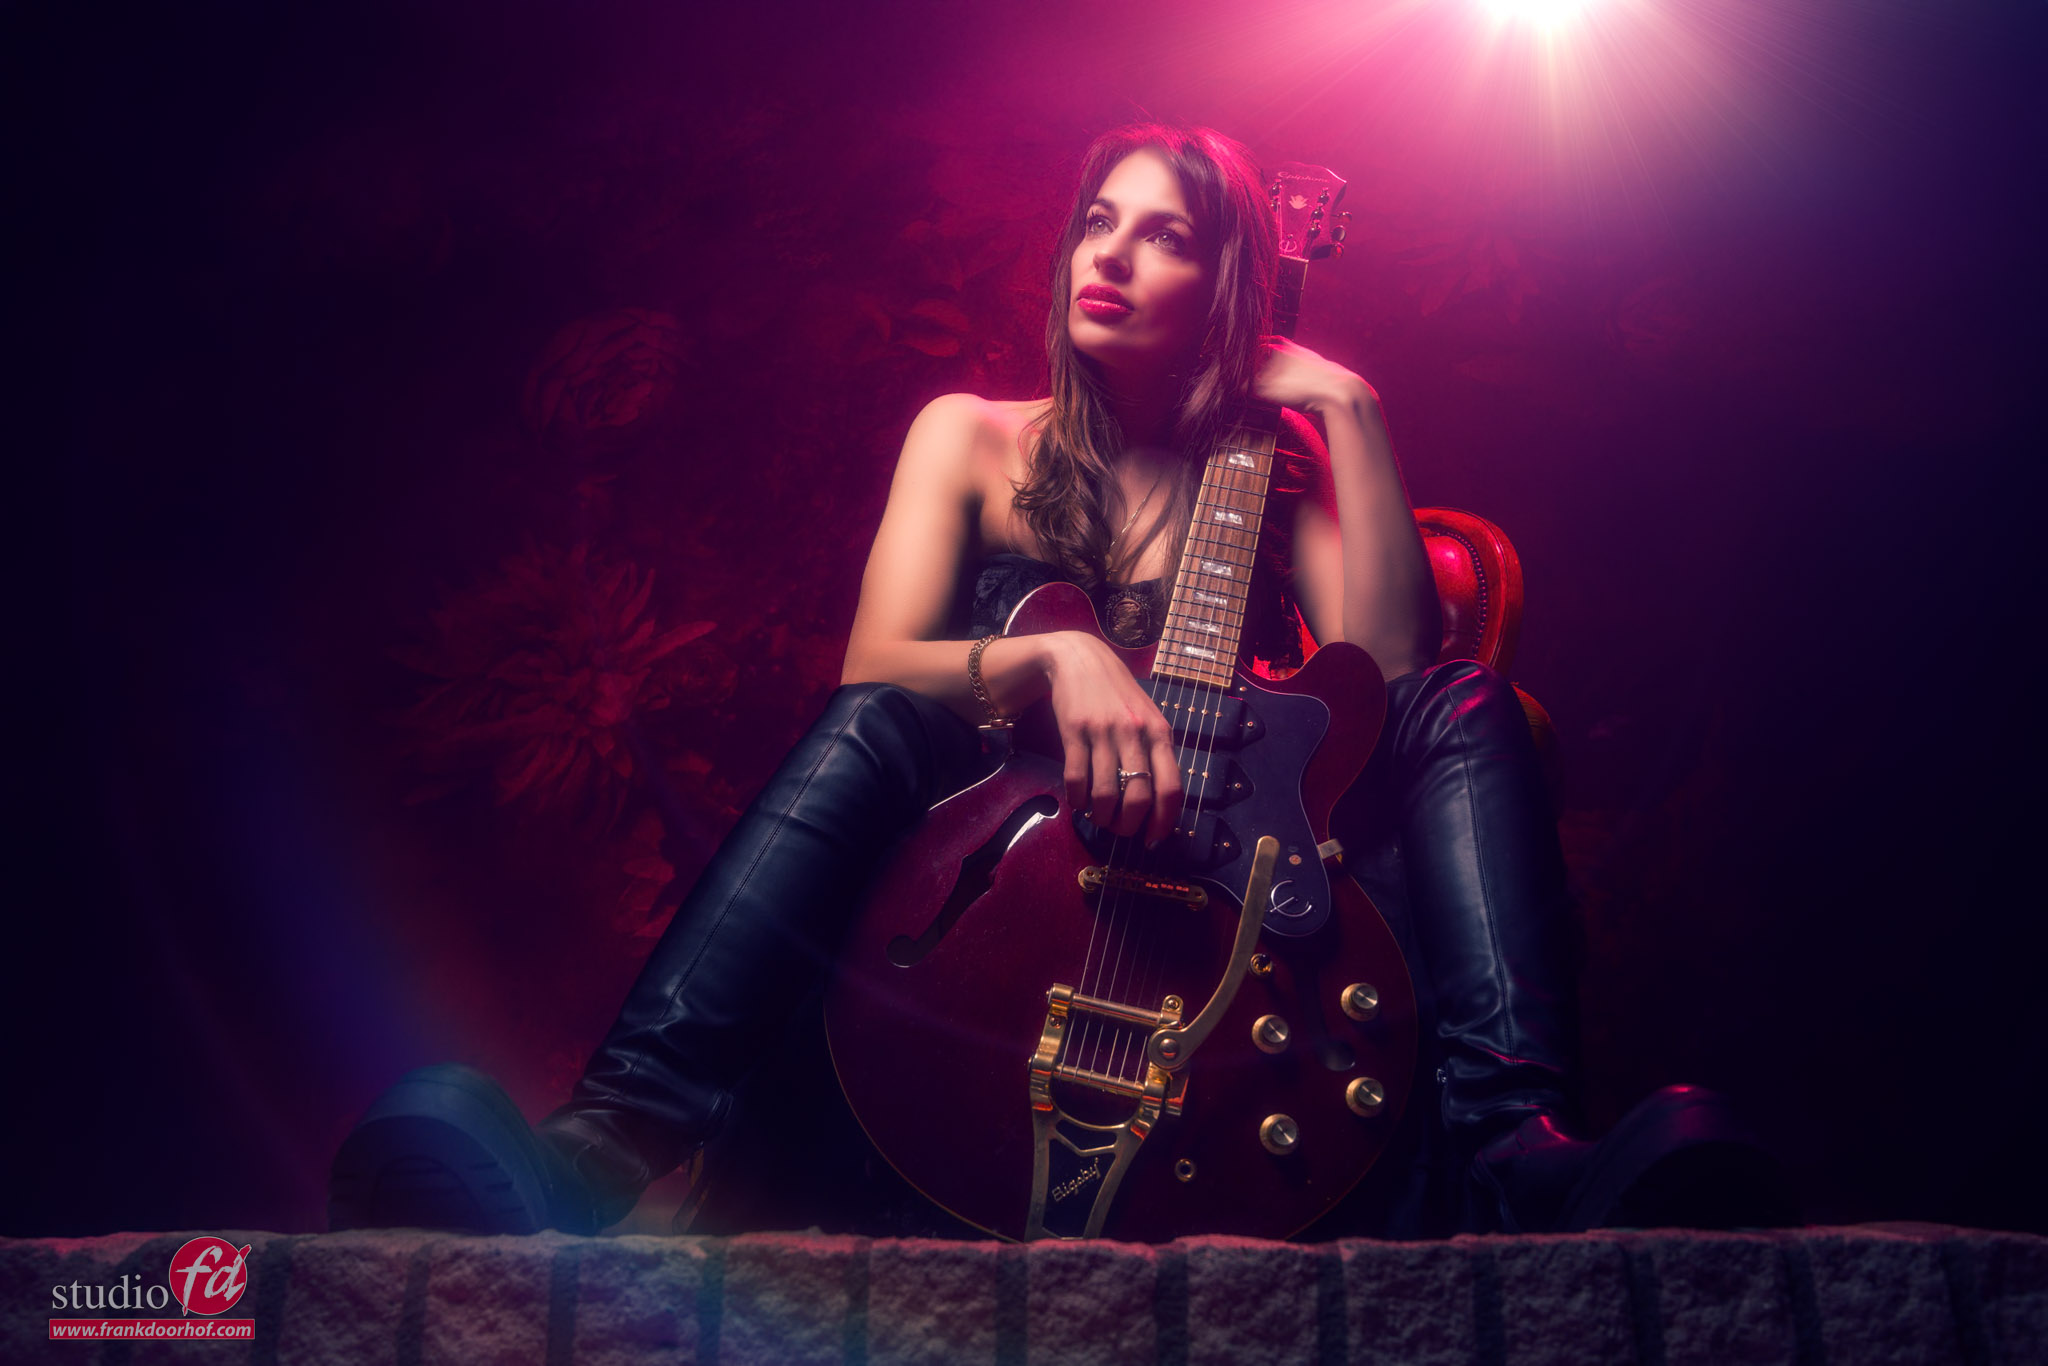
For this setup, we used wings with small lights inside. To make sure the lights show up you have to be able to capture enough light.
This can be done with a higher ISO or a longer shutter speed.
What I normally do is use the EVF of the camera in emulation mode. This way you can see what your setup in your camera looks like.
I would advise to set up with an option to lower the shutter speed. Often when you start adding the strobes you will find that you need a bit more light from the continuous light source. Especially when a model is uncomfortable it’s nice that you can quickly change the setup by just lowering the shutter speed.

Now that you have the perfect setup just use a light meter to set the strobe up to the ISO and Aperture you chose. And you’re ready to shoot *and probably lower the shutter speed.

Background

A nice dark background is ideal with see-through materials and lights.
But it’s vital for these kinds of shots you use a focused light source, in other word,s make sure you only hit the subject with strobes where you need it. This way the continuous lighting will have a nice dark background to show up and show their color and brightness much better.

I’m using the Geekoto GT400 with a Geekoto Quicky softbox with a grid.
The Quicky is a smaller softbox that has a very straight light beam and is great for focussing light on your subject, even from a slight distance.

Model photography with cheap materials and lights, I like it!

Model photography with cheap materials and lights Model photography with cheap materials and lights Model photography with cheap materials and lights

Check out this video about being creative with 2 models dressed up as Barbie

You can rent our studio and get creative too 

Working with a scenic backdrop tutorial video

A warm scenic backdrop

It is a great start, but you can do much more with that backdrop than just use it as is.
In the previous blog post, we discussed creating depth in a scenic backdrop and I showed you some examples.
Today the video we shot during the workshop with Felisa where I explained the lighting setup and of course, how we build the set.

If you have any questions feel free to reach out, or leave comments.


Check the Scenic Backdrop Tutorial below

How to create depth in a scenic backdrop set

Today it’s about depth

Don’t get me wrong, I have nothing against creatively using AI. But for me using it to replace backdrops in all your shots, or even worse creating something from text to image and calling it art. Well, it’s not my thing. Today I’ll show you how to create depth in a scenic backdrop set.

When I shoot or teach the workshops I always try to use materials and backdrops in the studio. This means my images are 99% shot on set.
I always leave some marking, because I also use generative fill to extend a backdrop. Take out some things I didn’t see on set. Or just extend a set. But the whole idea, setup, etc. was done as much as possible in camera.

So why is that so important to me?

When I look at a picture I want to see depth.
And this is the one thing often lacking in AI-replaced backdrops, yes it looks great for an SF set, or Cosplay (use it a lot in those setups) but when you try to create something real, at least for me, it mostly fails because the backdrop and the model don’t “connect” in a natural way.

But what is different from using a scenic backdrop you might ask?

With a scenic backdrop, we use a backdrop that literally has a scene printed on it.
Using this as a backdrop can give you a great sense of depth even if it’s just a flat print. The reason is that if you place your lighting on your subject correctly and match the angles on the backdrops (very important to read the shadows), your light, model, shadows, etc. will all interact with the backdrop. Thus creating a much more believable setup.

But that’s not all.
It’s still just a model in front of a backdrop. This is why the least you can do is for example use a chair that is similar to the backdrop in style/color. Or maybe just the opposite (be creative). By angling the chair and your subject, and matching the light mood/color and angles you already have something really nice looking.

How to create depth in a scenic backdrop set How to create depth in a scenic backdrop set

But of course, we want more

One part of the workshop is set building.
And the scenic backdrop is great for this. this backdrop can help enormously by creating depth.
By adding props to the set you can not only create more depth in your image but it also looks a lot more realistic. Our mind seems to have less trouble with the “flat” background if it sees a lot of things in front of it.

During the workshops, I, of course, love a challenge. So in this case I added several continuous lights in the setup.
I’m using a nice focussed beam of light on my model via a small softbox on the lowest setting. And use the shutter speed to let in the amount of light from the continuous light I like.

How to create depth in a scenic backdrop set

So far so good, I really like this shot.
But when you want the sense of depth to be a bit more exaggerated it can be nice to also take some shots closer by with a wider angle.
This really draws the viewer more into the shot.

I also always tell the attendees of the workshops to shoot from different angles.
By changing the angle you can change the mood of a shot almost completely.

In the first image, I’m shooting from an elevated position down. It’s not my favourite shot to be honest but it does give you a different view.

When I shoot from a lower angle the whole look changes. Of course, I also asked our model Felisa to take a different pose, for the simple reason it gave the shot much more depth by the leading lines. But also much more power which was more fitting for the whole angle. But of course, opinions differ and that’s why it’s always smart to shoot from all angles 😀

The workshops

How to create depth in a (scenic backdrop) set is one of the questions I get a lot in the workshop

When I teach a workshop I always start with a Q&A
During the Q&A the attendees can ask whatever they want and during that period I actually “build” the workshop. This means all the questions are incorporated into the sets we shoot that day. This way I can always challenge myself, but also have different kinds of images for the attendees and myself. Every single workshop is unique.

If you also want to visit a workshop, check out photography-workshops.eu
All workshops are in Dutch, but if you let us know in advance we can change them to English.

If you can’t travel to our studio, we now also offer full-day 1:1 online workshops.
In our studio, with a model, 4-5 cameras, and a direct line for questions, plus you get all the RAW files to play with.
For more info: see here