Is gear important?
I hear it all the time: the focus on gear.
“My lens is cheap,” “I have an old camera,” “I only have one strobe,” etc.
In all honesty, of course, gear is important, but you can create awesome art/photos, etc., with your phone nowadays. My motto over the year has been, “If people look at the quality of the pixels, the image is not strong enough.” That doesn’t mean you can just “wing” it and not care about your gear, but it shouldn’t be the main focus.
The same goes for sets. They are important too.
When people look at my portfolio, a lot of people don’t realize that most of the shots were taken during workshops or events. As you will understand, we don’t have a lot of time to create sets, and of course, we love to stay on budget, and that’s what today’s blog post is about: Cheap sets.
Fun and cheap sets
With photography, it helps when we don’t focus on light but on shadows; this is something you probably heard from day 1. The shadows tell you almost everything about the light source used, the angle, distance etc., but one step further is to realize we don’t really work with light but with reflections.
This also explains why we can use black reflectors to take out the shine on someone’s head, for example.
Reflections and shine
And don’t we just love it when something gets a beautiful “glow” in a shot?
Reflections can be a problem but also something really cool you can use in your image.
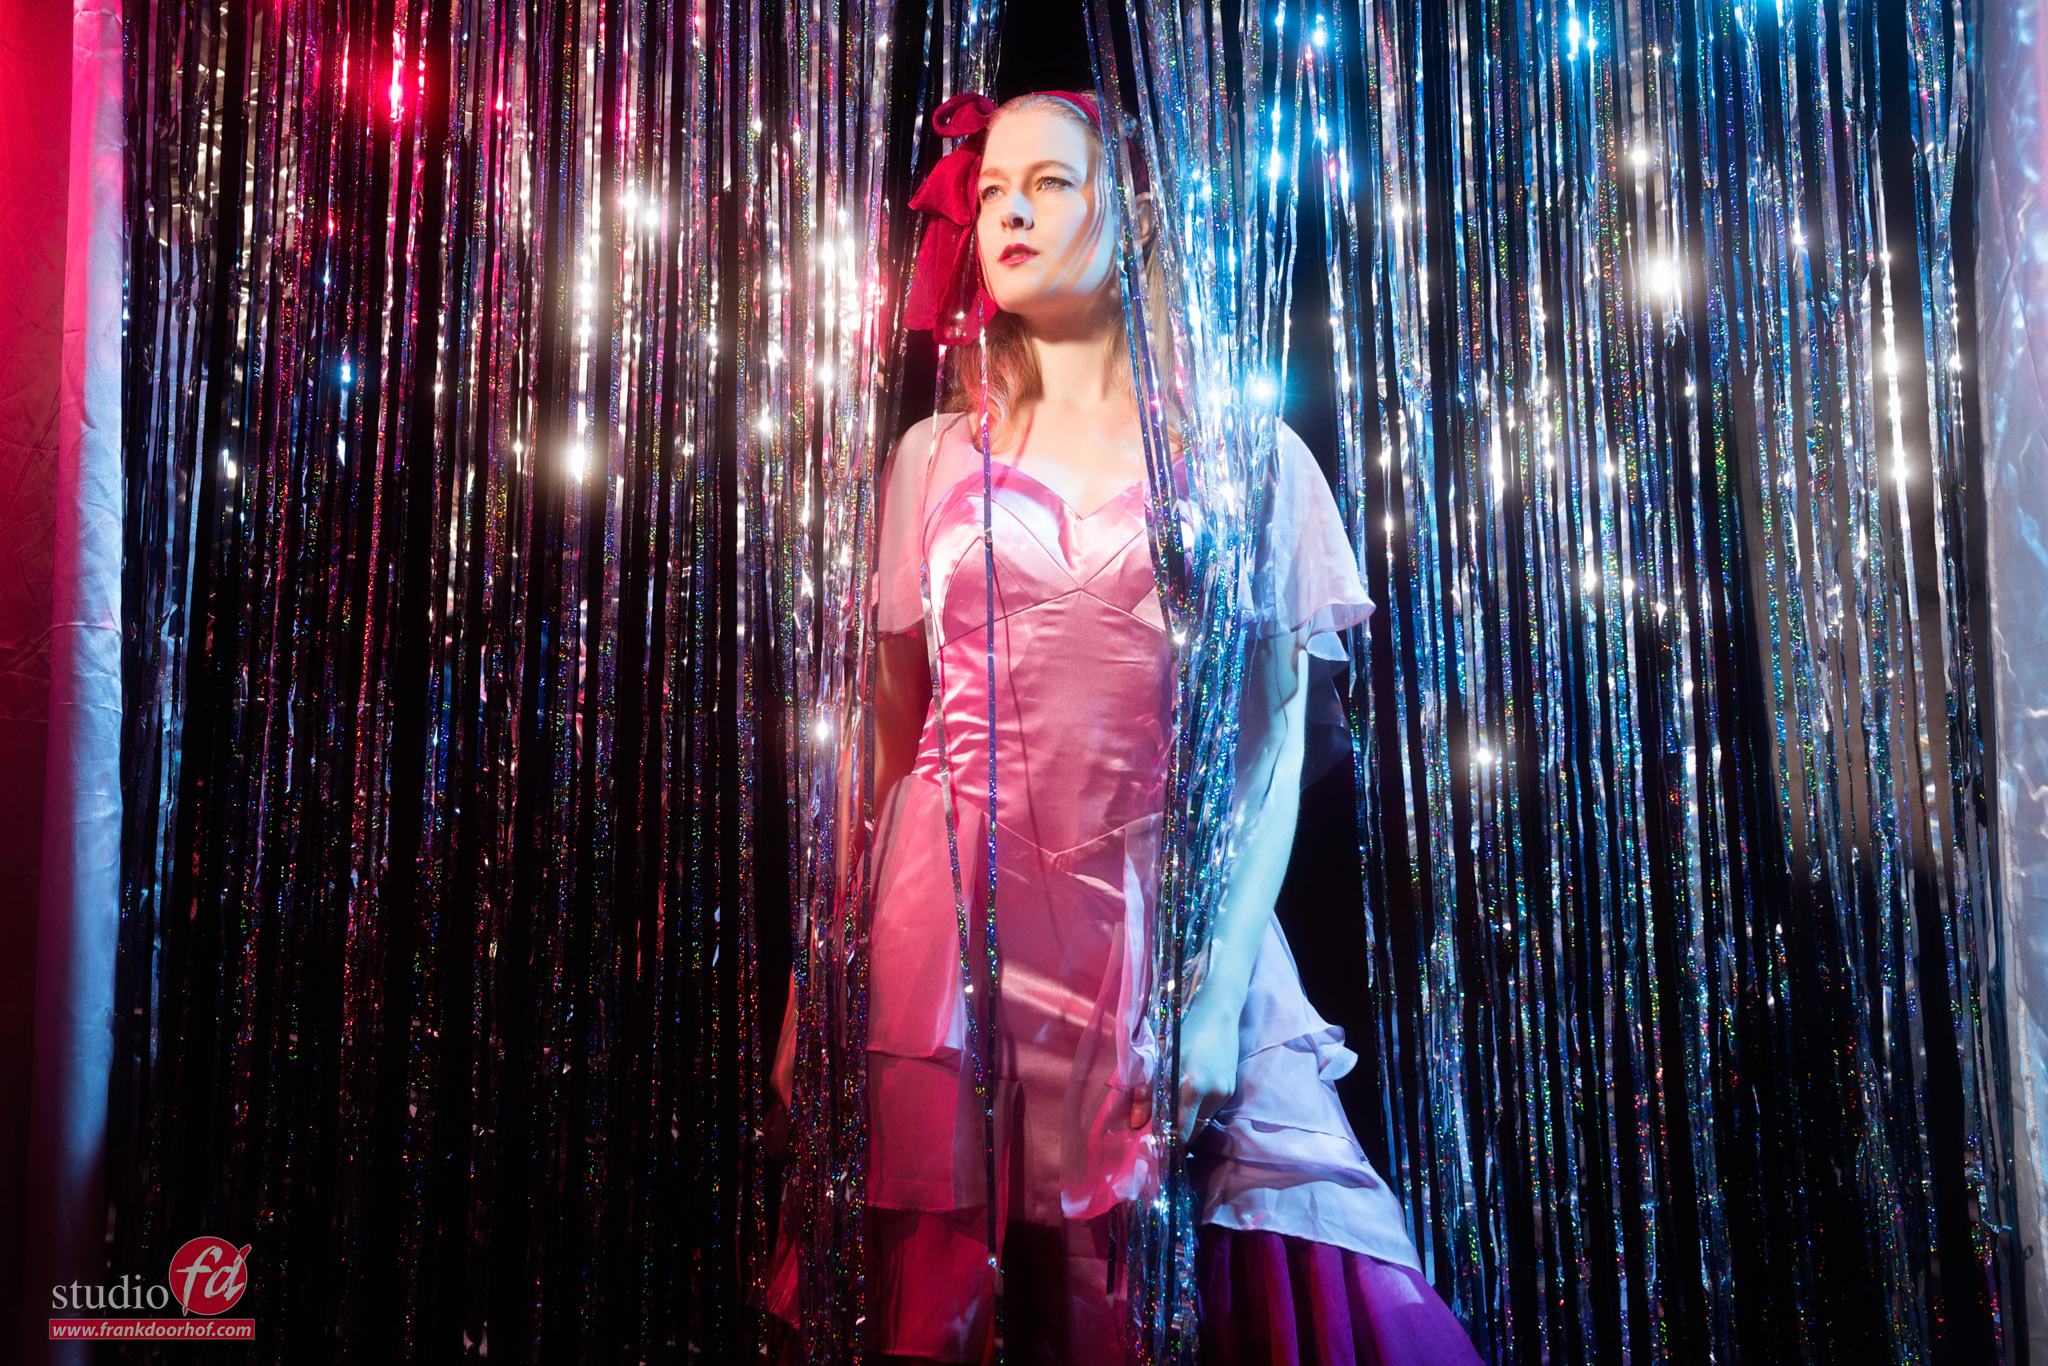
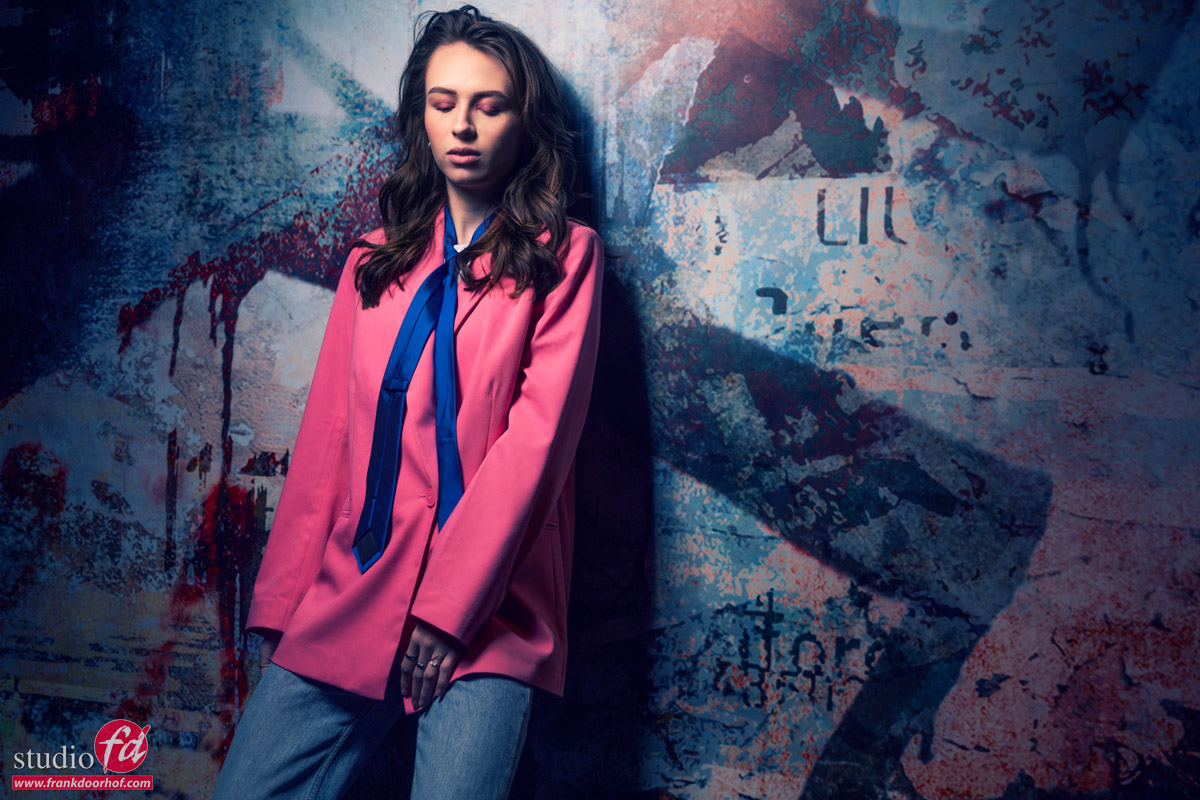
Today we take a look at some very cheap material you can buy in most party shops. It’s called (well, at least this one) holographic material, and we used it to build a nice background for one of the sets during a workshop. You can even get it in different colors.
A good technique is to use your phone and shine over the material; this will show you how the material reflects and should give you a good idea of how to use it in your shoot.
Fresnel for high contrast
When I used my phone to shine over this material, it immediately started to glow. So, for this setup, I knew we could hit the background with some harsh light for some extra contrast and “oomph” in the shot. If you shoot this with a soft box, it can work fine, too. But it will be a lot less extreme. So on the model, I’m using the Nanlite Fresnel spot (this is one of my favorite modifiers for a great classic high contrast look). The nice thing about a Fresnel is that you focus your light, and even when you use it on the extreme settings, it still has a wonderful effect on the skin of the model.
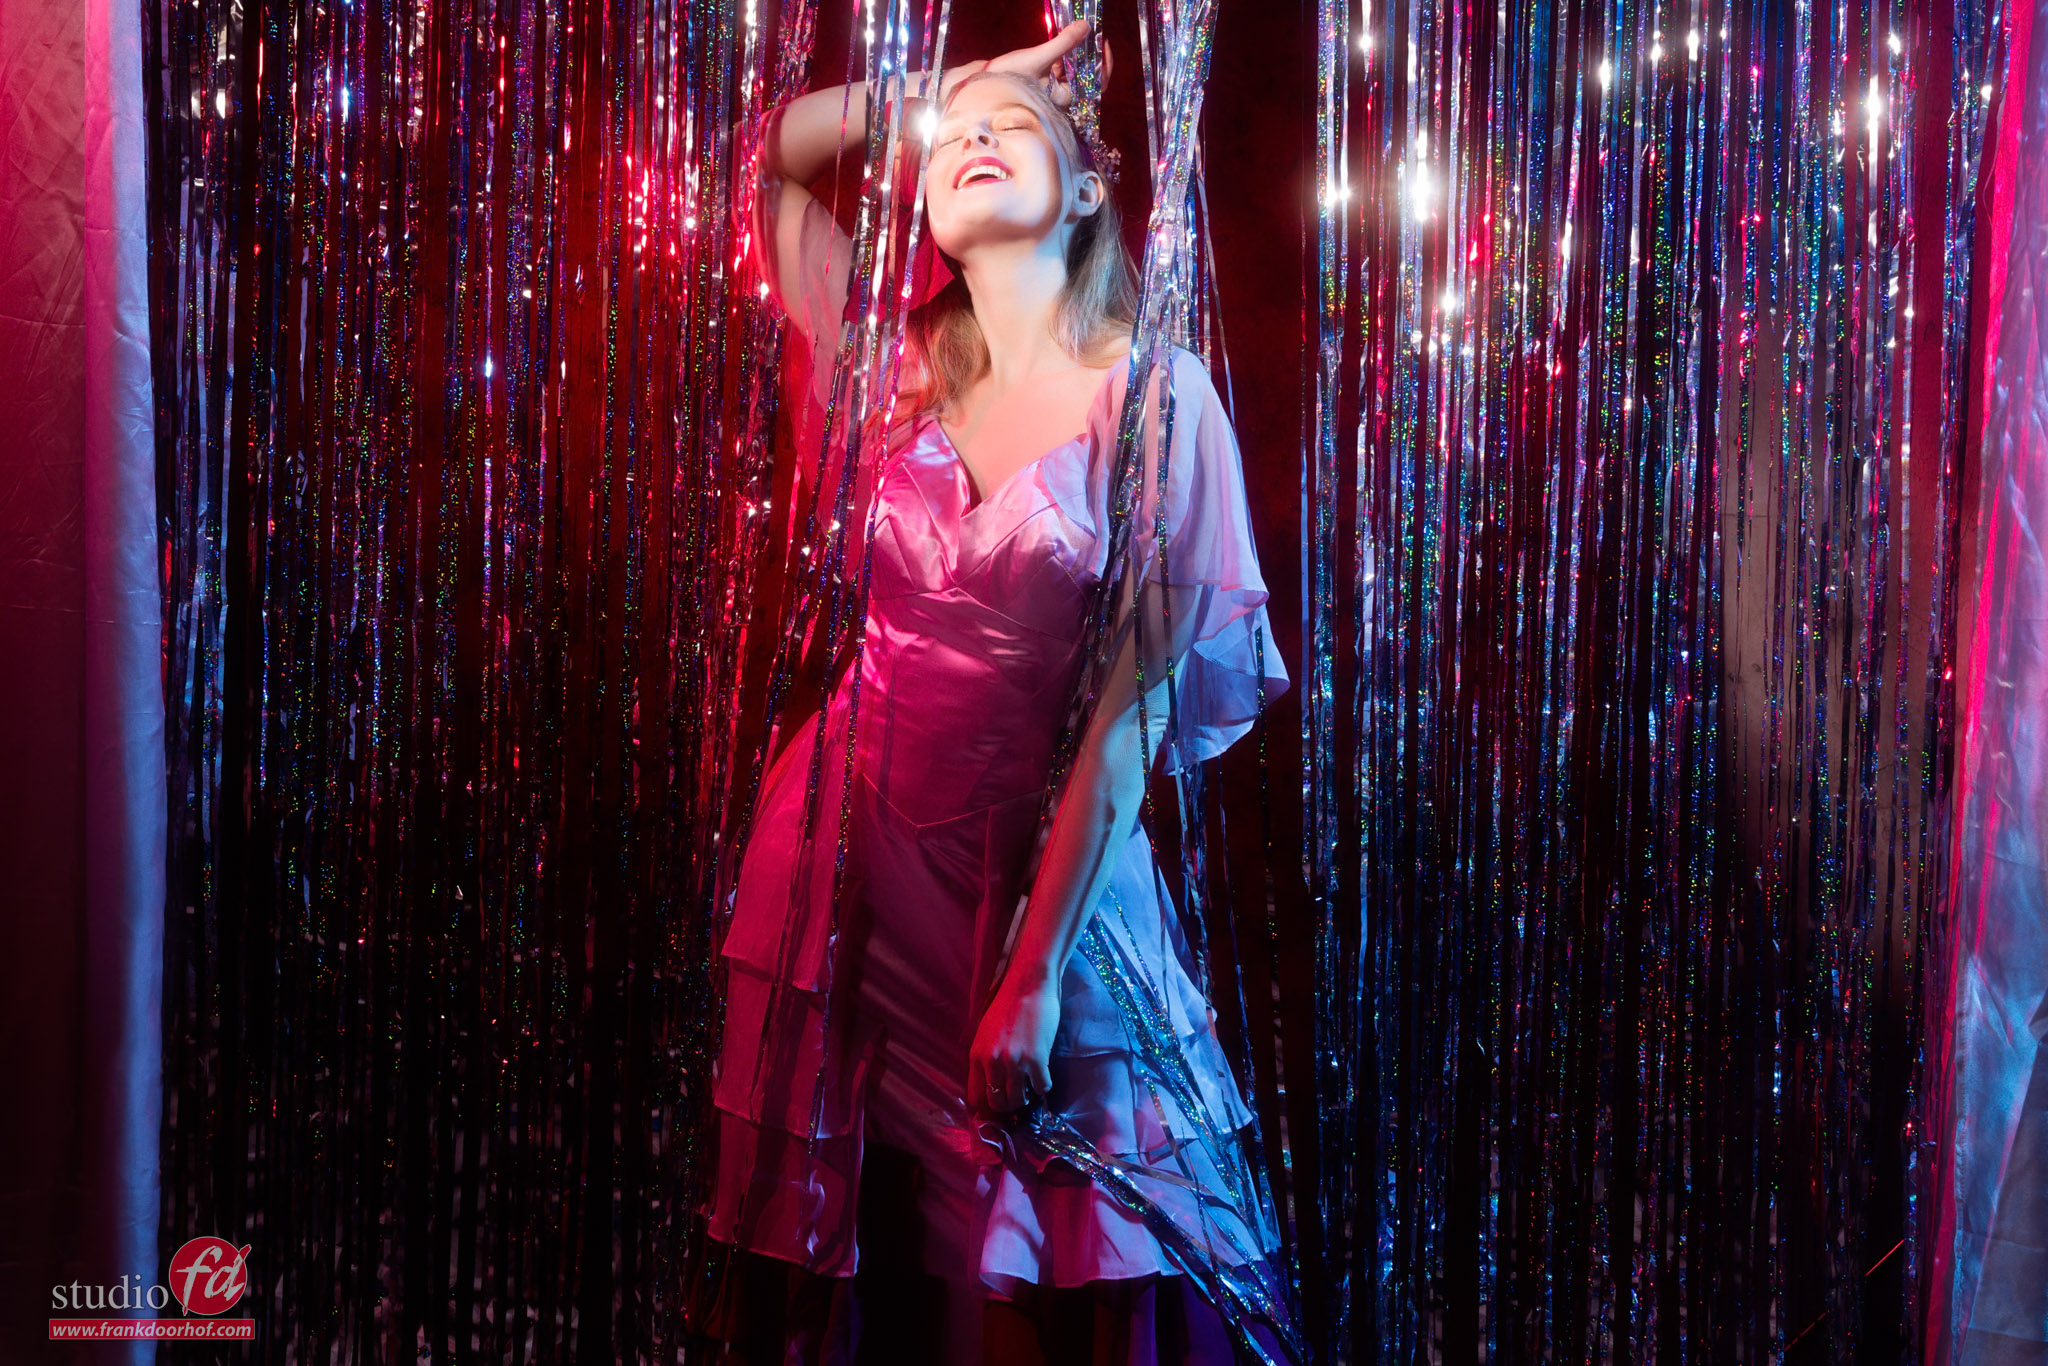
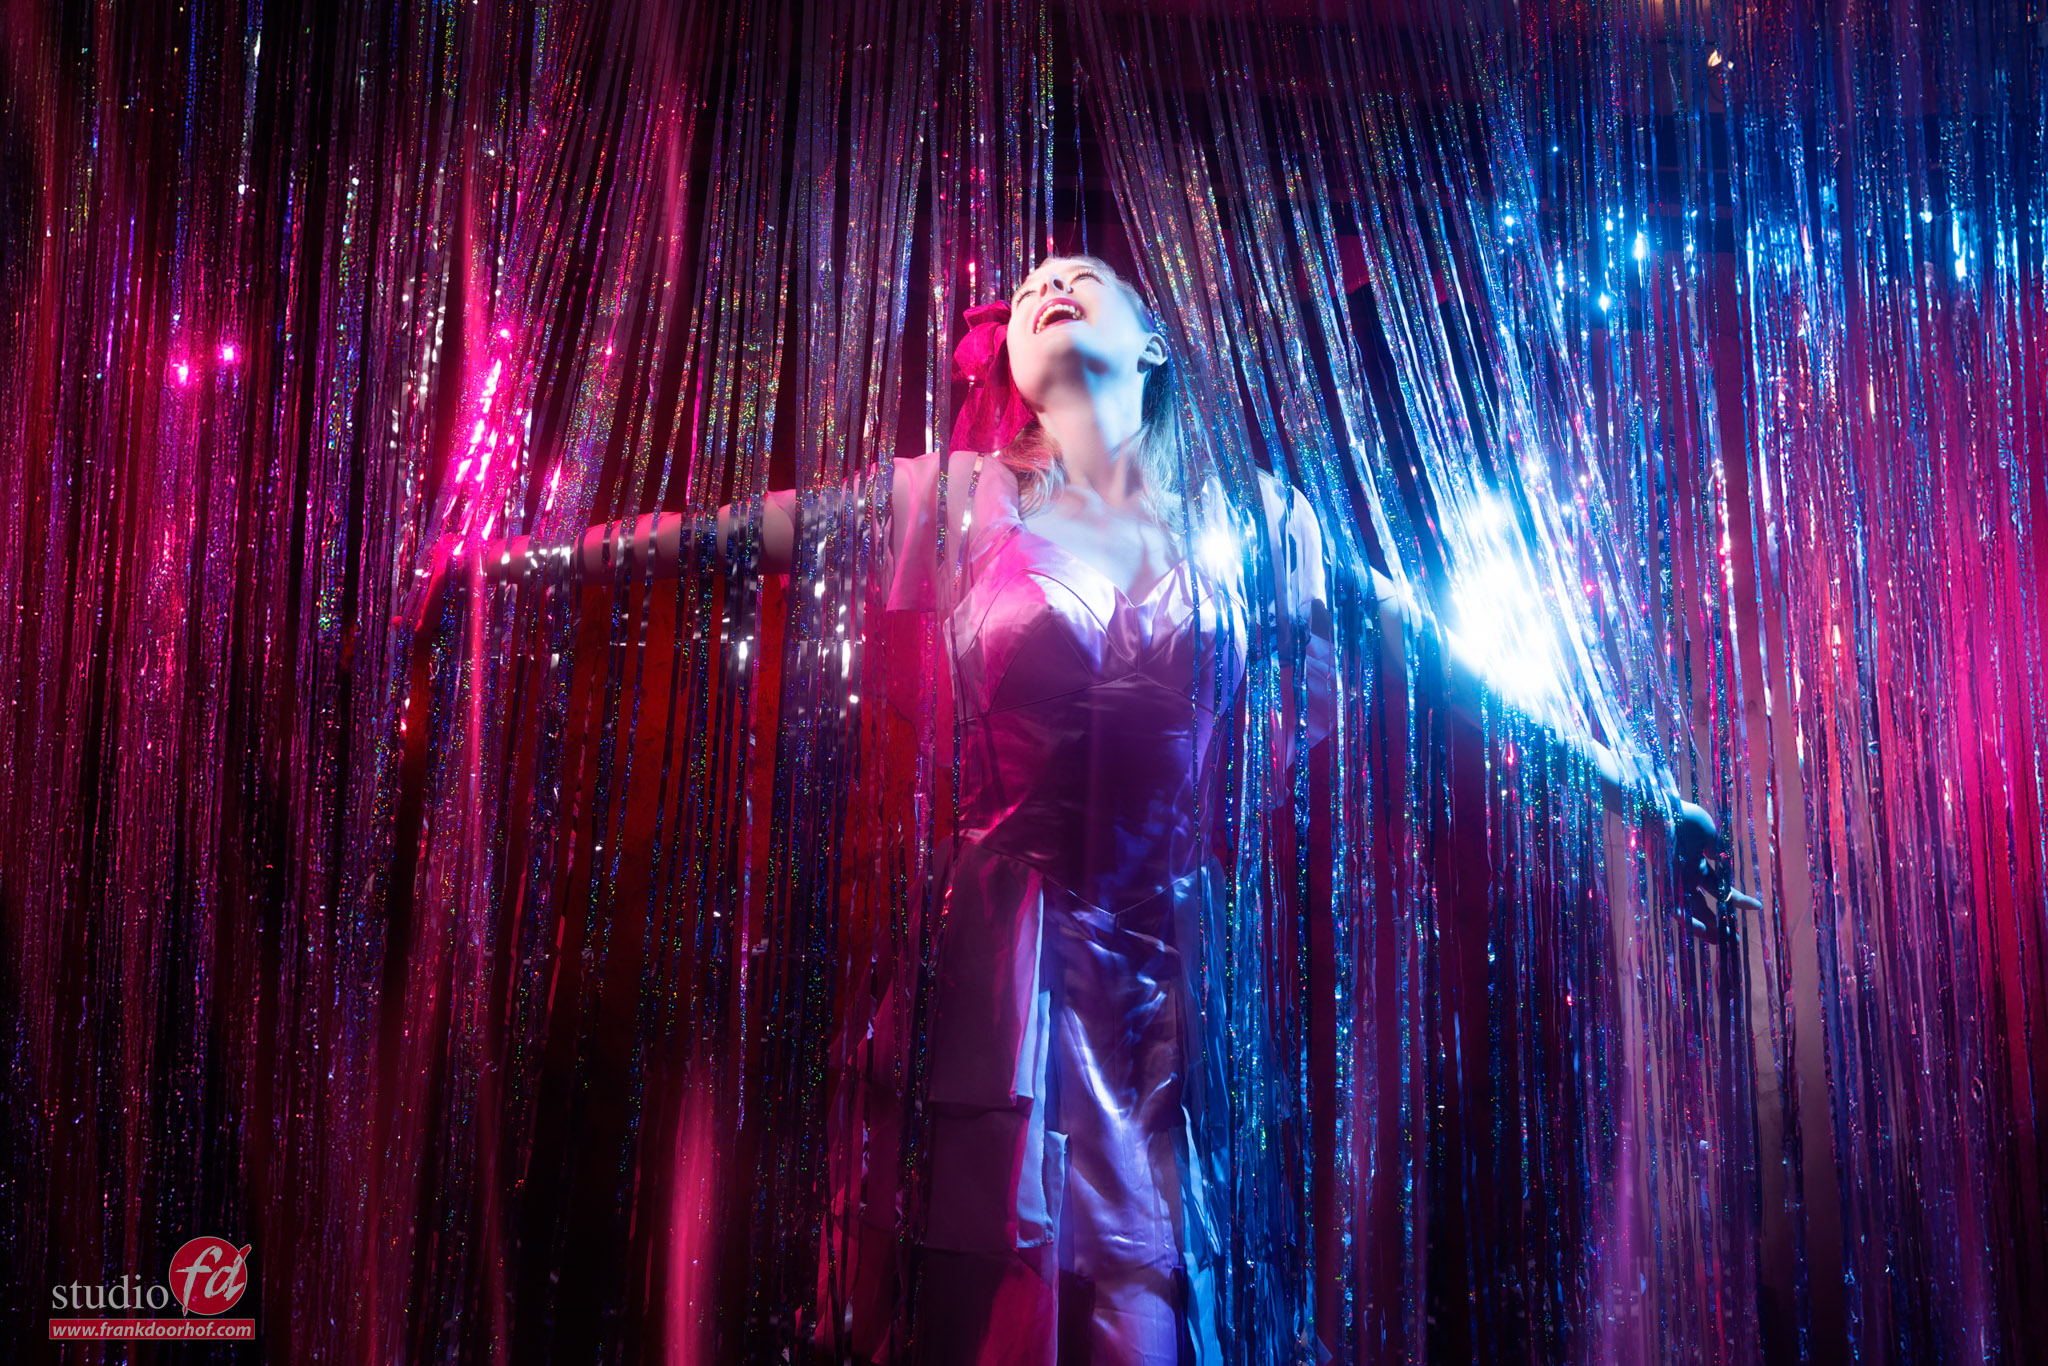
To make sure the material also shines and to get some nice color effects, I’ve placed two Geekoto GT200’s with the Rogue magnetic system with a red gel on one side and a blue gel on the other.
Together, they created a very nice blend of color and light on the model, plus the material gave a wonderful glow, especially when our model leaned forward.
So let’s take a look at the results from this setup, and in the next blog post, I show the behind the scenes video.

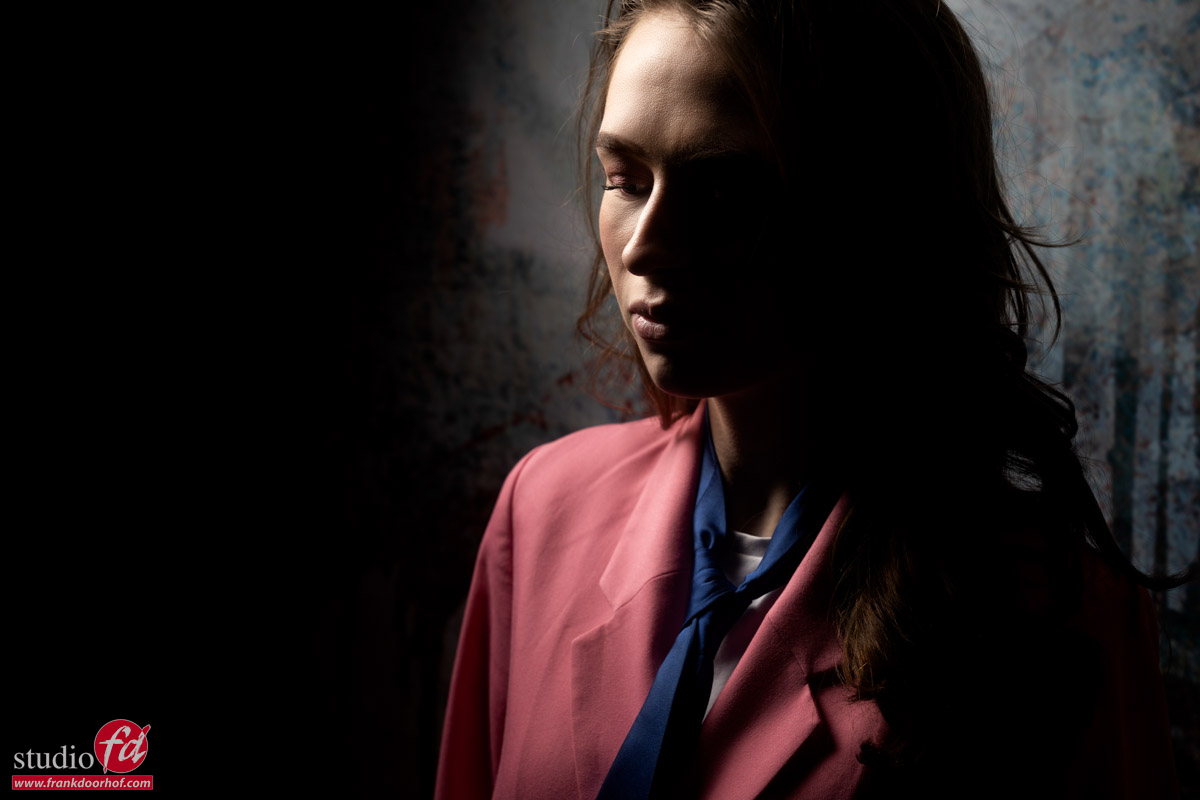
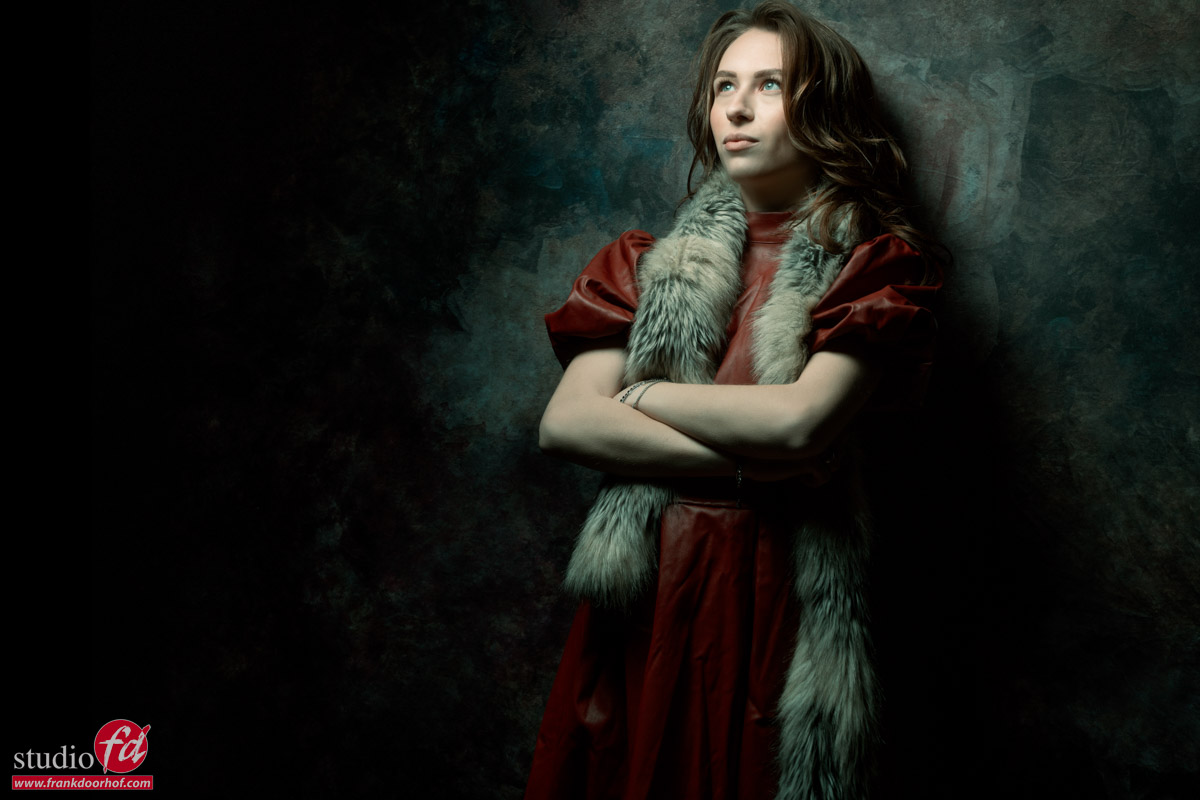
During the workshops, we always try to do 3-4 totally different sets, and this is just one :D. We often try to create cheap sets.
Also want to visit a workshop?
Visit fotografie-workshops.nl for more information. The workshops are in Dutch, but if you let us know a few weeks in advance, we can switch to English.
Don’t want to travel?
It’s also possible to book a full day 1:1 online workshop; see here for more info.
Like this:
Like Loading...


You must be logged in to post a comment.