A set built with isolation blankets for… zero
A set built with isolation blankets?
Why not?
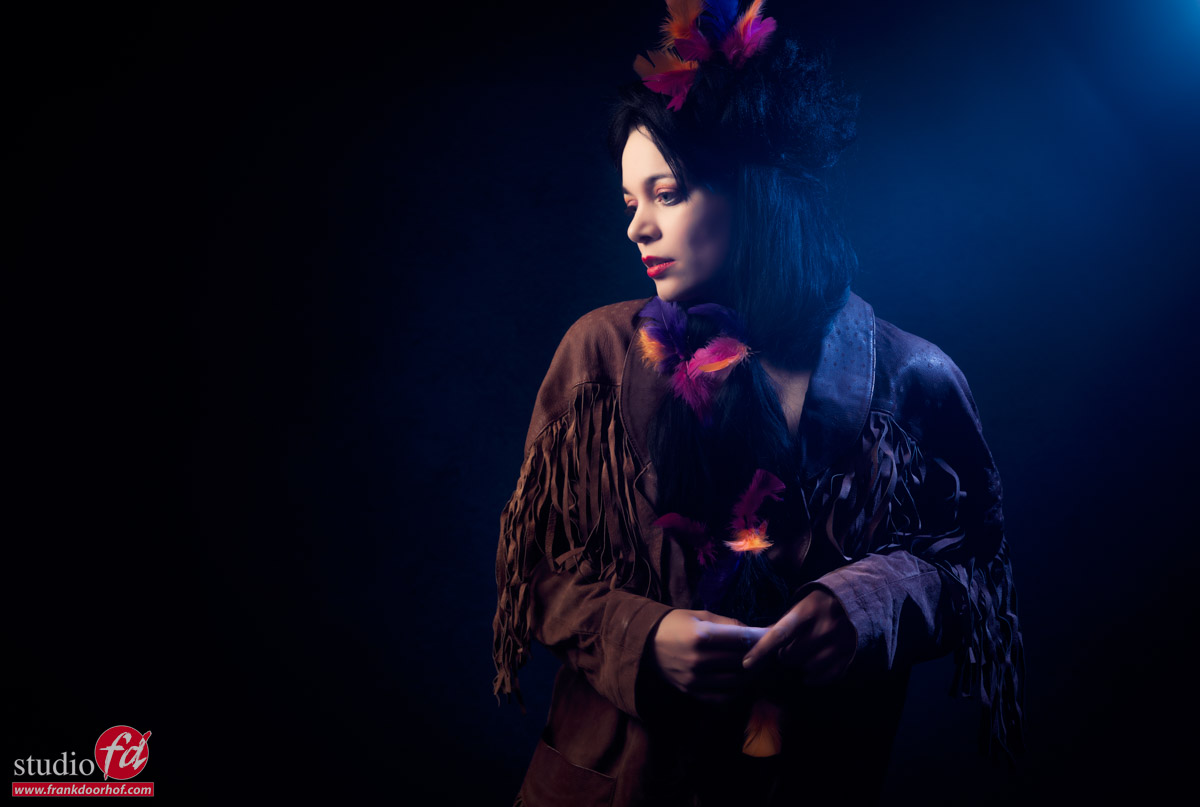
Today in the blog some images we shot with our model Trista during a recent workshop.
We recently had the studio roof replaced and of course, that also meant that we have some stuff left, including some isolation blankets.
The moment we saw them we knew we had to do something with them.
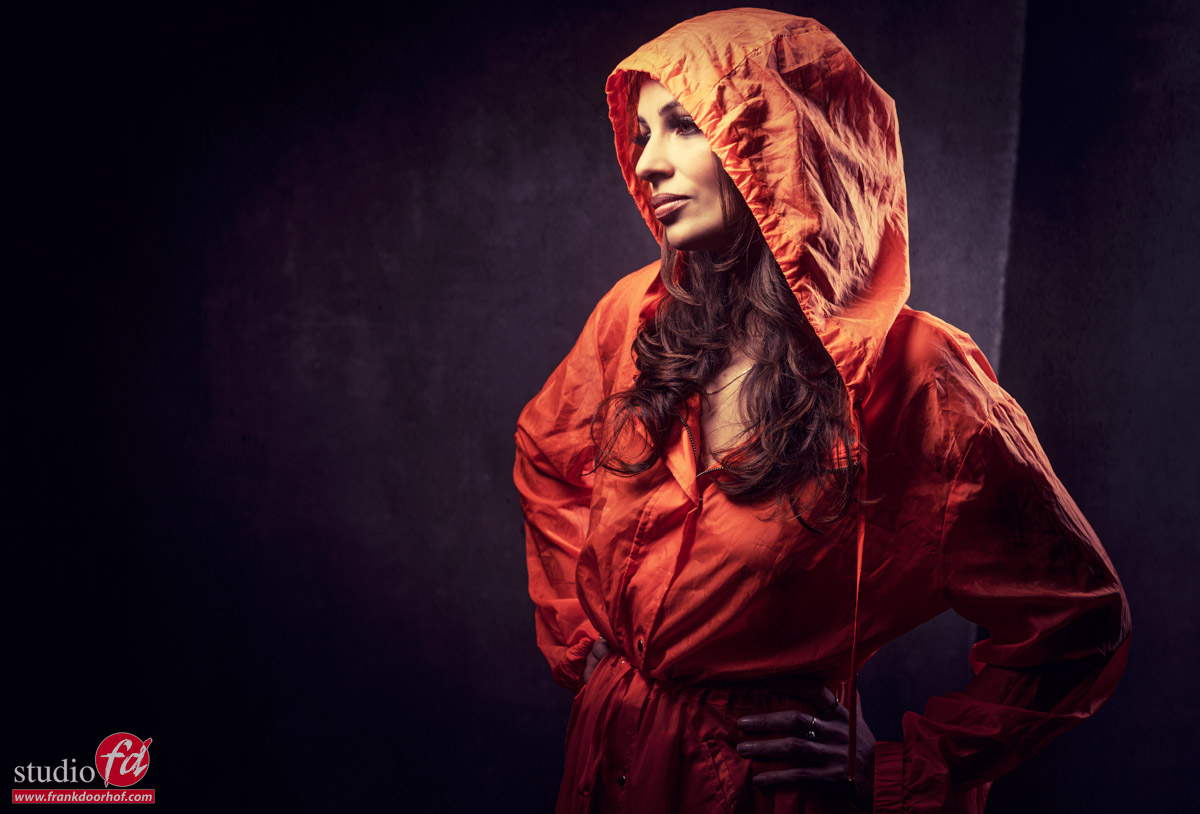
We have already built sets with rescue blankets (gold/silver) but these were a lot larger. And in the end, in all honesty, it just didn’t work in this set. But I think they would be awesome as a background for portraits, so I think you will see them again in the future.
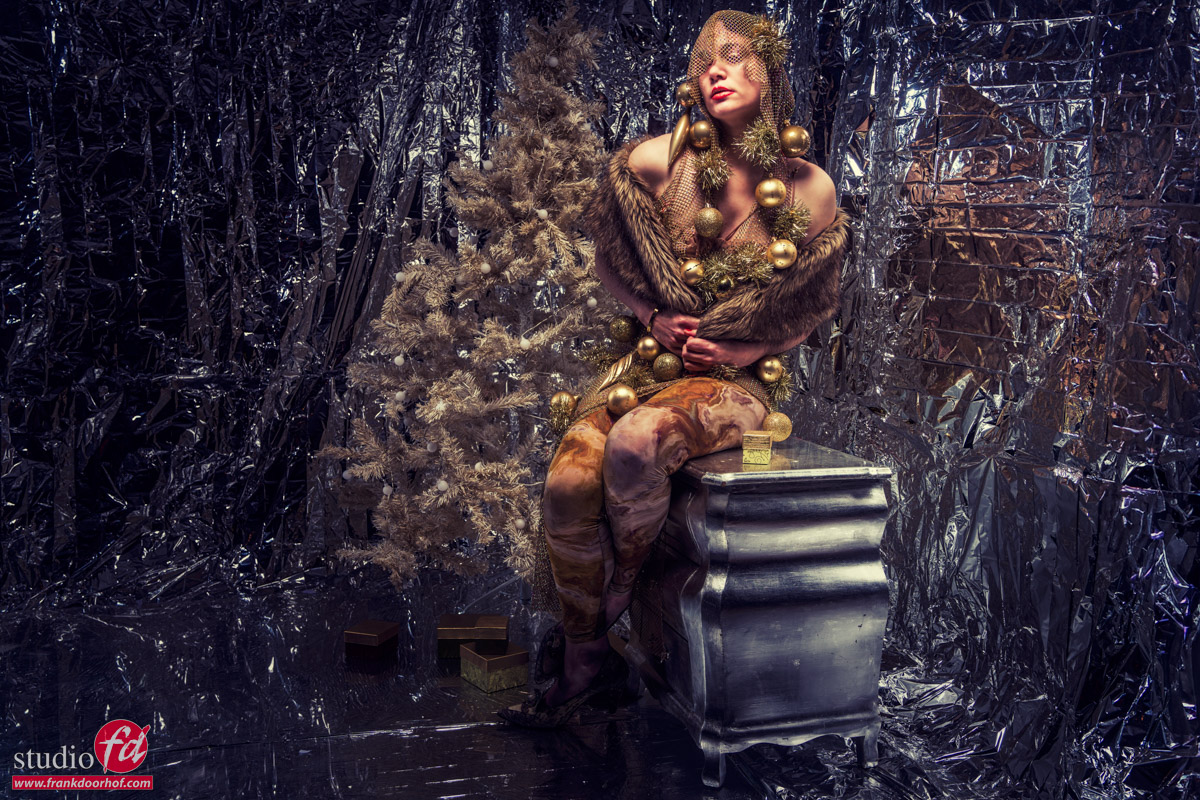
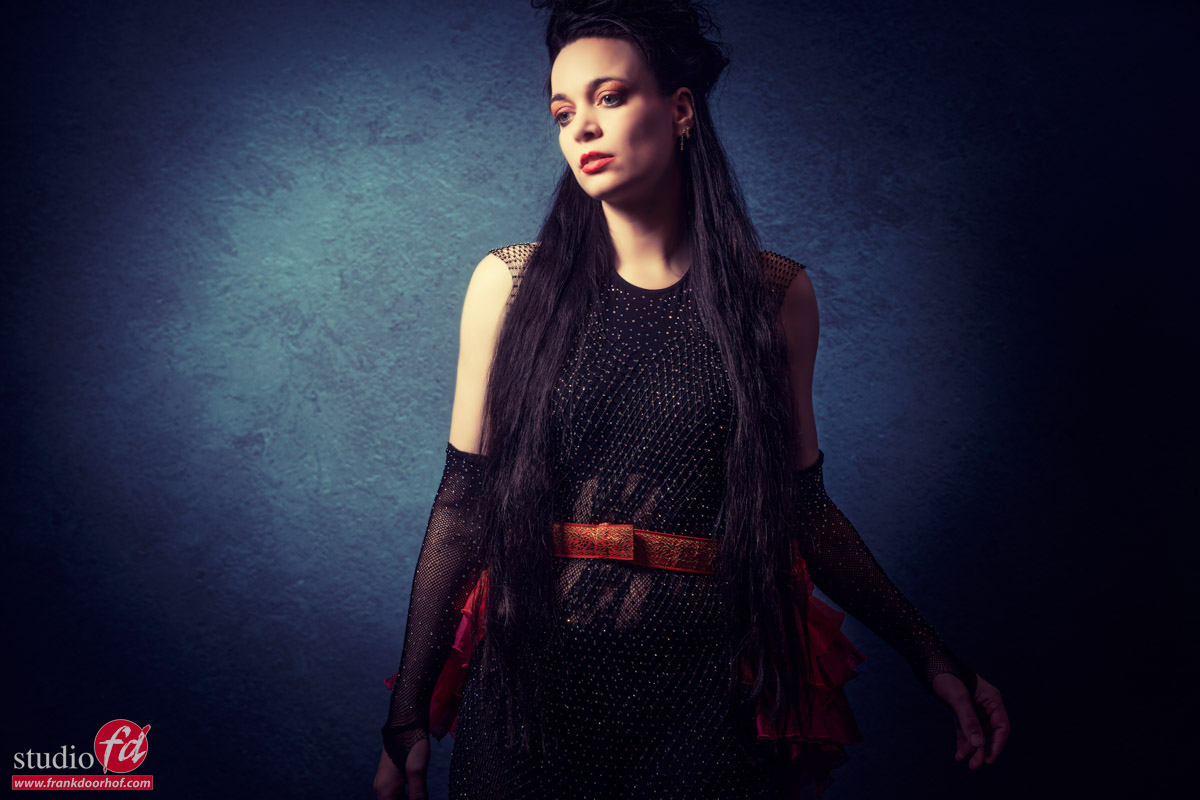
Let first, start with the initial setup. We used our movable walls and taped the isolation blankets to it.
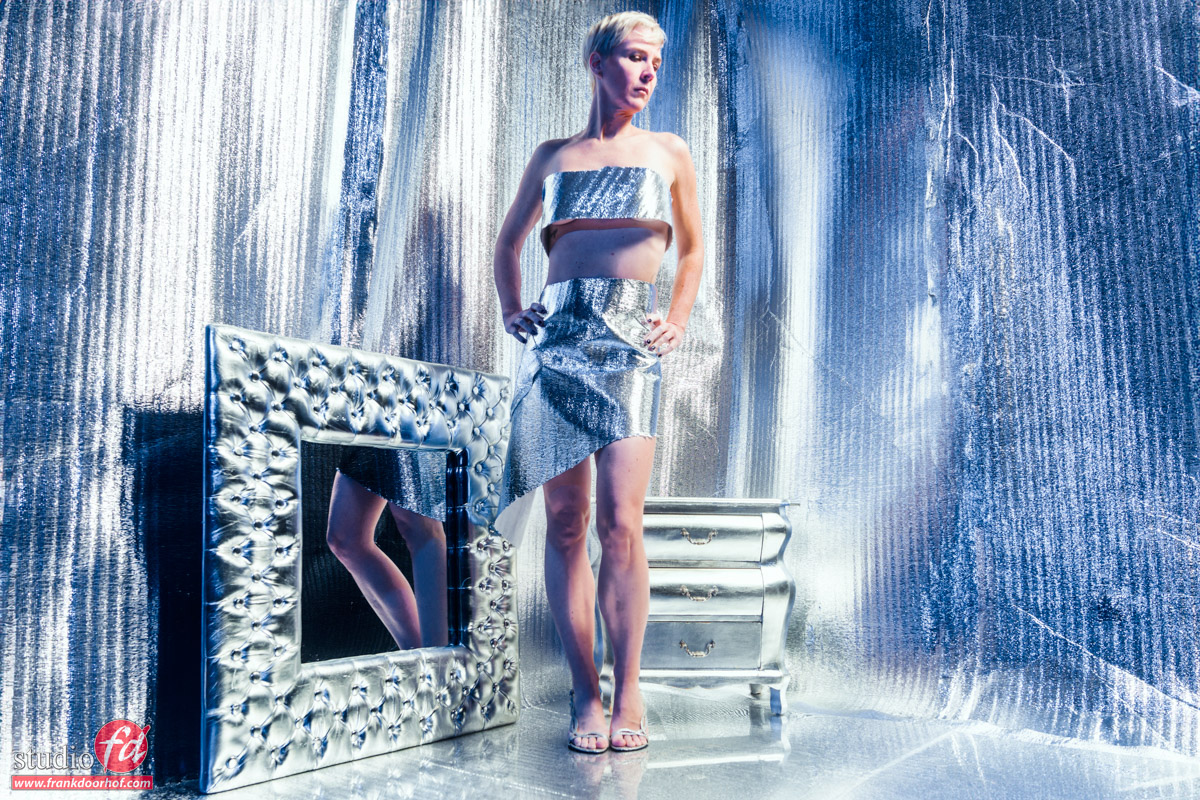
As you can see the set is far from perfect, but somehow it also works.
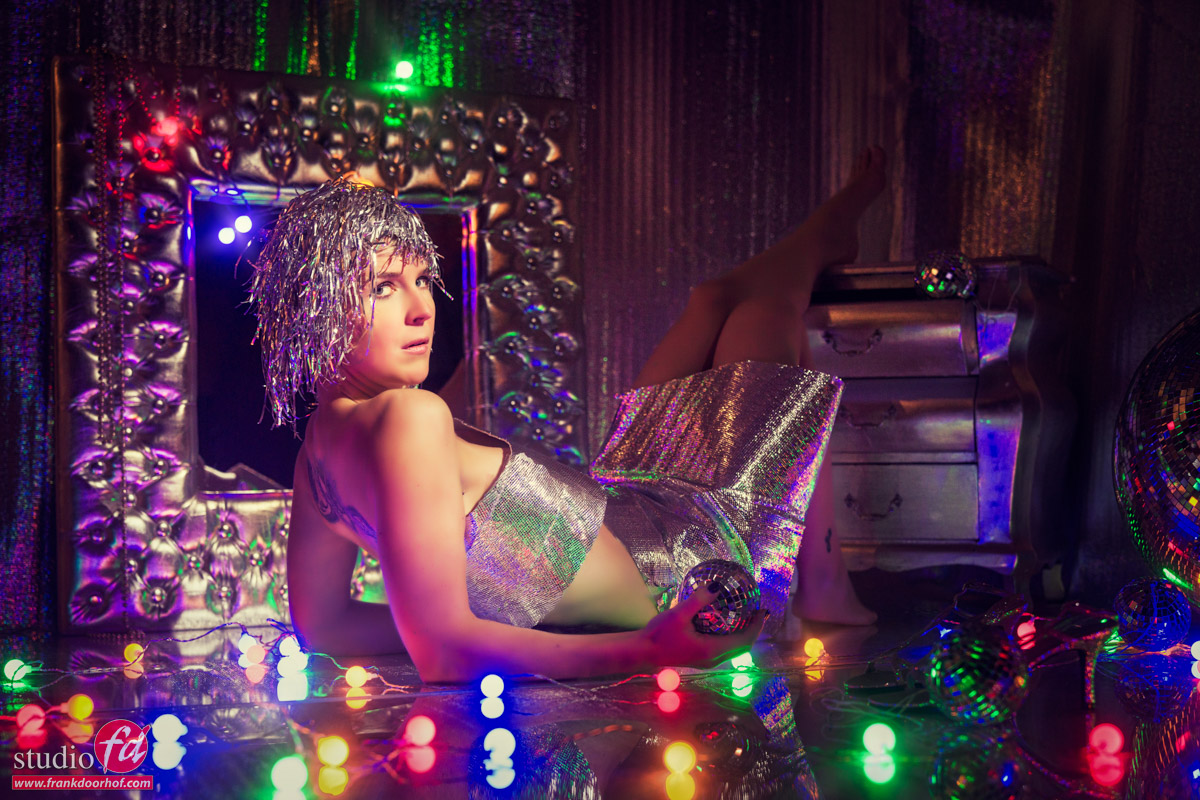
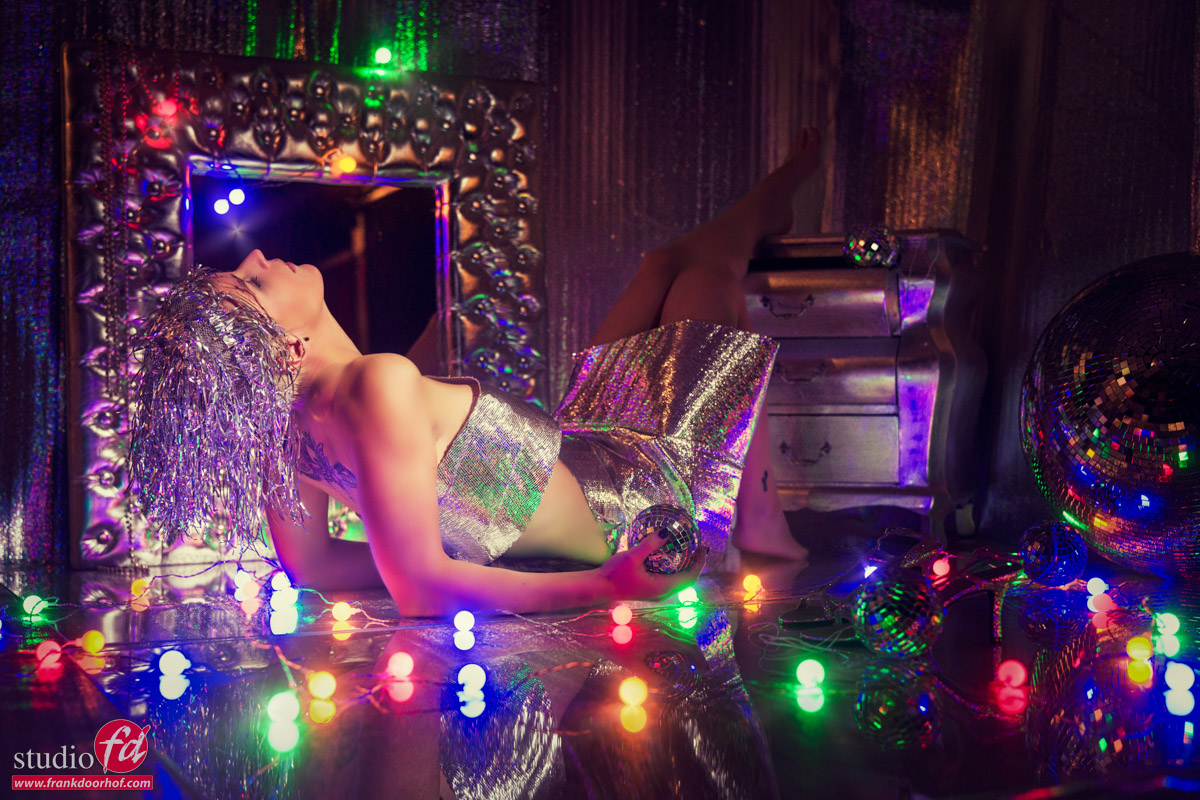
Here I’m using the mirror to mirror the legs and the accent lights, I talk a lot about walking around the model to get a different kind of contrast, here you can clearly see what the angle does on the legs, this is not photoshoped 😀
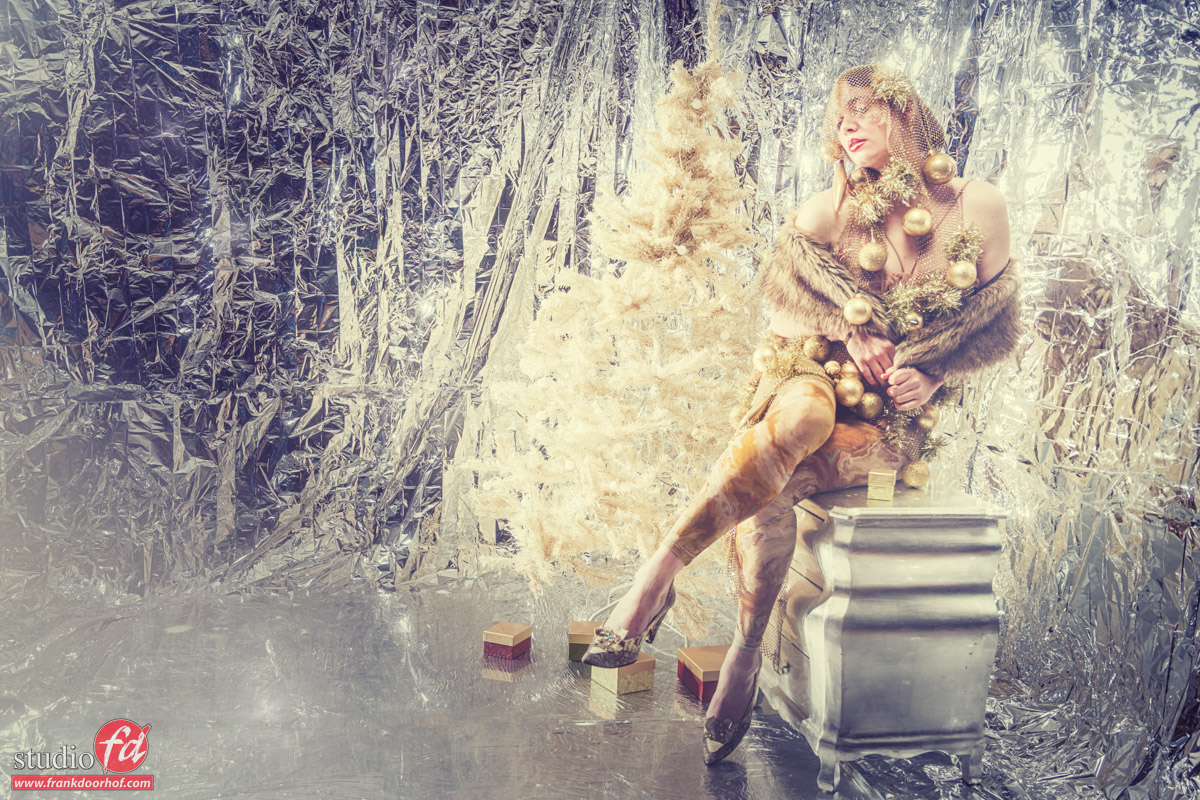
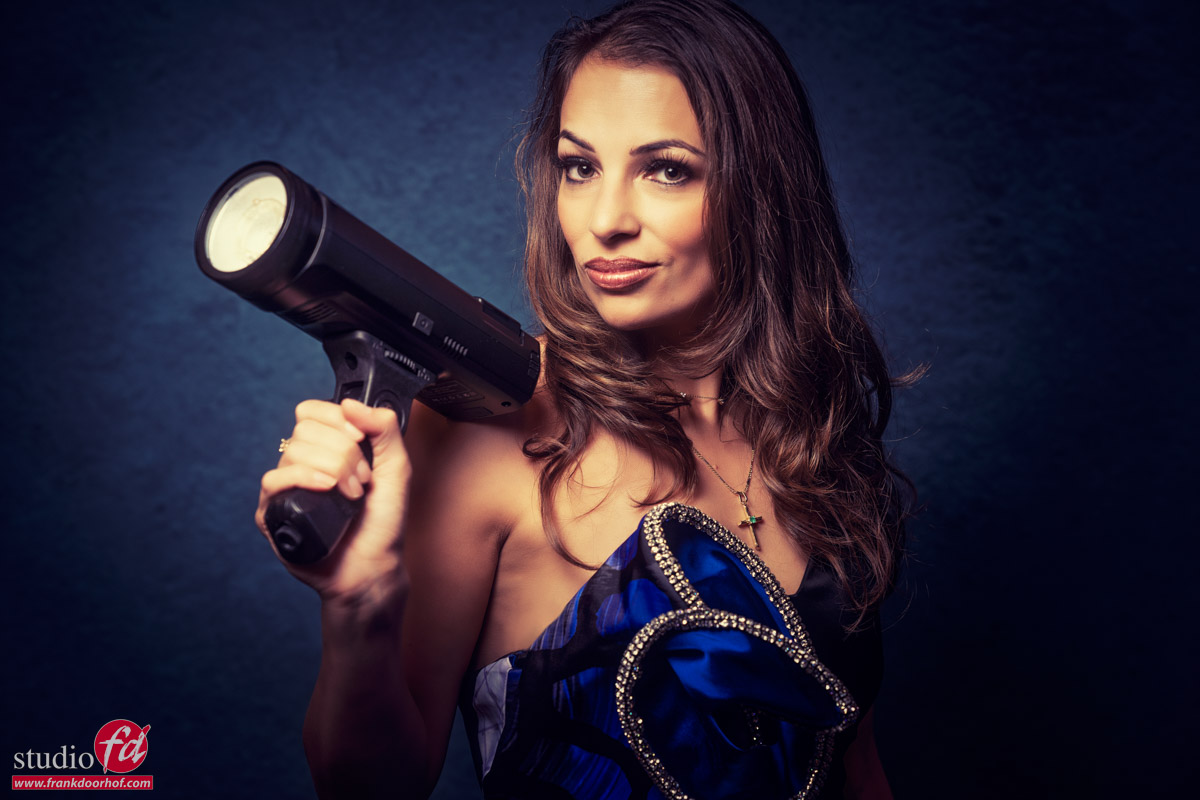
Of course after that I oped for more close ups, mainly because I didn’t like the set for full bodies.
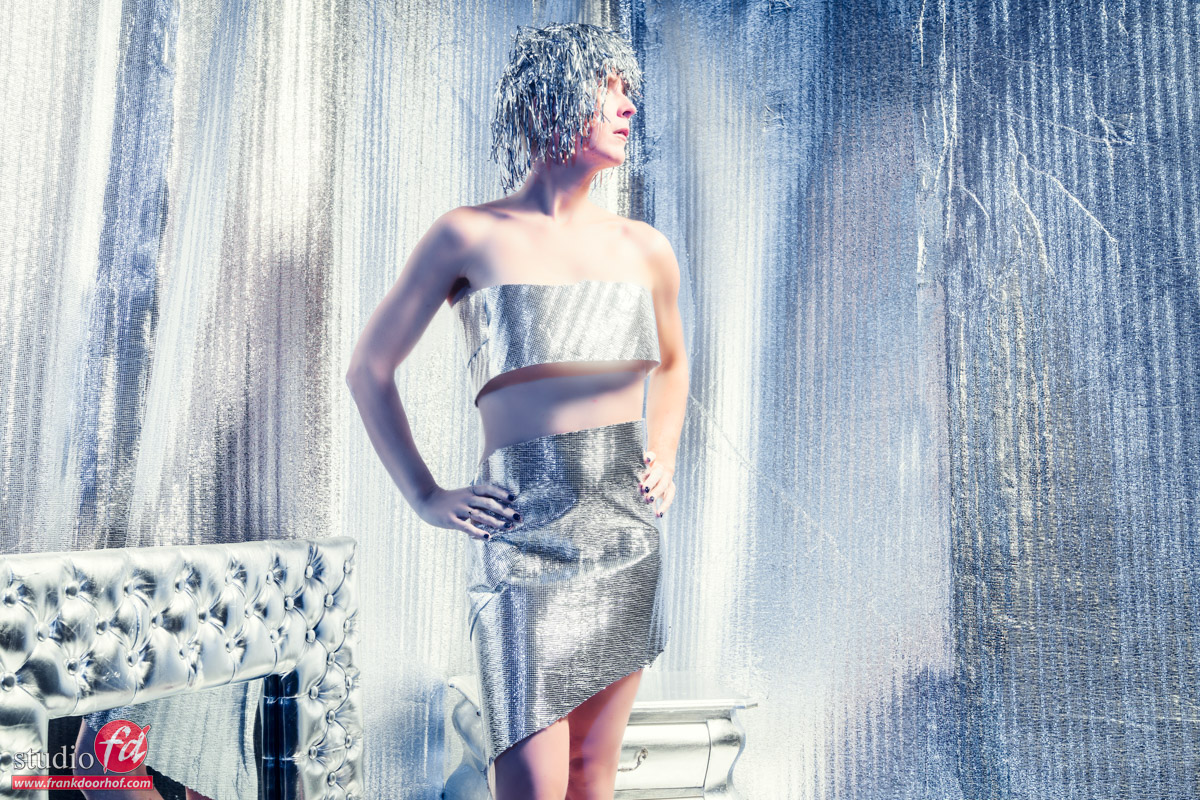
This I liked a bit better, but I also tried one from the back.
And to be honest I’m still in doubt between the two which one I like most.

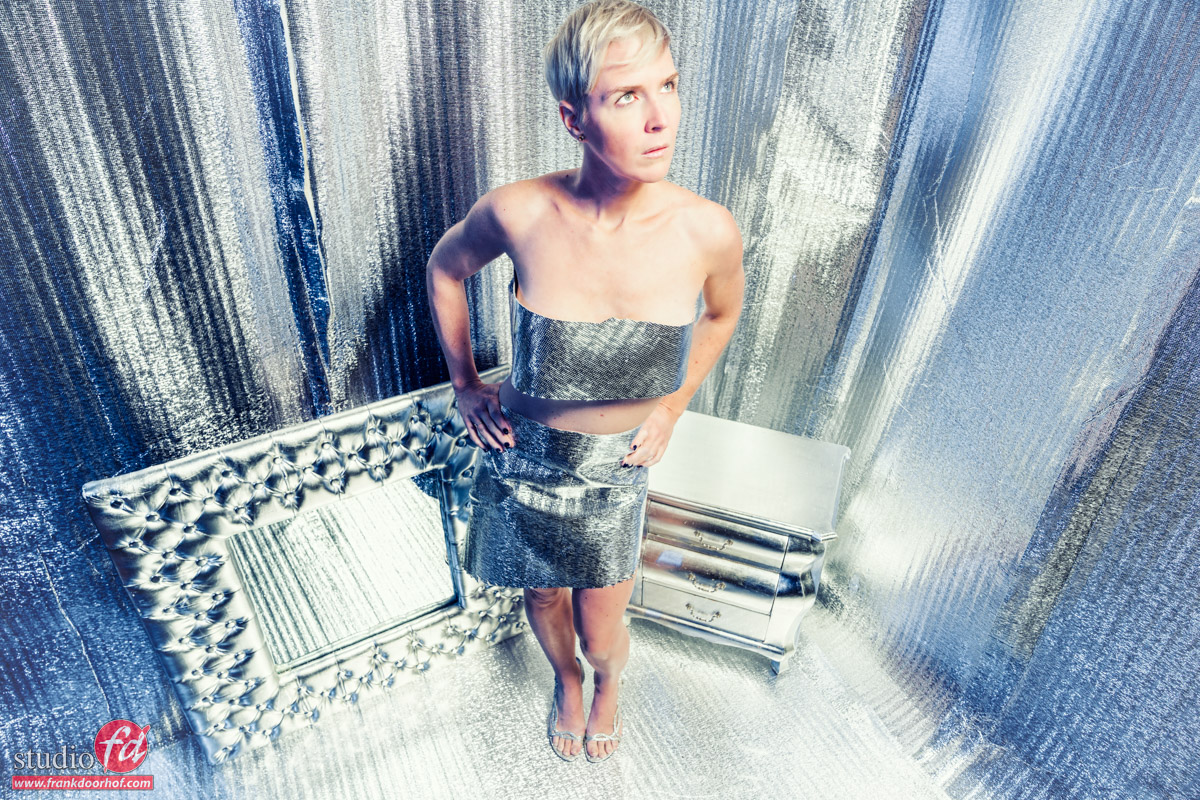
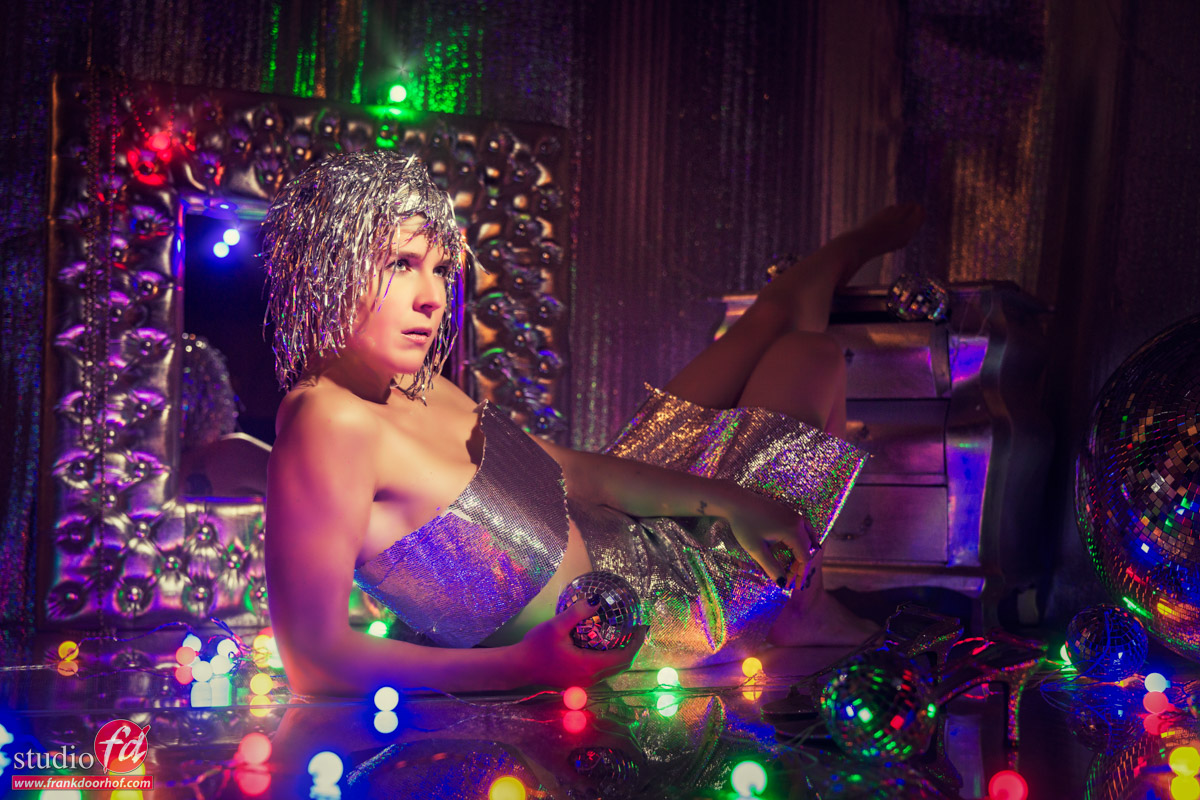
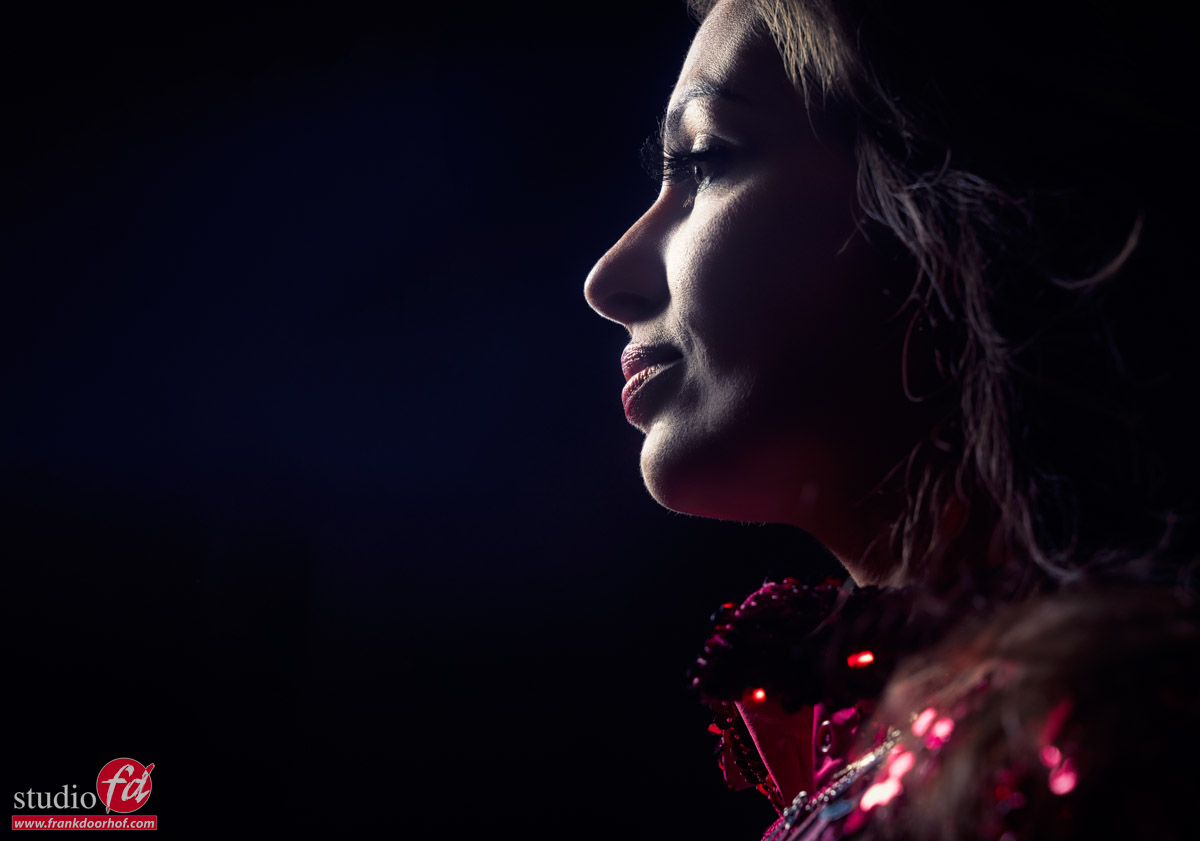
Angles, angles and again angles….
And as usual, always try different angles.
I can’t tell you guys enough how much impact the shooting angle can have, not only in lighting but also with the total way the image looks.
Lower angles will often give a “hero” feel, where higher angles sometimes give a really cool effect.
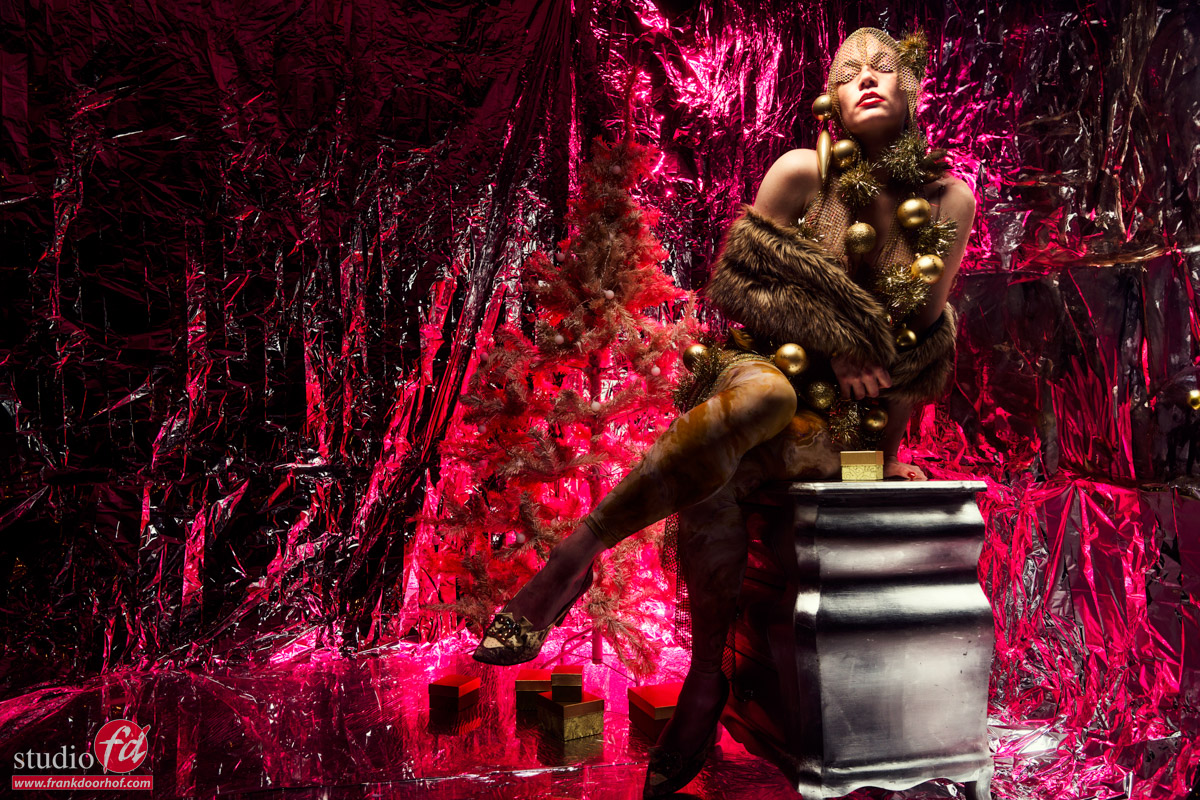
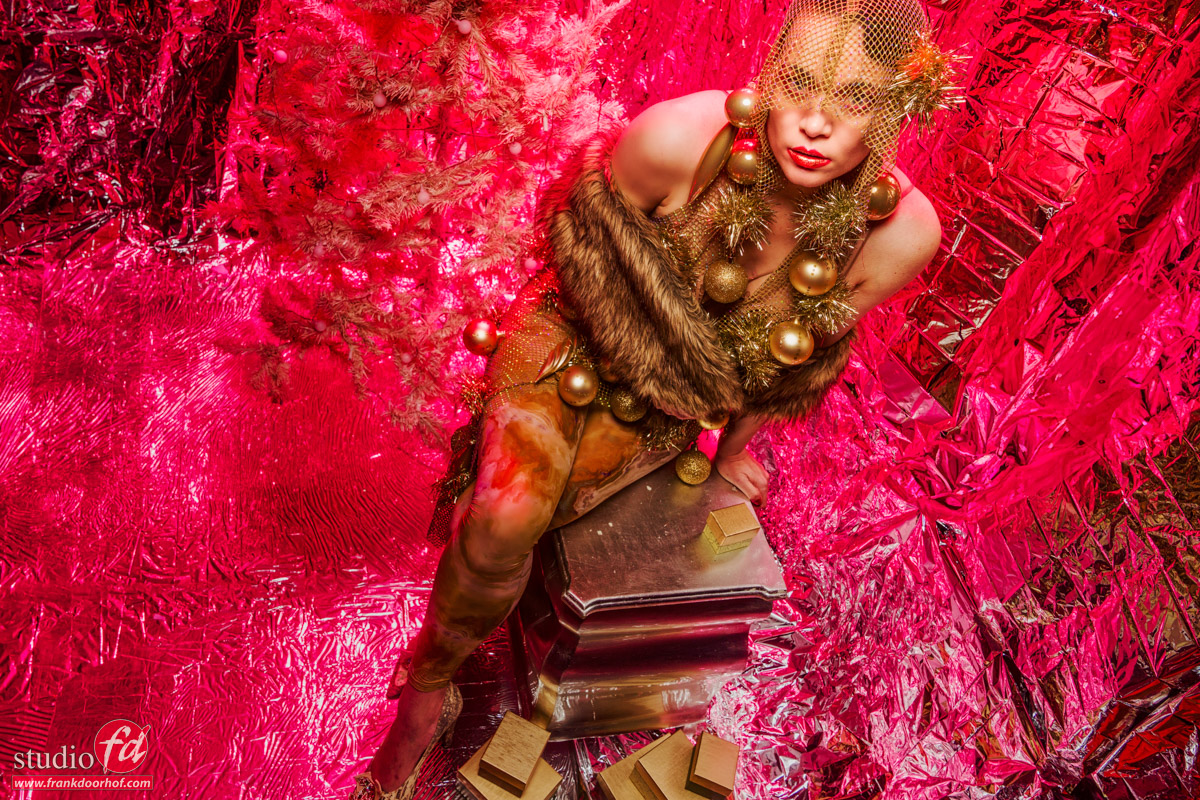
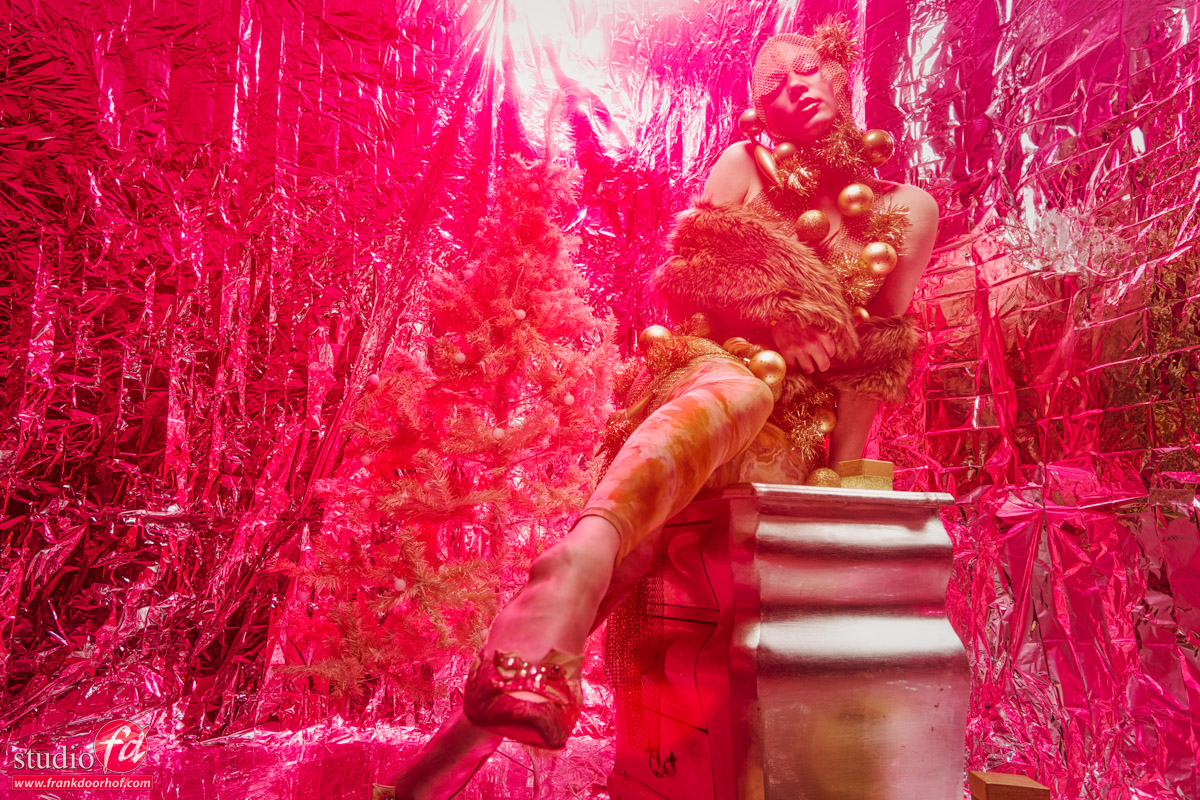
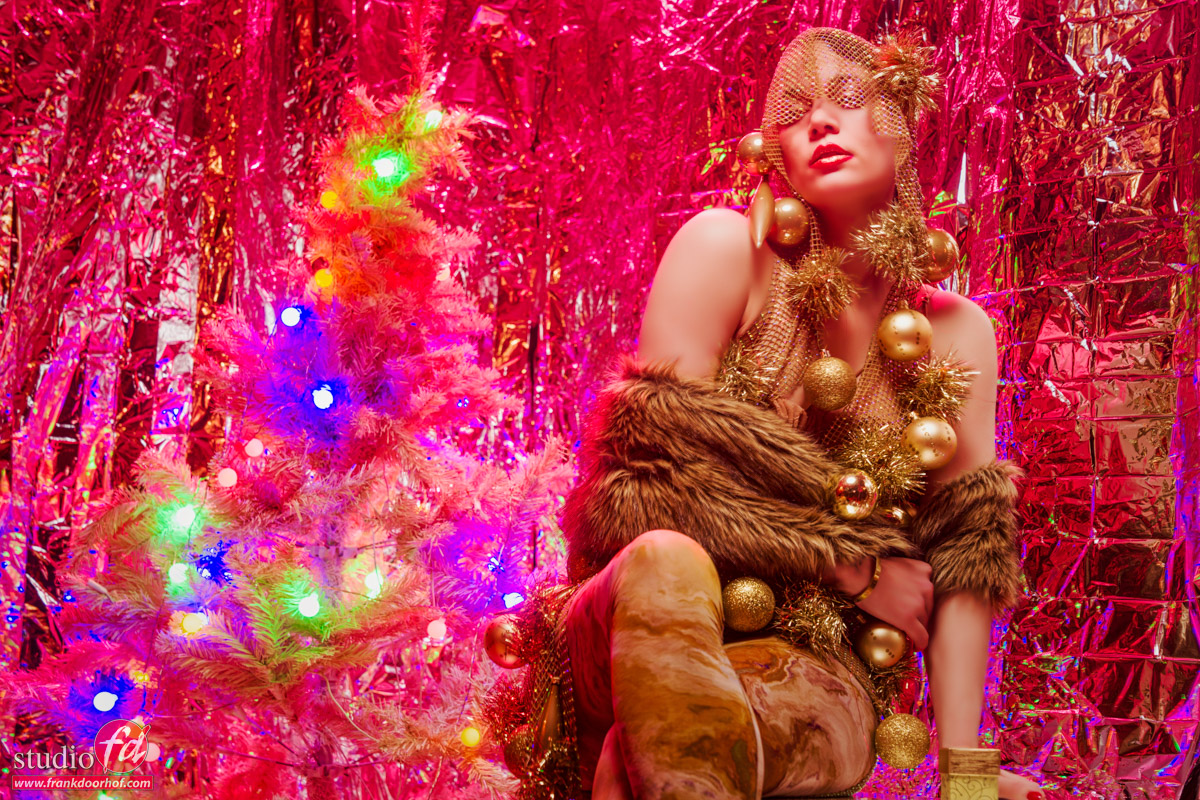
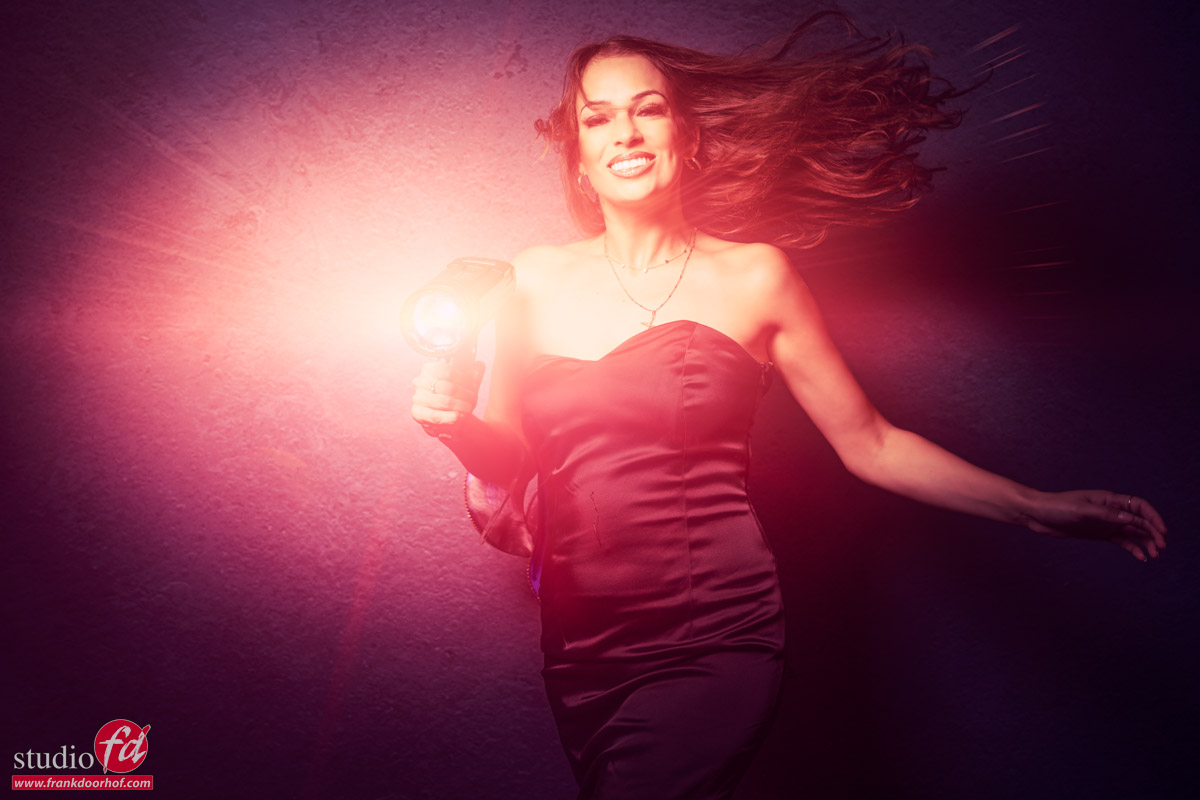
Adding some color….
Or a lot
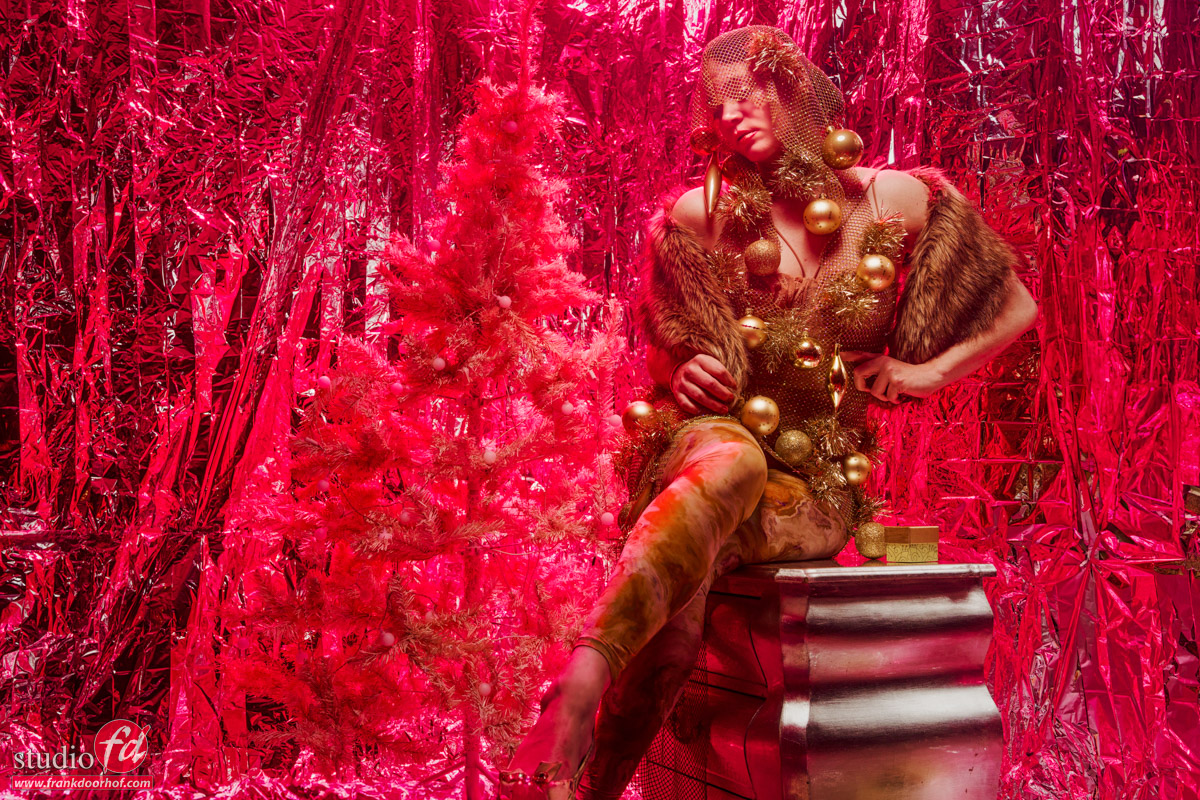
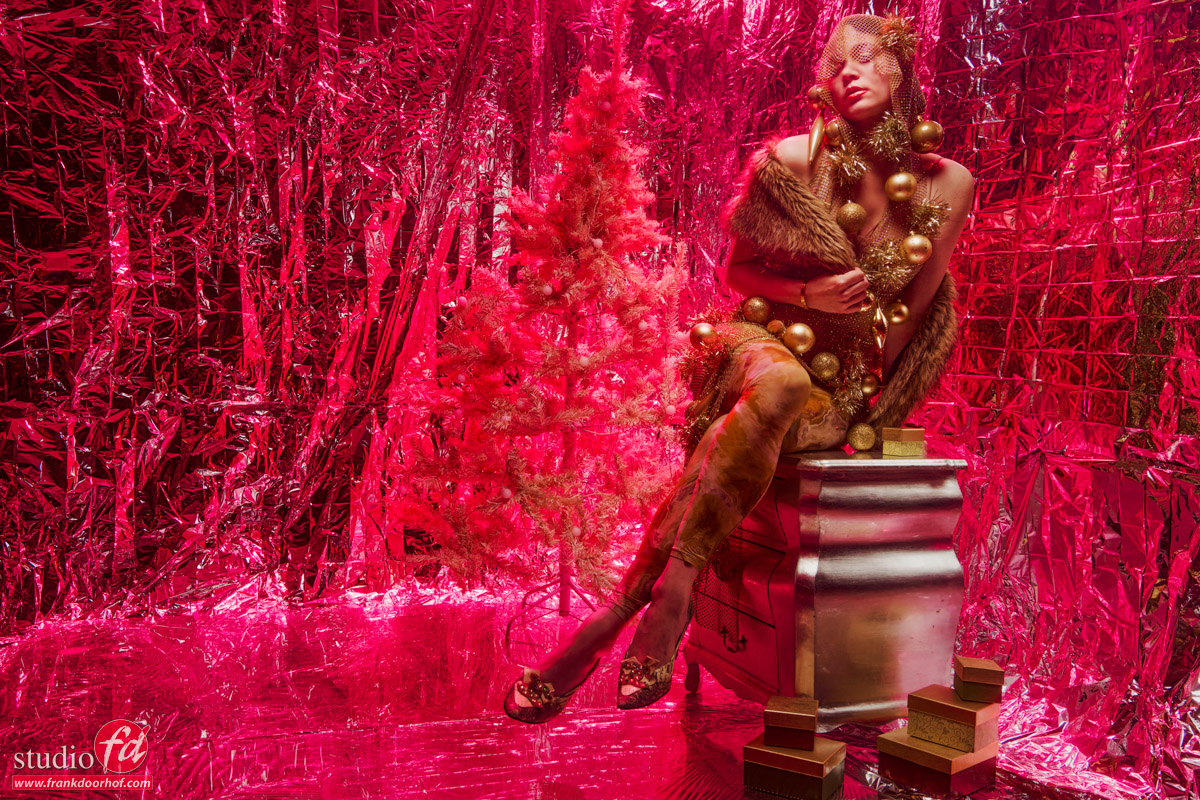
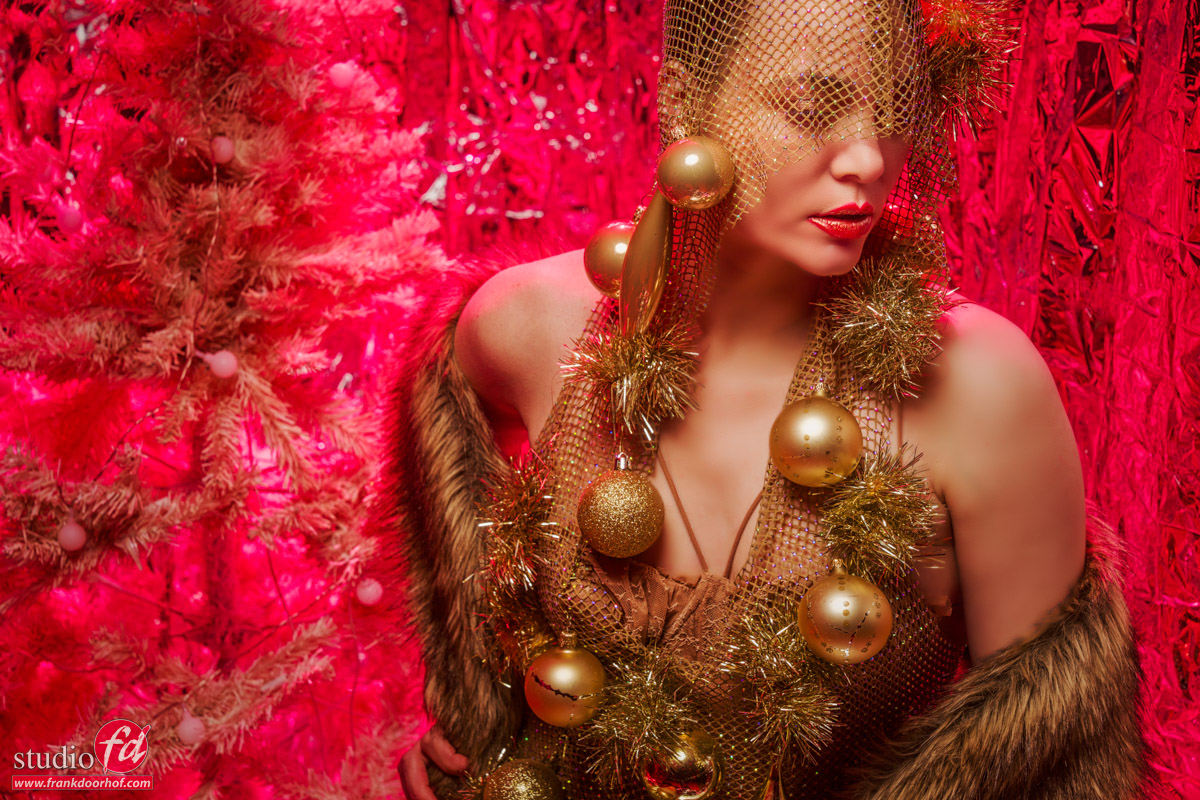
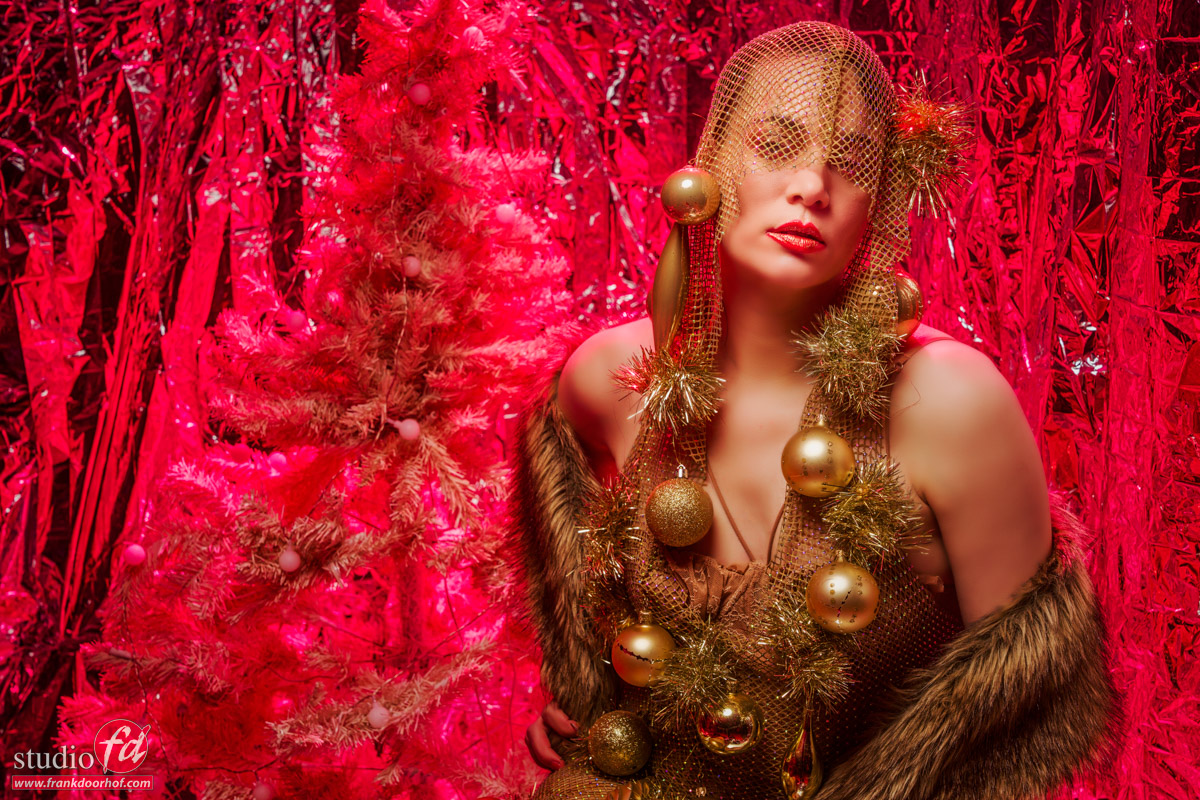
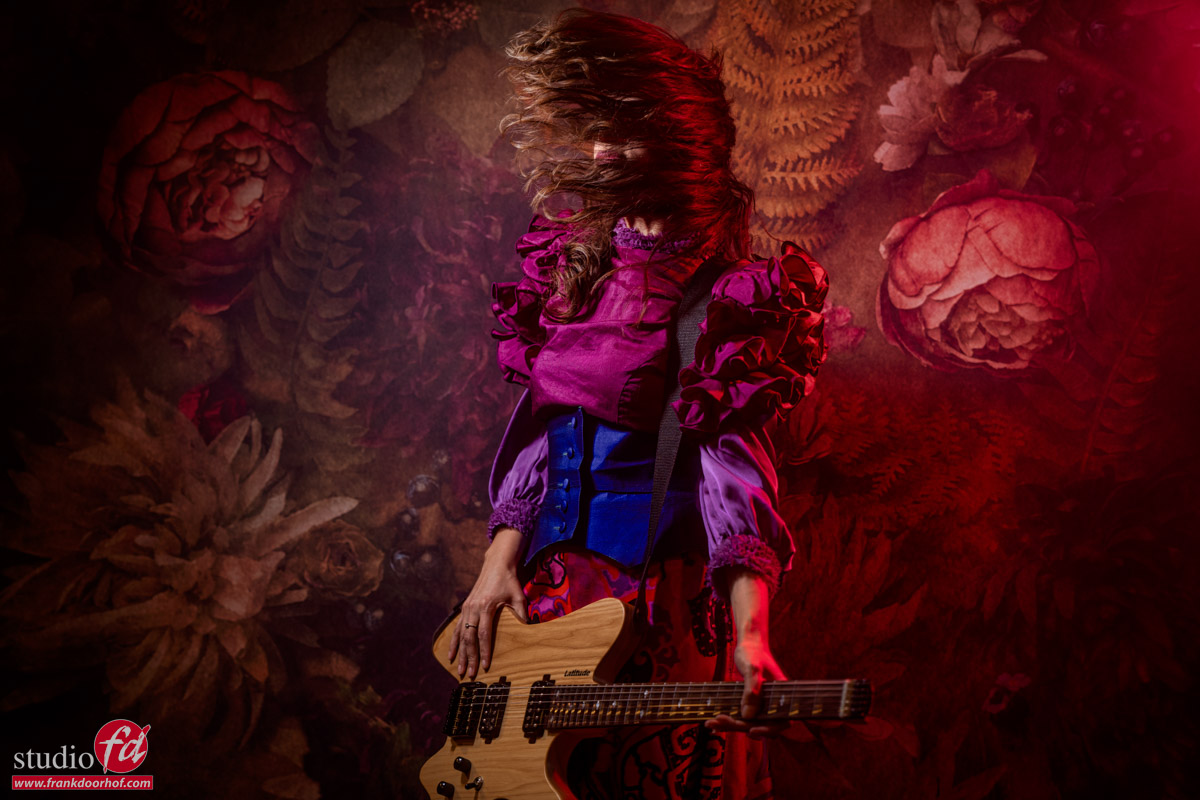
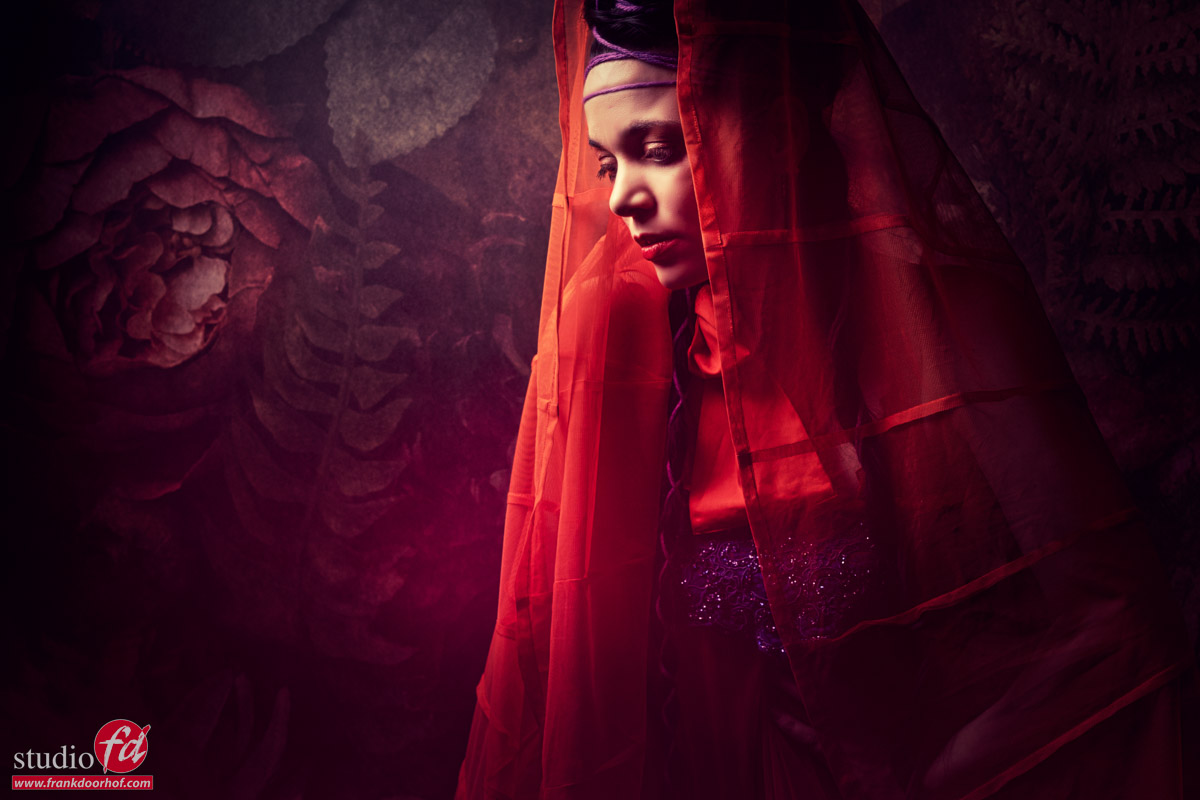
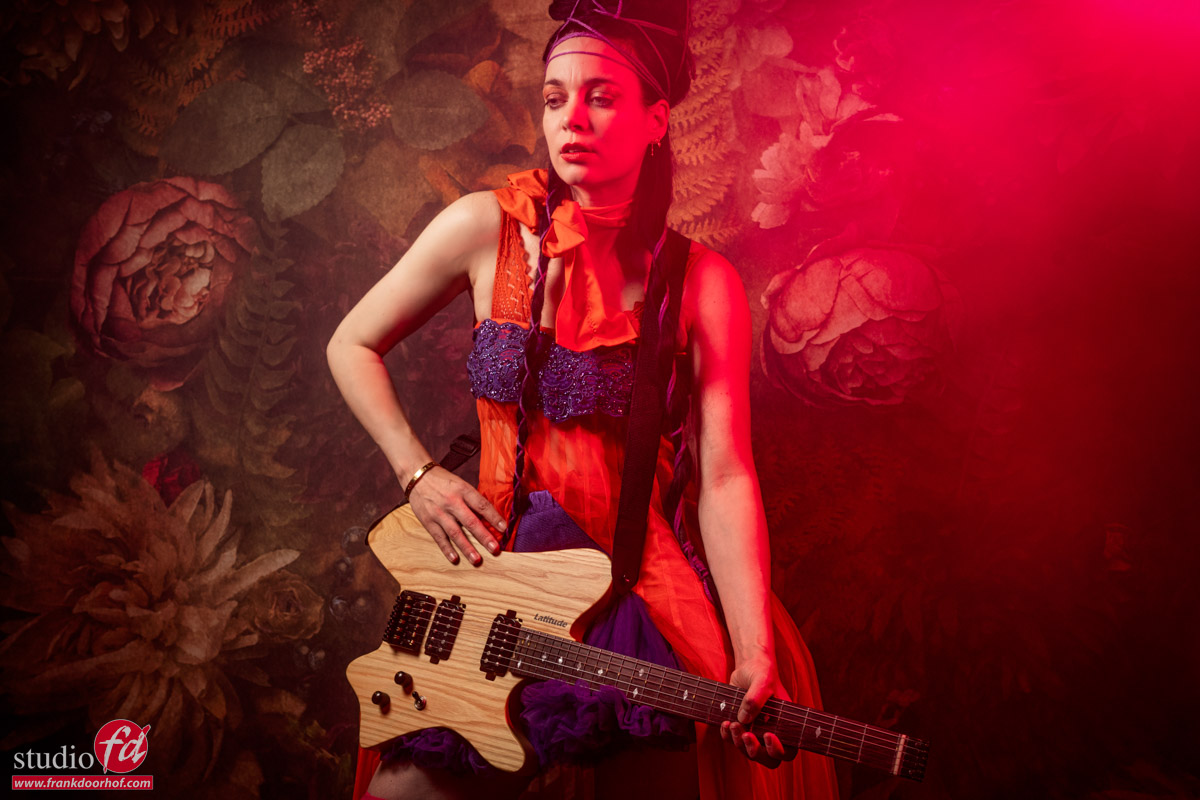
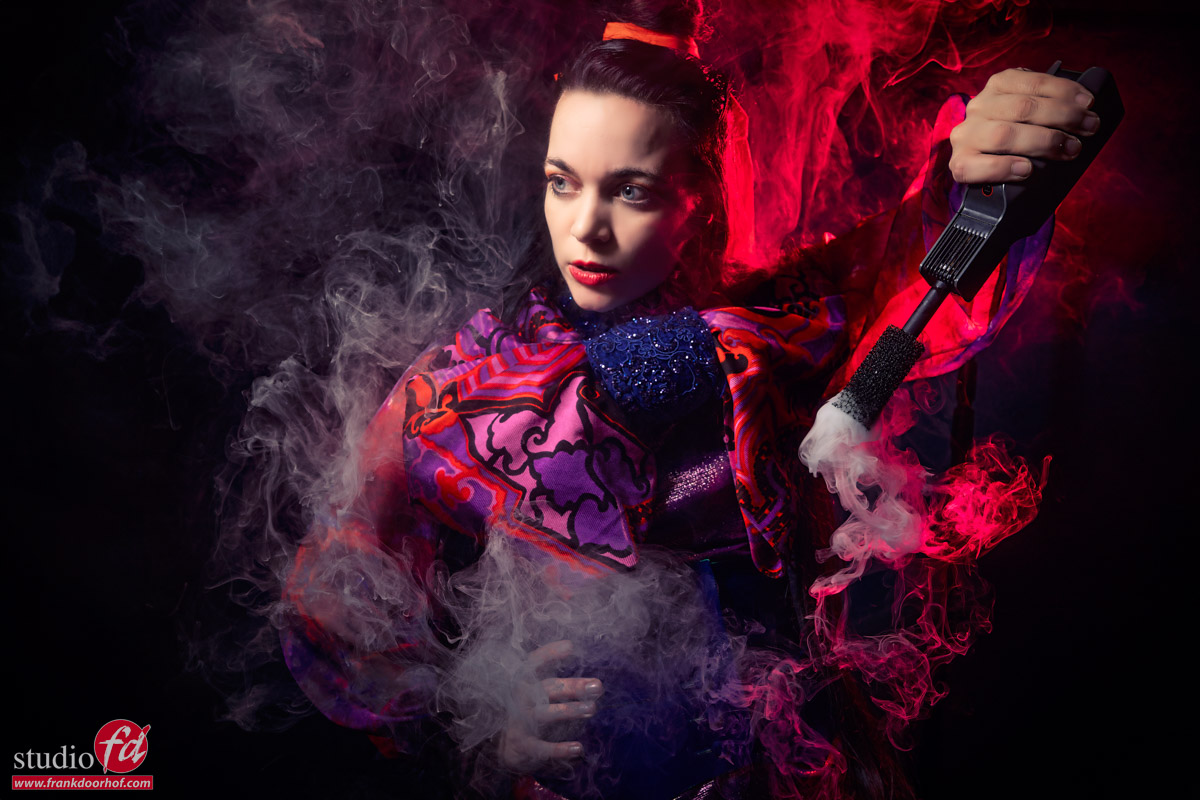
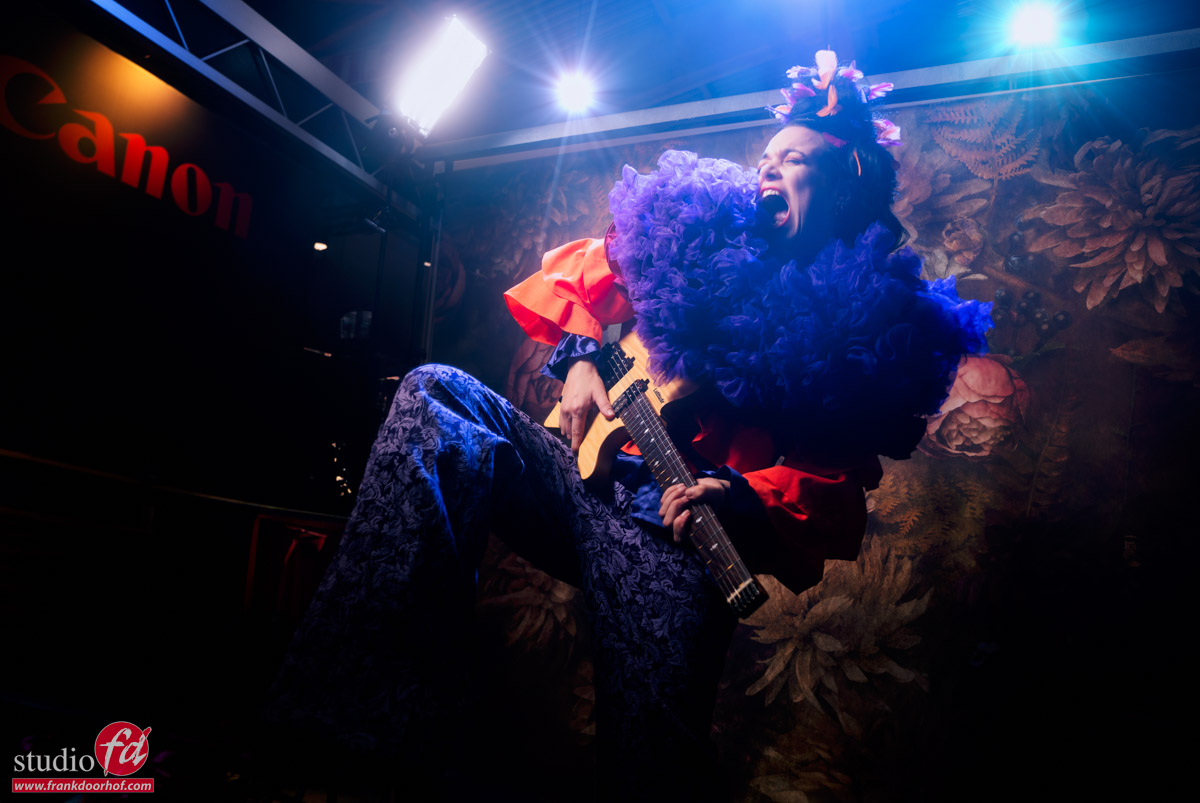
After the “standard” setup I opted for a lot more red in the scene.
Now be warned, these images are far from the run of the mill images, but sometimes I just love to go to the extreme sides.
In this case I opened the aperture a lot (to the point of overexposing) just maintaining the highlights in the skin, I didn’t want the skin to overexpose, this often looks awful in color shots, the only thing you could do is convert it to black and white where we are often a bit more forgiving for overexposure. But best is to keep it just below overexpose on the skin, you can always go to black and white later if you want.
Im adding a Rogue omnidirectional dome here with a magenta gel, and although I’m still using the mainlight the red really overpowers everything giving it a totally different vibe.
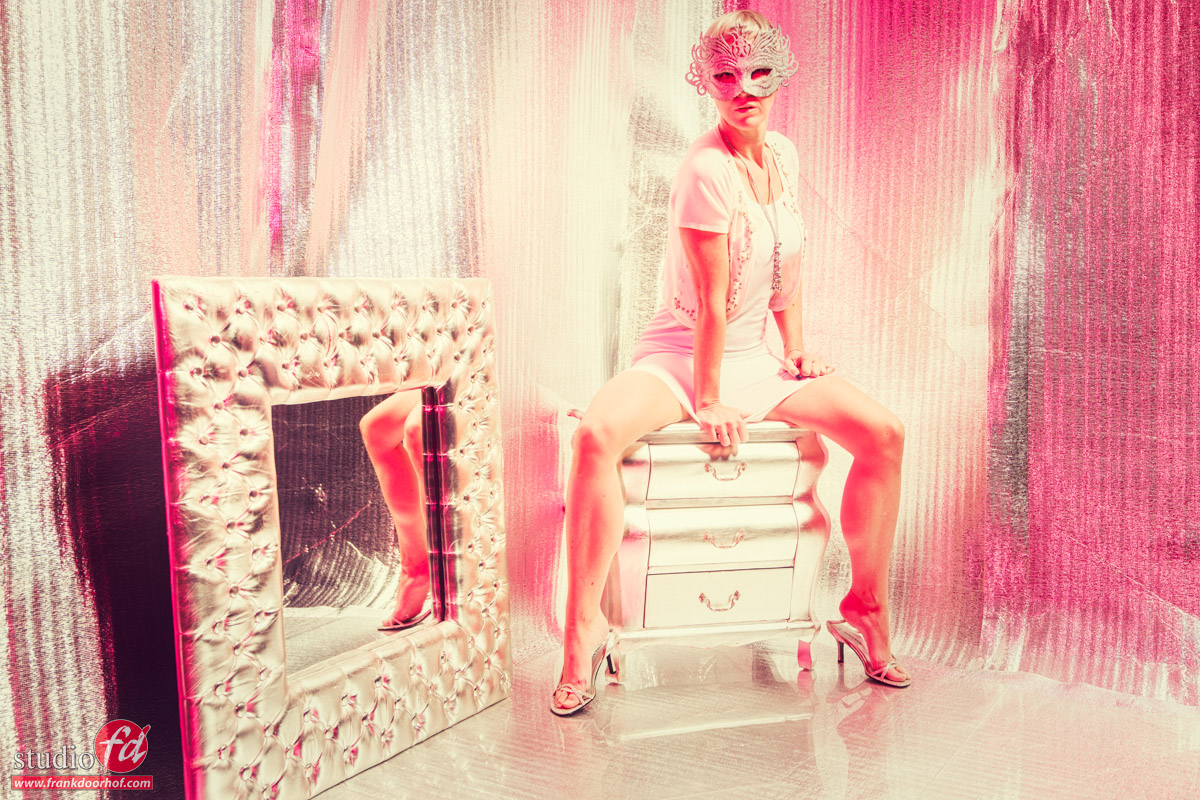
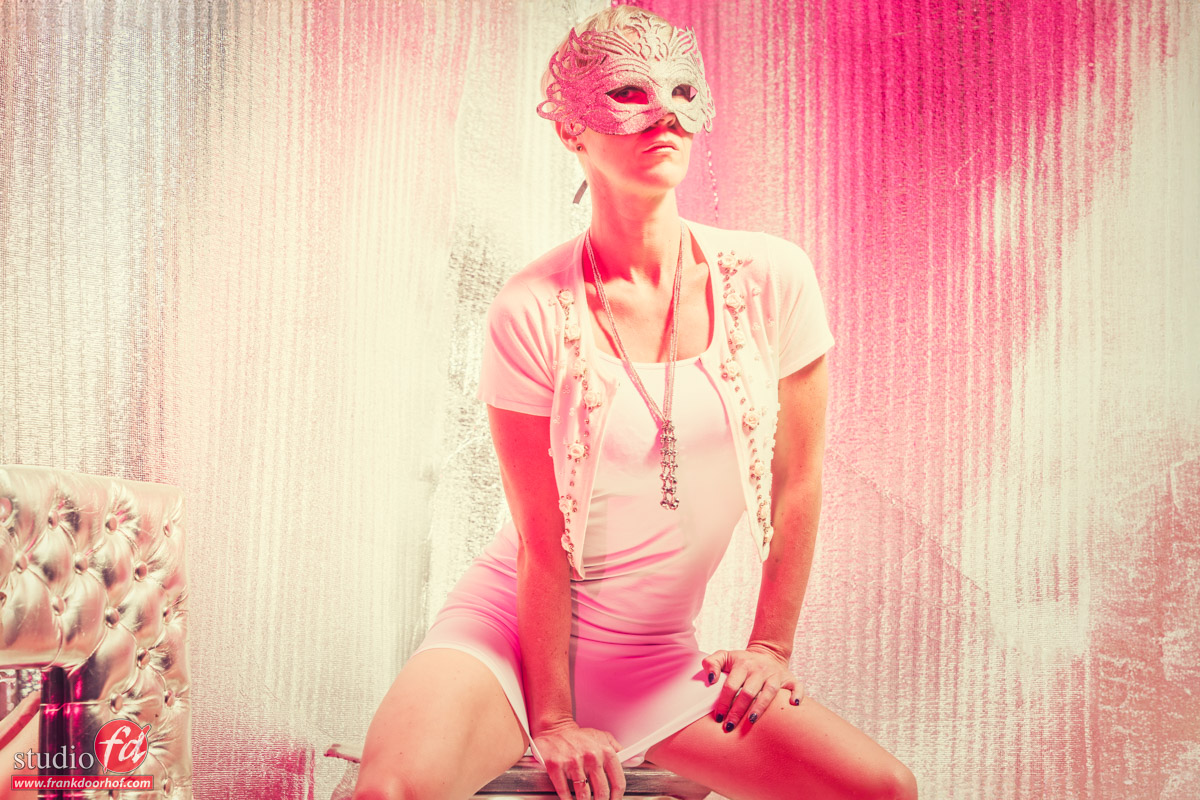
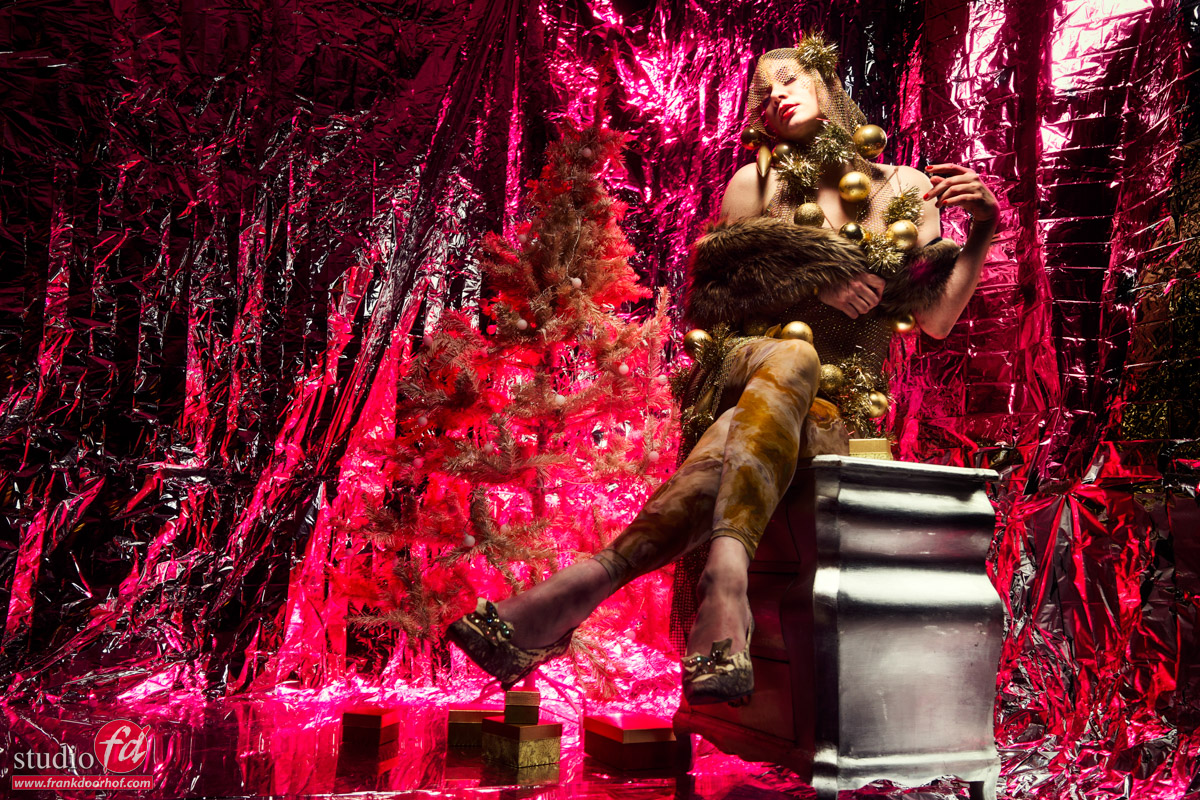
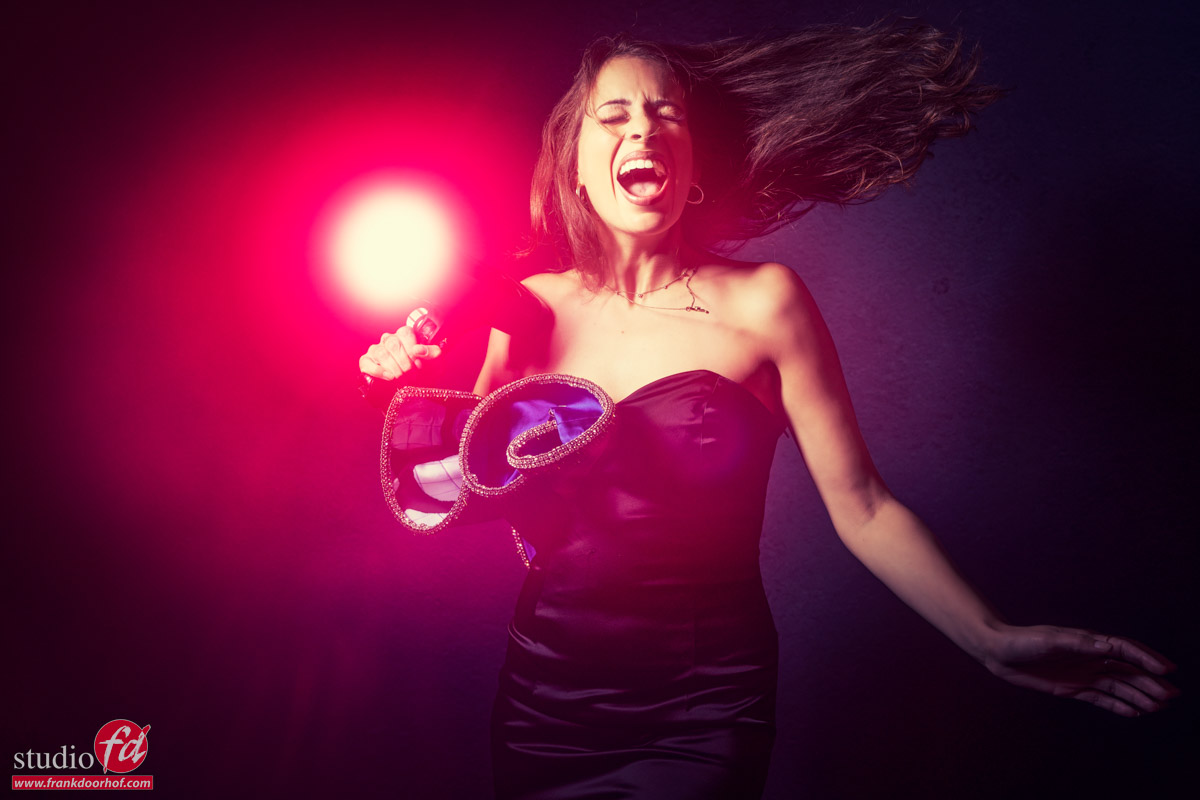
As you can see by just adding some color you can change the look of our set built with isolation blankets completely. Just make sure the model covers up for certain angles.
Feel free to reach out with questions.
A like and share on social media is highly appreciated.
Check out the short about the rescue blankets


You must be logged in to post a comment.