Creating depth and contrast in your model/portrait photography
How to create depth and contrast in your model photography?
However, if we want to create depth we do need to change the direction of our light. And today we are looking at one of the solutions to open up the darker side and get some really cool effects. Continue reading how to create depth and contrast in your photography
Depth is one of those things
We all know the term “3D looking” And maybe you also struggle with getting your images to look more “3D”
In most cases, it’s “just” a matter of changing your light to the sides of your subject.
The problem is often that the other side of the face becomes really dark. And often also the background creates really bad looking images (unless you love that look).
For me, at least the background should be lit slightly beyond the dark side of the face. This means there is some separation between the model and the background. Letting everything turn black or hardly visible is sometimes cool. But most of the time you are just left with an image that doesn’t feel right.
Accent vs flare or maybe both
When I started out with model photography I loved the Rembrandt setup. But somehow I never liked the darker part of the face. The easiest solution is of course using a reflector. But, a reflector only works when it gets enough light to bounce back. Because I use my lights mostly pretty close to the model there isn’t a lot of light hitting the reflector hence not reflecting enough back to the model.
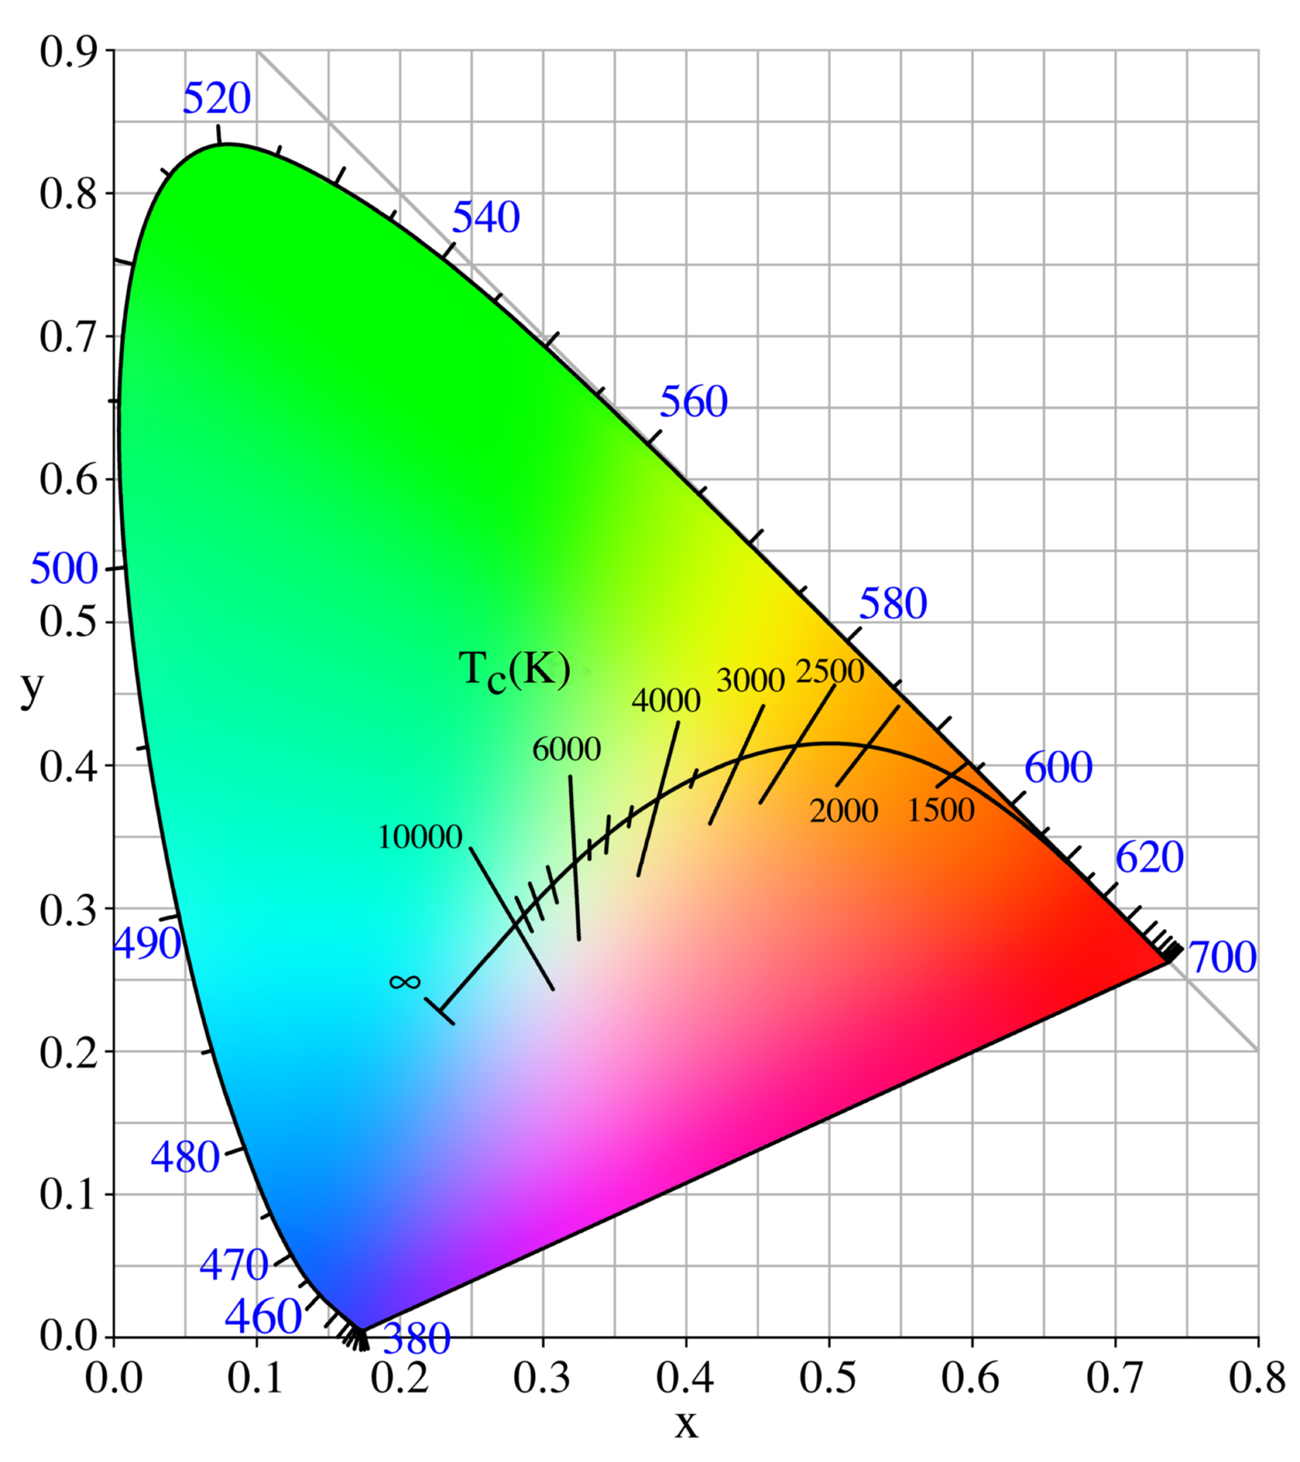
Inverse Square Law
This is of course due to the inverse square law. This dictates that light falls off over the distance, meaning if you place your lights really close to the model it will fall off really fast and not have enough “power” left to also reflect back on the face and have a major impact.
Solution
So most of the time I solve this by using an extra light source on that side.
Now you can choose to place this behind your model and just hit the side opening up the shadows, moving it slightly back to only light the jawline, etc. This already works like a charm but let’s up the ante.
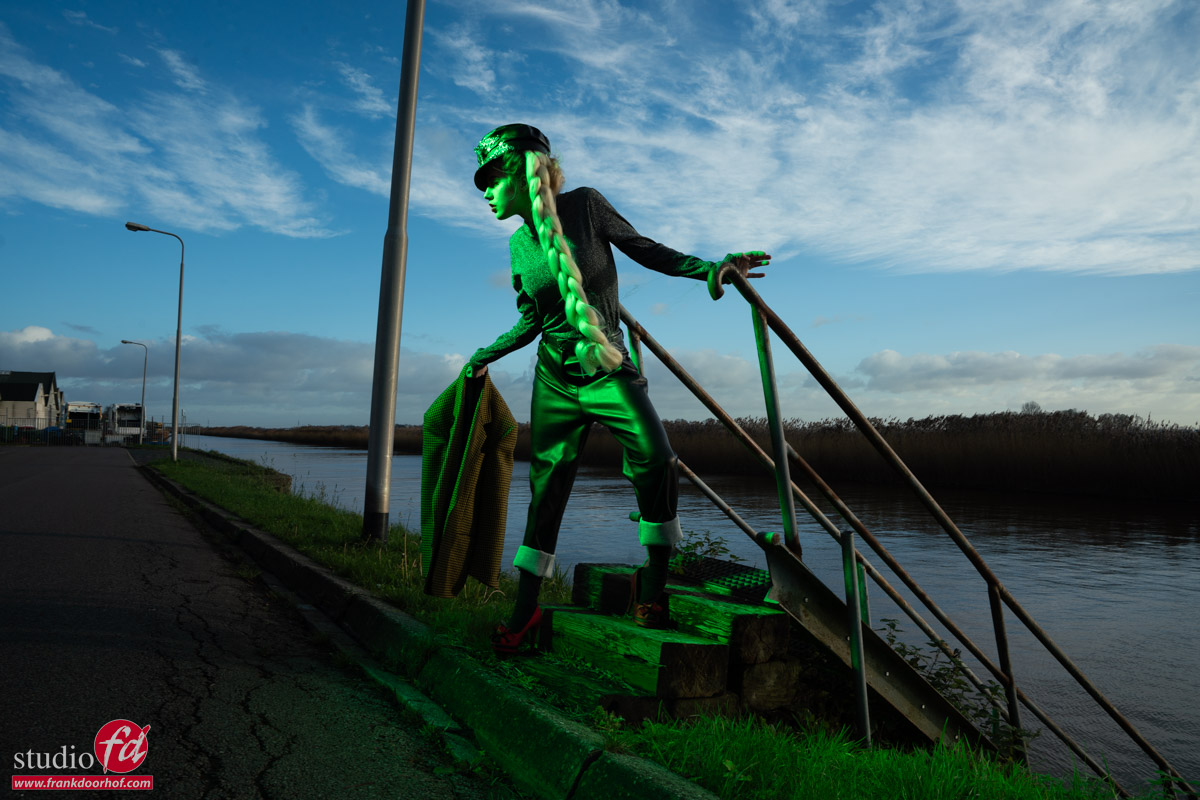
By using a light source with a more diffuse light source, like for example the Rogue magnetic system without or with the omnidirectional dome we can do a lot more.
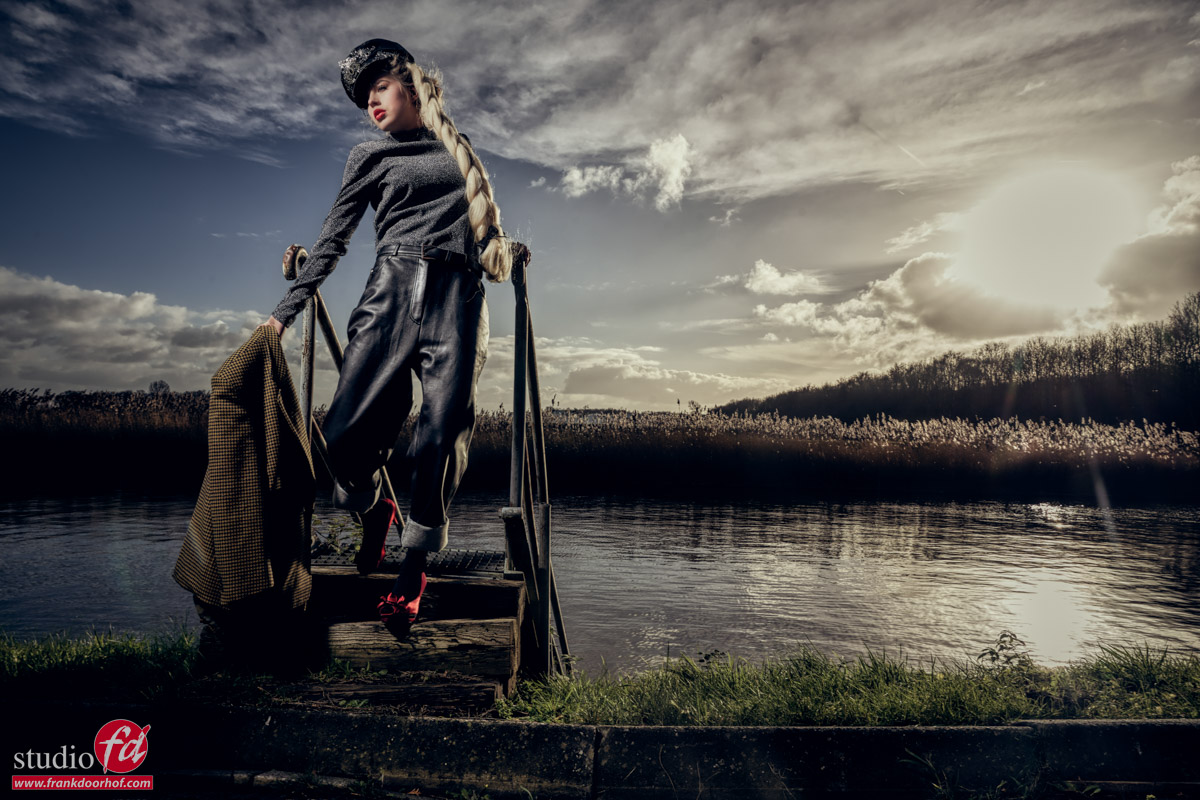
We can now not only create a cool lighting effect on our model, but by placing it correctly (slightly more forward or backward, just experiment with very small increments, this really works very precise) you can also balance it so that the side of the light (softer and less output) hits the model. Creating a beautiful soft quality of light. But the main part of the output actually hits the lens creating an awesome lensflare.
If you are not happy with your lens flares, try older M42 lenses. Or even better, get the same filter I use, the K&F concept black diffusion filters, these make it much easier to create great flares without influencing your images when you don’t use backlighting.
Video about creating depth
Ok, because images say more than words, let’s look at a lot of images after each other, which we call video 😀
I hope you now understand better how depth and contrast can change your portrait or model photography.
Visit www.frankdoorhof.com/shop for the gear I use.
Visit www.fotografie-workshops.nl for the Dutch workshops
Mail us for our totally new 1:1 full-day online workshops in English or Dutch.
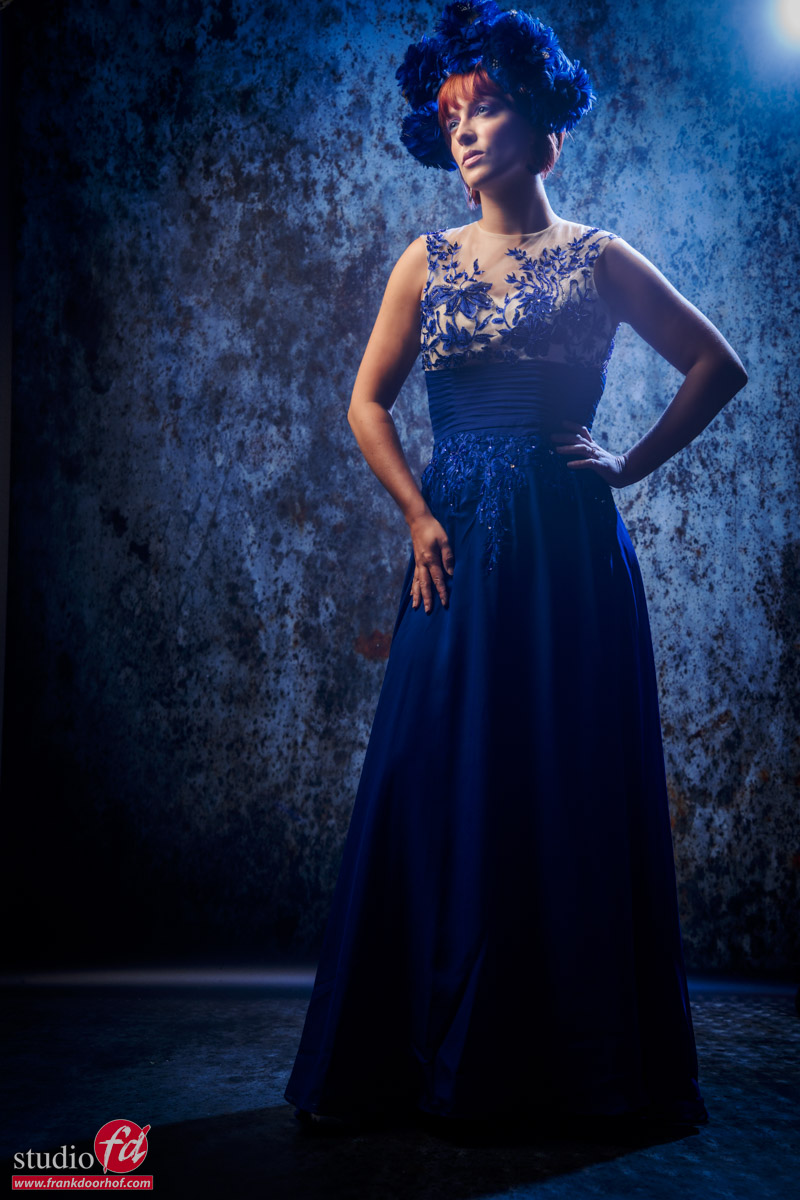
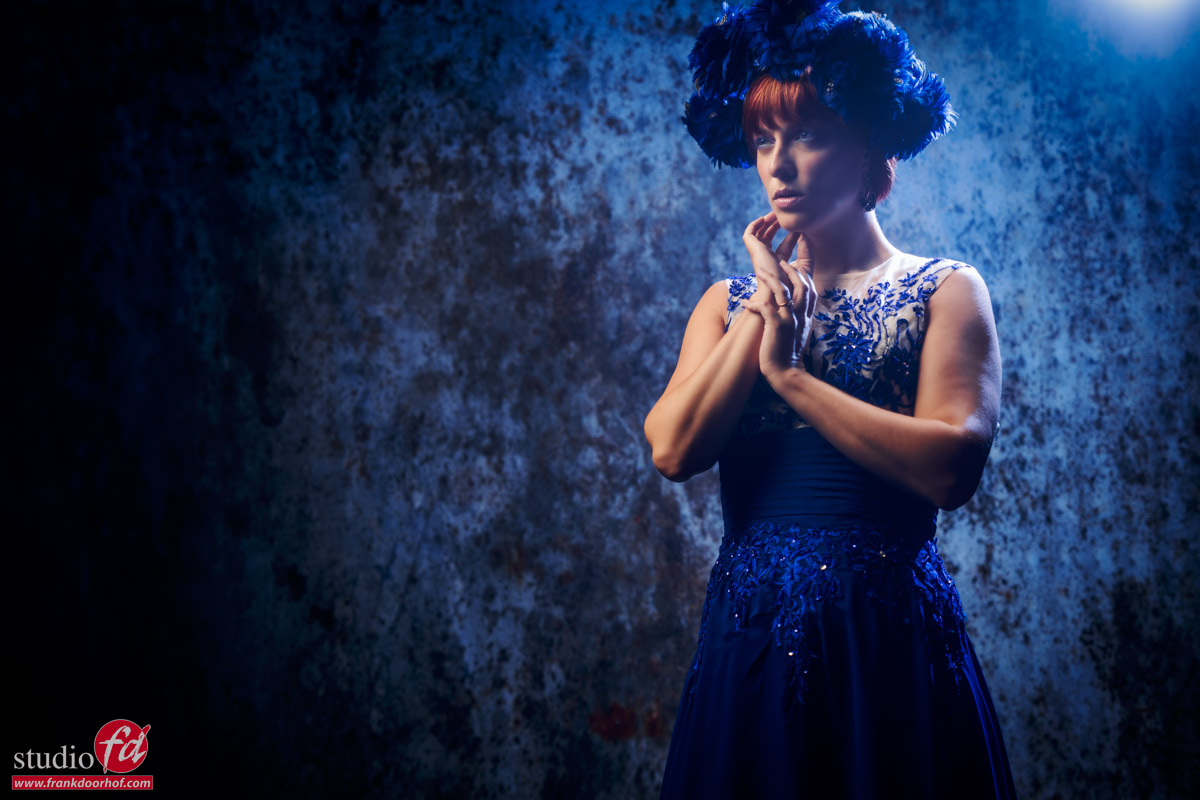
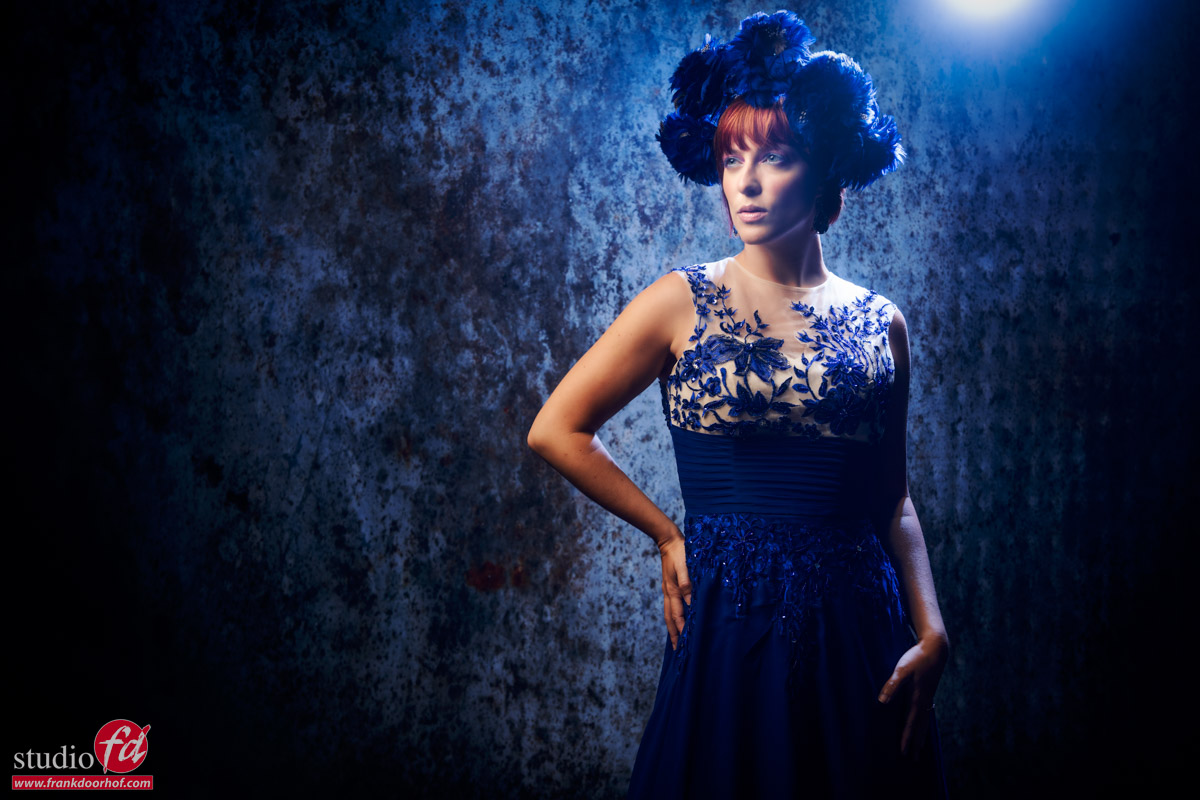
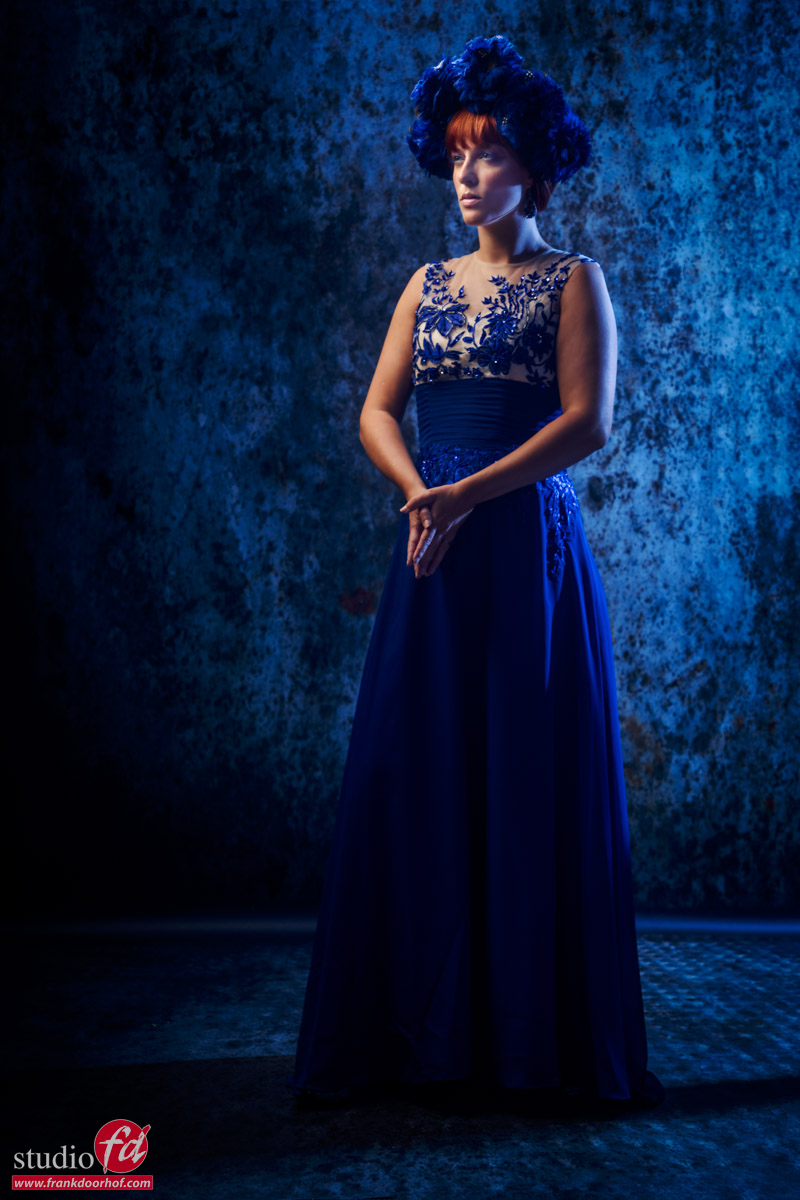
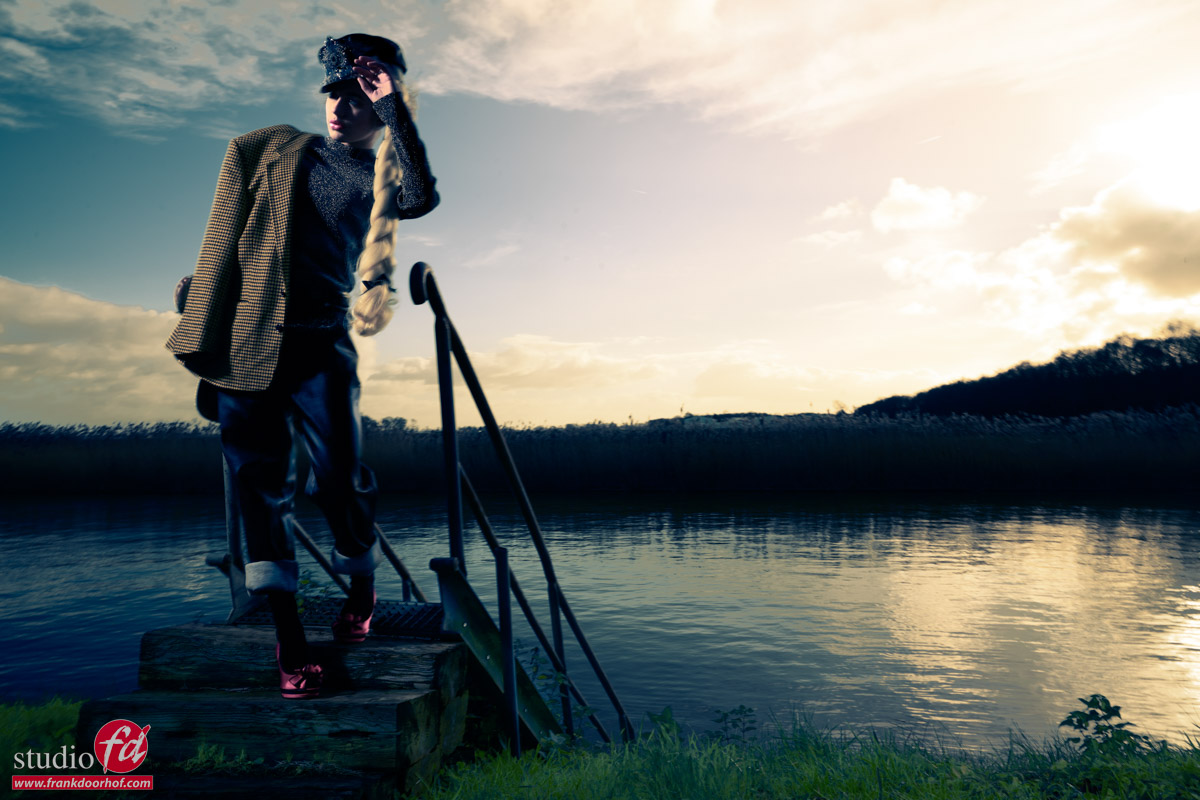
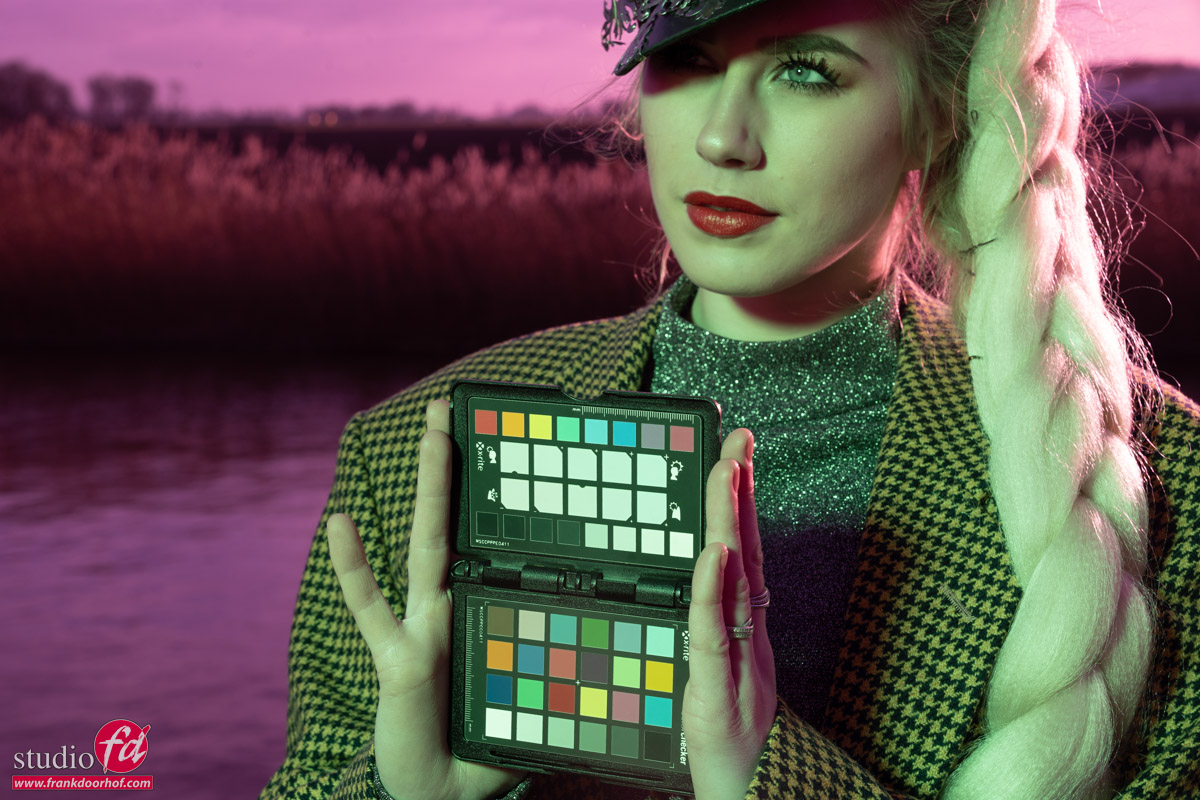
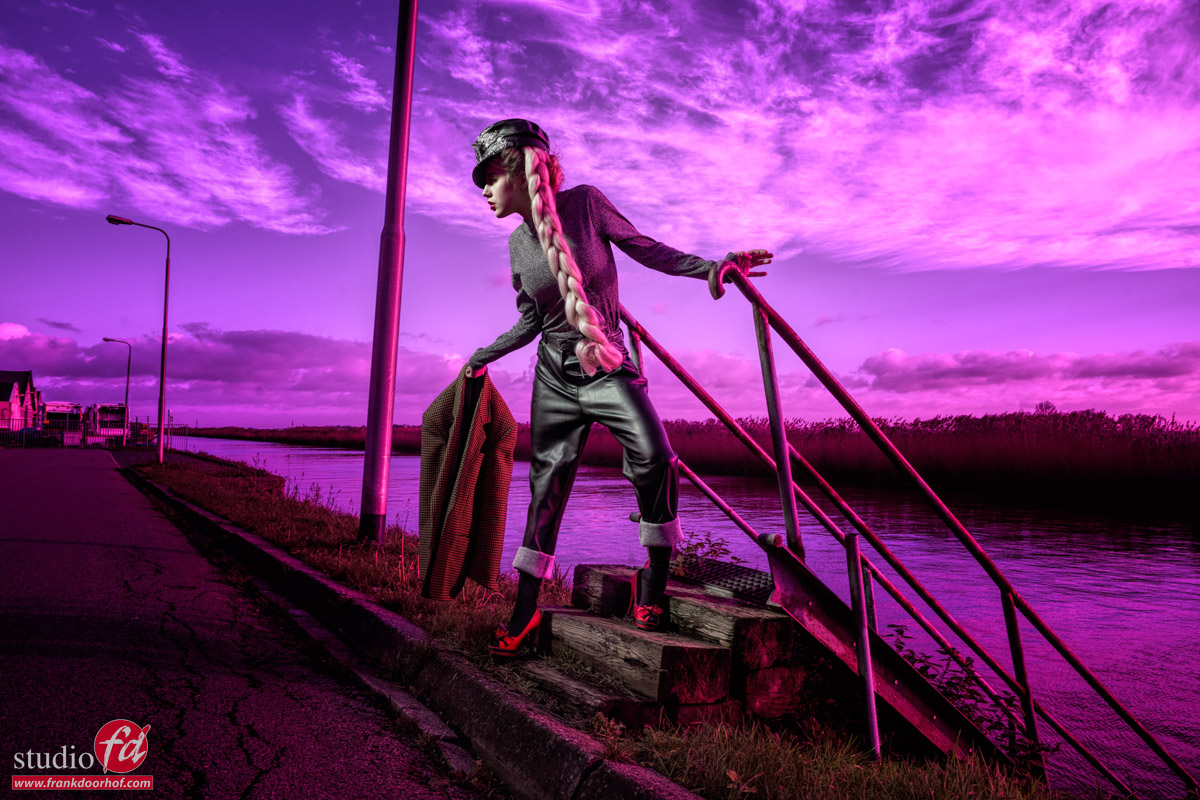
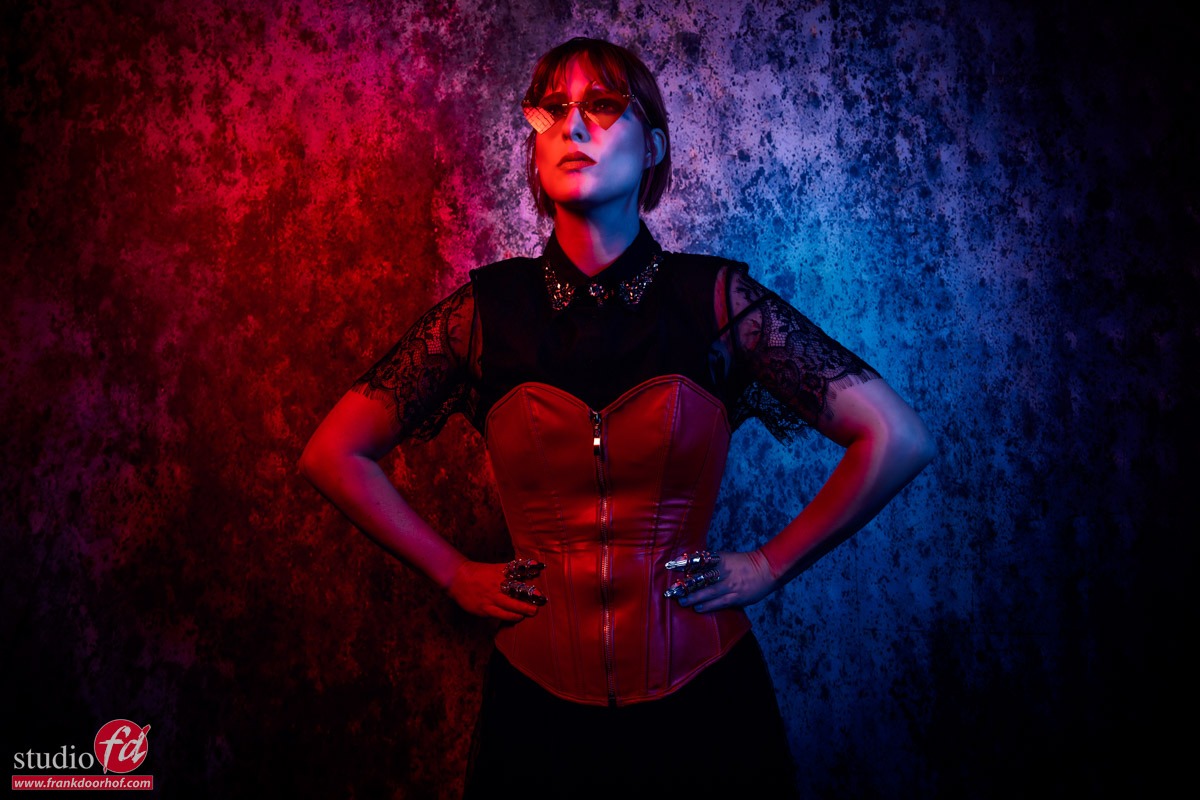
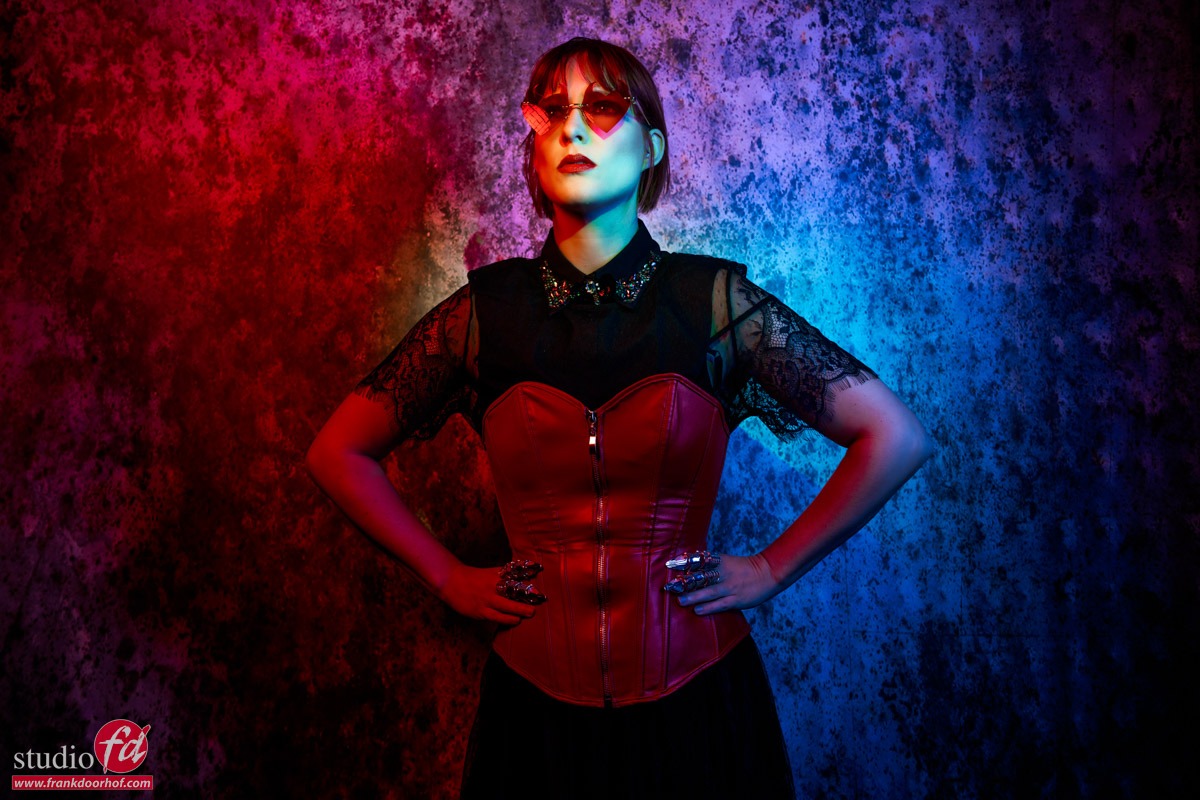
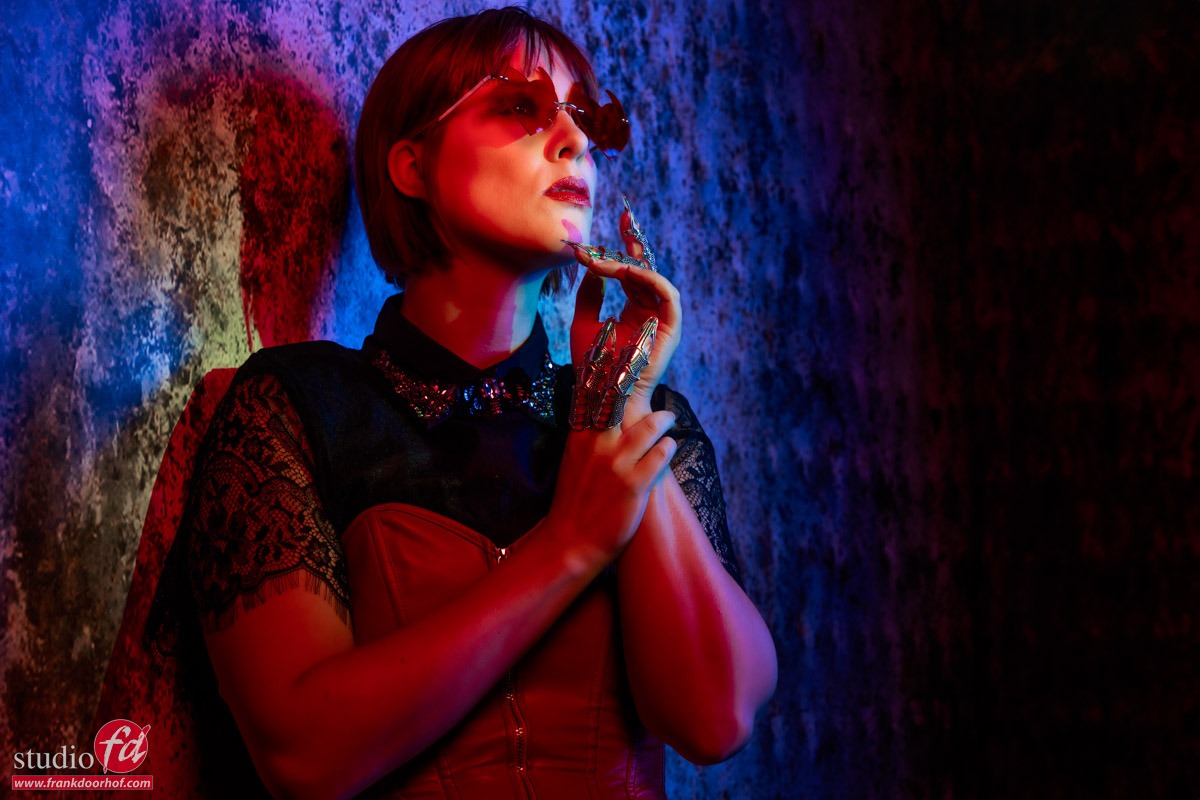
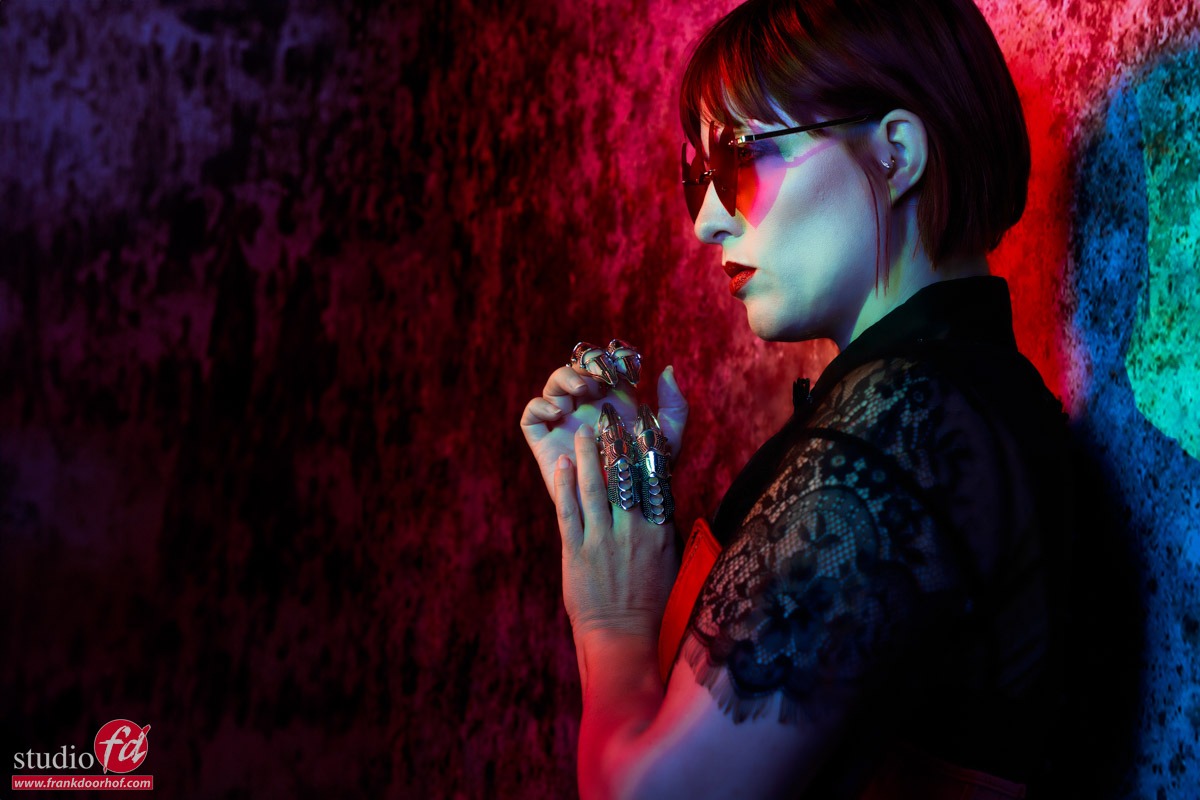
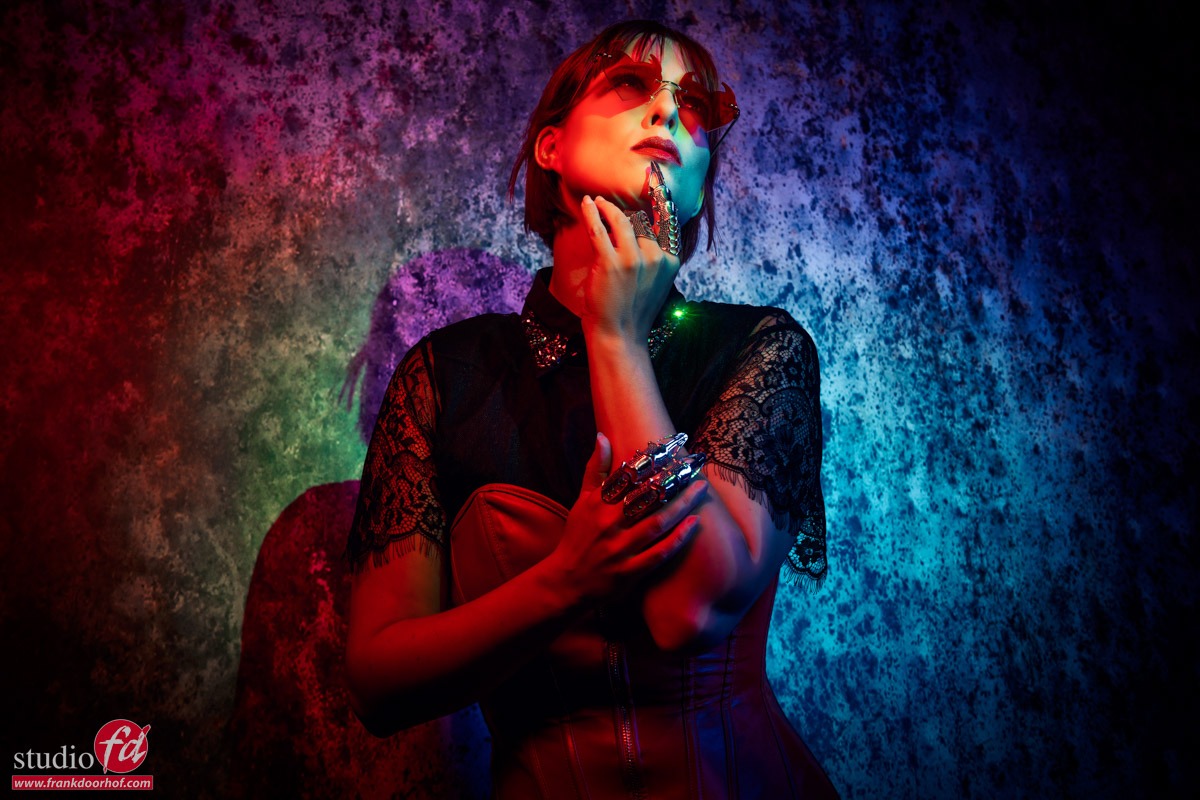
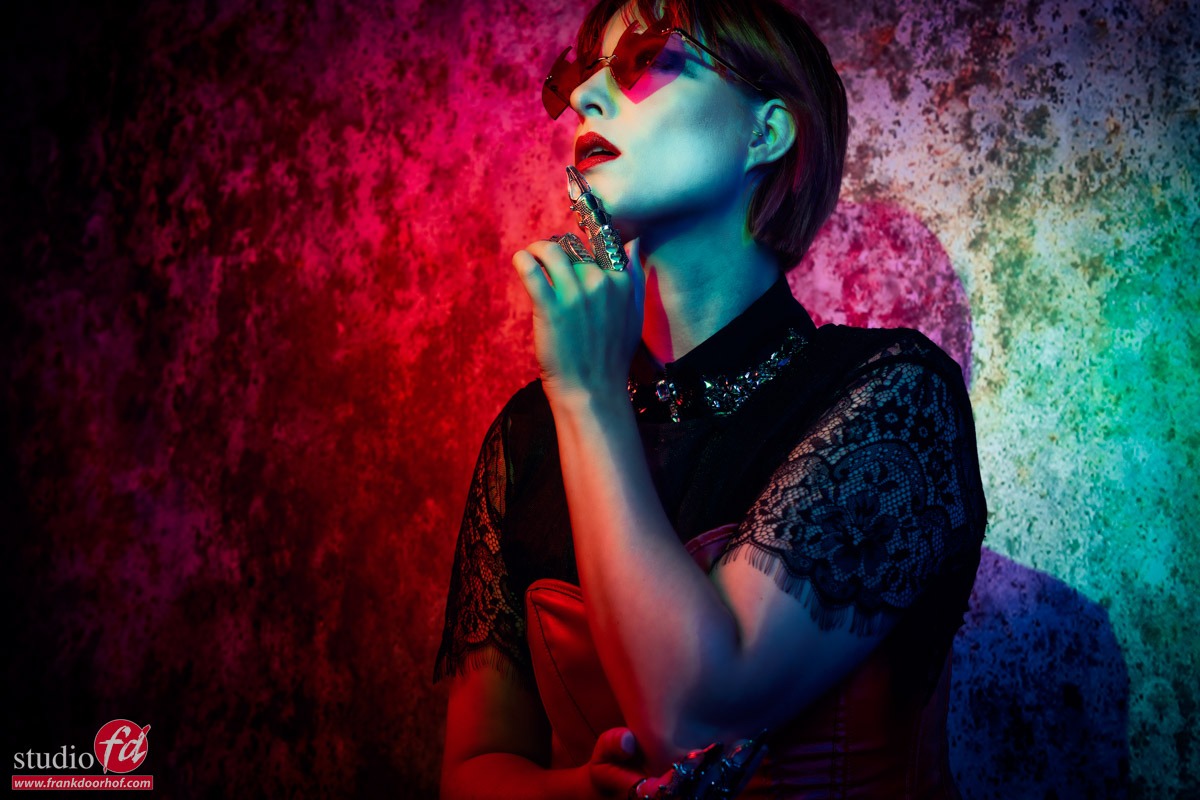
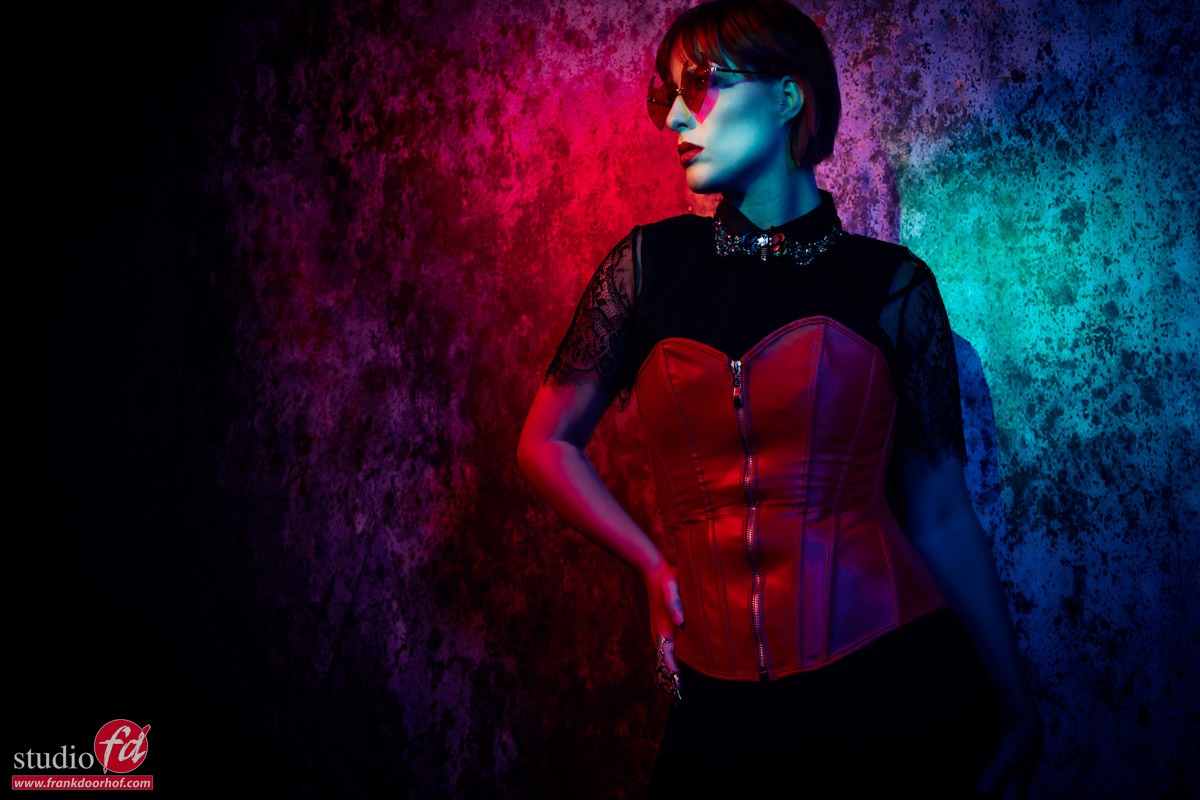
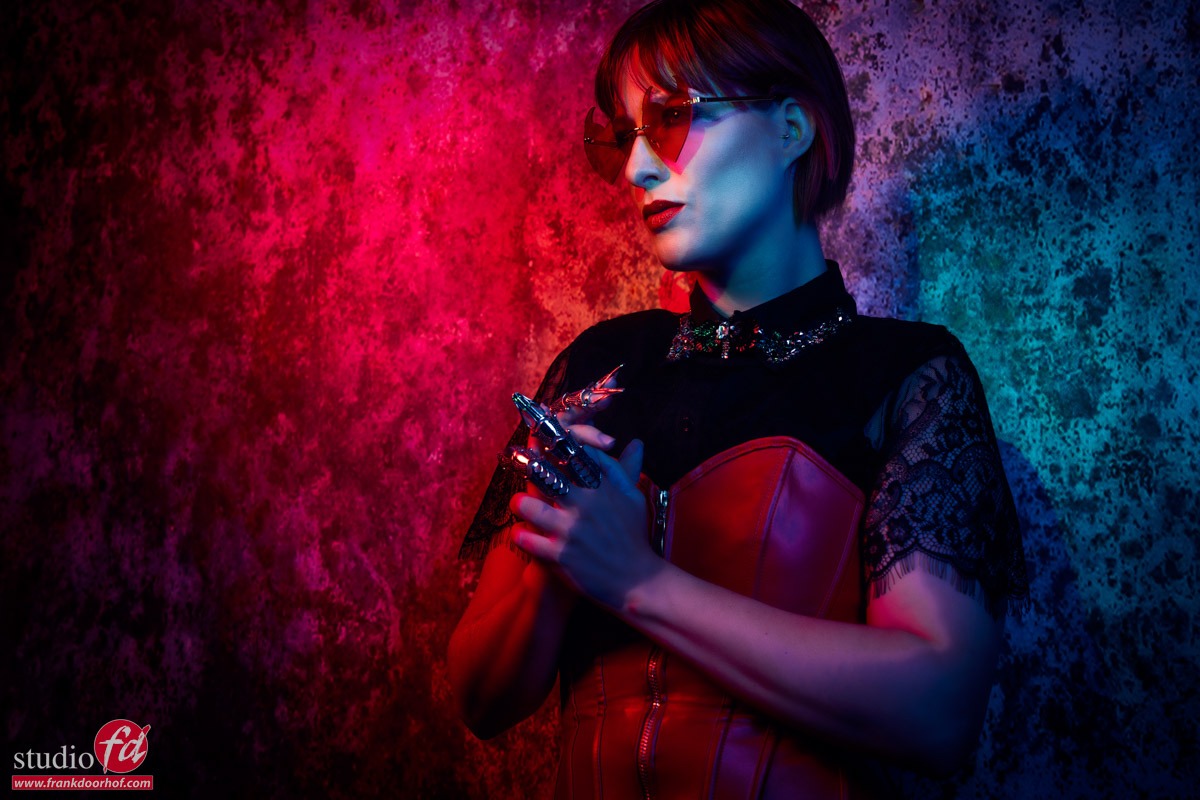
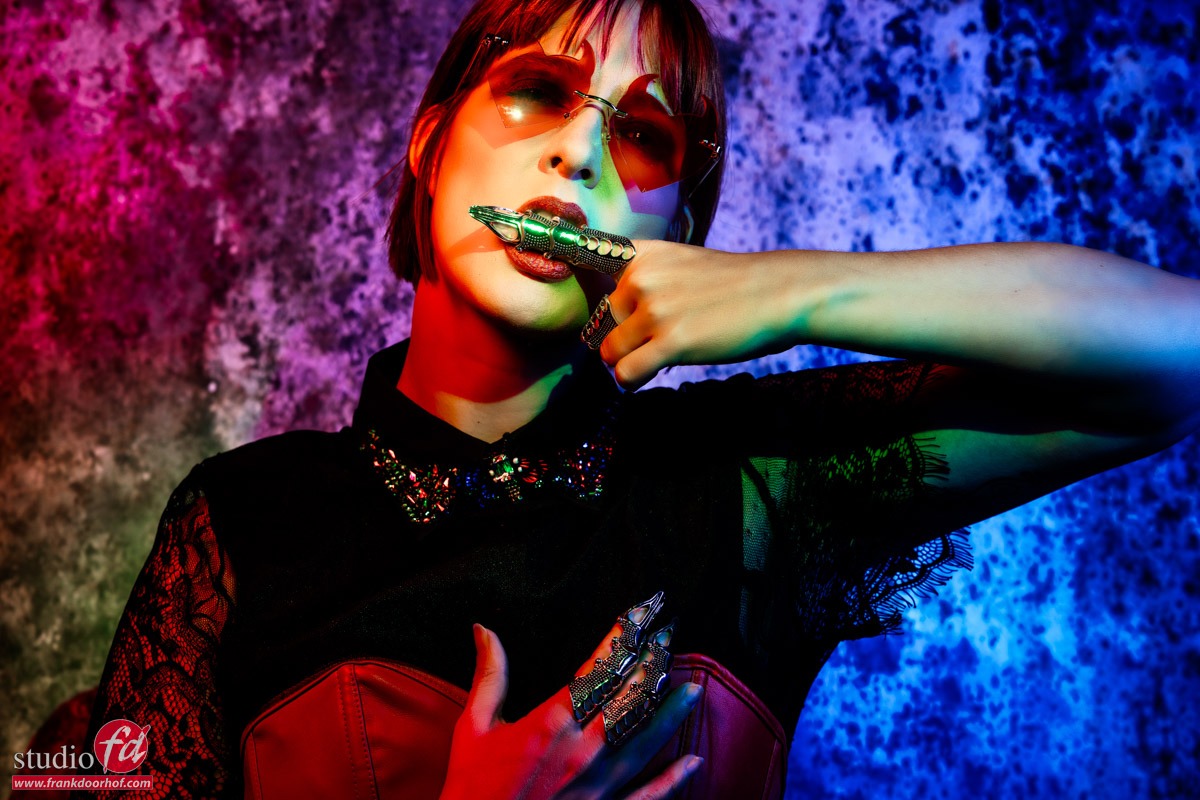
And some of the results
model: Claudia

You must be logged in to post a comment.