The lighting setup for awesome glamour
Vintage and pin-up photography and lighting
I love vintage glamour and pin-ups.Starting with George Hurrell, Avedon, Newton, to David LaChapelle.
And when you also want some insights into one of the best models in this genre, pinup/burlesque, make sure to check out Dita Von Teese, who wrote a great book about both being the model, stylist, and makeup artist.
In the next two articles, I’m going to show you two of my absolute favorite setups with vintage and pin-up photography and lighting, but on both sides of the spectrum. Today, I’m showing the always awesome high contrast/flat lighting setup.
Flat lighting for pin-up photography
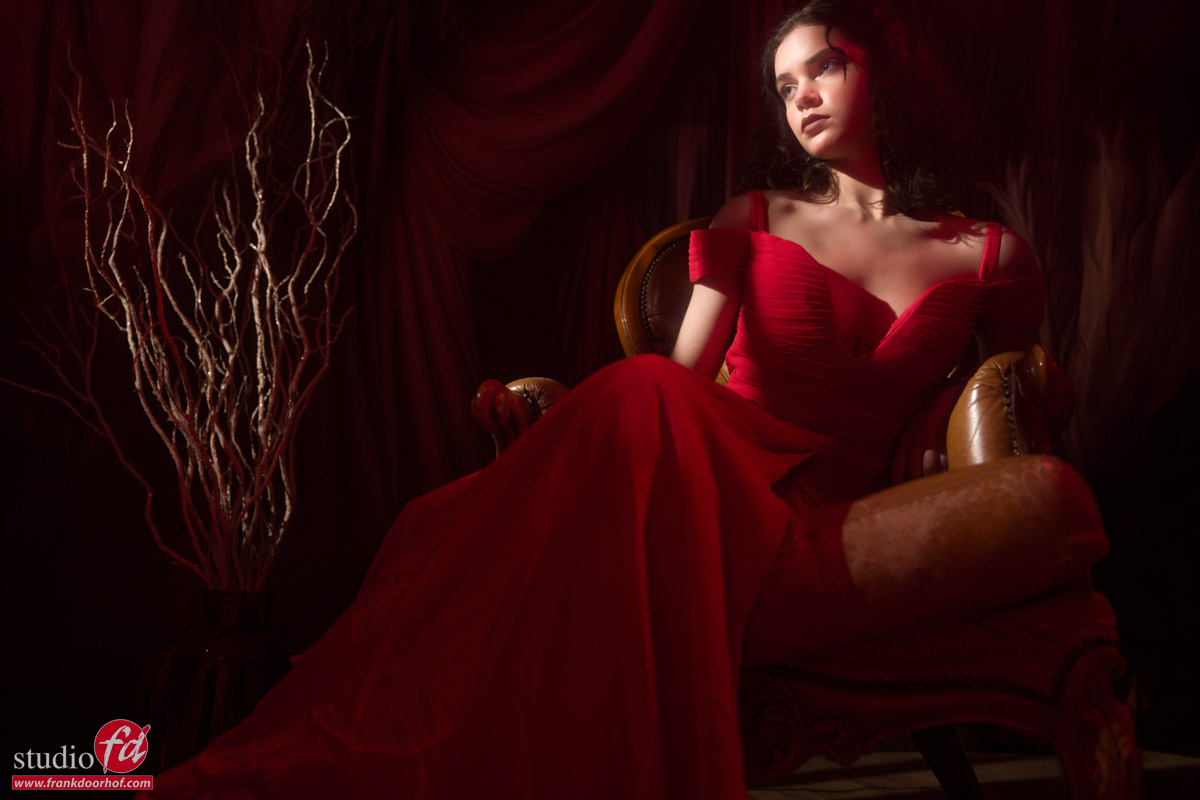
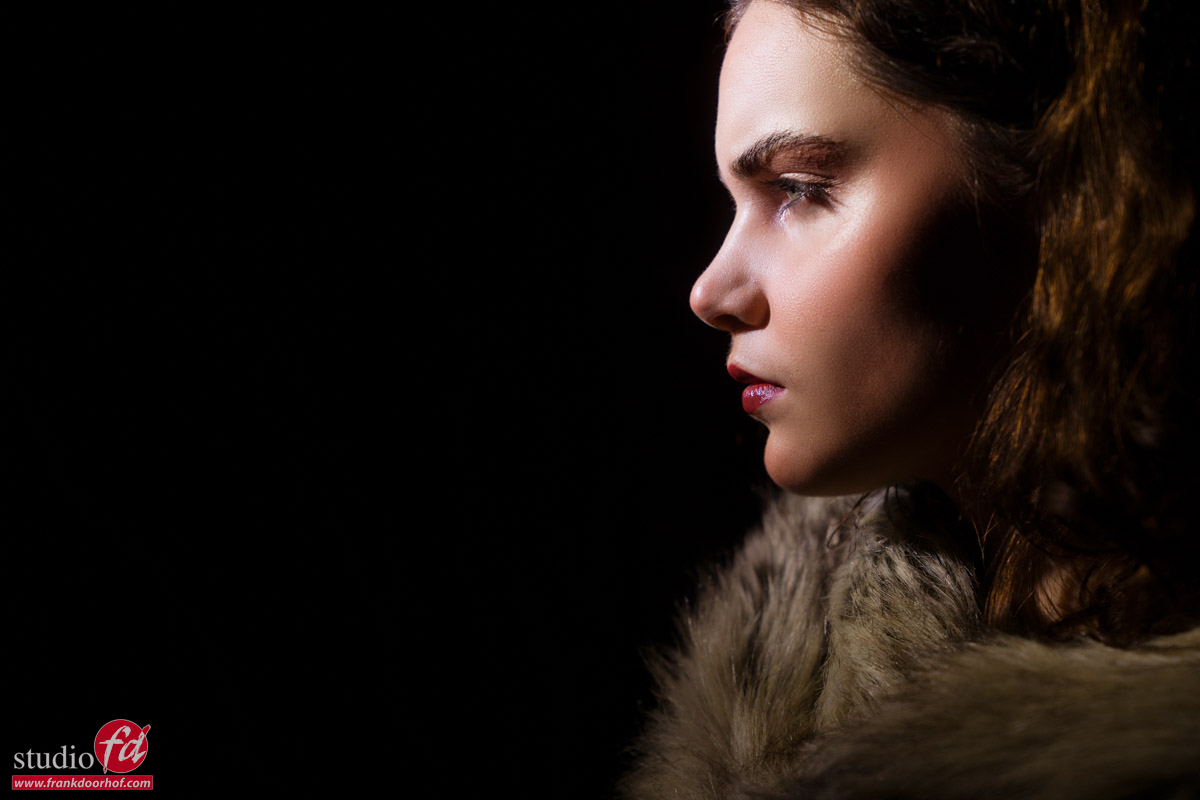
It might sound like a contradiction, but even with flat lighting, you can create some great contrast.
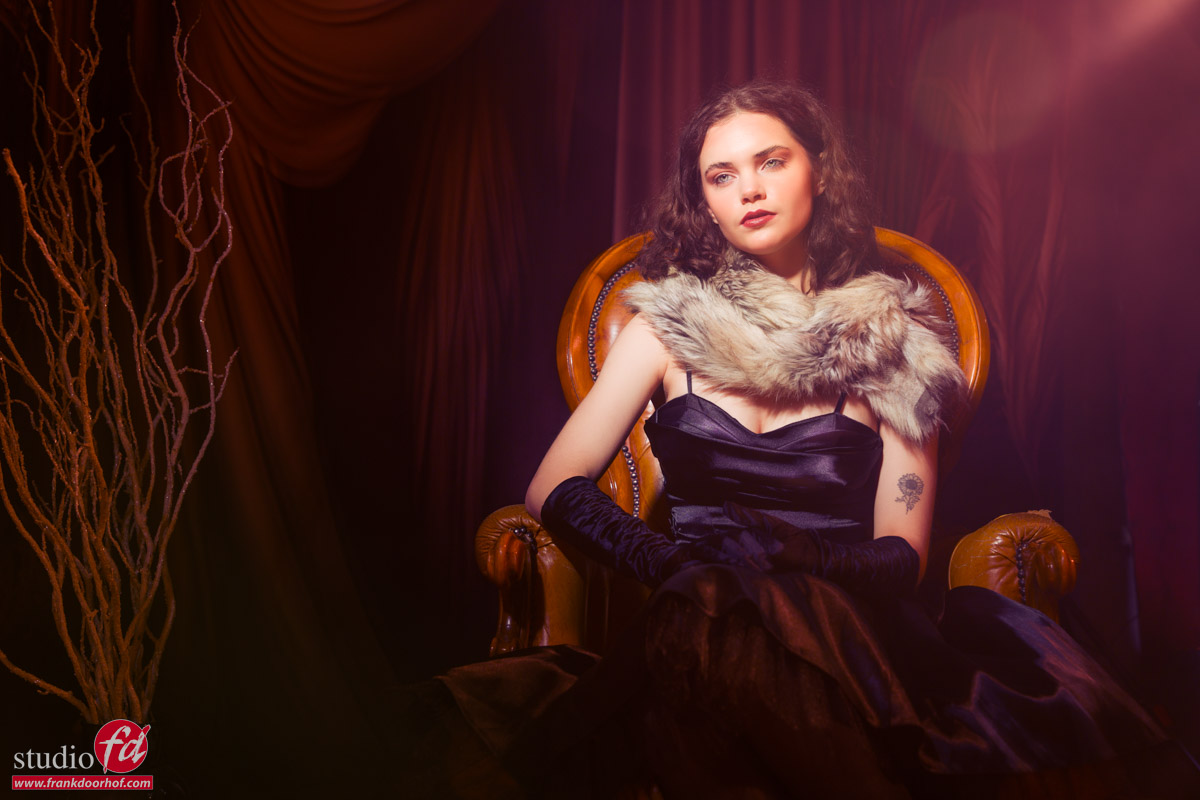
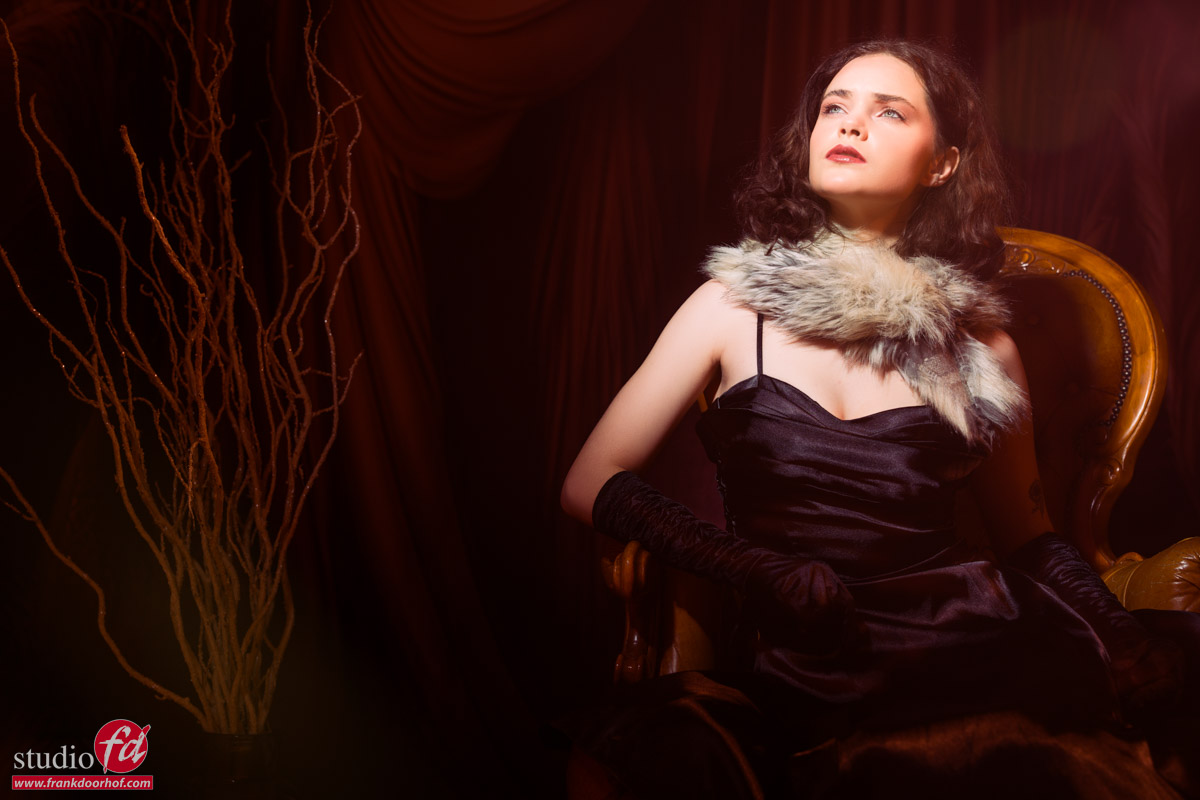
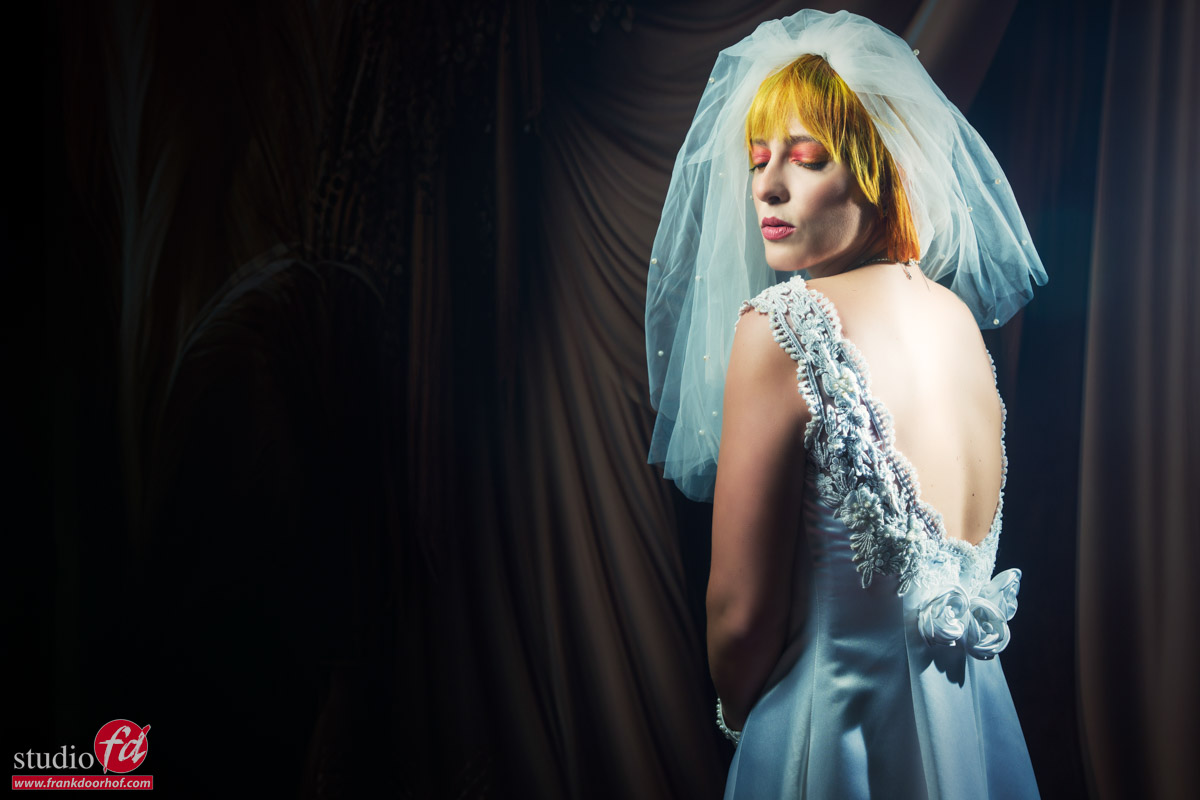
With low-key lighting setups, we play with shadows. With this technique, I’m actually working with accent lighting and highlights, which makes the depth of the face/body of the model jump out a lot more. Plus it looks great on shiny materials, and if you want, you can also get some lens flare.
The lighting setup
The setup is pretty simple, but you do need some strobes.
Mostly, I’m using a large softbox or umbrella in the front from a larger distance from my model than normal. This is done because I also want light to hit my background. So, due to the inverse square law, you can determine how much light is hitting your background.
Move the light further away from the model if you want more light on the background. Move it closer if you want less light on the background (of course, you have to re-meter the light on the model when you change the distance).
Accent lighting
For the accents, I love to use two strip lights with grids.
I’m using the grids because I don’t want double shadows on the floor. And because the accents are aimed towards the camera, this can happen very quickly when you are not careful. So, we aim the strobes mostly slightly up when shooting full body, the grid does the rest.
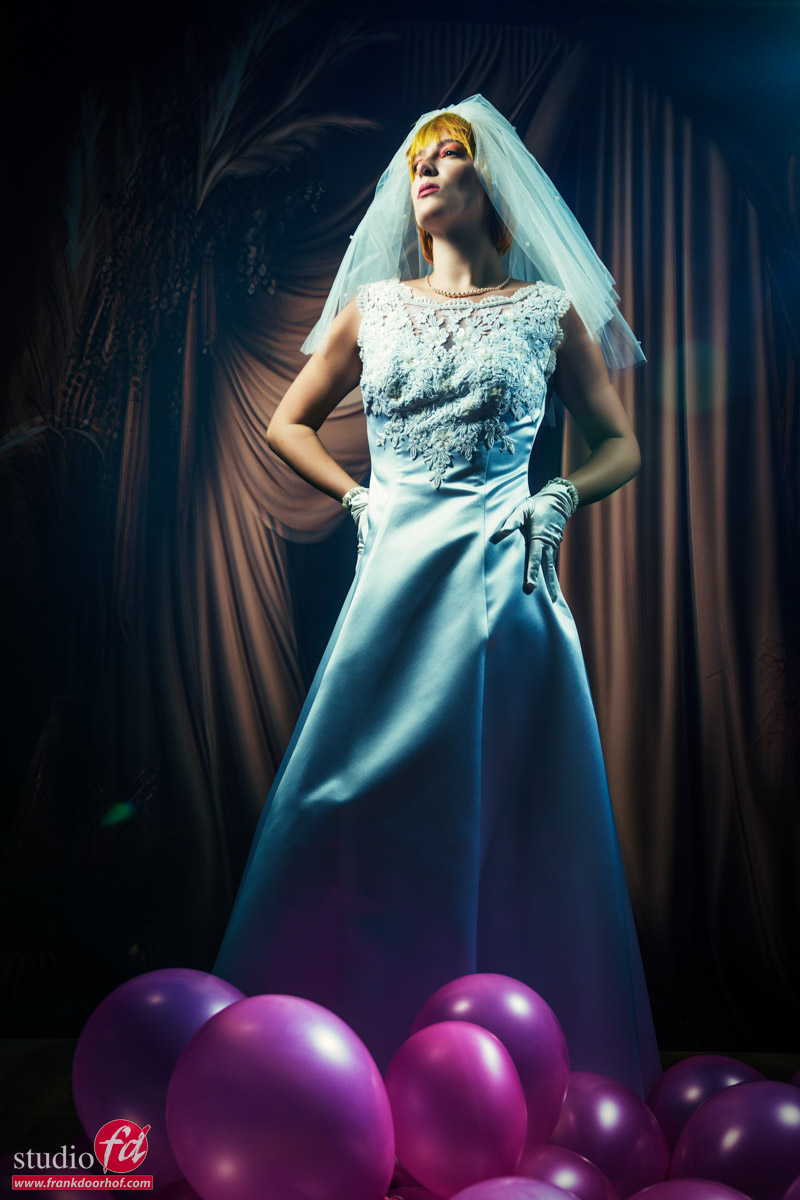
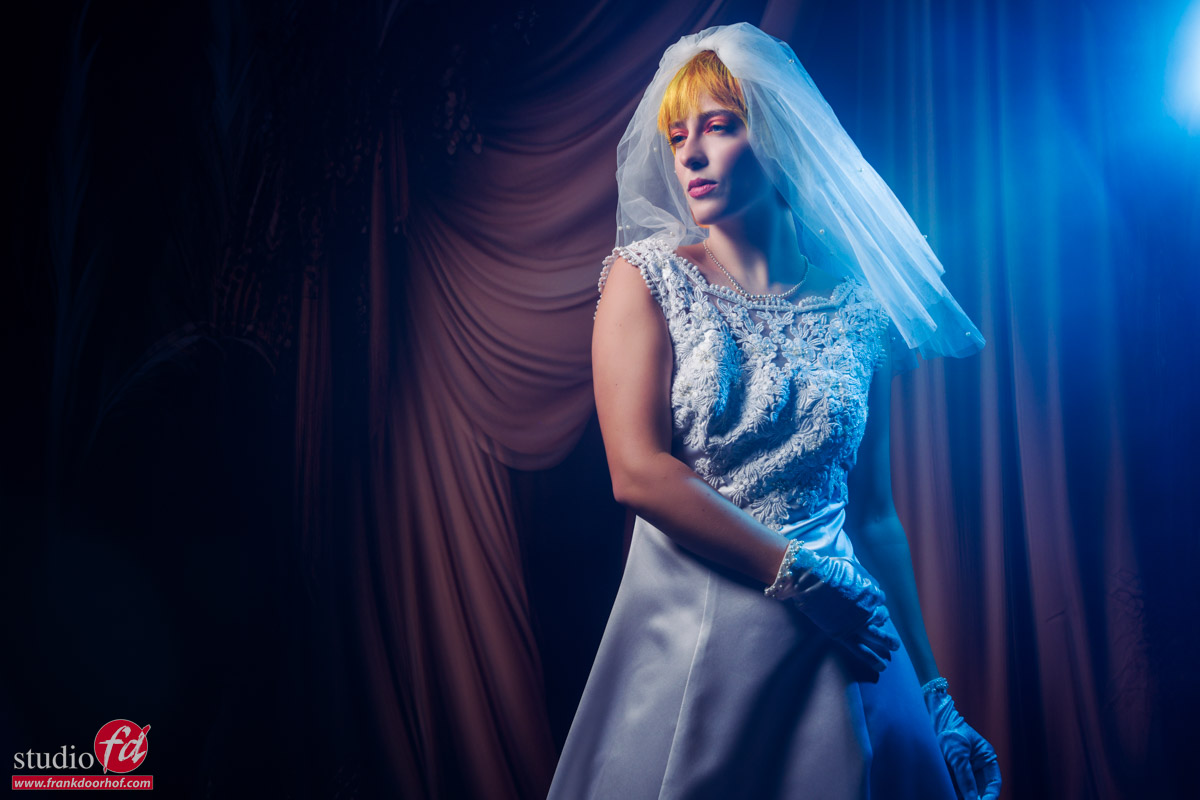
And finally, I’m using one strobe with the Rogue magnetic system with grids, or the snoot for the spot in the background.
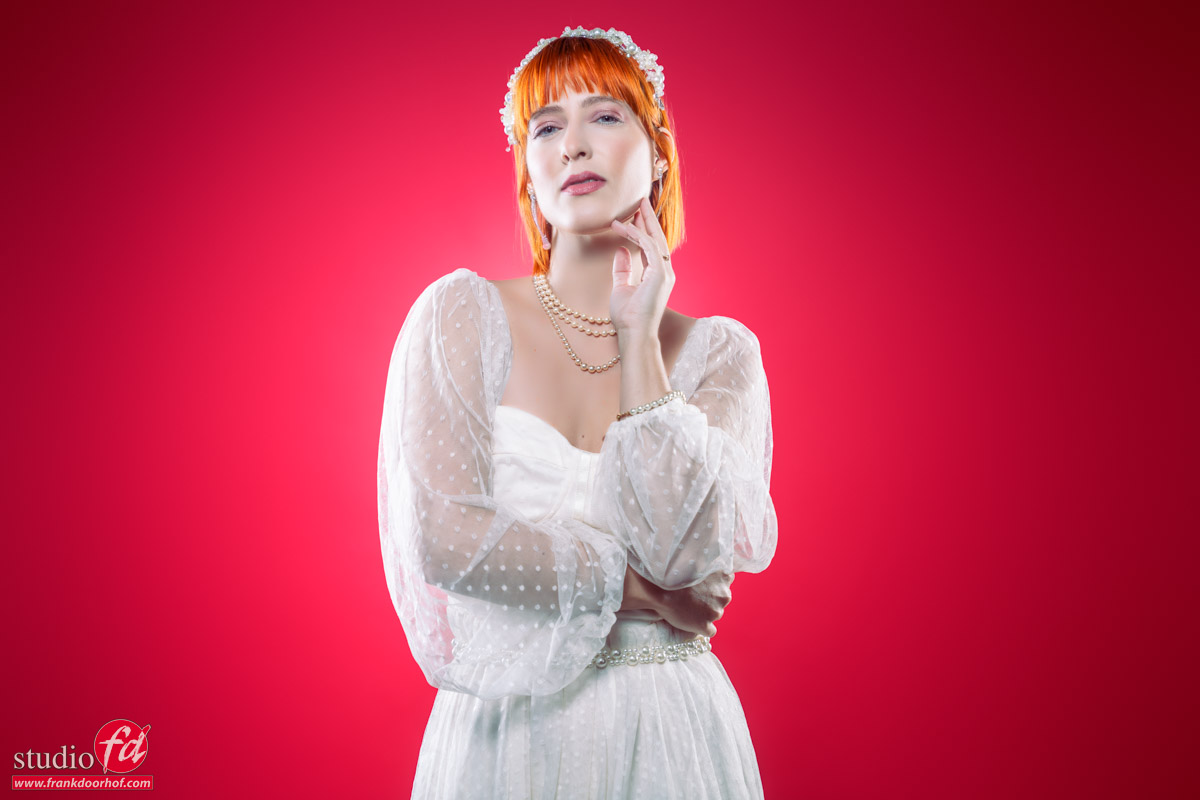
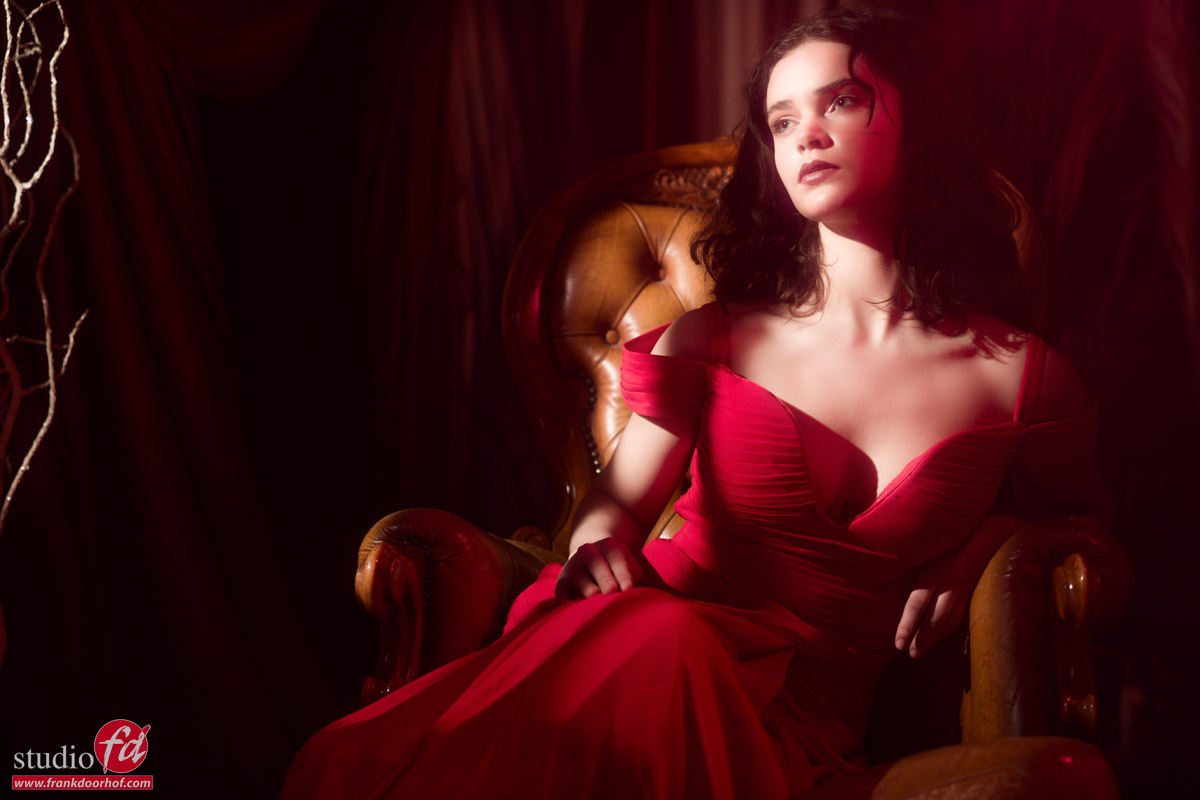
In this setup, I like to overexpose my model slightly when shooting to get an extra “glow” in the skin.
Beware:
If the accents are too close to the model, you can get lens flare.
You can move the lights further away or use flags to prevent the lens flare.
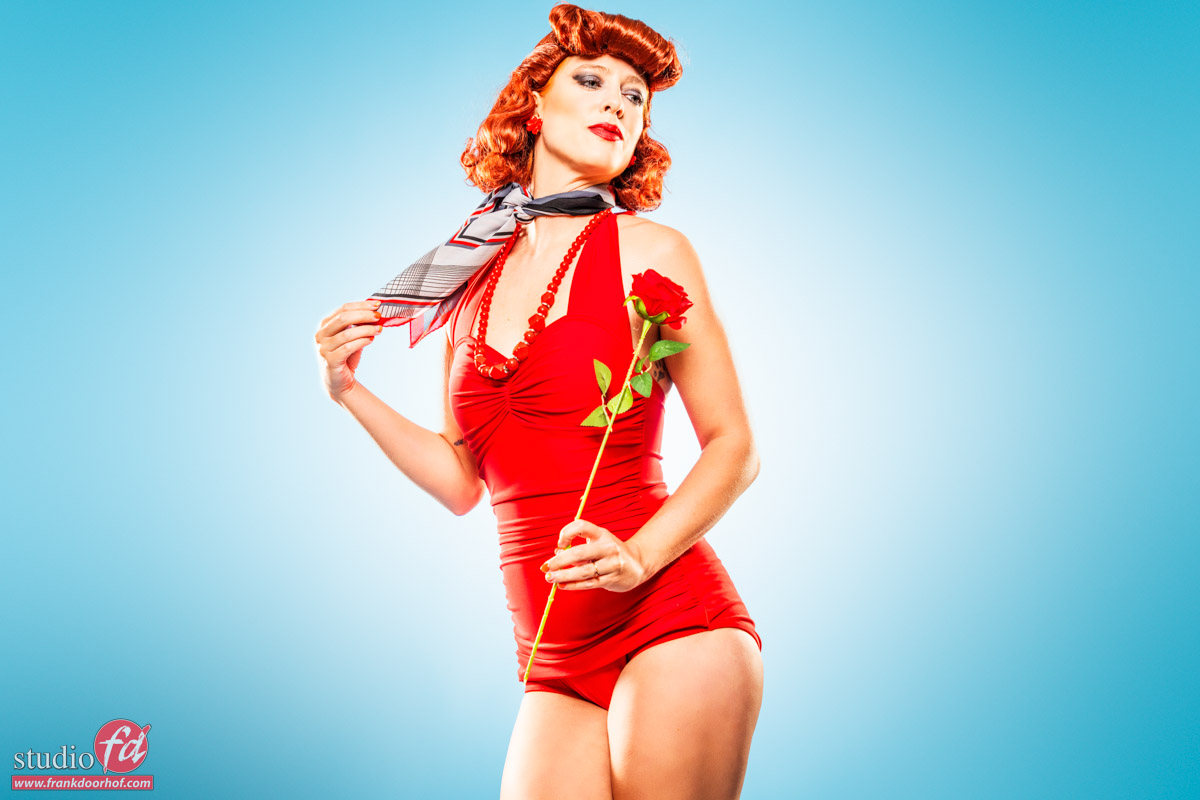
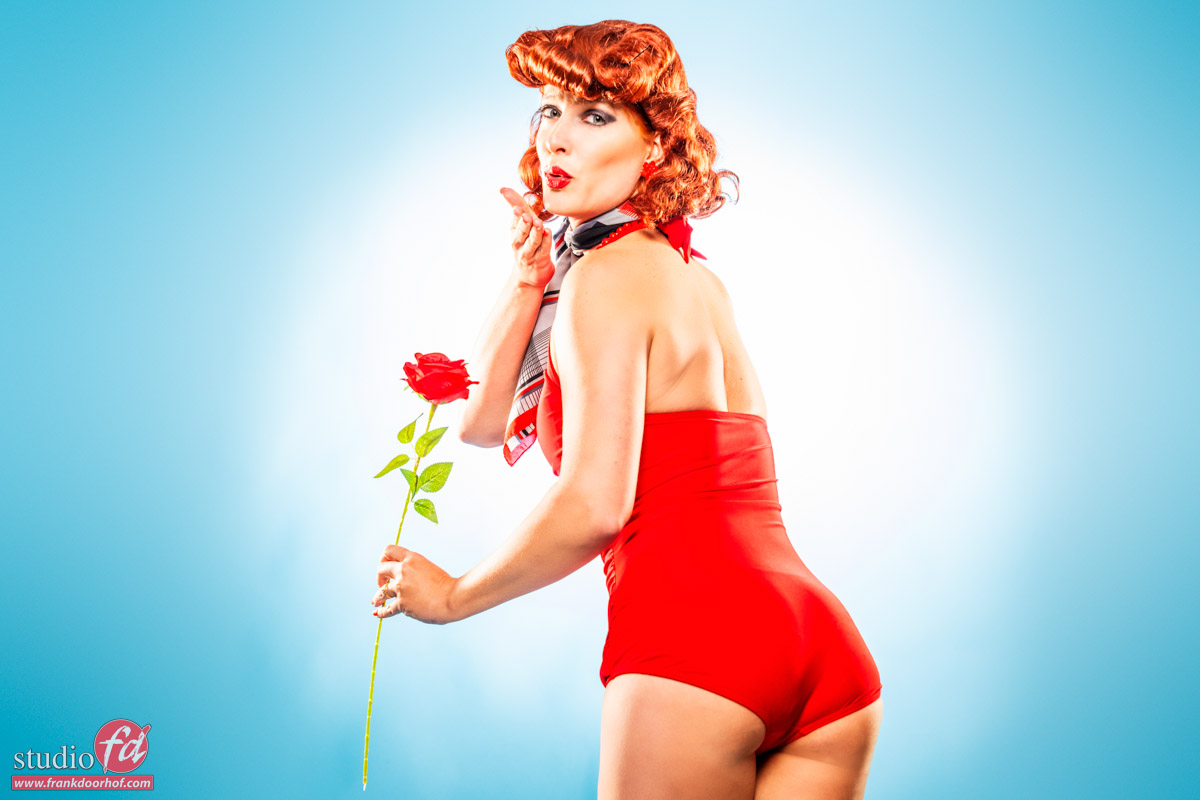
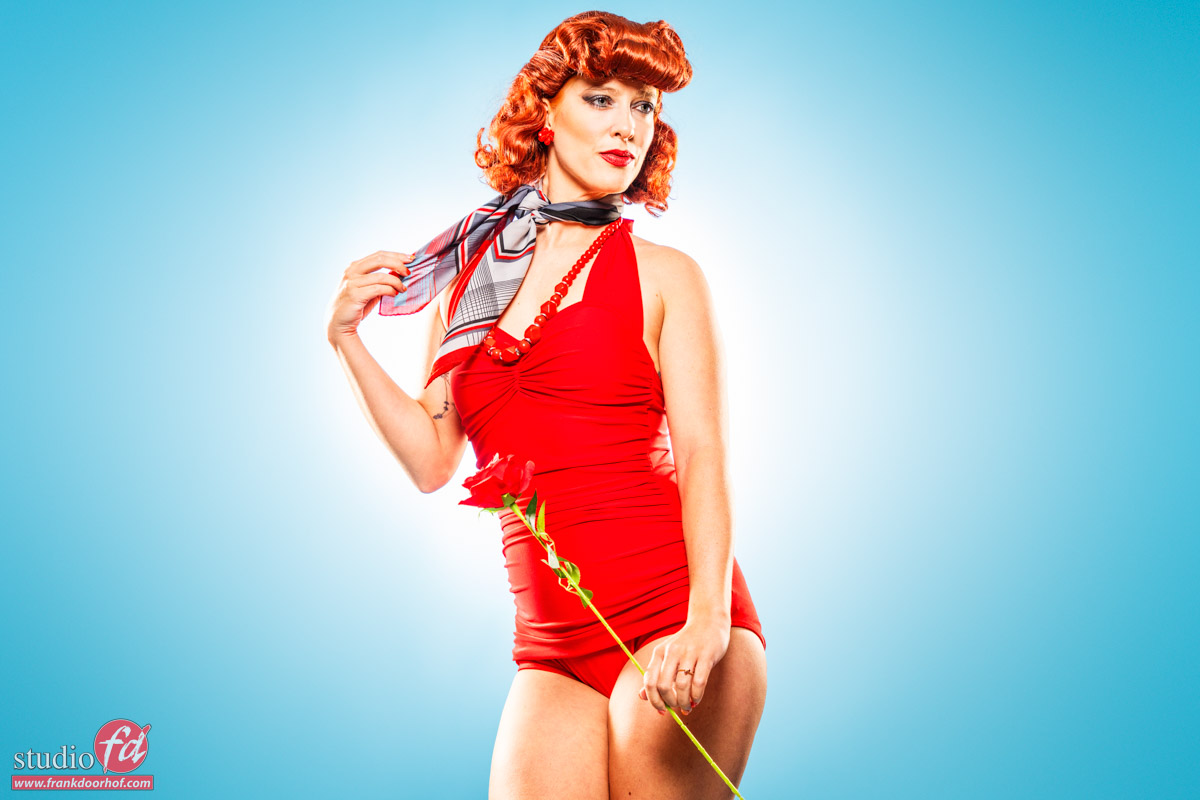
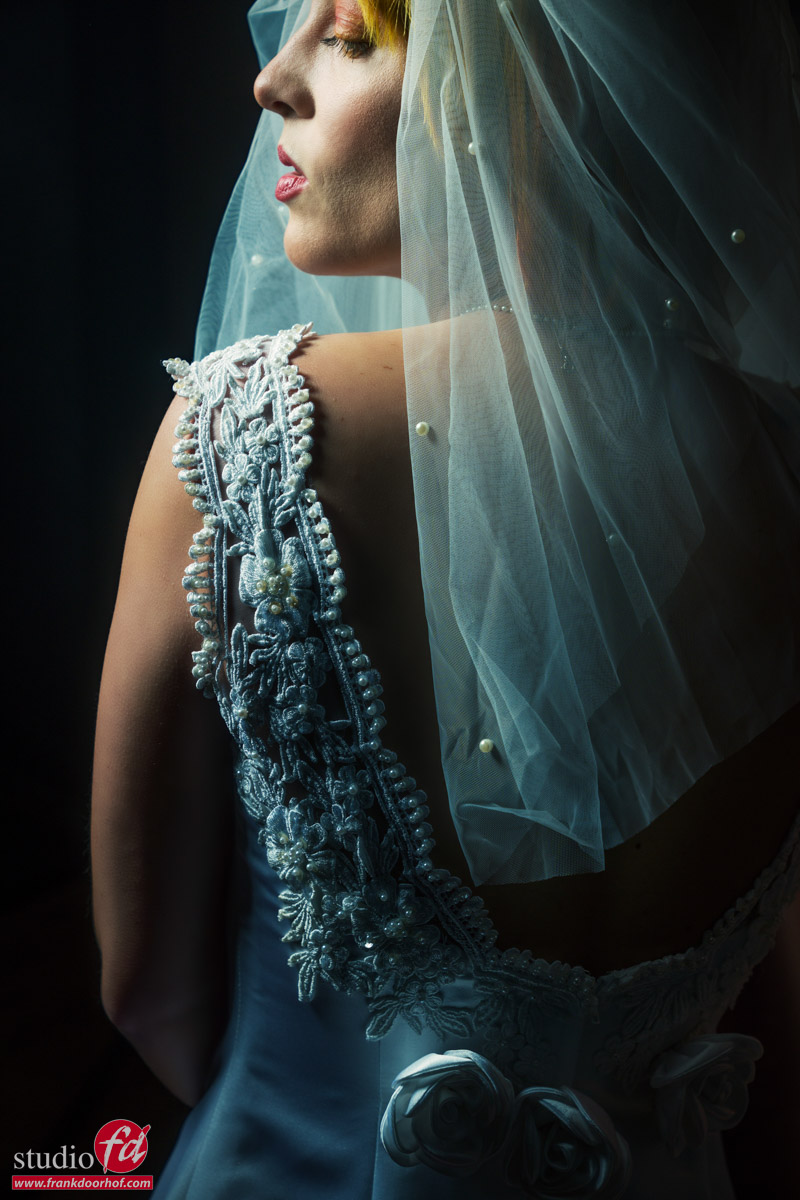
The examples during this blog post were shot during a workshop with Claudia. And in most, I kept the colors pretty low in the blues to make the red jump out more. But as you can see, sometimes also boosting the blue can be great and striking. It’s in the end a personal choice, or just deliver both 😀

Want to see the lighting and how we photograph these vintage and pin-up set?
In this video, you can see a similar setup during a workshop.
And the images
See www.fotografie-workshops.nl for the workshops

You must be logged in to post a comment.