Tag Archive for: iPad

International Dog Day

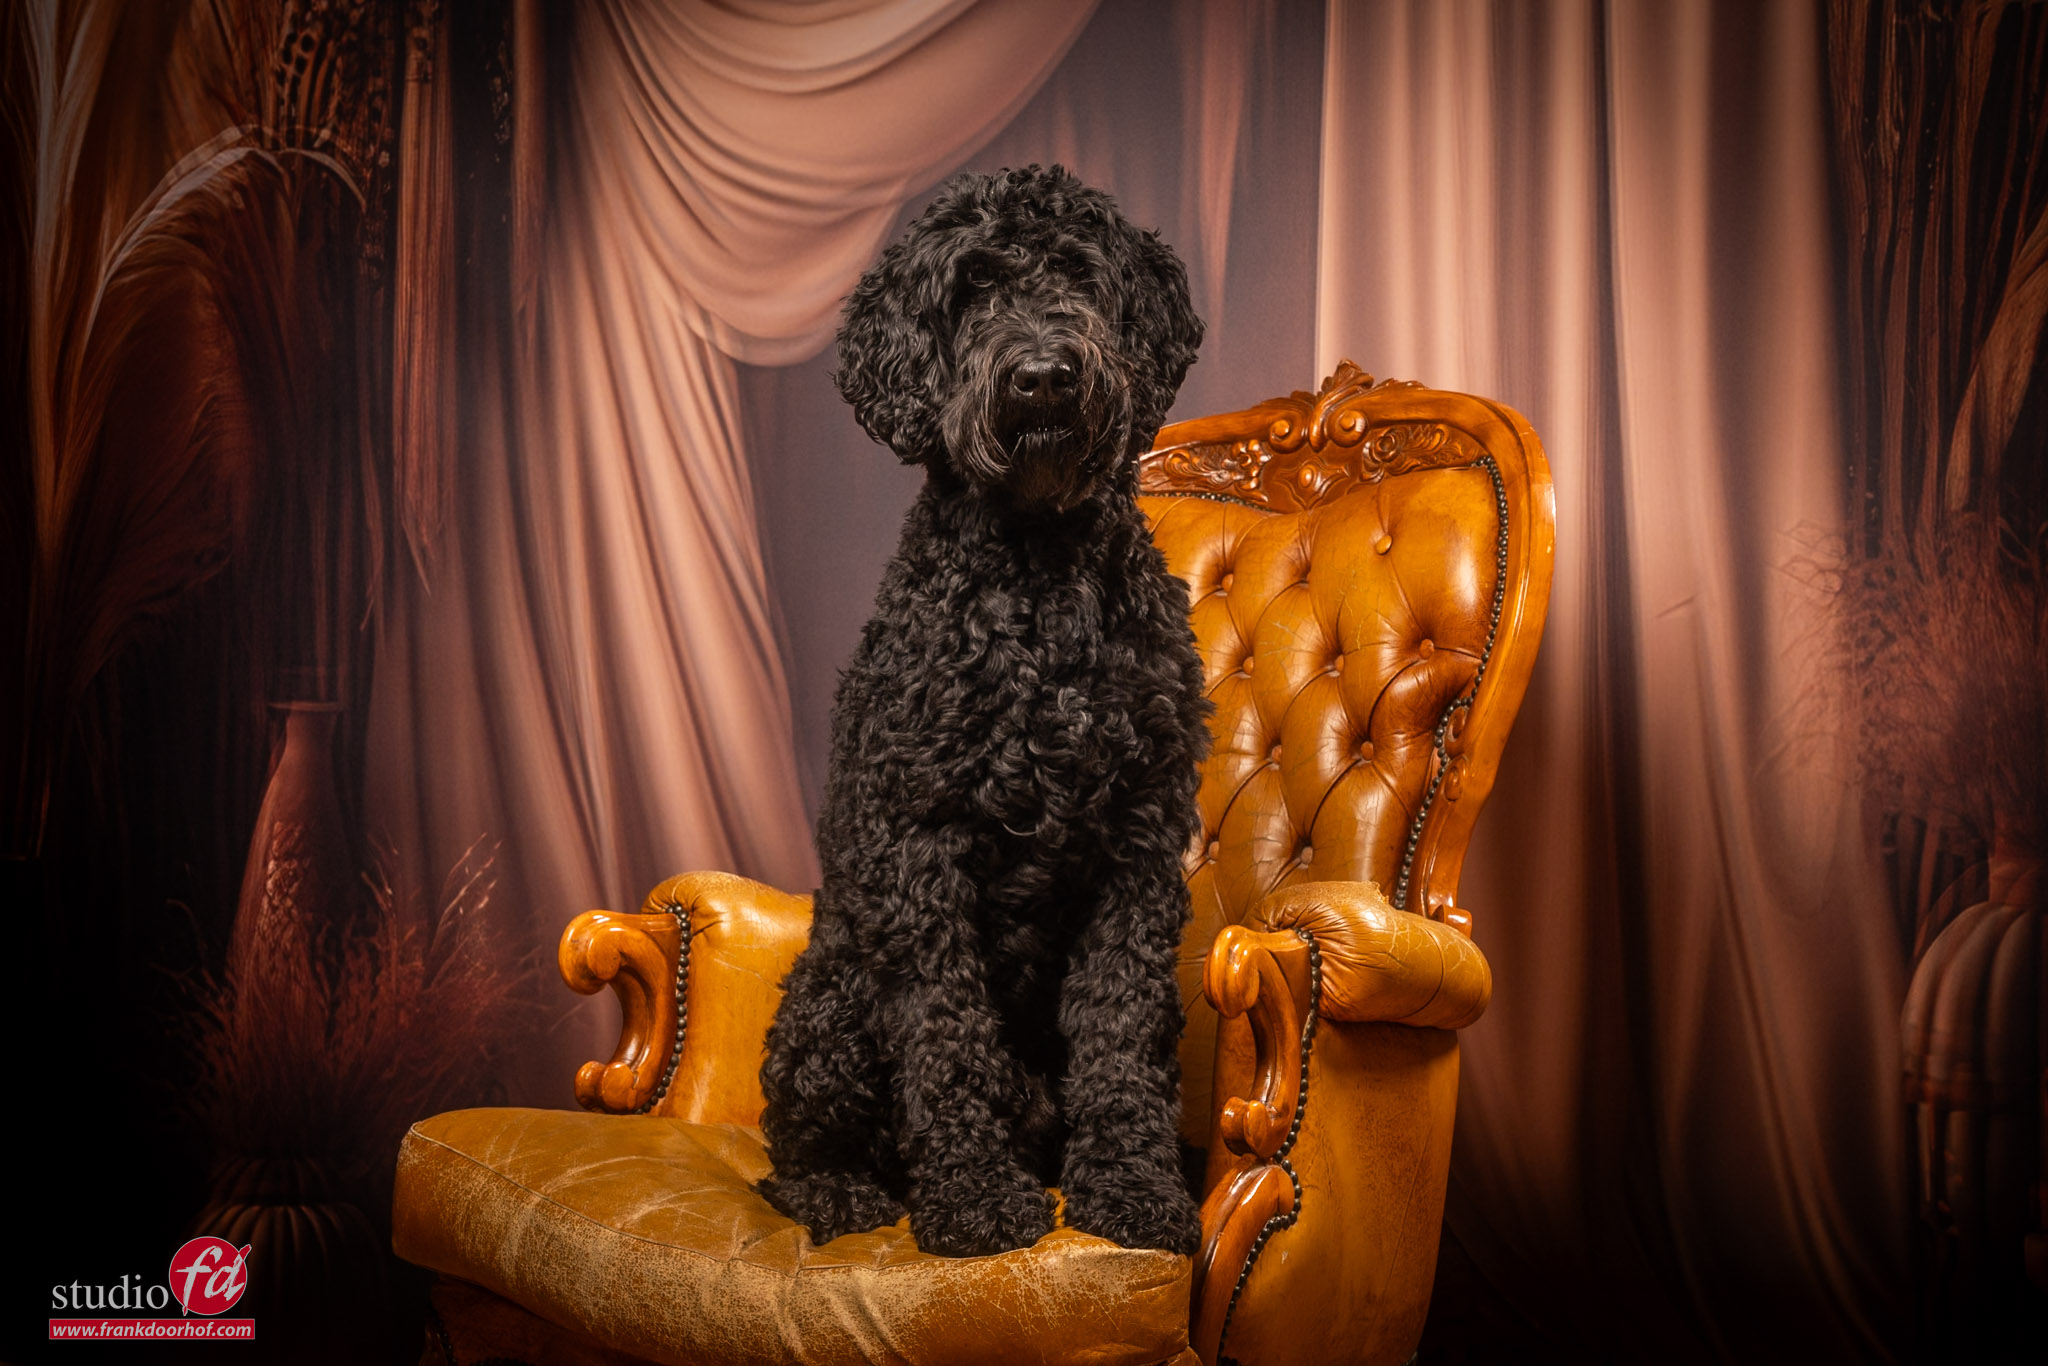
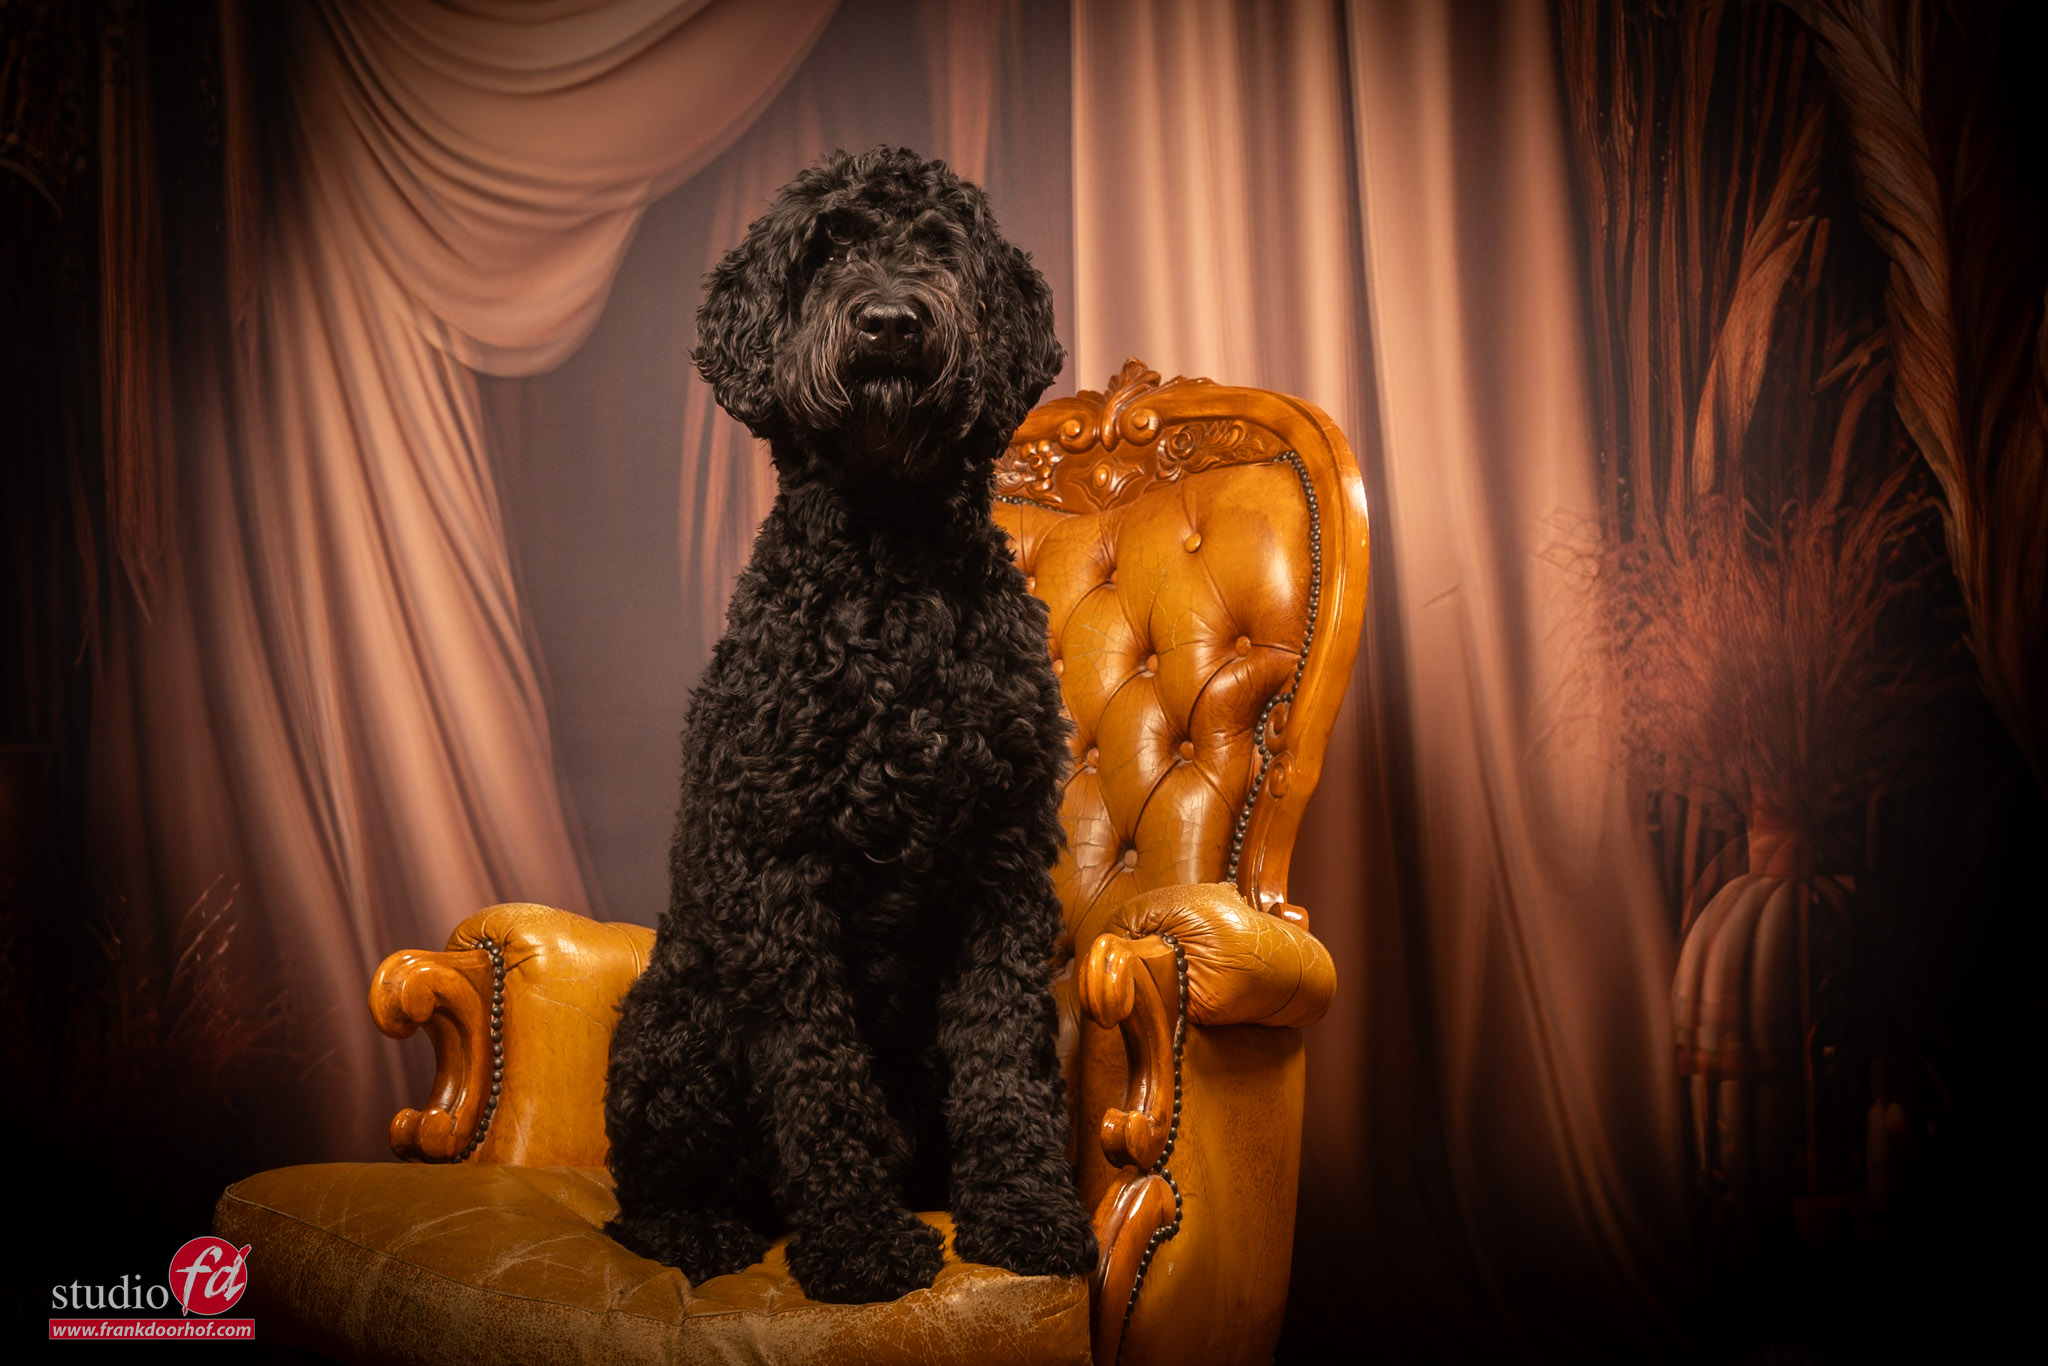
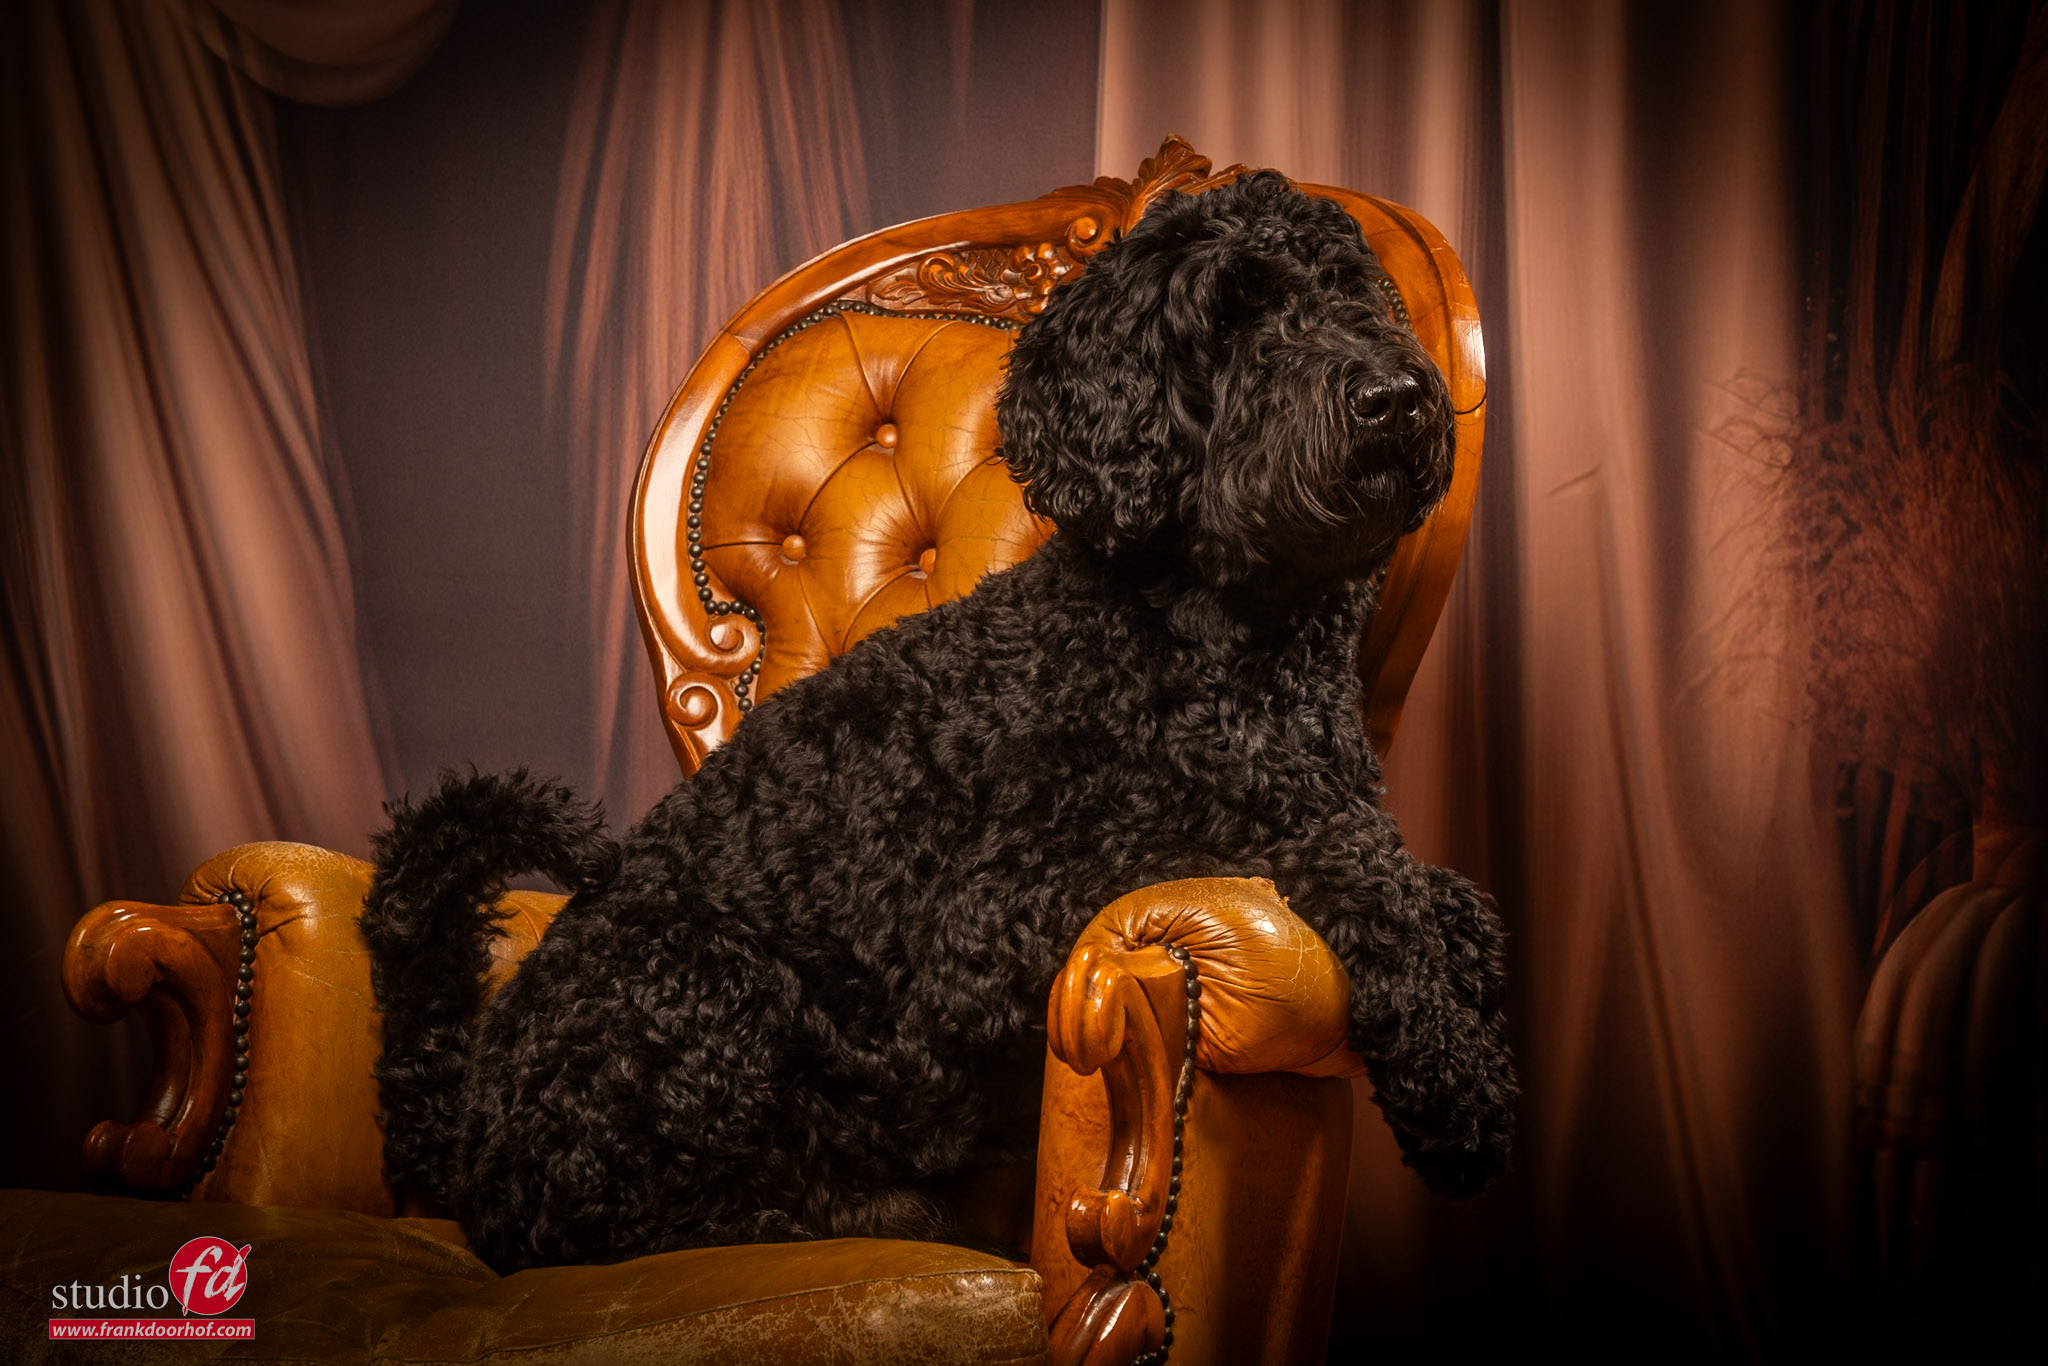
Today it’s international Dog Day

So a special model for todays blogpost.
If you follow our YouTube channel  I’m pretty sure you have seen our model of the day a few times.
He loves to “help” with filming tutorials, and sometimes during workshops he just jumps into the scene posing like a real diva.

Today in the spotlight our black labradoodle Chewie.

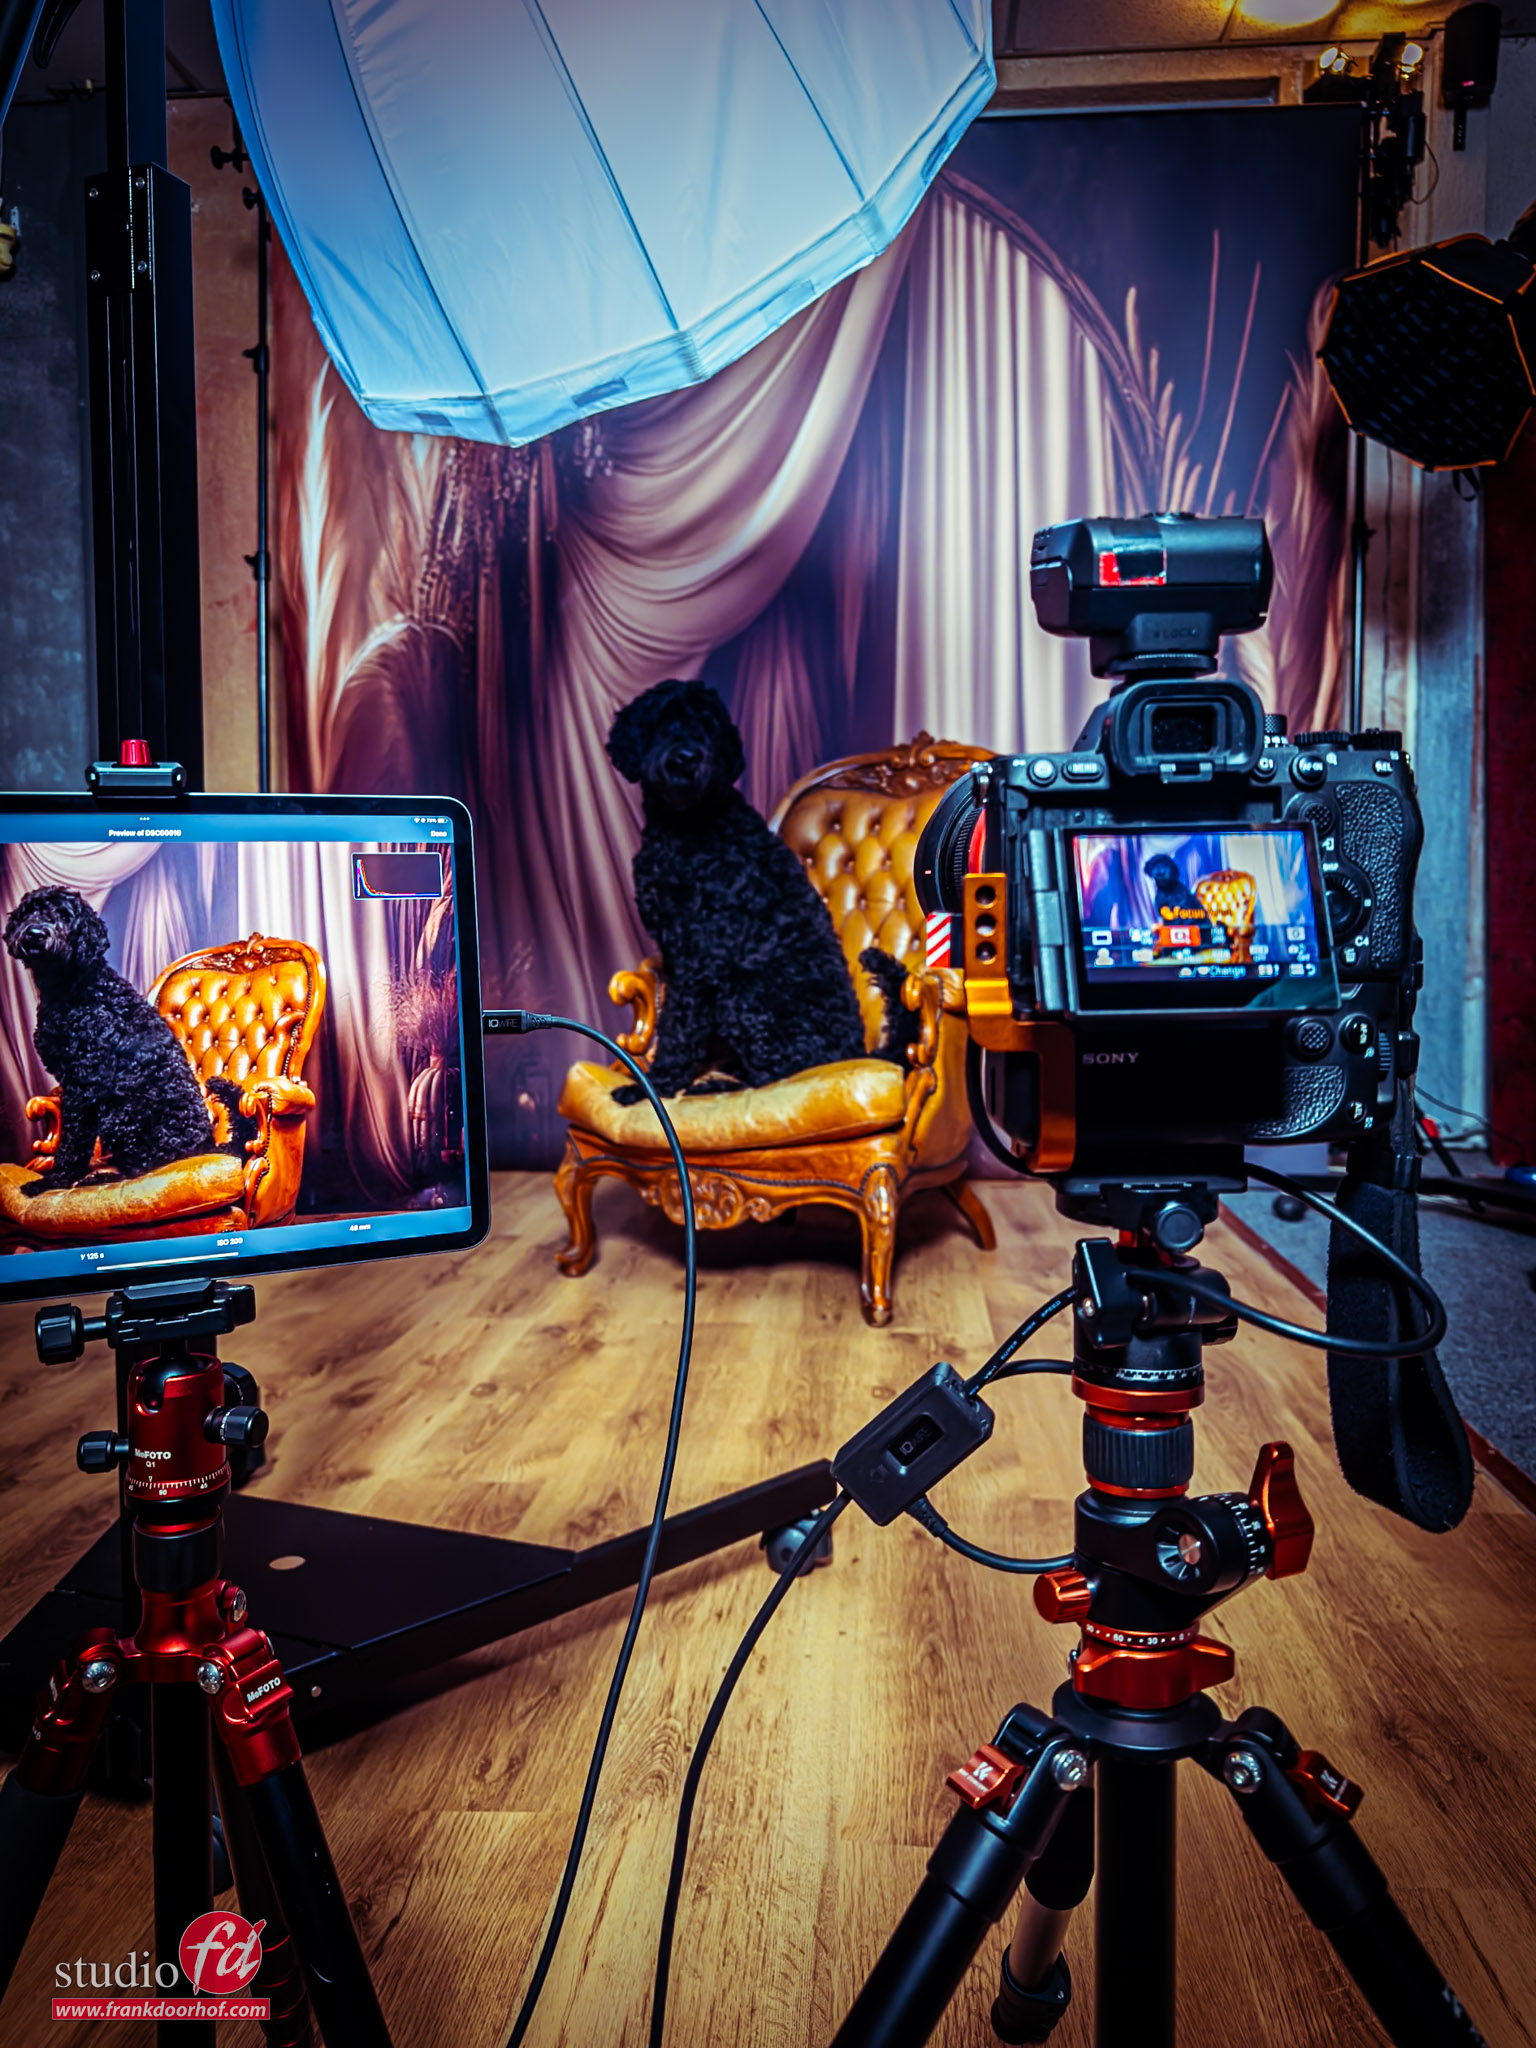
And the behind the scenes setup.

I’m using the Geekoto Lantern as my main light. This is a very nice lightsource to place close to your subject for great detail in for example… a black dog, without getting a real spot effect on the backdrop, so one light to light both the subject and background, by angling the lantern you can control the amount of light hitting the backdrop. It’s super easy.

As accent you can use almost anything, as long as you take into account the light quality.
A smaller lightsource will give a harsher quality of light.
In this case I’m using a small softbox for example the Geekoto Quicky to give a “kick” of light from the side creating some extra depth and fill.By using a grid you prevent spill light on for example the background, and it can prevent lens flare.

I’m using the Sony A7RV straight into my iPad with the iQwire tethering system, both cable and defense system.
On the iPad I’m running the CasCable app and in the background Lightroom to sync with the desktop right into my catalogue.

I hope you spoil your dog just a little bit extra today.


A challenging location for a great shot

But we did it

Sometimes demos and workshops are at great locations with loads of room.
And sometimes (most of the times) it’s in a less than ideal situation.
This is why I love to challenge myself and the models during the workshops on location and in the studio.

Roel during the Camerado event

Recently we have a new very nice event in the Netherlands called Camerado.
It’s a small trade show with loads of workshops in different locations.
Some are hands on and some are lectures, but they all are very interesting topics.
I’ve been teaching at the last two episodes and this time we thought it would be nice to also do a small 45 minute location workshop.

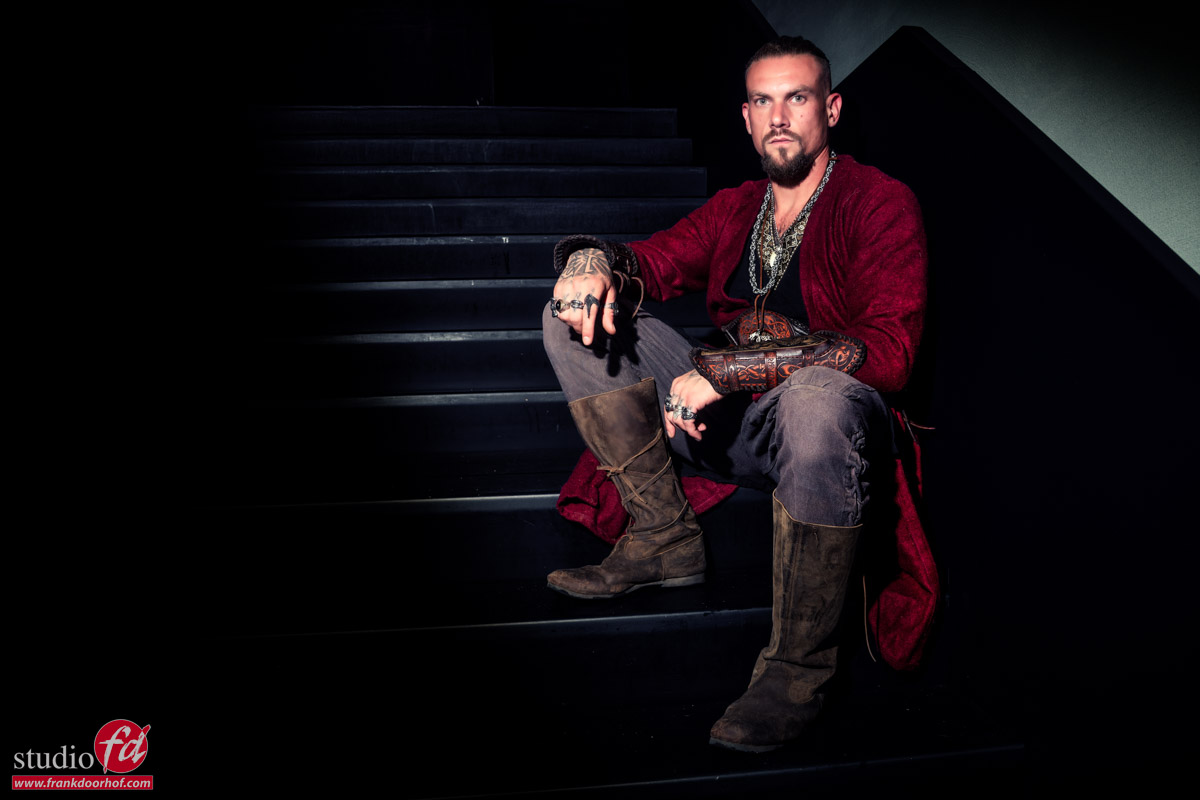
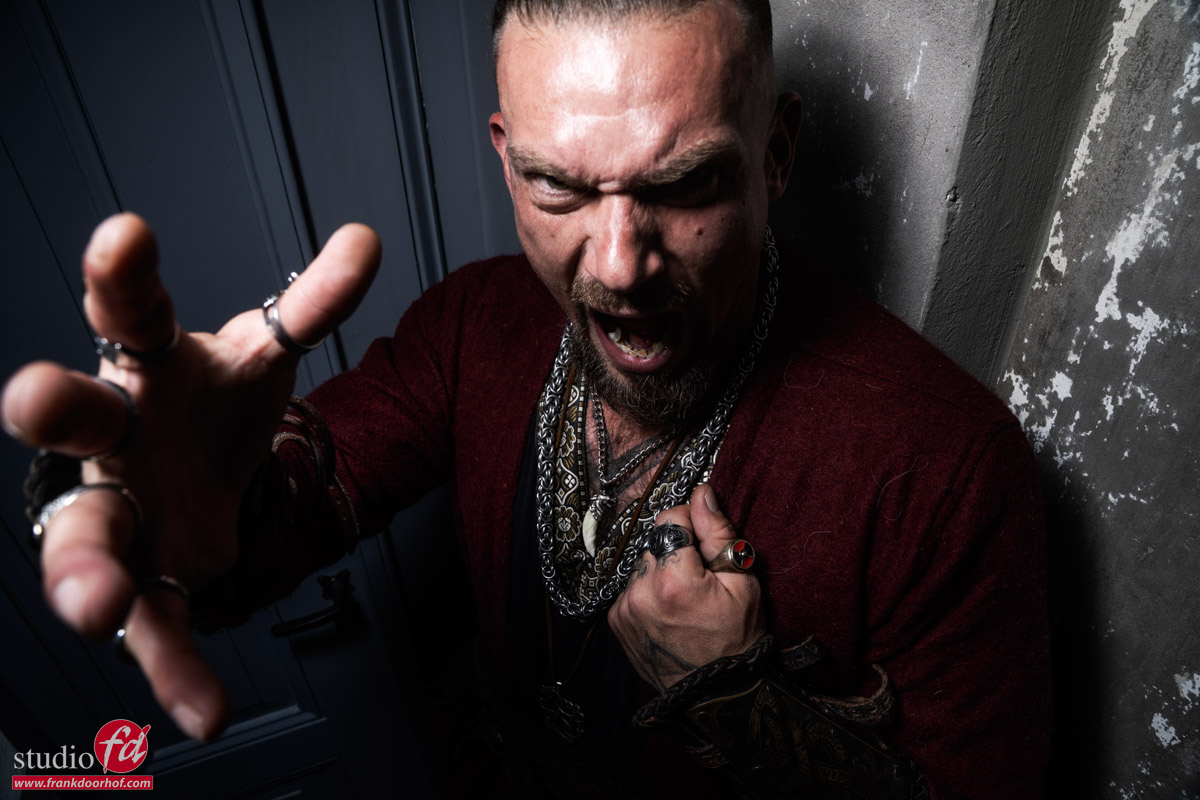
As you could have seen in the previous blogposts I love to work in tight spaces, so for this shoot we decided to use the staircase in the fort Noxx (yeah really :D) and place our model Roel in 2 different locations for totally different looks.

The first look is the “I know it will be usable” shot.
For this shot I’m using a Geekoto GT200 with the Rogue Magnetic system and the omnidirectional dome attachment. This will give me a very nice “semi-soft” quality of light. I’m using almost straight on the model. To make sure the surround area (where people were sitting) falls into the shadow area I’ve placed the light relatively close to the model. If you want to light more of the scene, move the light away, want more focussed light move it closer.

The result is a rather boring, but usable shot.

I did enhance the shadows in Photoshop and removed some feet and bodies 😀
But making sure it’s as good as possible in camera saves you a lot of work.

After getting the safe shot (always make sure you get that one).
It was time to experiment a bit more.
Using modeling lights on location is often not perfect or not even possible when there is too much ambient light and especially when you’re under time pressure it’s essential that you can judge your images when you shoot them.


I’ve been using the app Cascable for a while now on my iPad and can highly recommend checking it out.
Using the iPad makes tethering on location a lot easier and the battery runs all day without any problems.
Also with the new version the workflow between Lightroom and Cascable is super easy to setup, and it even works with Apple Photos.


More contrast

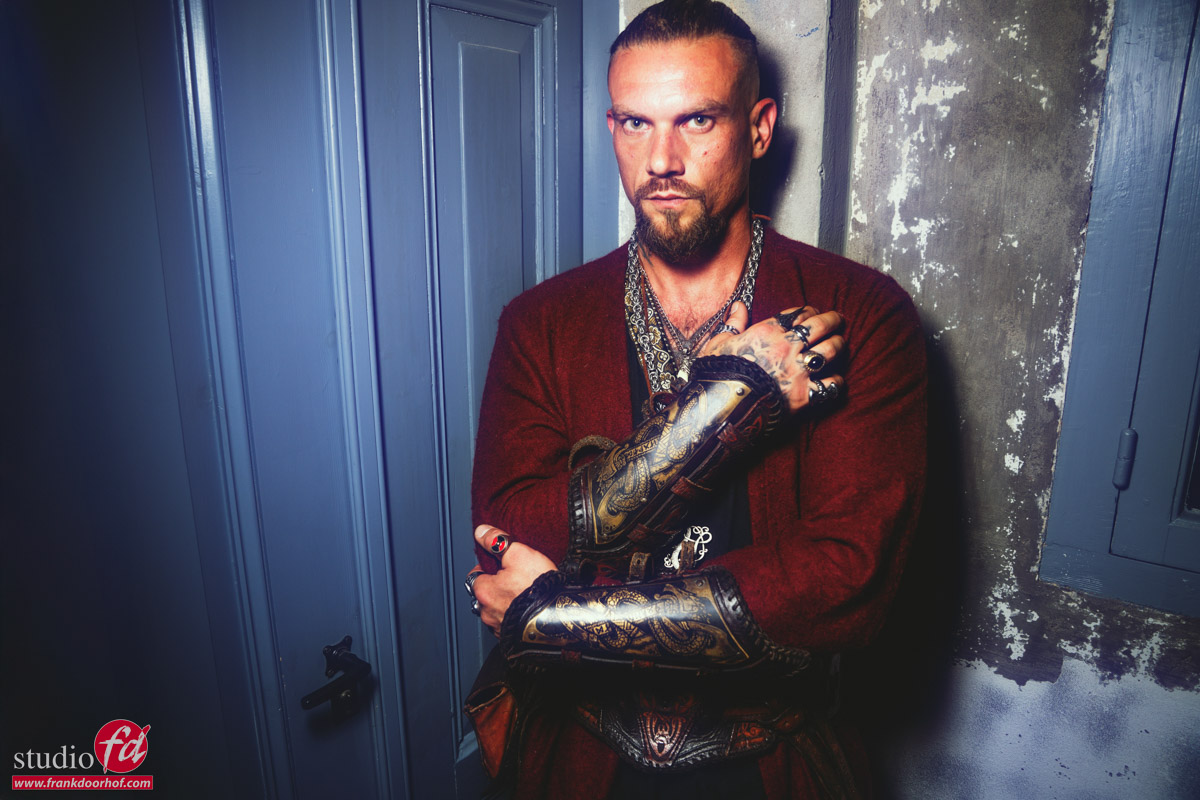
For the next setup we moved down the stairs and placed Roel in the corner near a old door.
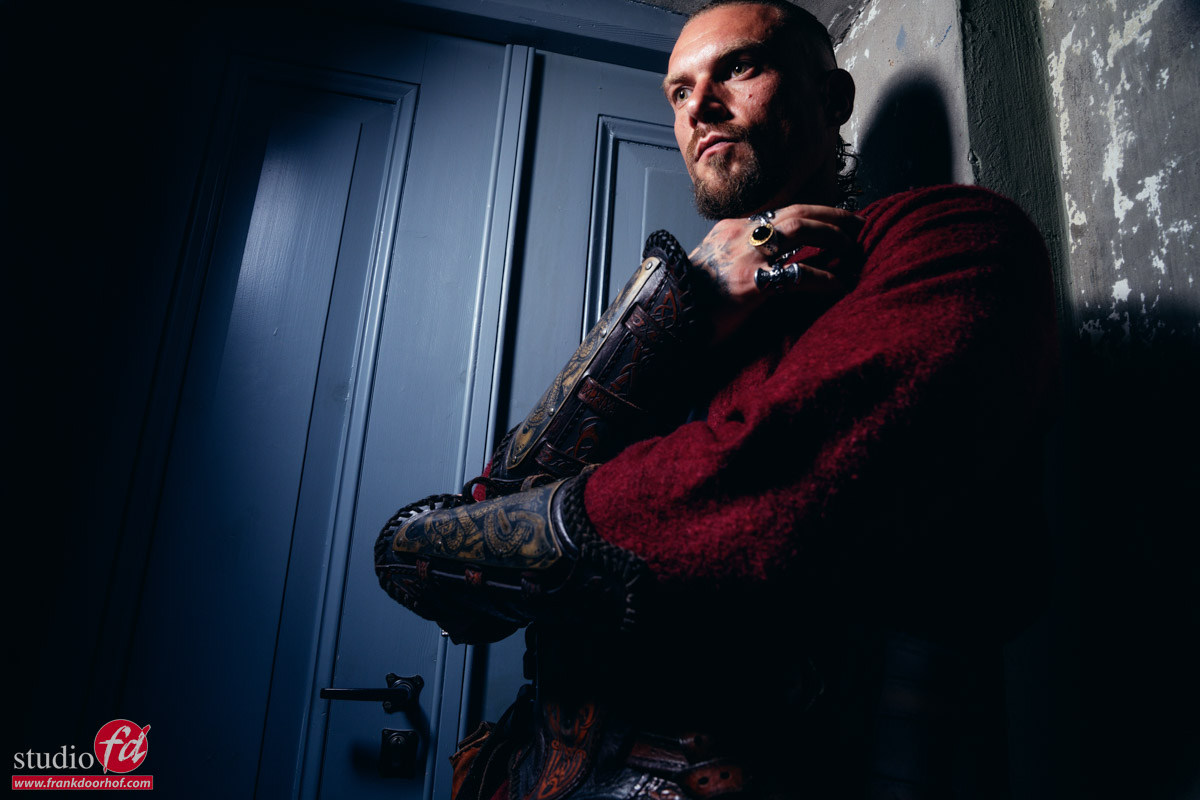
For the lighting I’m using the Geekoto GT200 with the Frank Doorhof Flashbender in strip light configuration.

Again I’m starting pretty safe. With a more direct light setup

But now we really want more contrast, so the flashbender is moved more to the side and higher.
Due to the angle it’s very important Roel is looking slightly up to make sure the eyes are not too dark, one dark or close to dark is ok for this setup but there should not be a face with two black holes of course.

Playtime

We got the shots.
By the way that’s the advantage of shooting tethered, especially when your working under a time limit, you can check focus super fast on a larger display and of course right from the RAW file, this speeds up your workflow and prevents disappointments after the shoot.

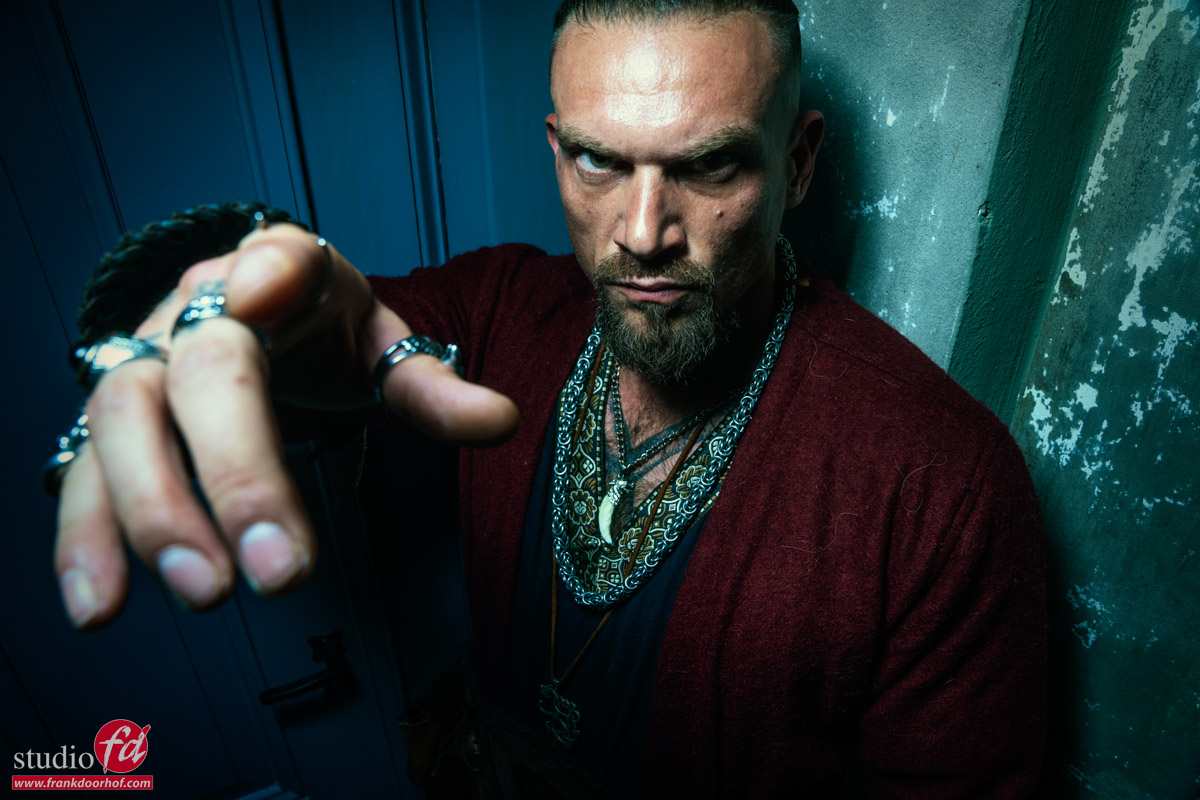
So now it’s time for some fun shots. I always like to end a session with some fun sh0ts.

Conclusion

The whole photoshoot with Roel was perhaps 5 minutes (probably less) when you take away the explaining to the group.
Especially when you have limited time it’s vital to know your lighting, but also to make sure you have the shots. You can try to stun your client with the most awesome lighting setup ever, but if you fail you end up with nothing including no client/reputation.

So always start safe, and then start adding contrast or get more creative.
It also takes away a lot of the stress for yourself to know you already nailed at least “the”shot, and every next one will be better. Also use setups you know that work, of course freaking with light and lens flares etc. is awesome but when the clock ticks you sometimes are better of doing your “trick” that’s why they hired you, and when you have more time…. that’s when you can show them why they hired you 😀

One final tip, which can prevent some awkward moments.
Do make sure that you don’t place the monitor towards your model. When you don’t have a lot of time you don’t want to lose time because someone is looking at the screen instead of the lens.

If you also want to start shooting tethered a great way is to use Cascable on an iPad or Desktop, or use the software delivered with your camera, or a third party (there are many options). The only other thing you need is a proper tethering cable. To start out you can use a standard 1-2mtrs USB-c cable but when you want to start using it more frequently I highly recommend a proper tethering cable. This is no sales pitch but a tether cable is designed differently from a standard USB cable, it’s designed to handle wear and tear and not damage your camera or computer when something goes wrong.

I’ve been using IQwire myself for years and we also sell them via our webshop
On the webshop you can find all the gear I use.

So the next time you have a limited time.
Start simple and build it up, you’ll see it works a lot faster and you also project more confidence towards your model which also makes the session much easier.

Learning with Frank

Want to visit one of our workshops and learn a lot more about lighting, sets, styling and a lot more ?
Visit fotografie-workshops.nl for more info on the Dutch workshops.
If you don’t speak Dutch, don’t worry, let’s us know a few weeks in advance and we switch the workshop to English.
Don’t want to travel, also no problem, you can also book an online 1:1 workshop.
We got you covered with our Learning with Frank program.


Transform your photo shoots: using the SmokeNINJA to add smoke bubbles to model photography

I love testing new gear, and especially smoke machines!

But most of all, I love testing gear that triggers creativity.
During a recent event, I saw a new portable smoke machine called the SmokeNINJA that did all the tricks like haze, smoke, dry ice, etc.  And this one also did something I did not see yet…. smoke bubbles. So let me tell you how to transform your photoshoots by using the smokeNINJA to add bubbles.

I immediately saw an image with a model turning around, hitting the smoke bubbles, and seeing them hit the model.
Now this is, of course, easy in my mind (or AI). But doing it in real life is a totally different story, as you can imagine.But as Pippi Longstocking never said “I never did it, so I think I can”, we started to work during a recent workshop.

Model photography, adding smoke

The first problem we ran into was that we only had one machine. And for the ideas I had, I quickly found out that one would probably be a little bit underpowered. But as long as you use the same angle and lighting, you can always combine different images in Photoshop. Especially with smoke, this is pretty easy to do.

Now I did set myself one very important limit.
I did not want to add anything with AI that had to do with the smoke. All of the effects had to be done with the SmokeNINJA.
In some images, we used a larger smoke machine for some haze. The haze helps to spread out the lights in the back, which I use to backlight the smoke.
The haze could also be done with the SmokeNINJA before you switch to the bubbles; the larger machine was just faster in this setting.

For our American friends, use this link to buy the SmokeNINJA from B&H

Timing is everything, a challenge

To make this work, there are a few things that are important.
Of course, the flash duration to make sure you freeze the motion (or add a slight feel of motion).
But when working with smoke and bubbles and a turning model, timing is insanely difficult.
Not just for me, but also for Annewiek and Nina, who operated the smoke machines.
Because the model turns, there is motion in the air that interacts with the bubbles and the smoke. This makes timing for the right amount of bubbles vs exploding bubbles at the right moment in the turn,… let me put it lightly, “A challenge”.
This is why we decided to focus on the bubbles exploding on her dress and body when Lorena was turning around. And shoot some of the bubbles during a slower motion, and combine these photos.

To my surprise, the machine was able to deliver a lot of bubbles on the medium setting. And this meant that I used 1 extra photo to fill in everything that I missed in the photo with the motion. So if you think that this is a great effect, you can do it with one machine and one or maybe two extra shots.

The results

During the workshops, I’m always limited in time. But the bubbles stayed in the air for a nice long period, making it easier to shoot than I thought.
This image was edited from one shot. I did use BorixFx for a film look and to smooth the lens flares. But all the smoke effects are one shot and the smokeNINJA. And this is the fun part, you can get a lot of different effects from the bubbles by adding just a little bit of motion.

But of course, we want more.
So let’s try a close-up.

Timing for this one was a lot harder, but I think this one was close enough.

Transform your photo shoots: using the SmokeNINJA to add smoke bubbles to model photography

Backlights and motion

One of my favorite setups is working with strong backlights.
Especially when you work with smoke and objects that are reflective, you can get some great results.
And with the SmokeNINJA we are of course combining both, so I had to try some images with a strong backlight.
Before I did the close-up up I tried a few images, a bit more zoomed out, and this was also great to create some haze.


I think this might be one of my favorite images from this set.

smoke bubbles

One of the big advantages of shooting tethered in the studio is that you can check your images on a large screen.
If you have never shot tethered, a quick explanation.

Shooting tethered

Especially when working with smoke effects and motion, it’s vital that you can check your image on a larger screen than your camera.
Most modern cameras support a tethering option via the USB port or WiFi.
Personally, I prefer the wired solution because you never run into wifi connection problems. You can transfer the full RAW files, charge your camera, use live view, etc.

If you want to test out tethering, you can use the cable that was delivered with your camera.
The moment you want to use longer cables or/and better quality, make sure to buy dedicated tether cables.
In my work, I’m using the IQwire 10G Formula cables, which are available in 5-10-15 meters.
We are the distributor for IQwire in the Benelux so feel free to reach out with any questions about tethering.

Cascable Studio 7

To make the connection, you also need software.
For some cameras, you can find tethering software delivered with your camera, or you can use a third-party solution.
On the software side  I’m using a mix of Adobe Lightroom and Cascable.
For dedicated tethering, I love Cascable because it runs on my iPad and shows me the full raw files on the iPad and a connected studio screen.
This makes the whole setup very portable and gives me the same workflow in the studio and on location.
In the latest updates of Cascable the workflow to interact with Lightroom has become much faster and easier. Which speeds up my workflow, and that is always a good thing. Cascable now also runs on the desktop, which also makes my workflow with Lightroom almost seamless.

Details

When you see an image larger, some details jump out more. And in this case, it was a bit hidden in the shadow, but when bumping up the shadows, it was clearly visible. It almost looked like a planet in the universe, lit by the sun and and that’s where the idea started to develop. Queen of the universe.

What if we added some extra lighting effects and some motion? Or a lower angle and create a sort of superhero shot?
For the final result, I’m using Boris FX for the star effect.
All the smoke effects and bubbles were taken from 2 images: the main image and one image for some extra bubbles.
I just love the patterns they create and how they seem to explode on the dress and body. I felt the urge to just keep shooting and experimenting, but I also had to give the attendees a chance :D.

smoke bubbles

Add some color

Color evokes emotion, so what would be cooler than adding some color to the back of our model?
We started with the red gel from the bottom up, but this didn’t give us the results we wanted.
Because the haze was getting thicker, I opted for a higher position, and instead of going for a spot effect, I’m using the thicker haze to spread out the red color and focus more on the smoke bubbles and patterns in the smoke.
The effect, even without Photoshop was already very surreal.

Transform your photo shoots: using the SmokeNINJA to add smoke bubbles to model photography

Conclusion

As a musician, I love getting new gear.
Sometimes it’s just great, and that’s it, you use it as a new tool. And don’t get me wrong, there is nothing wrong with that.
But sometimes you get something that isn’t just a tool, but it triggers your creativity. Before you know it, hours fly by, and you continue to find new uses for it.

For me, the SmokeNINJA triggers this feeling.
This was the first time I worked with Lorena, and during a workshop, there is always a time limit. But even taking that into account, we got so many different looks from the SmokeNINJA, you might not even realize that this was only one of 4 sets during this workshop. The SmokeNINJA made it super easy to create cool effects with different kinds of size smoke bubbles. And that, with just a slight adjustment to the light and angle, created totally different images.

Can’t wait to try the SmokeNINJAa for a longer period and see what it can do during different setups.

Interested in buying the SmokeNINJA, including the bubble nozzle? Send us an email, we sell it too. 


The video’s about “How did I shoot this one?” will soon be on our YouTube channel, subscribe here 

 

Always build in a fail-safe even if you think you don’t need it

Photography catastrophe, when pictures are lost

Over the years we have seen some drama and photography catastrophes. As most of you probably know, Annewiek and I ran an IT company for most of our lives. One of our specialities was building custom machines.  But also being very aware of the risks people experience online and offline. Today, maybe one of the most important pieces of advice I can give to everyone that shoots tethered or just wants his/her images safe.

It’s heartbreaking to see a 70+ year old crying in the store because they lost all their memories. It does give a great feeling when we were able to get it back. But it also happened that there was too much data loss. So having a proper backup system is vital.

The problem is that hardware failure is not something you experience every day. Some people never experienced a hard disk failure (you’re so lucky). So having a proper backup strategy is something that is often neglected till something happens.

Digital has some advantages

One of the great advantages is without doubt that you can make 100% 1:1 copies, as many as you want.
You could also make copies of slides/negatives, but there is only 1 original. Everything else is a copy with some loss.
The weird thing is that with our analogue material we took really good care by placing the negatives in nice holders and sliders so they would stay protected for “ever”. However, somehow with digital we shoot A LOT more, also more memories and…. we don’t treat them with care at all. In most cases, the images are stored on the local drive or on some external drives. But how many of you really have a 100% mirror of your files in a separate location?

But today it’s not about backup strategy,  but something that is just as important. To prevent disaster.

On location or the studio, just as dangerous, or even more

A photography catastrophe does not announce itself. Today I did a photo shoot with a new model, soon more 😀
Of course I’m always shooting tethered in the studio (connected to a large display via an iPad or Laptop/Desktop) but also there a lot of things that can go wrong.

So let’s give some attention today to that workflow.

Photography Catastrophe, when it looks all your photos are lost

Option 1

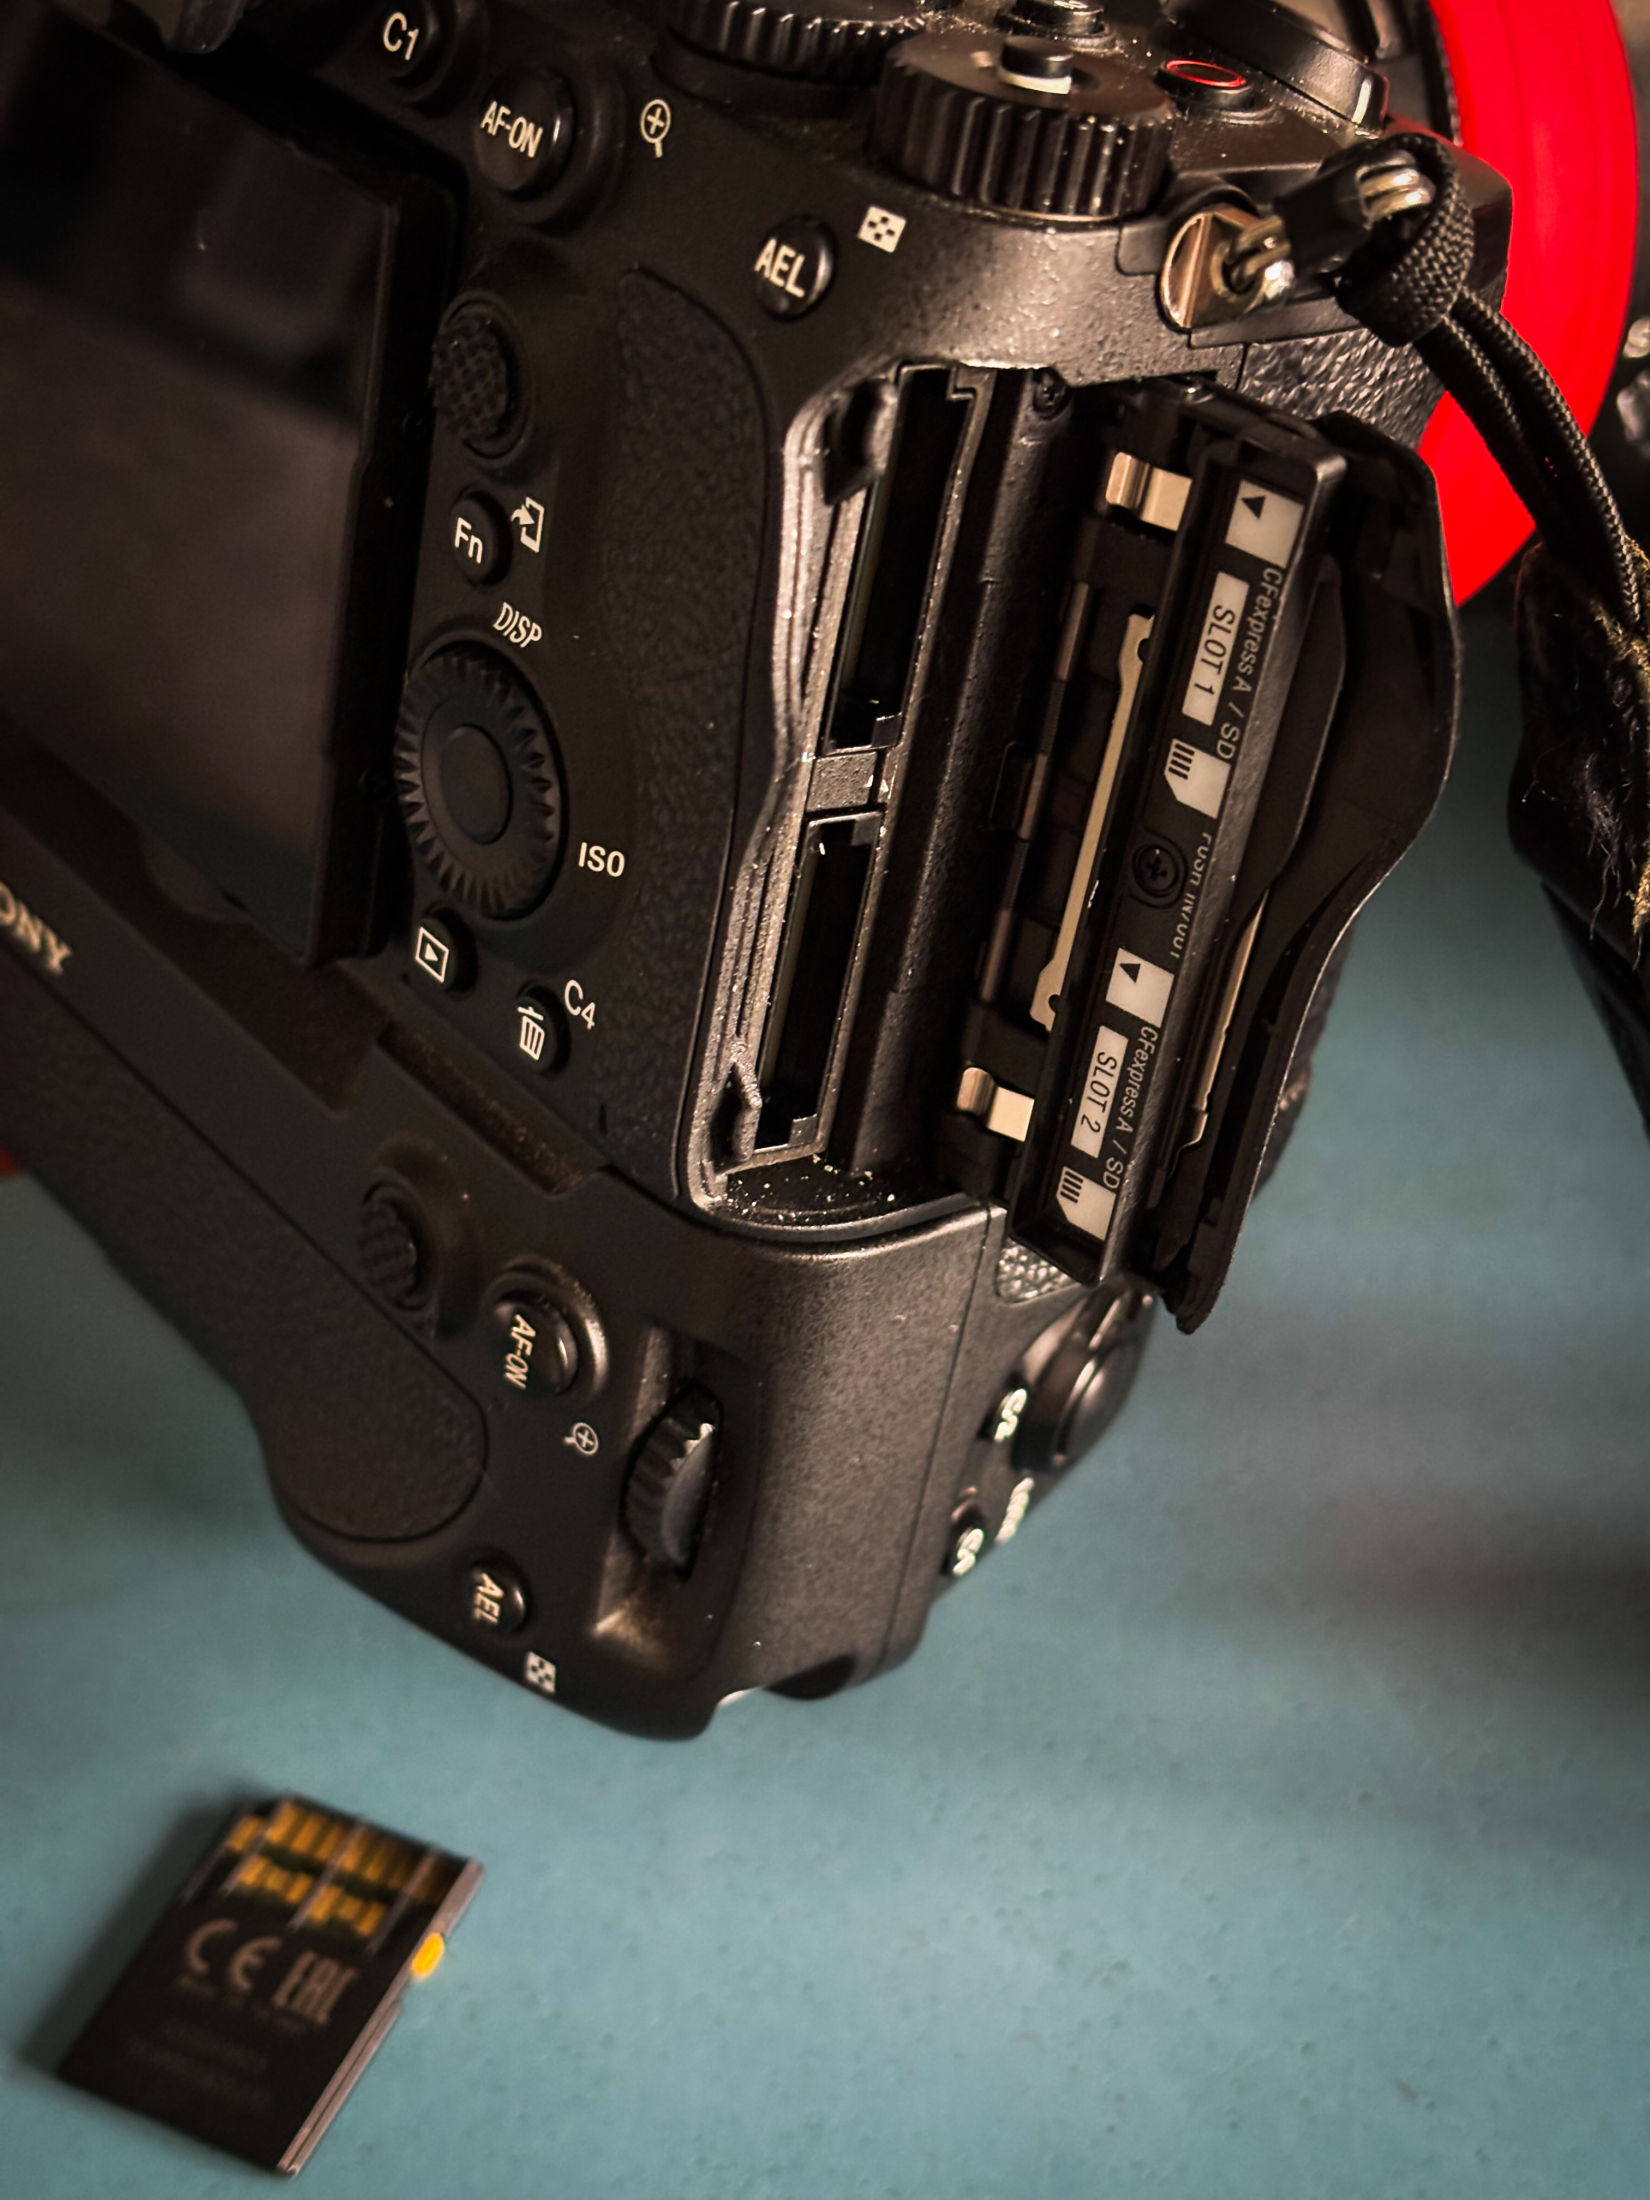
As you can see, my camera has two slots.
This means you can use 2 cards at the same time. So you could set it up in Video vs Photos. Just as a second card or a mirror solution.
So there we have option 1.

Option 2

When we choose the software to shoot tethered, in my opinion, we must have an option to also store images somewhere else than only the software. For years, we had a problem with certain software solutions that would not store the images on the card but only on the machine you’re connected to. Although this is not ideal, it is pretty safe. But I would always add a small script that makes backups during the shoot to an external drive.

Option 3

Better is software that is designed to be safe with tethering.
I’m mostly using Cascable for tethering.
This is a super handy app that since the last update, runs on both my iPad and MacBook Pro.
The reason I love Cascable so much is “they got it”.
Within Cascable I can shoot into the “sandbox” but also add external folders, for example a folder “tethering” on my iPad which I can use to import the photos into Lightroom or just copy them via my MacBookPro to the NAS.

And, today this actually saved my photoshoot and a photography catastrophe was avoided.
In all the years I’ve been shooting I’ve only had a card fail on me once.
And today was card number 2.
Normally this could mean panic! Since you lost all your images.
But in this case I just grabbed my iPad and copied all the RAW files from there.

And that’s why I want to give some extra attention to RAW.

Why shoot tethered with a cable?

For ever people have been asking me “Why don’t you shoot wireless?”
And over the years I’ve tried many solutions, varying from totally useless to “works like a charm”
The only problem… You cannot shoot RAW. Well ok you can but it’s incredibly slo0000w.
So in the situations where I shot wireless I always shot RAW on the card(s) and sent 2MP JPGS over the air. In all honesty, with a proper system this works great and is super fast. But the biggest problem is….It’s not safe at all! Yes, you can use the double card trick on some cameras but not all cameras support this.

Also, because you’re shooting JPG, using presets for your client or doing quick in-between retouches, are out of the question.
So the cable for me is a vital part (till they solve the speed issue).

Conclusion, avoid a photography catastrophe!

Our digital files are much more in danger of loss than we probably realize.
Always make sure you have a proper backup of your stored files, but also always make sure you build in fail-safes during your photo shoots.
Hope this helps some of you before you find out about this article after losing your images.

For more info about Cascable see www.cascable.se
Want the best tethering solutions? check www.iqwire.nl

Read this blog about adding more storage to your Laptop 

See this blog about my NAS