Frank Doorhof
  • Blog (articles)
  • Rent our studio space
  • MAIN SHOP
    • MAIN SHOP
      • Orders
      • Account details
      • Downloads
      • Addresses
      • Lost password
      • Cart
      • Checkout
      • Terms webshop
      • Return policy
      • Privacy Policy
      • Privacy Statement in3. Dutch customers only. When you want to pay in 3 parts
  • IQwire Tether Cables
  • Rogue Modifiers
  • Geekoto Flash and Modifiers
  • Platypod
  • Click Backdrops
  • PORTFOLIO
  • Learning with Frank
    • Dutch workshop agenda
    • Workshops
    • A Year With Frank
    • Online 1:1 workshops
    • 1:1 workshops in English
    • Portfolio review by Frank Doorhof
    • Patreon
  • Support our work
  • Merchandise
  • Digital Classroom LIVE
  • Our YouTube channel
  • Biography Frank Doorhof
  • Services
  • Discounts etc
  • I need help
  • Menu Menu
  • Shopping Cart Shopping Cart
    0Shopping Cart
  • Link to Facebook
  • Link to X
  • Link to Youtube
  • Link to WhatsApp

Tag Archive for: ibanez

A videoclip with the DJI Osmo pockets

2-01-2026/in blog, Reviews, Visions and technique, Webinars and instructional videos/by Frank Doorhof

Making a video clip with the DJI Osmo Pocket

When testing cameras, what’s the most fun to do?

Of course, do something creative with it.
This is not a genuine review, but rather a comparison of the usage of the DJI Osmo Pocket, the first and last edition.

For the livestreams and tutorials, we have been using an Osmo Pocket 1 for a few years. A great camera, and in essence, everyone can take great footage.
But, to get great behind-the-scenes footage, the Osmo Pocket 1 was not as good as we wanted in low light.
Thanks to the quick delivery from Kamera Express, we were able to test the Osmo Pocket 3 just before Christmas.

What’s the difference between the DJI Osmo Pocket 1 and 3?

It’s huge!.
The first thing that is a huge upgrade is the display; for me, this was the biggest problem with the Osmo Pocket.
The Osmo Pocket 3 has a great bright display, you can switch between landscape and portrait mode, awesome!
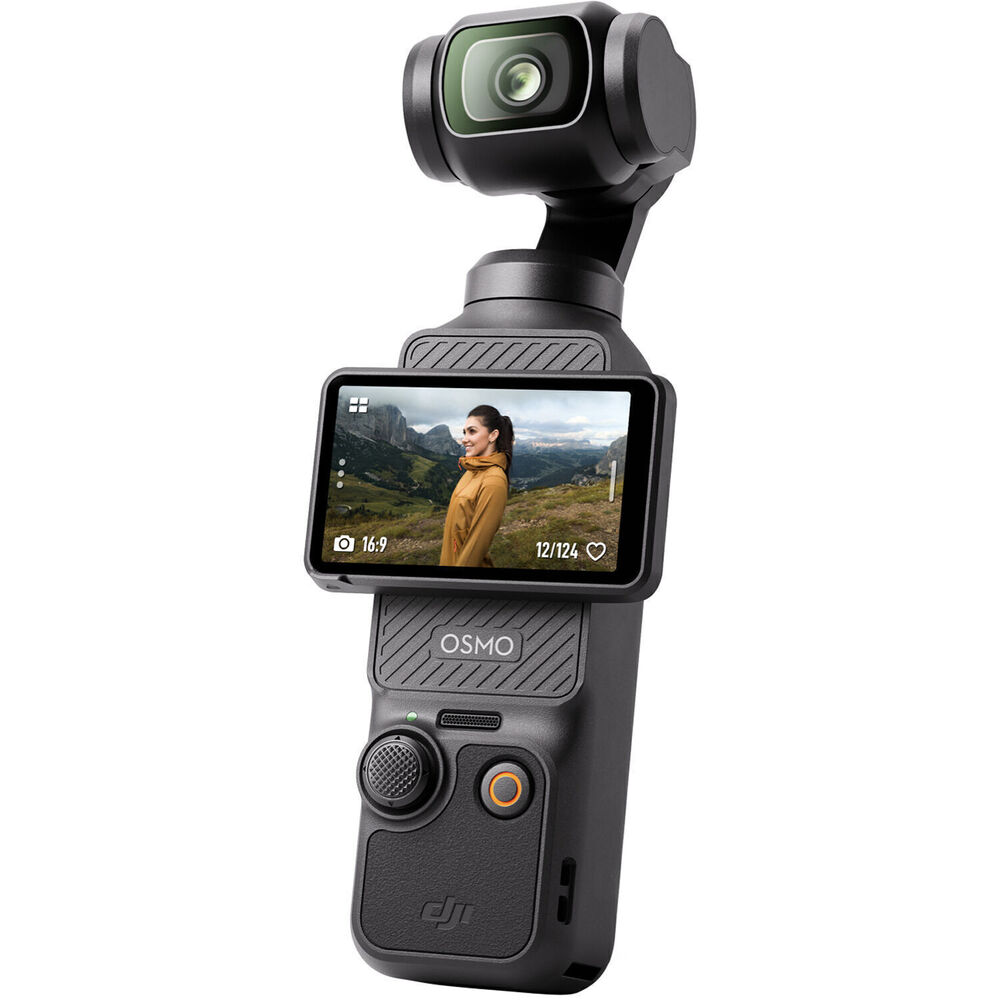
DJI Osmo pocket 3, making a video clip

Of course, I could test the camera quickly in a dimly lit room. But between Christmas and the New Year, we had a bit more time.  So I decided to do something a bit different.
Record a song and create a “simple” videoclip with both cameras. And also test how well the Platypod system works in this kind of setting.

The DJI Osmo Pocket

I think we can keep it short in this department.
Both cameras perform well enough in dimly lit situations to get some very usable material.
However, the colors, detail, and movement are a lot better with the Osmo Pocket 3.
Also, when adding special effects (switch into overdrive mode in the clip :)), the Osmo Pocket 3 material stayed much better and showed more detail.

Remote control with both cameras is possible. But the Osmo 3 is a lot easier and is out of the box usable as a webcam. It can be controlled with an app on your phone.
For the Osmo Pocket 1, you need a separate wifi module for remote control; the Osmo 3 wins here hands down.
Also, when using the camera without a remote, the Osmo 3 wins on all fronts.
And let’s be honest, with one whole generation between them, this is not really a surprise.
But I still wanted to test both cameras in the same setup.
Conclusion for the Osmo Pocket is that we will be using the 3 as one of the main cameras during live streams and tutorials. And when there is proper lighting, the Osmo Pocket 1 is a great B-roll camera.
It’s insane to see how well these small cameras have become.
The quality of the Osmo Pocket 3 is actually better than one of our older 4K “semi pro” cameras 😀

Platypod

If you can’t use a tripod, use the Platypod!
And in this situation, a tripod was out of the question.
I decided to film myself playing guitar from different angles. Which meant placing the cameras pretty close, and there is not a lot of room.
By using the smallest platypod foot (which works fine for the Osmo Pocket), I could raise the Osmo Pocket to the level I wanted, and even bent the gooseneck if necessary


In this photo, you can see a similar setup with an iPhone.
Quick tip: Don’t film a multicam clip with your iPhone if you want to sync on the audio. The iPhone films in a variable frame rate. And this means syncing on audio becomes impossible.
You can use separate camera apps, but the built-in app I could not get to sync properly.
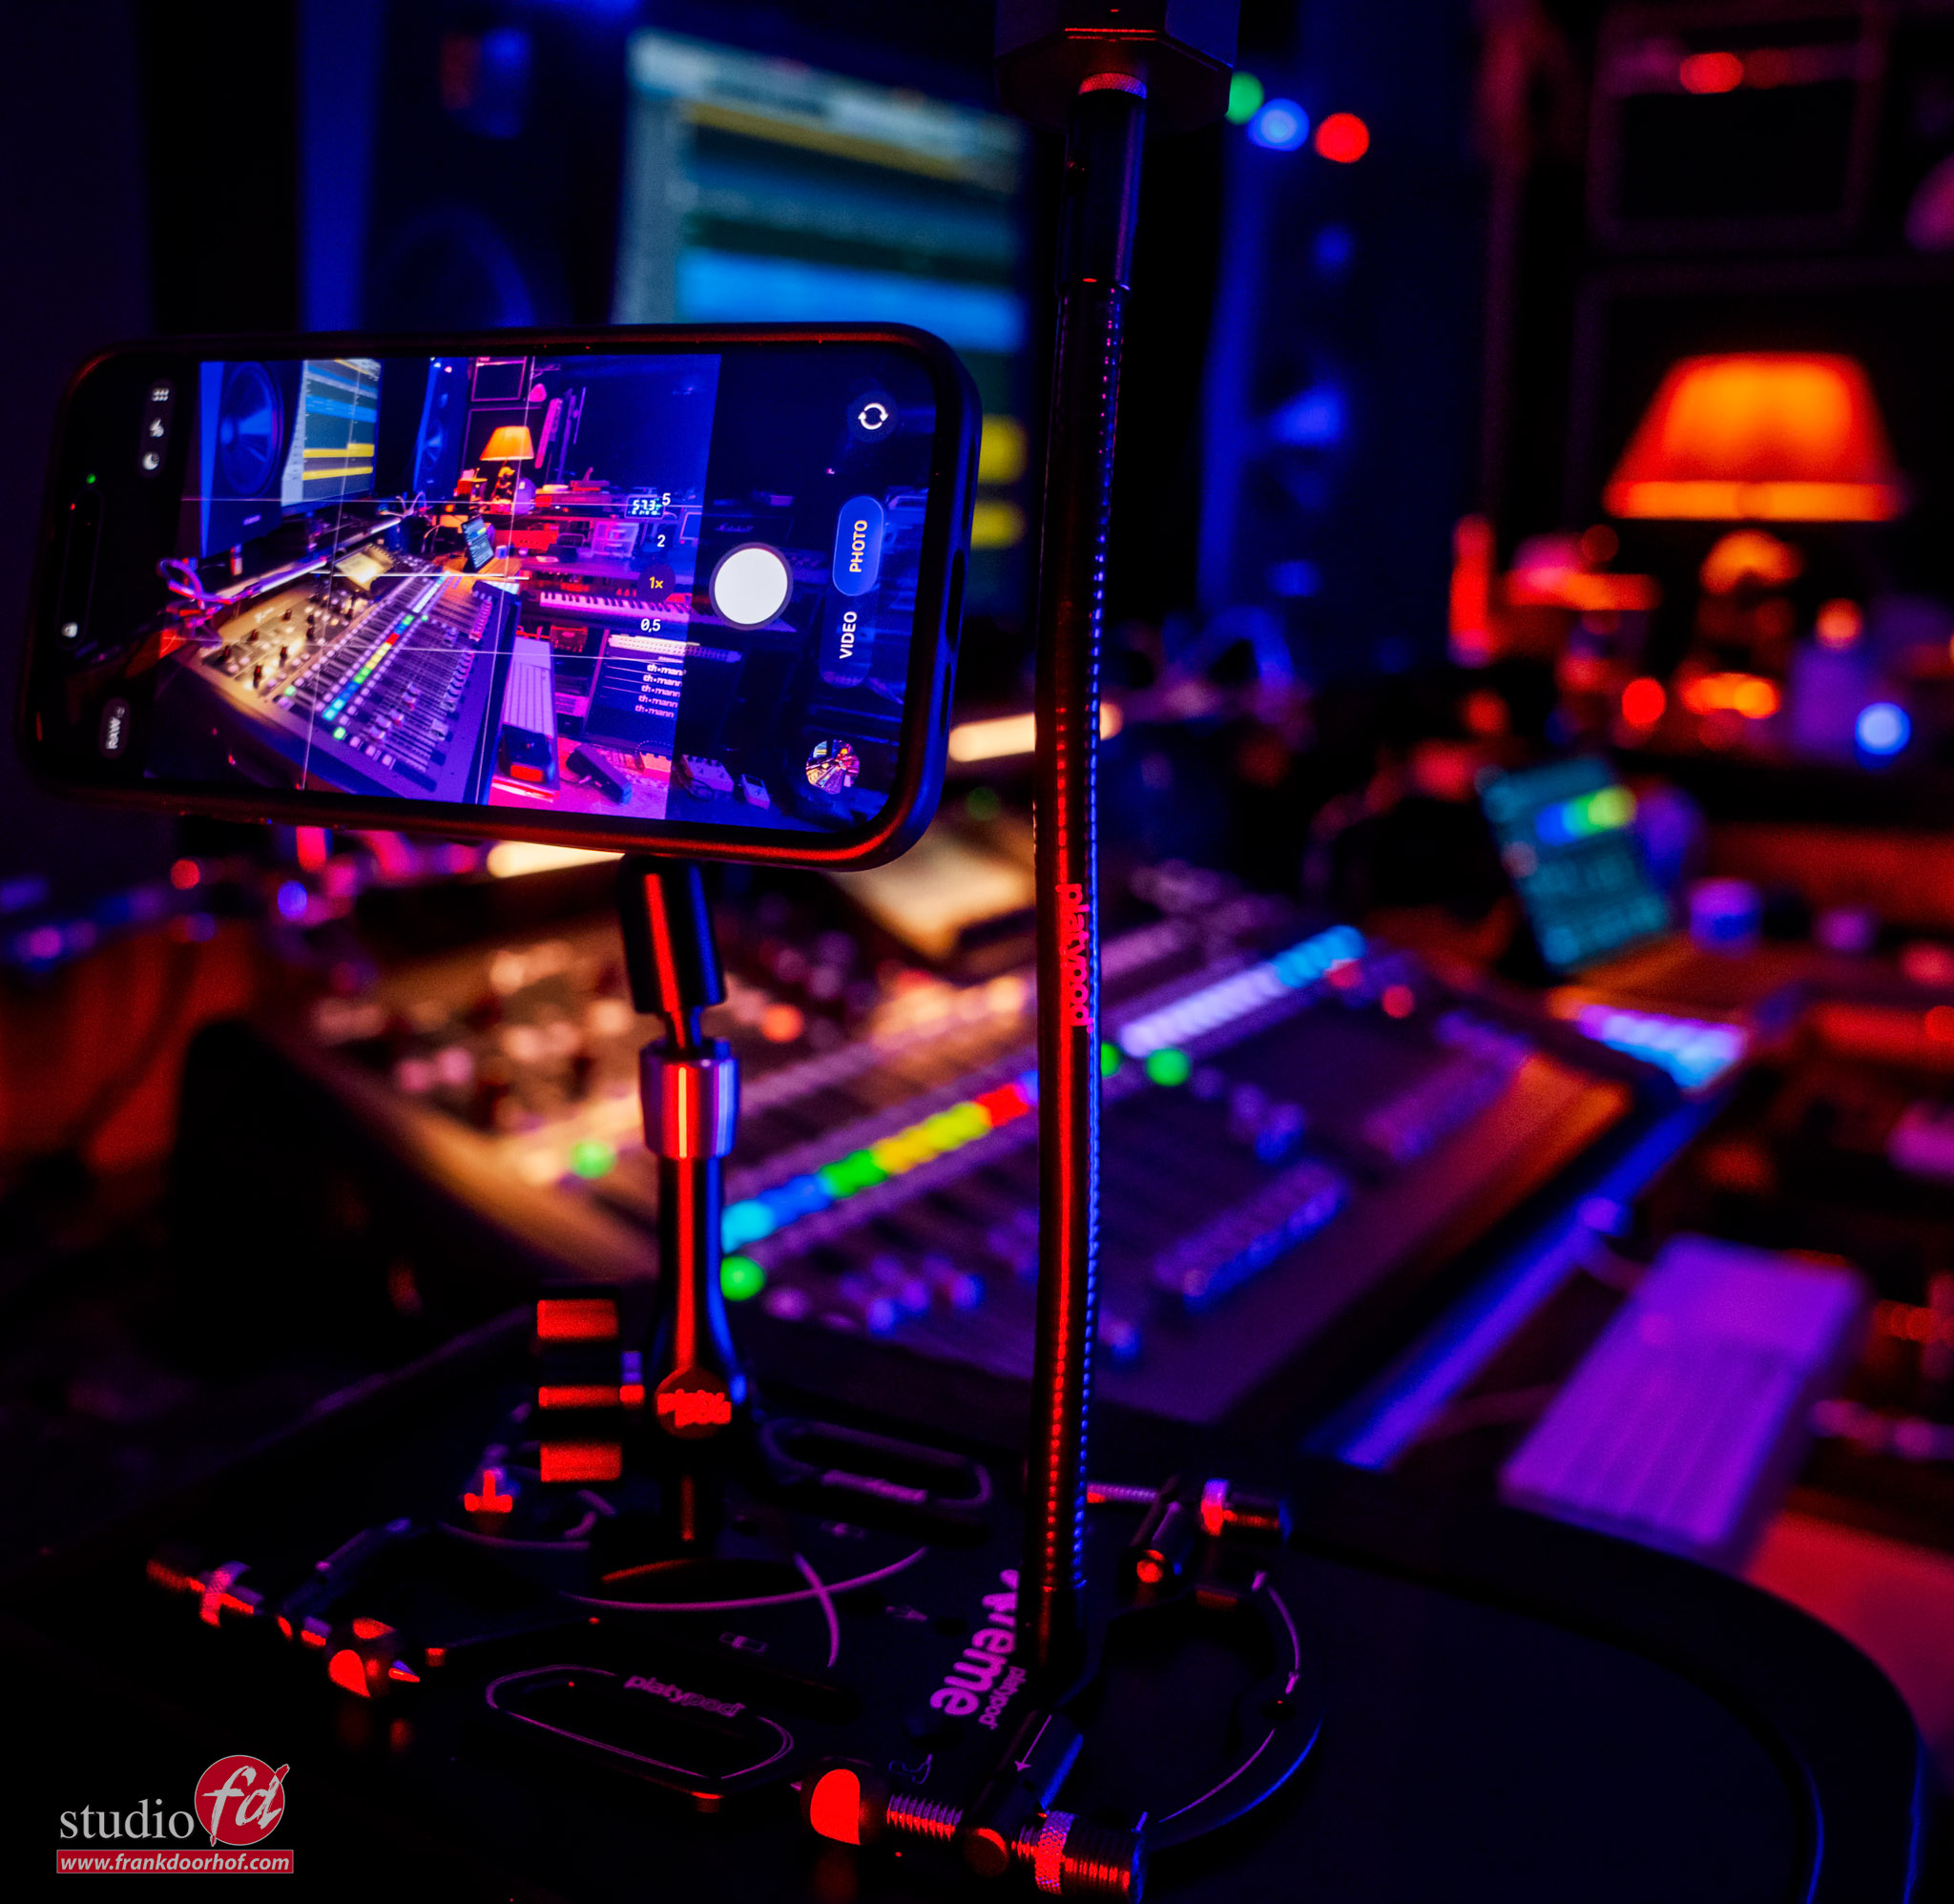
here I am using my iPhone and not the DJI Osmo Pocket You can get the Platypod products in our webshop at frankdoorhof.com/shop

The final result and conclusion: DJI Osmo Pocket

The Osmo pocket 3 material was great to edit with, even with the heavier effects, the material from the Osmo 3 held detail more easily.
If you want something better than an iPhone for video? Make sure to check out the Osmo Pocket series. The built-in gimbal, webcam function, wireless remote and of course great subject tracking make it a great camera to walk around with. When it powers down, it turns the camera into a protective position.  (Something I missed in the 1 and never felt comfortable putting it in my pocket)

The app has some great features that will give you more than enough options for super creative videos. From hyper lapse to slow panning, and you can even zoom from 1 to 2x.
But for me, it’s the size and the fact that, in combination with the Platypod, we have a super portable video system I can bring with me wherever we go to create videos, and if needed, go live with the webcam function.
Use software like OBS, and you can use the Osmo Pocket 3 in combination with your built-in webcam and screensharing for a 3-camera live stream setup, all in your backpack next to your camera gear.

But for now, let’s take a look at the video.
I hope you enjoy the video as much as I did creating it.

https://frankdoorhof.com/web/wp-content/uploads/2026/01/Energize-scaled.png 2560 2560 Frank Doorhof https://frankdoorhof.com/web/wp-content/uploads/2015/03/studioFD_Logo-1FV.png Frank Doorhof2026-01-02 18:00:082026-01-03 12:57:07A videoclip with the DJI Osmo pockets

Some light, music and awesome photos

25-06-2025/in blog, Visions and technique, Webinars and instructional videos/by Frank Doorhof

Creative guitar photography with long shutter speeds & colorful light trails

As a passionate guitarist—and more importantly, a creative photographer specializing in model shoots with flash and vibrant colors—I’m always up for a fun challenge. In a recent workshop themed around motion, I decided to push my usual photography boundaries and dive into the world of long shutter speeds in this blog about creative guitar photography

Workshops are always fun and creative

And I always like to challenge myself. I don’t often use long shutter speeds. I decided to use this in a workshop about motion.
As you all probably know, I love guitars, and also play myself as often as I can.
You may have noticed guitars appearing in my photos from time to time. I often use my guitars for those shots. It also, of course, gives me an excuse to buy more, but don’t tell Annewiek.

Why Use Guitars as a Prop?

You’ve probably spotted guitars in my portfolio before. They’re not only a creative element—they also serve as a great excuse to expand my collection (shh, don’t tell Annewiek!). Normally, I shoot guitars solo or let models use them, but for this session, I wanted to capture something radically different: dynamic guitar performance combined with light movement.

Long shutter speeds

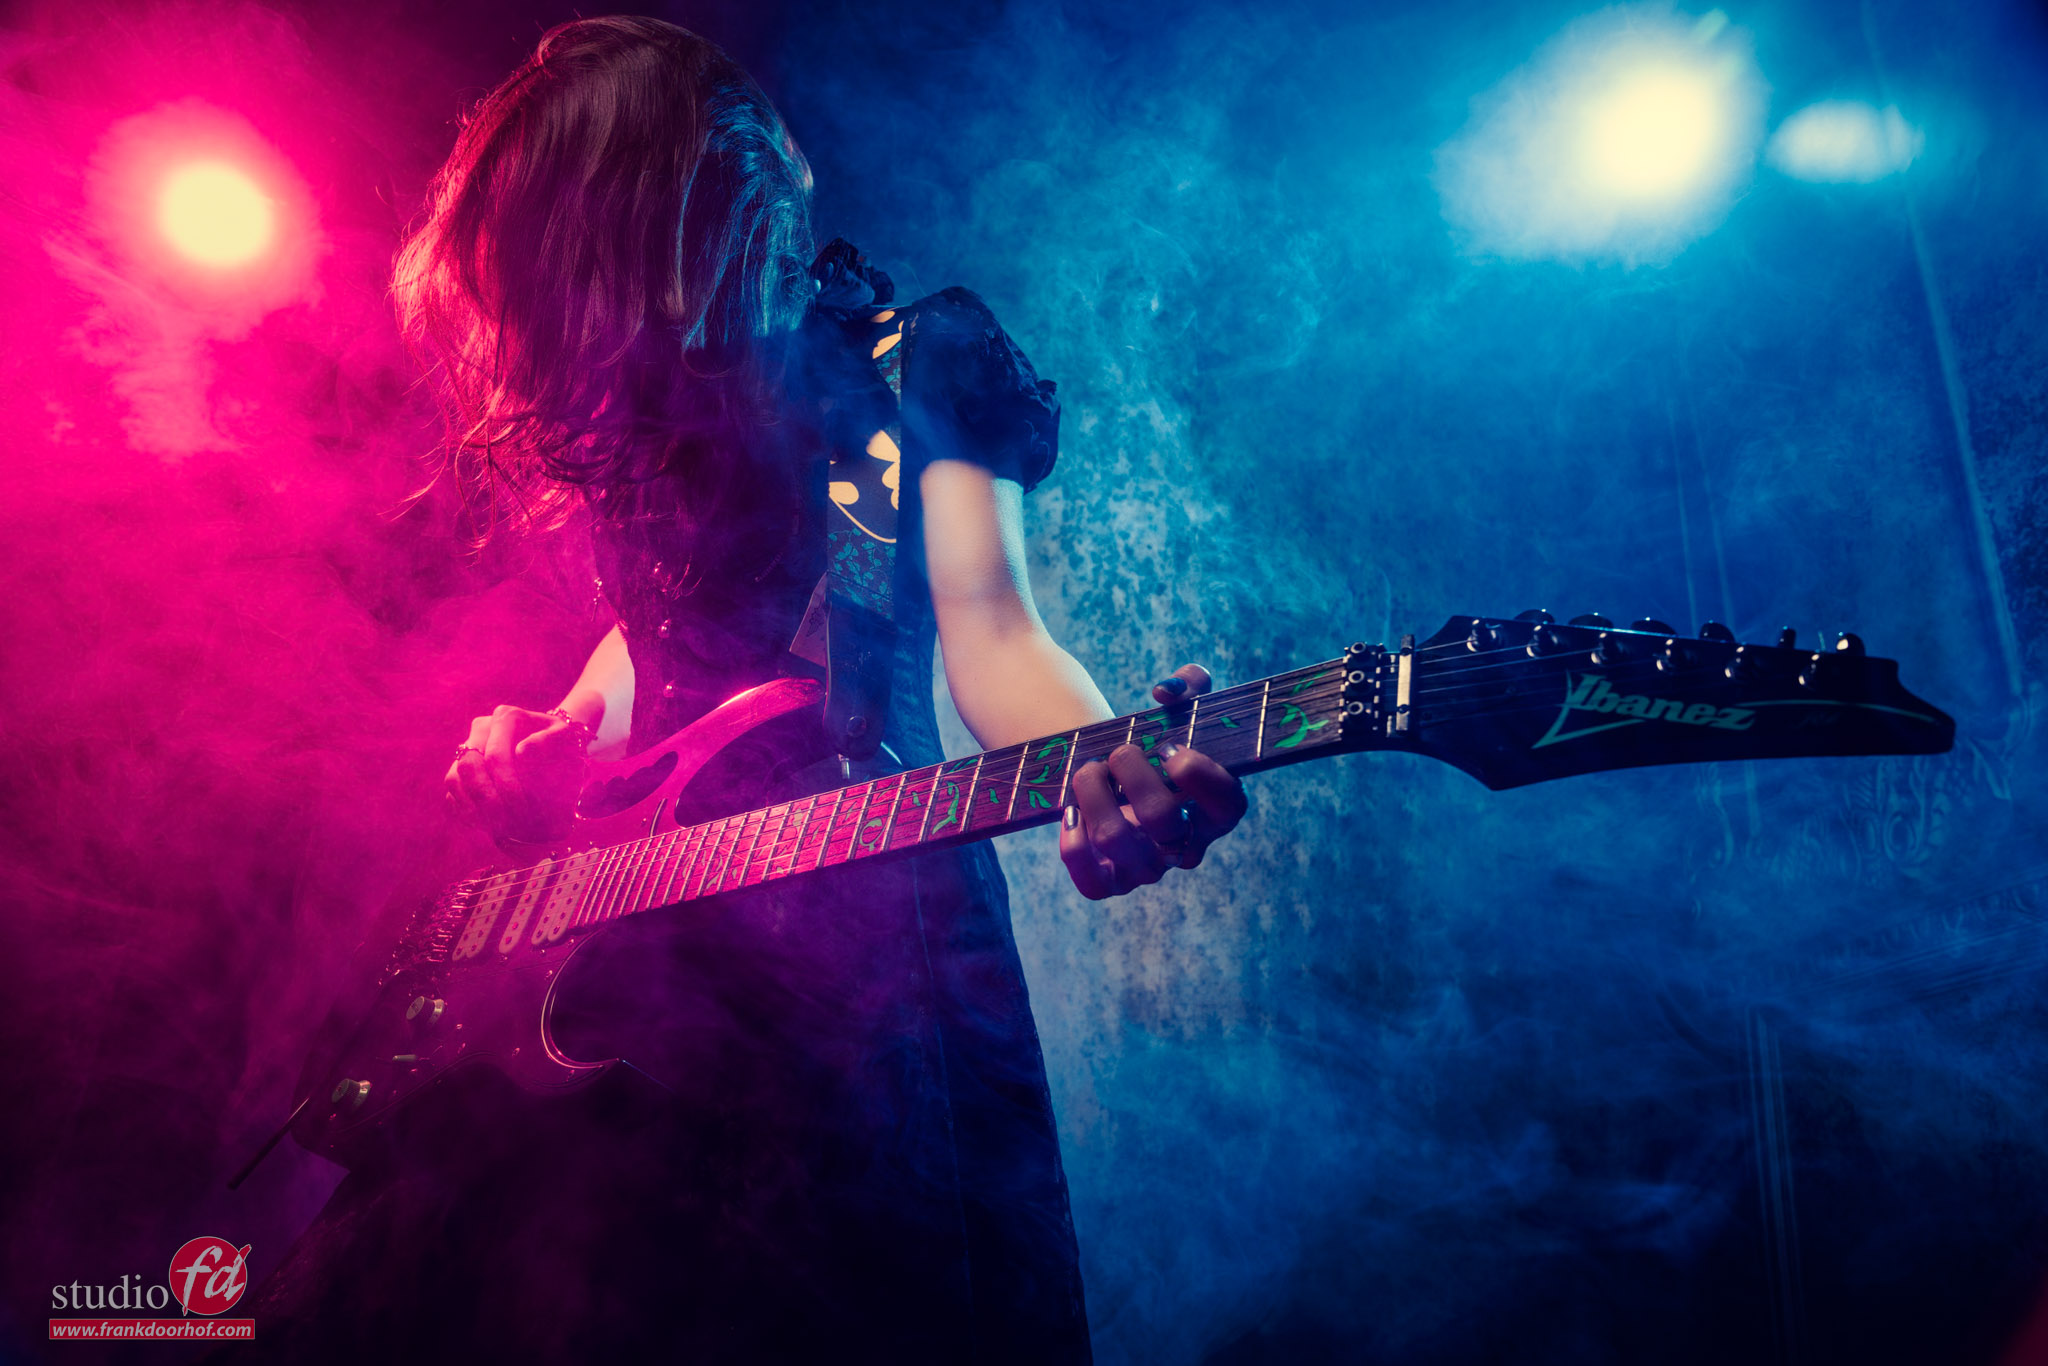
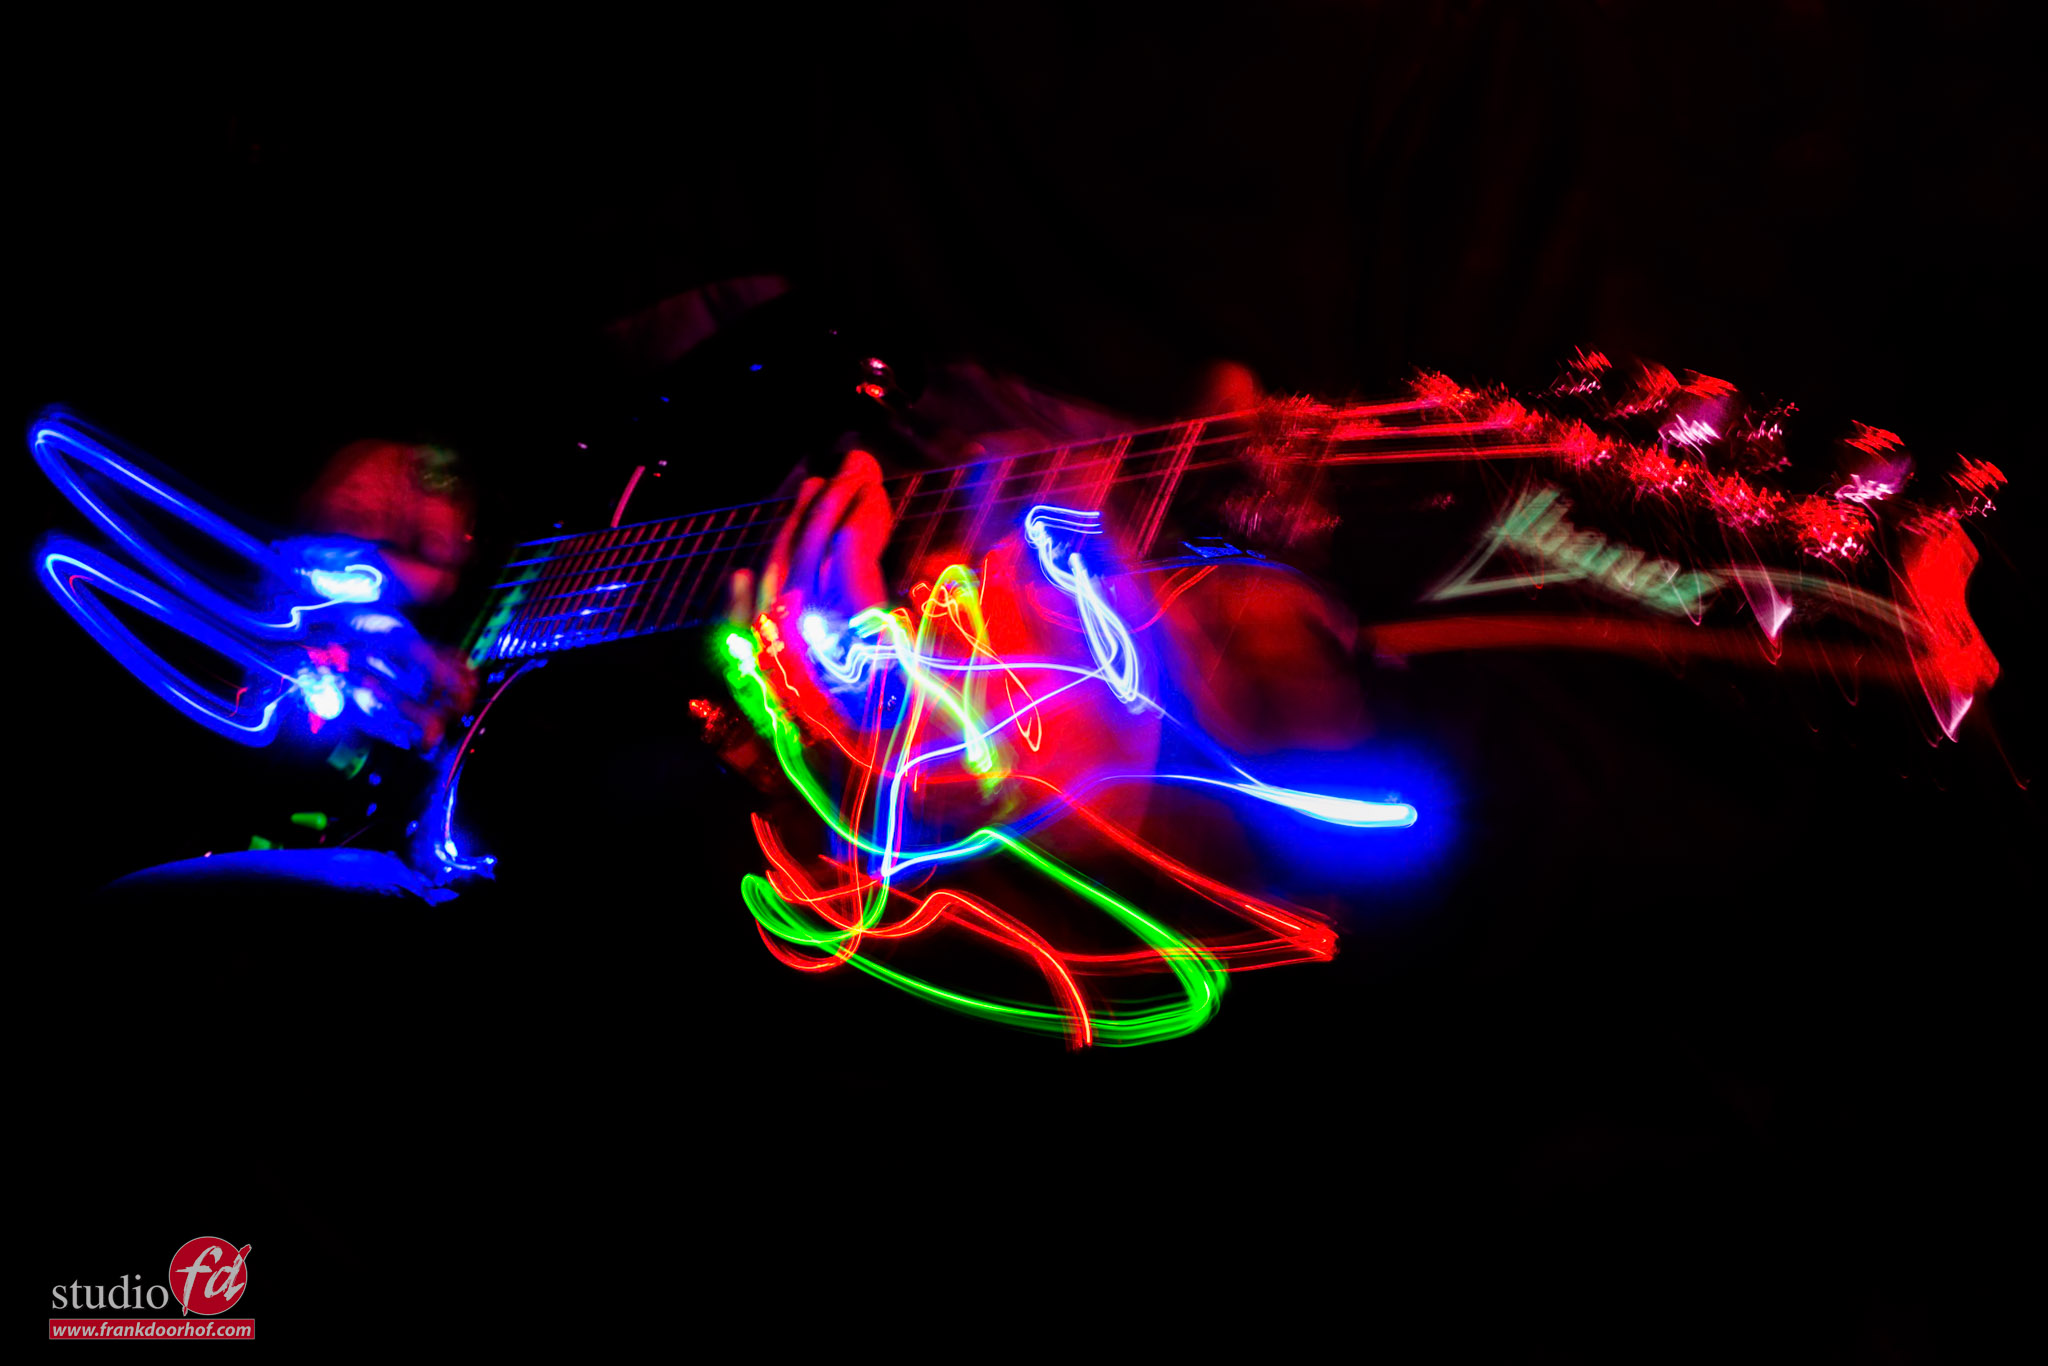
I wanted to create an image where you saw the motion of someone playing guitar and follow the play with lights.
One of my all-time favorite guitarists is Steve Vai, and he recently did a session very similar to this, so I thought it would be fitting to select my vintage Ibanez Jem 777V BK for this. This is a Steve Vai signature guitar.

For the lights, I’m using small LEDs with small elastic bands on my fingers.

Playing guitar is one thing, but playing with LEDs taped to your fingertips is a workout in itself (you’ll hear it in the video 🙃).

The trick is, of course, a long shutter speed and not using white lights, but only the colors.


The technique: long shutter & colored LEDs


We recorded a short video tutorial explaining the setup and how you can recreate this effect at home. The results are both creative and achievable with common gear.

Interested in hearing my music, too? Find me, Frank Doorhof, on your favorite streaming platform.

👉 Click the image below to watch the full video tutorial on Long shutter speeds: creative guitar photography—including stunning final shots!


long shutter speeds

Long shutter speeds: creative guitar photography Long shutter speeds: creative guitar photography Long shutter speeds: creative guitar photography


Read another blog about movement with Nadine and LED lights 


https://frankdoorhof.com/web/wp-content/uploads/2025/06/Frank-Jem-777VBK-Lights-40-March-29-2025-Edit.jpg 1366 2048 Frank Doorhof https://frankdoorhof.com/web/wp-content/uploads/2015/03/studioFD_Logo-1FV.png Frank Doorhof2025-06-25 17:00:232025-06-26 14:43:30Some light, music and awesome photos

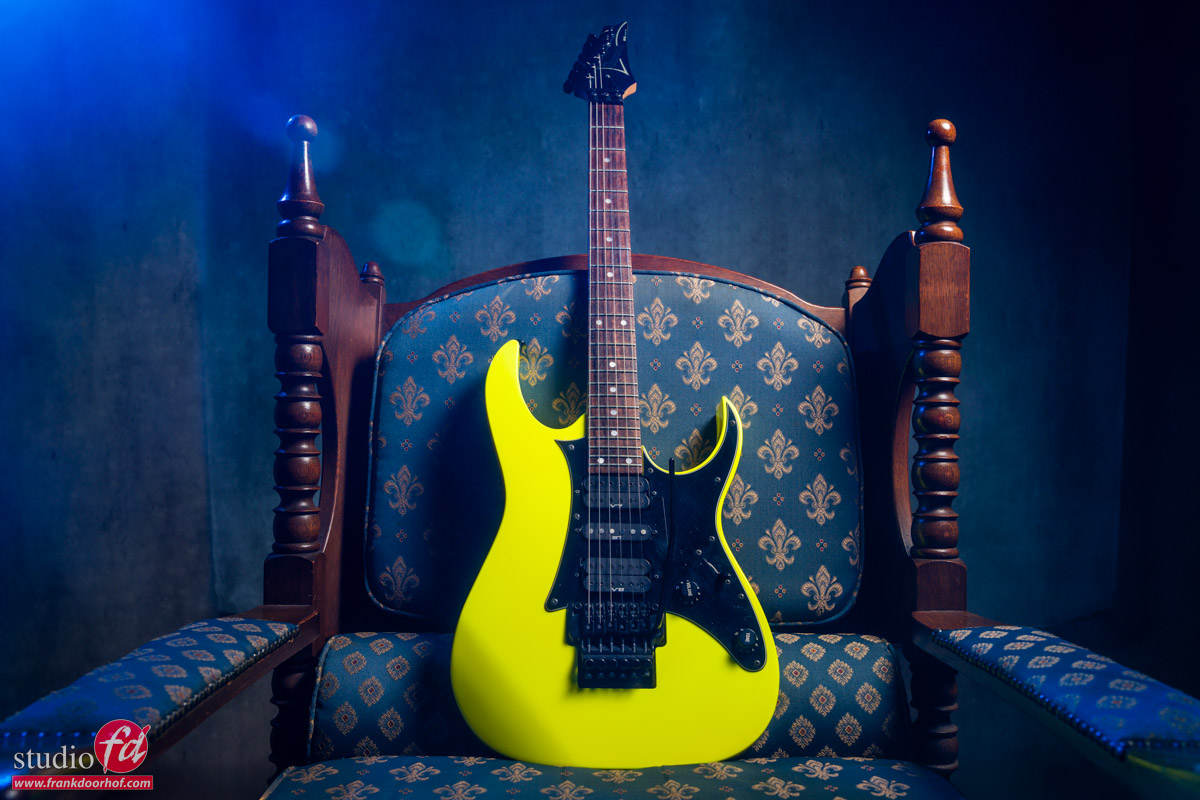
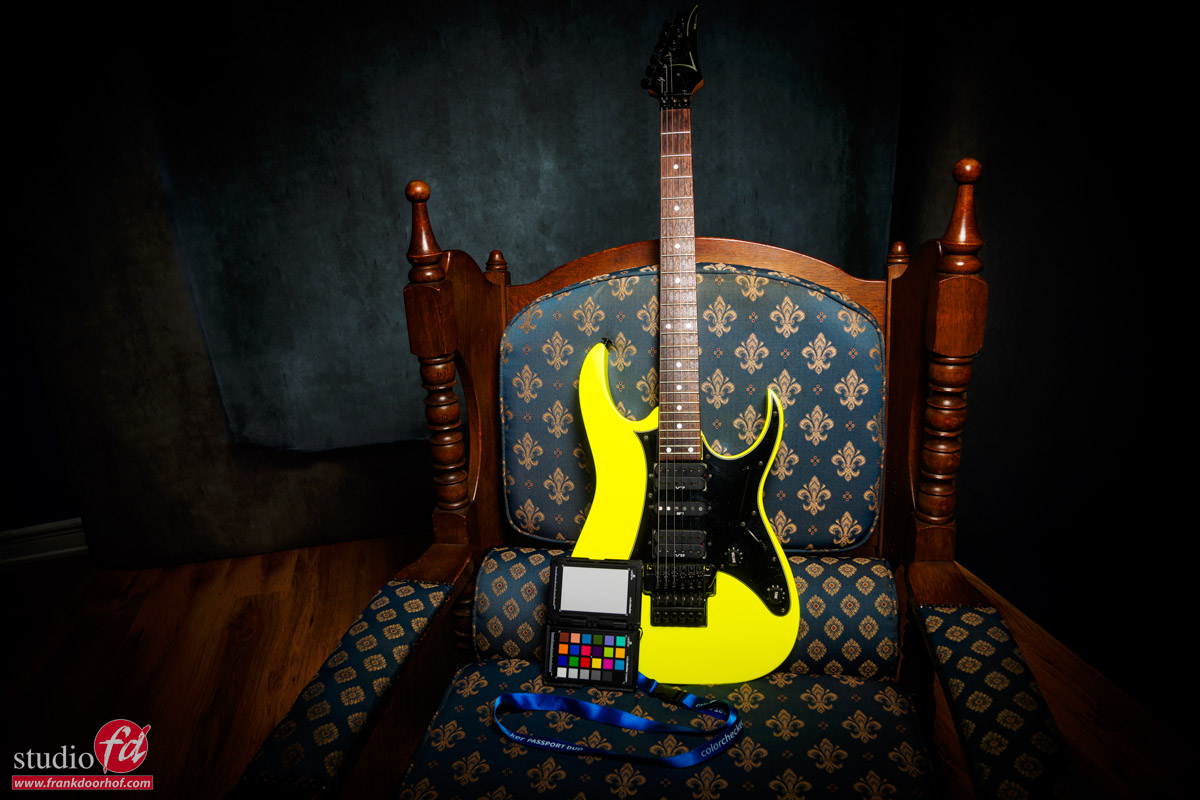
What a beauty, a yellow Ibanez RG505r

2-02-2025/in blog, Visions and technique/by Frank Doorhof

Modelphotography is loads of fun

But of course as a studio we also regularly shoot products.
And in essence you can use the same techniques you use for modelphotography on your products to spice it up.
And let’s be honest a product against a white background is very boring and been done way too often to make it a challenge. In our studio for example we use a Bresser product table or for the larger products white seamless, and although those images are great for a webshop it doesn’t really capture the attention of a viewer in a way they “WANT” that product.

But when we add some nice backgrounds, maybe a prop like a chair instead of a flat surface, add some accent lighting (and when color is not 100% vital add a color gel), maybe some smoke and before you know it you have a totally different product shot.

These images I shot during a small 1:1 workshop explaining our Geekoto system.
And when I have the chance I of course pick one of my guitars to act like a prop.

The one that started it all

In this  case (for the guitar lovers) the guitar that started it all, the whole metal/shred scene. The Ibanez RG550 in Desert Yellow, 1995.
Now the fun part, this is actually not a RG550 but a RG505r, it’s still the RG550 but only manufactured for the European market and has a different neck and black headstock, the R is for the fingerboard which is Rosewood, instead of the standard maple.

Ok so now why this information?
When we shoot a product or a business I always want to know what the product is, or what the company does, and most of all, which mood fits the product/company.
People often underestimate how much difference photos can make, a company can get a totally different “vibe” by using different angles or lighting. So we have to make sure we know exactly what we shoot.

We now know this is an important guitar in history.
We also know that they were know for the extreme colors.
Also the face there is a different neck and headstock in this sample.
And of course it’s a very versatile guitar mostly used for fast playing and rock/metal.

With this information I’m deciding what to do

For the first shot I’m using a nice “royal” looking chair.
This chair was the closest I had to something “royal”, also the blue works very nicely with the yellow.
I’m shooting from a lower angle to make sure I get that HERO pose here.
The headstock has to be in the shot, because it makes it clear it’s a RG505 and not a RG550. If you don’t know this detail it could very well mean your client will decline the whole series.
Because the pick guard and the yellow is very reflective we have a problem with reflections from the strobes.
This is where you always have to remember the “angle of incidence is the angle of reflection” so make sure you shoot under a different angle from the reflection. You can literally see this in the viewfinder. Also the yellow has to be nice and saturated.

We know that color has a luminance part and when we lower the luminance the color will become more saturated.
So to make sure I don’t have any reflections and my yellow is nice and extra saturated I’m angling the guitar slightly away from the main lightsource, it’s just a very slight angle but it does take away any glare and reflections plus it just makes the yellow a bit more saturated, combined with the blue from the chair it created a very nice and popping contrast.

Mainlight is a Geekoto GT200 with our Geekoto S26 softbox with grid
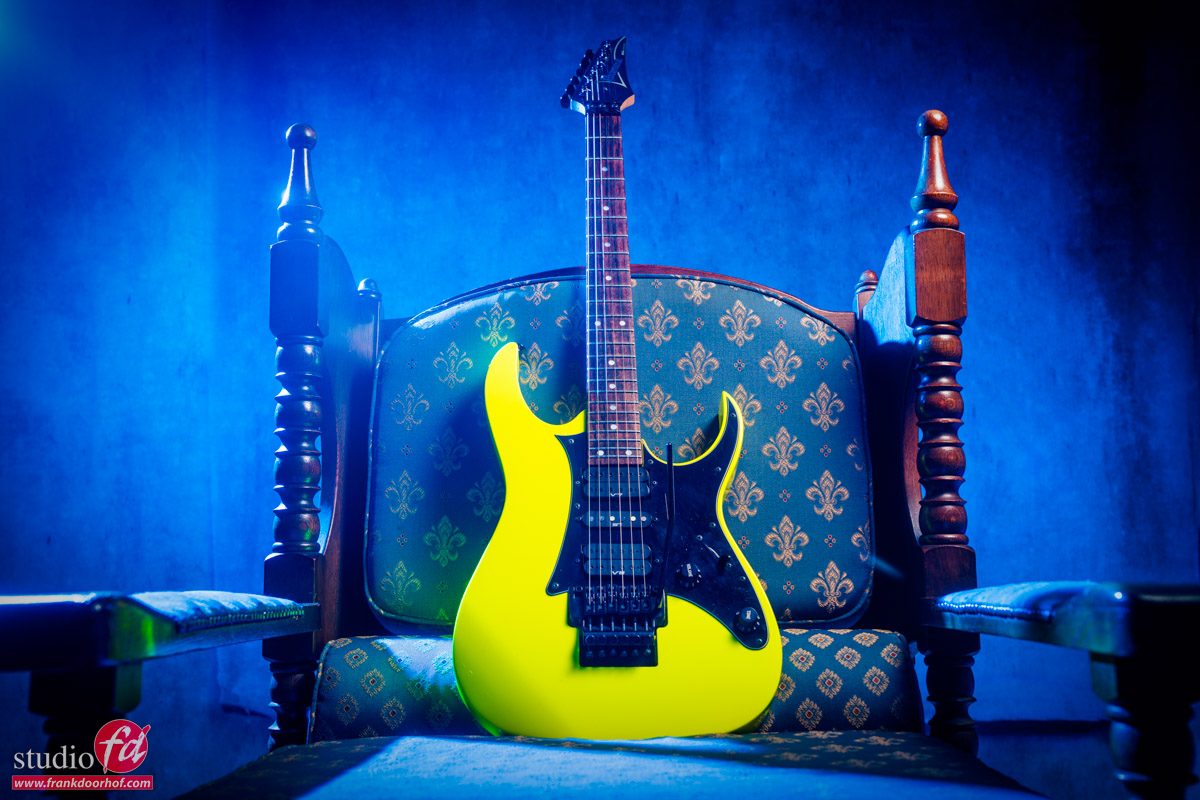
For a special effect I’m using a Geekoto GT200 with a blue gel from the side.
To get the lens flare nice and smooth I’m using the K&F concept black diffusion filters

Now this looks nice but…. I’m missing that “ROCK” feeling.
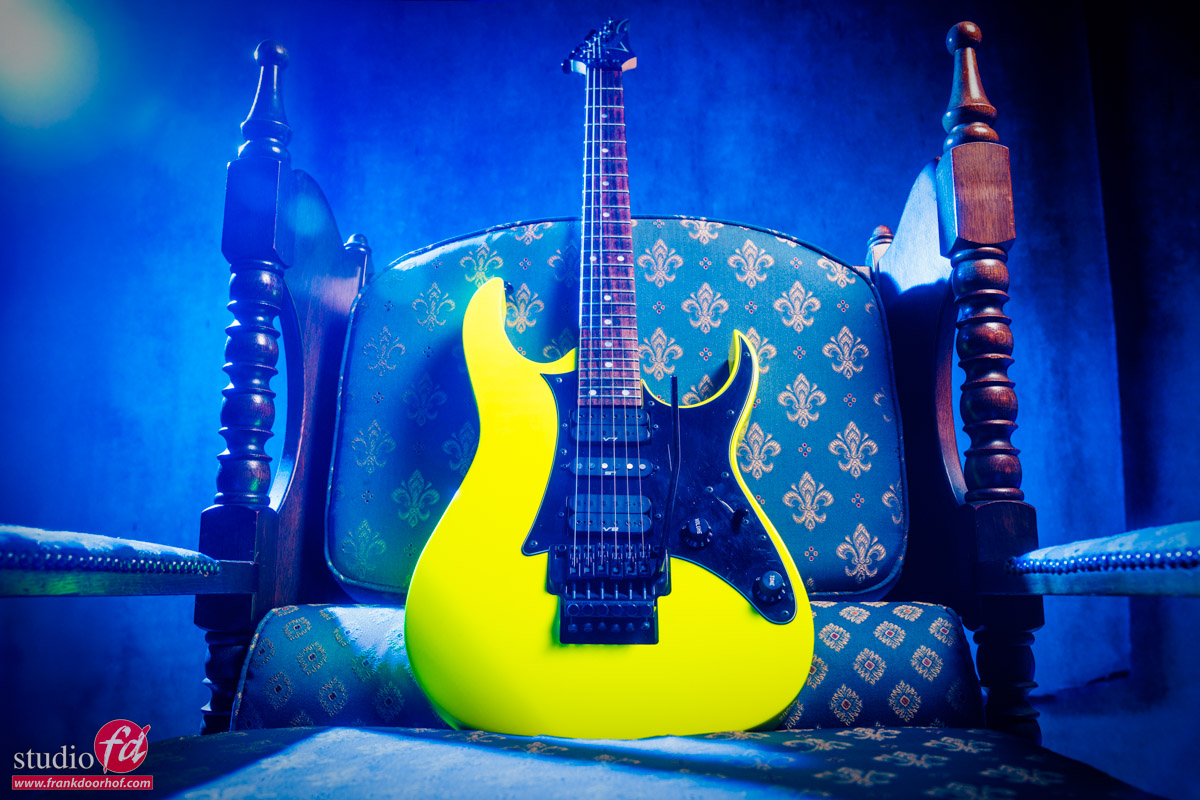
So lets pump up the power on the blue strobe to get more blue and flare in the frame.

Ok, now this is a lot nicer.
As you can also see that the angle under which you shoot makes a huge difference in “projected power”

But what if you want a lot more power in your shot.

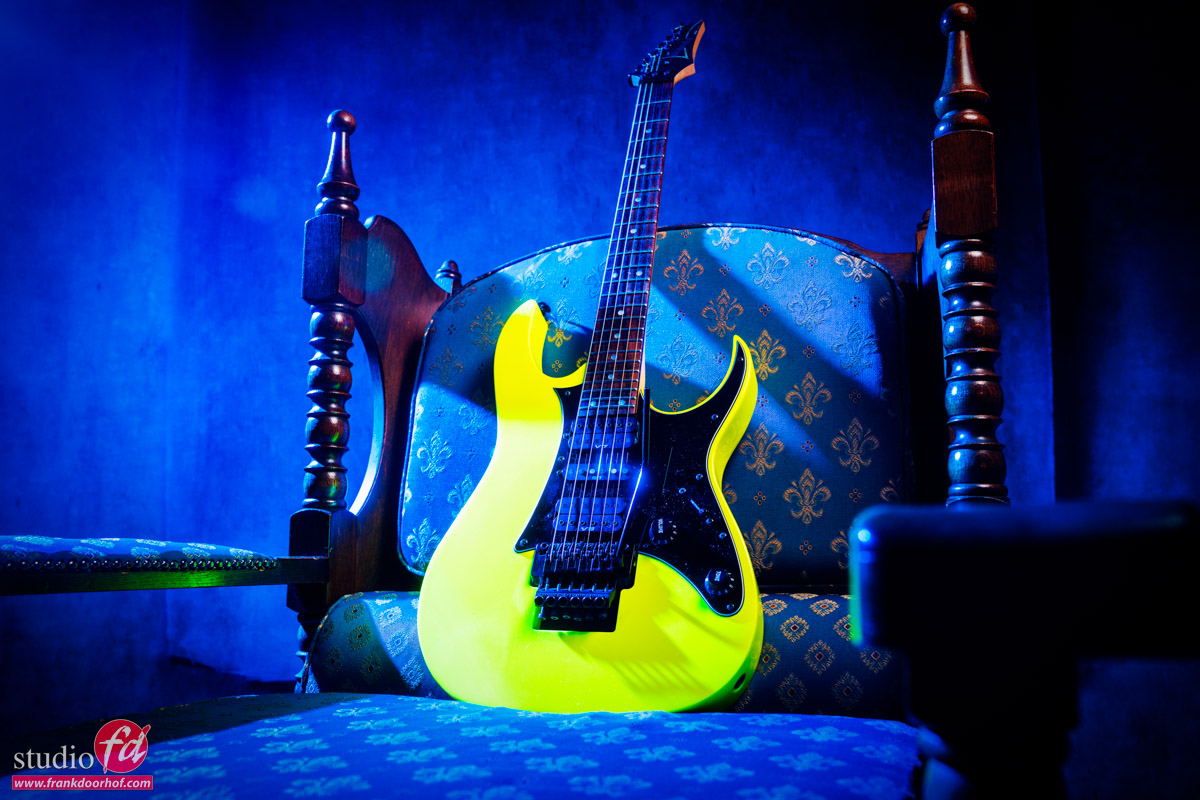
So far I’ve been shooting almost straight on, so for the final shot I’m now shooting from a lower angle and from the side creating a totally different look. The shadows have a much larger part in the final look, and the blue gel has a much nicer effect.

Now in this final image you also see the reflection on the tremolo arm much better and thanks to the diffusion filter it gets a beautiful glow. Also as mentioned before the shadows have a much larger part in the final look. But by shooting under an angle you can also see that the blue light on the chair looks much more evenly.

So when you think you get the perfect shot, always try it from at least 2 different angles, you might be surprised how often you will use the extra images.

If you have any questions feel free to post them below this post, or on social media.

And before I forget

When you want the colors to be perfect it’s always necessary to use a colorchecker.
I’ve been using the Calibrite colorchecker passport for years and can highly recommend them.
When you shoot with gels make sure you take the colorchecker passport photo without the gels.
Shoot the colorchecker as flat as possible with your mainlight in the correct exposure (remember luminance is a vital part in your colorcoordinates) and you will get a perfect base every time you shoot. After that it’s of course the creative part to change colors, but the advantage is that when you need perfect colors, it’s there, but also that all presets you create will give the correct results, because they all start from the same base settings. This is something a lot of people forget when they claim they don’t need a colorchecker or lightmeter, it really saves loads of time on location, but even more when retouching.


https://frankdoorhof.com/web/wp-content/uploads/2025/01/Ibanez-RG505R-1995-30-January-30-2025-Edit.jpg 800 1200 Frank Doorhof https://frankdoorhof.com/web/wp-content/uploads/2015/03/studioFD_Logo-1FV.png Frank Doorhof2025-02-02 18:00:272025-01-30 15:13:17What a beauty, a yellow Ibanez RG505r

Same set different looks and messages

20-01-2025/in blog, Visions and technique/by Frank Doorhof

It’s very important

as a photographer to be able to get images that are fitting the client y0ur shooting for.
This can be a product, a model, musician, landscape, building etc.

One of the coolest things about photography is that besides just taking a picture we can do so much more.
I remember Peter Hurley telling me that a good headshot photographer will determine if someone walks the red carpet or ends up at at fast food chain, and in all honesty, he is right for a great part.

When we hired personal we always looked at the photos.
When our son Brian wanted to get a job I had to drag him into the studio to create a cool shot with some lens flare, low angle, arms crossed, rolled up sleeves etc.
He got the job right away.
The trick is very simple.
People get a lot of applications and some will jump out and some not, and no body wants to spend too much time for a lower position so having a photo that really jumps out and showed he was tall, ready to work. And by adding the red color I knew for sure the image would jump out.

Now this is not something I would shoot for a manager wanting to get a job in the higher management sector.

In other words

Always dive into what you shoot

For me it’s always a challenge to get images that are 100% the “soul” of a company, the “character” of a person or the “mood” my client wants for a product.
Photography for me is only a small part of an assignement, talking and of course getting people at ease is a vital part.

During the workshops I always try to experiment with different lighting setups, props etc. But I also give a lot of attention to topics that are important to get the mood your client wants. And because I love using my own guitars in workshops sometimes I thought it was a great exercise to see what you can do with the same setup, same lighting, same model etc.

Of course we have some limitations.
First off all it’s all the same setup and model. But still I think you will be able to get a different vibe with these shots.
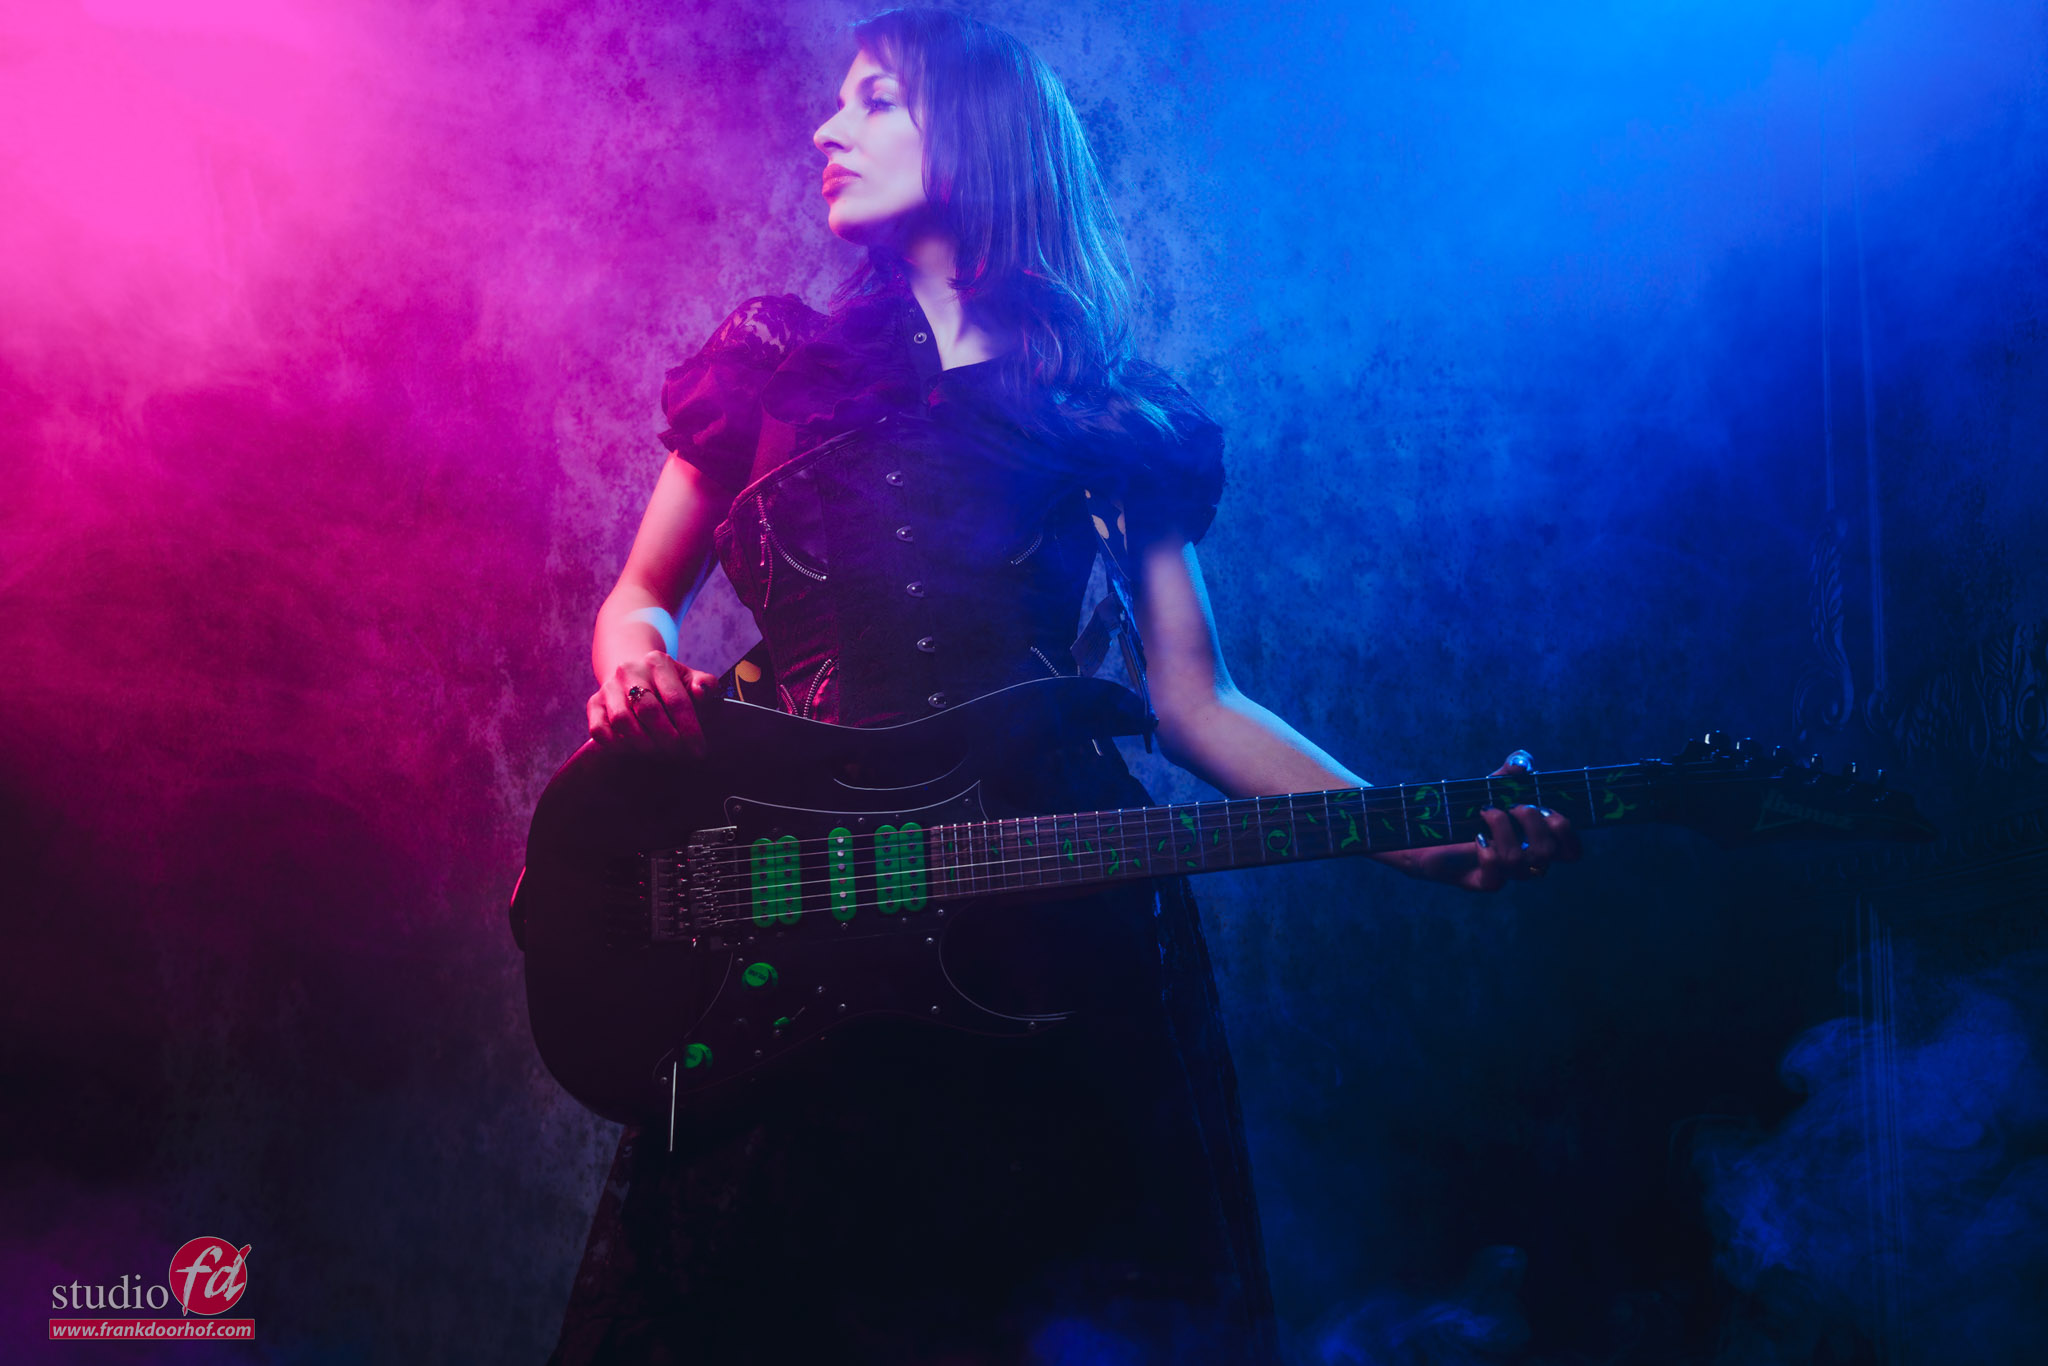
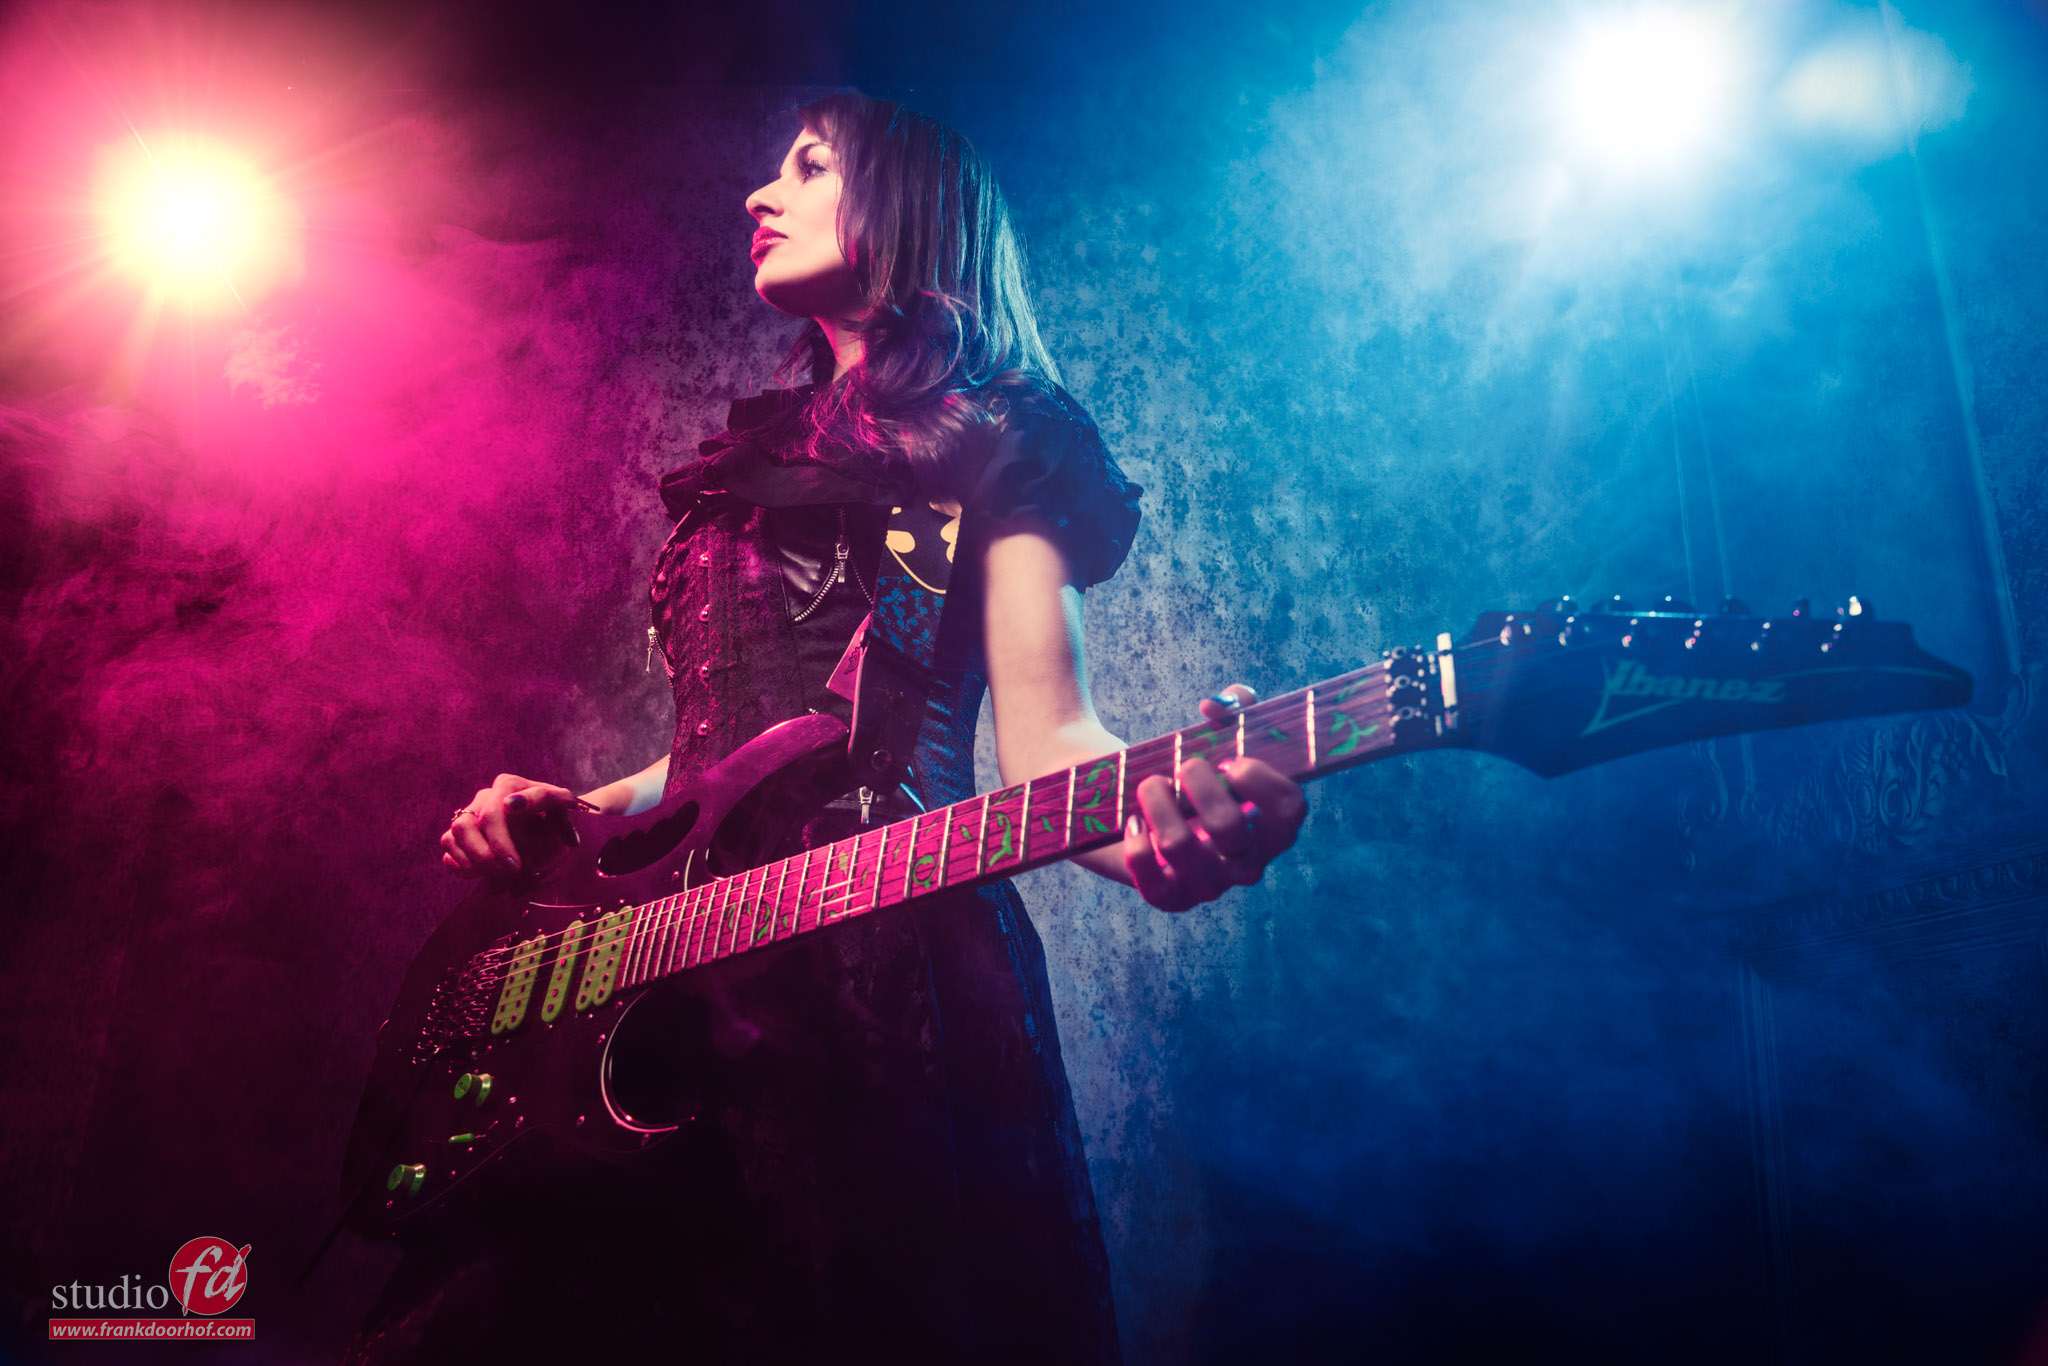
Some are aimed at more rock, some are more metal and maybe you spot the nu metal and progressive version.
The only thing that was changed is the pose of the model, the angle under which I shoot and of course the length of the lens. A wide angle will render a scene completely different than a longer lens that will compress the scene.

In the retouching I did try to keep the looks pretty similar, with small changes (except for one).
It’s a fun exercise and something you can easily try yourself.

Here are my versions.


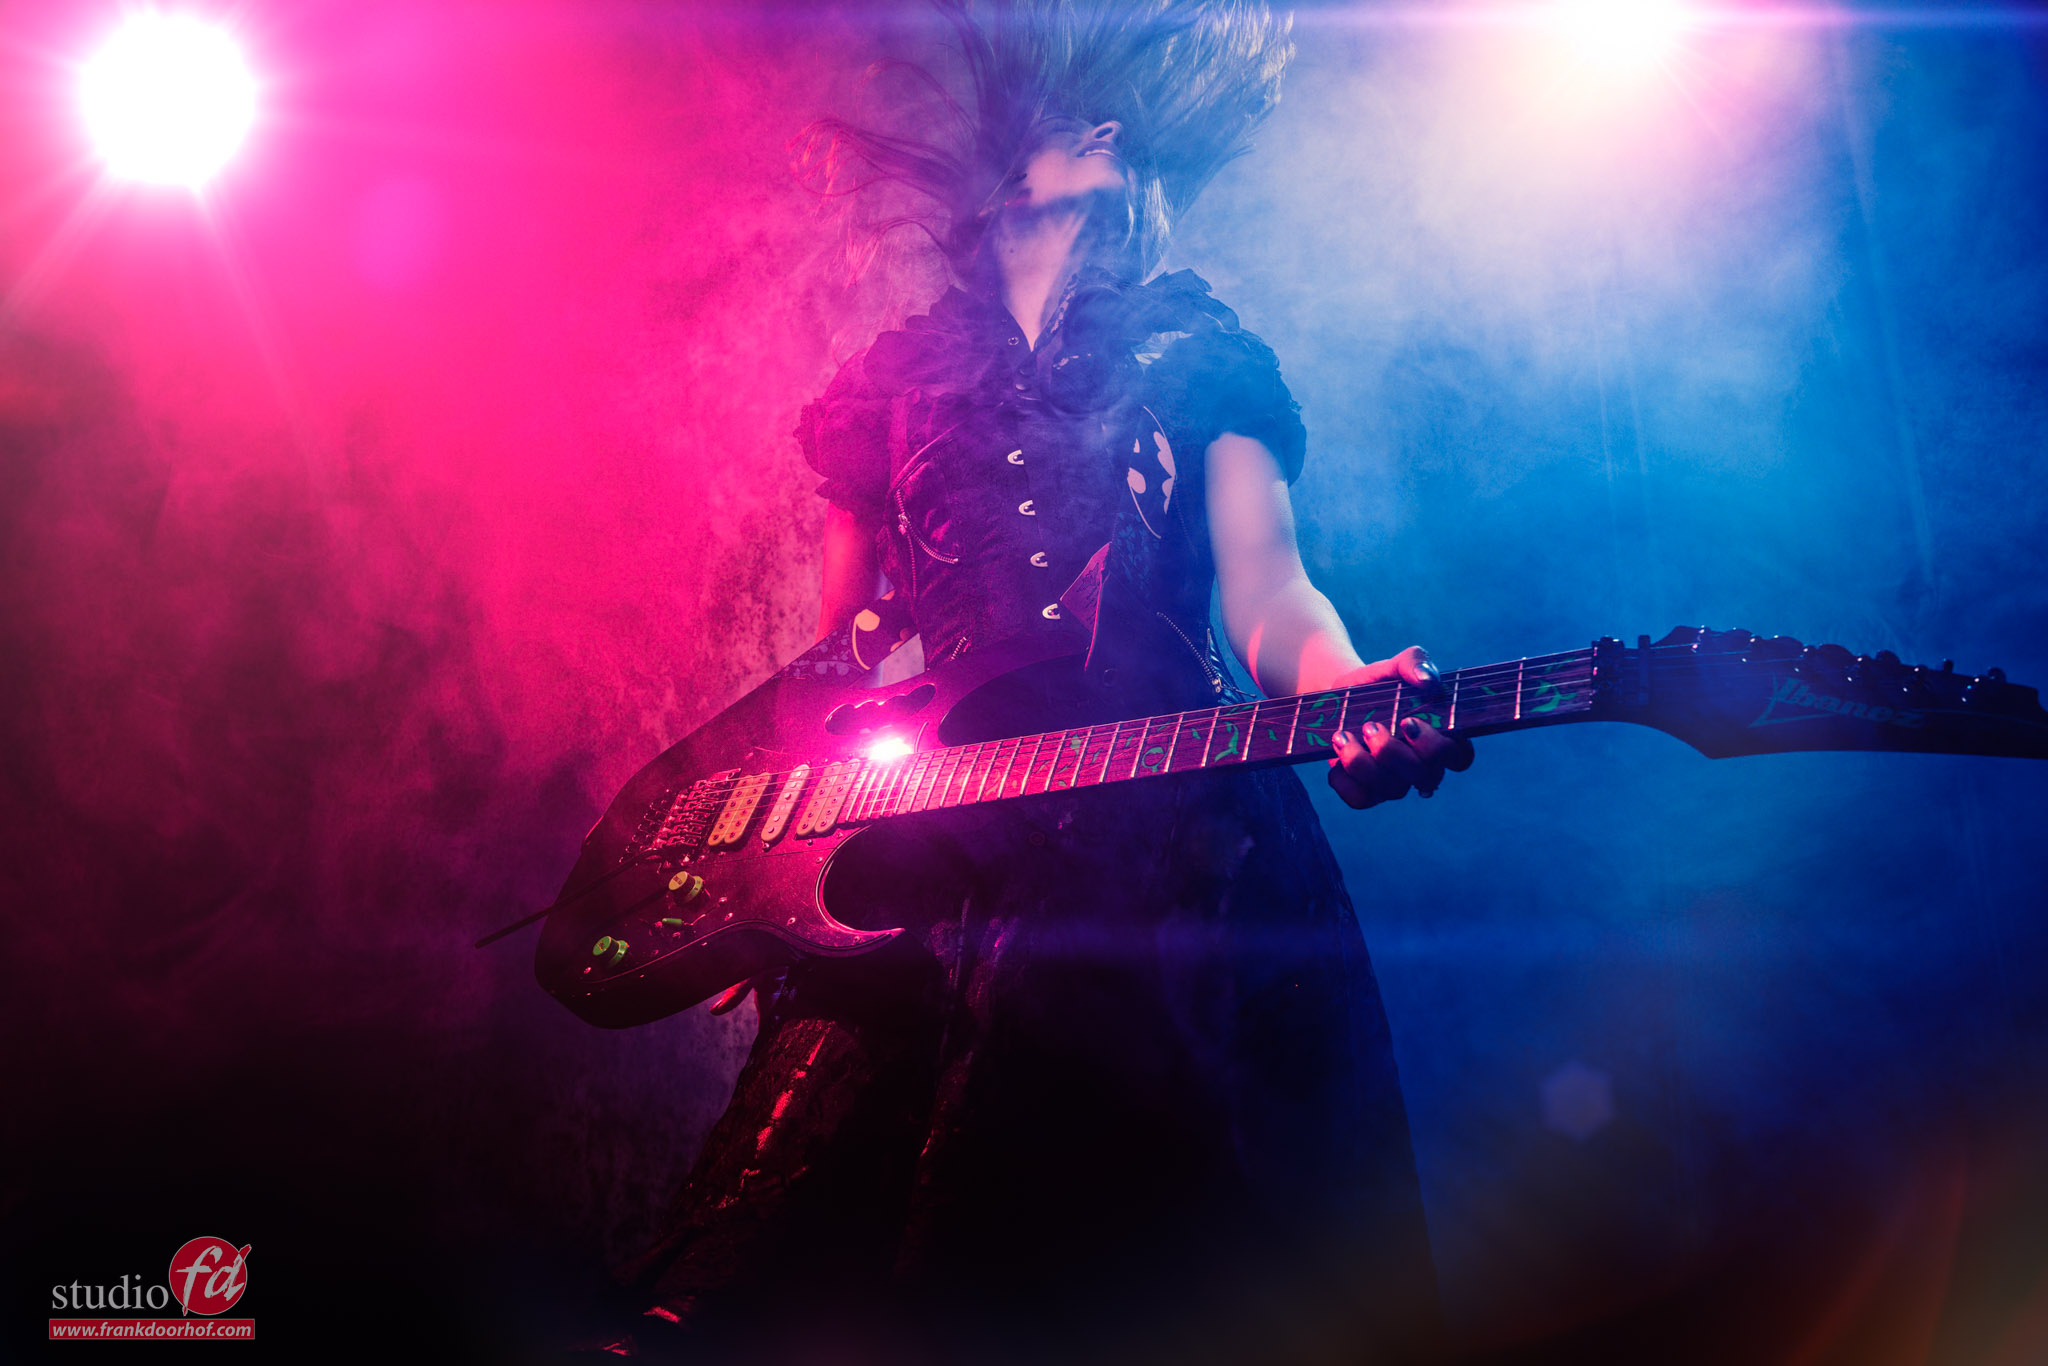
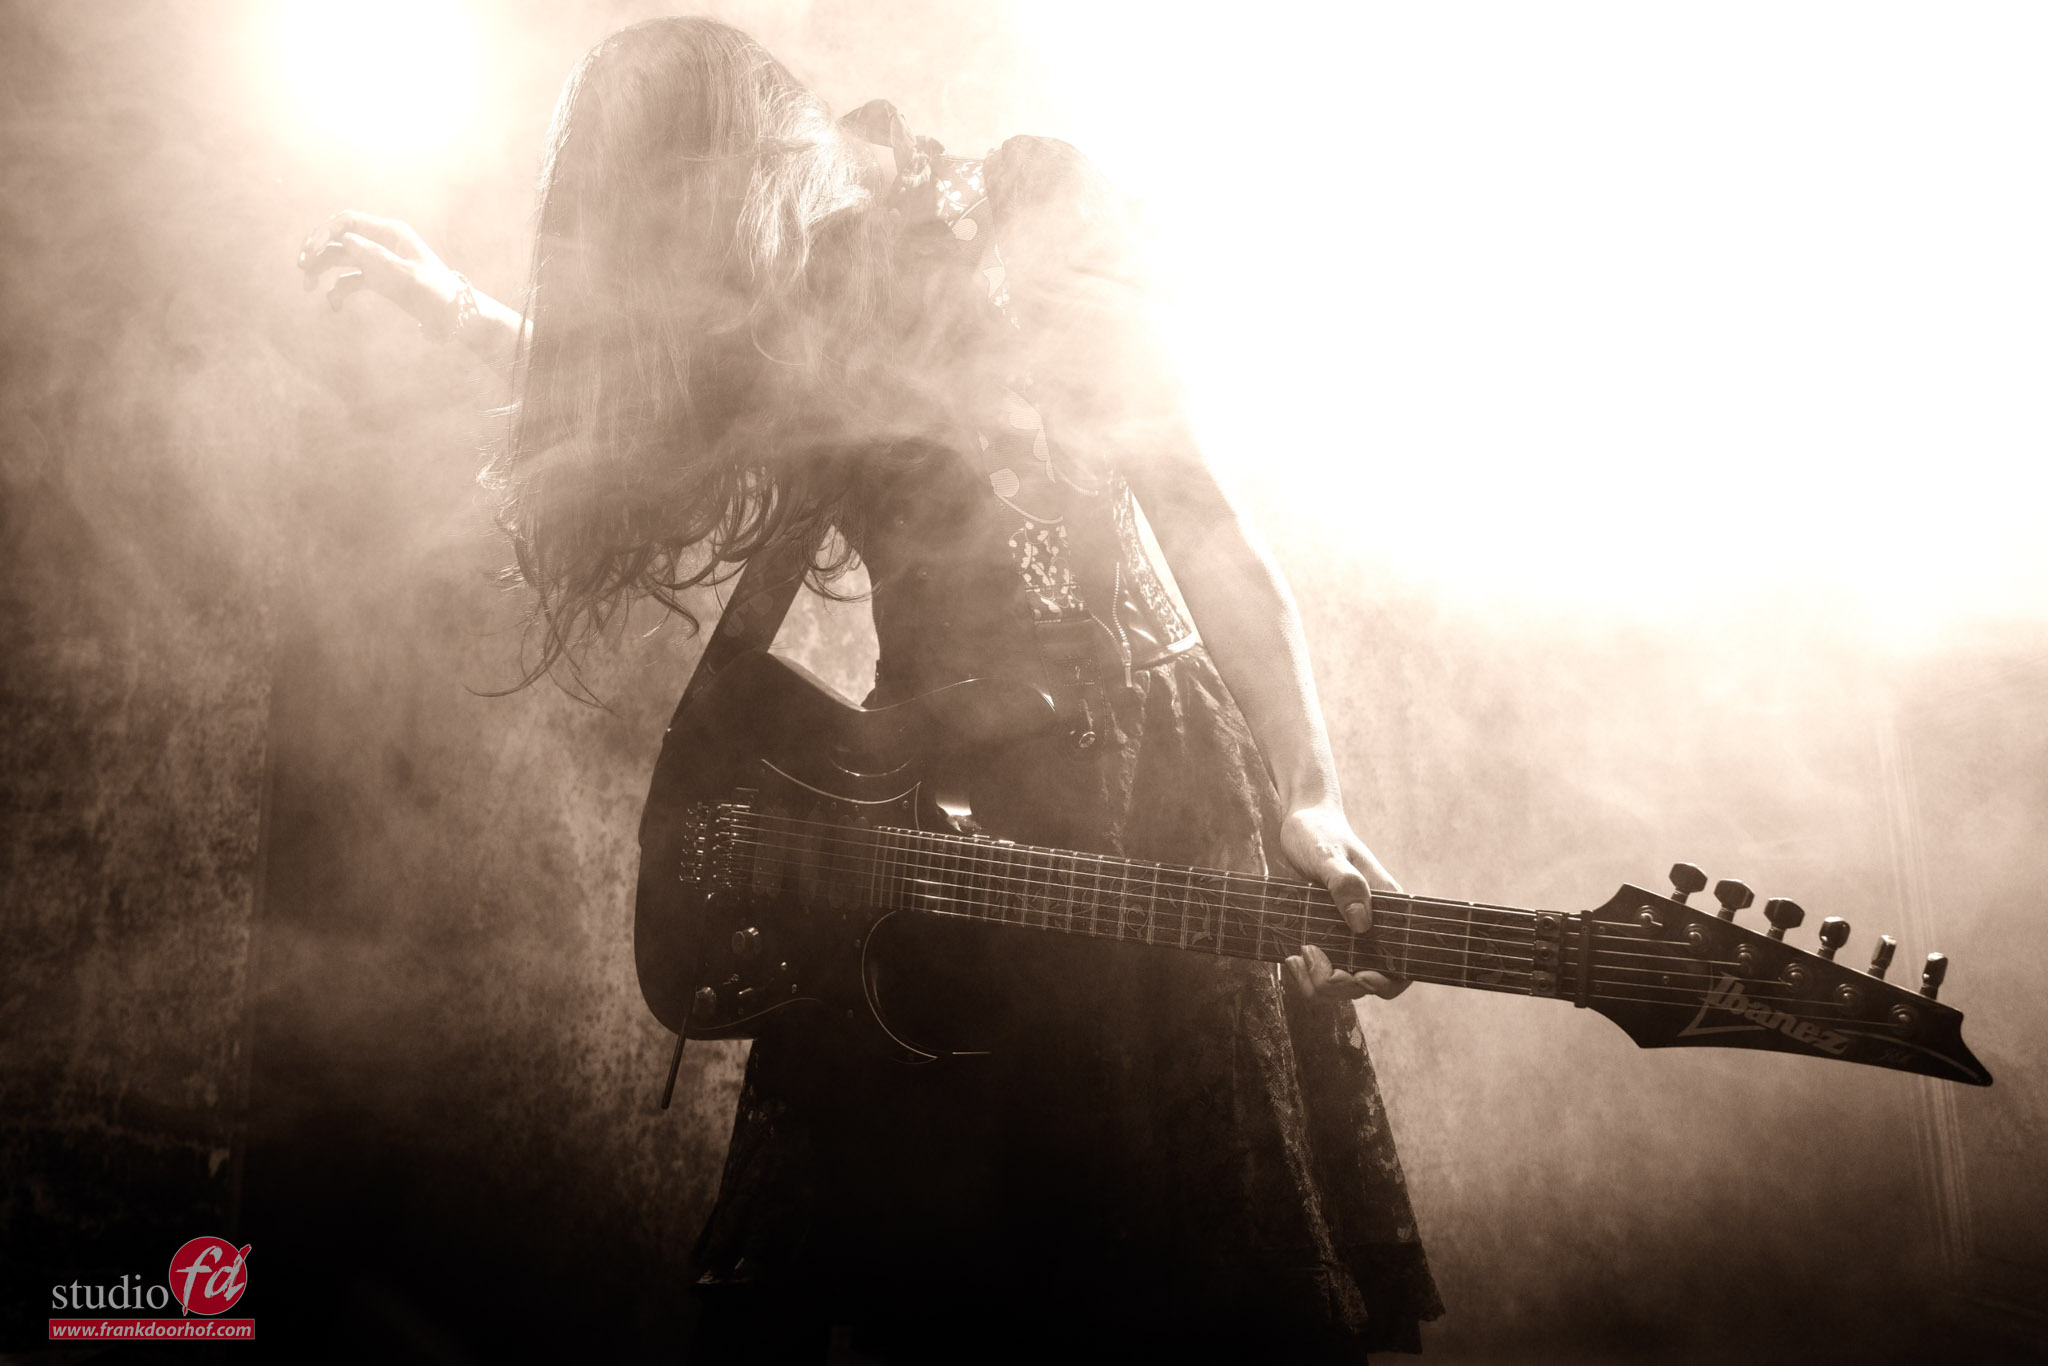
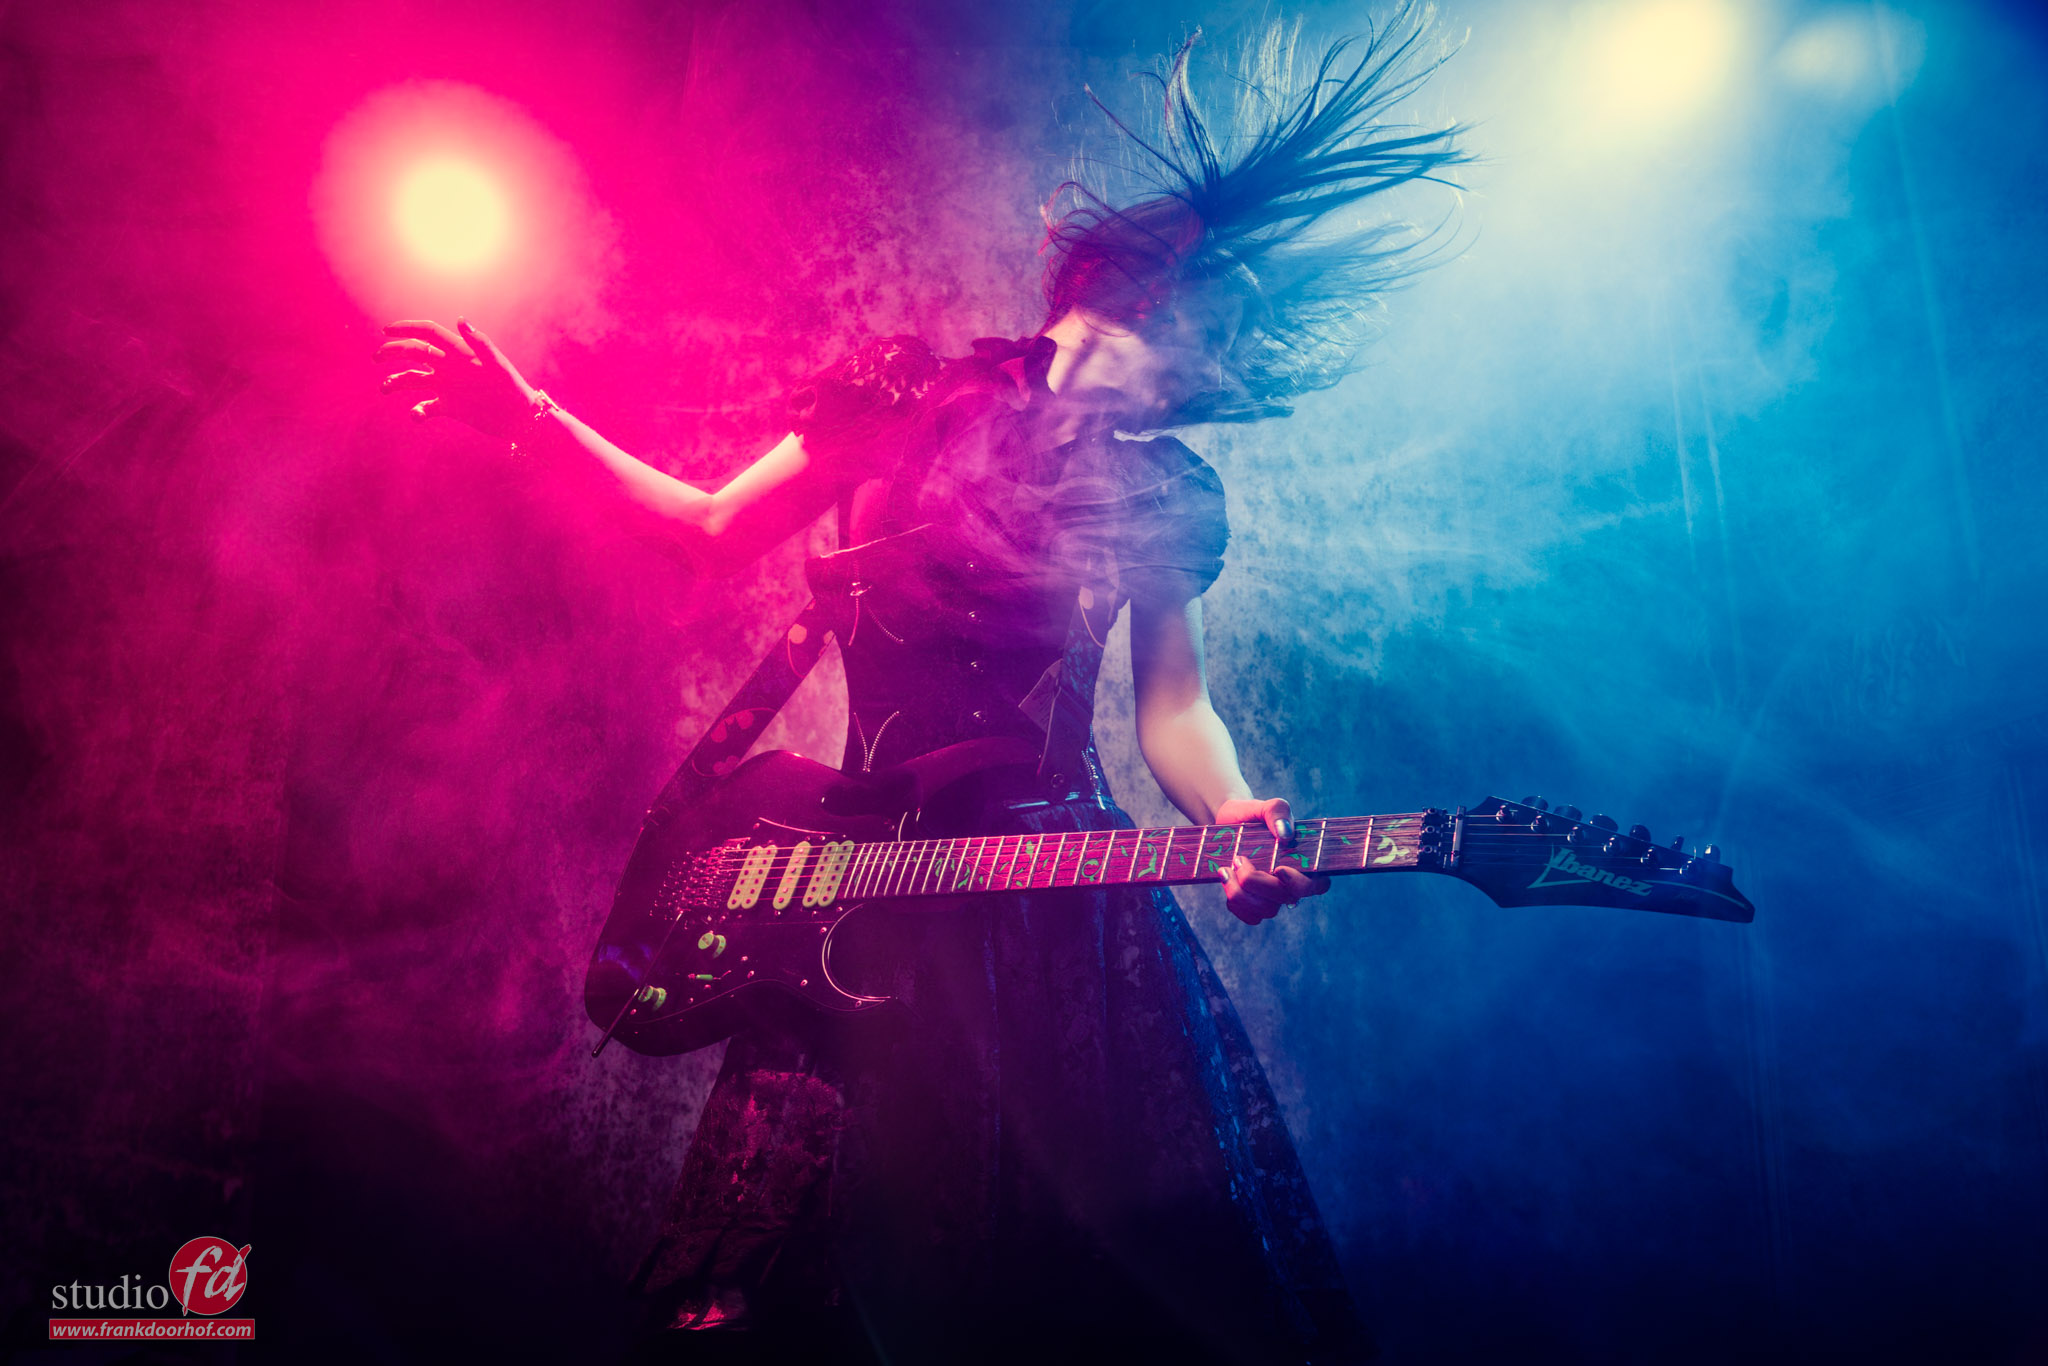
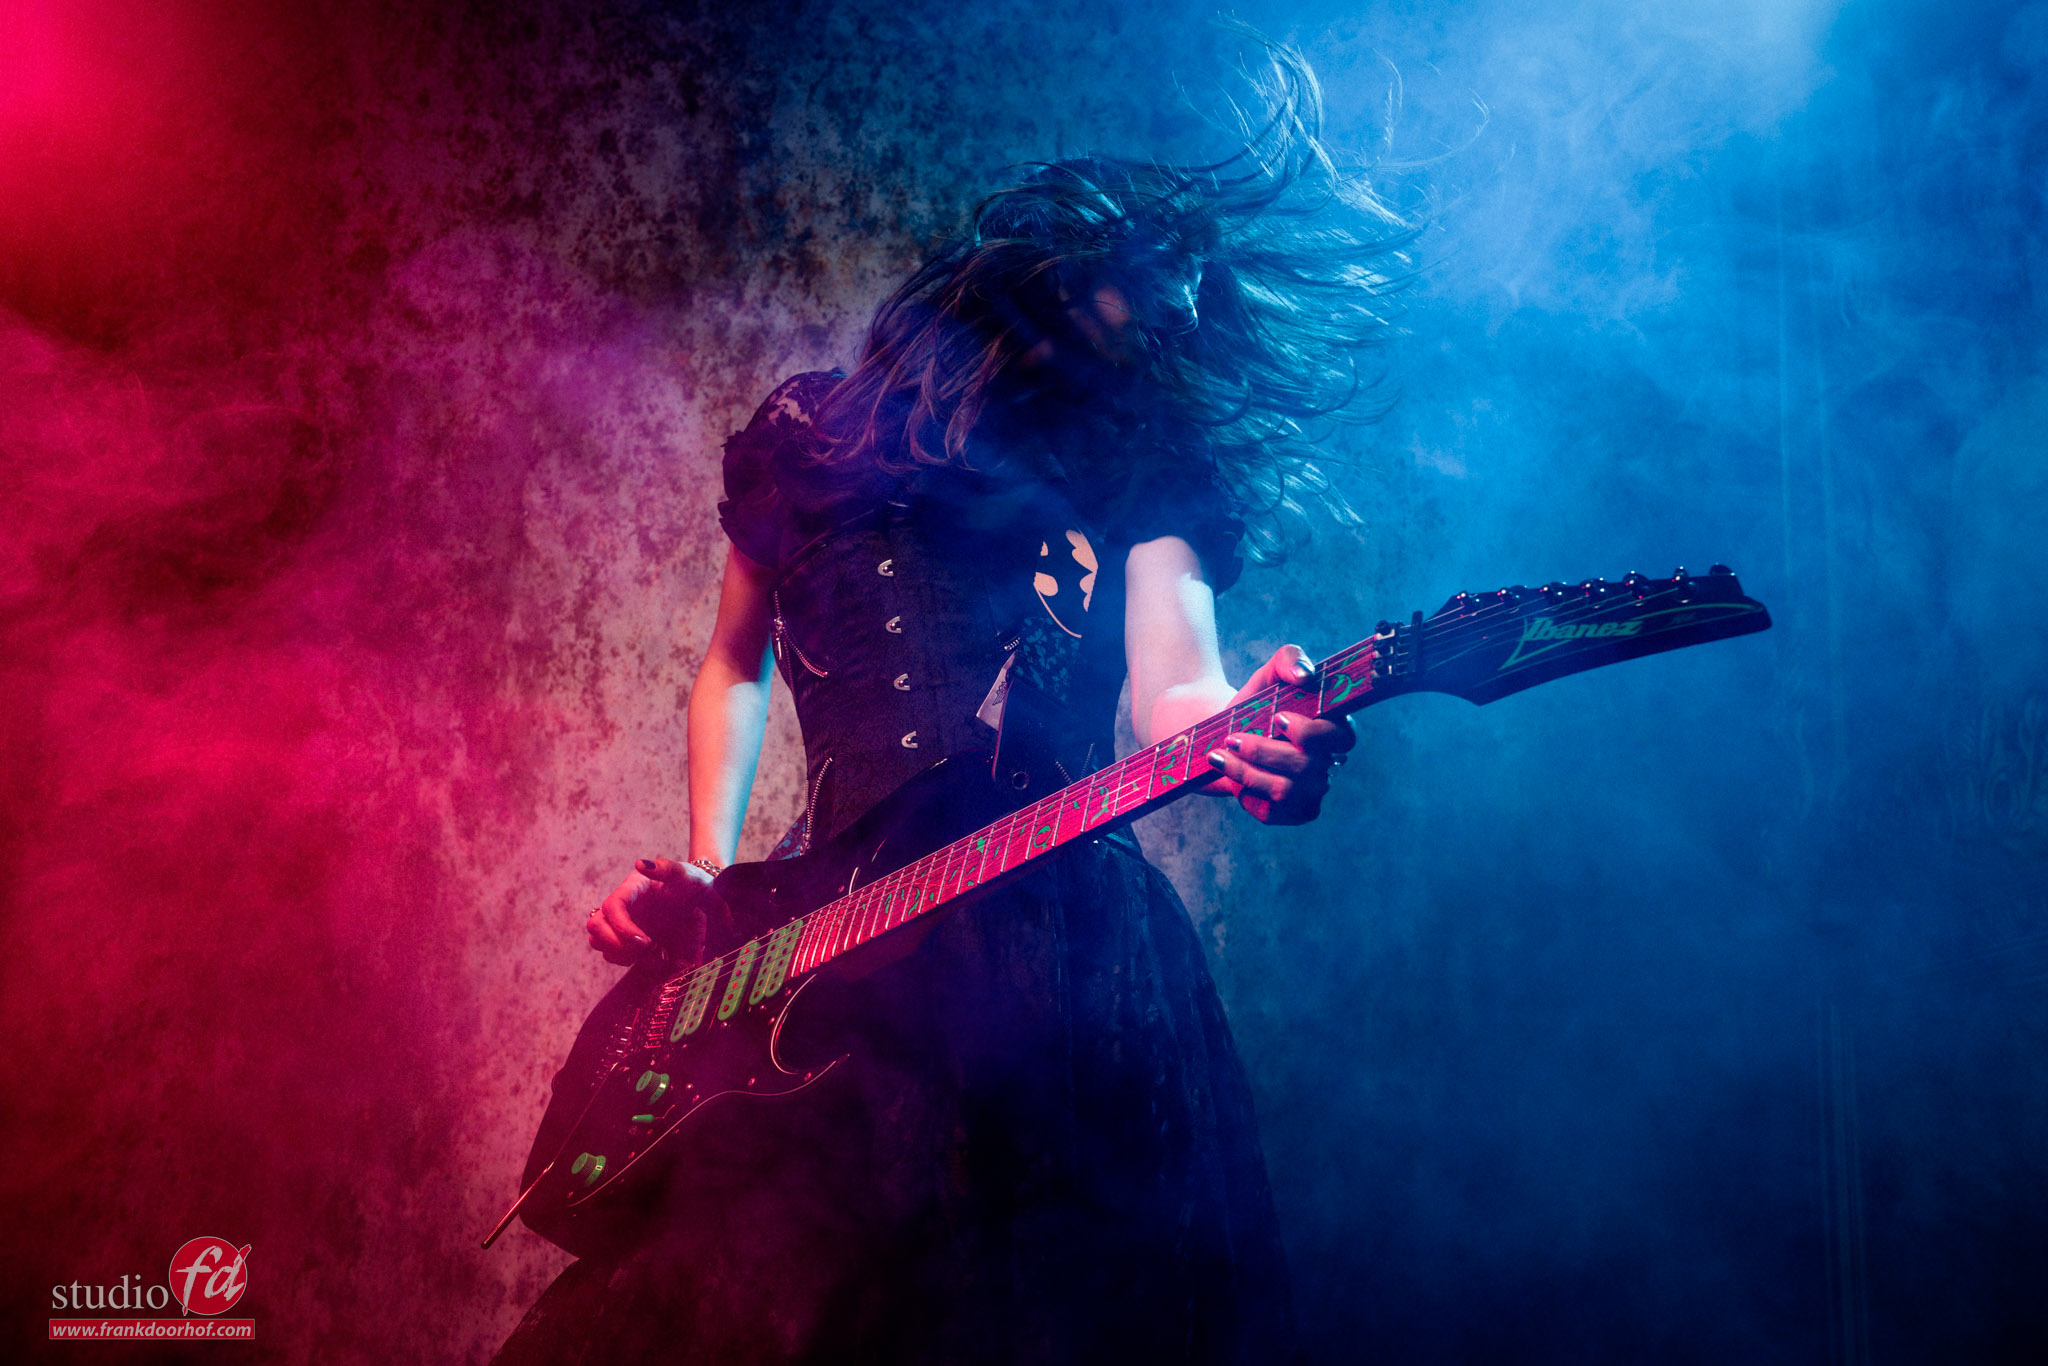
https://frankdoorhof.com/web/wp-content/uploads/2025/01/Felisa-51-January-11-2025-Edit.jpg 1366 2048 Frank Doorhof https://frankdoorhof.com/web/wp-content/uploads/2015/03/studioFD_Logo-1FV.png Frank Doorhof2025-01-20 17:00:072025-01-14 15:33:10Same set different looks and messages
Page 1 of 212

Newsletters

Subscribe to our newsletter for updates, discounts, and much more

English news letter
Dutch news letter

Interesting links

Here are some interesting links for you! Enjoy your stay :)

Snel naar

  • Blog
  • Learning with Frank
  • News etc
  • Reviews
  • Shop products & books
  • Contact

Contact

Studio Frank Doorhof:
Constructieweg 8
8305 AA Emmeloord

The Netherlands
+31-6-14522327

Or Email : info@frankdoorhof.com


© Copyright 2000 - - Frank Doorhof
  • Link to Facebook
  • Link to X
  • Link to Youtube
  • Link to WhatsApp
Scroll to top Scroll to top Scroll to top