Tag Archive for: how to

Looking back at the first year of problem-free tethering and connecting photographers…

Exactly a year ago we introduced a new tether brand: IQwire. We used the 10-meter cable a lot. Problem-free! But there is more. Read this update about 1-year problem-free tethering with IQwire.

Facebook sends you reminders of what happened a year ago. And today Facebook showed the official announcement of us distributing IQwire in Europe.

What is tethering?

Shooting tethered is one of the best upgrades you can do to your workflow. In case you wonder “Tethering?” When we talk about shooting tethered we mean that we connect our camera to a larger display to see the images we shoot right away. This can be on a tablet like Android or iOs, but also Windows or Mac of course.

In the studio or on location this means you can immediately judge your images for focus, lighting, etc. But you can also add presets to the images so your client (or yourself) can get an idea about how the final image will look. Especially when shooting in BW this can be an awesome tool that really makes the difference. But also think about overlays where you are able to shoot the images straight into the publication with all the headlines, text, etc. already laid out so you can get perfect results.

What you might not know is that most modern cameras support shooting tethered. In most cases, software like Lightroom or Capture One supports your camera. But there are also alternatives, most cameras even have their own software which can or cannot be incorporated with Lightroom. Tethering is a serious workflow enhancement, and might I say probably one of the most important ones.

But time moves on and demands also grow

A camera that was cutting edge a few years ago is already surpassed by many generations that followed. This also means that the files are getting larger, but most of all the buffers of the cameras are getting larger, cards are getting faster and we are also able to charge our cameras via USBC. This means that the demands we have for our tethering cables are getting higher and higher.

Today it’s exactly a year ago I made a post on the internet that we would be releasing a new brand for Europe that would be able to solve most if not all problems that people experience when shooting tethered, and after a year let’s look back and continue reading about 1-year problem-free tethering with IQwire

the IQwire logo with slogan

Experience is key

I’ve been shooting tethered for as long as I can remember. It started with the famous yellow composite cable to a CRT monitor. A simple connection from the video out of my camera to the TV. Nothing fancy but it worked like a charm. Later of course I switched to wireless tethering with a special battery grip which in all honesty worked ok for JPGs but was way too slow for RAW files (nothing changed here). I believe that when I switched to Medium Format it was the first time I really was able to shoot tethered the right way via Leaf Capture. At that moment I was running Windows and there actually was no Windows version of Leaf Capture. But thanks to the awesome team at Leaf I was able to run an alpha/beta version of the software. Later I switched to Mac also due to the fact my Windows laptop was way too unstable in heat or wet environments.

Sony A99 could not tether

Fast forward a lot of years and I was asked to do the introduction of the Sony A99. At that moment a groundbreaking camera with an EVF and …. well…. no tethering. Seeing I was asked to do the official introduction in Dubai for an audience this was really a big issue. So I started working together with a small company that actually managed to get me a “working” version of their tethering plugin for Sony cameras, with the STRONG message, please don’t shoot more than 25 images, and please not too fast. To make a long story short it was a demo with not that many shots but I was probably the first one in the world that actually shot tethered with the A99.

Tethering can be complicated

We never stopped looking for better tethering solutions and for many years Annewiek and I worked effortlessly to make tethering problem-free for every photographer. You have to realize that just adding a cable to your camera doesn’t warrant that tethering works. It’s actually in some cases a very complicated process where drivers can block the tethering or power saving can cause lost connections. Dropbox can even totally shut off tethering, hardware drivers aren’t updated or not correctly, etc. I could write a small book about all the problems we experienced over this period.

But as mentioned times changed and we found that more and more photographers (including myself) demanded more from our cables and solutions. For me, it was important to be able to use 10 meters (33 ft) cables without any hassle of adding two different cables together. I want to tethering to work problem-free. Extending cables in reality just doesn’t work reliably. Even when using locks after a few months I started getting lost connections and we had to tape the whole system together. And let’s be honest if you walk on a stage you don’t want to worry about losing connection, you just want to shoot and trust your gear.

And we found a brand that does exactly what the modern photographer wants.

IQwire

And the IQ is not there for fun or advertising. We deliver the IQwire cables in 5 and 10 meters lengths. So one problem for me was solved (length). However, when using 10 meters you are going beyond the limits of USBC (4.7 meters) so how do we make it work you might ask?

Well in the 10 meters version, you will find 2 boosters, and by using 2 boosters we have some advantages that no other brand has.

First of all of course the length, finally 10 meters without any extra connections.
But by using two inline boosters we are also able to solve another huge problem. The fact that most professional photographers use several cameras. With the IQwire, we are also selling several pigtails and even a USB-A converter. This makes the IQwire literally one cable to rule them all. When you shoot USBC you just use the cable as it is. But if you need USB mini/B/micro or any other connection you are able to connect a so-called pigtail cable where you go from USBcC female to the connector you need. Our pigtails are app 15 cm in length but I did some tests with adding a convertor PLUS a 4.7 meter cable and to my surprise my Medium Format camera didn’t just shoot without any dropouts but even was able to charge on the lowest setting which proves how stable and well build the IQ-Wire system is. So that is what we call problem-free tethering!

And although you don’t really need a booster on 5 mtrs also our 5 mtrs cables have one booster.

But there is more

As soon as you connect your camera for the first time you will notice that the connection is blazingly fast. The camera is recognized almost immediately and there are no more pauses or hiccups during the session, all images come in at the same time and speed.

We did several tests ourselves and clocked a difference of up to 20% compared to the best other cables. According to a recent review, the reviewer actually claimed even faster speeds compared to an off-brand cable. The impressive fact from that review was he compared a standard 1-meter cable with our 10-meter cable.

Part of this is of course due to the boosters. But also due to a small piece of hardware called IQ-connect. With IQ-connect you are always sure your camera and computer/tablet have the fastest connection and don’t disconnect the camera during the shoot.

With modern cameras, you can still shoot with standard cables of course, but if you want a reliable professional solution that can take a beating IQwire is the best choice in our personal opinion.

Read this update about 1-year problem-free tethering with IQwire.

Cascable logo, tethering software for the iPad

And more

When we look at the demands from photographers besides length we also hear being used iPad more and more. And let’s be honest, being able to shoot to a laptop is great, but you always have to carry an expensive piece of gear into environments that are far from friendly for anything that has air vents. Take your laptop to a beach with a little bit of wind and you know what I mean.

The iPad is the perfect solution for shooting tethered. I shoot with the iPad almost exclusively now and would literally never go back to the laptop. More battery life, much more light output, and much much easier to mount on a stand without the risk of falling over.

But you need software for this of course. And as mentioned before we always look for great solutions and found this in an app called Cascable on iOS. Do make sure you check if your camera is supported for wired tethering (they support a lot of cameras and even more wireless so make sure you check for wired too).

You guessed it… there is more

Now that we have the perfect cable in the perfect length, and a good tethering solution there is one thing missing.
When we connect something to our camera there is always a risk of damaging the port. This is one of the reasons I never advise people to empty their cards via the cameras, so how do we solve this with tethering?

First of all, IQwire uses angled connectors which already bring the risk down when a camera tips over when on the floor. (Never ever place your camera when connected on a stool or table, if someone hits your cable the camera will fall and probably not survive, so always place a connected camera on the floor). Due to the angled design of the IQwire the camera will literally turn over the cable protecting the port. But that doesn’t help when someone stands on your cable (of course you never do that yourself :D).

This is the first reason everyone should consider a 10-meter cable

When you use a 5-meter cable you have to take into account your own length (in my case 1.97) and the height of the laptop or tablet (mostly 1.50 meters). This means that if you don’t want your cable to “float” you already lose roughly 3.50 mtrs which means you can move around 1 to 2 meters around your laptop/tablet before the cable becomes a danger to trip over. With a 10-meter cable, this is much more than double. Now you can move roughly 6.50 mtrs around your laptop/tablet. This makes it not only safer to shoot but also hugely benefits the way you can use your set creatively. Being limited by length is incredibly frustrating.

But even when you use a 10-meter cable the port is still very fragile.
So you need something to connect the cable securely to the camera. Anything that moves around is not safe enough and just a small protection, as long as the cable moves there is a constant movement to the port which will eventually weaken the port and this will lead to lost connections.

For years I’ve used a solution that was expensive, very troublesome to take off and put on and was often cut into my hand. So we decided to create something that would work much better and would be a LOT cheaper.

our CableBlock is red,small and also arca compatible for problem-free tethering

Enter the CableBlock

Our StudioFD “We Know Tether” CableBlock solves many problems you can find in competing products.
First of all, we opted for a smaller form factor. This means that on most cameras you can still access the battery compartment and the CableBlock doesn’t cut into your hand when using smaller cameras. But most of all we wanted an easy way to take the CableBlock off the camera, so we added a clip which you can quickly take the CableBlock off your camera or put it on of course. You can still use a coin or screwdriver but you don’t need to anymore.

And of course, the CableBlock is fire red which makes it stands out. It’s fully Arca compatible and the best thing …. we are able to sell it for 35,00 euros retail. And for the time being it’s actually delivered for free with the 10- meter IQ-wire when bought from our dealers.

Looking back

Introducing a new brand on the market is always a problem. But realizing it’s just one year ago we did the introduction it’s stunning to see we are now being sold in most camera stores in the Benelux. And getting orders from other countries far out of our sales region is nothing less than awesome.

We are very pleased with all the positive reviews we get from magazines, websites, and most of all our users. Everybody seems to love IQwire, and reading that people can shoot without any problems or hiccups is the icing on the cake of course, and the reason we always find the brands that deliver.

For myself
1 year using a 10-meter IQwire meant
ZERO lost connections
Still using the same cable
No visible degrading on the connectors and housing and even the cable itself still looks brand new although there were quite some instances where people and dog stood on the cable and I even (by accident) rolled my chair over the cable during a shoot a few times.

So do you also want to shoot tethered problem-free?

Like with most products there are brands that innovate and brands that keep everything the same. With IQwire we are ready for the future, are you already an IQwire shooter?

For more info see www.iqwire.nl
Buy the cable block here from us
Buy IQwire directly from us

You can buy IQwire and CableBlock in your favorite camera store

Why StudioFD?

Of course, you might wonder “Why should I choose to work with StudioFD?”
First of all, we have an unsurpassed experience with tethering. Without going into details (don’t want to hurt other brands), we’ve been working in the business of tethering for over 15 years building brands from the ground up with almost 24/7 365 support.

As a dealer, you don’t have to think about solving problems for your customer which costs time and often will not solve the problem. Instead, we take over the complete after-sales and will support your customer with all the questions they have and if something doesn’t work… Well, we will make it work (unless a camera doesn’t support tethering of course). Besides an extensive experience with tethering, we also ran a PC/Mac shop for over 20 years so we have a proper knowledge of the software and hardware needed to create a flawless workflow.

Dealers are welcome.

Distrokid…..

As you all know this is mostly a photography blog/site, but as with most people active in creative professions music is also for a lot of us an important part of our lives, so sometimes I also throw in something a bit off topic.

For me personally I started playing guitar when I was app 17 years old and absolutely loved it, I played hours a day and for me music was the perfect distraction from everything that happened around me, it was the place I could channel happiness but it also was a great way to get anger or frustration out.


Getting to the start
When I started there was no internet and learning guitar was done by waiting for a new magazine or buy a tabbook (song book with guitar parts transcribed in tabs). Recording music was an absolute disaster. I used a very modern (for that time) 4 track recorder which meant I had to record 2 tracks that I could listen back and 2 tracks “blind” only when mixing you could hear those back, later the Tascam recorders started to appear and I absolutely loved that one (still own it), wish it would still work but the tape deck is somehow not working anymore.

When I was done with school my first company was a recording studio which I ran with a friend of mine. It was a huge space which we build ourselves from an old barn behind his parents farm. Although the space was designed as a real studio with a separate drum cage, special acoustics and of course a nice control room with soundproofed glas looking into the recording room… in short it was awesome. But where we were professional in room space even in todays standards the gear…. well… was less impressing.

Recording was done on a large D&R console and the drums were done on a separate Yamaha console routed into the D&R and mixed down to an 8 track tape recorder, this made it also possible to record all instrument separate or all at once with their own channels for that time I felt in absolute recording heaven.

But as with most things, time catches up.
I met Annewiek and we started our life together, for a few years I continued teaching guitar to local people but when we got busier with our business I had to stop this and slowly also stopped playing myself. Luckily I didn’t sell anything but stored in on the attic.

The PhotoshopWorld experience
Many years later (end 40’s) I send one of my demo tapes to Scott Kelby and he absolutely loved it resulting in him asking me to jam with them on stage during PhotoshopWorld. To be short… it was a “disaster” and bloody (no calluses) (sorry Scott for the strings). But it did spark the fire in a huge way. So when I got home we unpacked my old guitars and amps and connected everything.

The first thing I wanted was my trusted drum machines.
I sold my SR16 so bought that one back and also added a kawai session trainer.
But….. I don’t use them anymore.

The landscape has changed A LOT.
Man I wish I had all this stuff when I was in my teens, I would have never left my room I’m afraid.
At the moment I’m recording my guitar parts on tube amps at the sound output I want without hearing any sound. To give you an idea, to get a really cool lead tone I love a 100W tube amp just over the point of breakup which often means the sound pressure of a jet-engine at a few feet distance, something you could never do in the past, but today you just disconnect the speaker cab and use something like a Torpedo Twin X and you can select your favourite speakers, add virtual microphones and move them around but without the phasing problems you normally experience. Now in all honesty I was able to do something very basic in my youth because I bought a Marshall SE100 which does something similar but wasn’t as flexible as what we have today and it was incredibly expensive at that time (still own it).

Recording music is also a totally different experience.
Logic has awesome sounds for keys (in the past you had to buy all the keyboards to get the sounds, or use samplers), an awesome drummer plugin and thanks to digital it’s now super easy to record your ideas. Where when I started it was more fighting the limitations and being able to record something in one take (punch in is pretty hard to pull off perfectly on old tapemachines) now you can just play it in a loop and select the takes you like or even glue them together without the listener hearing the cuts.

Now I have to be honest.
I still try to play my music in as little takes as possible and my solos are probably 20 takes but I choose only one and only cut where I messed up a note or slide. Somehow it still feels like cheating when you just “lego” a piece of music.

Getting it out there
My first (and only) band was called Royalty (huge Queen fan) and although we played covers the main set was own material which we recorded on that little 4 track in my parents attic and the second demo actually in the studio (Royalty street studios). To get the music “out there” we asked local record stores to showcase our cassette tapes on the desk and once a month we would collect the money, if there was any. It was a time that most people don’t even recognise, and in all honesty it makes me feel very old 😀

Also here the world has changed a lot.
When I was in a band when you wanted to reach outside of your home town you had to do it yourself or get a record deal. Well that first one we did, the second… never ever.

But how do we do it now?
The first thing you will say “internet” and indeed totally right.
Sites like Soundcloud, bandcamp are awesome to showcase your music and of course social media is a great way to build followers, build hype, share images etc. the landscape has turned completely upside down.

Now let’s make one thing clear. I have no ambitions at all in a music career (although I’m always open for offers :D)
But I love sharing my work and when I told someone to check out Soundcloud the answer was often “what?, I know Spotify or Apple” so I started to look what was needed to get my music in an easier to find streaming service.

You can of course upload directly to Spotify, but what about Apple, YT, Tidal etc. etc. there are over 250 streaming services, so where does it stop? I feel a bit like social media, we love to keep you guys updated and it’s a lot of work to reach the most amount of people on different platforms and I was not planning on doing that kind of work for my music.

Enter Distrokid
As soon as I started looking for posting on Spotify the name Distrokid came up, when I watch recording or instructional videos Distrokid is mentioned, the kid seems to be everywhere.

When I looked at the site it indeed looked awesome. For 19.00 a year you’re posted on all streaming services and keep all/most of your royalties, there are unlimited uploads without “hidden” costs and they have a very nice website with special goodies that make my life a lot easier. Remember music is my hobby it’s not work, so I love making and recording the songs but I don’t want to spend hours on getting them online. Well Distrokid is a solution for all of this.

If the song is done you just upload it to DistroKid and enter the needed information, upload the cover art and… well that’s it (ok press or click Enter), but that’s not where it stops.

Within a few hours DistroKid send me an email with a so called pre-save page. This is absolutely awesome because it not only gives the visiter the cover art and a small preview that works in every browser, but you can pre-save the track and when the track is released the same page can be used to select your favourite streaming service. Talk about taking the work out of your hands.

As soon as the track was released I got another mail.
This time with loads of cover designs for social media, I settled on this one.

Now of course you can still do everything yourself, and if you pay a little bit more you can even have your own label instead of DistroKid, for me it doesn’t really bother me so I just got the cheapest option and am already deeply impressed by what it does for you, for 19,00 a year I did not expect this.

Alternatives
Did I look for alternatives?
Yes of course (I’m Dutch :))
But every time I saw one that was “self-proclaimed” better it was often not the case, yes they are free or much cheaper but you pay 5-9 euro per release, that means 3 releases and you’re already over the price of Distrokid.

Now I’m not saying Distrokid is for everyone.
But they do have a great product range from 19 to 80 euro per year ranging from one artist and the DistroKid label to 2 artists and a lot more options plus your own label and even an option for a real label with loads of artists, planned releases etc. and that for under 100 euro a year…. wow.

My plans
At the moment I have one song on DistroKid called Air on Air.
I recorded this a few days ago in our home studio and it came out pretty cool I think.
I already mentioned I have no ambitions on a music career (although :D) but I will be uploading material regularly, so I would love for you guys to follow me on your favourite streaming service.

At the moment I have 7 songs ready that will be uploaded in the coming weeks (one a week is the plan), after that I will keep uploading material and the challenge for me is to improve with every release and of course find collaborations with other musicians, and because we can record worldwide thank’s to the modern DAWs I think we can look forward to some interesting collaborations.

Feel free to contact me if you want to work on something.

Conclusion
If you want your audio out there and want a solid partner that doesn’t cost you an arm and a leg Distrokid is the right choice I think. Even if you (like me) just love to record music and love to get it “out there” Distrokid does it all for less than what you spend on coffee in a week.

If you also want to share your music or audio, check out DistroKid and use our link for a 7% discount and you also support my work, which I highly appreciate.

Oh and I would love for you guys to listen to my music, share it with friends and if you like more posts about music or recording let me know. We also recently started a Discord server which contains topics about photography but also music, so make sure to also join us there.

A new Frank Doorhof allround filter pack

Filters come in many shapes and sizes (literally).
Personally, I’m not really a filter fan, but since I started using the Black Diffusion filters from K&F concept I have literally fallen in love with those filters.

The Black Diffusion filters from K&F concept give a fantastic “glow” effect on highlights, but do not “ruin” the photo due to loss of sharpness, photos remain razor-sharp, but as soon as some backlight falls on the lens, you see the highlights really “glow” fantastic. “. but that’s not all, I mainly use the filters for the impact they have on lens flares.

Where normally a lens flare can be a bit “harsh”, the filters provide a fantastic smooth rendering of the flare.

The Black diffusion is available in different strengths, but I mainly use the 1/8 and 1/4.
It will therefore come as no surprise that you will find these 2 in the package.
But there’s more…

You probably see them sometimes, those shots where the water is really super smooth, in case you’re wondering how they do that…. a really long shutter speed. Normally, however, this will not work because you would then get a totally overexposed photo, so you have to ensure that less light falls on the sensor. And for that we use so-called ND (Neutral Density) filters, which are available in different values ​​(stops) which indicate how much light is lowered.

Now you may be wondering what I do with an ND filter?
Well… with outdoor flash we have a similar problem.
Many flashes that are a bit more powerful have a limitation on the shutter speed that you can use (often this is max 1/125-1/200, called the X-sync). If you shoot faster, you will be treated to a “nice” black bar (the shutter curtain). This often means that if you work with flash outside, you get photos with a depth of field from here to eternity, and that’s not always what you aim for of course.

By using an ND filter, we are able to block part of the light so less light falls on the sensor, this means we can now open the aperture, resulting in less depth of field. Awesome.

Now the question that we all want to ask “what strength should I buy?”
Well, that’s not so easy to answer.
Sometimes you want a little less and sometimes a little more…. luckily we have a solution for that too.

In addition to the 1/4 and 1/8 Black Diffusion filters, the Frank Doorhof package also includes a variable ND filter from 8-128, a very useful range for both model photography with flash on location and landscapes. The variable ND filter has clear indications for the stops and is also fully adjustable. More flexibility is almost impossible.

If you’re already getting excited…. just wait

One of the major drawbacks of filters is that they are sometimes impossible to get off your lens.
There only needs to be a small grain of sand on the ring or maybe you don’t pay attention when mounting the filter and it’s not aligned perfectly, drama, drama, drama 😀
Well…. we solved that too.

frank doorhof K&F kit

All filters are magnetic
This means that you only have to place the magnetic ring on your lens, my advise is to do this in a clean environment and also, just to be sure, clean everything with a blower so that there is nothing on the lens mount where the ring is placed. Once the ring is on, you can change the filters with lighting speed.

Happy yet?
Again this is not all, when we do something… we do it the right way.

Due to the design of the filters and the ring, you can also combine the filters.
For example, if you want more diffusion than 1/4, you just click the 1/8 on top of the 1/4 and you get a heavier effect.

Of course, the variable ND filter is also fully magnetic and has no protruding parts, so you can still use the lens hood if necessary.

Almost done
Ok, in terms of filters we are done now, but there is more.
Of course we can just give you the filters in a box, but that is not really convenient on location and doesn’t look cool/special, so we opted for a beautiful handmade leather pouch, and they are all unique (handmade). We have a few of them in the studio and they are indeed all slightly different, so you really buy something unique.

In this video I introduce the package to you and show you what it contains and what you can do with it.

The filterpack is now available via www.frankdoorhof.com/shop (for the Benelux) or in the stores that sell K&F Concept.

Behind the scenes during the workshop “smoke” plus how I shoot tethered to the iPad pro

In today’s episode of behind the closed DOORs we talk about tethering to the iPad pro
And I take you BTS during the workshop smoke with our model Linda.

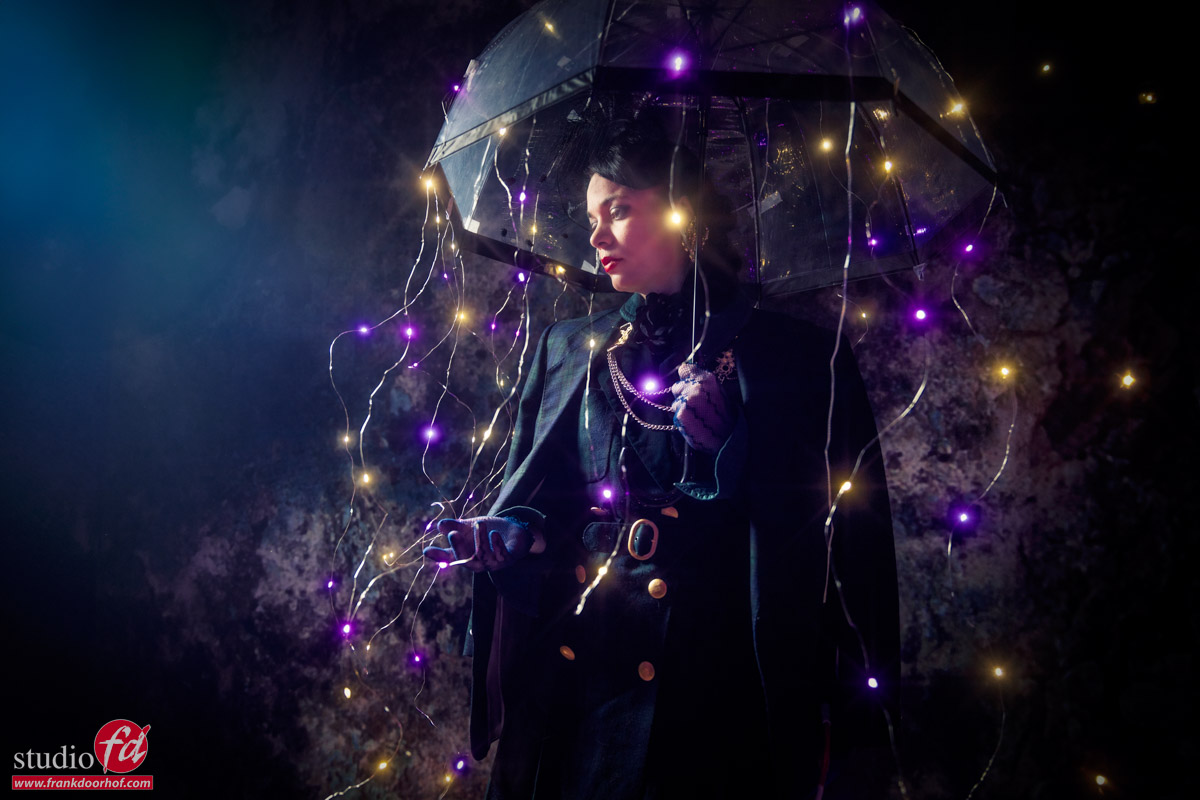
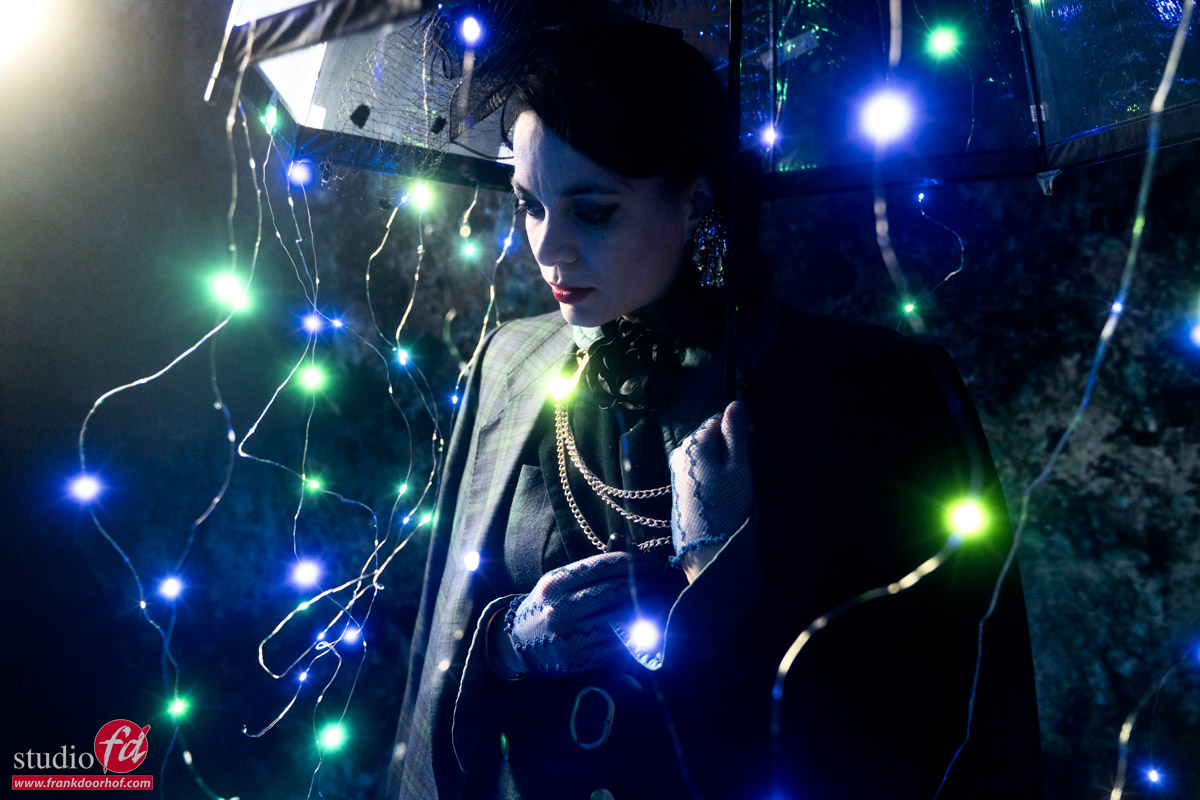
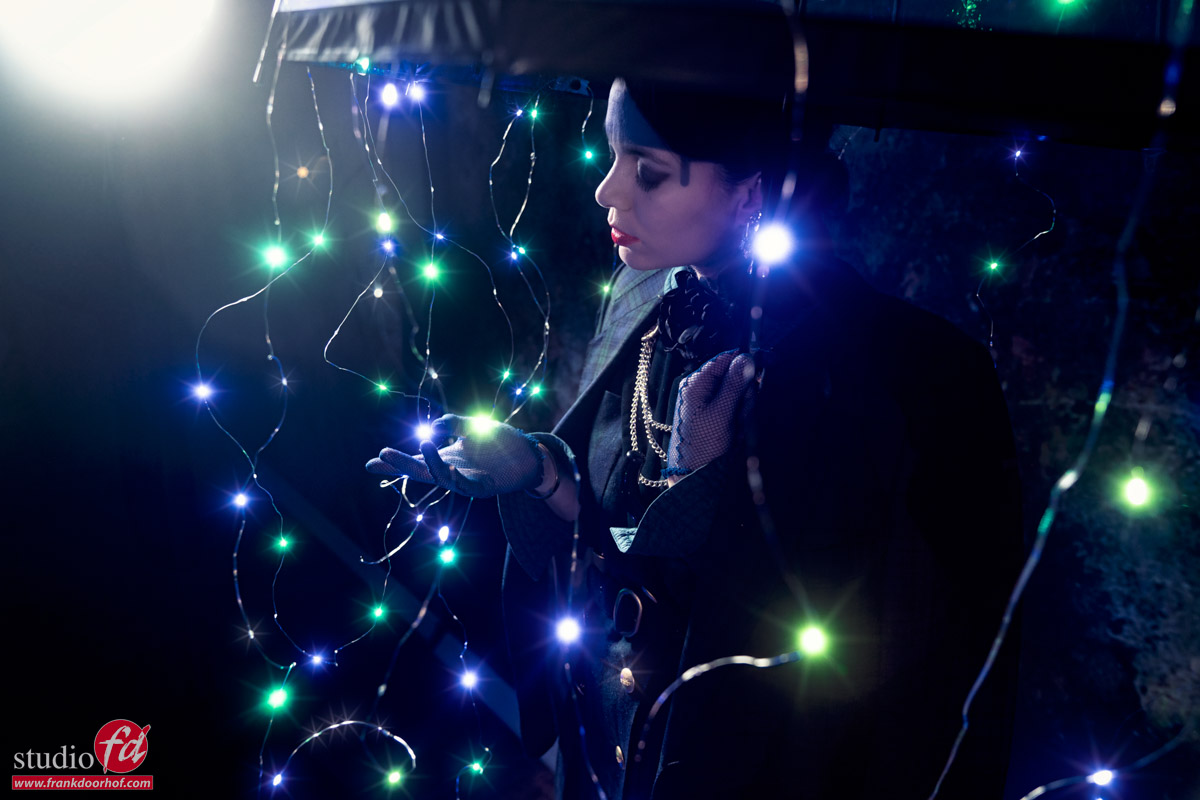
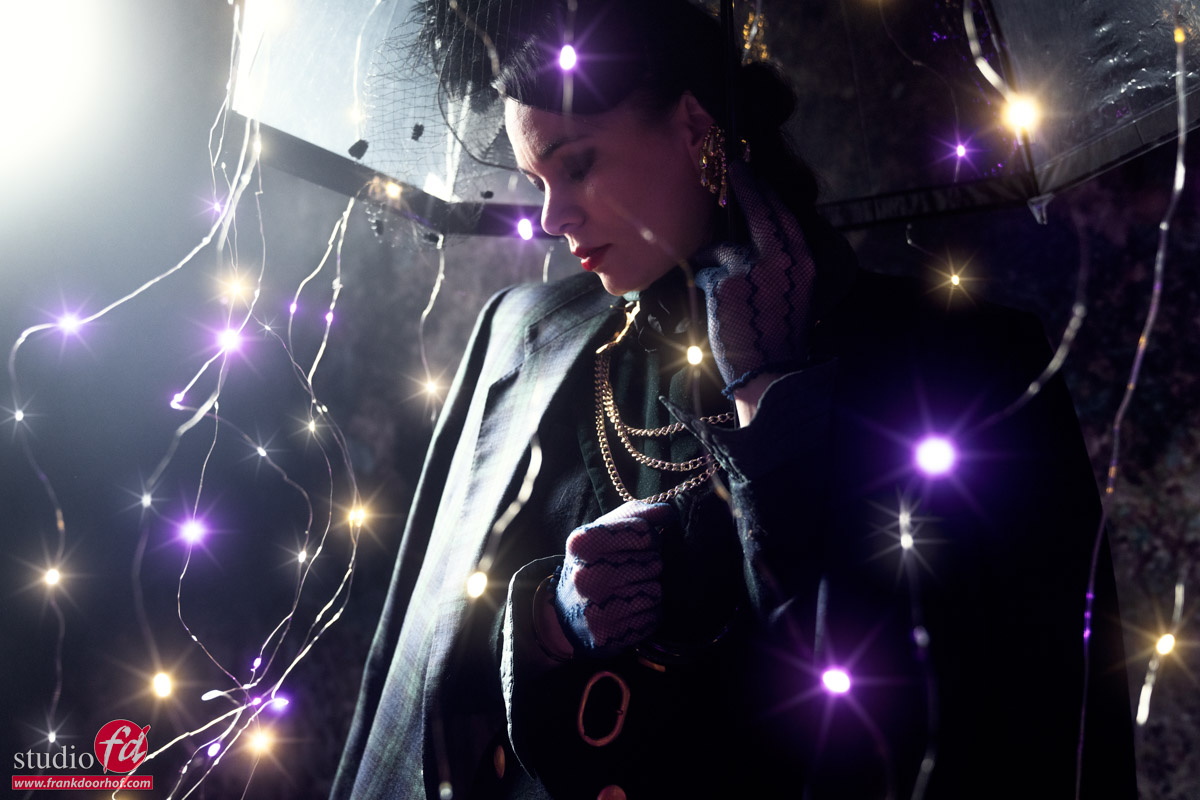
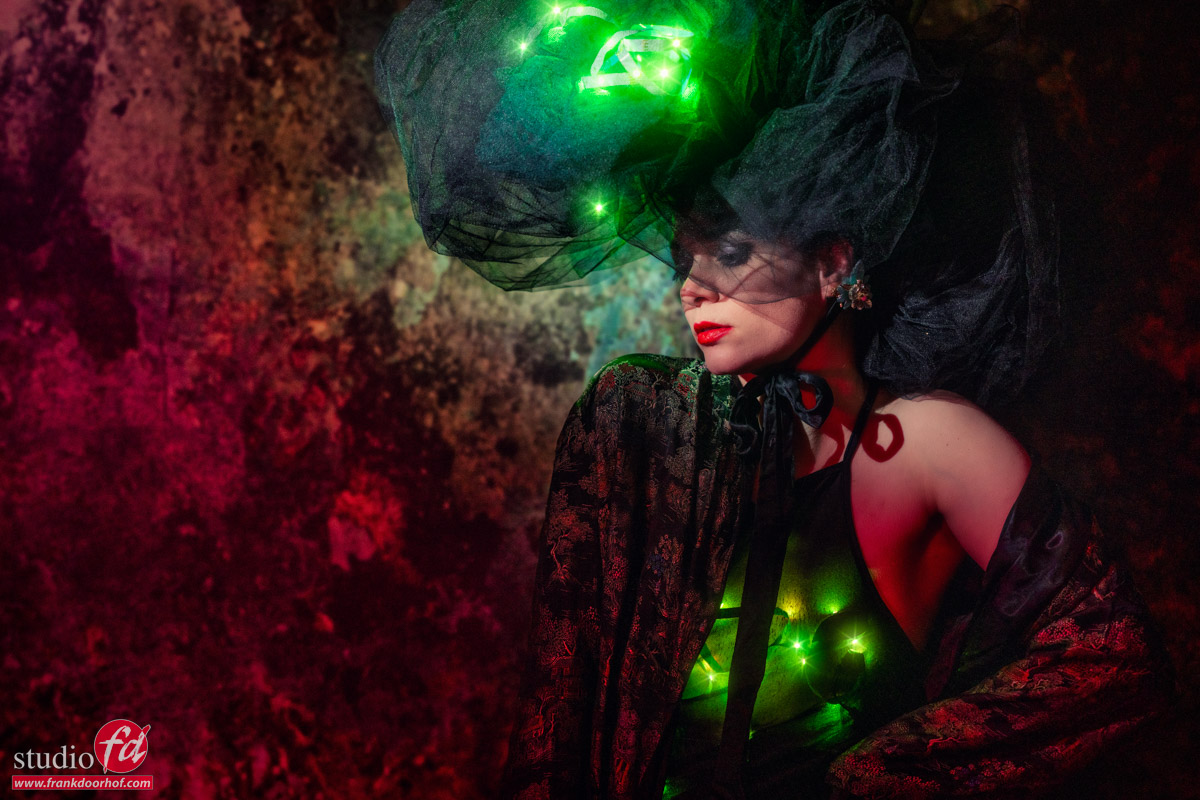
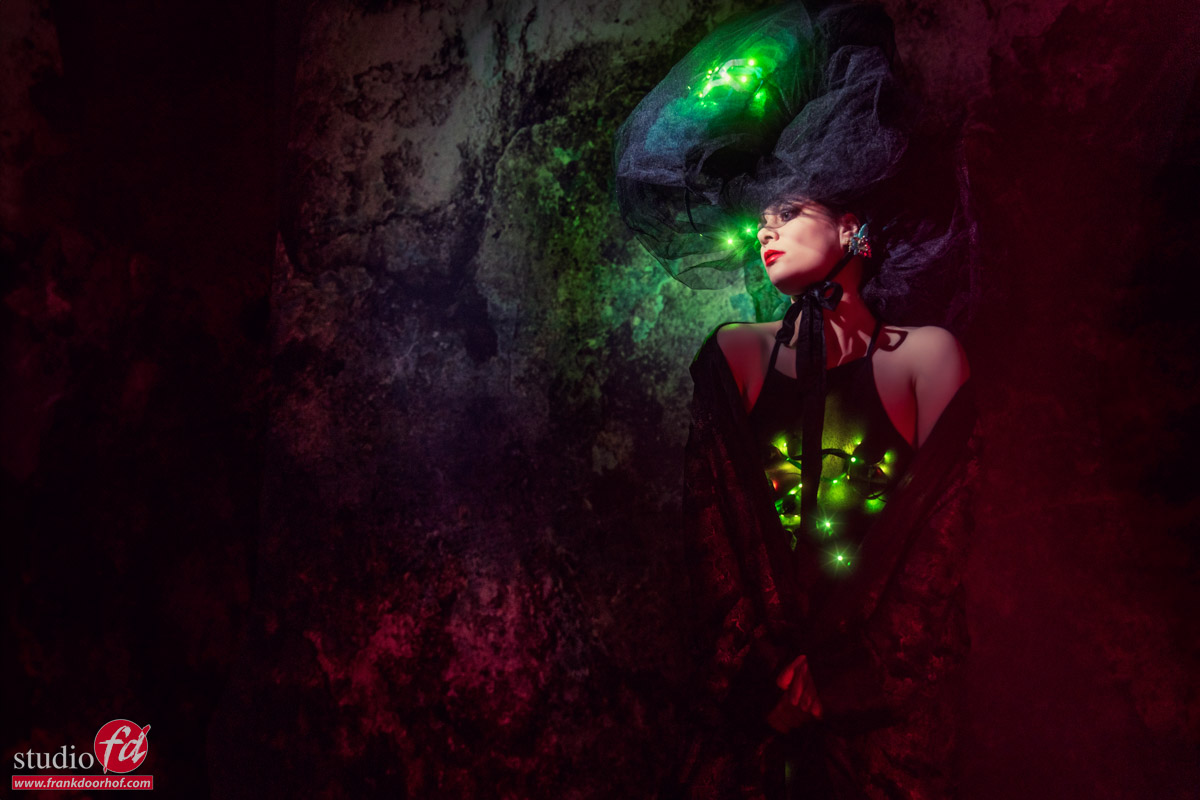
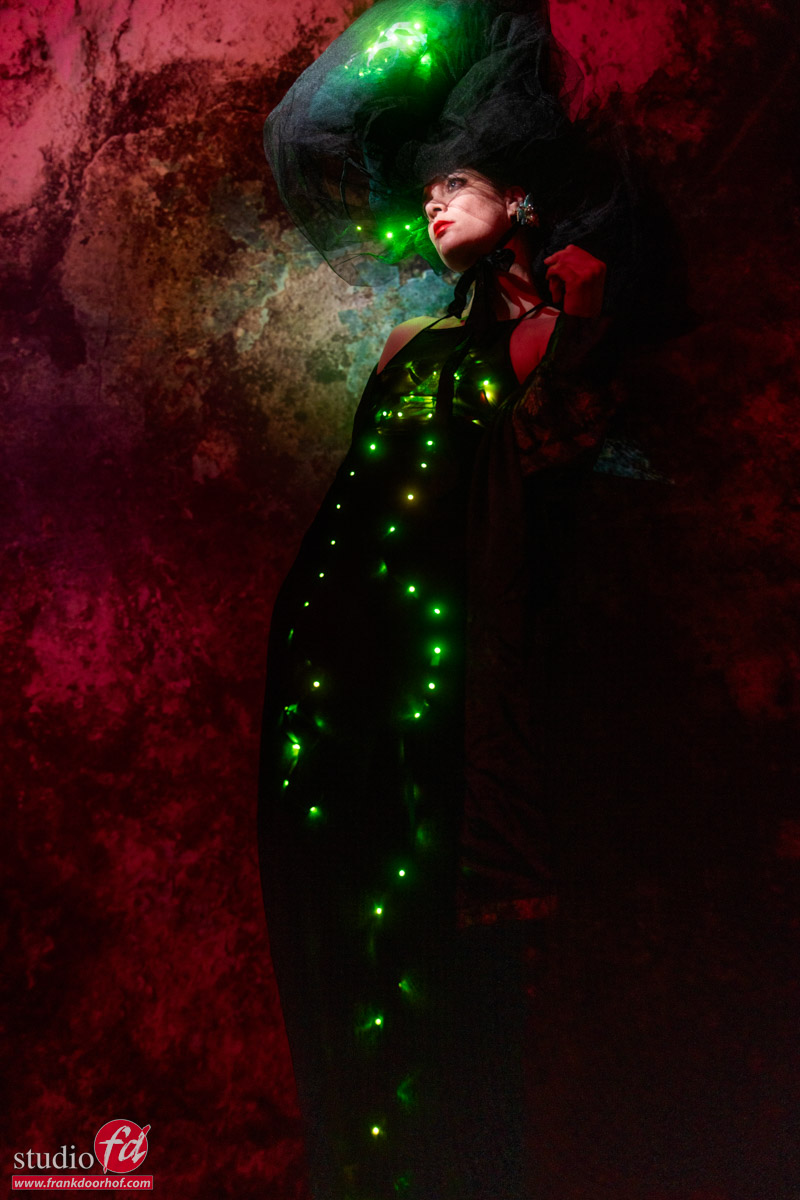
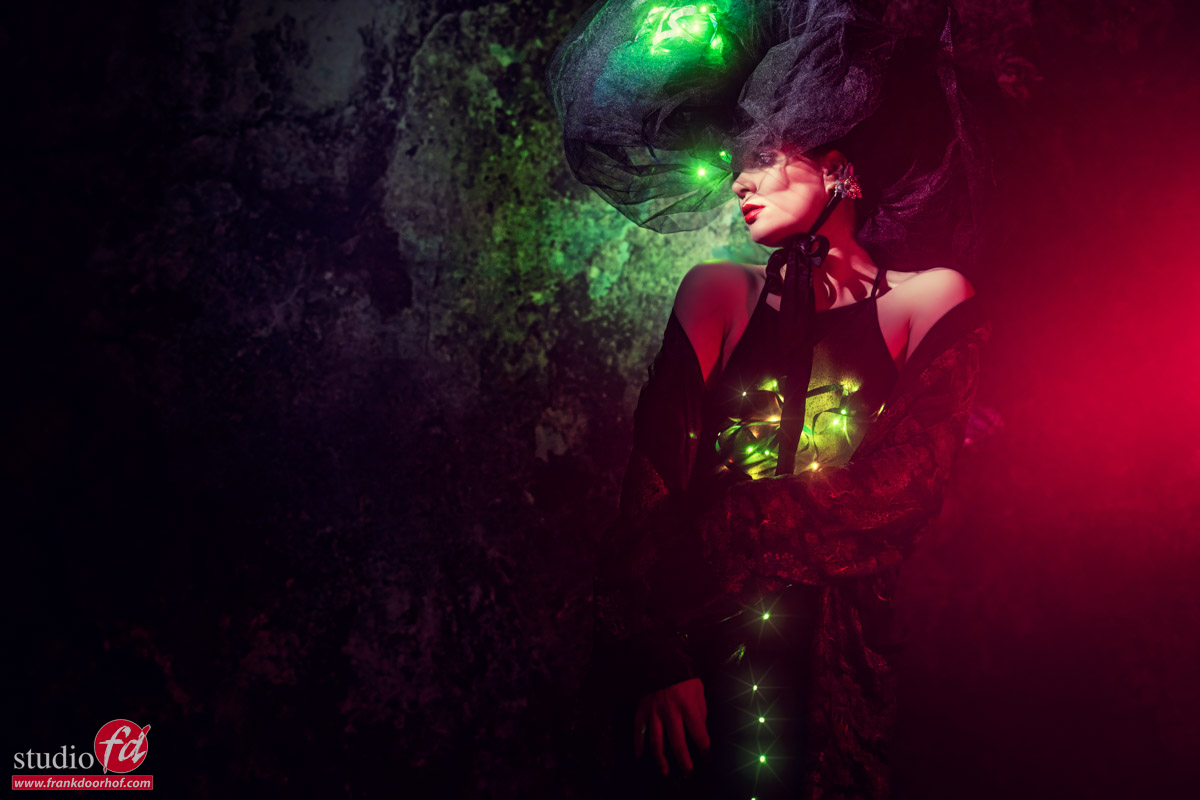
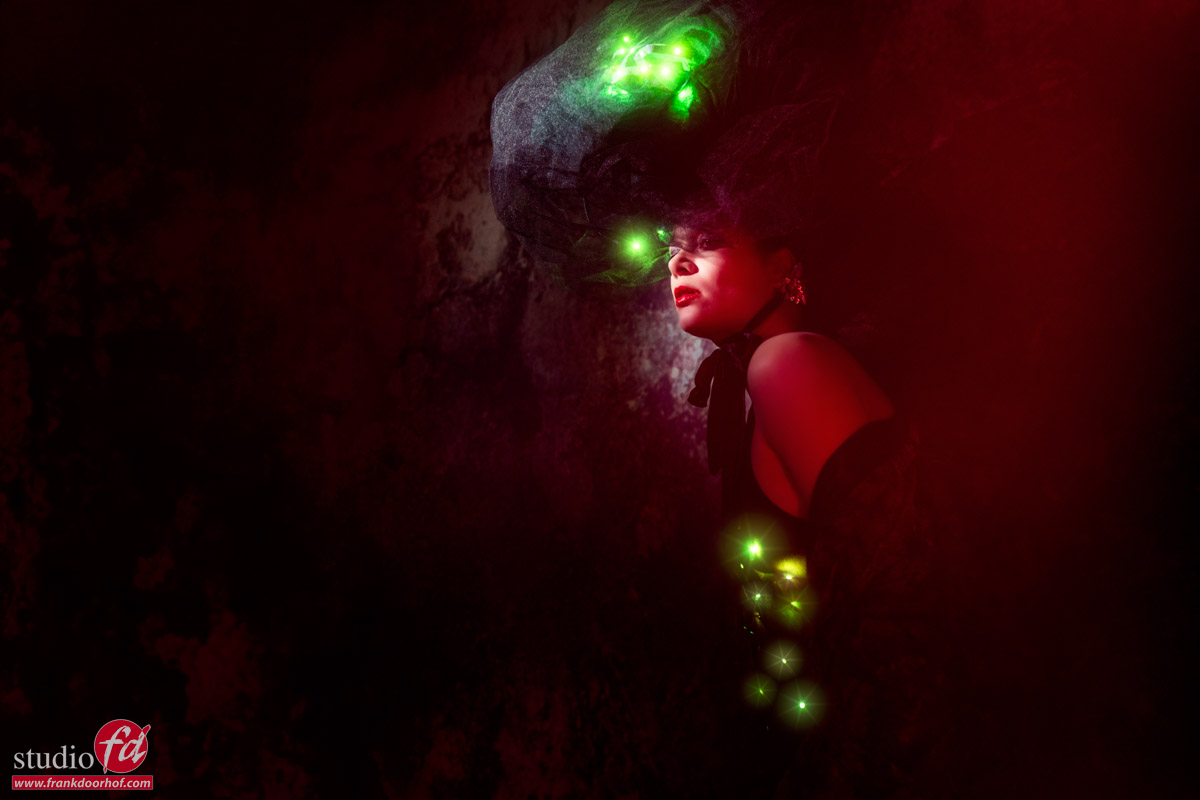
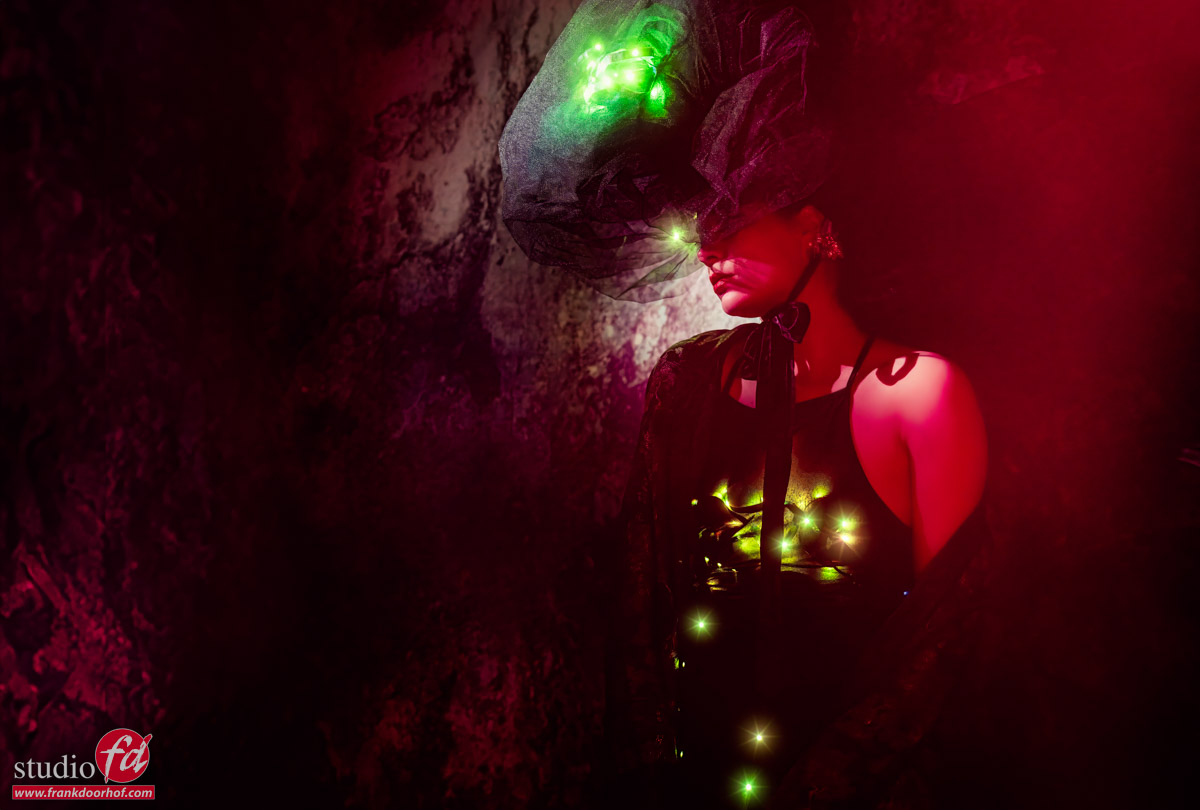
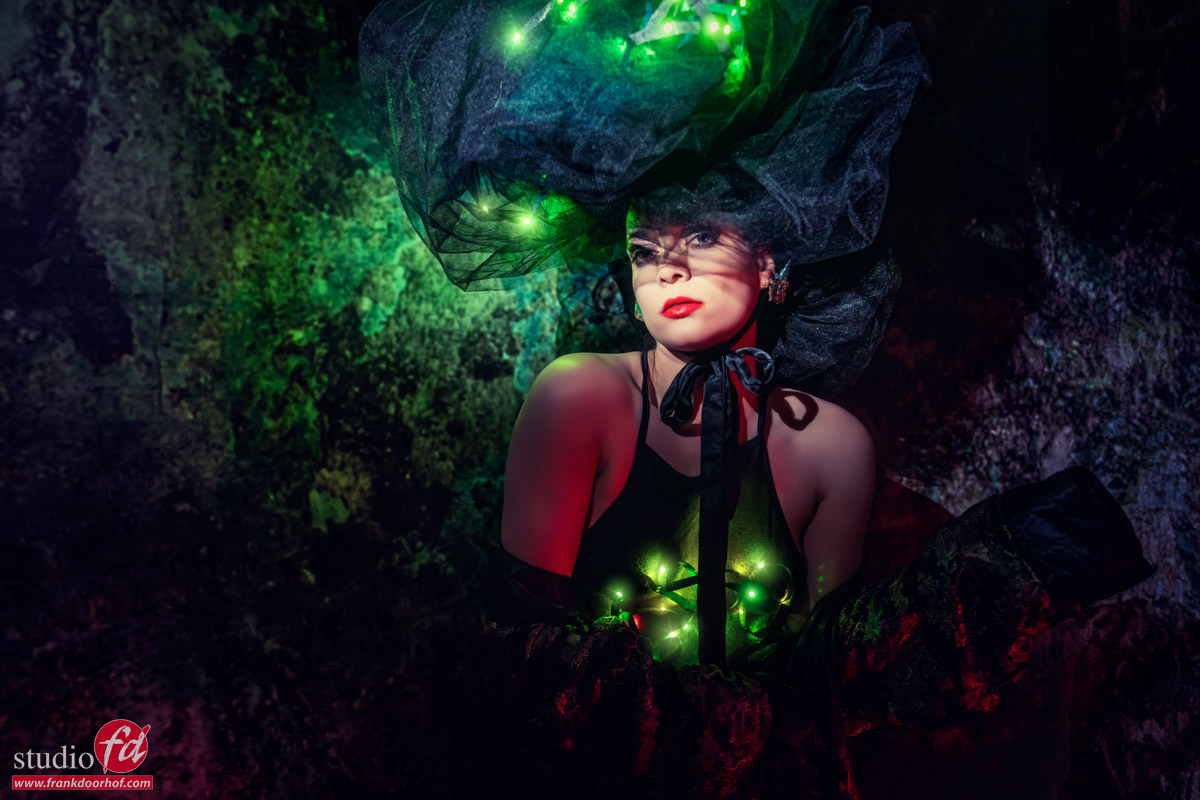
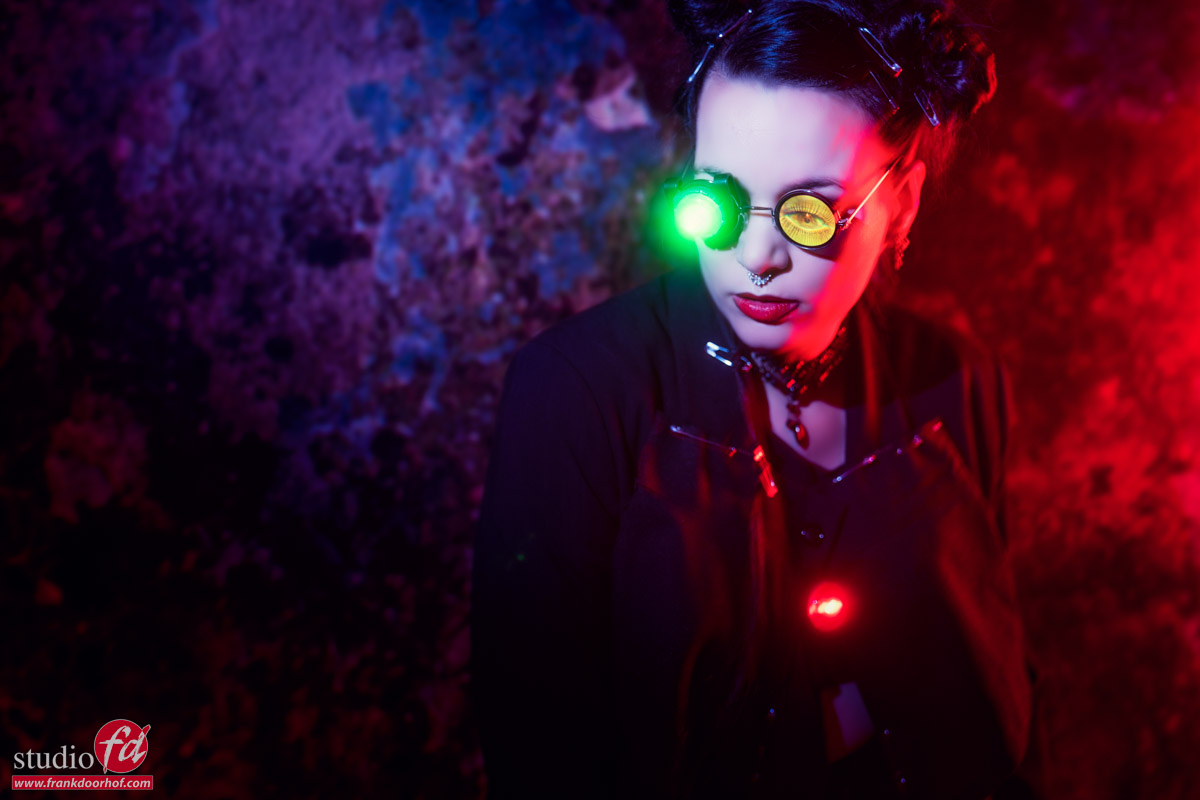
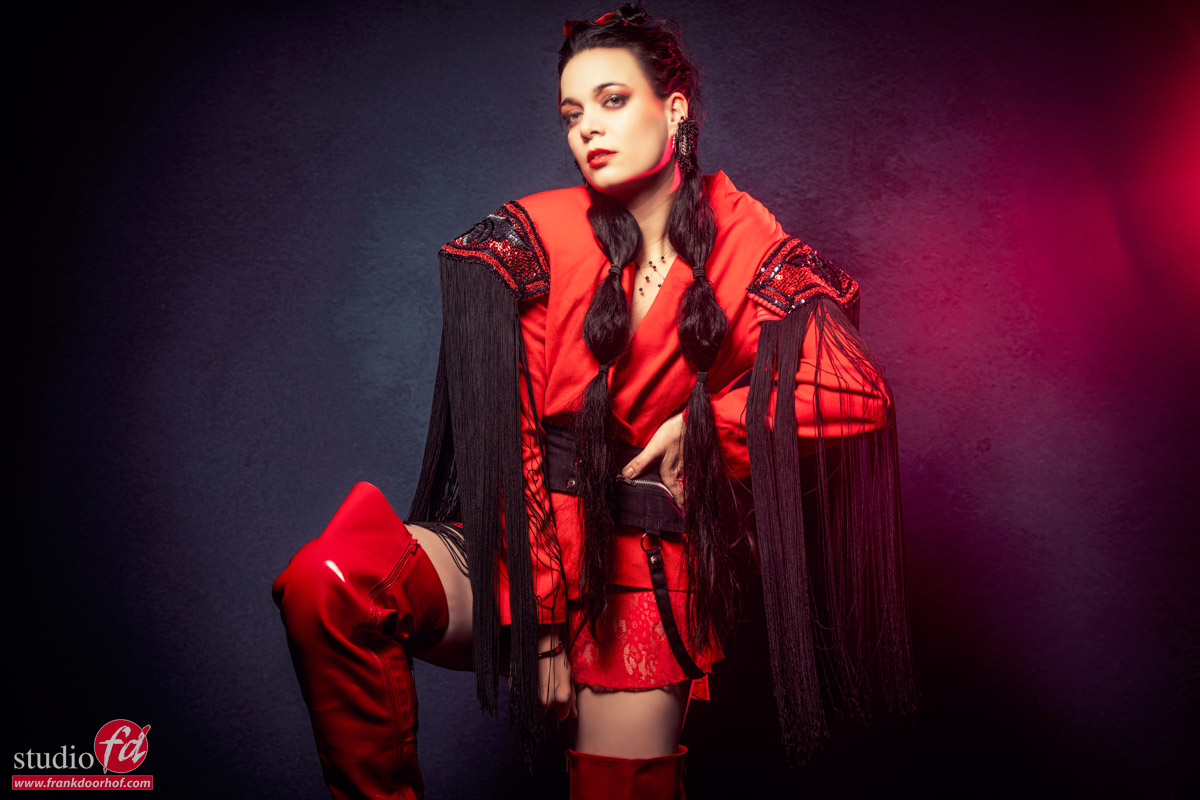
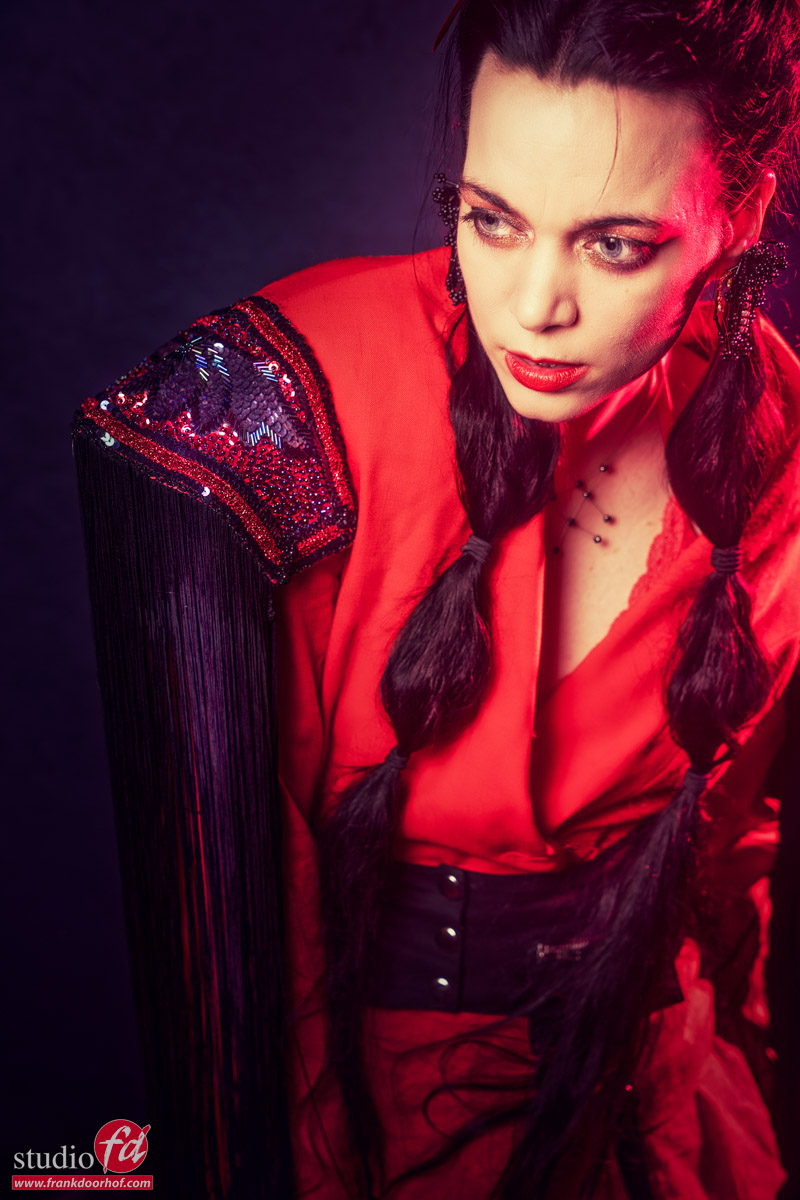
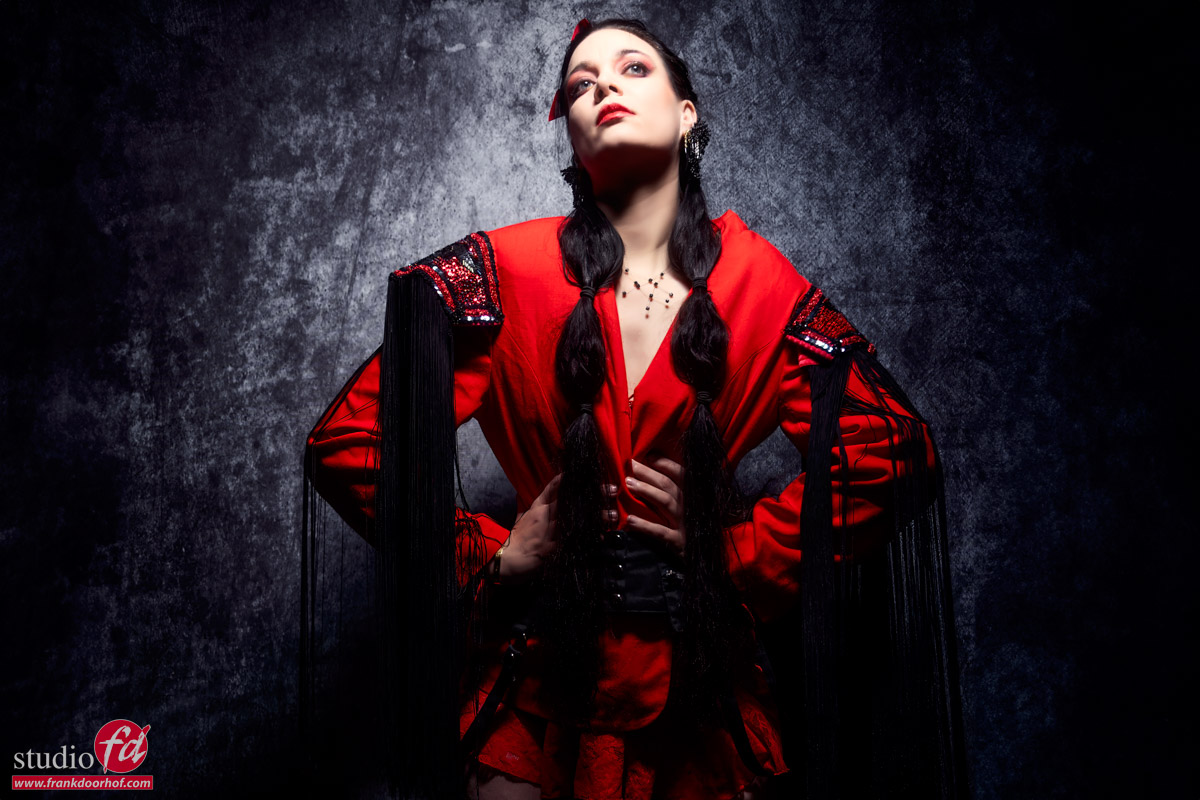
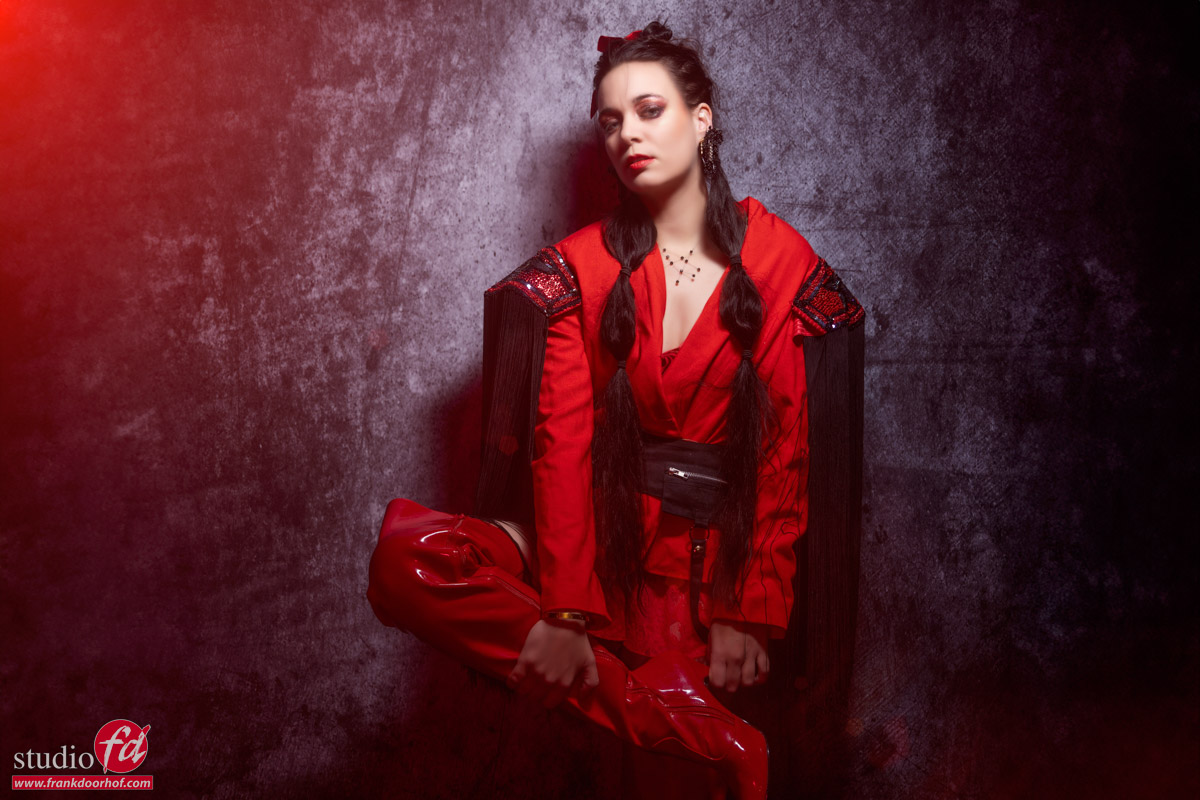
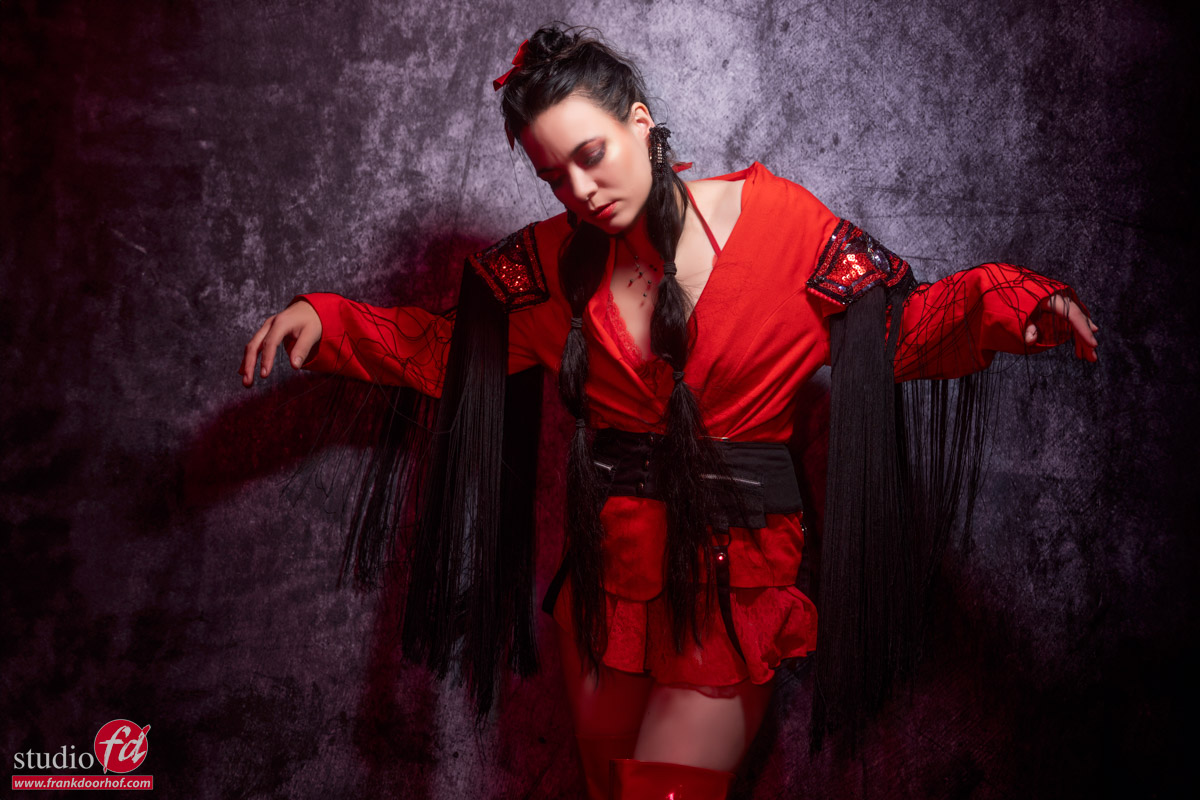
During the video you see all the results but in the blog post one of the sets 😉

Enjoy the video and dont forget to subscribe. We have a lot of different videos ranging from behind the scenes to reviews and tips and tricks. Plus of course our regular live streams in the digital classroom series