Product photography with a glamorous edge
Product photography doesn’t have to be boring
One of the first things I often hear when talking about product photography is that it’s boring.
And although I agree to some point, there is so much more that can be done with some creativity. So this blog is about product photography with a glamorous edge.
As an all-around studio, we shoot almost everything from weddings, products, pets, families, etc.
And I have to be honest there is one kind of product photography I also don’t really find challenging or gives me the right satisfaction.
White seamless, or black background for your product photography
Sometimes you just have to. Simply put, because those images are essential.
A client wants to be able to see the product from every side. And in my opinion, this is a very important series.
A few things I always teach people that are essential for every photoshoot, but especially for products.
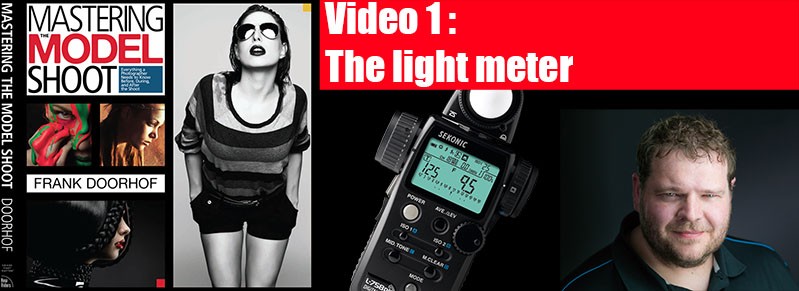 click here for the video
Other essential gear, also in all your photography
Light meter
The first thing I have to explain is why the light meter is so incredibly important.
When we look at how colors work in the digital domain, it’s vital to understand that within the colorspace, each color has its own coordinates.
These are often referred to as x,y, and Y.
Hue, Saturation, and Luminance.
Now it’s important to understand that a color can have many luminances, saturations, and hues.
So it’s too easy to just say we need Y to be….
For the Luminance part, the use of a light meter is essential. You cannot do this any other way, that’s just as fast and accurate.
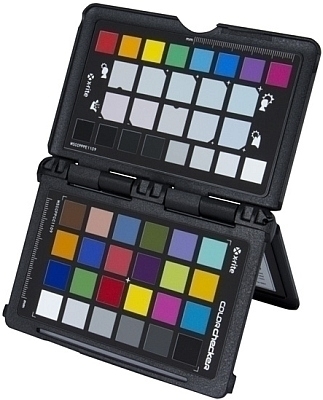
ColorChecker
The next step, without any doubt, is the ColorChecker.
I’ve been using the Calibrite (X-rite) system for years. And it works for both photography and video like a charm.
Make sure you first meter the light and then shoot the colorchecker as flat as possible. Also, make sure if you use accent lights, etc. they are all off. Just shoot the Colorchecker with the main light.
After this, it’s very easy to create the perfect white balance and profile for your camera/lens/setup.
For color-critical work, it’s vital to shoot the colorchecker (and re-meter) EVERYTIME you change something in the set. Also, when you change backdrops, props, etc. They all can influence the color.
Shoot tethered
I can’t repeat this enough. I’m a big advocate of shooting tethered.
In short, what is tethering? In essence, it just means you connect your camera to a display. So, the images come in right away while you shoot them. This way you can check them close-up.
I cannot stress enough how much this helps in your workflow and accuracy.
Personally, I love shooting into an iPad (now also on the desktop) app called Cascable. I can HIGHLY recommend everyone checking it out. It’s my go-to solution.
Of course, you also need something to connect your camera; you can choose wireless, but this is often way too slow for RAW and also not always as stable as needed.
I’ve been using IQwire for quite some time now. We just released our brand new Formula 10G red solution, which is insanely cool and fast. Of course, still available in 5-10-15 meters. Where, for me personally, the 10 mtr version is the sweetspot.
“BS, I do it all without, you’re old-fashioned!”
You don’t want to know how often I hear this.
Also, you don’t want to know how many professionals mail me when they run into problems with clients because they can’t get the colors exactly right.
Using a light meter and ColorChecker is vital for correct colors. This has zero to do with old-fashioned or whatever; it’s the same as using a level or ruler when building a table/house.
“Can’t I use the histogram?”
Sorry, no, you cannot, and you should NEVER trust your histogram.
Think about it. When you look at the histogram, what does it tell you exactly?
Exactly, just the distribution of the tones in the image.
In other words, a black dog in a dark room will render a line all the way on the left side of the histogram. And maybe some spots somewhere at the right (for the eyes).
While a snowman in a snowstorm most probably just give you a spike on the right side of the histogram.
All very nice and 100% correct, but…. it doesn’t tell you if the color red is accurate.
So NEVER use the histogram. And realize it doesn’t give you any information about the RAW file.
In fact, a small tip, in between.
Go into your camera settings and find picture styles, now change the contrast to the lowest setting and brightness all the way up.
Although you’re shooting RAW (who doesn’t :D). It will give you a much better representation of the dynamic range of the RAW. Instead of showing the blinking skies as soon as there is a little bit of dynamic range in a scene.
What does happen?
Let’s say you have been working for years with the histogram and don’t use a light meter or ColorChecker. The problem is easy to explain.
A few years ago Annewiek bought a sweater and scarf from the same website.
They looked great together. But when the package arrived, it went back straight away. The sweater was a totally different color red and the scarf was more purple than red.
Checking with the site, they fitted together great, in real life? A disaster.
As a photographer, you might never hear this from your customer (if the company is large enough). But you are liable for a lot of waste in shipping and destroying capital/goods.
So, if you’re serious about photography? Don’t feel bad about using a light meter and a ColorChecker; they really speed up your workflow and make customers trust your work.
That being said
Let’s get to the fun part.
When shooting the real product shoot, I’m following all the rules.
But….
When it comes to the next part, it becomes more fun. Here comes the part about product photography with a glamorous edge.
Feeling/mood/fun… or I WANT THAT NOW!
When I know I want a product, I’m searching for it. And, mostly look at the white/black background images. To make sure it has all the details I need, looks nice, etc.
But when I’m just surfing the web, I would probably never find that product when it’s just white/black backgrounds.
So we need something else.
I always call these “the character shots.”
The reason is pretty simple: with this part of the product shoot, we are going to have fun.
And believe it or not, this is the most difficult part.
Products can’t be coached, take different poses, smile, etc… or can they?
Jay Maisel
When I first met Jay Maisel, one of the things that always stuck with me was his hammering on “gesture”.
It took me a while to figure this out. But in essence (what I think he meant) is very basic.
Find the angle/mood/zoom/lighting that gives something a character.
I’ve been using this as a challenge for guidance programs.
Shoot the same building or area for a full week, but… and that’s the hard part, EVERY image should show me a different character.
Without giving away too much… you can think about angles, backlighting, at night/during day, during the rain etc….
And this is exactly what we are going to do with our products today.
Digital Classroom: product photography with a glamorous edge
Normally, during the Digital Classroom, it’s all about model photography, retouching, etc.
But sometimes we have special episodes on street photography, workflow, and product photography.
This time we talk about products, in case you have not yet guessed it. At the end of the blog post, I’ll post the whole episode, but let’s go through it very quickly.
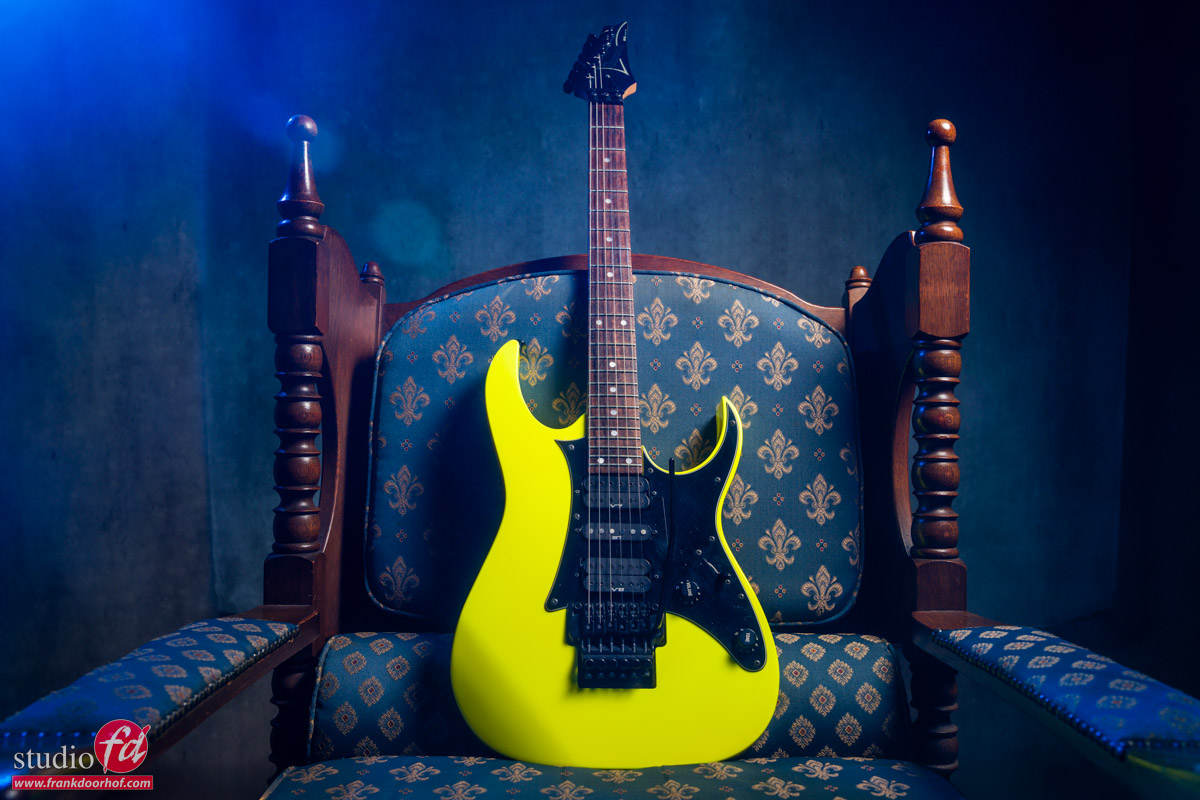
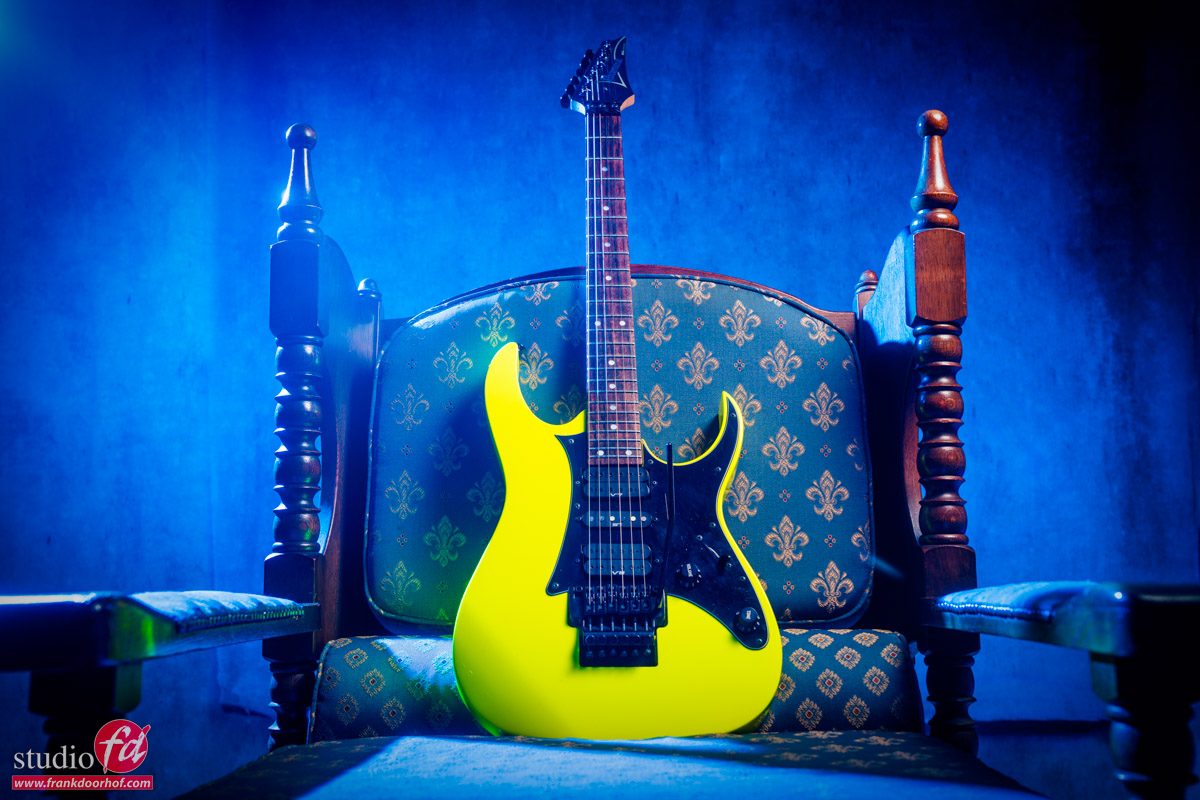
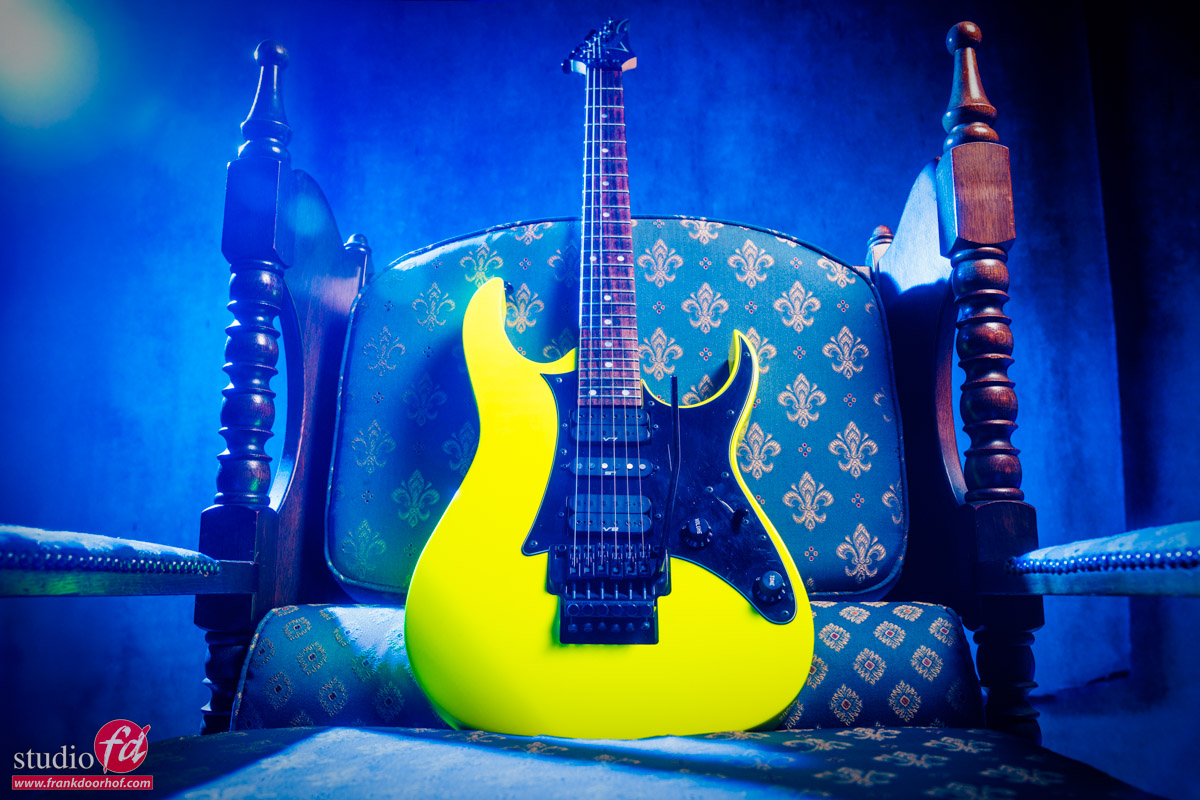
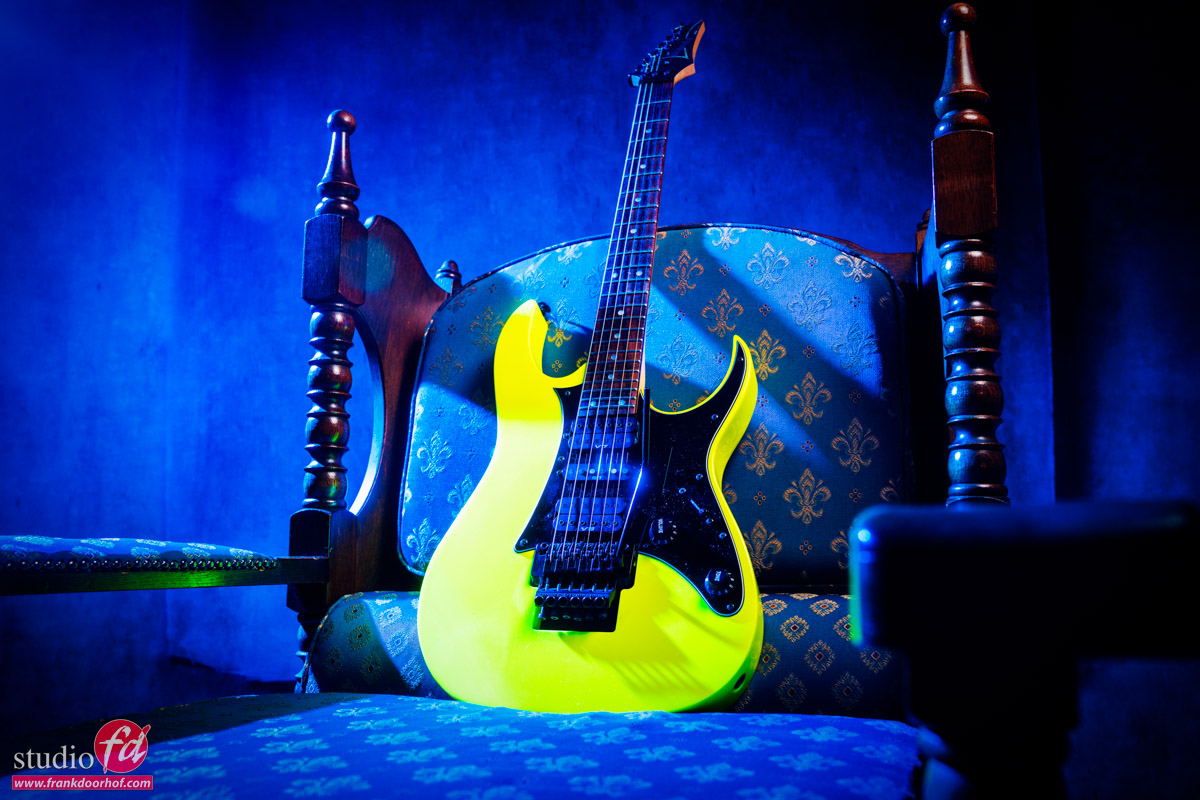
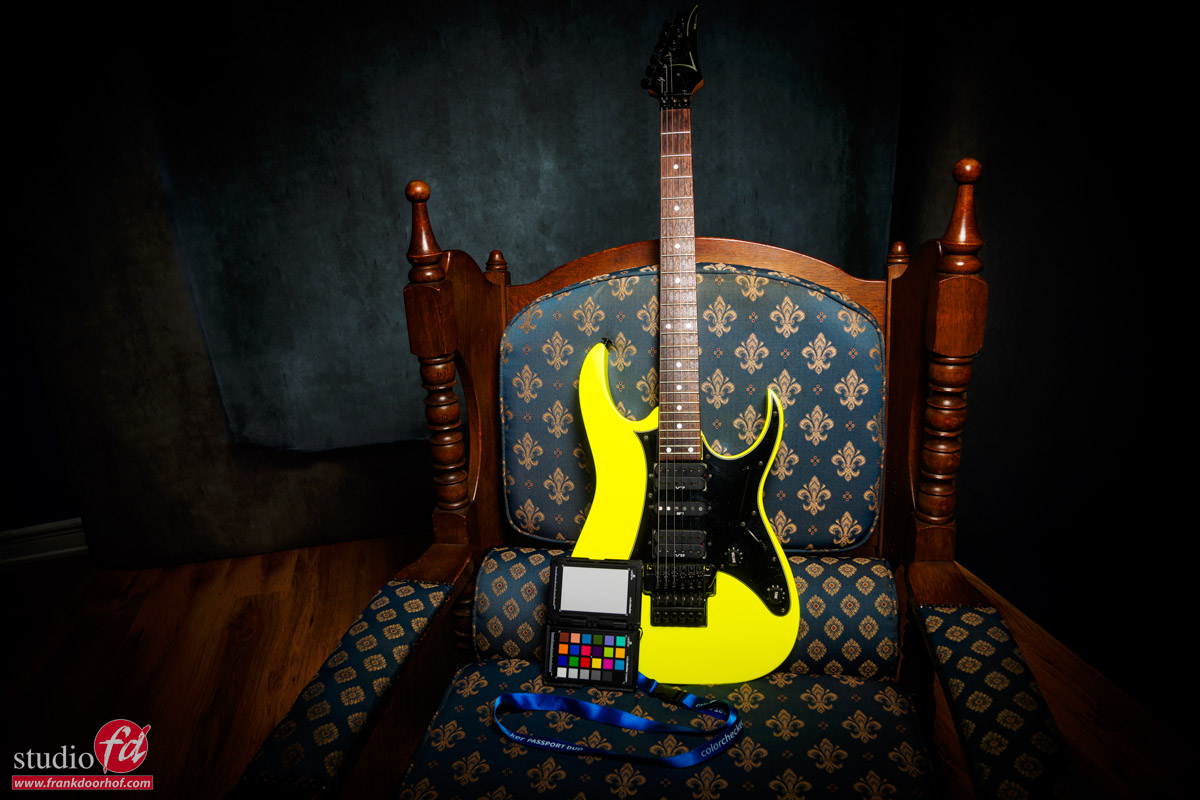
First setup, a guitar
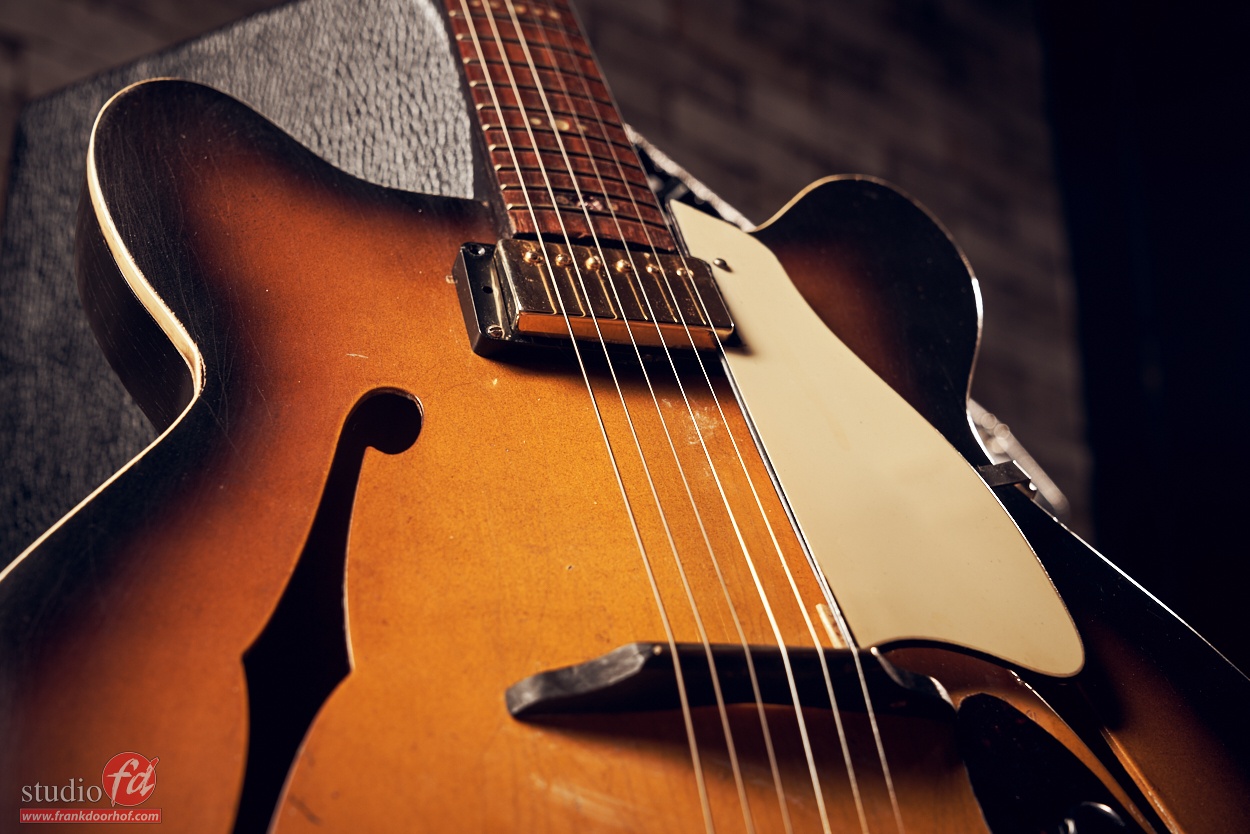
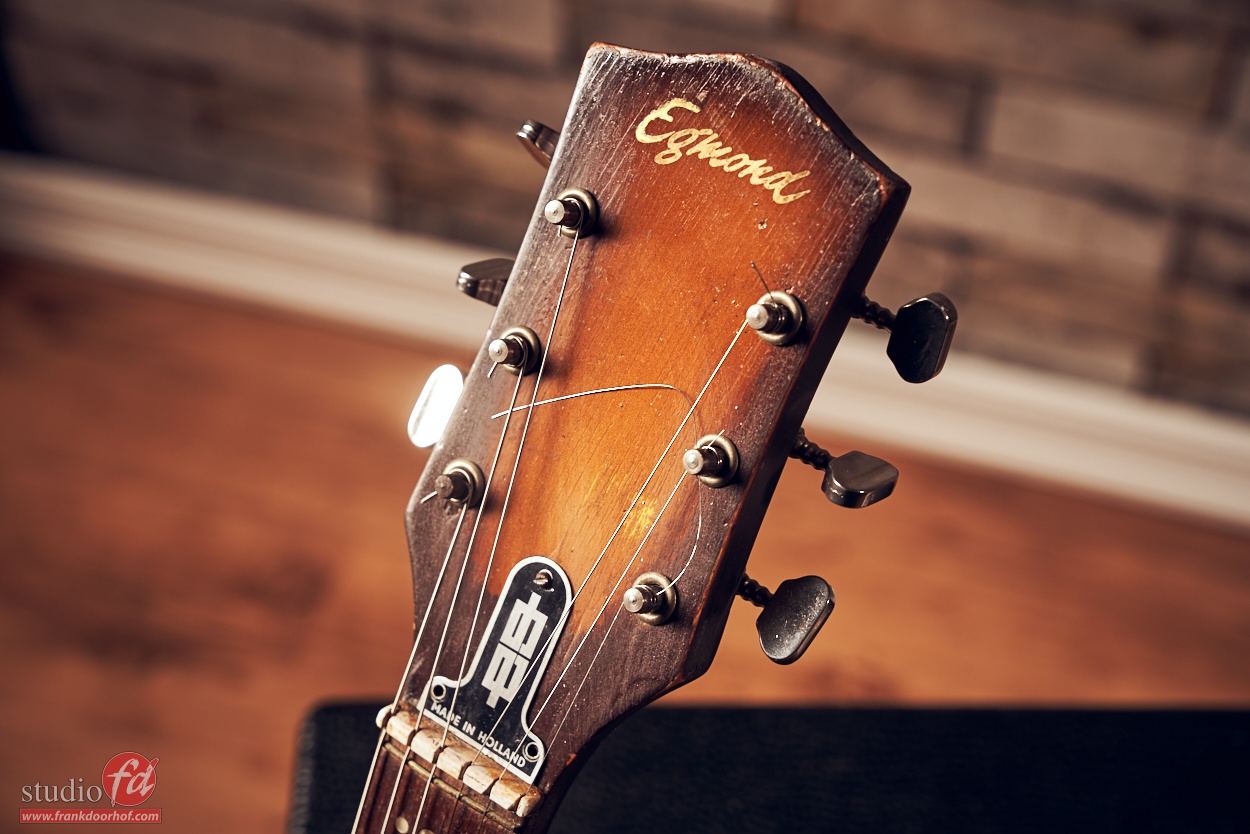
In this episode, I started with a guitar I designed a few years ago. I absolutely love the results.
The problem is that the coating is very shiny. So, perfect to explain the angle of incidence is the angle of reflection.
But as mentioned before, when we are shooting products in a more fun way, we need to do something extra.
I started in the episode with a white background.
But by adding the red cloth, it already became much more interesting.
Shot with a Geekoto GT400 and the Geekoto Lantern.


For me personally, this is still part of the product photography, but just adding some flair and context.
By using a wider aperture, I have already started to play with the Depth of Field, enhanced by the angles.
This is a great way to show the whole product or part, but still guide the viewer towards the area you want.
But let’s up the ante 😀 and let’s show product photography with a glamorous edge…
In the next shot, I’m not paying attention to color accuracy anymore. It’s all about feel and style.
In this case, always keep in mind that I’m shooting this during a live stream without any preparations. I always just go with the flow.
A glamorous edge
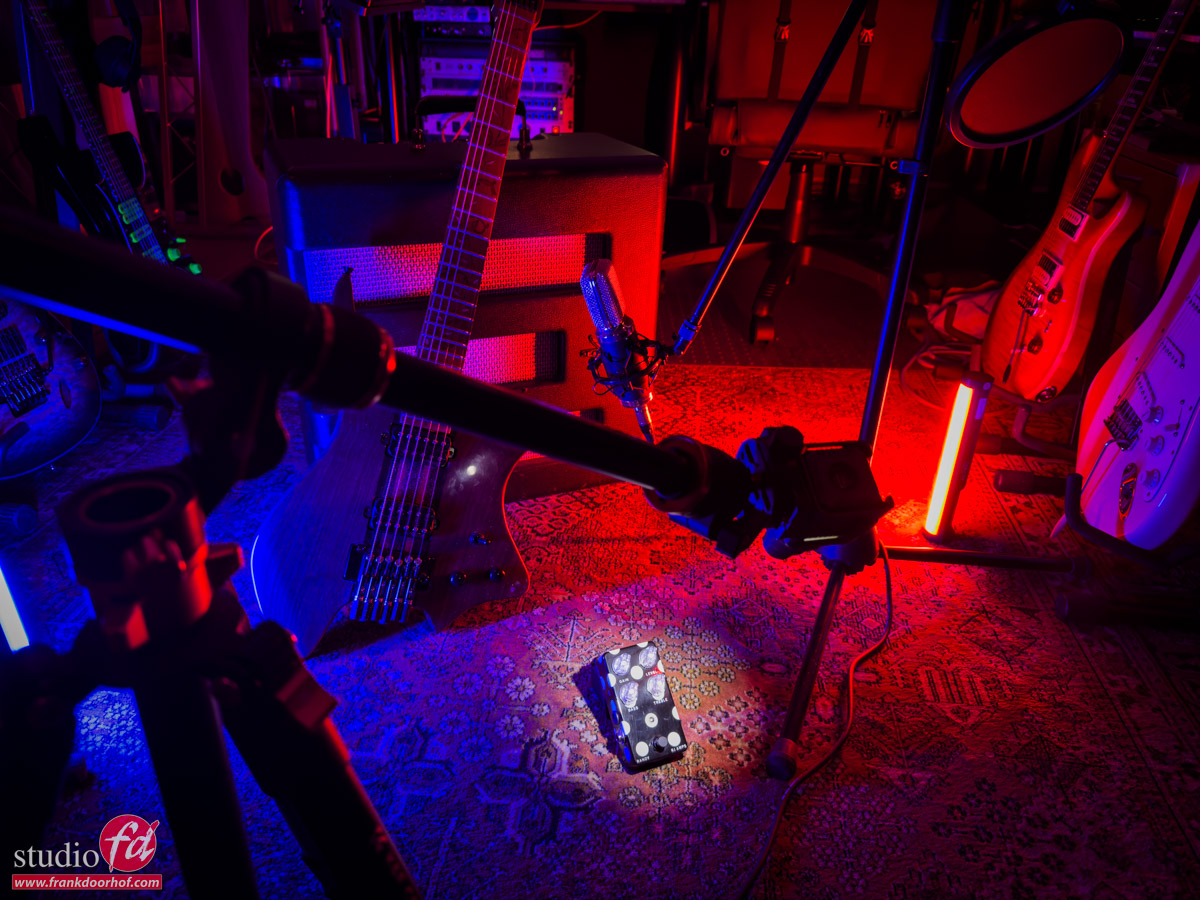
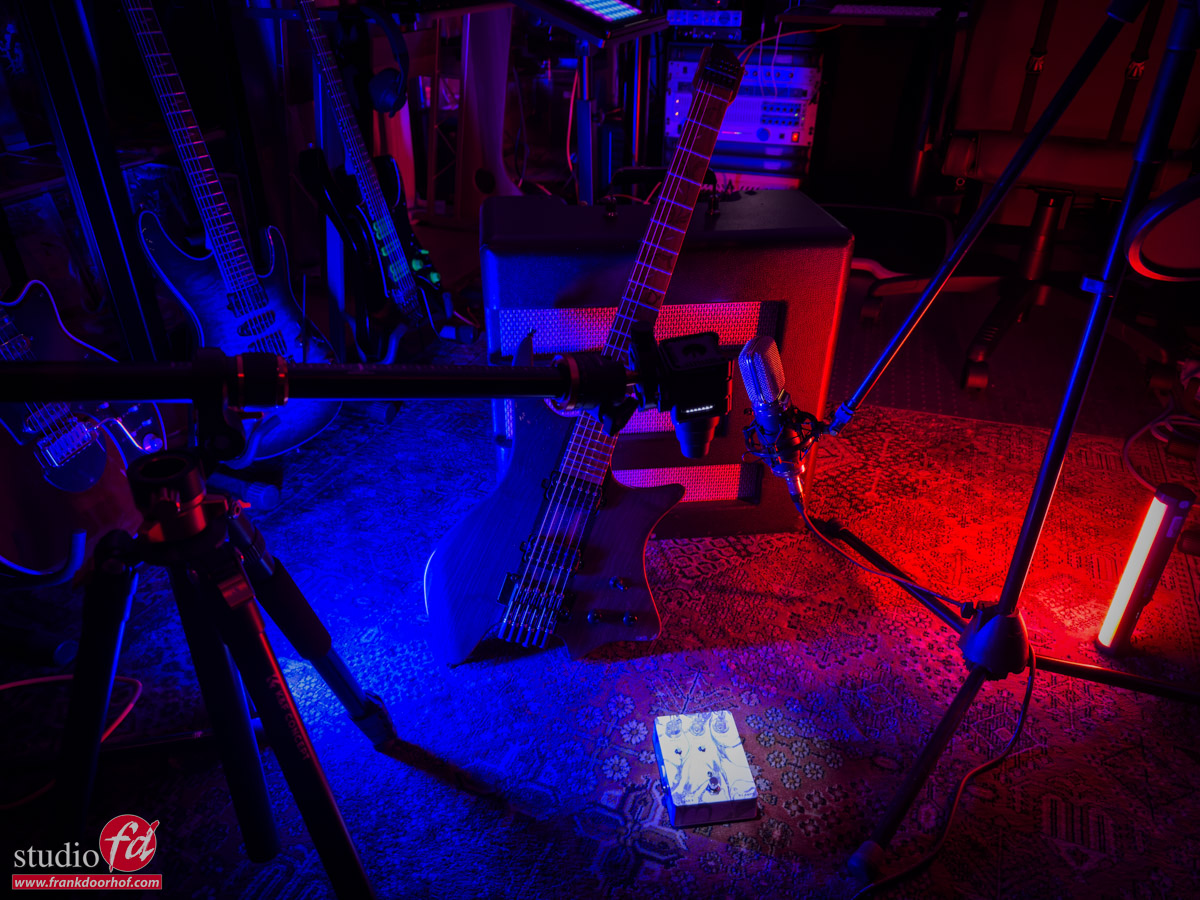
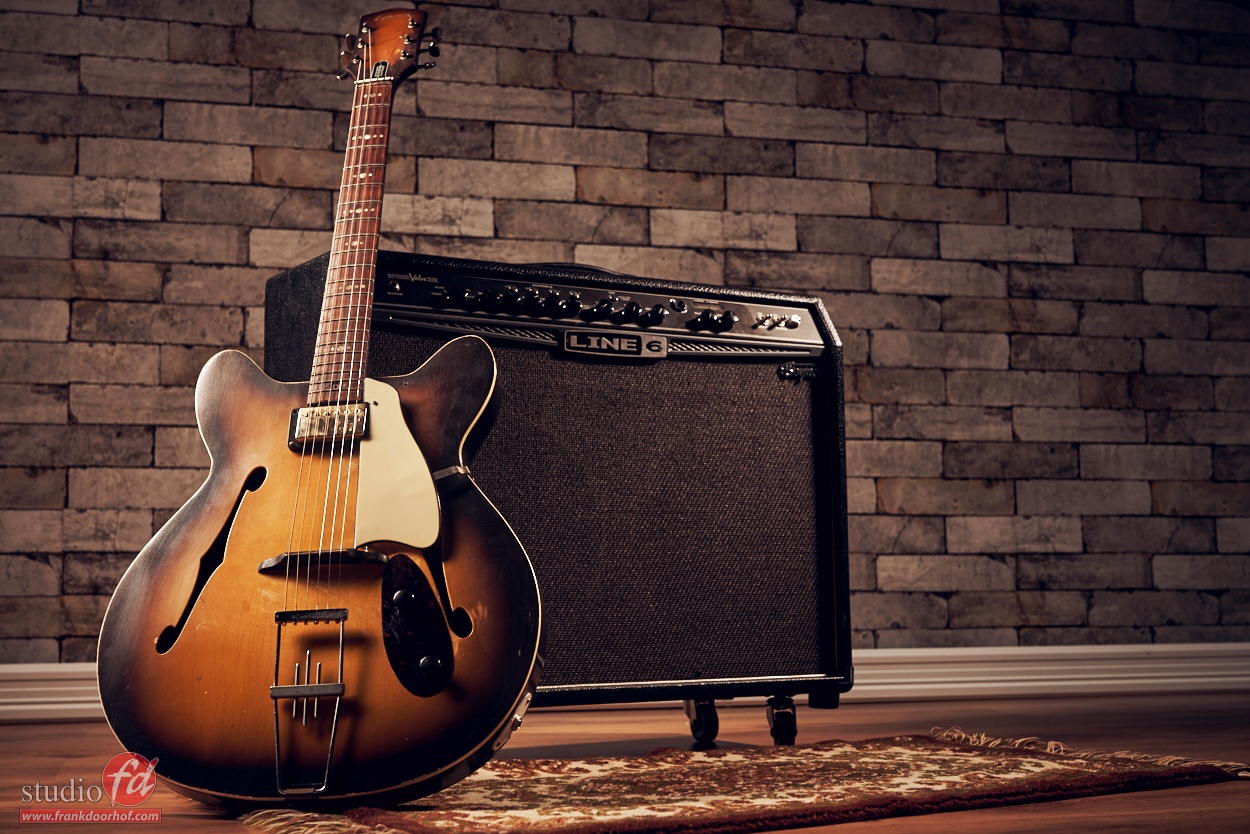
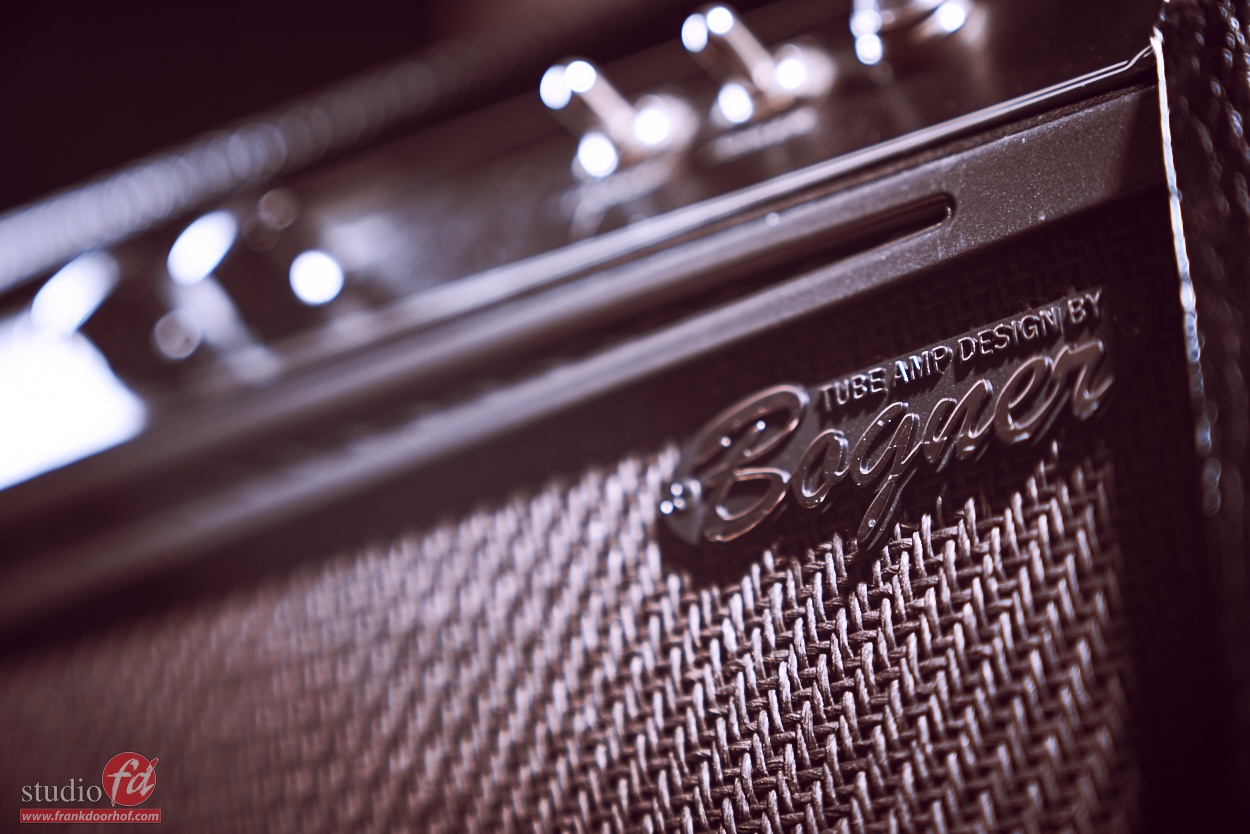
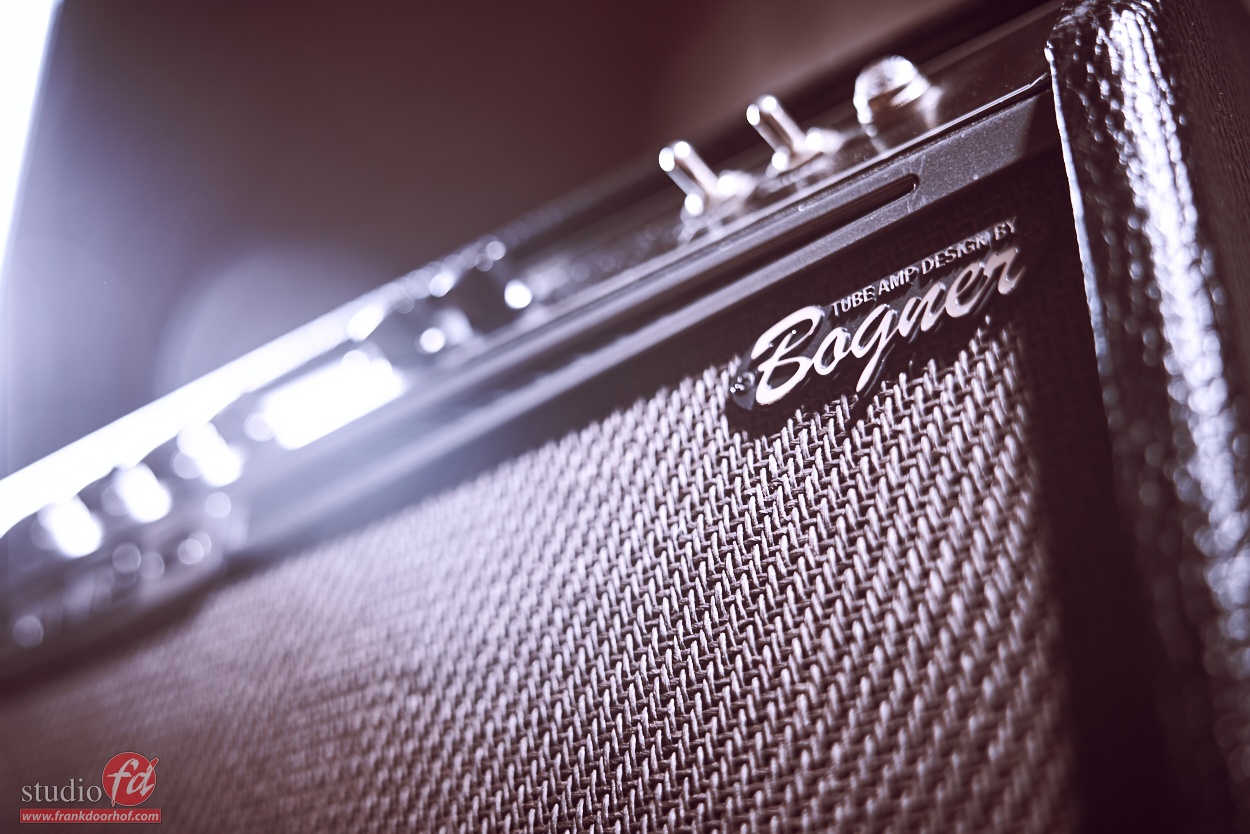
For the next shot, I’m using a vintage amp as a prop to lean the guitar against.
I’ve chosen this amp because it’s not immediately recognizable as a Fender, Marshall, Carvin, etc.
The reason is that some people will immediately make connections between brands. And that can actually hurt the sales.
A metal head will probably be triggered by a Marshall logo. While a Jazz player will probably be more excited by a Fender amp. And of course, everything in between and opposite (guitar players are flexible with gear).
Of course, we needed some accents and smoke.
I’m using a mix of a larger smoke machine for the haze in the back and a smaller device for the “cold ice” effect on the bottom.
Geekoto GT200/250 as strobes
The Rogue Frank Doorhof Flashbender in striplight configuration as the main light
And the Rogue Magnetic system for the colors and grids
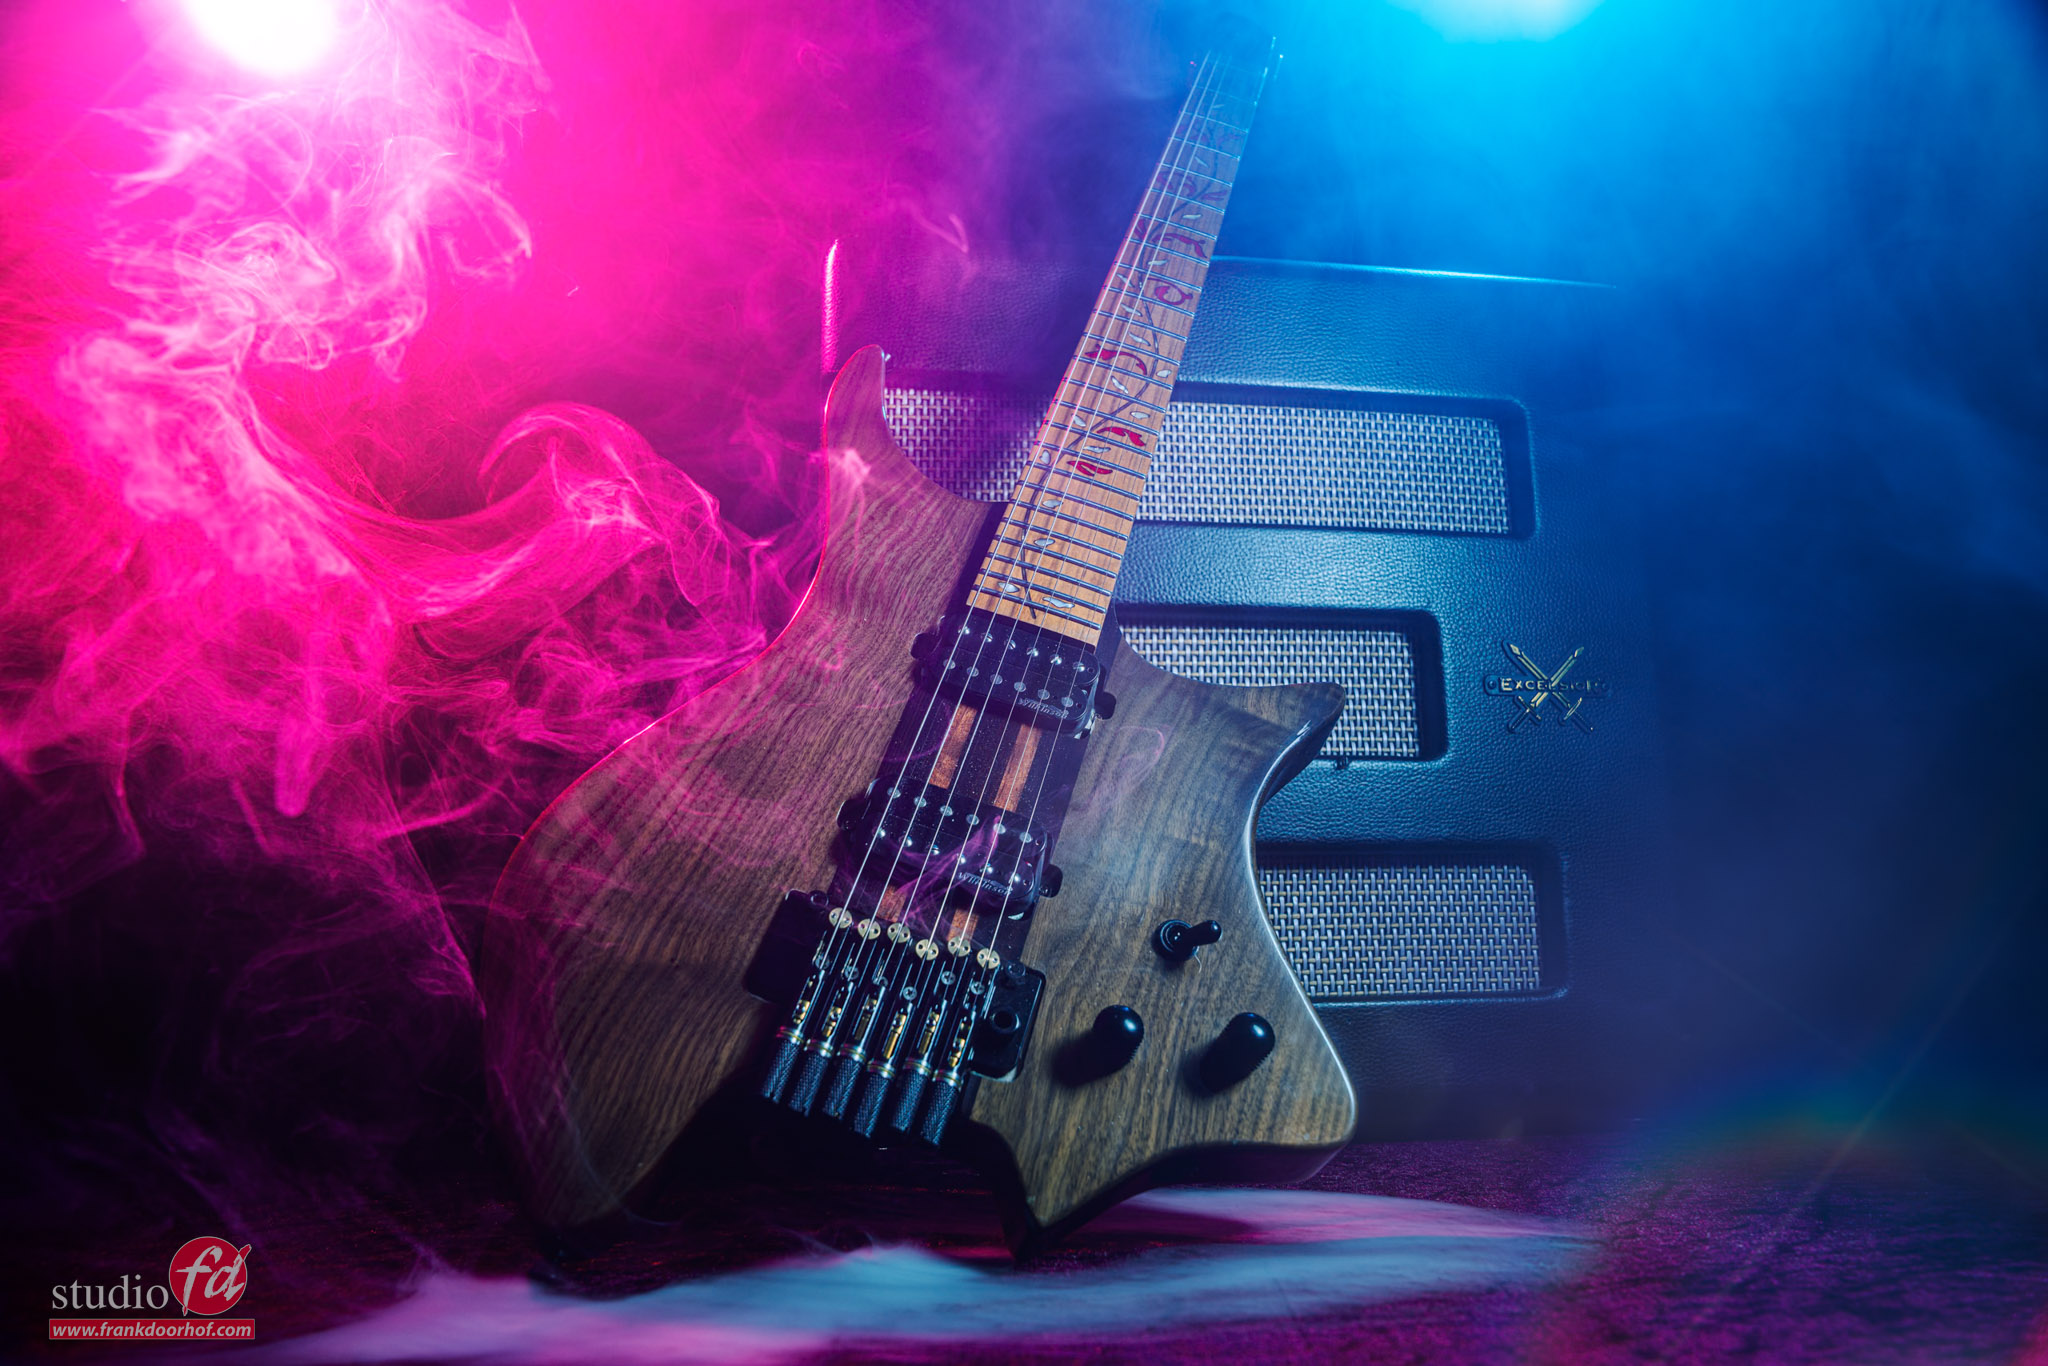
Isn’t this glamorous? With the smoke and red and blue lights?
In essence, everything is visible. Also, the guitar, even the fact it’s headless. But the color has changed in this shot.
This is the kind of shot that WILL trigger me when browsing, and probably I will most likely click on this one. Instead of a standard shot. Even if it’s just to check what this is. It triggers something. And don’t get me wrong.
This is the kind of shot you really HAVE to discuss with your client.
It can very easily be totally wrong for what the client wants. But in my experience, as soon as you start to “freak out” in the studio with sets and styling the client will start to interact and give you valuable advice to get the results you both love. Nobody knows the product and target group better than the client. But don’t be afraid to also steer your client into areas you know will work. It’s always a cooperation.
For the next product, we chose the….
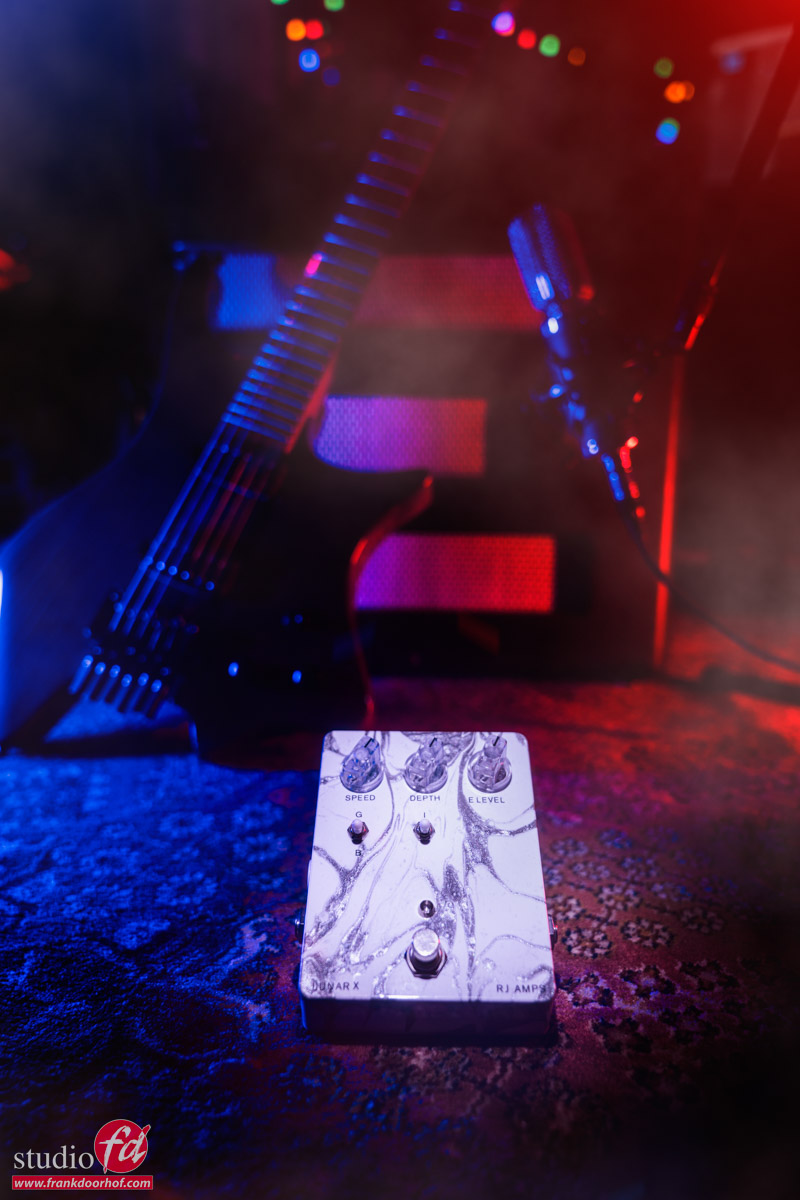
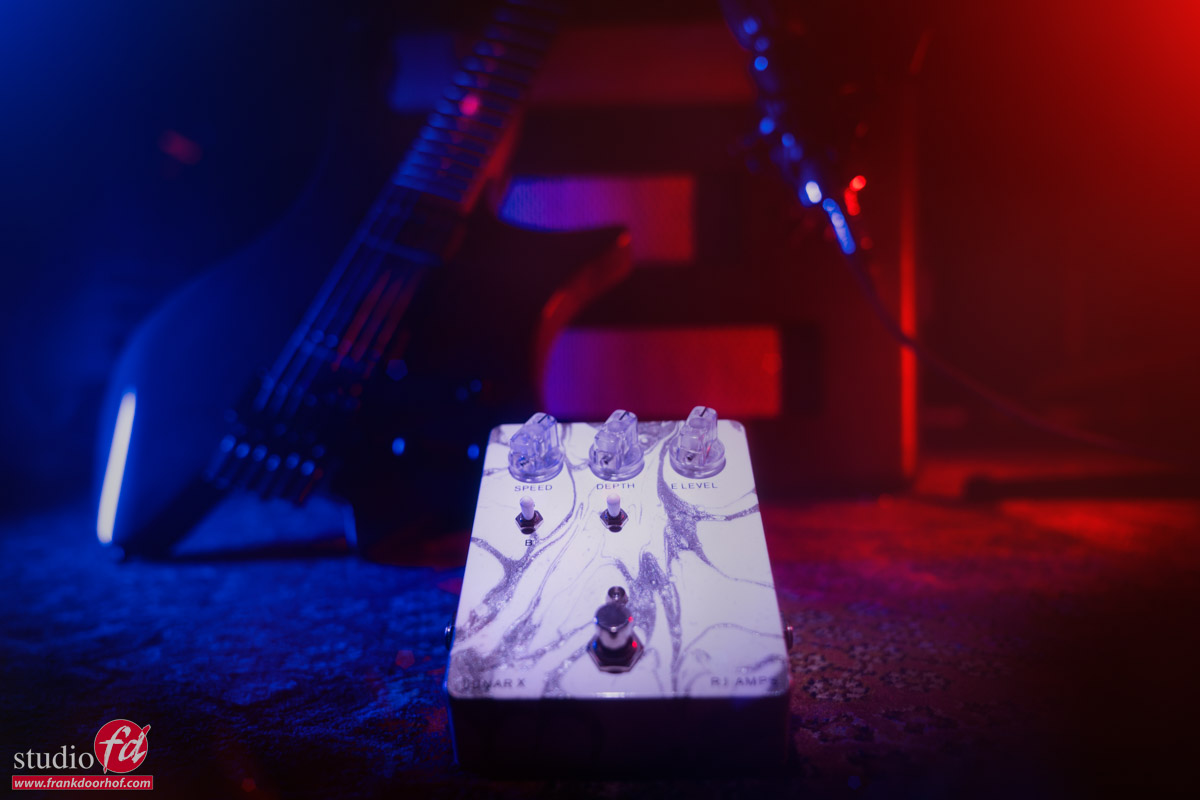
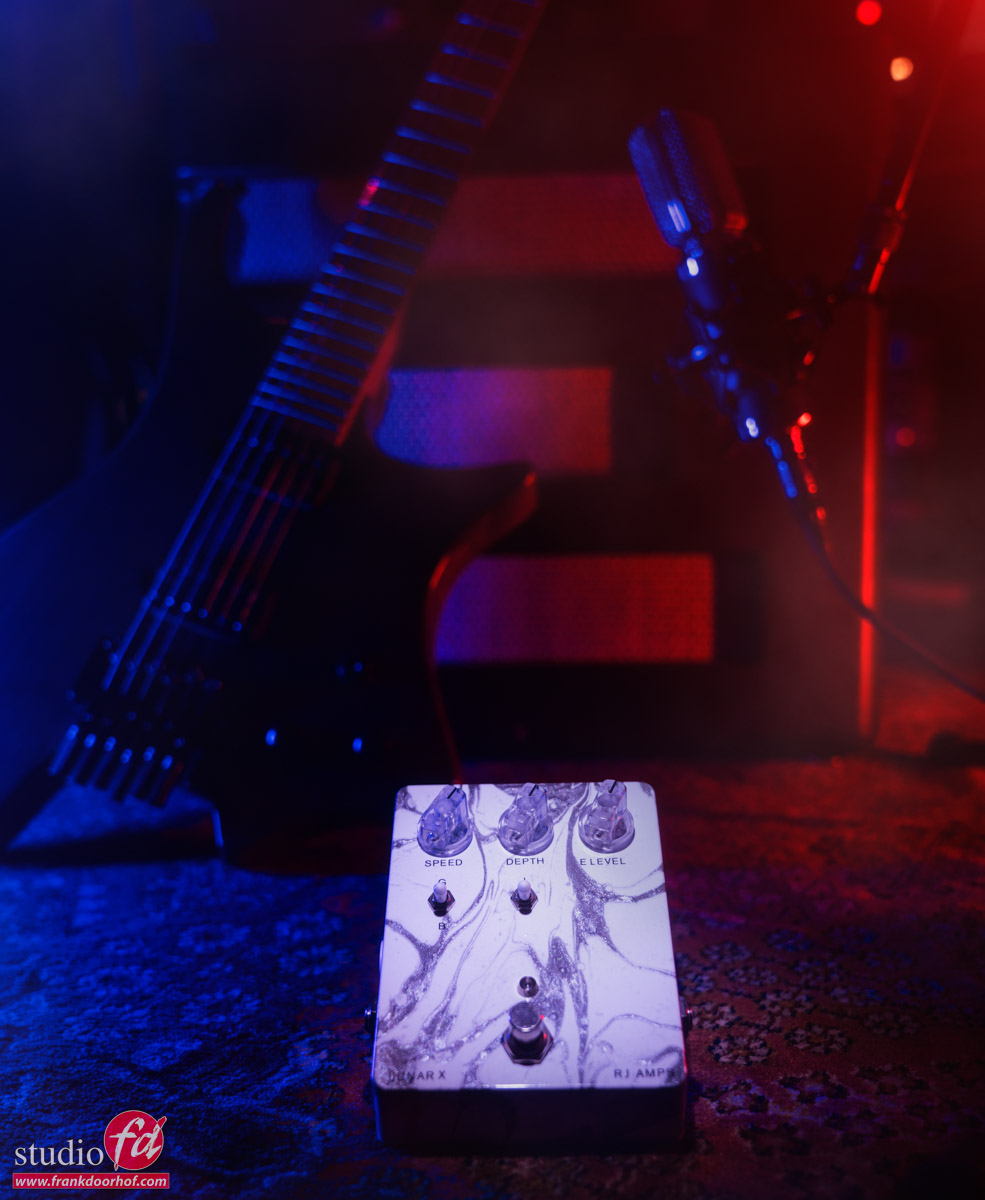
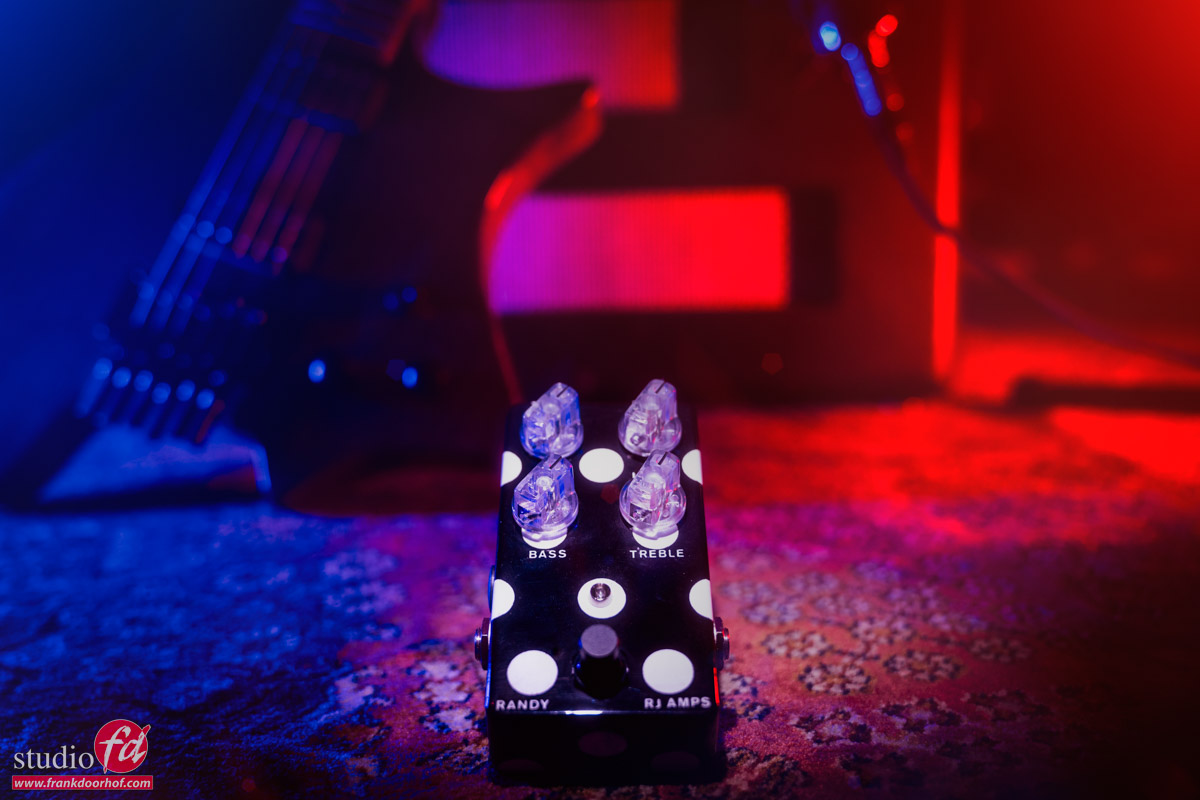
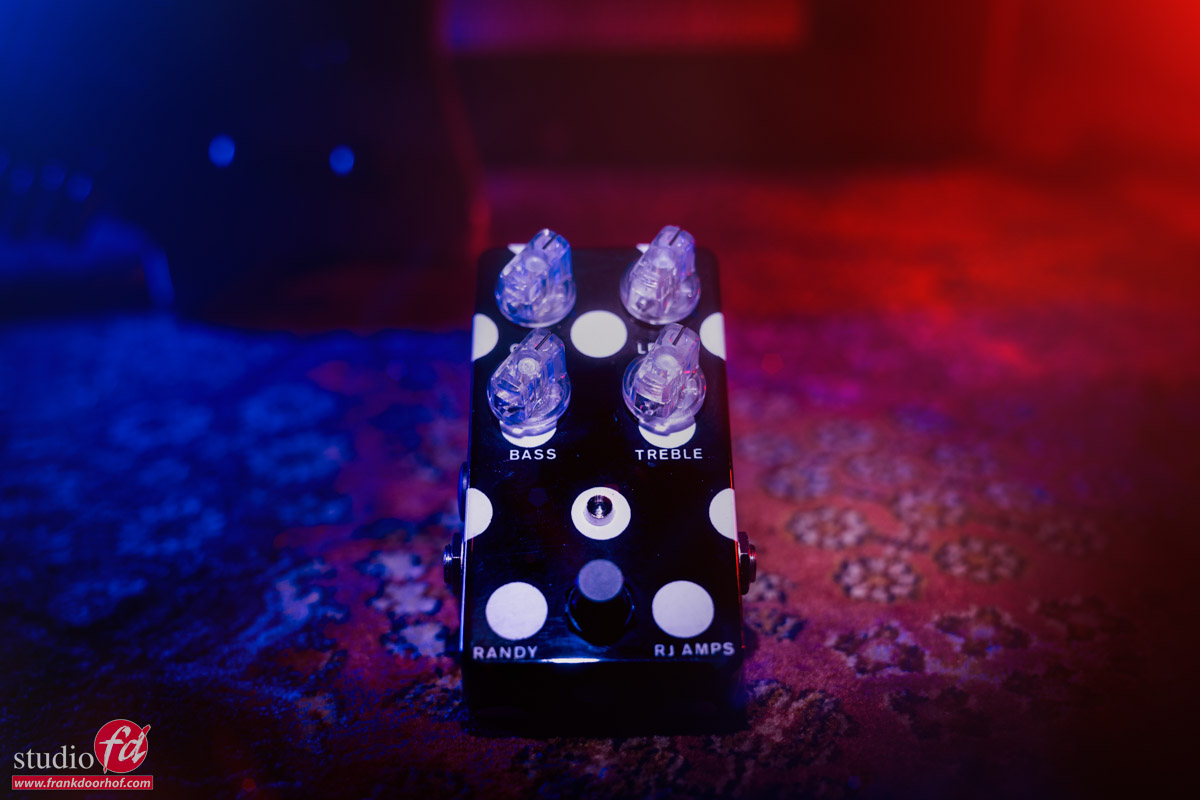
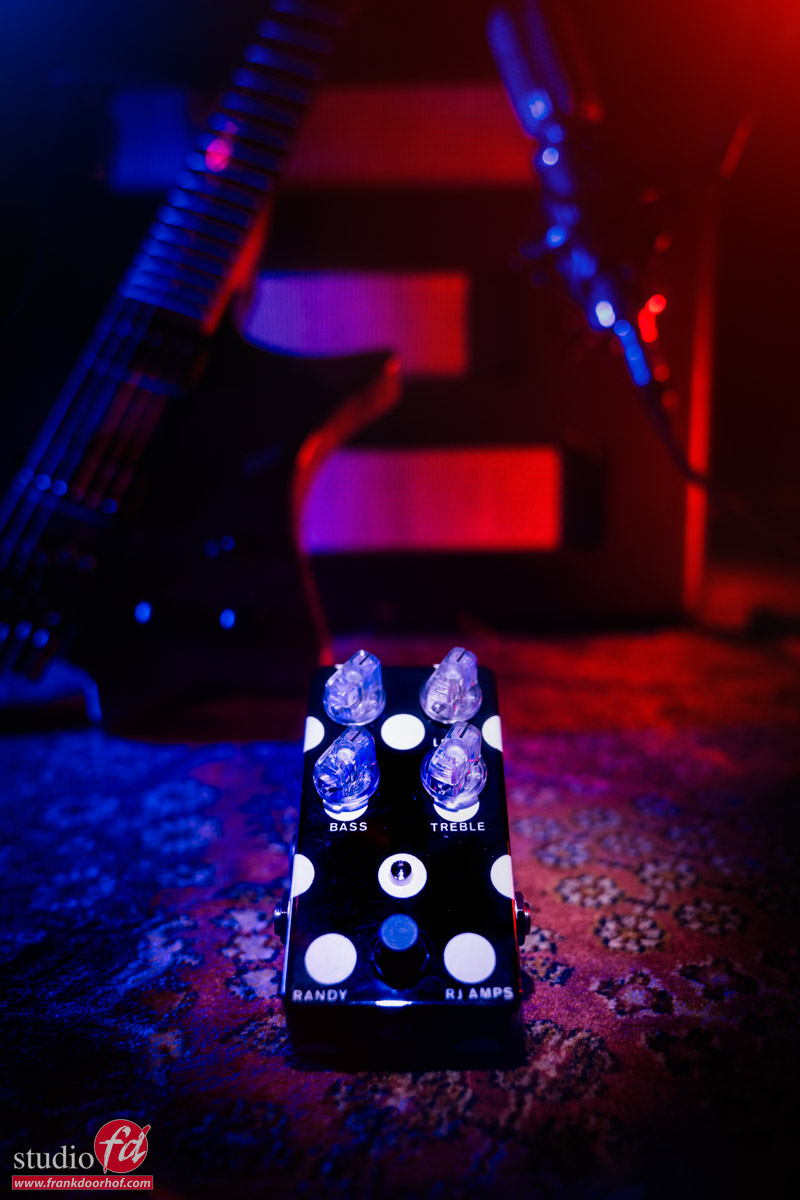
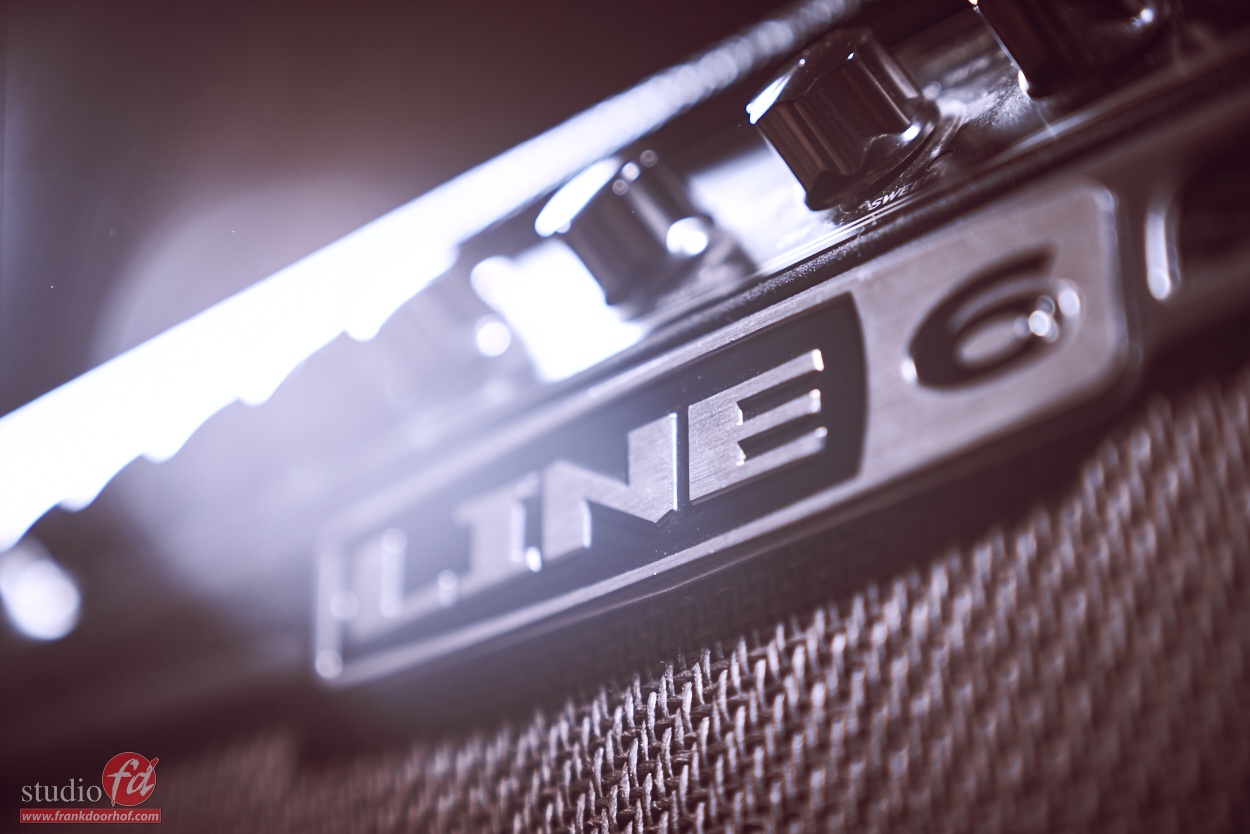
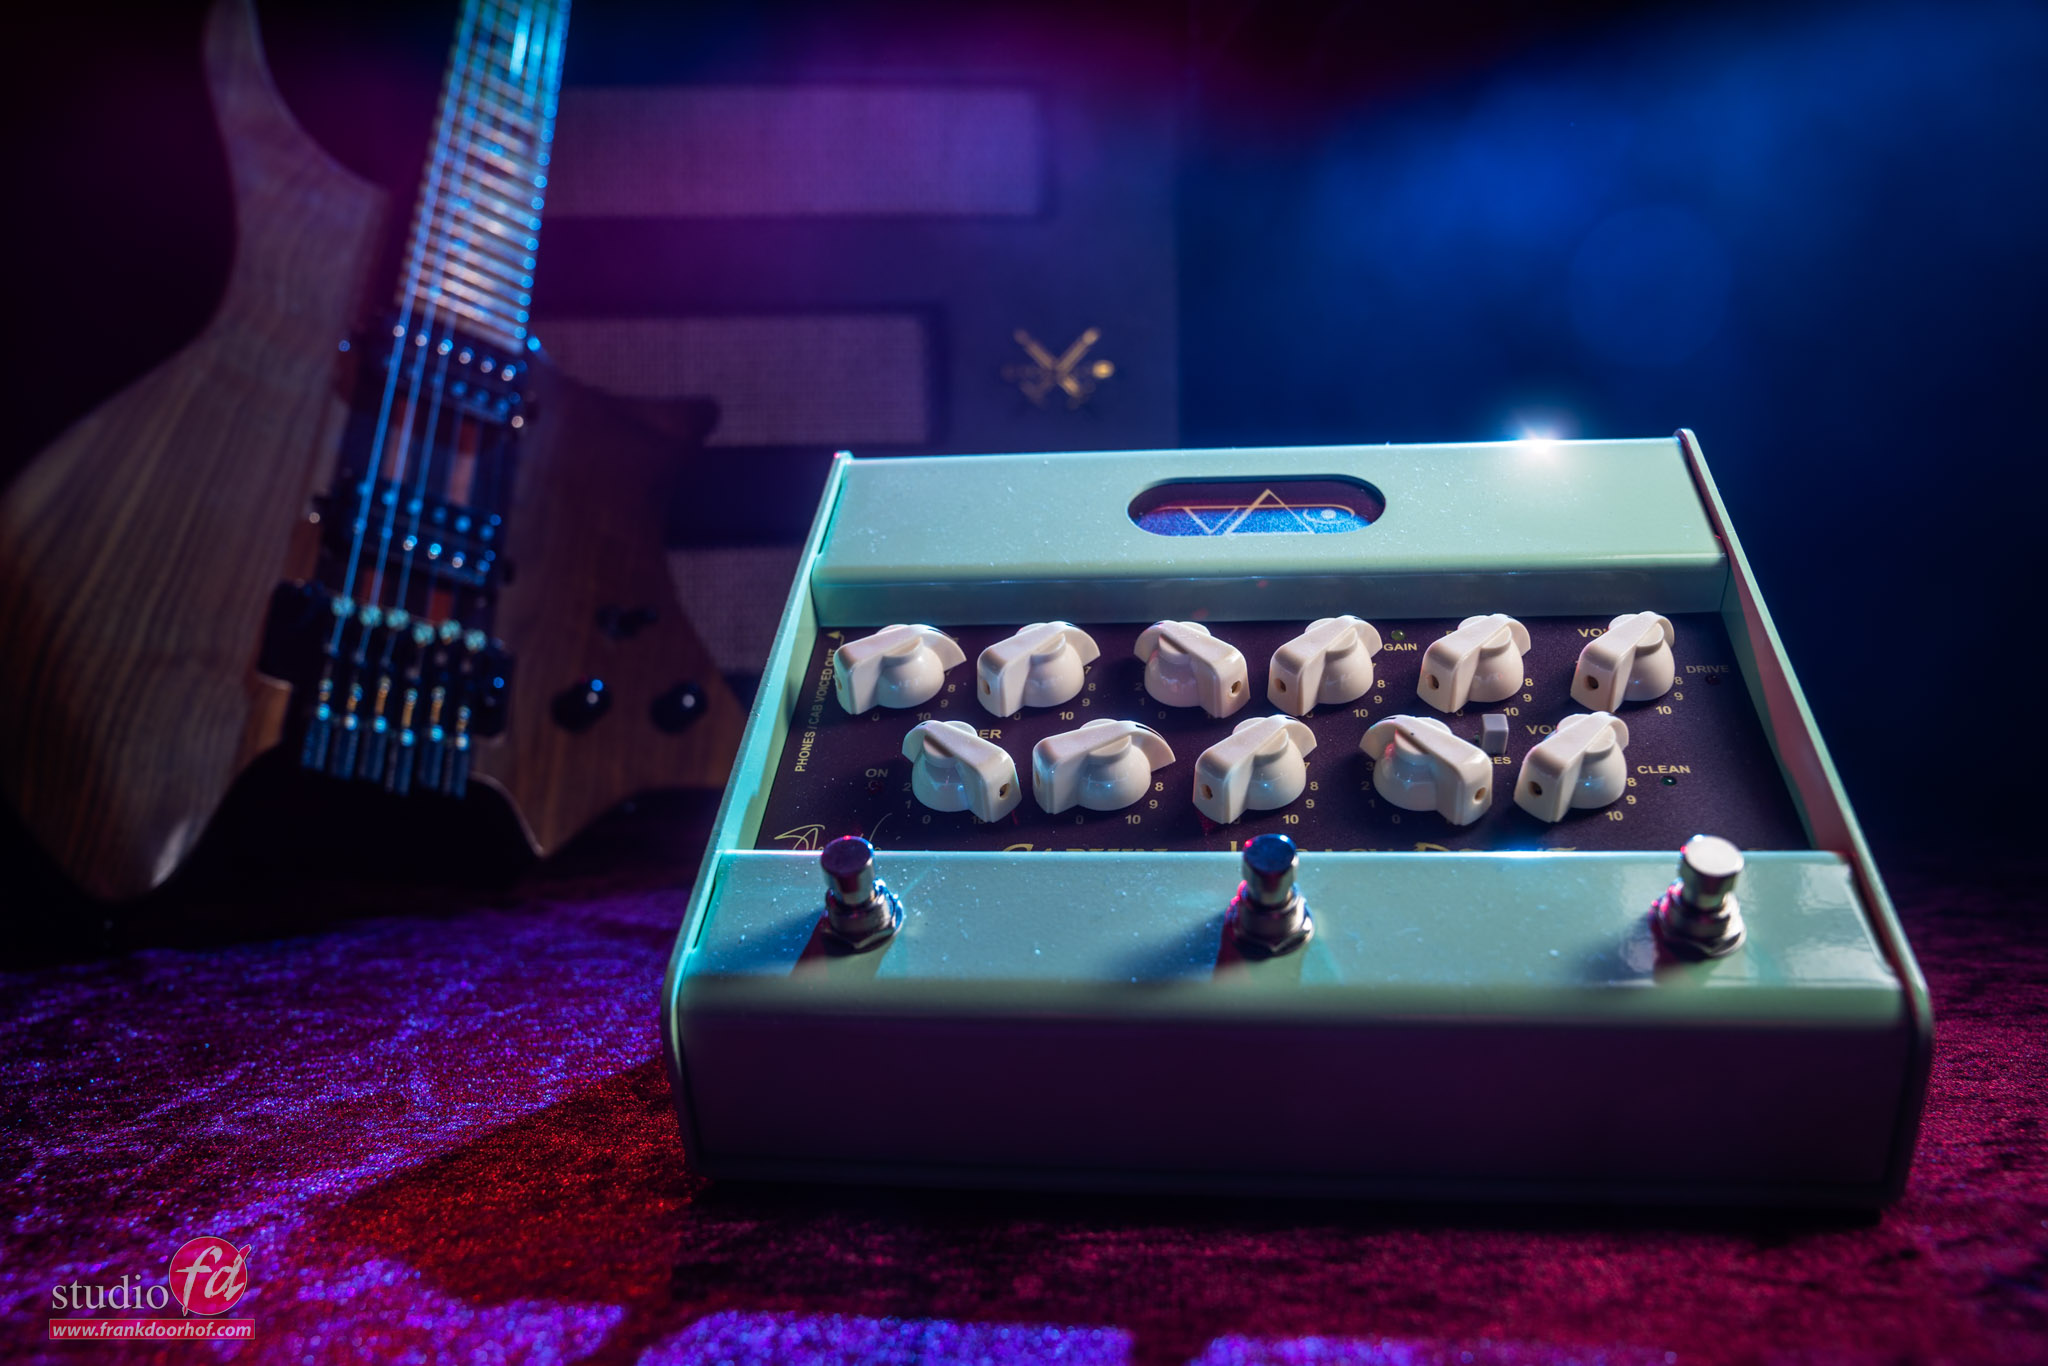
Carvin Legacy Drive
As a huge Steve Vai fan, I had to get this one. It’s an awesome tube-driven pre-amp that will get you very close to that “sweet”/”soft” Vai solo tone but, also the gritty rhythm.
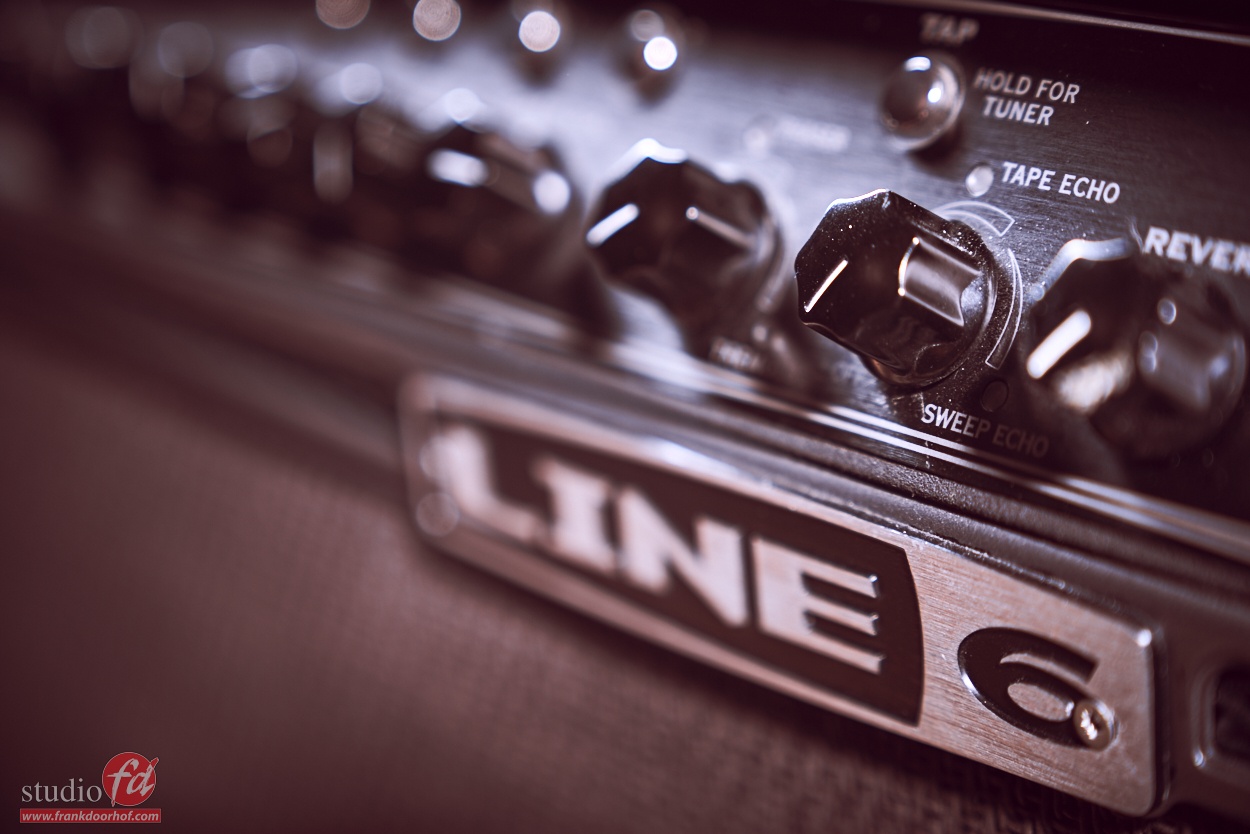
For this shot, I wanted to have some flares on the products. Show off the dials and keep the color close to the original.
In the video, you can see we are using some materials to actually lift up the pedal so it’s easier to fit into the set.
My K&F concept black mist filter works like a charm for shots like this.
The setup is actually not that different. We just moved the main light closer to the product.
And to make it even easier to move around, I place the Geekoto mainlight with the FlashBender on a Platypod to be able to place the FlashBender everywhere I want.
In the video, you will see me angle the FlashBender to combine the feathering effect and direct light to get the right mix on the pedal and the background.
After that, it was smoke and shoot till you get it.
And don’t feel bad about combining 1-2 shots into one killer final result.
In this case, I did not need it, but for the final setup, I did combine two images in one shot 😀
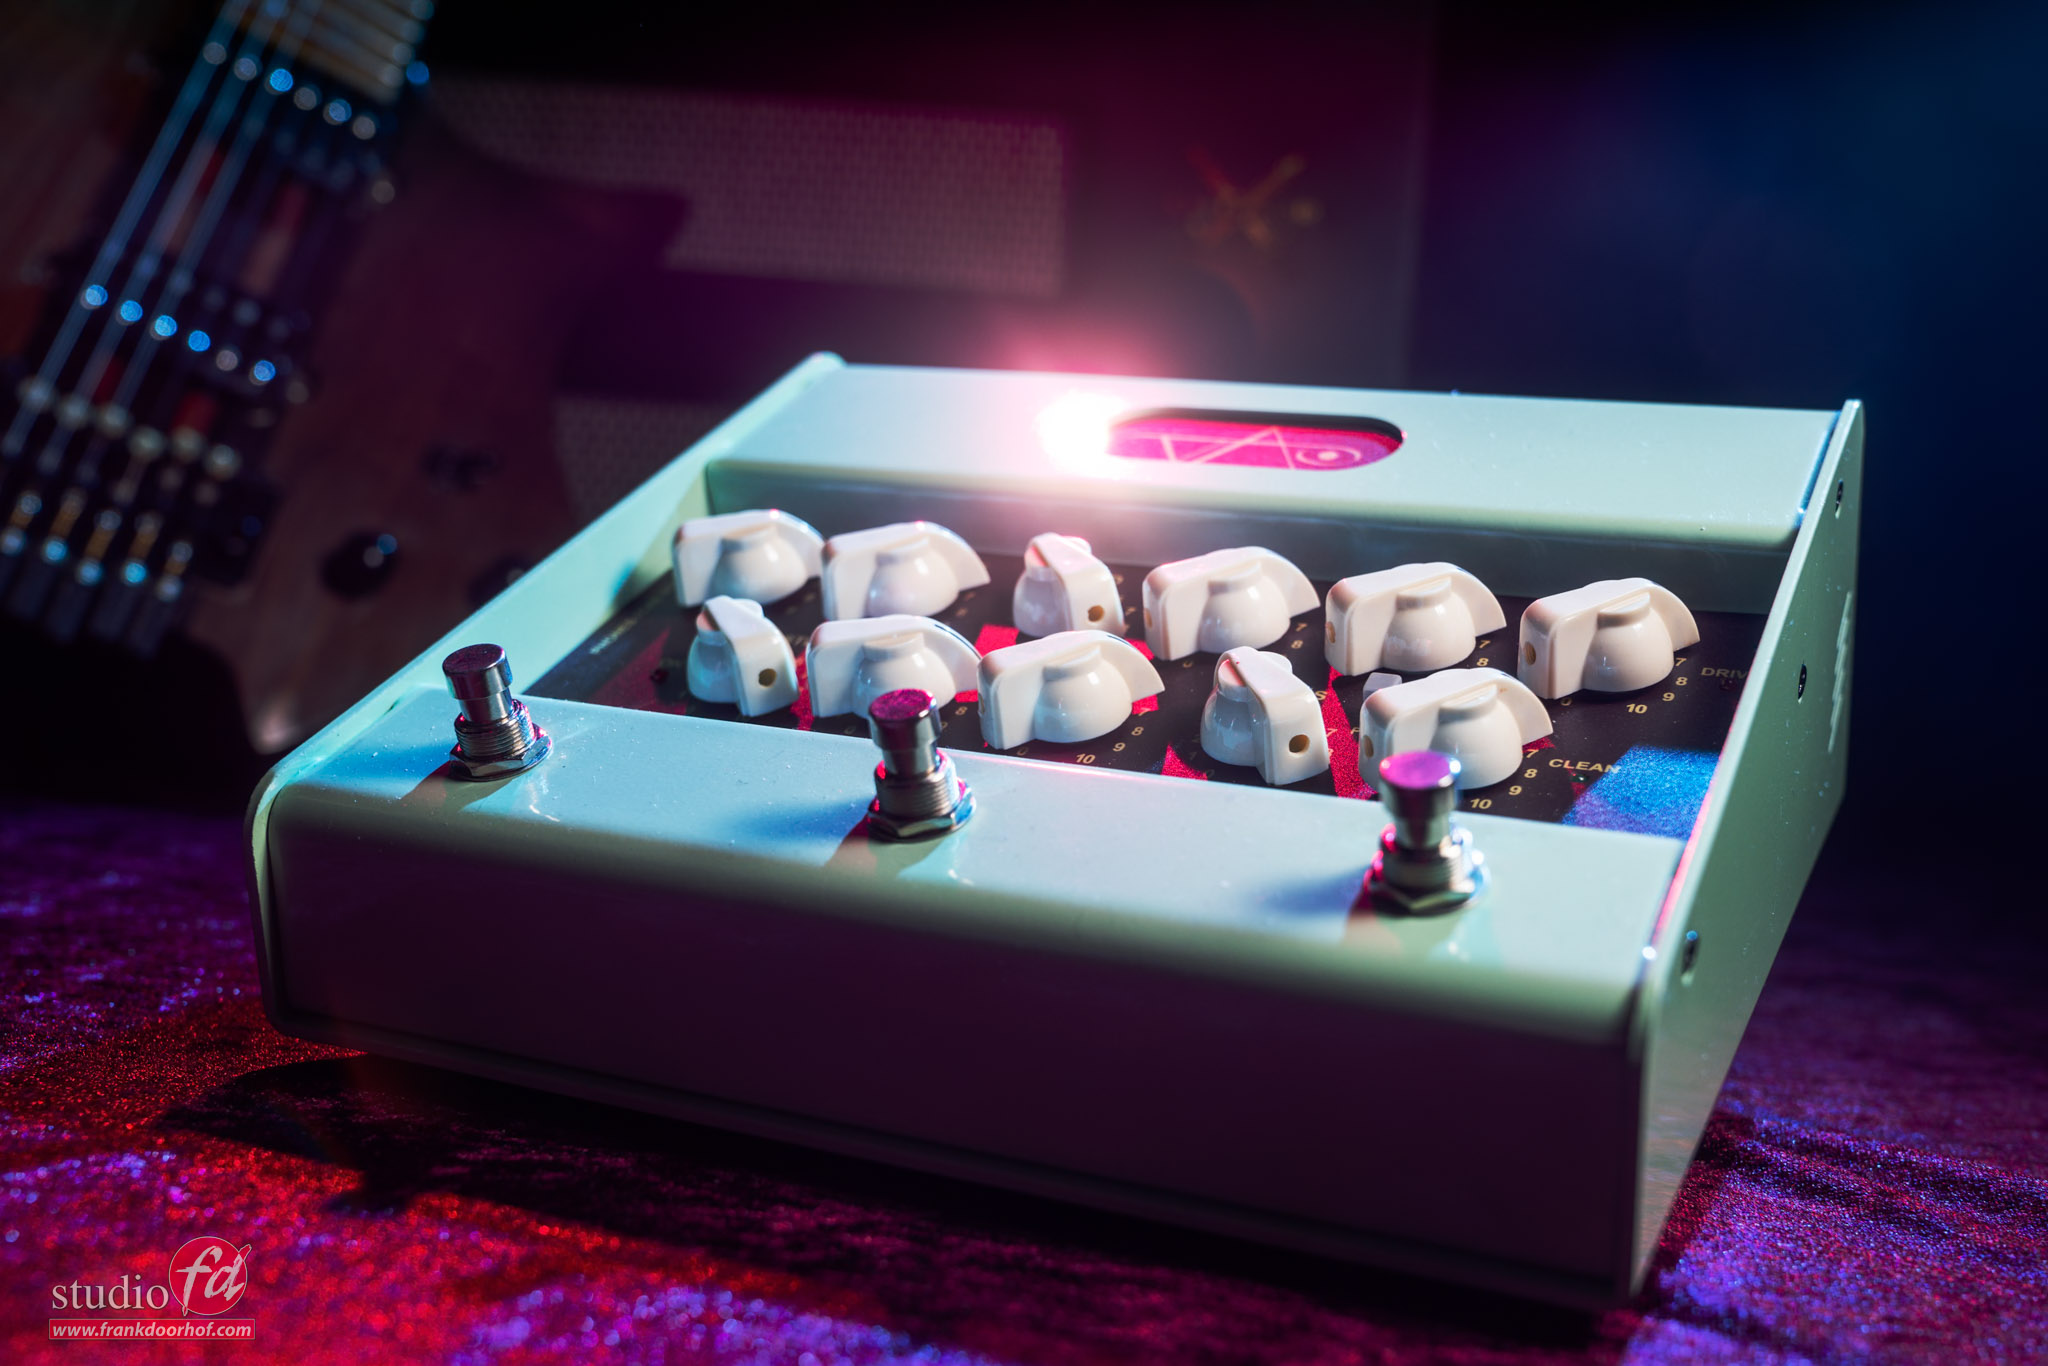
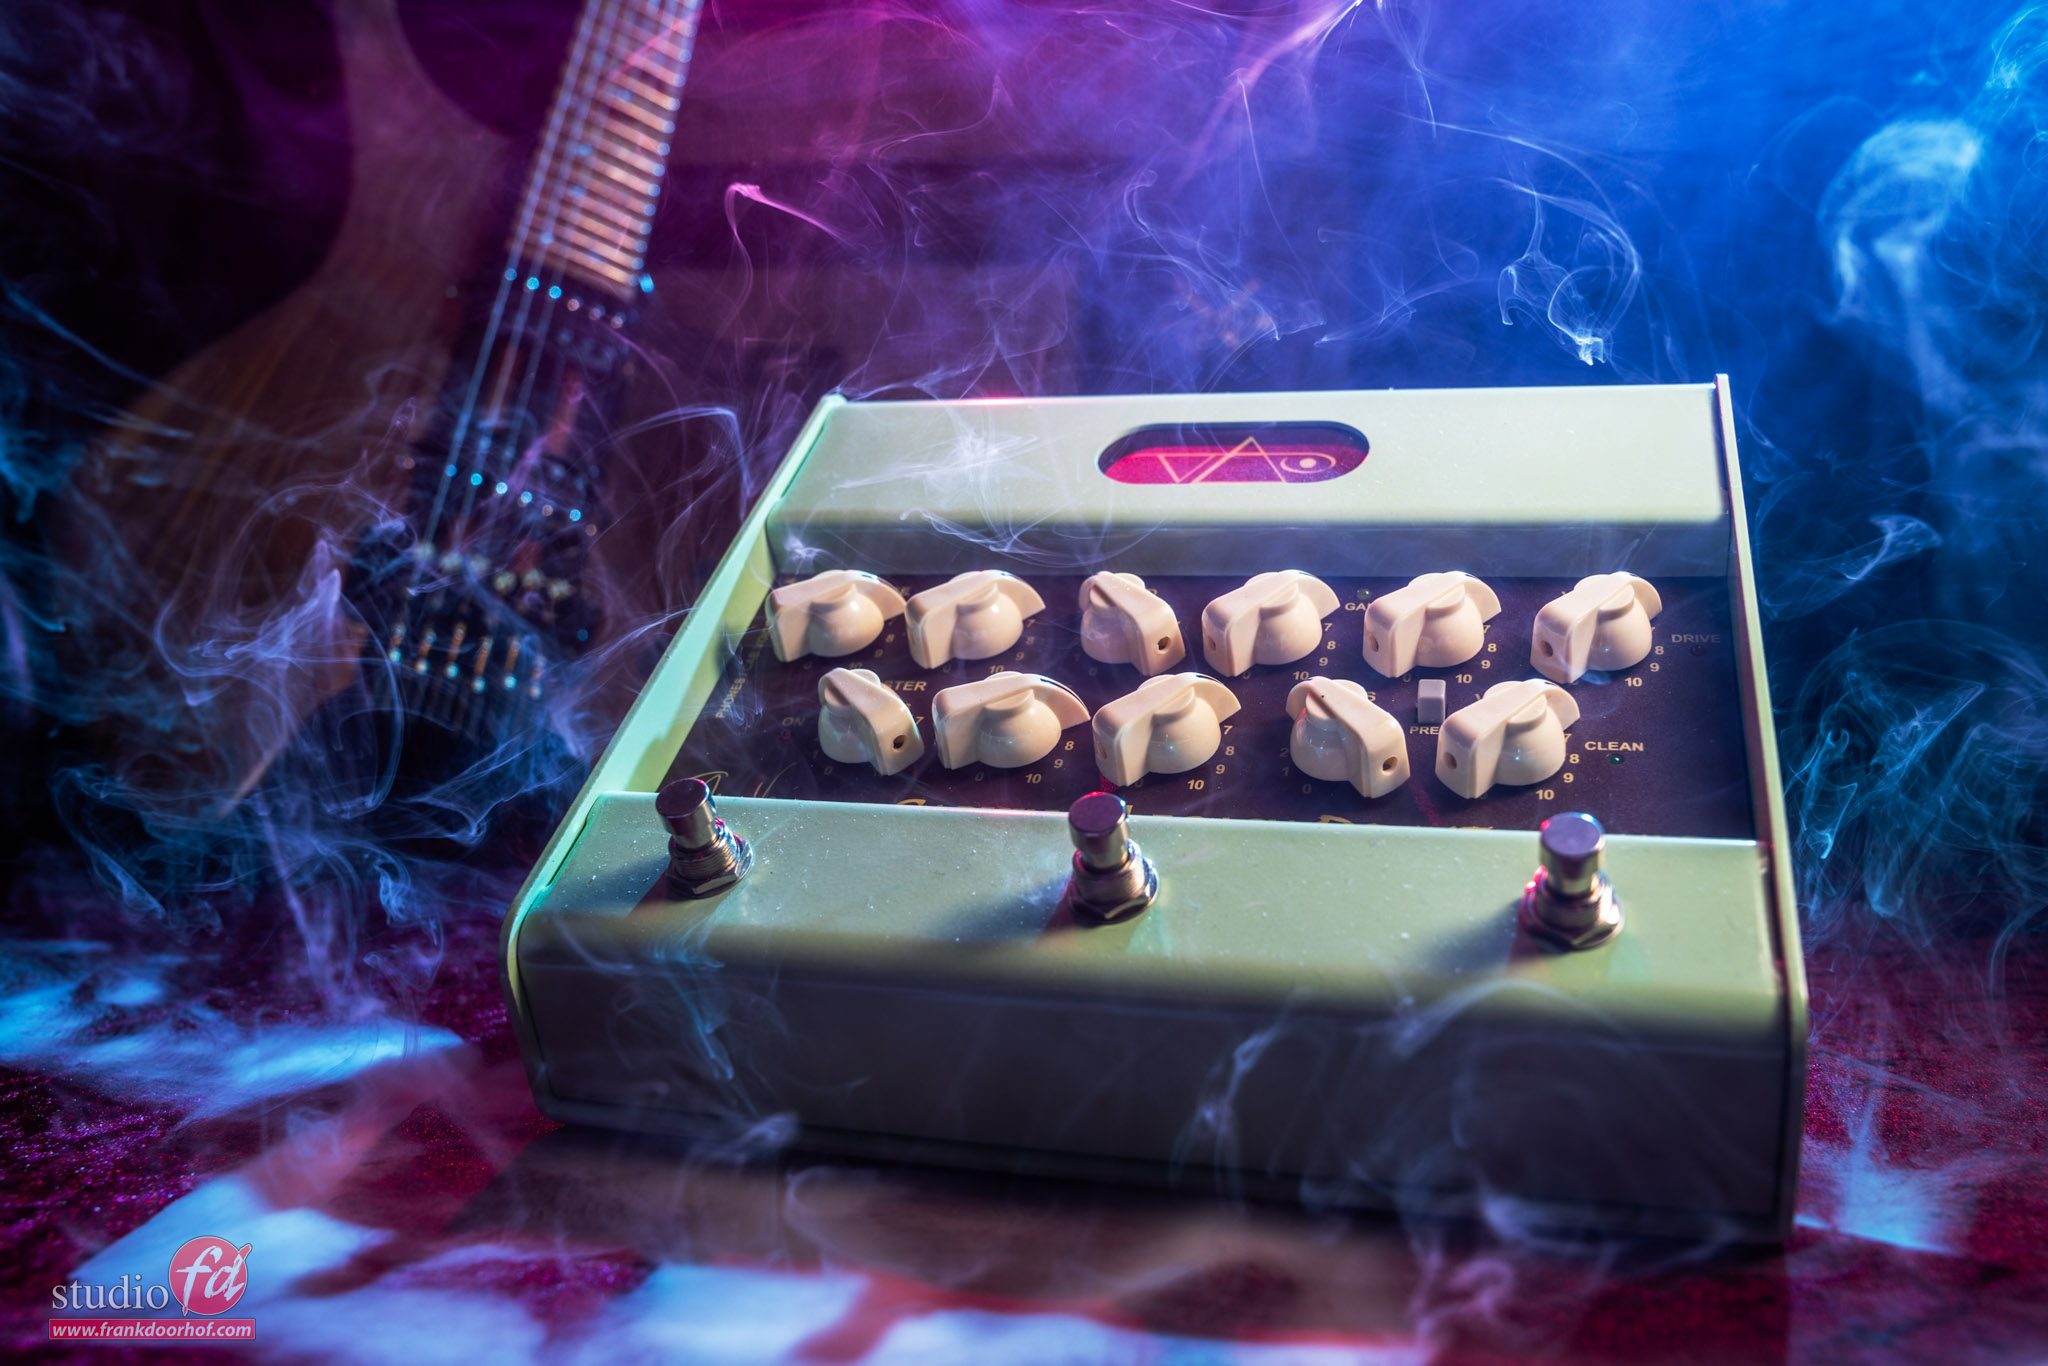
And then the final product shot. For this one, we did something different. But with the same lighting setup. Although now I changed the FlashBender for the collapsable snoot from Rogue
Positive Grid Spark Mini VAI
Yep, there is that name again, Steve Vai. To keep it in the theme, I brought another product to the studio for our product photography with a glamorous edge.
Positive Grid has been making great software and so-called modeling amps (emulations) for years.
In fact, I use some of their software on my iPad and desktop.
The Spark series is very popular for travellers or just playing on the coach. It’s very flexible, can function as a recording tool, and has …. well it has a lot, too much to mention here.
And because it emulates to many different amps and pedals, I thought it would be fun to use a mirror, very glamorous right?
Seeing it’s not the original gear, but an image of that gear.
Of course, we wanted something nice, and a while ago we got this smaller mirror with a huge silver side.
I have not yet found a place for it in a shoot, but this was perfect.
So we placed the Spark on the mirror. I’m using the same gels on the silver and trying to get just enough in the mirror. The snoot just focuses on the Spark.
The nice thing about the Rogue Snoot is that you can use it in 3 different positions. You can use it without the diffusion panel, which gives a rectangular look on a speedlight-based strobe, and a nice round effect with a hot center on a round flash tube. Or a perfect round with the panel. It’s insanely flexible and should be in anyone’s backpack or studio setup when you need focused light.
So let’s take a look at the final setup.
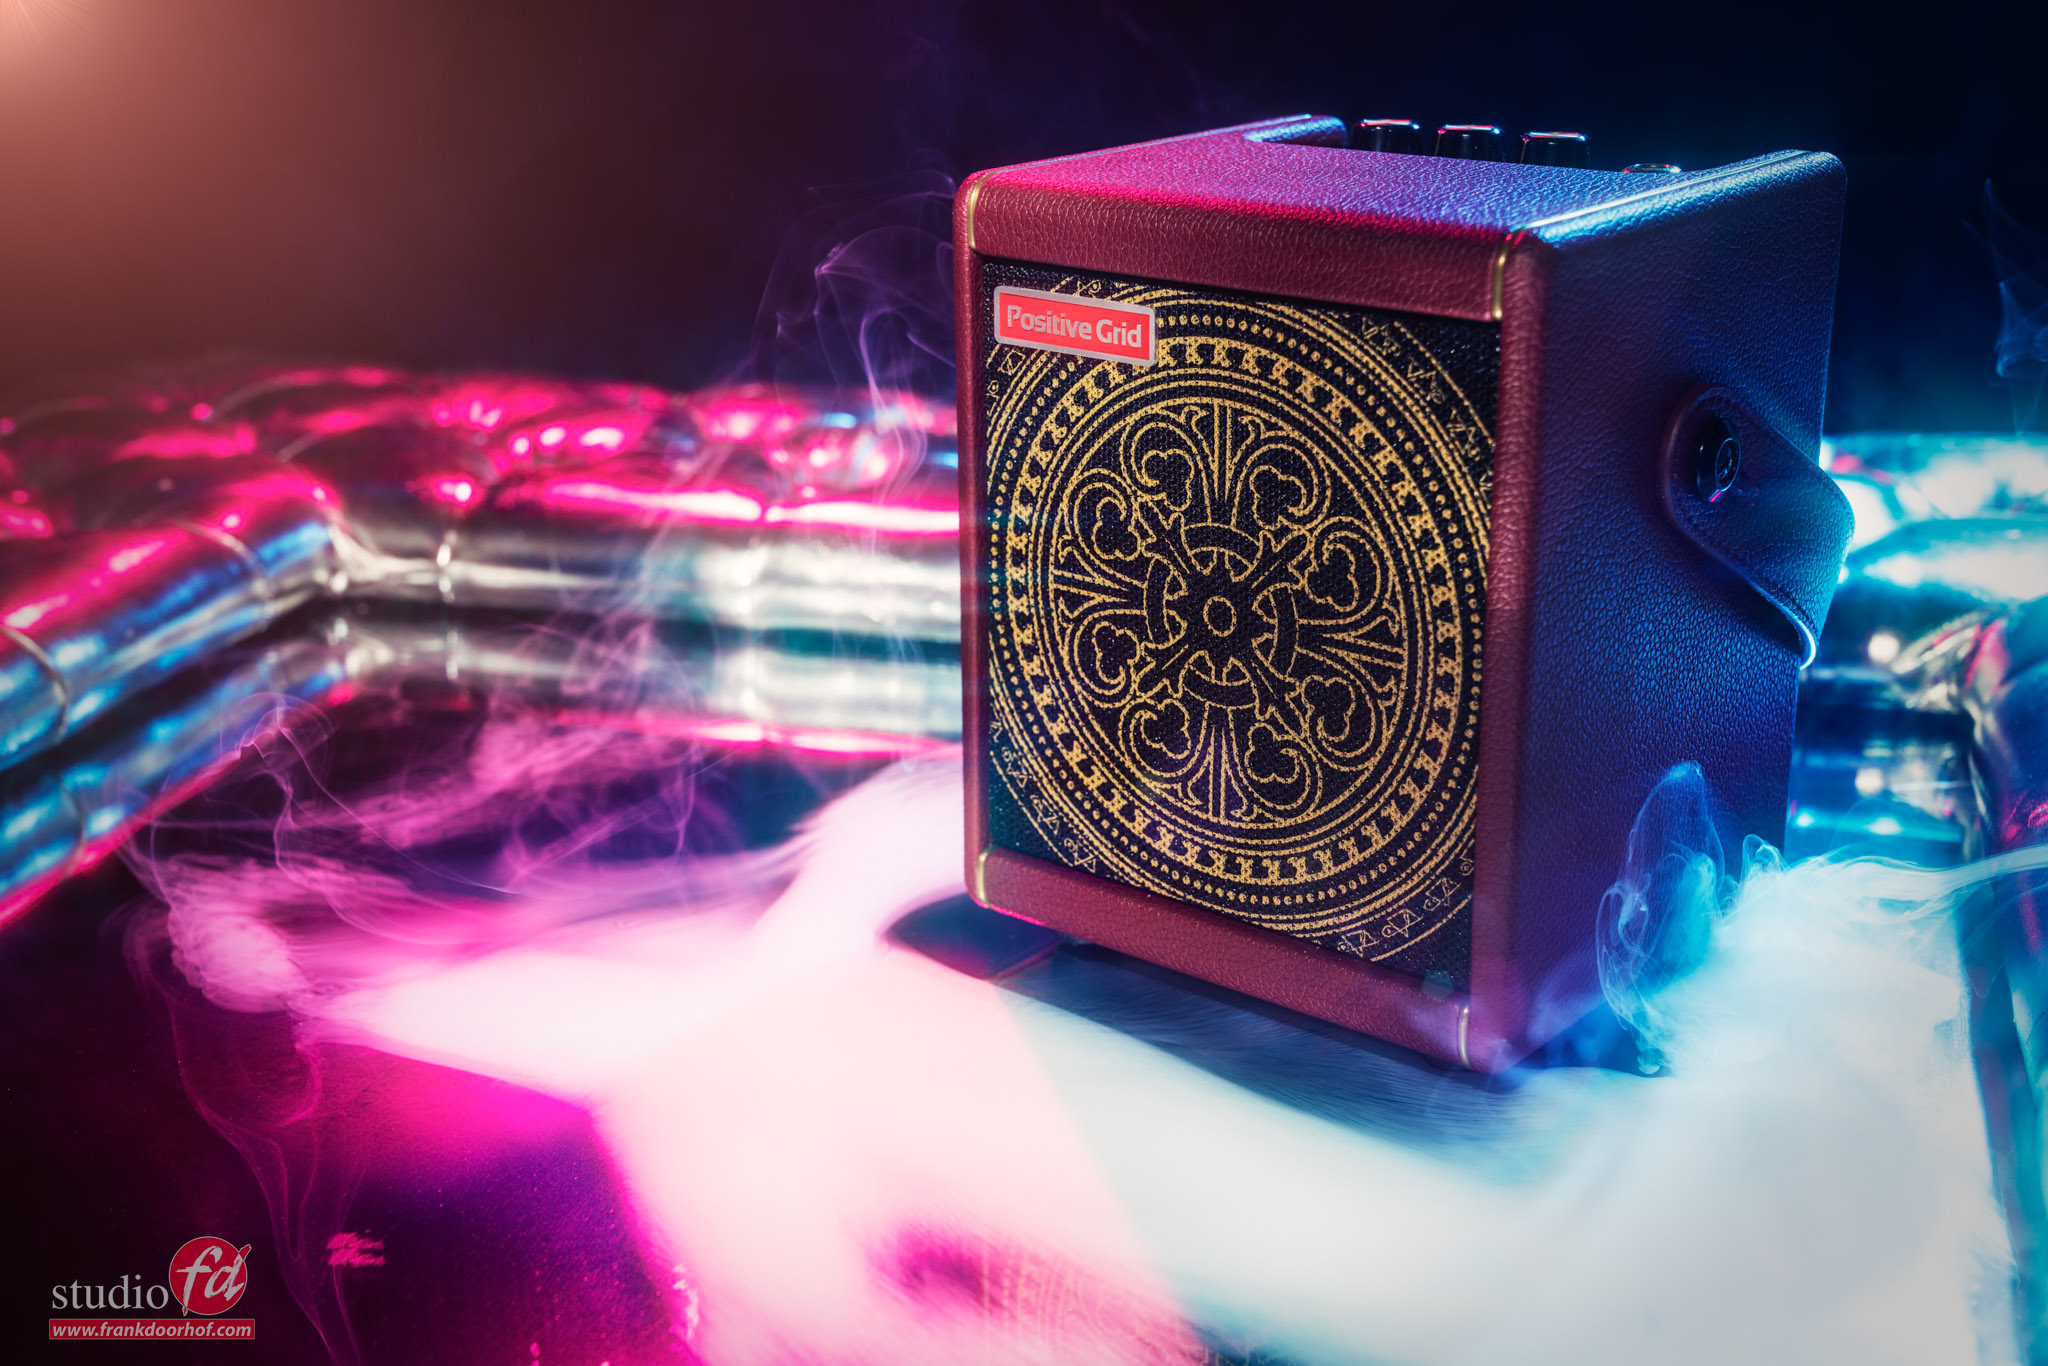


Some images I shot from a slightly higher angle to also, show some of the buttons, and some are slightly lower.
In these kinds of shots, you don’t have to show all the details, remember these are the “WTF is that, let’s click” images.
Conclusion: product photography with a glamorous edge
Great that you made it to the end. I was planning on making several posts about this, but decided to just do it in one.
I hope you guys also enjoy something else from us. Feel free to share the video, like, comment, and of course, subscribe.
We update this blog several times a week. So, keep checking back!. There is always new material, or older material you have not yet read, or forgot.
In other words, just visit 😀
And as promised, the full video.