You’ve been asking a lot about the lantern. So for today I thought it would be nice to share a video in which I show you the difference between a standard softbox with grid and the new Geekoto lantern.
As you can see they both give totally different looks.
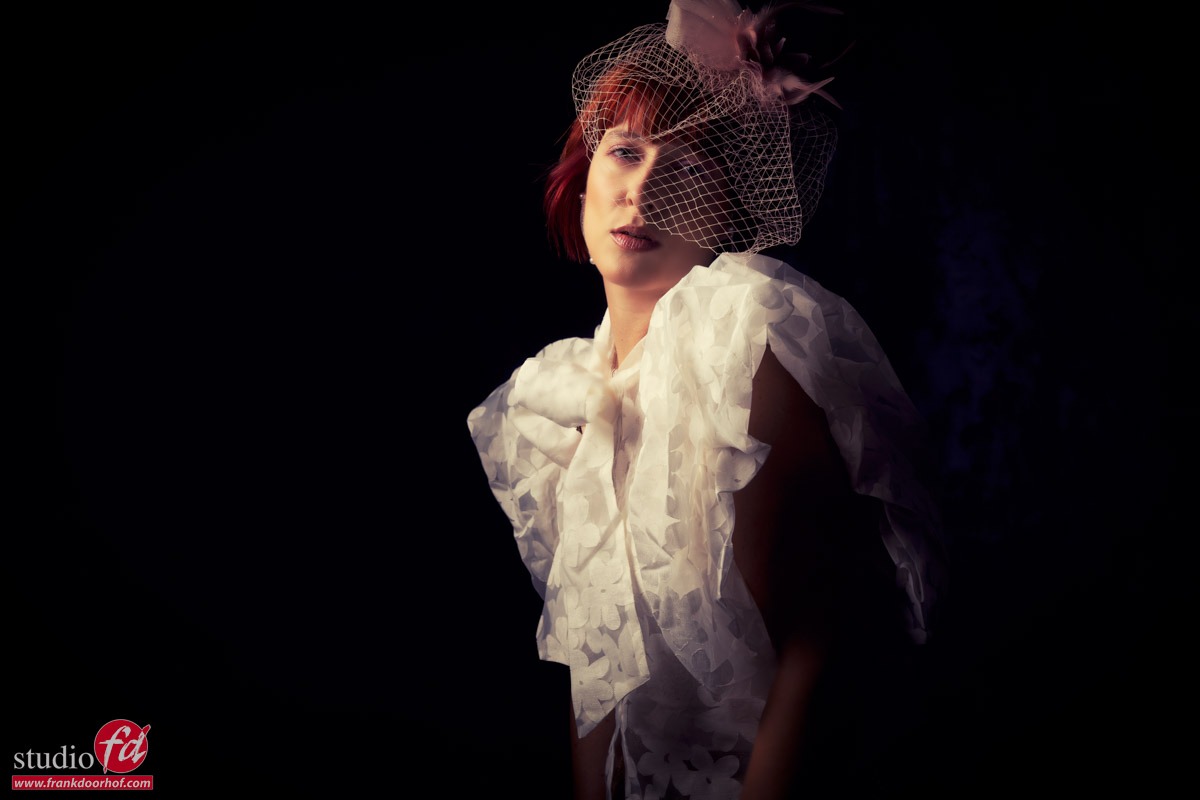
The softbox with grid is great for high-contrast photography and a moody backdrop.
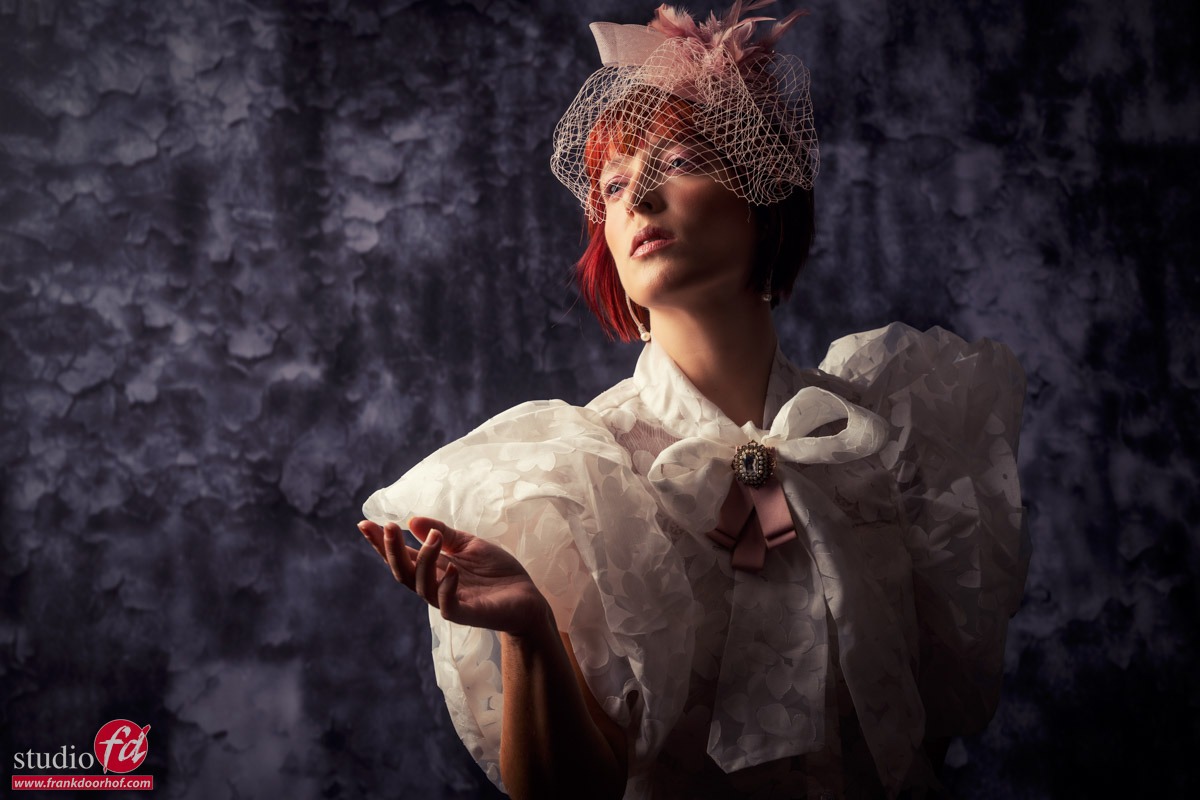
The lantern opens up the background and can still be placed close to the model for top to bottom shots.
I’ve been posting some images online and on the blog already with the amazing new striplight and lantern from Geekoto.
But today I want to share the official video we made for the Dutch market (and English) about these brand new softboxes.
Of course both softboxes are super fast to setup and collapse plus they both can change the speedring. For the stroplight there is a totally new designed mount that makes assembling even faster (I thought it was not possible).
You can get the striplight and lantern and all other Geekoto gear via our webshop.
On the webshop you find all the gear I use and like.
Let’s take a look at the videos.
I’ve created an English and Dutch version.
https://frankdoorhof.com/web/wp-content/uploads/2024/07/Geekoto-new-softboxes-4-June-14-2024.jpg9001200Frank Doorhofhttps://frankdoorhof.com/web/wp-content/uploads/2015/03/studioFD_Logo-1FV.pngFrank Doorhof2024-07-27 18:00:162024-07-23 14:48:49Introducing the new Geekoto softboxes
It’s always fun to play with new gear, and light shapers always have a special place.
And let’s be honest the light shaper defines a large part of how your image will look. This blog is about the new Geekoto Lantern.
Having new light shapers triggers creativity
The new Geekoto lantern has a few tricks up its sleeve.
First of all, like all Geekoto softboxes we use, the lantern is super easy to set up and collapse and also has the removable speedring you guys love.
What does the Geekoto Lantern do?
The big difference is in the way the lantern projects the light.
With a normal softbox, the light travels first through a diffuser which makes the light source softer and larger, after which it leaves the softbox through the front diffuser. If you want to narrow your light beam you can use a grid. But that’s about it.
Now let’s take a look at the Geekoto lantern.
The Geekoto Lantern on the Geekoto GT400
As you can see the lantern doesn’t just aim the light forwards, but it also lights from the sides.
Now this has some huge advantages.
At first, you might think that this is the perfect softbox for product photography.
Especially with product tables, you can super easily light your product and the background with a lantern.
But also for newborn photography, it’s great to create a beautiful floodlight effect.
So you might think that this is like an umbrella a softbox for the more “broad” lighting setups.
However, the lantern actually shines in the more high-contrast setups.
Let’s take a look at some examples.
Normal softbox with grid
One of my favorite setups is lighting the model from the side with a medium-sized softbox.
I often add an extra light source on the opposite side to open up the shadows and also to light the background.
With the main light, I cannot light the backdrop enough when it’s a more darker color. This is why I use the accent light often in a striplight configuration which I use horizontally or slightly horizontally. This makes it possible to light both the model and the background with one light source.
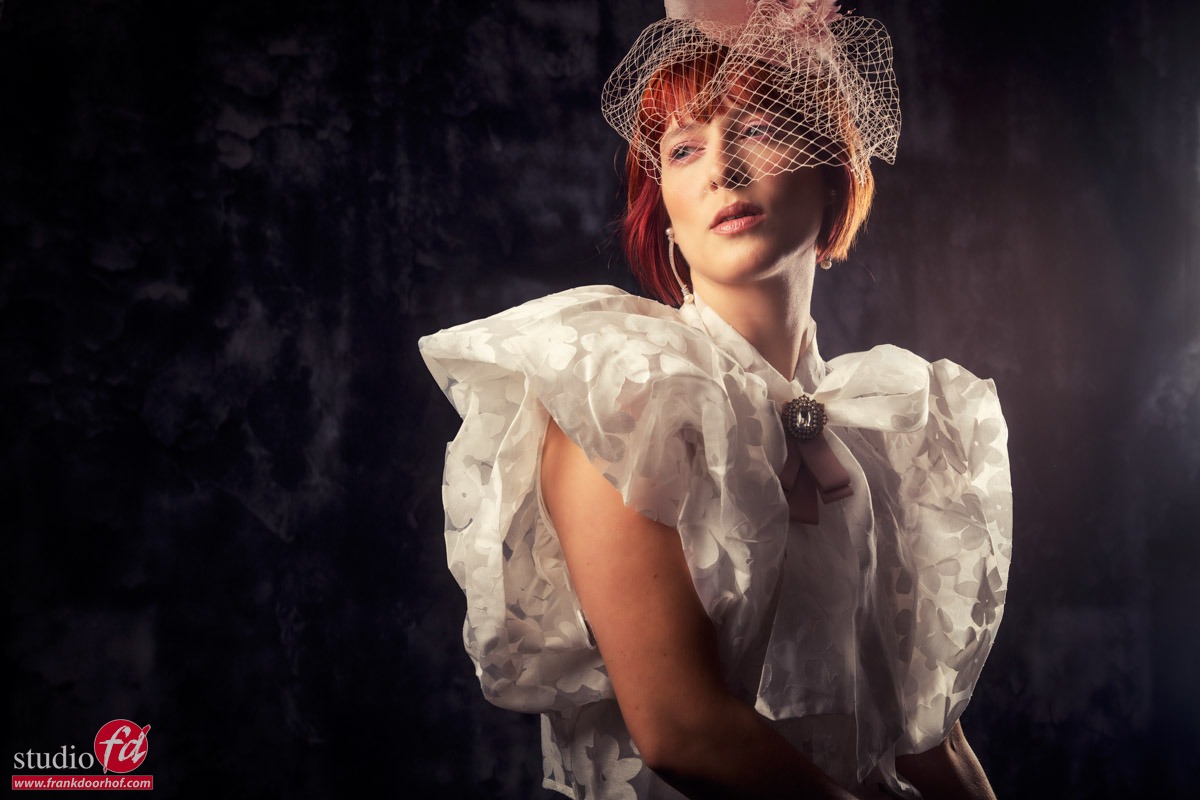
By aiming it slightly away from the background I get a very nice even light fall off on the background.
As you can see adding the accent light creates not only a beautiful lens flare but also lights the model and the background (I love striplights).
But let’s switch to the Geekoto Lantern
The main reason I love the lantern is that it makes it possible to throw a lot more light on the background creating a totally different look.
So let’s take a look at how that works out.
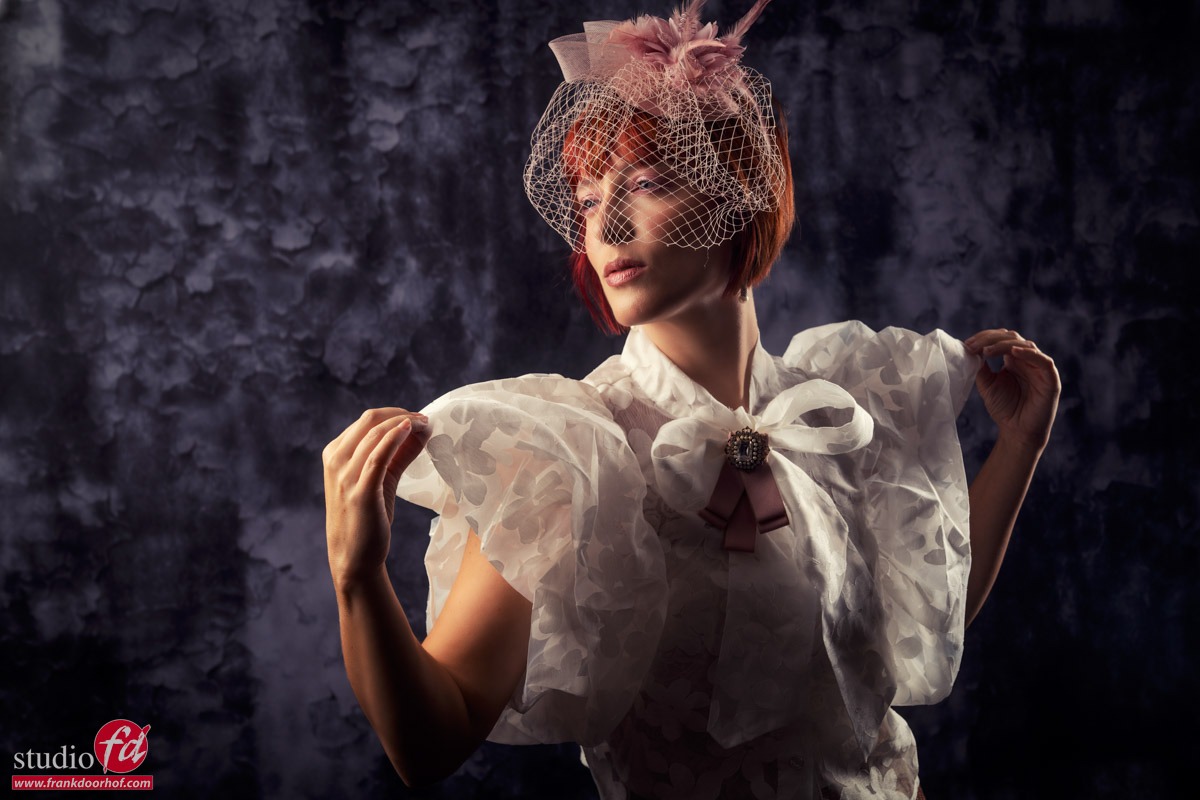
Also here first a setup with just the lantern, and the second one is with the striplight on.
It’s no battle
Remember that it’s a matter of which one is better.
I like them both for their lighting.
The first setup is great for a more high-contrast look with a darker background.
The second setup has a much nicer wrap-around effect and “glues” the model and background nicer together.
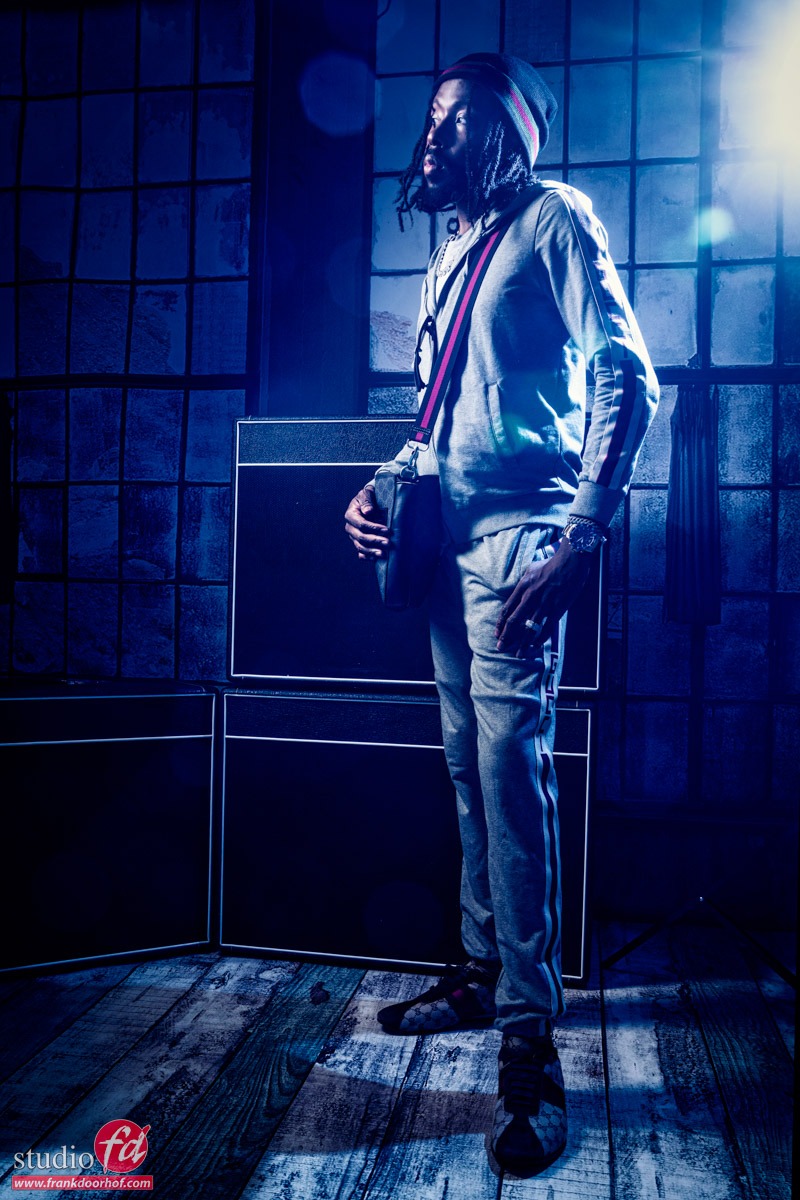
The cool thing about the lantern is that it gives you a totally different kind of light shaper due to the translucent sides. And that is not just better for portraits but also when you shoot full body images. It makes it possible to place the light very close to the model and still light the bottom part. Something that with a normal softbox that close can be very tricky or even impossible. Now you can place your light super close and still light the background and bottom part of your model.
I would highly recommend getting one for your studio.
We added them to our webshop of course.
On the webshop you find all the gear I use and like.
The lantern can be found here.
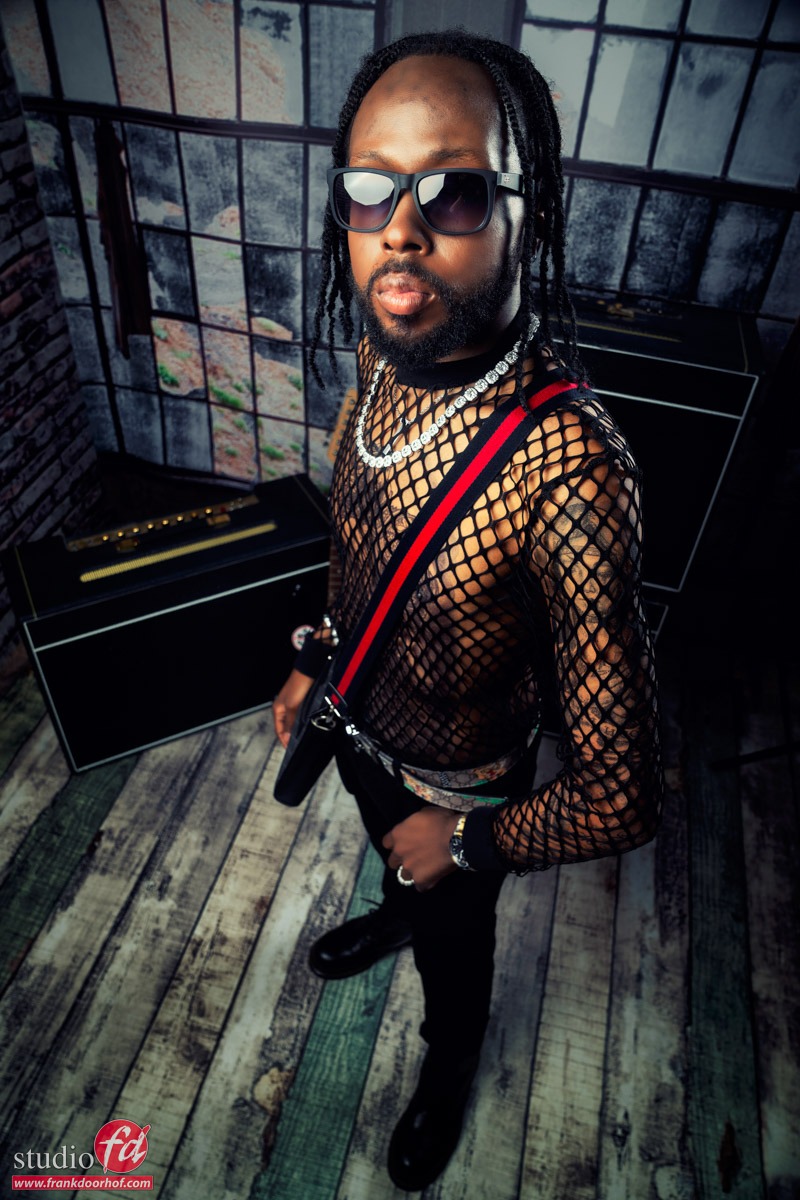
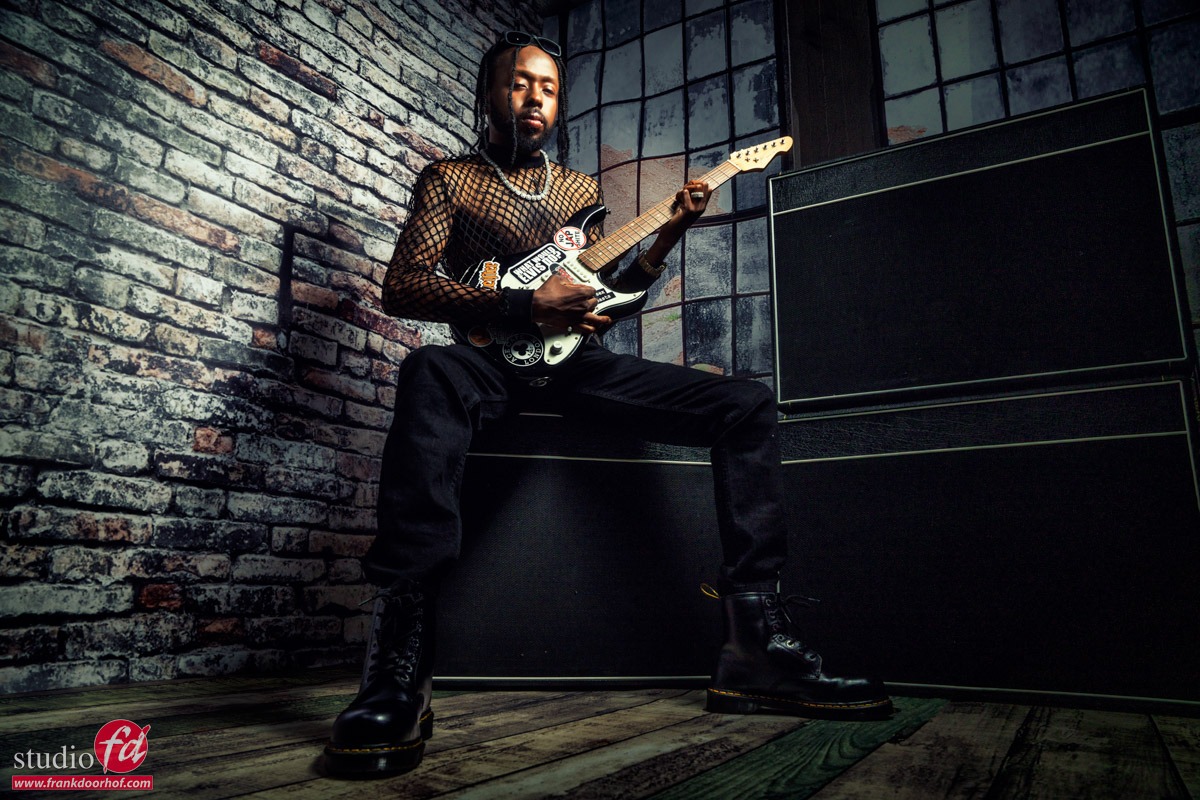
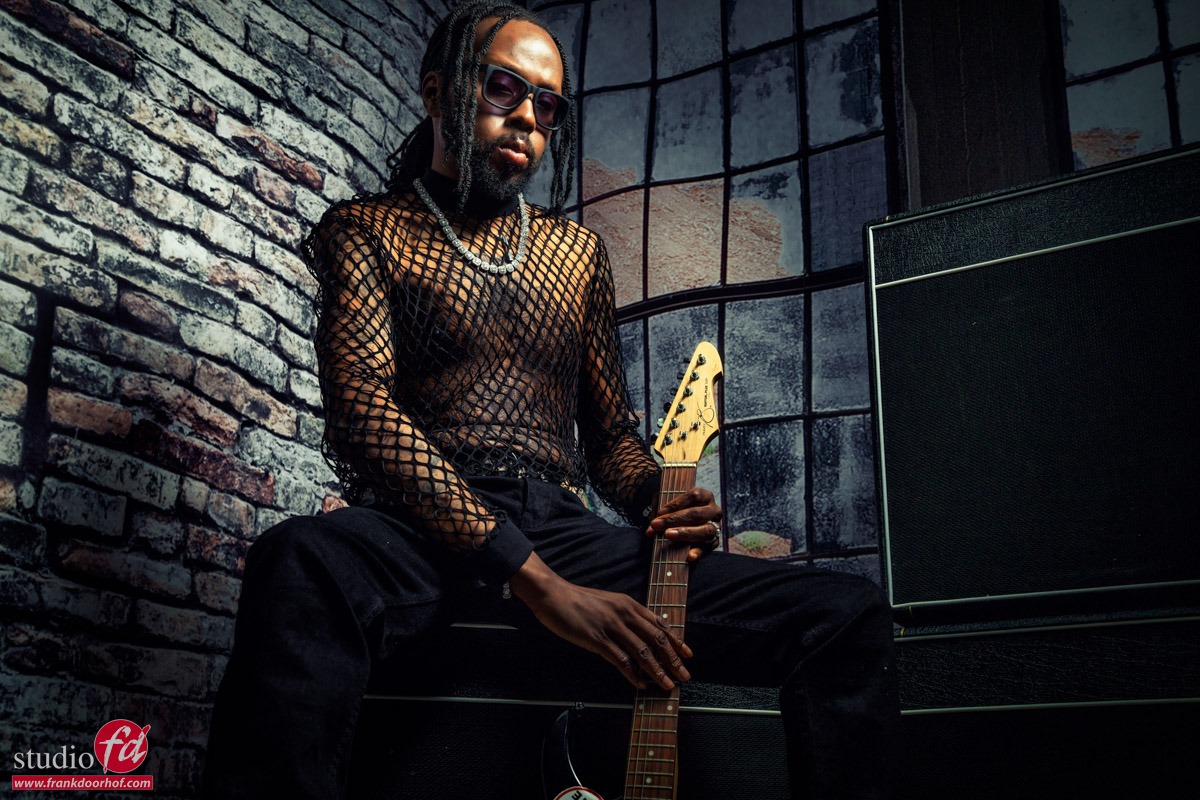
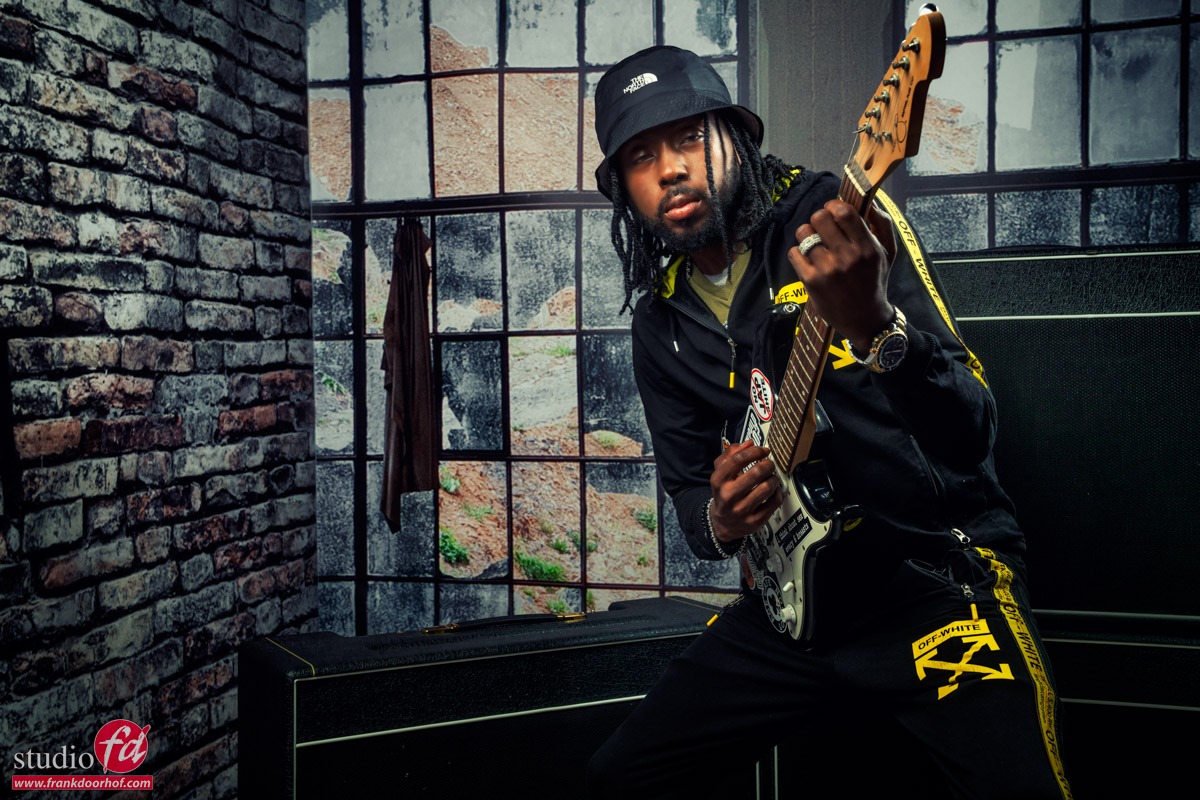
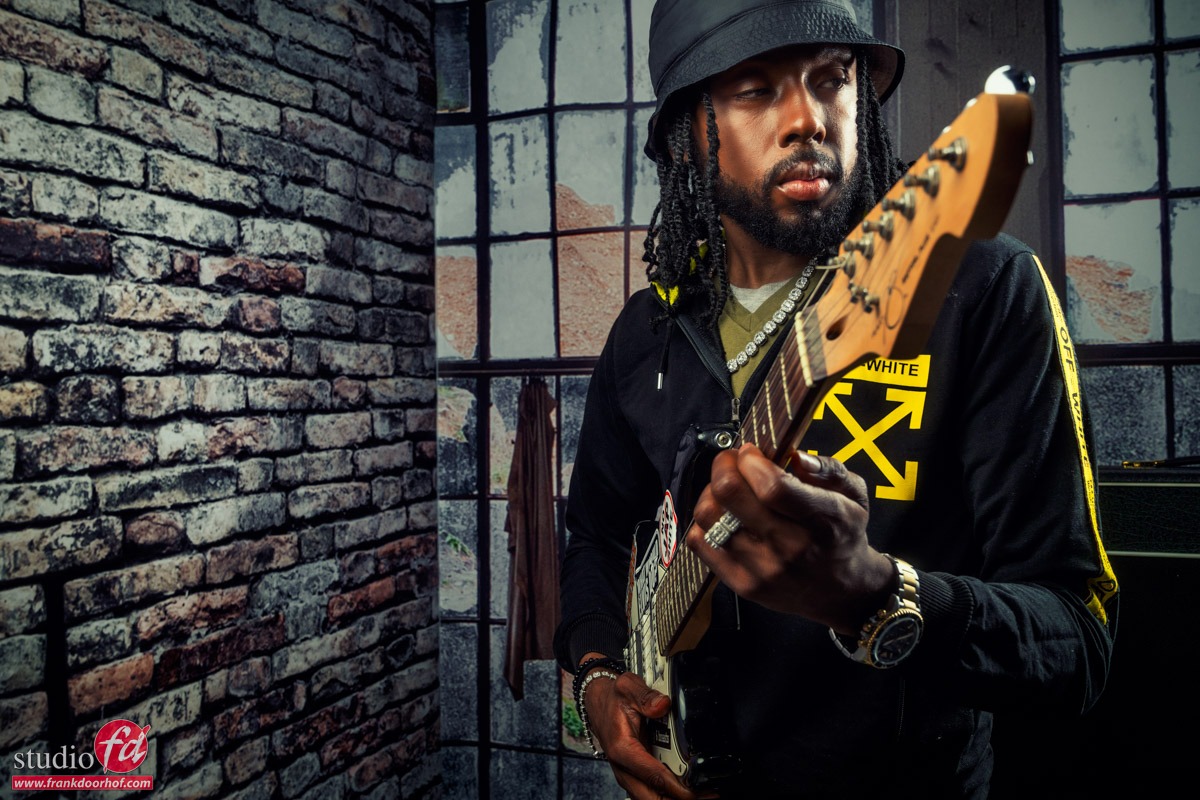
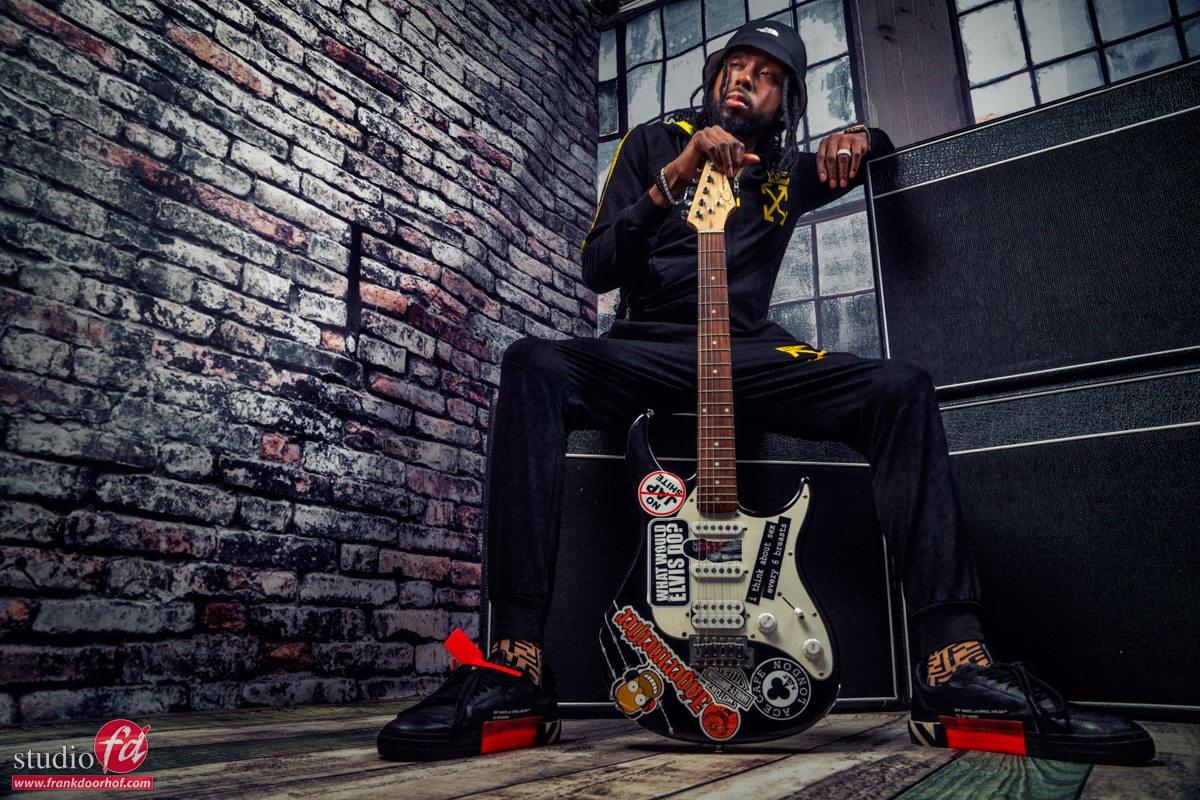
We also used the Geekoto Lantarn on the Click Live show in the UK in juni. Check out the BTS video
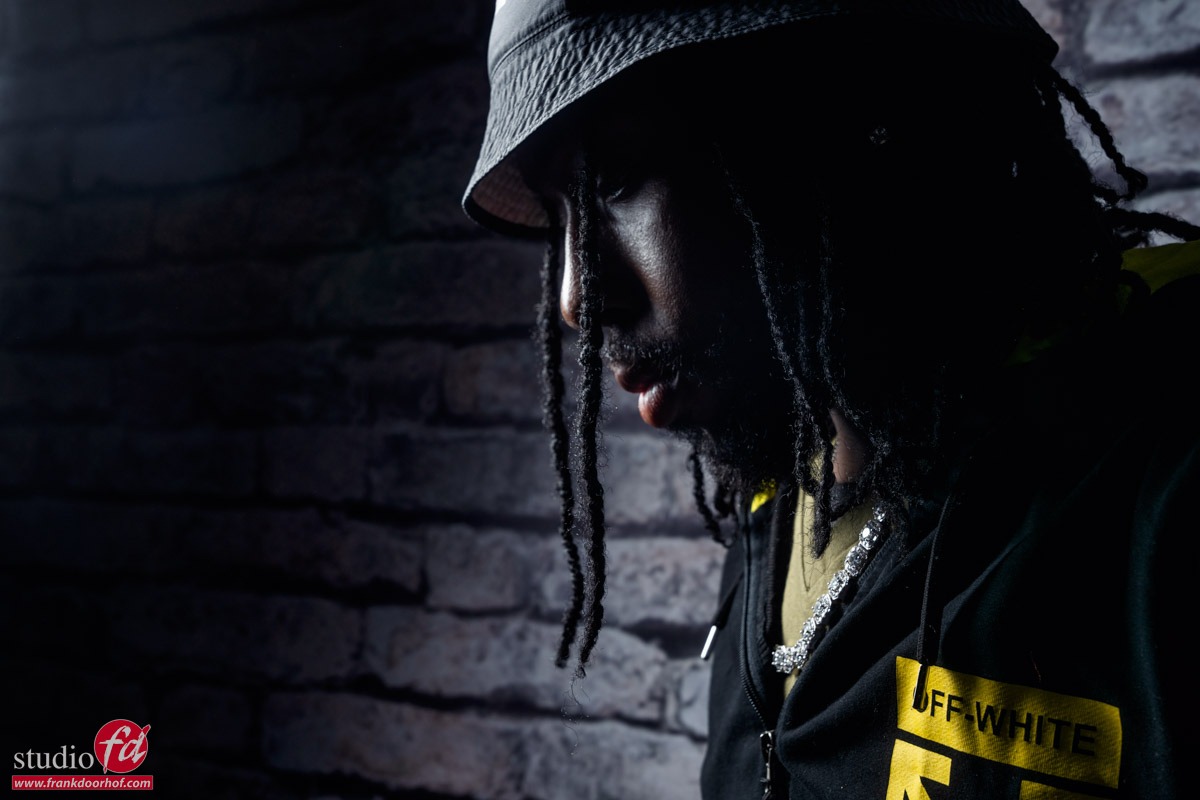
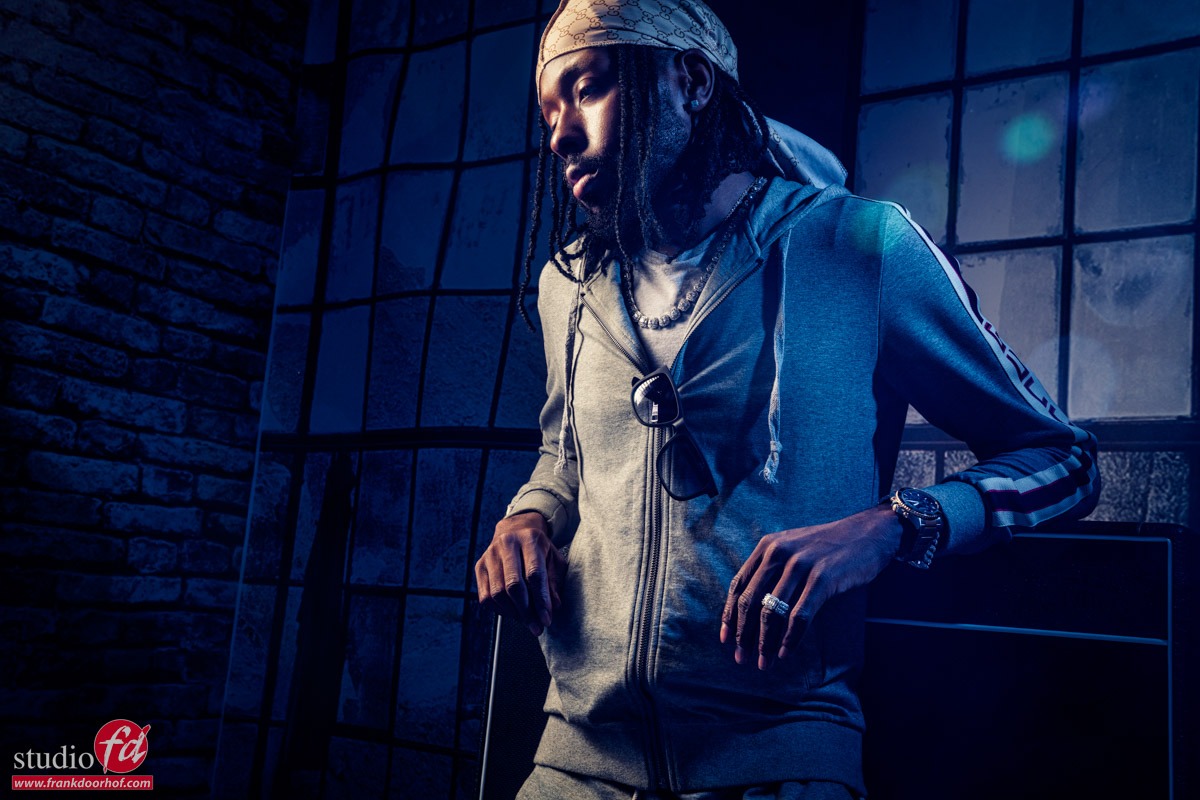
This was the third day and the backgrounds were not mounted 100% anymore, but I still love the results from these sessions.
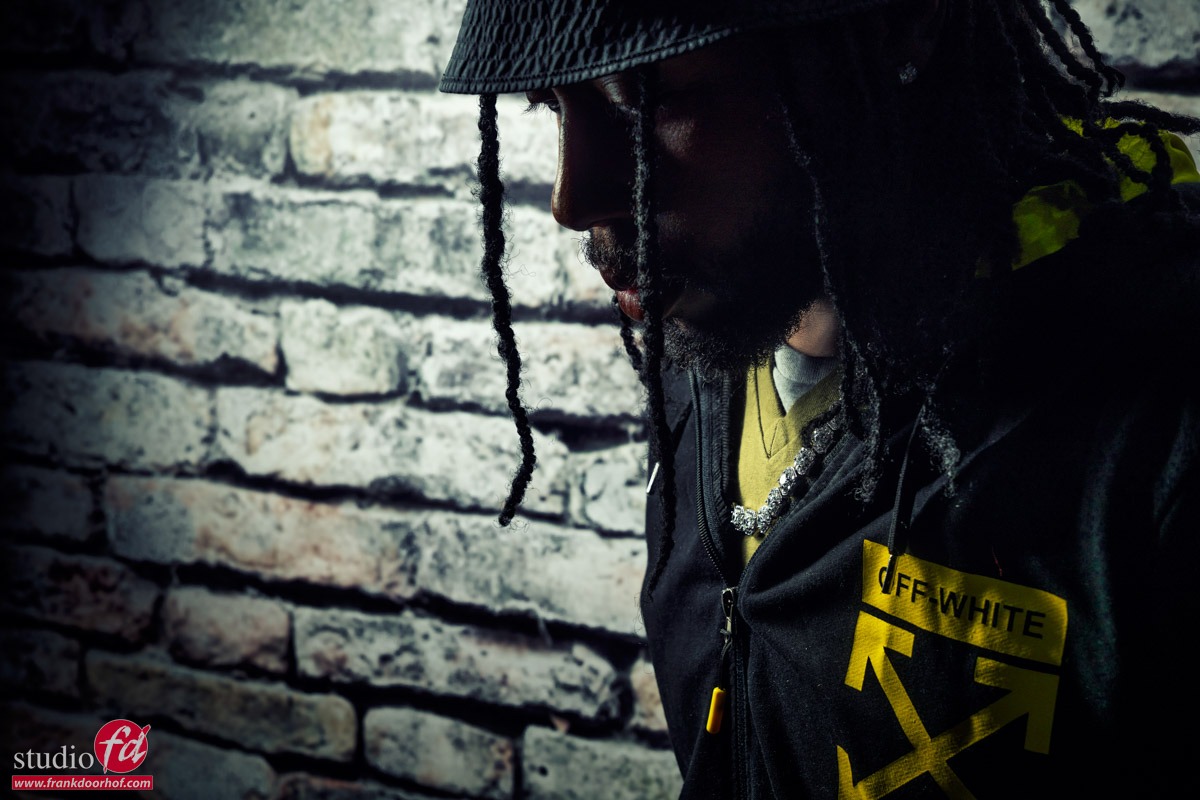
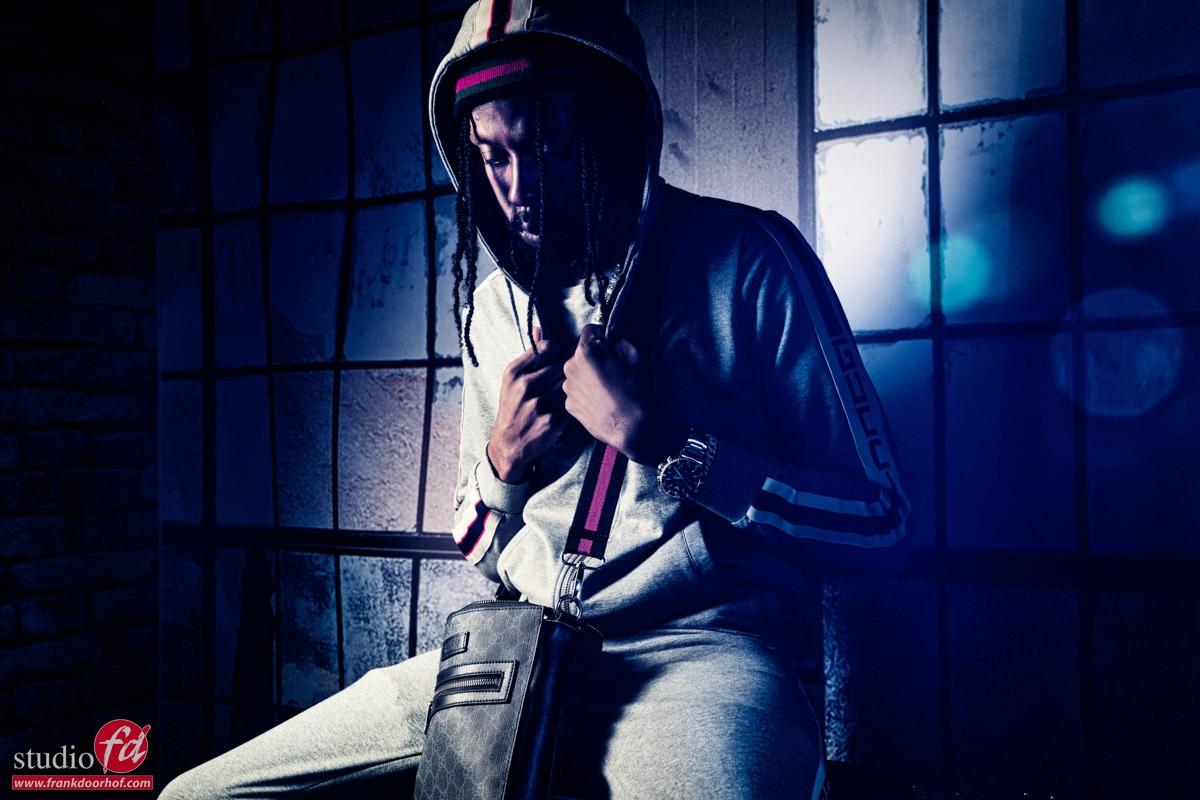
Also many thanks to Tion who did his best with loads of different outfits and never too tired to pose for me or the attendees. This day was a bit more quiet on the show so I had some more time to shoot, so sorry for the many images 😀
It’s always a challenge to shoot images during a trade show, but with a set like this and a great model it becomes a lot more easy.
Do you want to build a set similar to this?
Check out our professional quality backdrops at www.clickbackdrops.nl
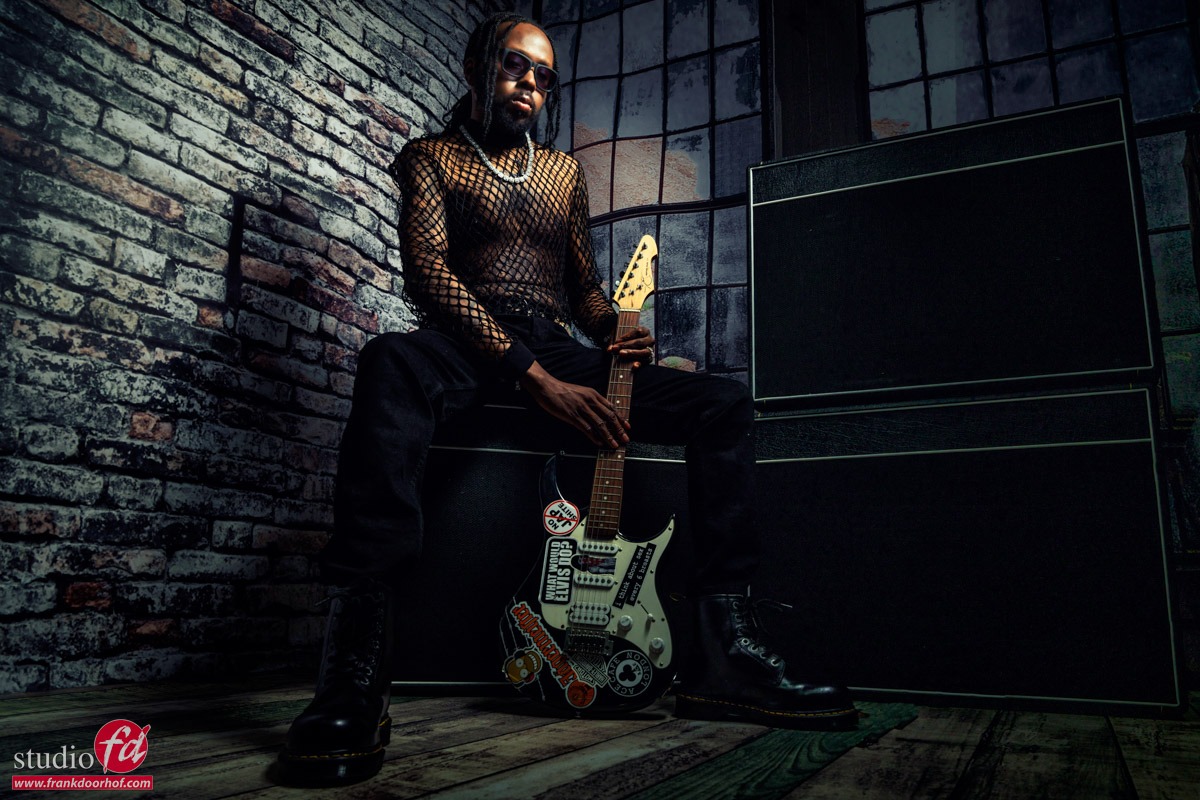
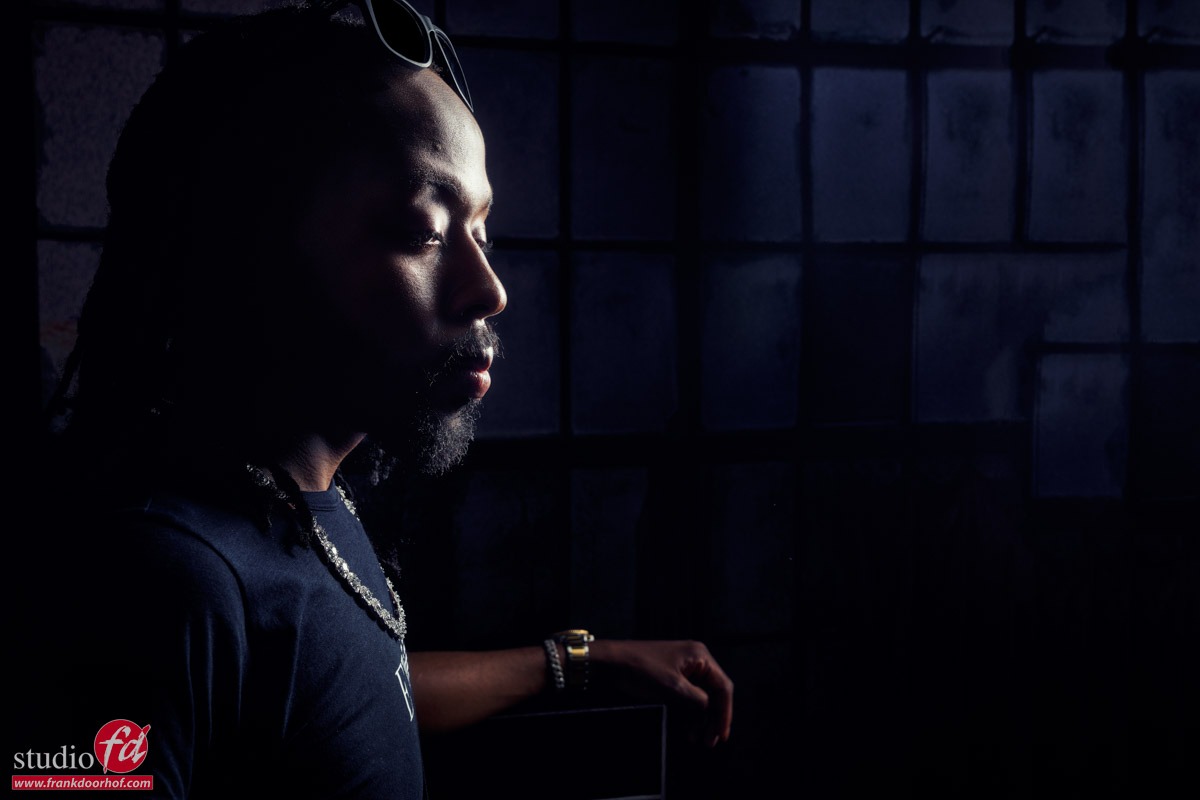
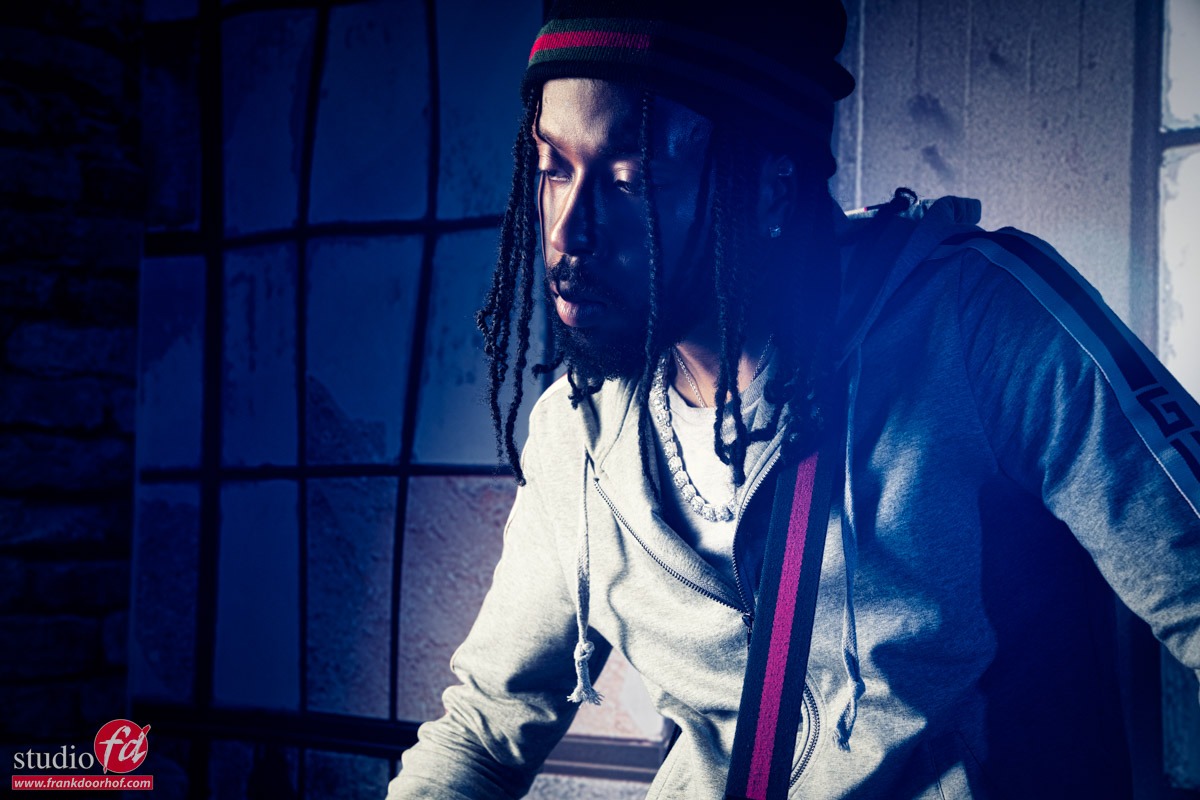
Here I placed the striplight close to the wall for some nice side lighting.
I always love this setup and with Tion it worked extremely well.
Finally I added a Geekoto GT200 with the Rogue magnetic system and a blue gel in the back, and use the Geekoto striplight as mainlight for some final more moody shots.
https://frankdoorhof.com/web/wp-content/uploads/2024/06/Tion-Clicklive-69-June-25-2024-Edit.jpg8001200Frank Doorhofhttps://frankdoorhof.com/web/wp-content/uploads/2015/03/studioFD_Logo-1FV.pngFrank Doorhof2024-07-02 18:00:442024-06-30 12:59:48ClickLive event 2024 Results from Day 3 with our amazing model Tion


You must be logged in to post a comment.