It’s very important
as a photographer to be able to get images that are fitting the client y0ur shooting for.
This can be a product, a model, musician, landscape, building etc.
One of the coolest things about photography is that besides just taking a picture we can do so much more.
I remember Peter Hurley telling me that a good headshot photographer will determine if someone walks the red carpet or ends up at at fast food chain, and in all honesty, he is right for a great part.
When we hired personal we always looked at the photos.
When our son Brian wanted to get a job I had to drag him into the studio to create a cool shot with some lens flare, low angle, arms crossed, rolled up sleeves etc.
He got the job right away.
The trick is very simple.
People get a lot of applications and some will jump out and some not, and no body wants to spend too much time for a lower position so having a photo that really jumps out and showed he was tall, ready to work. And by adding the red color I knew for sure the image would jump out.
Now this is not something I would shoot for a manager wanting to get a job in the higher management sector.
In other words
Always dive into what you shoot
For me it’s always a challenge to get images that are 100% the “soul” of a company, the “character” of a person or the “mood” my client wants for a product.
Photography for me is only a small part of an assignement, talking and of course getting people at ease is a vital part.
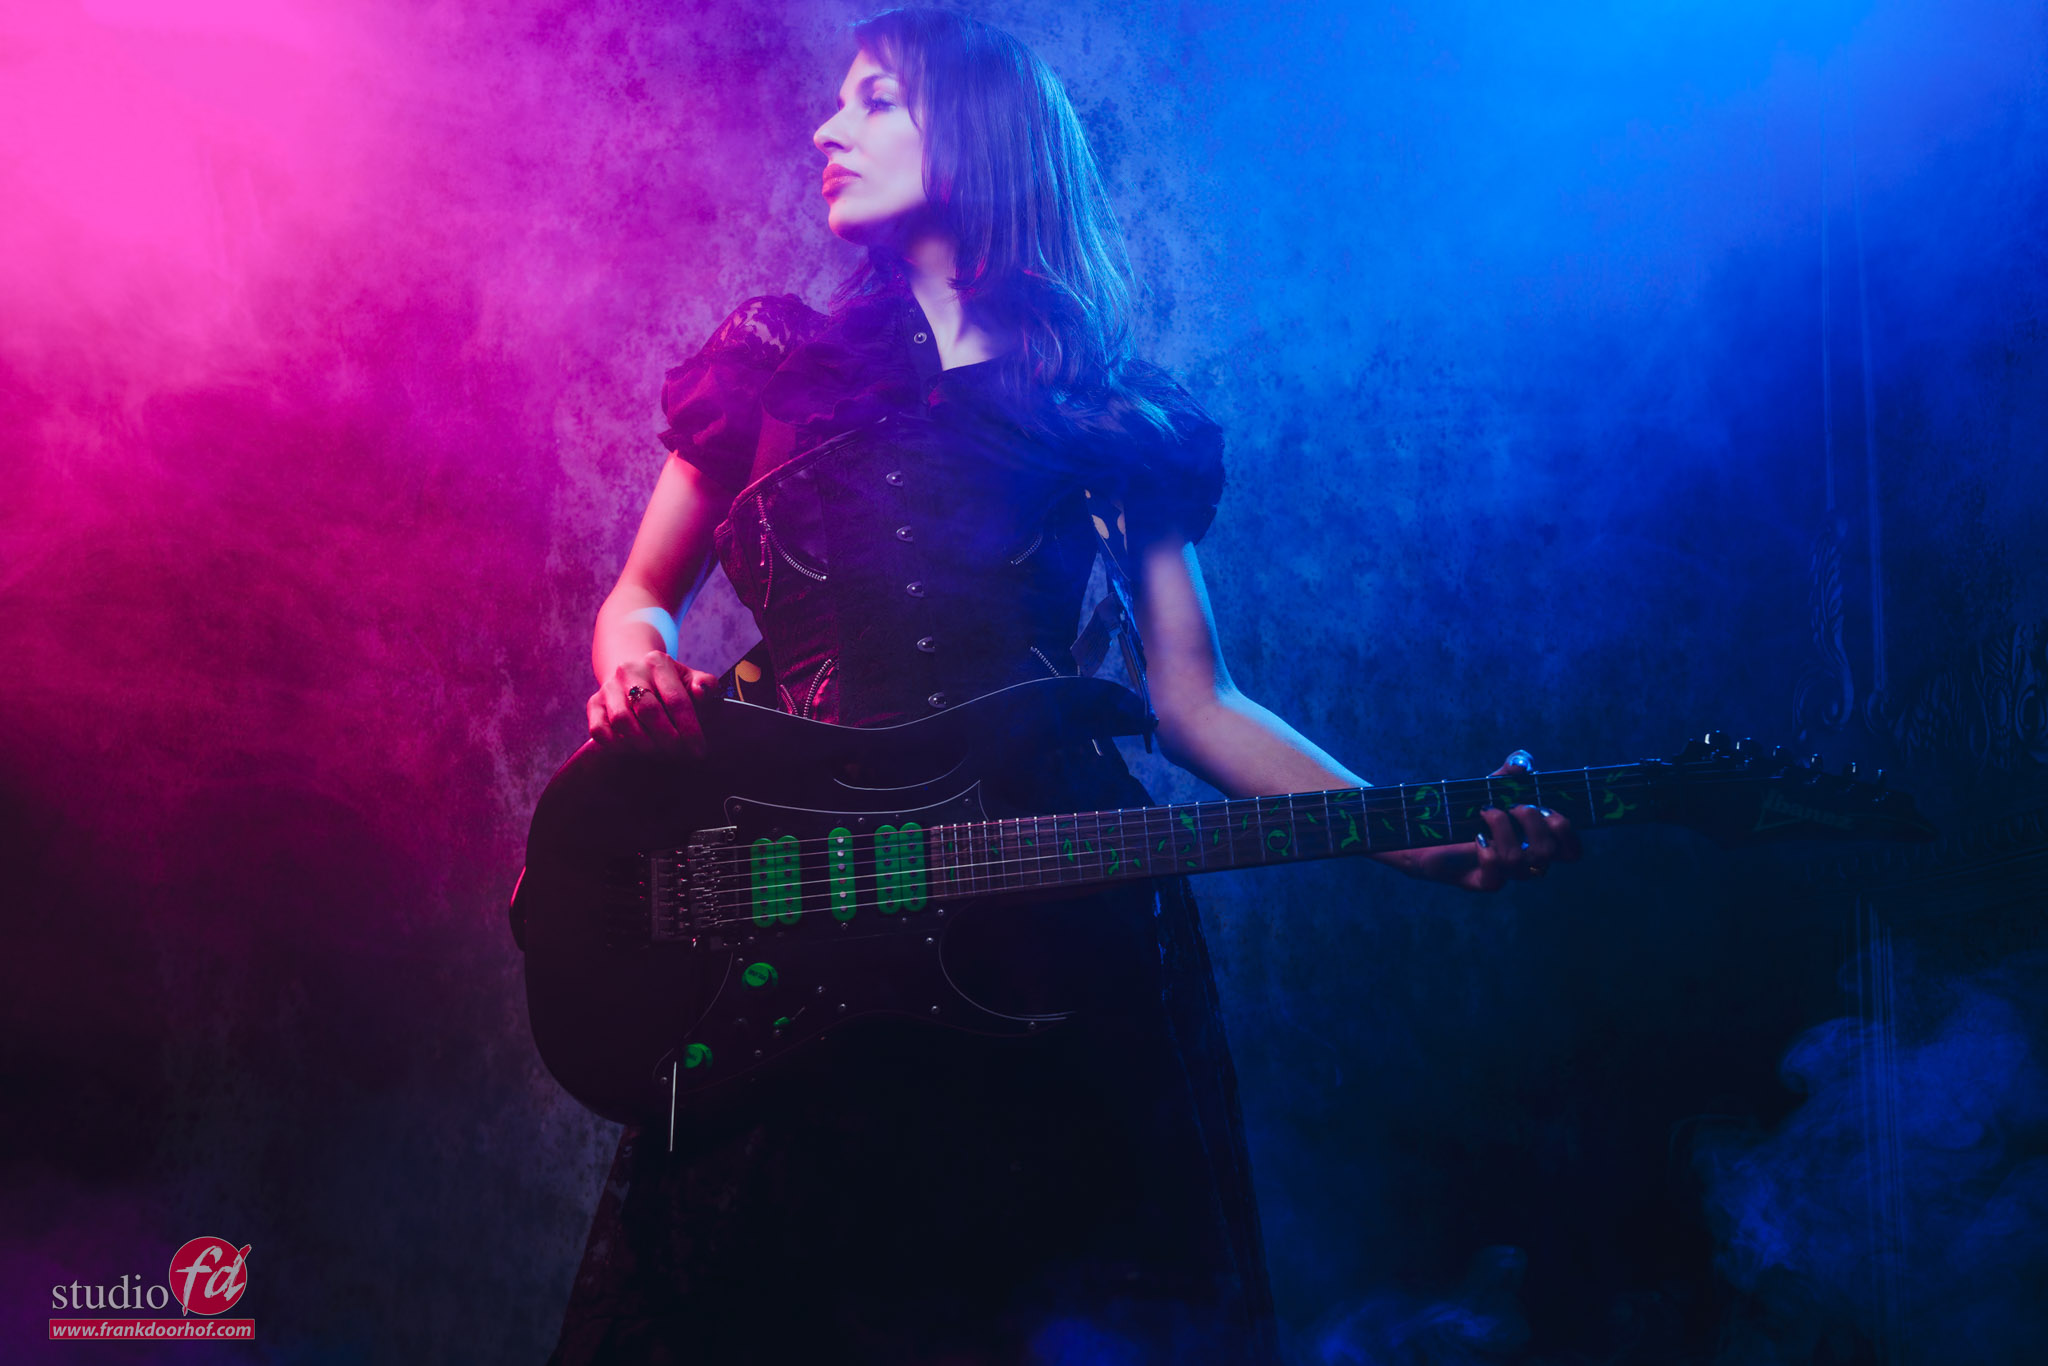
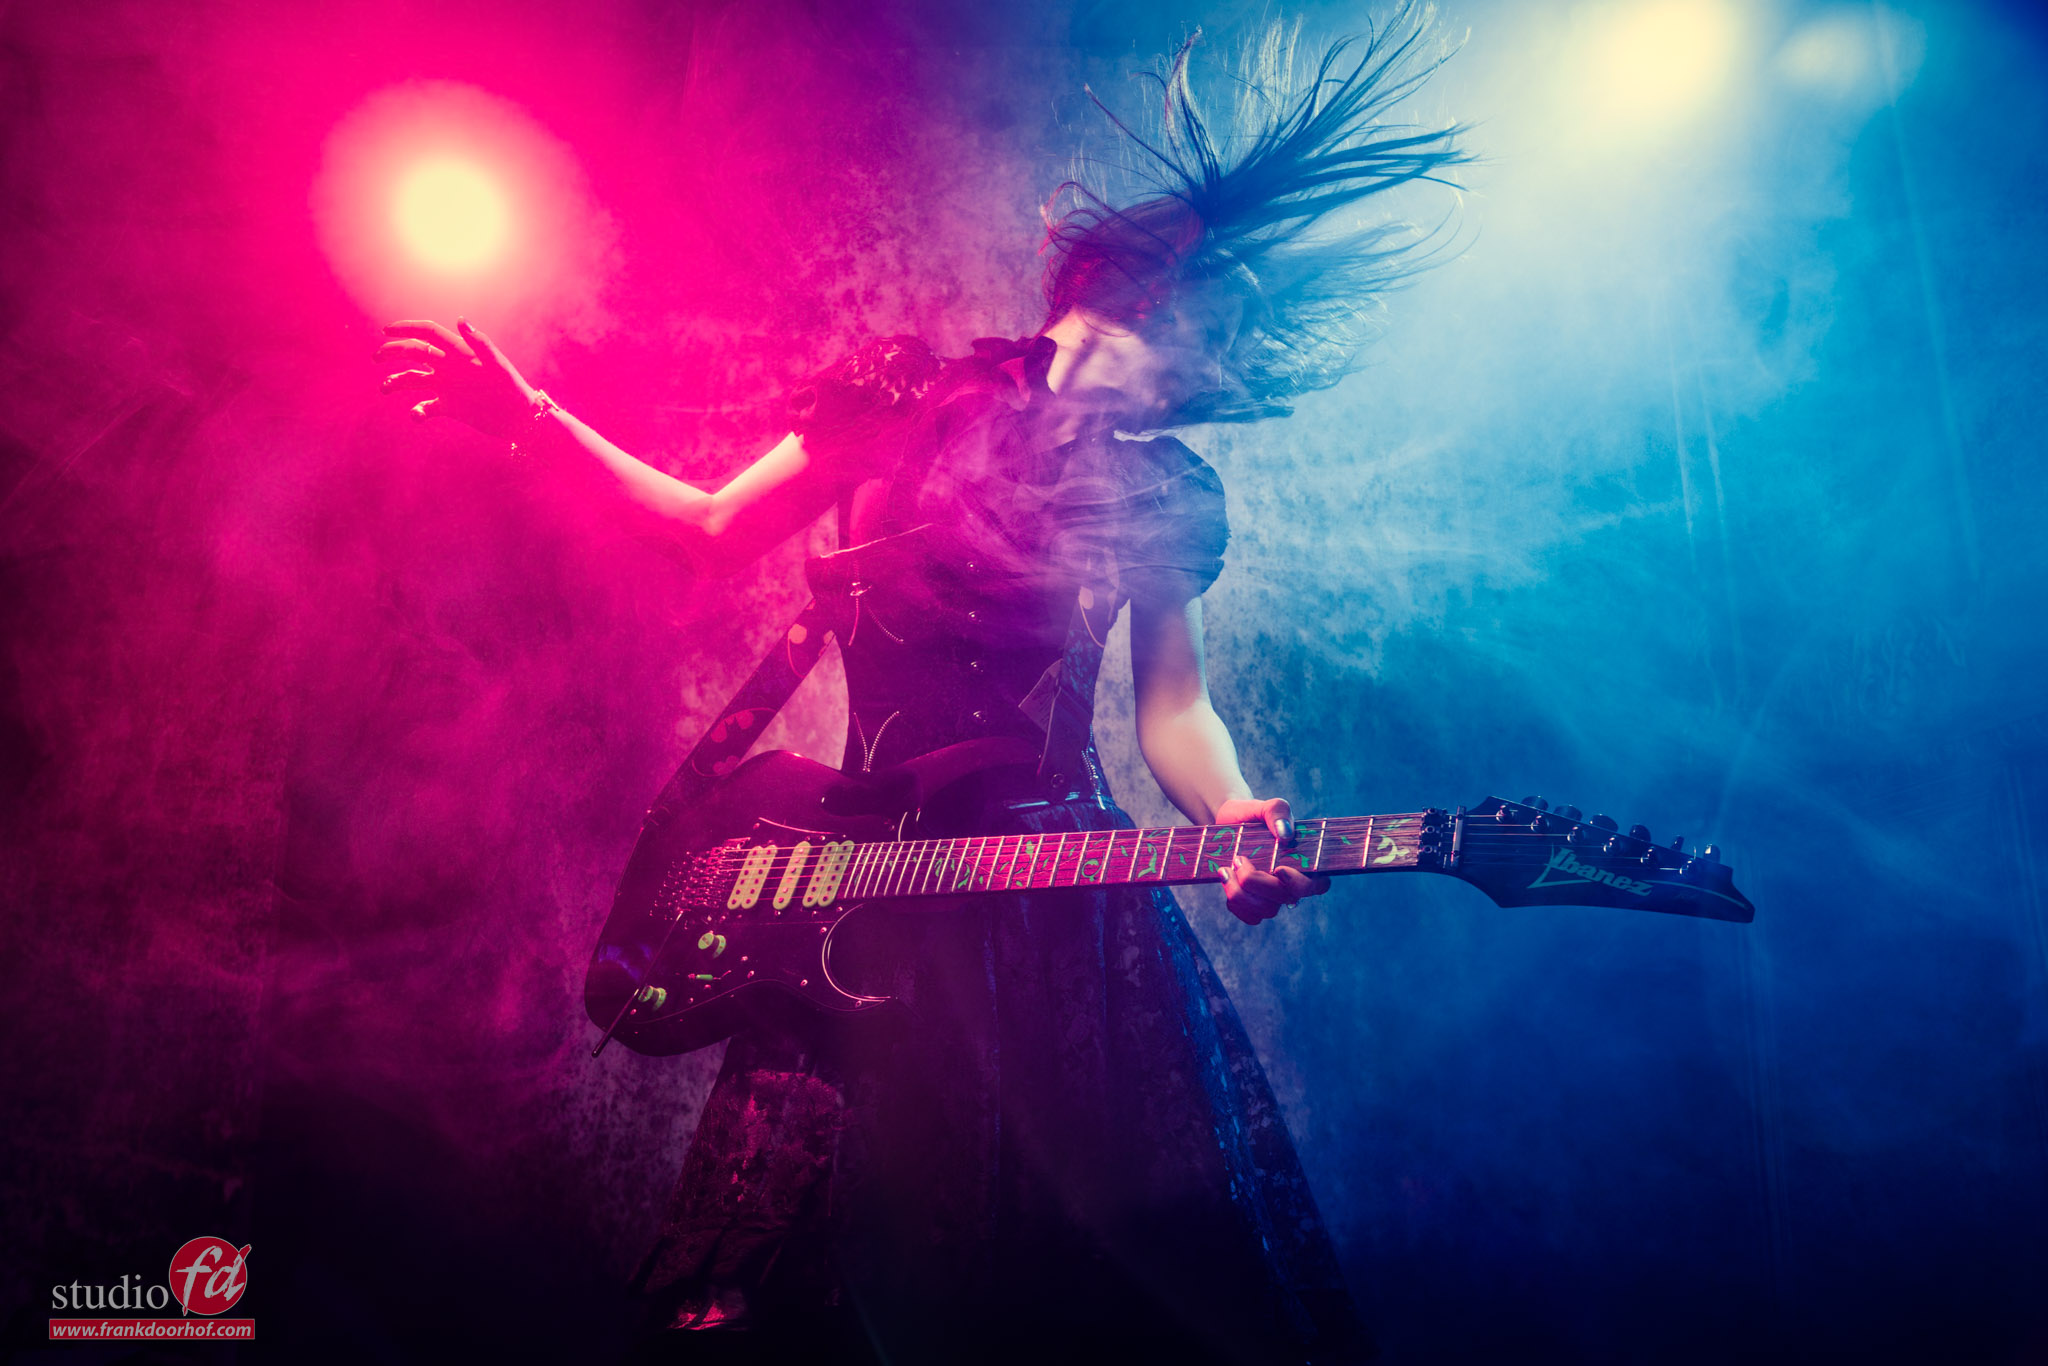
During the workshops I always try to experiment with different lighting setups, props etc. But I also give a lot of attention to topics that are important to get the mood your client wants. And because I love using my own guitars in workshops sometimes I thought it was a great exercise to see what you can do with the same setup, same lighting, same model etc.
Of course we have some limitations.
First off all it’s all the same setup and model. But still I think you will be able to get a different vibe with these shots.
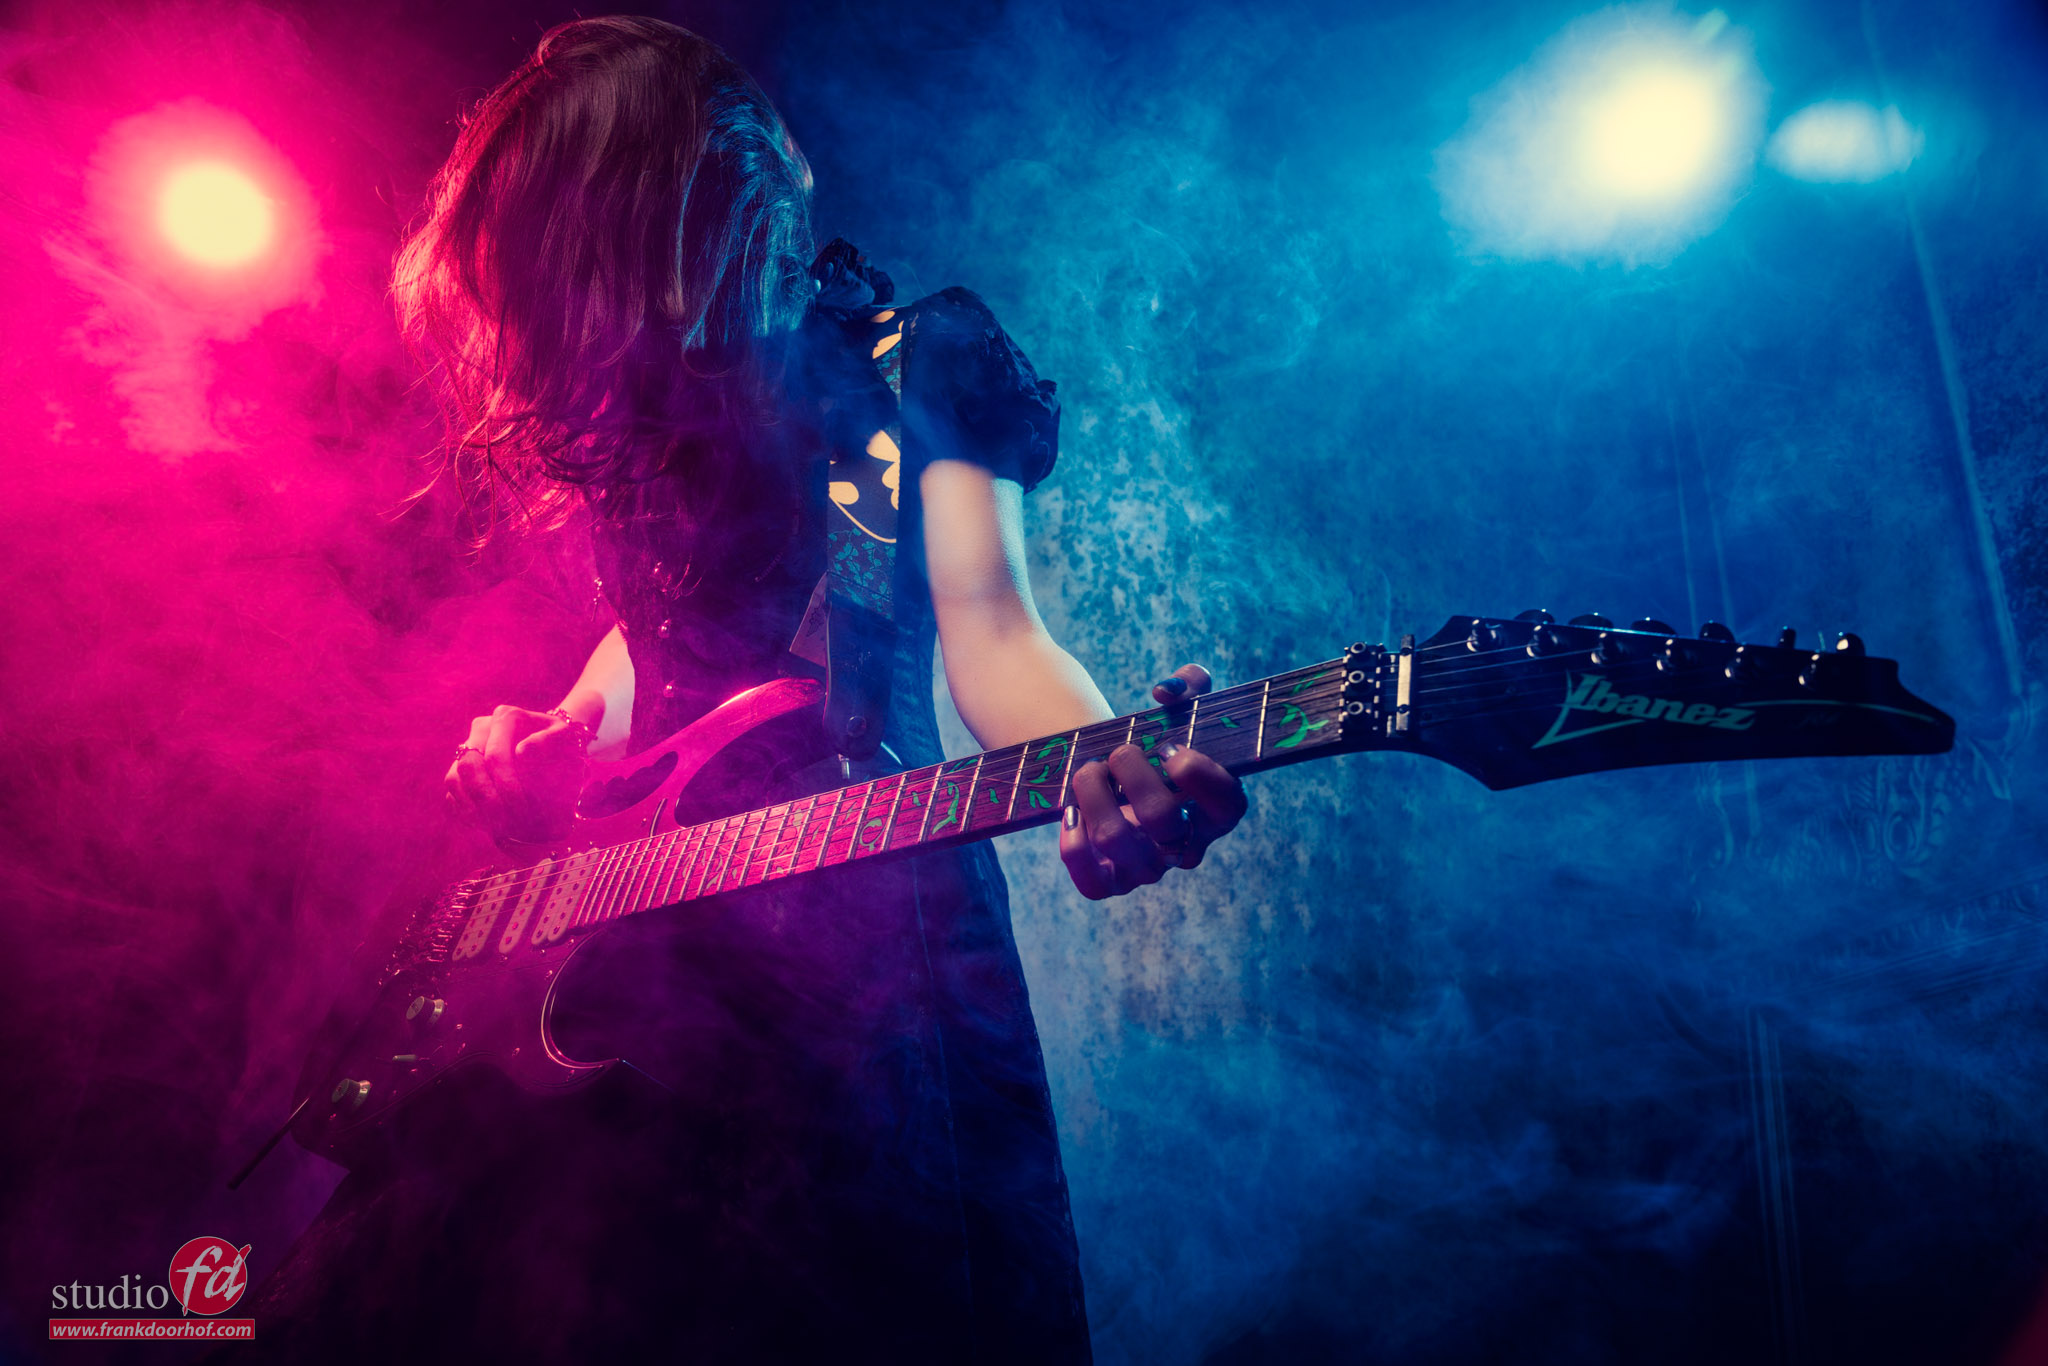
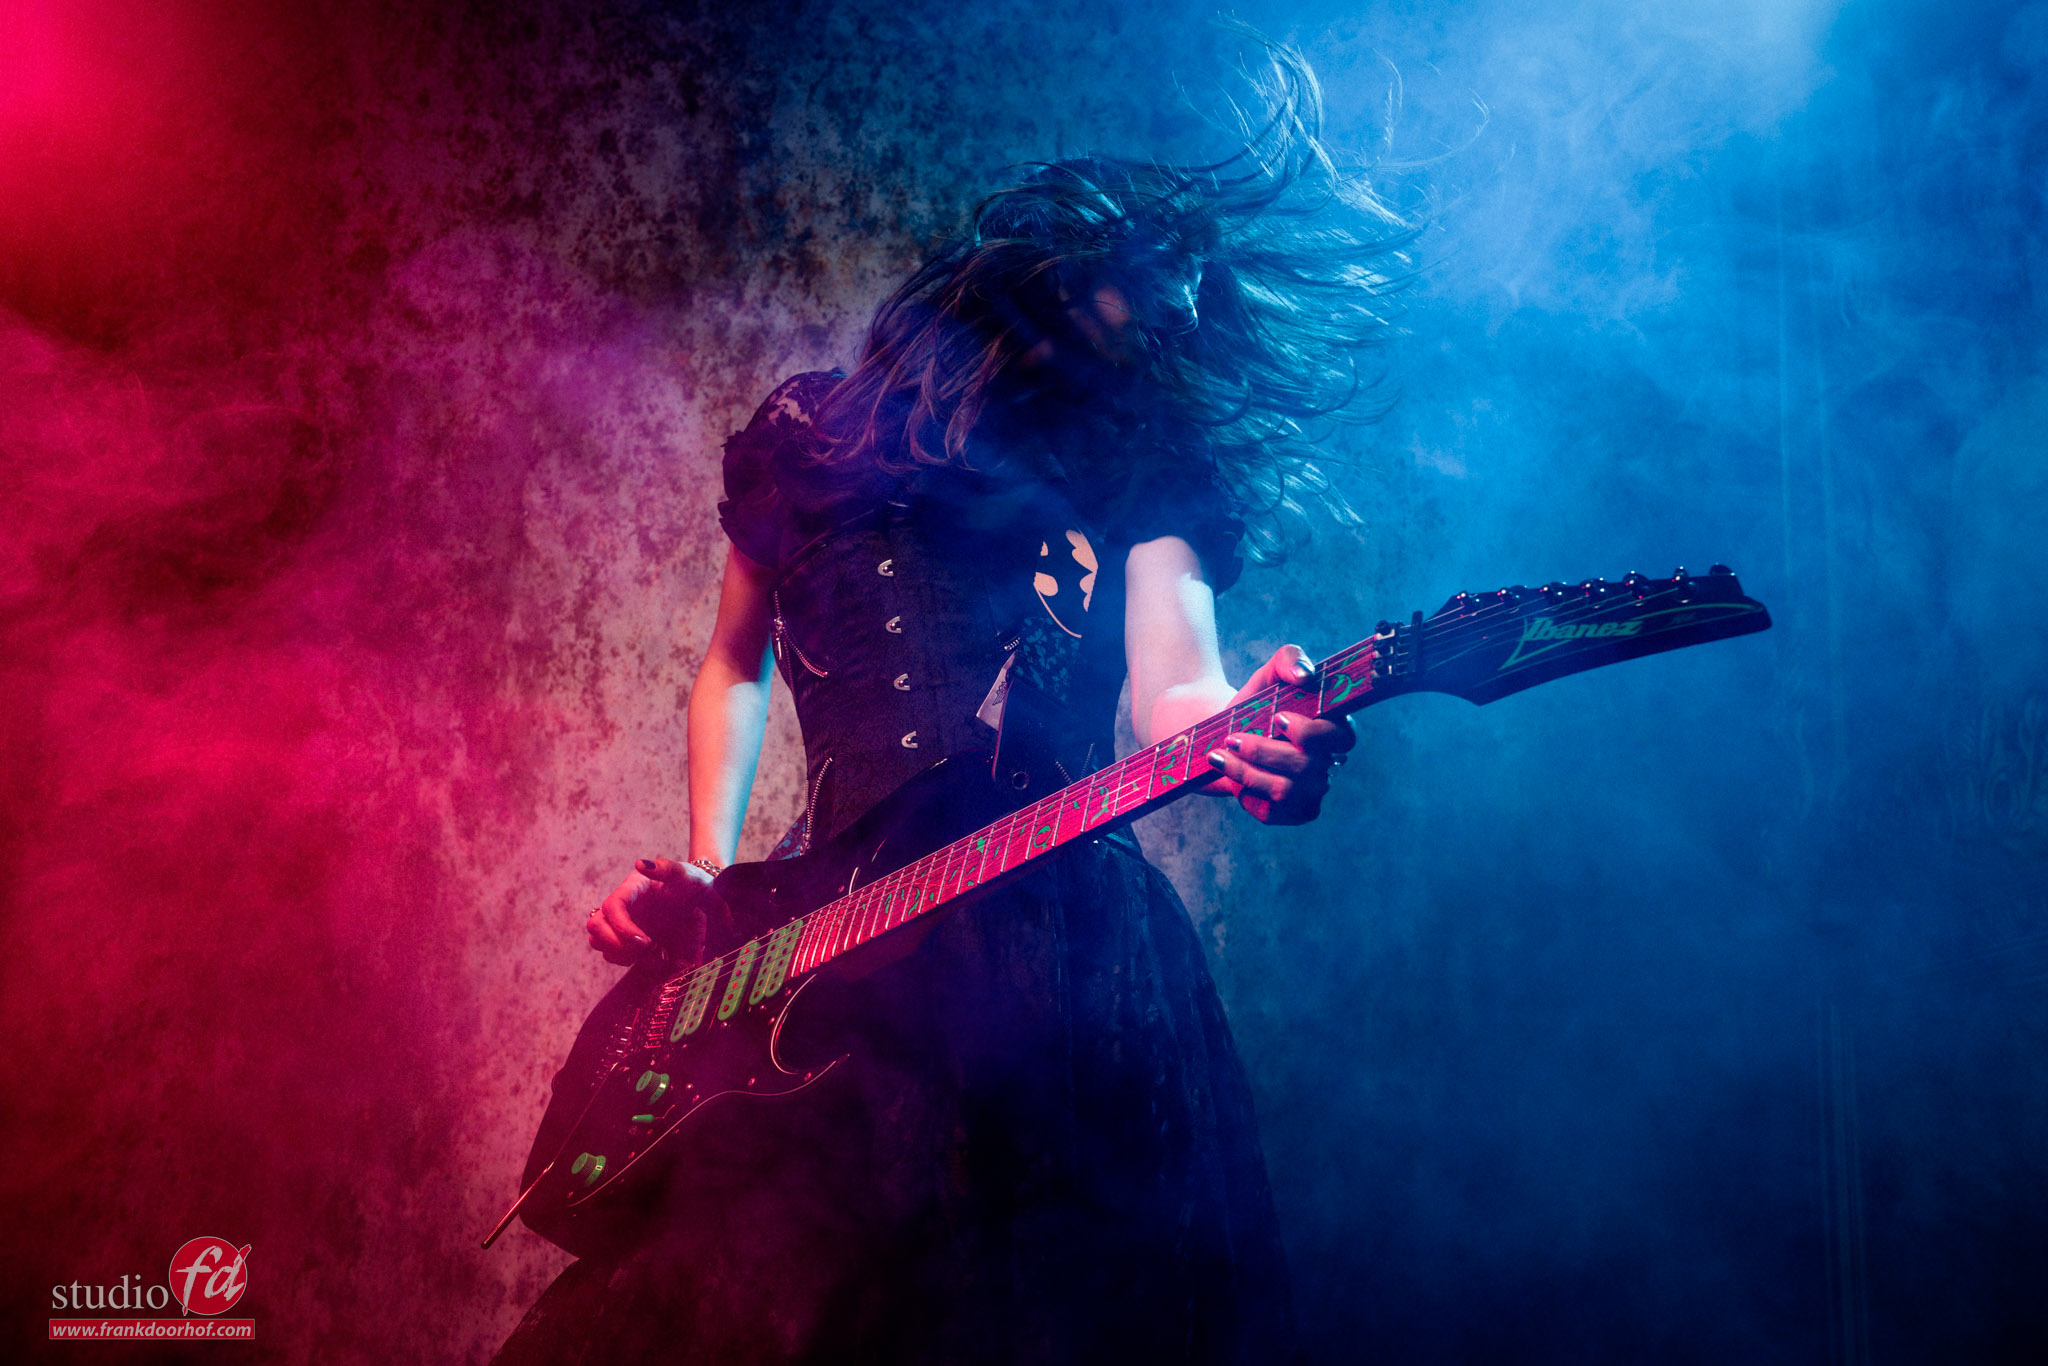
Some are aimed at more rock, some are more metal and maybe you spot the nu metal and progressive version.
The only thing that was changed is the pose of the model, the angle under which I shoot and of course the length of the lens. A wide angle will render a scene completely different than a longer lens that will compress the scene.
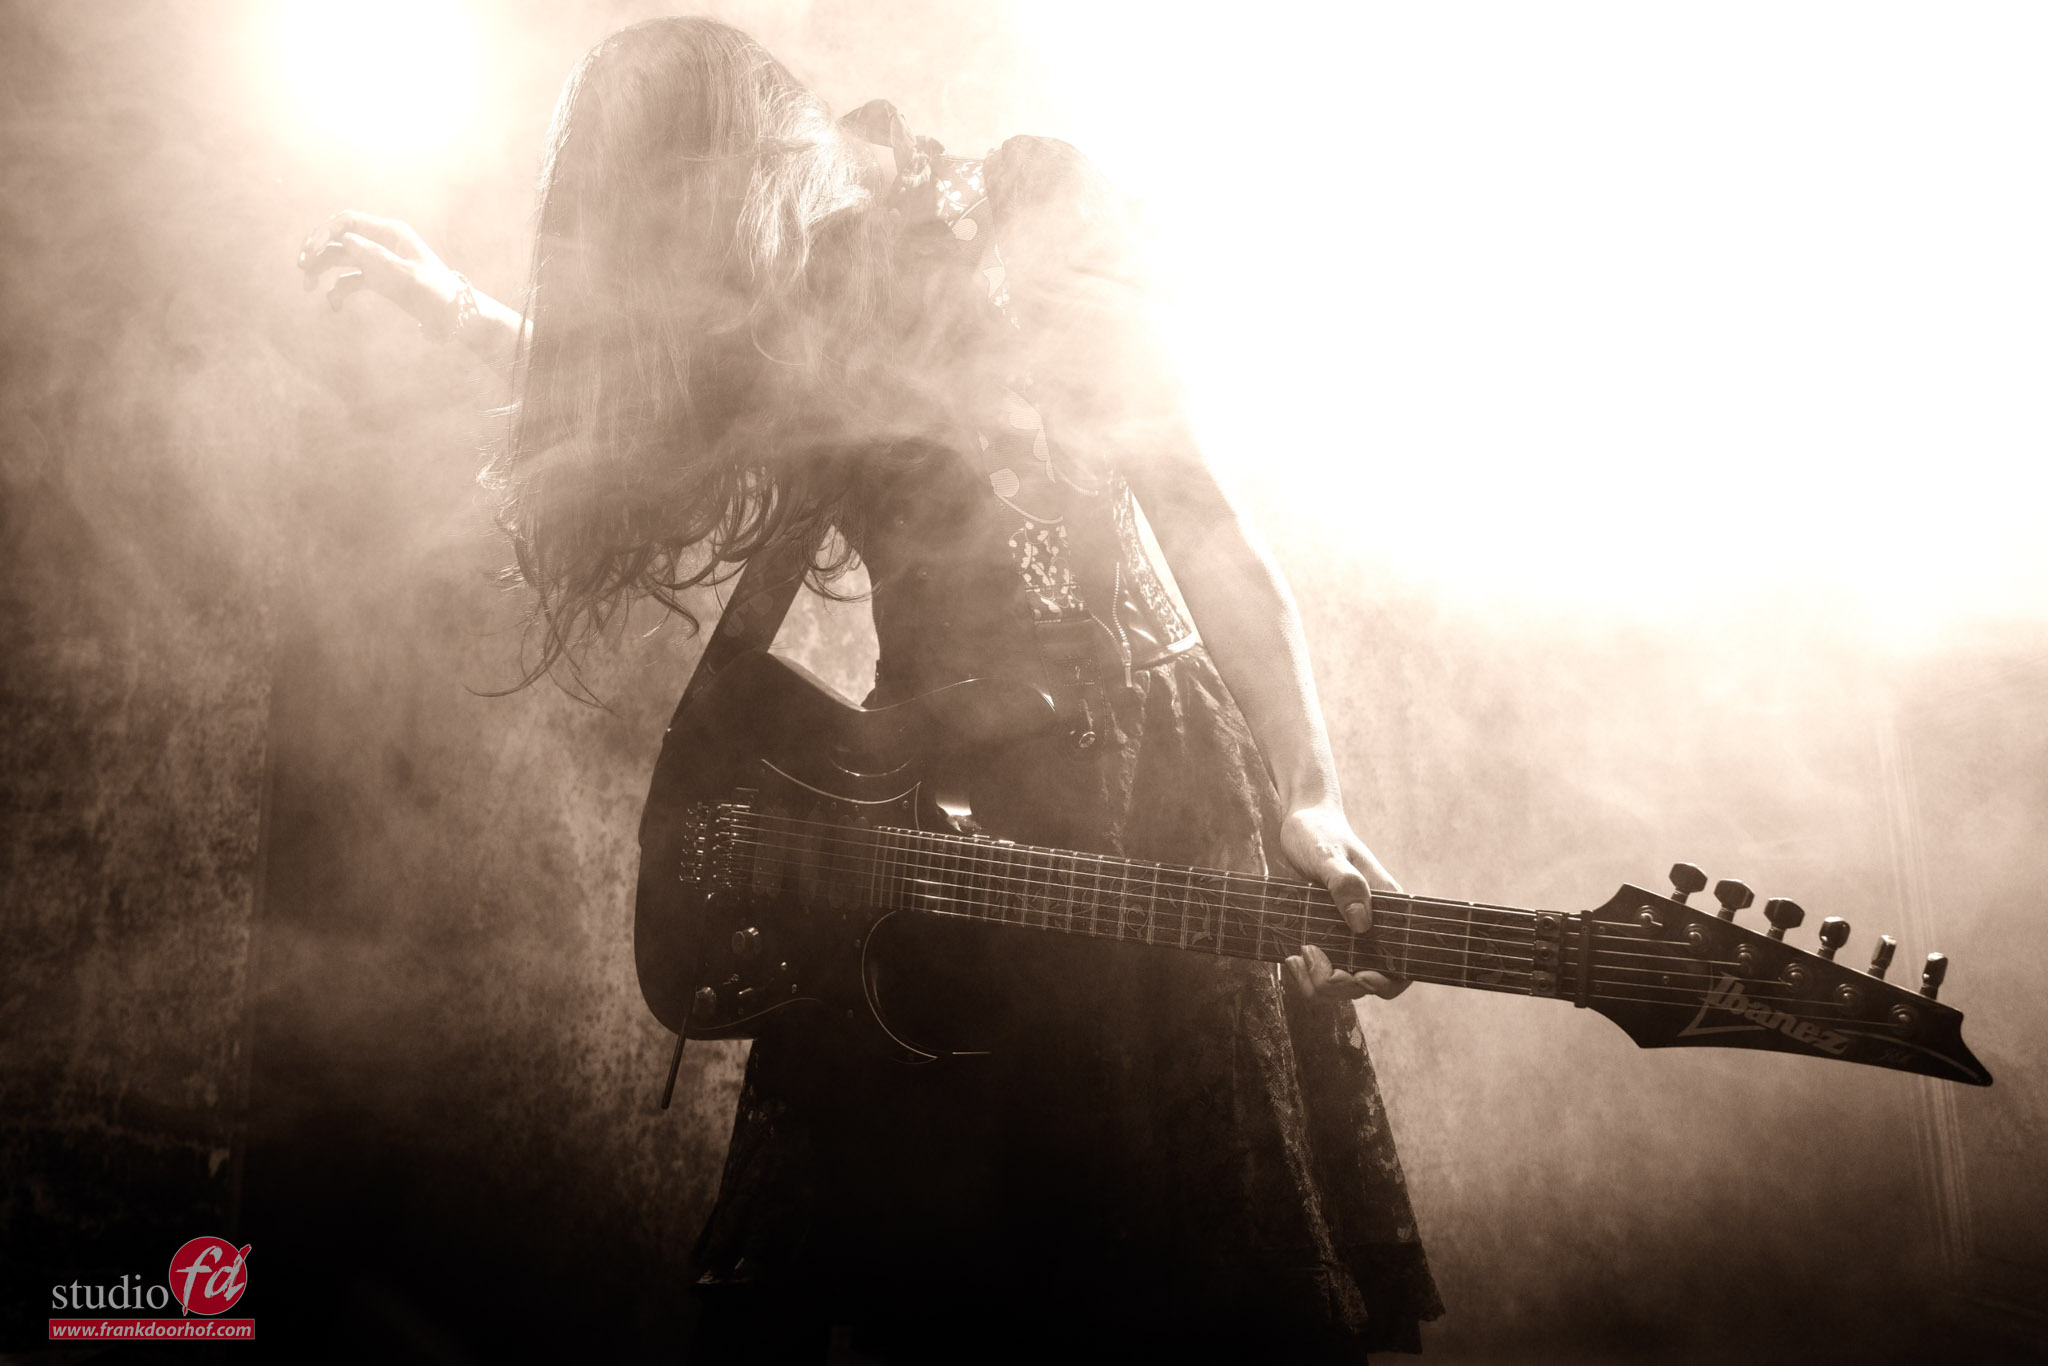
In the retouching I did try to keep the looks pretty similar, with small changes (except for one).
It’s a fun exercise and something you can easily try yourself.
Here are my versions.

Like this:
Like Loading...


You must be logged in to post a comment.