Frank Doorhof
  • Blog (articles)
  • Rent our studio space
  • MAIN SHOP
    • MAIN SHOP
      • Orders
      • Account details
      • Downloads
      • Addresses
      • Lost password
      • Cart
      • Checkout
      • Terms webshop
      • Return policy
      • Privacy Policy
      • Privacy Statement in3. Dutch customers only. When you want to pay in 3 parts
  • IQwire Tether Cables
  • Rogue Modifiers
  • Geekoto Flash and Modifiers
  • Platypod
  • Click Backdrops
  • PORTFOLIO
  • Learning with Frank
    • Dutch workshop agenda
    • Workshops
    • A Year With Frank
    • Online 1:1 workshops
    • 1:1 workshops in English
    • Portfolio review by Frank Doorhof
    • Patreon
  • Support our work
  • Merchandise
  • Digital Classroom LIVE
  • Our YouTube channel
  • Biography Frank Doorhof
  • Services
  • Discounts etc
  • I need help
  • Menu Menu
  • Shopping Cart Shopping Cart
    0Shopping Cart
  • Link to Facebook
  • Link to X
  • Link to Youtube
  • Link to WhatsApp

Tag Archive for: continuous lighting

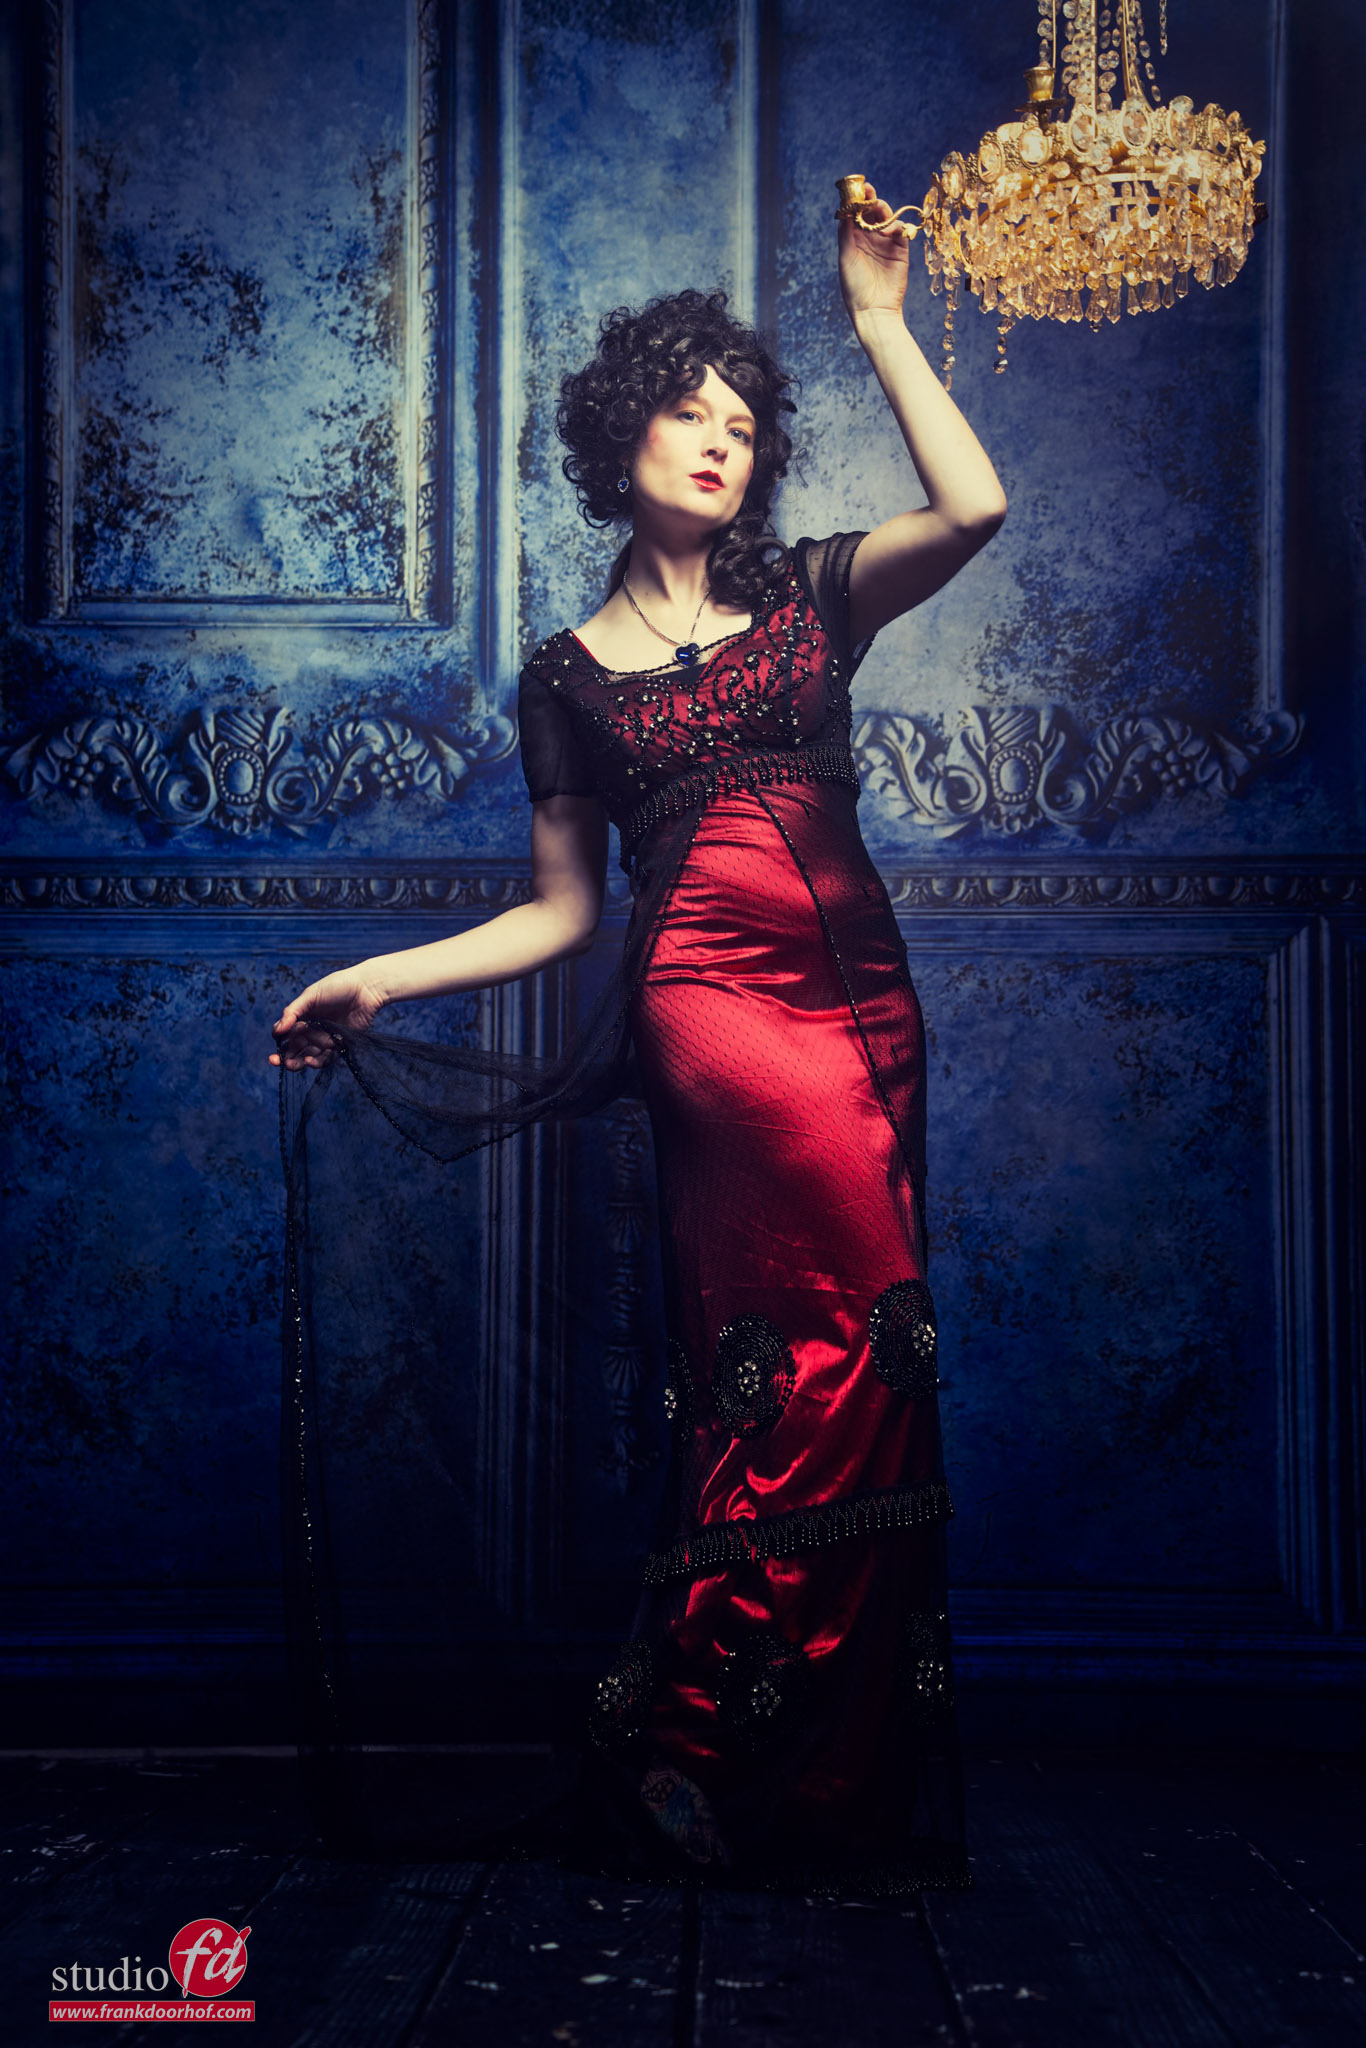
Mixing strobes and a chandelier

23-02-2026/in blog, Visions and technique/by Frank Doorhof

A chandelier is always fun

You can get them pretty cheap at flea markets, or maybe you still have one somewhere in an attic.
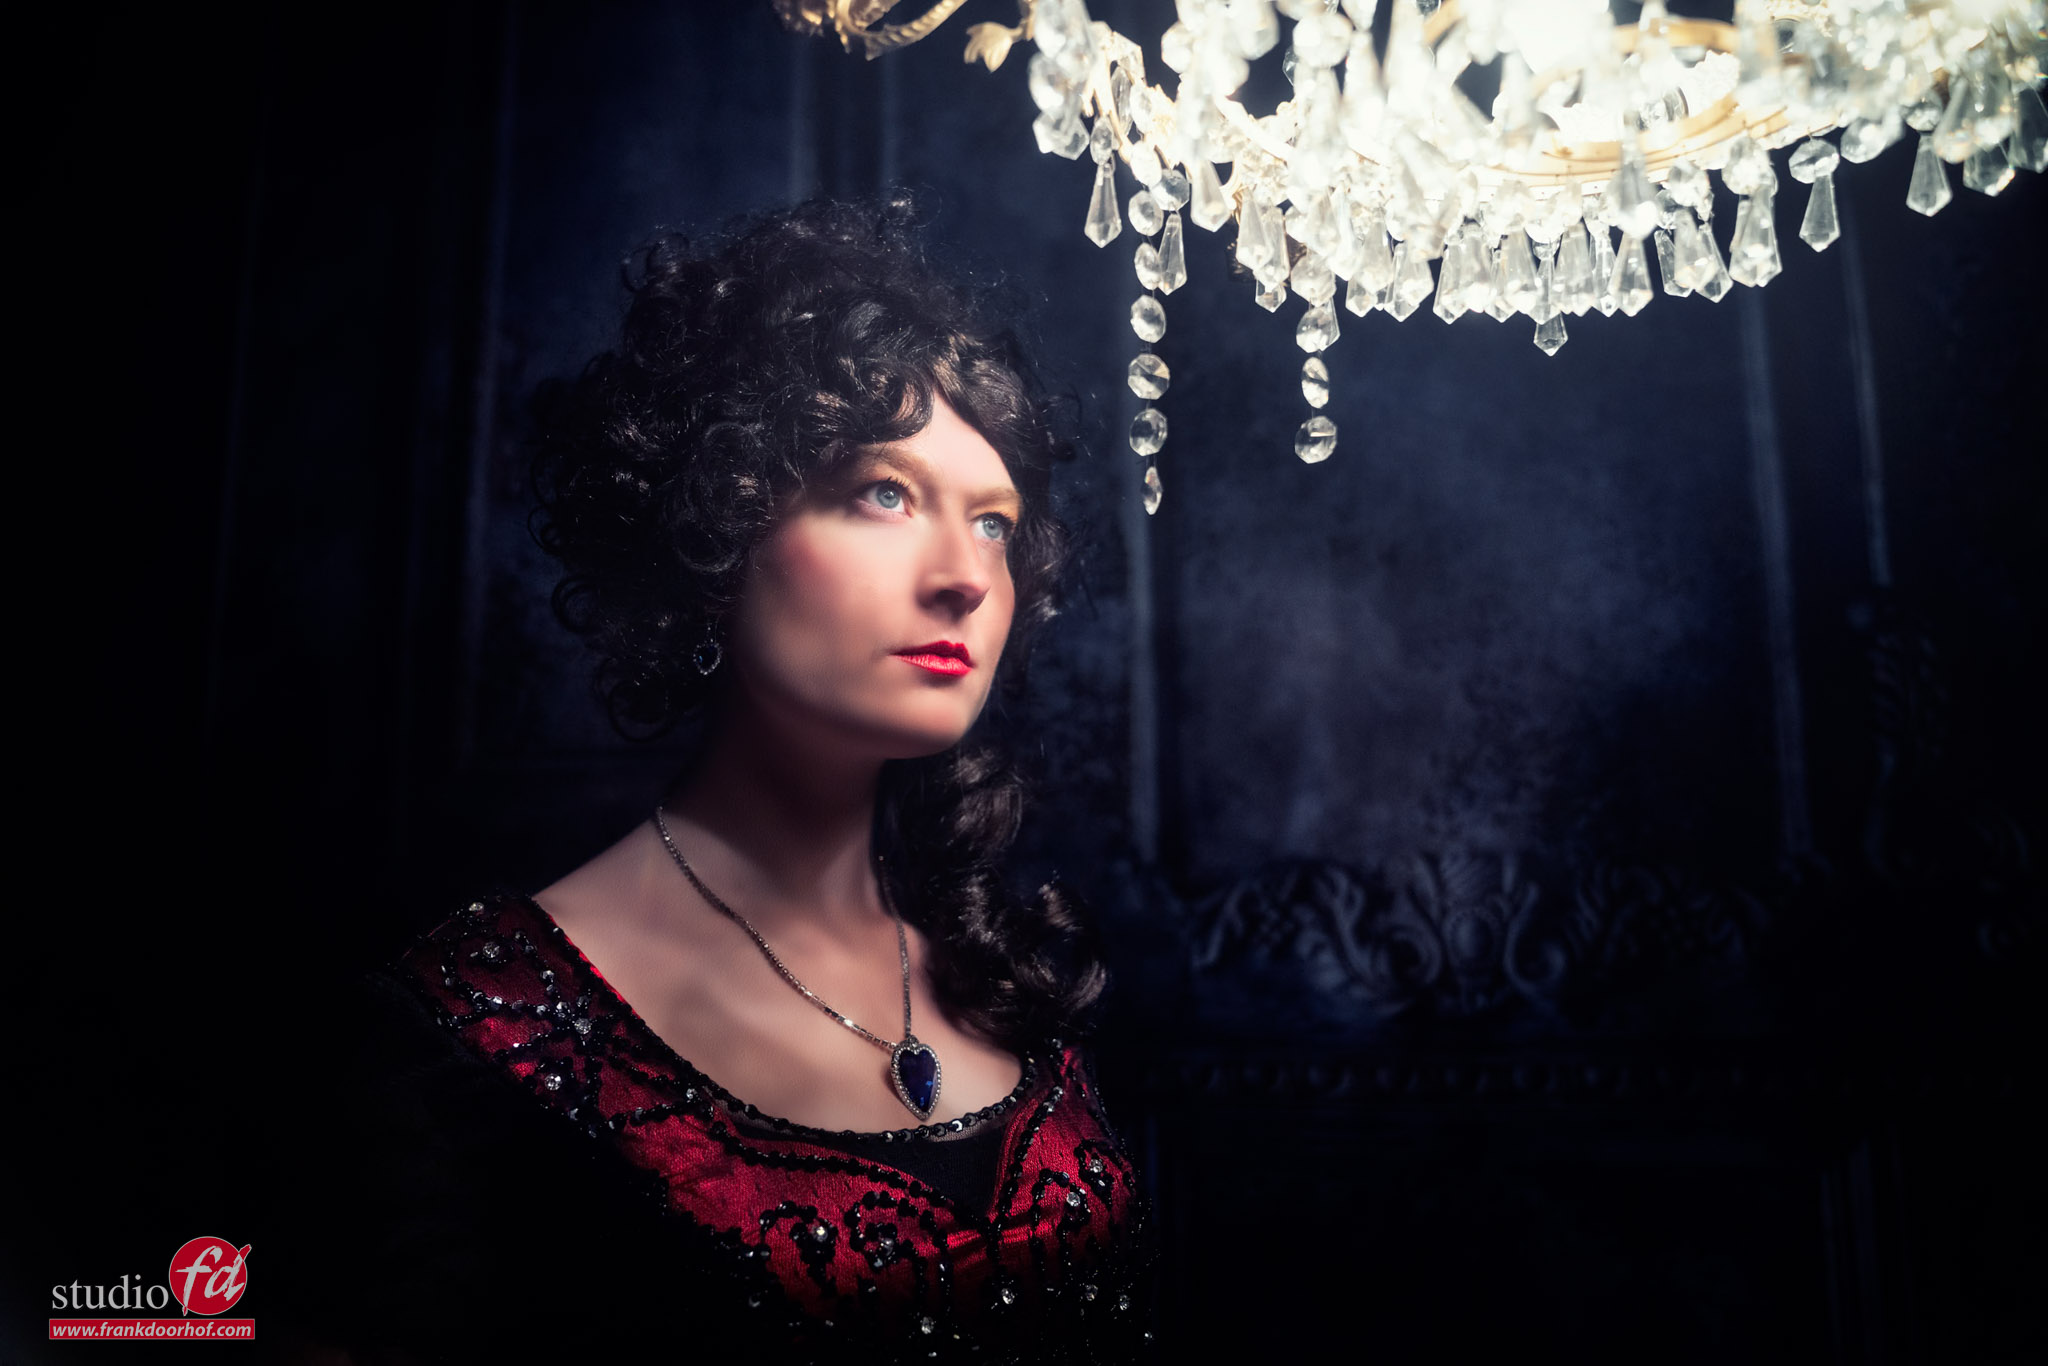
We have a small collection of chandeliers in our studio, and sometimes during the workshop,s we take one (or several) out to spice up a set. And today we are doing the same. Some pictures of the workshop, Mixing lights

But how can you easily shoot a chandelier?

Or any other continuous light source when combining it with strobes?
The whole process is actually pretty simple, but there are several routes.

First, there is the option to shoot it without strobes.
In that case, I would place the chandelier as close as possible to the model to make sure the chandelier doesn’t blow out, but still has enough light to light your subject. Plus, by placing it closer to the model, the light fall off is much nicer.
You can get an effect like this quite easily.
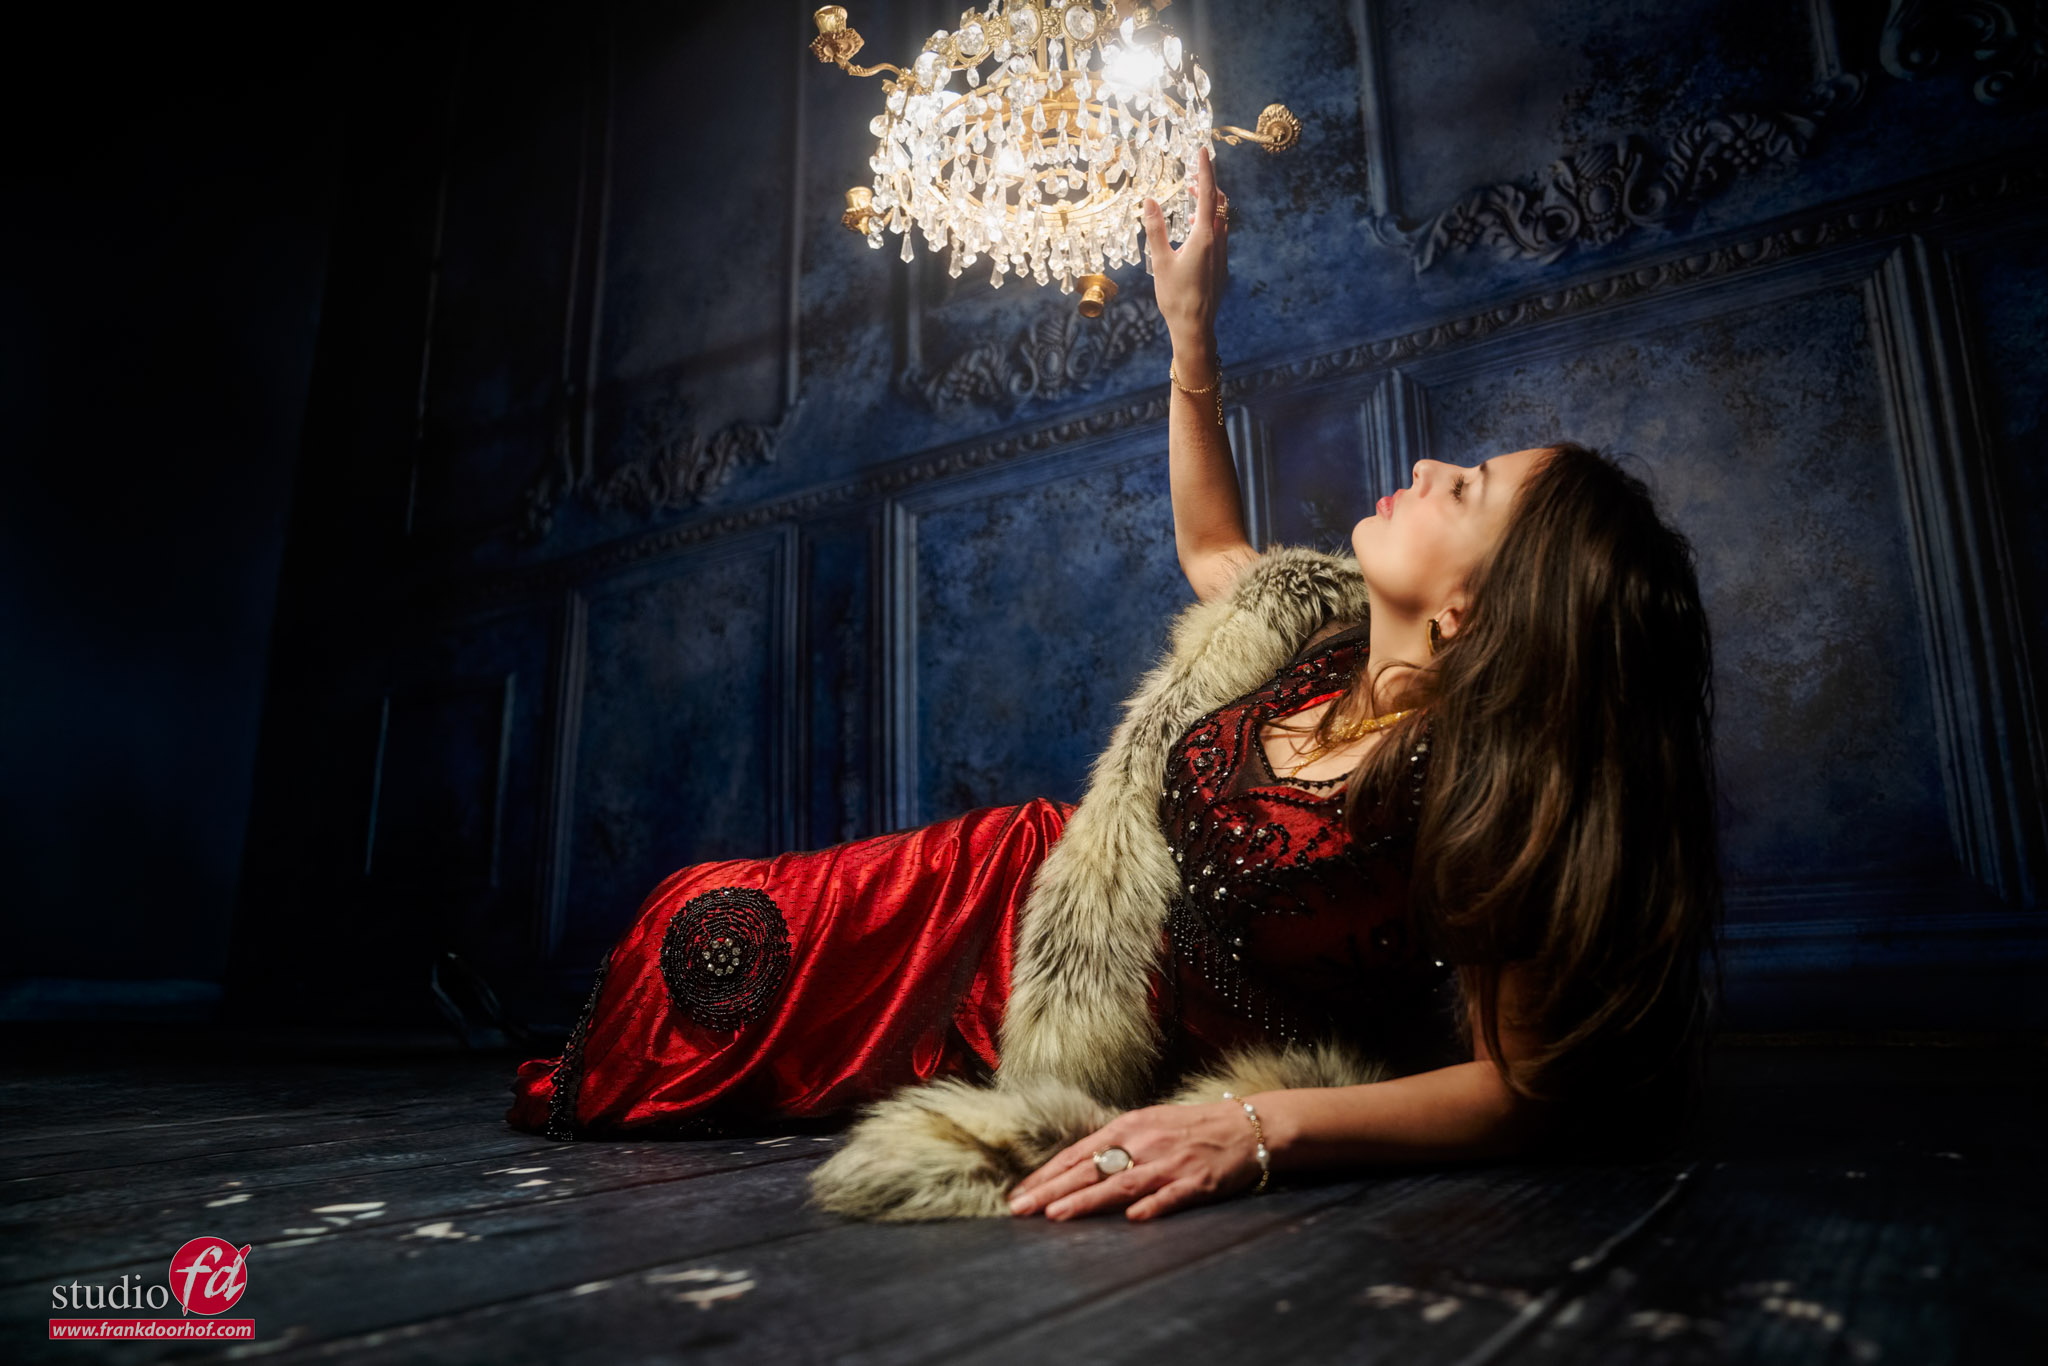
mixing lights: a chanelier and strobesThe only thing I do with an image like this is lower the highlights in the chandelier.
This is very easily done in Lightroom, and it might surprise you that if you place the chandelier in the correct place, you don’t even need a lot of adjustments.

But today we are mixing lights: a chandelier and strobes

Well, ok, one strobe.
When we combine a strobe with continuous lighting, you always have to take a few things into account.

ISO: the sensitivity of the sensor, higher means more noise.
Shutter speed: how fast you “freeze” the frame; lower means a greater chance of blurry images
Aperture: the wider the aperture (lower number), the more light enters the lens, and more shallow depth of field.

Continuous lighting: builds up over time; there is no limit to shutter-speed, as long as you can handle the camera (or use a tripod)
Flash/strobes: a flash of light, that is there for a fraction of a second (the flash duration) and is gone after this.

The problem with strobes is that we have to deal with something called the X-sync. In short, this is the maximum shutter speed you can use without seeing a black bar in the frame.
For most cameras, this is 1/125. This is also why we often take this shutter-speed as the standard maximum in the studio.

There is a new system from Sony where you can shoot at every shutter speed.
HOWEVER, do take into account that if you shoot at a higher shutter speed than your flash duration, this will cut your light output.

Steps to make it work

I think it’s clear that the chandelier/continuous lighting is the light source with the least output.
Also, we cannot change the output of the chandelier. You could use a dimmer, but this will only result in less light. So, we don’t want this.
This means we are basing the whole image on the output of the chandelier.

What you can do next is use your EVF in “lighting emulation mode/setting effect” and see how you like the chandelier.
Because we are using strobes, it’s not important where the chandelier spreads. It’s only important that we get the nicest looking chandelier. So, I personally like it when it blows out just a little bit around the lights and gives a slight glow, but you can still see all the details.

When we use the chandelier without strobes, you can correct this with the highlights slider. But with strobes, let’s try to get it right in camera.
Now my advice is to set it up as dark as possible, so you can see every single detail.
My own workflow is that I choose the aperture first; in most cases, this is wide open for the lens I’m using.
I will fix my shutter speed on 1/125 and now change my ISO till I get the result I want.
If I already see the ISO is getting too high, I will lower my shutter speed. I’ll explain in a moment why this is important.

Add strobes

When you have a shot you like, it’s time for the strobes.
Probably the whole set will be dark with just a floating chandelier.
But you now know the aperture, the ISO, and the shutter speed (which is not important for the strobe, as long as it’s below 1/125)
So get your lightmeter and set up your meter to meter the light, and the only thing you have to do is set the meter to the ISO you selected and adjust the strobe till it hits the desired aperture. You now have a perfect 1:1 mix.

And now the fun part.
Because we are shooting with strobes, most of the model will be frozen by the very fast flash-duration, the chandelier doesn’t emit a lot of light so infection on your model is minimal. You could even make your model move around and freeze the motion.

When you use continuous lighting that is too strong, you will see some slight ghosting around your subject. This is literally the build-up of the continuous light combined with the strobe, which, of course something we don’t want and is often a problem when shooting with strobes in the sun and freezing motion on 1/125. Here, HSS can be a great solution.

Mixing lights: not enough light from the chandelier

And if you feel the chandelier doesn’t emit enough light? You just lower the shutter speed, and the chandelier will become brighter.
As long as you ONLY change the shutter speed, only the chandelier will change in output. Especially for clients that don’t know anything about photography, it sometimes seems like magic when they see you changing nothing (:D) and still the lights get brighter. You have a client for life because they think you’re a magician.

Of course, it’s still important where you place your strobe(s) and which one you use.
For example, you could use something like a Geekoto Lantern straight on the model. But also a more focussed lightsource from the side, and you can even feather the lantern.
As long as you make sure there are no weird shadows going on, you are free to create cool effects.
And of course, if you think there is too much light in the set, you can always use a slight/strong vignette.
Personally, I think the vignette is one of the most powerful additions to draw the attention of the viewer into the frame, so don’t feel bad adding it in.
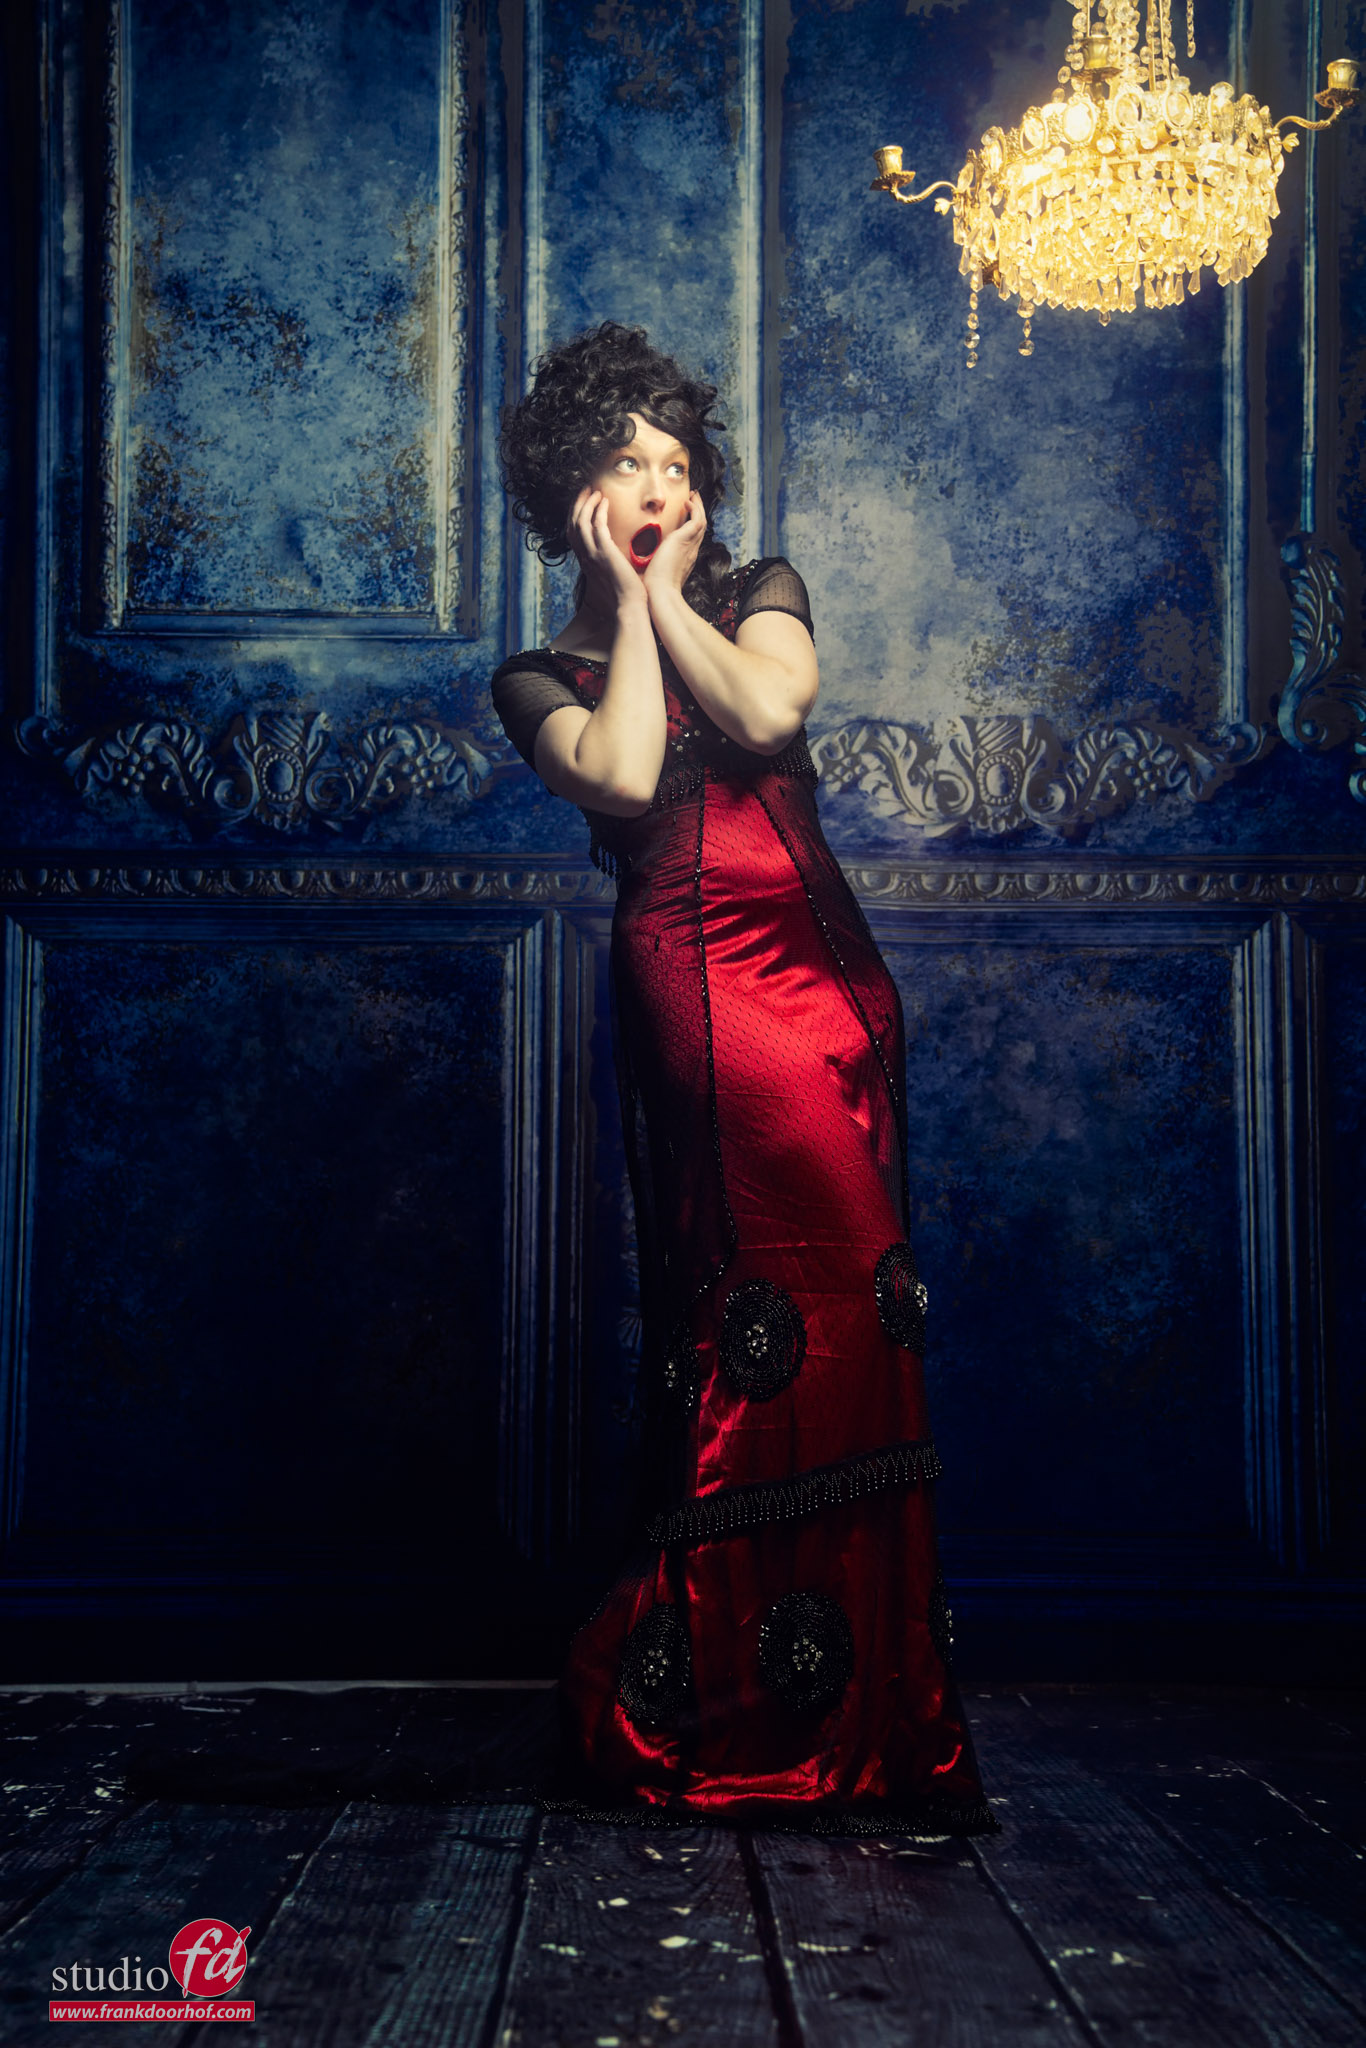
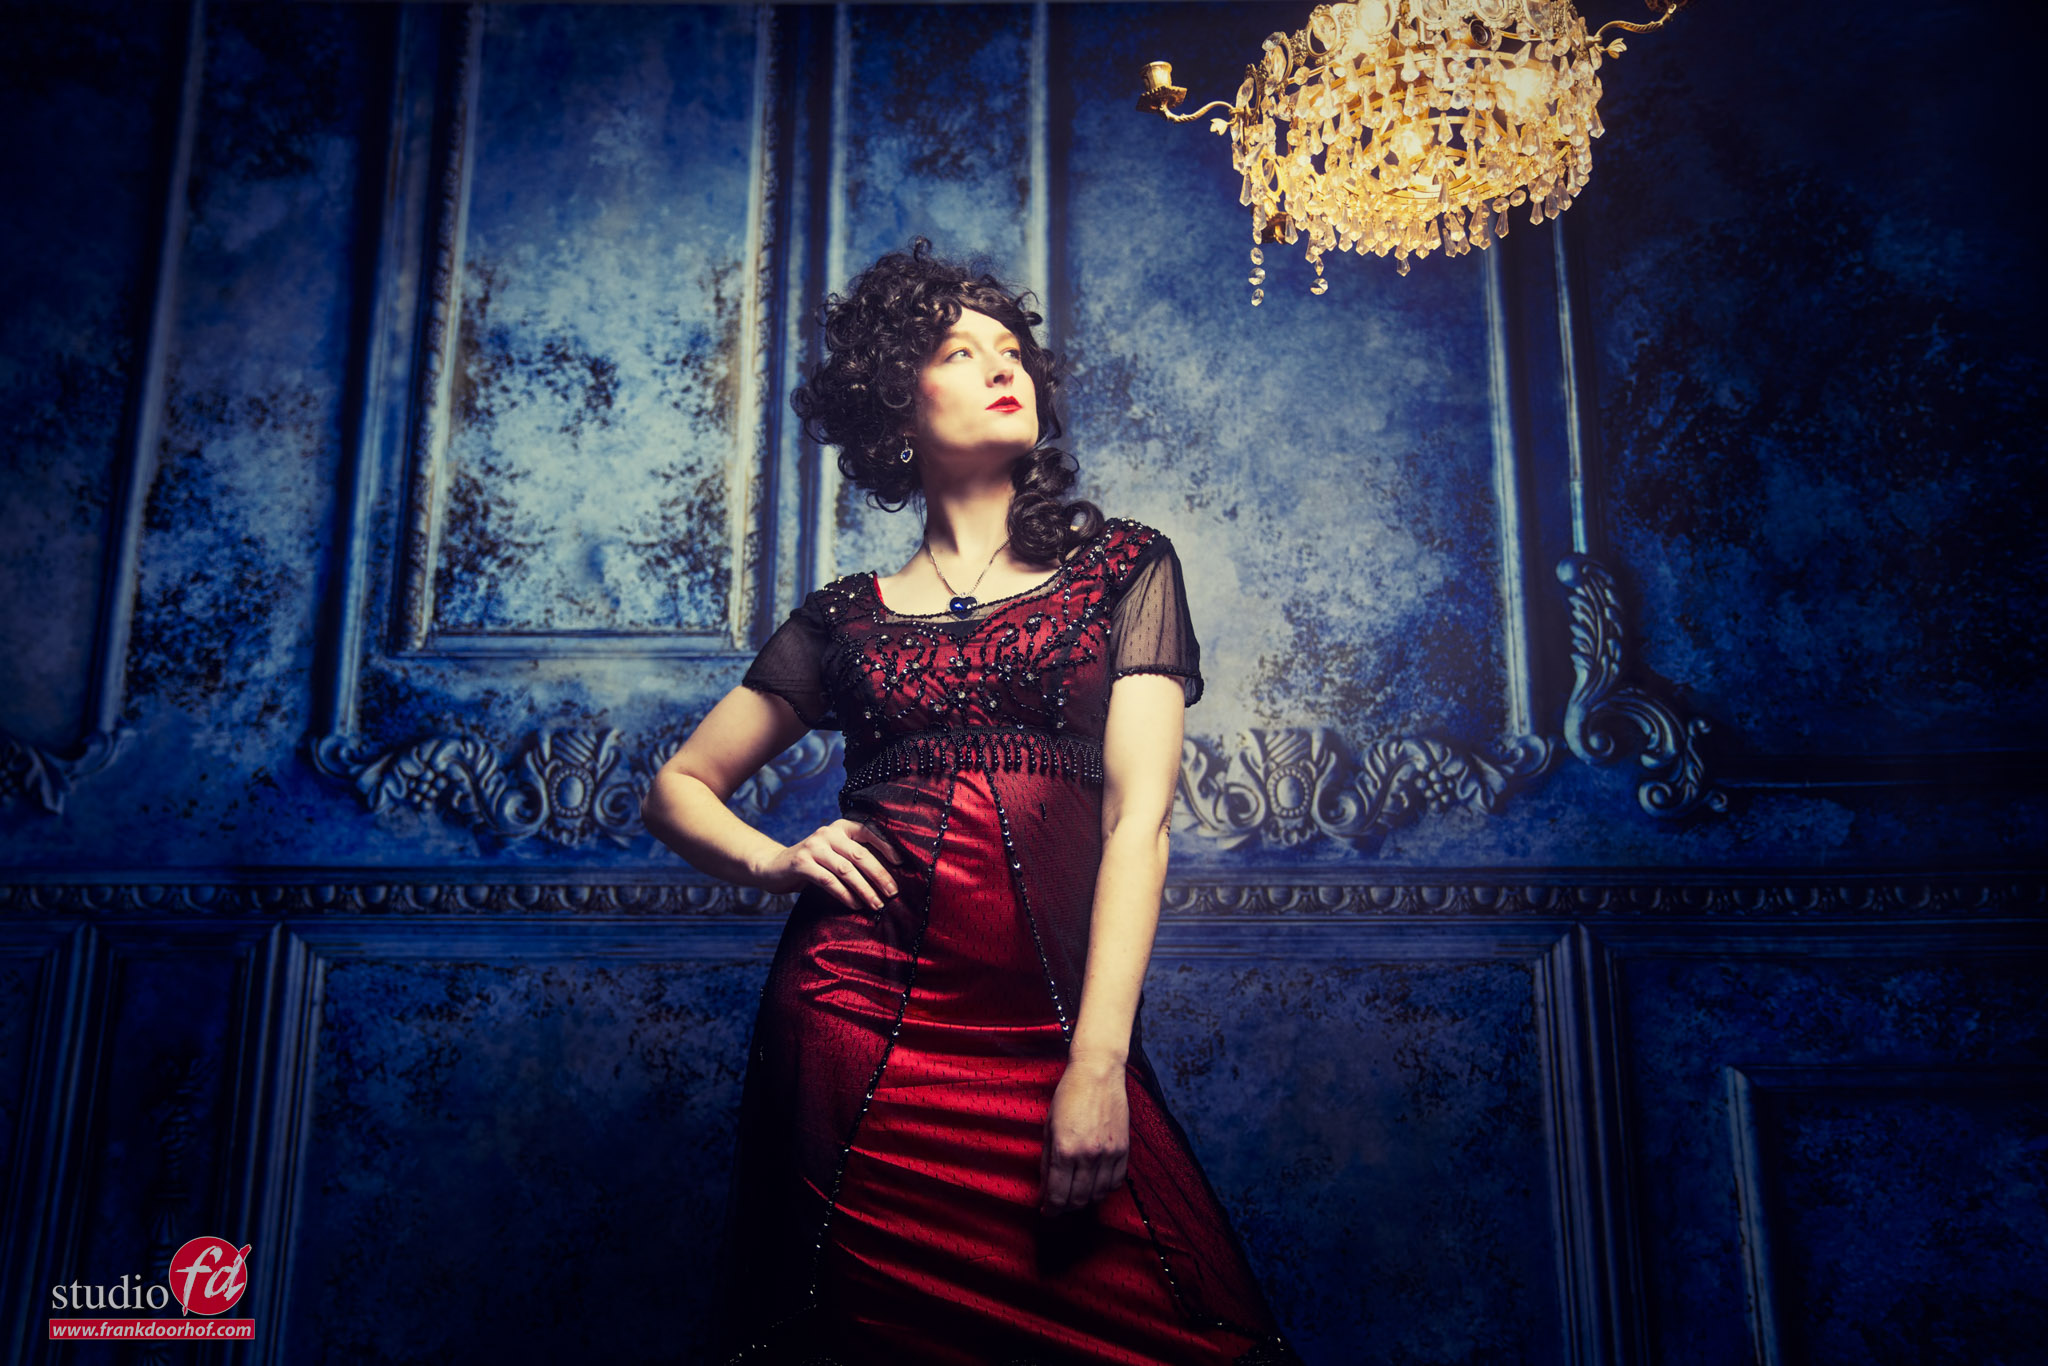
mixing lights: a chanelier and strobes mixing lights: a chanelier and strobes

And of course, never forget to also take some images with just the chandelier.
Because the more choices you have after the photoshoot, the better.
Workshops about (mixing) lights

Want to learn everything about light control?
Want to visit a workshop where it’s not just shooting a model with a fixed lighting setup, but see how the setup is built and adjusted to the taste of the group?
And of course learn how to work with poses, backgrounds, small sets, styling, retouching, and a lot more…..

If this all sounds awesome, visit fotografie-workshops.nl and book your workshop.
If you don’t speak Dutch, no problem, let us know a few weeks in advance, and we can switch the workshop to English.
Not possible to travel to the Netherlands?
We got you covered with our 1:1 online workshop.
We have a full streaming setup in our studio. 4 detail cameras and of course the retouching software, so you can see every detail and of course ask questions during the day. Plus, you get all the RAW files after the workshop.


See this other blog about Mixing lights: a chandelier and strobes 
 

https://frankdoorhof.com/web/wp-content/uploads/2025/12/Linda-9-November-22-2025.jpg 2048 1366 Frank Doorhof https://frankdoorhof.com/web/wp-content/uploads/2015/03/studioFD_Logo-1FV.png Frank Doorhof2026-02-23 18:00:262026-02-23 16:49:03Mixing strobes and a chandelier

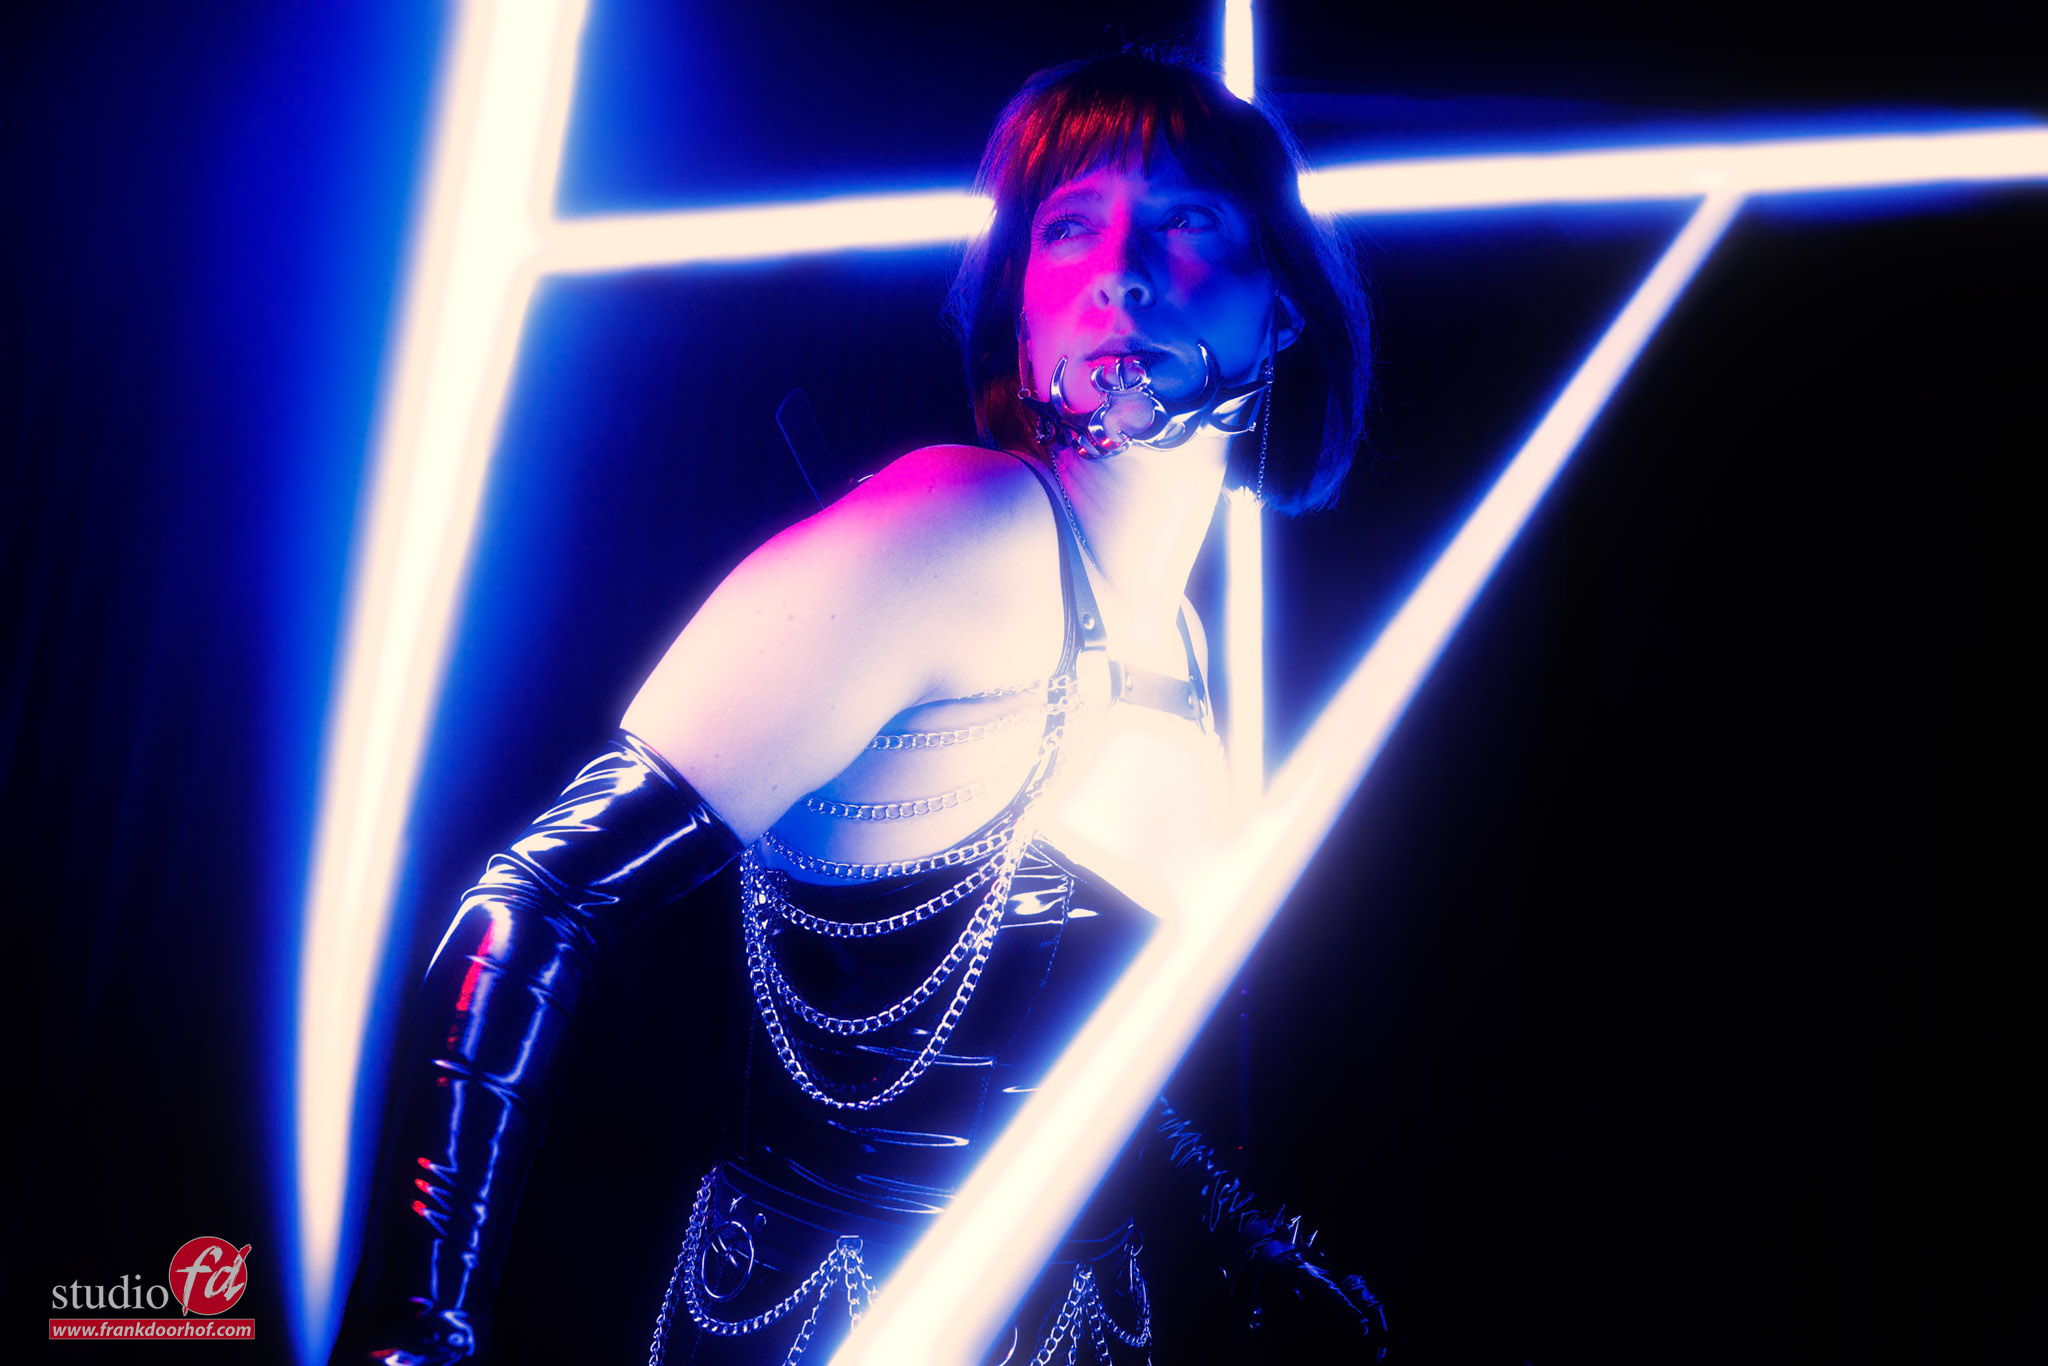
The Nanlite PavoTubes in a different way

21-12-2025/in blog, Visions and technique/by Frank Doorhof

You can use lights out of sight….

Or place them in sight for lighting effects, but what about using the “as a set”.
Today a short blogpost.

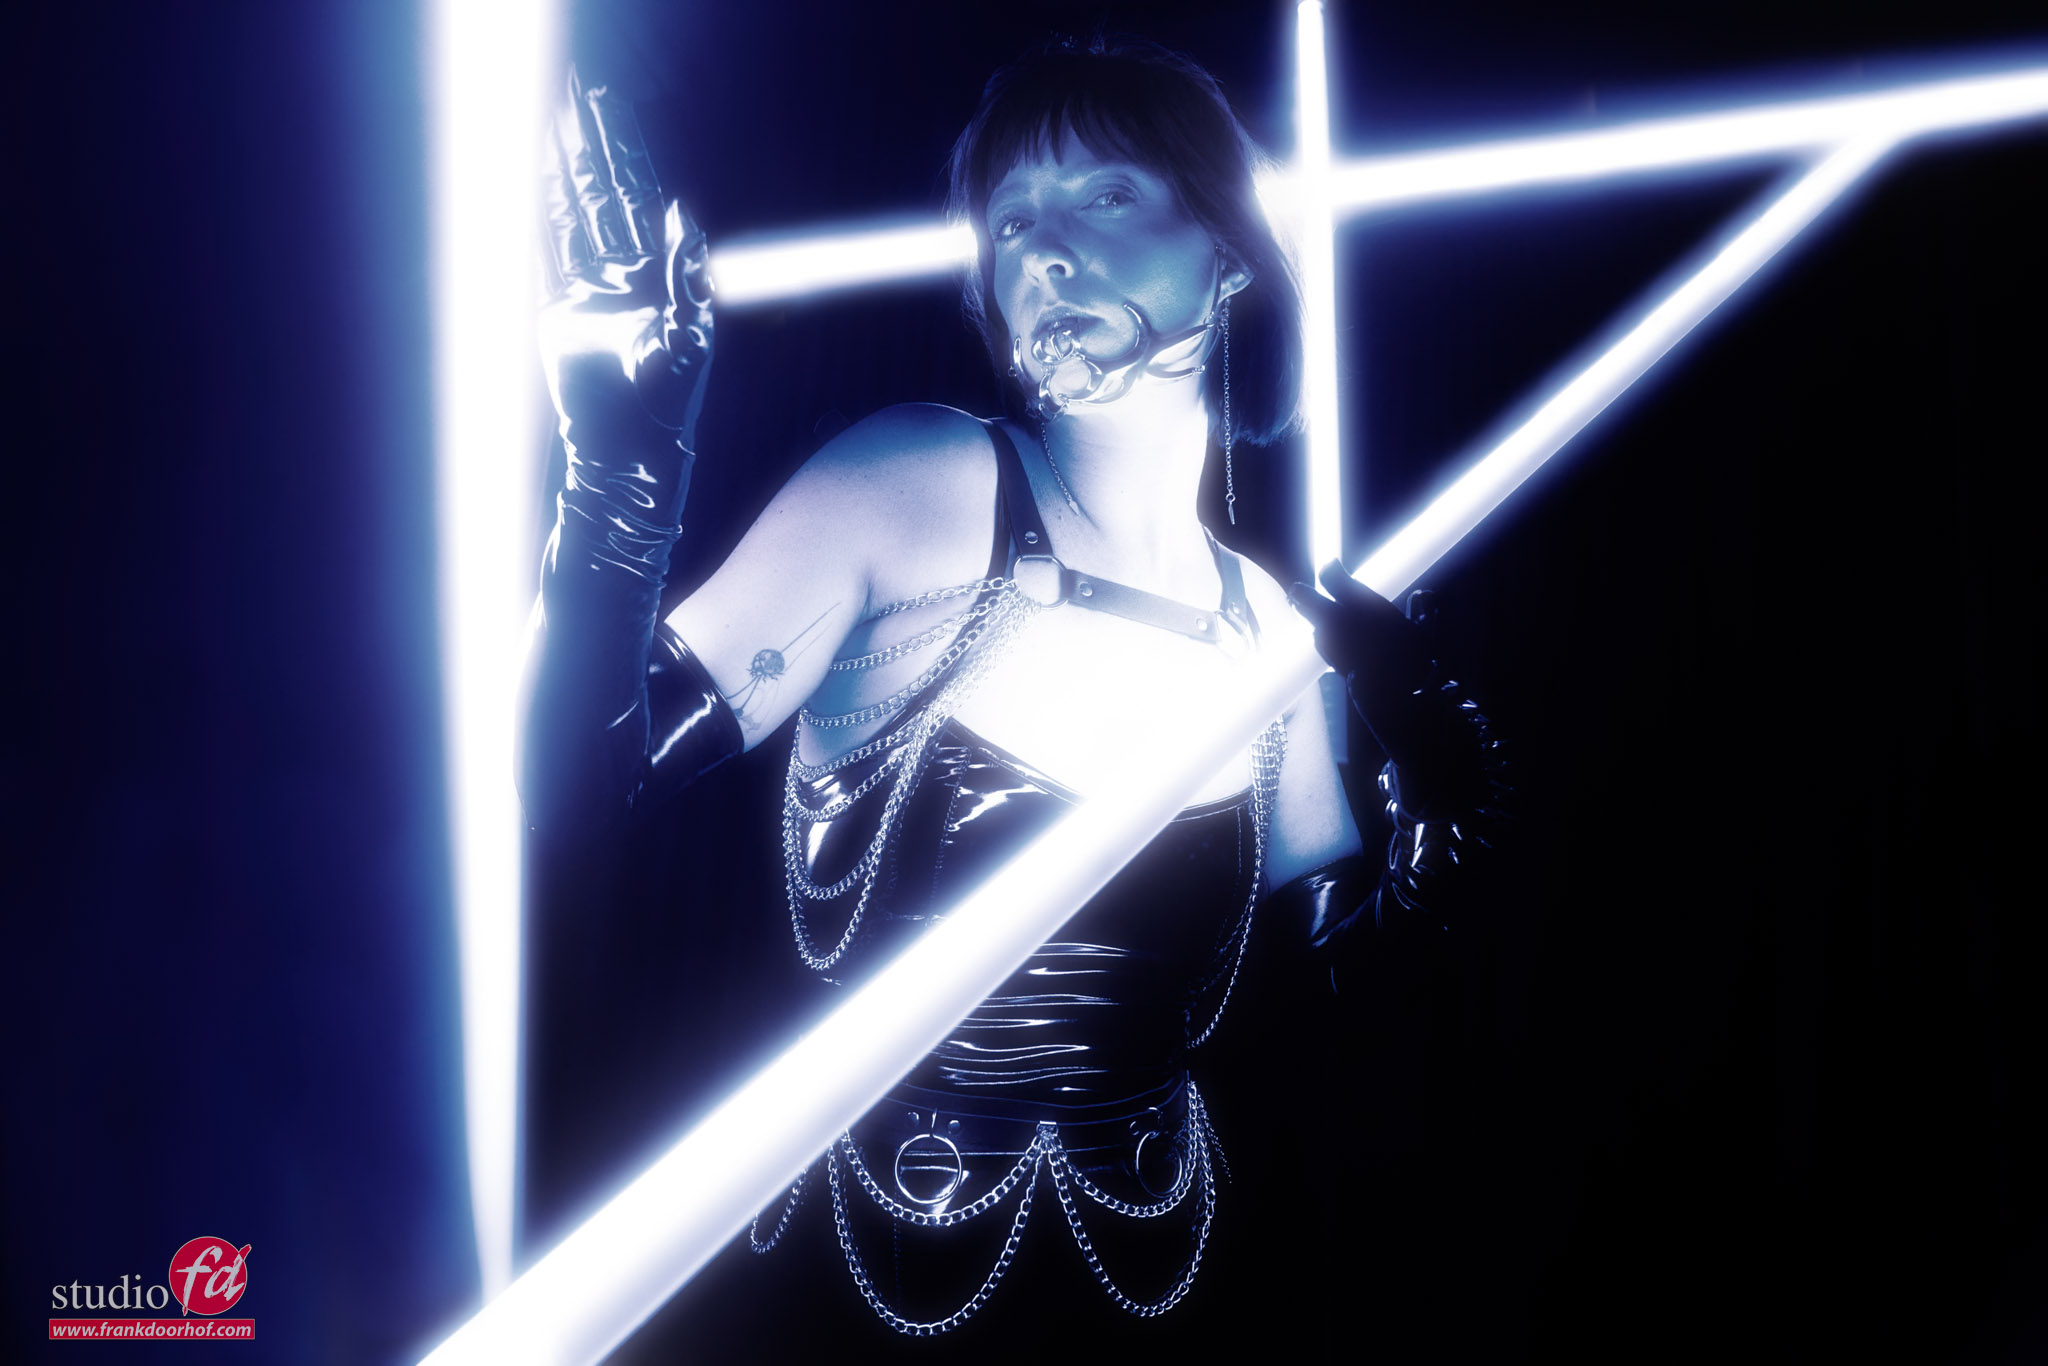
In these images I’m using several Pavo Tubes (led tubes) on boomstands to create a sort of set for the model to pose inside.
Of course you can use whatever shapes you want, or use different colors etc.
For me it’s an experiment we are going to be extending a bit more in the future.

Workshops

Want to learn everything about light control?
Want to visit a workshop where it’s not just shooting a model with a fixed lighting setup, but see how the setup is build and adjusted to the taste of the group?
And of course learn how to work with poses, backgrounds, small sets, styling, retouching and a lot more…..

If this all sounds awesome, visit fotografie-workshops.nl and book your workshop.
If you don’t speak Dutch, no problem, let us know a few weeks in advance and we can switch the workshop to English.
Not possible to travel to The Netherlands?
We got you covered with our 1:1 online workshop.
We have a full streaming setup in our studio. 4 detail cameras and of course the retouching software so you can see every detail and of course ask questions during the day. Plus you get all the RAW files after the workshop.


https://frankdoorhof.com/web/wp-content/uploads/2025/11/Claudia-Selects-12-July-14-2025-Edit.jpg 1366 2048 Frank Doorhof https://frankdoorhof.com/web/wp-content/uploads/2015/03/studioFD_Logo-1FV.png Frank Doorhof2025-12-21 18:00:292025-12-03 17:34:41The Nanlite PavoTubes in a different way

Some light, music and awesome photos

25-06-2025/in blog, Visions and technique, Webinars and instructional videos/by Frank Doorhof

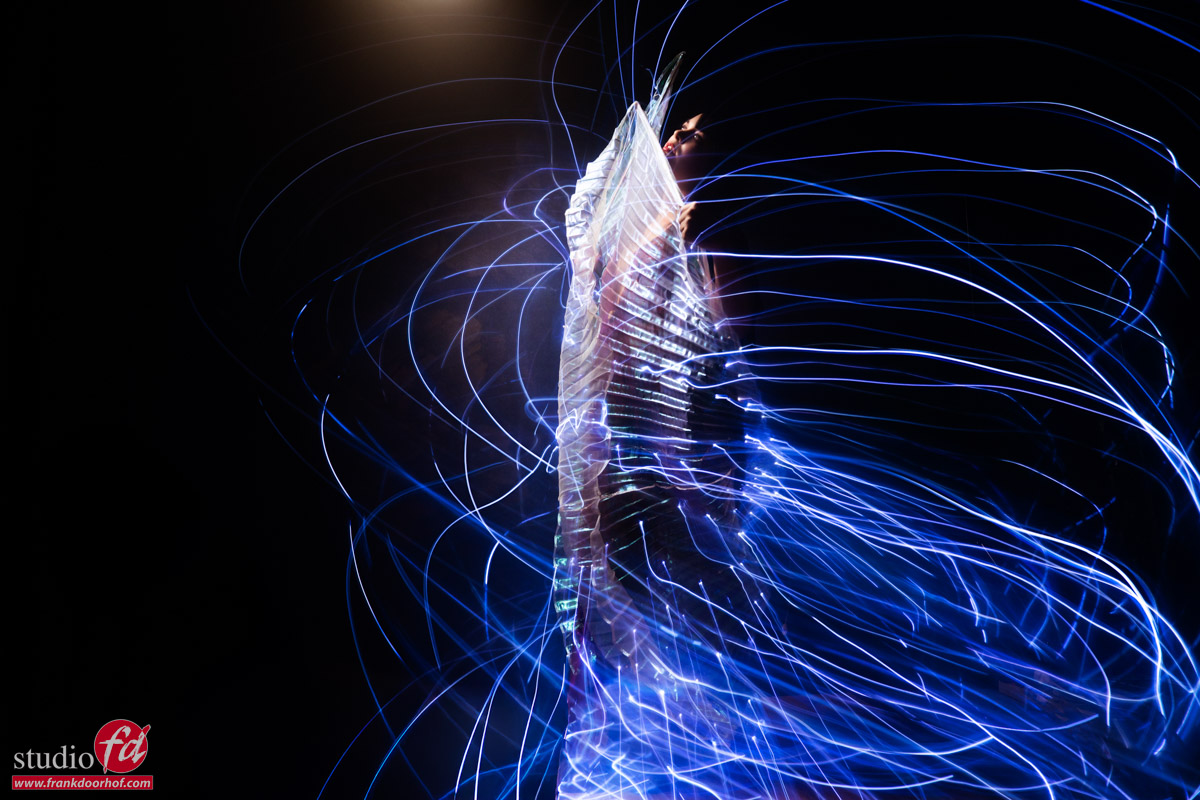
Creative guitar photography with long shutter speeds & colorful light trails

As a passionate guitarist—and more importantly, a creative photographer specializing in model shoots with flash and vibrant colors—I’m always up for a fun challenge. In a recent workshop themed around motion, I decided to push my usual photography boundaries and dive into the world of long shutter speeds in this blog about creative guitar photography

Workshops are always fun and creative

And I always like to challenge myself. I don’t often use long shutter speeds. I decided to use this in a workshop about motion.
As you all probably know, I love guitars, and also play myself as often as I can.
You may have noticed guitars appearing in my photos from time to time. I often use my guitars for those shots. It also, of course, gives me an excuse to buy more, but don’t tell Annewiek.

Why Use Guitars as a Prop?

You’ve probably spotted guitars in my portfolio before. They’re not only a creative element—they also serve as a great excuse to expand my collection (shh, don’t tell Annewiek!). Normally, I shoot guitars solo or let models use them, but for this session, I wanted to capture something radically different: dynamic guitar performance combined with light movement.

Long shutter speeds

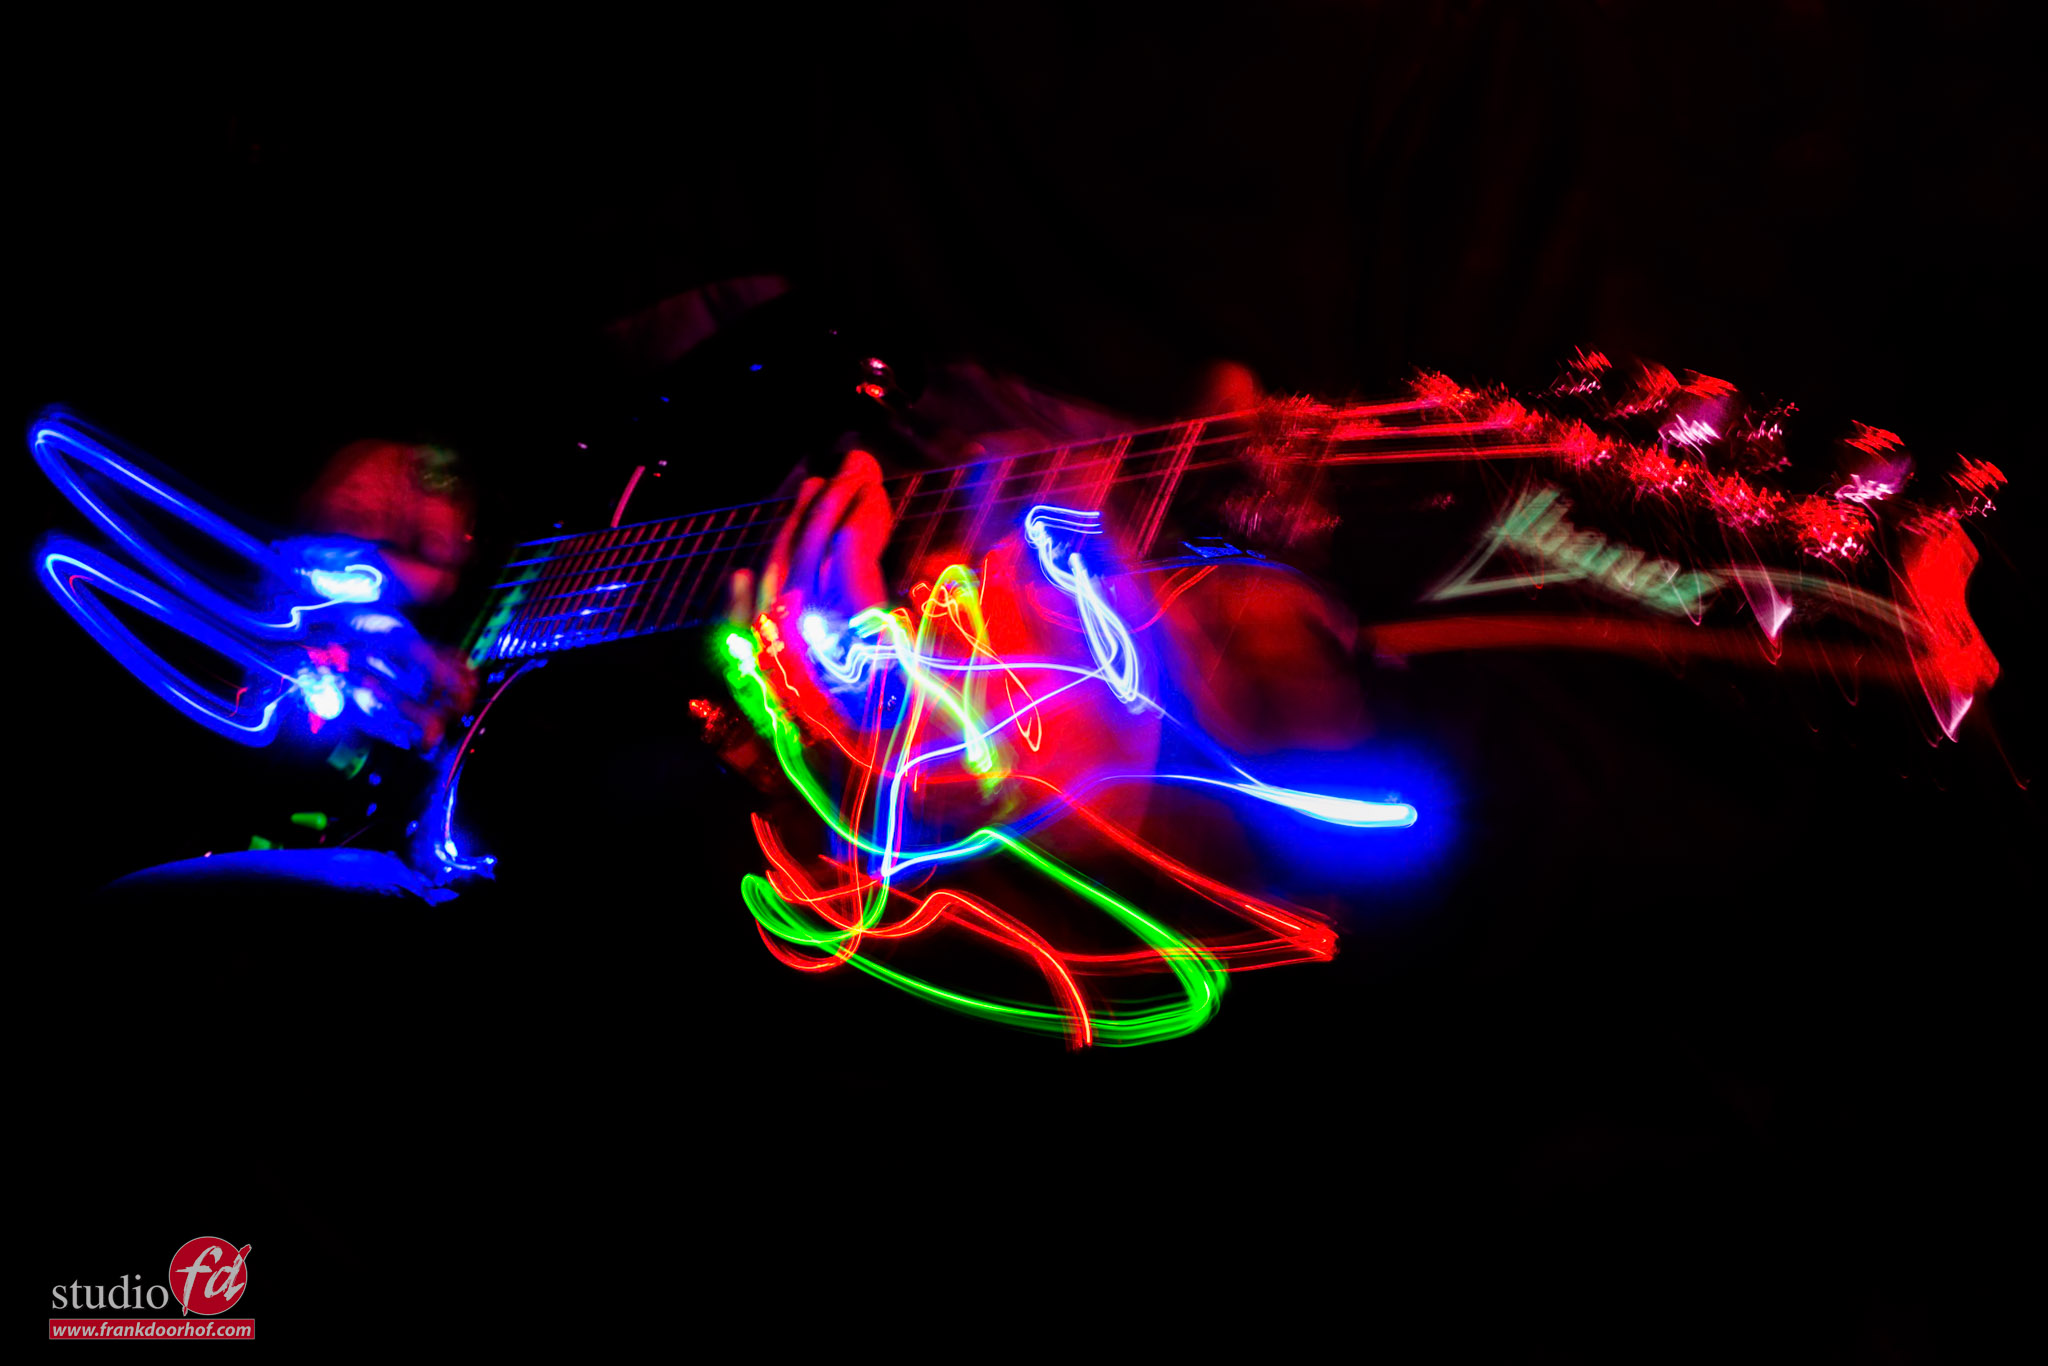
I wanted to create an image where you saw the motion of someone playing guitar and follow the play with lights.
One of my all-time favorite guitarists is Steve Vai, and he recently did a session very similar to this, so I thought it would be fitting to select my vintage Ibanez Jem 777V BK for this. This is a Steve Vai signature guitar.

For the lights, I’m using small LEDs with small elastic bands on my fingers.

Playing guitar is one thing, but playing with LEDs taped to your fingertips is a workout in itself (you’ll hear it in the video 🙃).

The trick is, of course, a long shutter speed and not using white lights, but only the colors.


The technique: long shutter & colored LEDs


We recorded a short video tutorial explaining the setup and how you can recreate this effect at home. The results are both creative and achievable with common gear.

Interested in hearing my music, too? Find me, Frank Doorhof, on your favorite streaming platform.

👉 Click the image below to watch the full video tutorial on Long shutter speeds: creative guitar photography—including stunning final shots!


long shutter speeds

Long shutter speeds: creative guitar photography Long shutter speeds: creative guitar photography Long shutter speeds: creative guitar photography


Read another blog about movement with Nadine and LED lights 


https://frankdoorhof.com/web/wp-content/uploads/2025/06/Frank-Jem-777VBK-Lights-40-March-29-2025-Edit.jpg 1366 2048 Frank Doorhof https://frankdoorhof.com/web/wp-content/uploads/2015/03/studioFD_Logo-1FV.png Frank Doorhof2025-06-25 17:00:232025-06-26 14:43:30Some light, music and awesome photos

Why fake it when you can create it?

3-06-2025/in blog, Visions and technique/by Frank Doorhof

It’s still my motto: Why fake it when you can create it?

When I started teaching workshops, the first tours and workshops were often labeled “Why fake it when you can create it?”
And that wasn’t even about using AI. The shots we are discussing today were all captured in-camera, and some people did not believe it, so I will explain how we achieved this.

Why fake it when you can create it

I love working in Photoshop and spending hours on digital art, but with my photography, I like to get it right in camera.
When you browse through my portfolio, for example, most images were shot during workshops or events like trade shows.
Retouching-wise, it’s 99% skin softening and giving the image a film look. Especially the film look is essential for my workflow.

By the way, did you know you can get my preset packs for a few bucks?

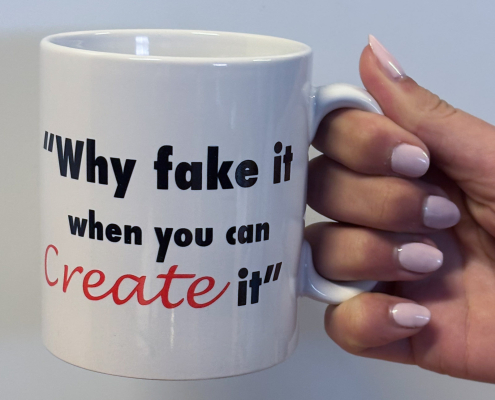
Why fake it when you can create it? mug

We sell this mug so you don’t forget

Why fake it?

The way I use AI in Photoshop is mostly for cleaning up and extending backgrounds, and with Cosplay shoots, adding elements or building a complete set.
But when I use it, it’s 100% clear and visible. So why do I tell you this?
The first time I showed one of these images to someone, the first thing they asked “What software did you use?”.
Nope, this was done in camera! “Yeah, but how did you add the swirls?”….

So today, let’s take a look at how we did it: Why fake it when you can create it.

How it works

Let me explain why I like my motto: Why fake it when you can create it?.

When we use strobes, we are working on a shutter speed of 1/125 in the studio.
This is also called the X-sync. When we shoot faster without HSS, there is a chance of a black bar in the frame; the faster the shutter speed, the larger that bar.
The bar is your second shutter curtain catching up the first shutter curtain.

At the moment, only Sony has a camera with a new sensor that can break this X-sync up to the flash duration (and higher with light loss) of your strobes.
In the past, there was a Fuji consumer camera that could do the same trick. And if you’re shooting with Medium Format or leaf shutter lenses you also can shoot at higher shutter speeds.

For today, it doesn’t really matter because we will go the other direction.
Because we are mixing very dim lights with very bright lights.

Luckily for us, the very bright light is just a pulse. And this means we can use the shutter to get the right balance because the dim lights are continuous.
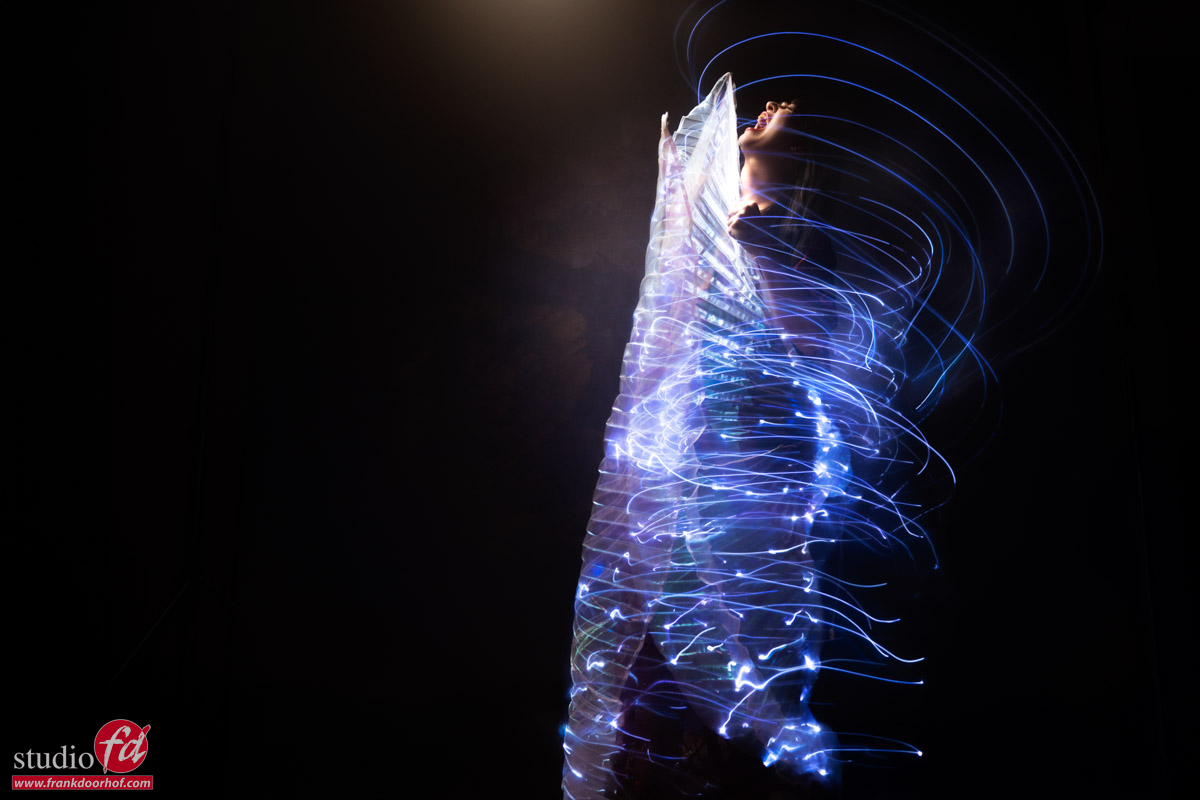
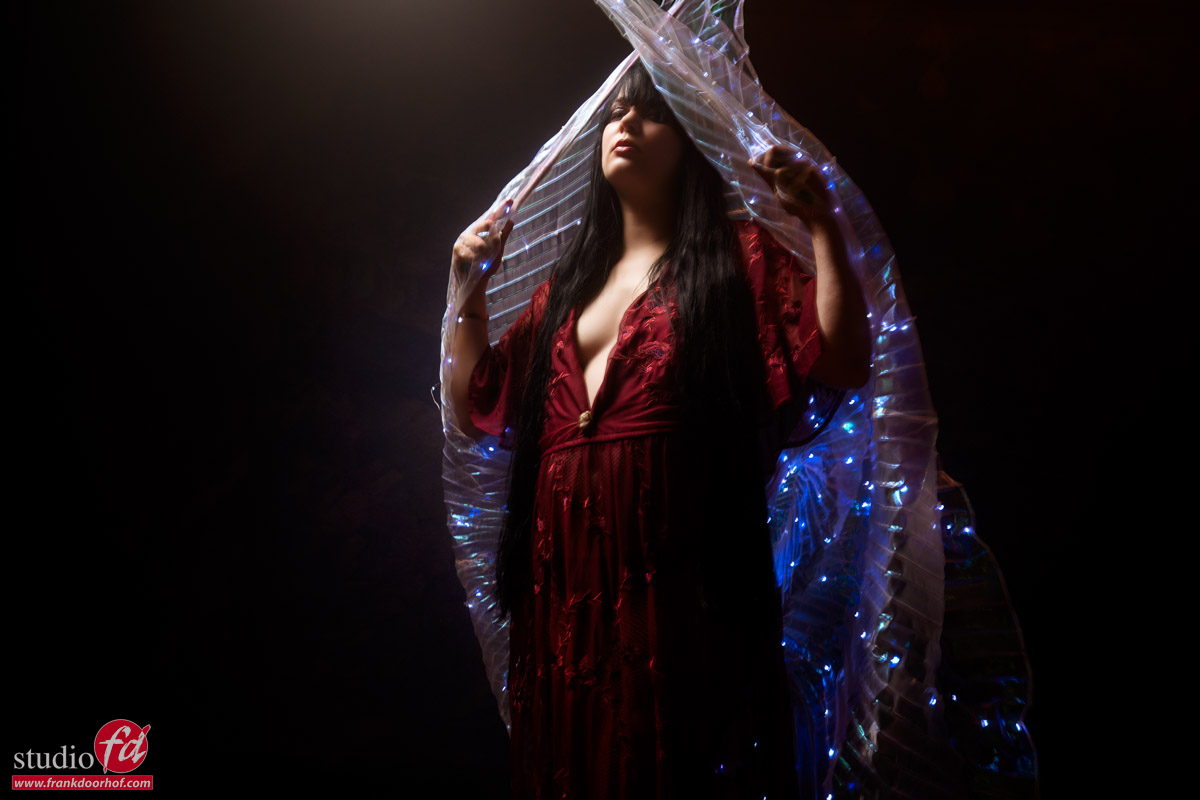
And you probably already guessed it, the lights are in the wings, Nadine is holding here.

Why fake it when you can create it

As you can see, we have a pretty good mix of our model and the lights, easy, right?
Yes and no.
There are a few things you have to take into account with a setup like this.

Vital parts

First of all, you have to realize that when you want to mix strobes and continuous light it’s very smart to set the strobe on the lowest possible setting.
The reason for this is that you will need less time to make the continuous lights show up in the shot. Meaning shorter shutter speeds.

Luckily for us, we are using the Geekoto strobes, and they have a great range. So, I can go as low as needed.
Also, don’t worry about ISO. With modern cameras and noise reduction via Topaz or Lightroom (or your favorite RAW convertor), you can easily use ISO800-1600 for commercial use.

Second of all you have to remember to turn off the modeling light of your strobe.
We are shooting with longer shutter speeds, and this means that your modeling lights will register and mess up the color balance. But also add motion to the area that you wanted to freeze with the strobe.
If you have problems focusing in the dark, get a Sony camera…. just kidding (or am I). Just ask an assistant to light your model’s face with a flashlight. And when you have focus locked, take away the flashlight. It works like a charm, and you have zero infection of the area your strobes hit.

and finally…
The same as above, but the other way around.
The strobe is much more powerful than the continuous lighting. So, when I set something like this up, I will be using a very focused light source.
You can use, for example, the Frank Doorhof flashbender, a striplight with grid, the Geekoto Quicky, or the Rogue snoot. Just make sure you are only lighting a very small part of the total area. You want to make sure the lights really show up in the final image, and when you blast your strobe everywhere, it won’t work.

Ready to shoot?

Almost.
When we want this to work, we must make the model move in the right way and at the right moment.
Mostly, I will count down and tell the model that as soon as she sees the strobe, she has to start the movement.
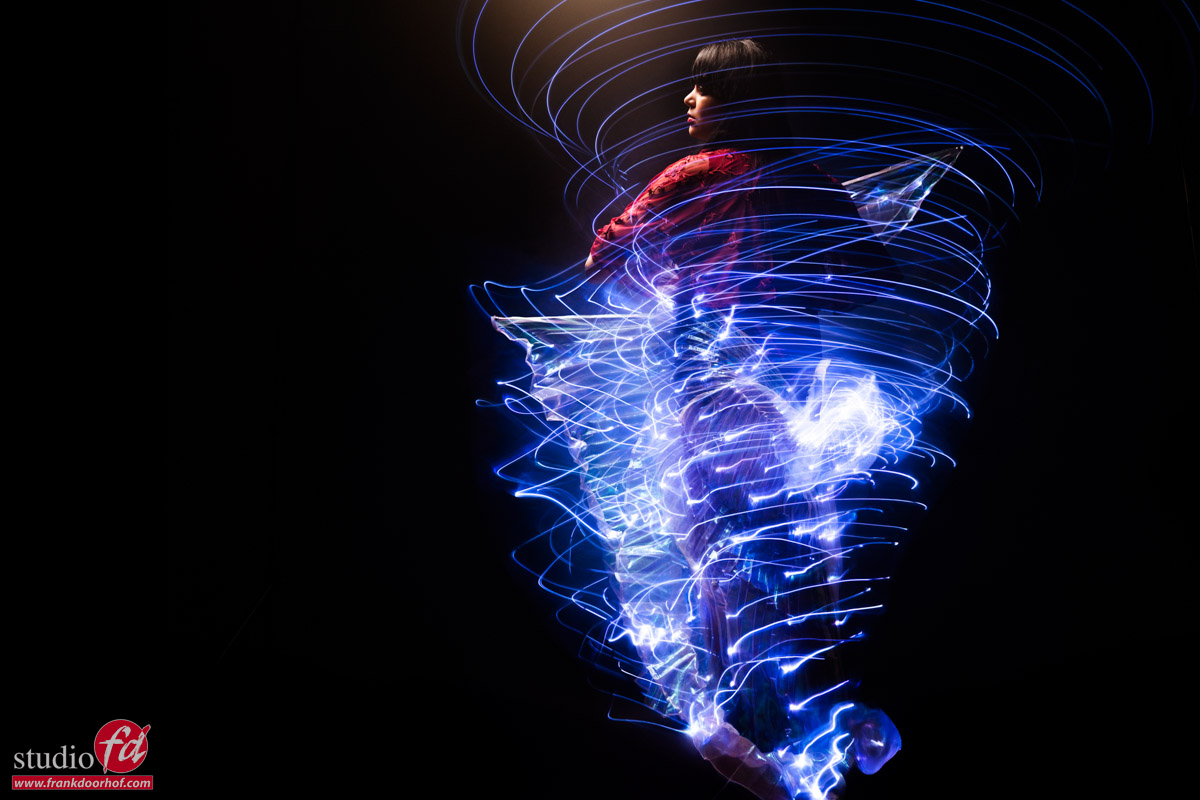
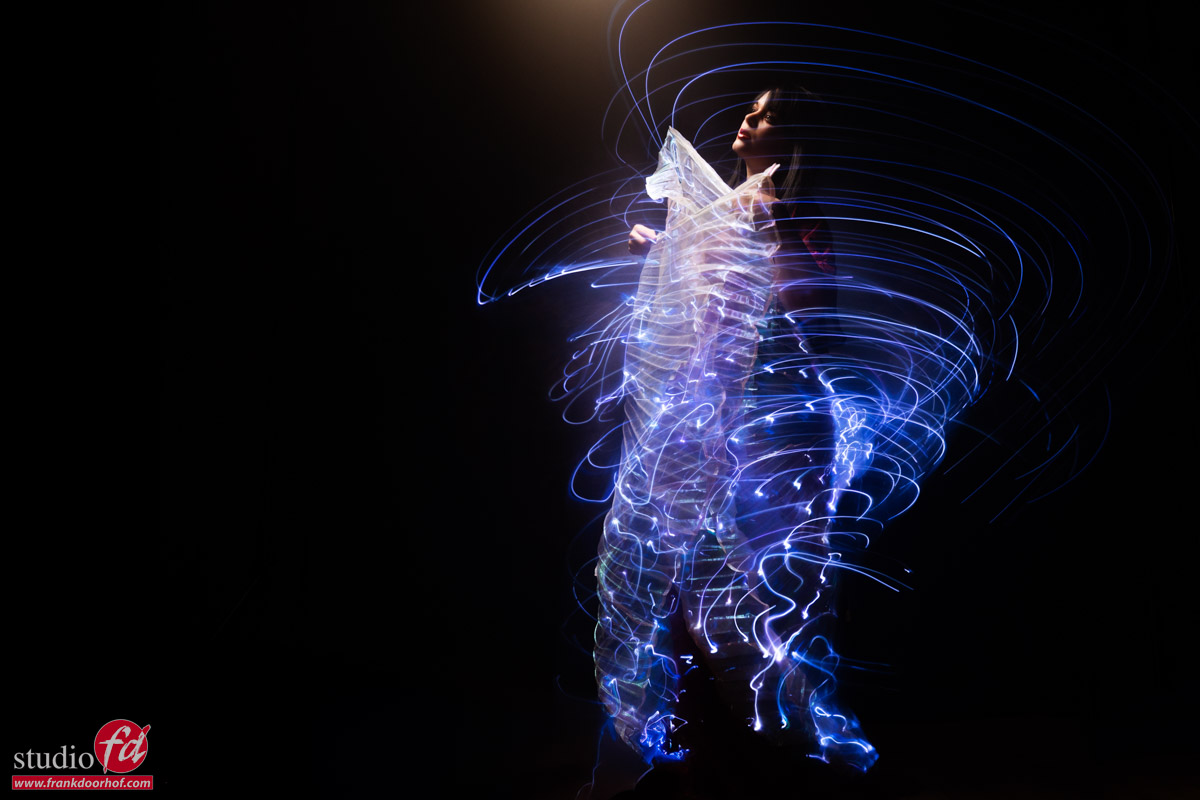
In this case, we ended up with shutter speeds between 1-2 seconds.

So, first, the strobe freezes the model’s face. The modelling lights are off.
Now, in 2 seconds, the model moves around, and the lights of the wings register on the black background.
Now you might wonder why the colors are visible. And they are not turning white with a 2-second exposure.
And this is a 100% solid question.
IF the model does not move, the lights would indeed burn out. Because they stay in the same spot.
However, because the model is moving, they don’t have “time” to burn out, so you keep the colors.

We started with some turns.

Why fake it when you can create it

And of course asked Nadine to scream, for some extra OOMPF in the shot.

But what would happen if you don’t keep the camera steady but also start to move yourself, or zoom in?

One quick tip about zooming
In most cases, zooming in will work fine and give some really funky results. Zooming out (starting in close up) can work, but with these kinds of shots, it didn’t.

The workshops are super creative. Do you also want to learn how to not fake it but create it?

This is probably one of the things I love most about the workshops, when attendees bring their props and ask me to incorporate them into the workshop.
In this case, the angle wings were bought on Aliexpress/Temu/Amazon and were brought to the workshop by an attendee.
Nadine was, of course, the perfect model for this, and we ended up with some great shots, I think.

If you also want to visit a workshop, visit fotografie-workshops.nl for the agenda.
If you don’t speak Dutch, don’t worry. Let us know a few weeks in advance, and we can switch the workshops to English.
Or of course, book a 1:1 workshop in our studio, or even online right from your comfort zone 😀


Check out this video also with Nadine. The devil is in the details.  


https://frankdoorhof.com/web/wp-content/uploads/2025/05/Nadine-97-April-12-2025-Edit.jpg 800 1200 Frank Doorhof https://frankdoorhof.com/web/wp-content/uploads/2015/03/studioFD_Logo-1FV.png Frank Doorhof2025-06-03 18:00:112025-06-05 12:23:32Why fake it when you can create it?
Page 1 of 212

Newsletters

Subscribe to our newsletter for updates, discounts, and much more

English news letter
Dutch news letter

Interesting links

Here are some interesting links for you! Enjoy your stay :)

Snel naar

  • Blog
  • Learning with Frank
  • News etc
  • Reviews
  • Shop products & books
  • Contact

Contact

Studio Frank Doorhof:
Constructieweg 8
8305 AA Emmeloord

The Netherlands
+31-6-14522327

Or Email : info@frankdoorhof.com


© Copyright 2000 - - Frank Doorhof
  • Link to Facebook
  • Link to X
  • Link to Youtube
  • Link to WhatsApp
Scroll to top Scroll to top Scroll to top