During the workshop “on location in Emmeloord” we scout for locations that look not so interesting but the challenge is to create some cool images anyway. This is a great training exercise because let’s be honest in most cases working on location is not as superb as often hoped for, but we are still expected to deliver awesome images.
For me there are a few different things I use to make a location look more interesting.
The first is of course the location itself, I try to find angles or other details (small or large) that I can use, or that I don’t want in the shot.
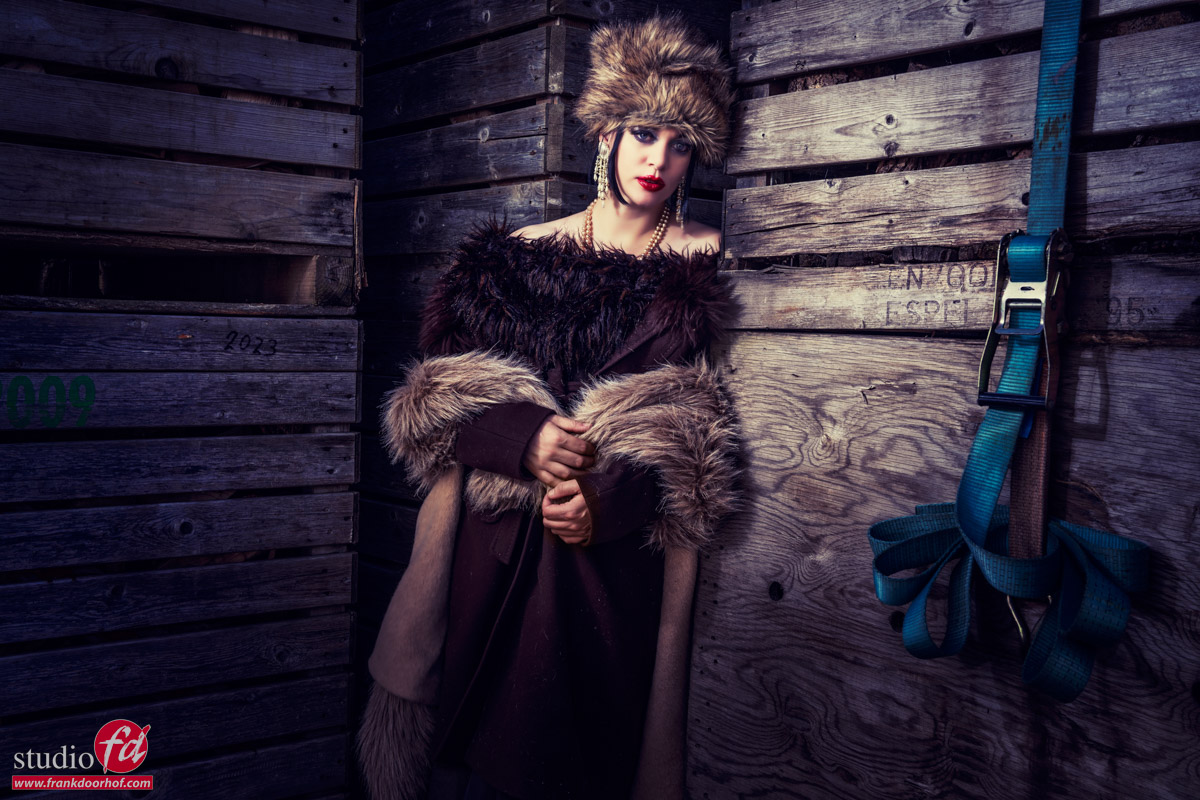
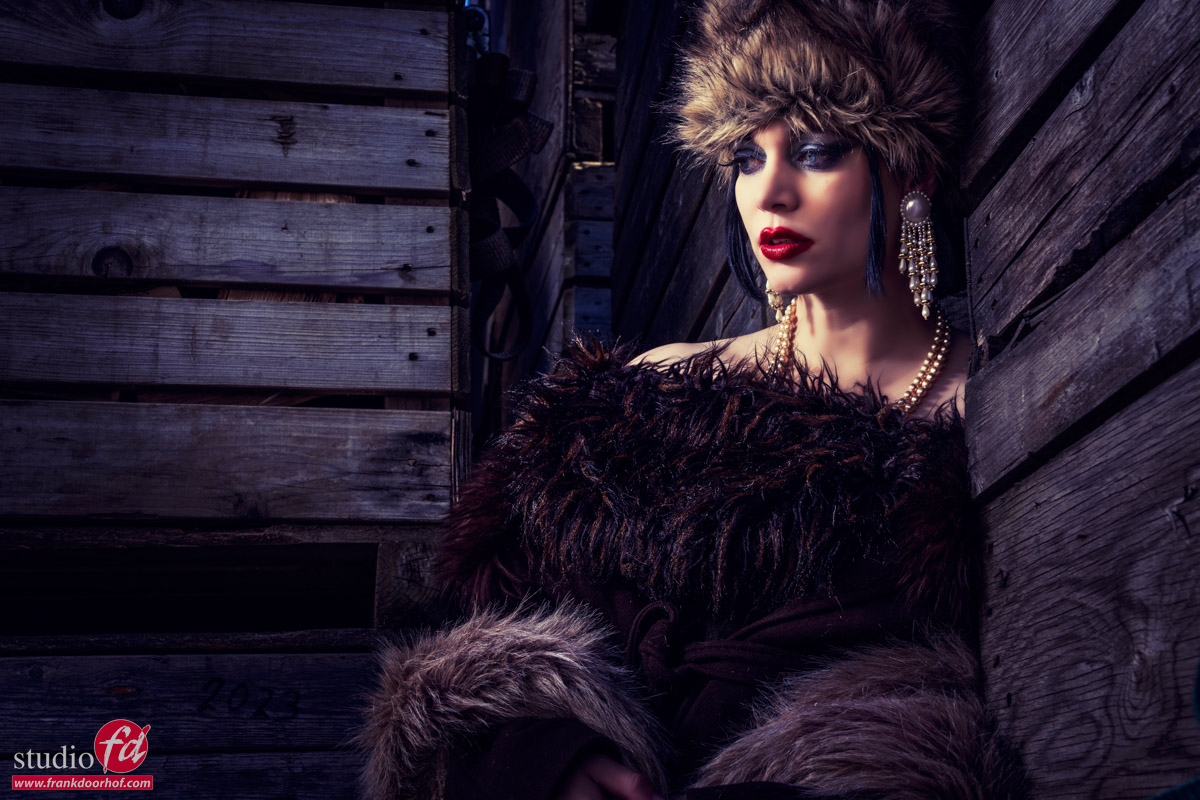
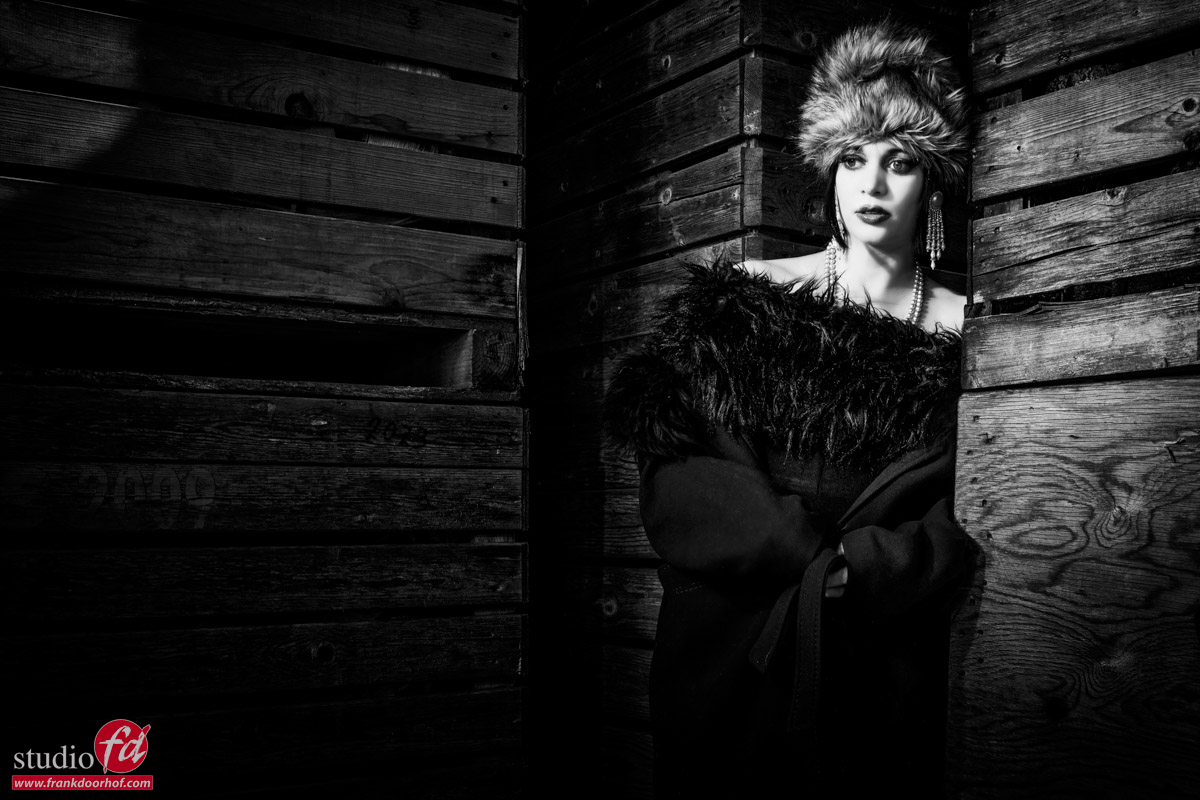
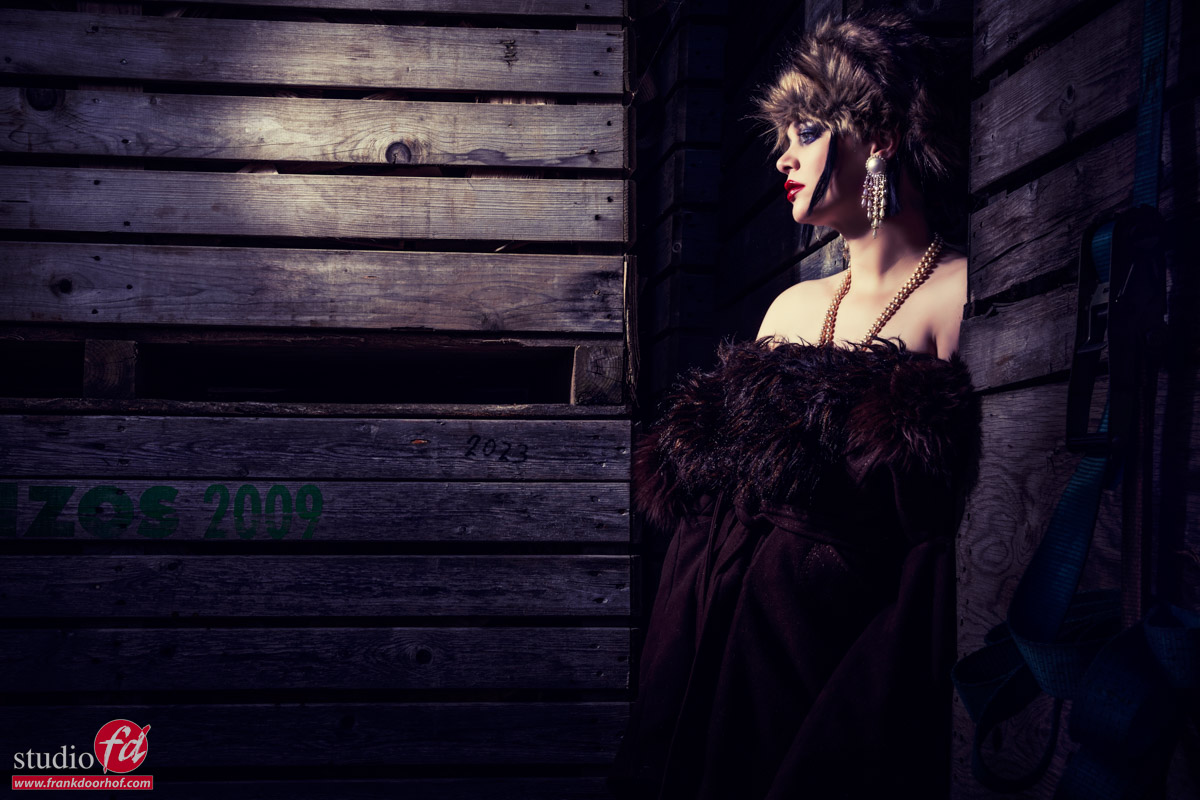
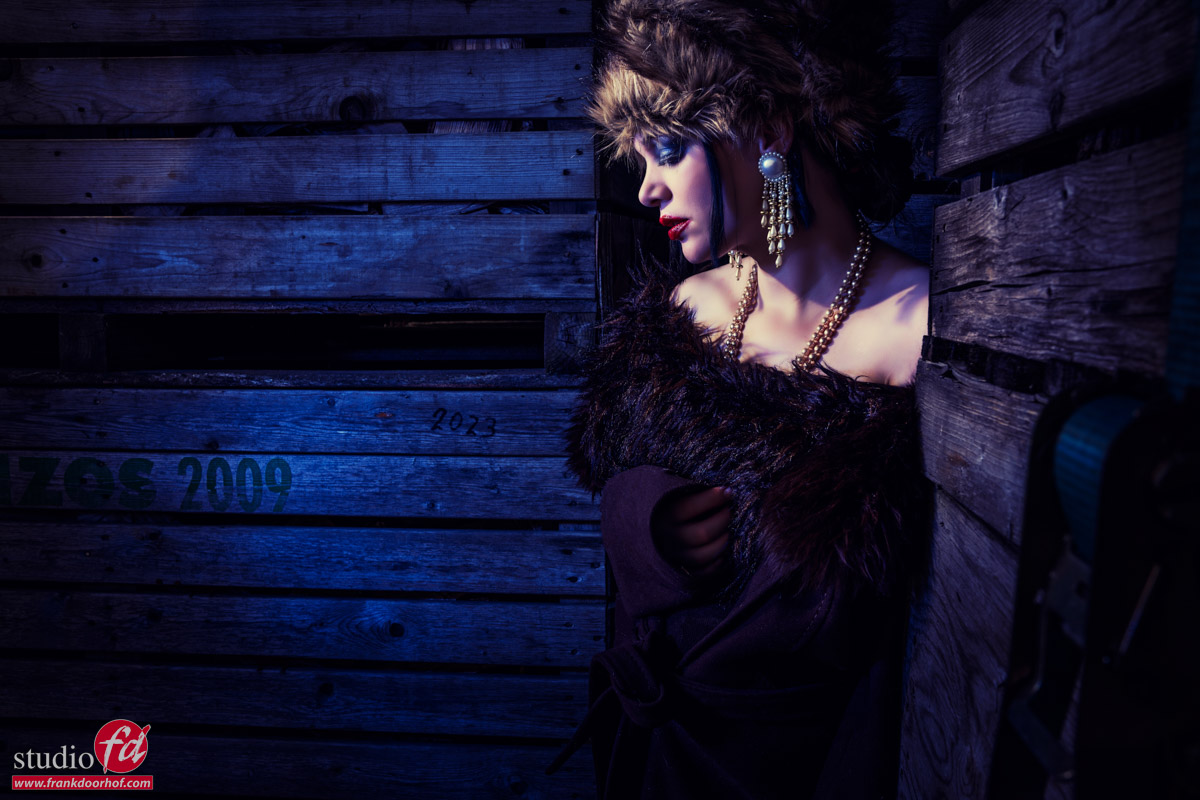
In this location we loved the onion crates, they blocked off the sunlight for a large part, which is always handy when working in the bright sun. The less direct sunlight on the model the better in this case.
After I have something in my mind for the general location I’m going to use in the set it’s of course time for the lighting.
In this case I’m using the Geekoto strobes aimed at our model Nadine from the side to create a nice light patten on the crates. Although this was nice we wanted something more, so I added a blue gel to the set. But as you can see in the video and images we started with a more flat lighting setup.
Of course we can talk about, but often a video is much better, so here we go 😀
And also lets take a look at the images separately
Also want to visit a workshop?
Today I showed you the results from one of the sets we did during the workshop outside with Geekoto strobes “on location in Emmeloord” with Nadine.
During the workshops I always try to use 3-4 different setups explaining different techniques and of course it’s a great way to get a good addition to your portfolio.
If you think “that’s for me”
Than visit photography-workshops.eu for the Dutch workshops.
But if you are not living in the Netherlands or don’t speak Dutch we also have other options.
If you let is know 2 weeks in advance I can teach the workshop you want to visit in English.
Or if you can’t travel to our studio we also now offer the option to get a full 1:1 experience with 5 different camera angles, lightroom/Photoshop view and a talkback channel, you also get all the raw files and retouched results from the workshop. Visit our online workshops page for more info.
https://frankdoorhof.com/web/wp-content/uploads/2024/09/Nadine-20-September-21-2024-copy.jpg8001200Frank Doorhofhttps://frankdoorhof.com/web/wp-content/uploads/2015/03/studioFD_Logo-1FV.pngFrank Doorhof2024-11-18 18:00:582024-11-06 17:16:58Working on location with strobes and making something boring interesting
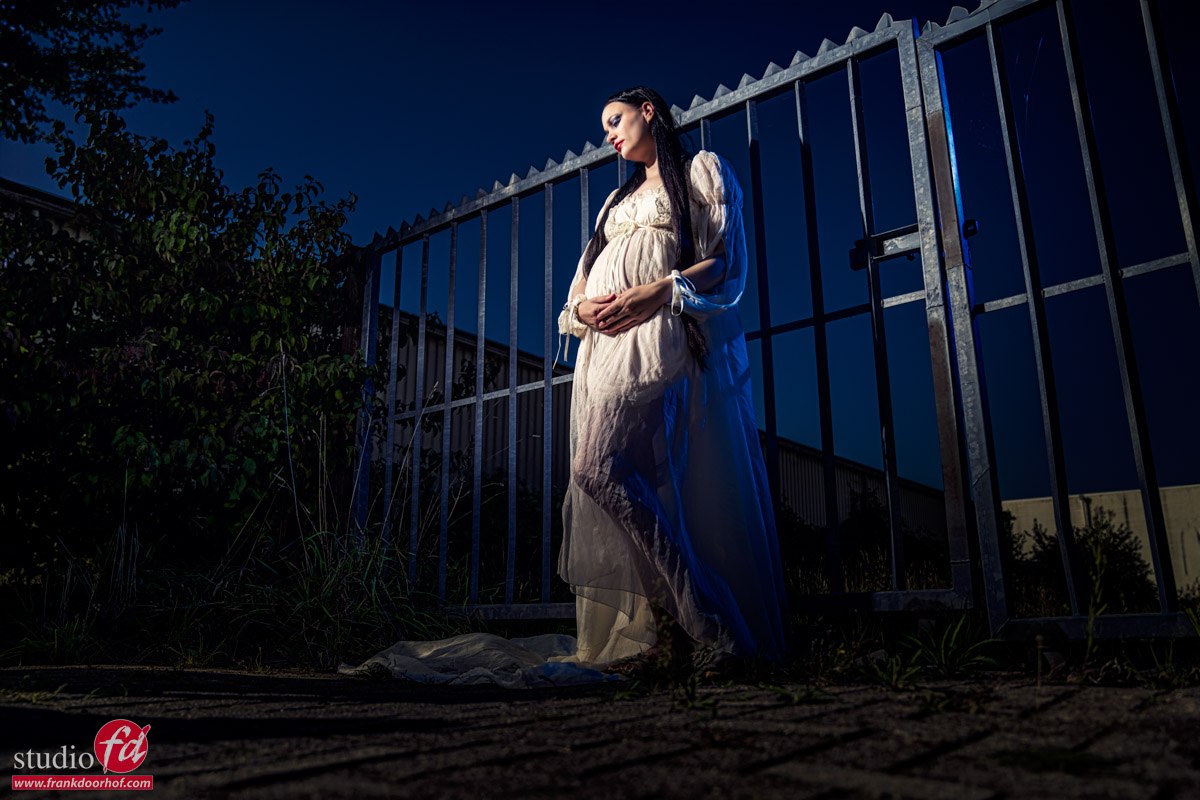
One of the techniques I love to use on location is Day2Night.
With Day2Night we mimic a night or evening scene during day time.
As you can imagine you need some powerful lights to achieve this, or some cool tricks.
In the previous blogpost you saw me using HSS, and I got some questions about HSS and other techniques that I will try to answer in this blogpost.
X-Sync
When we look at a how a camera works the X-sync is easy to understand.
Let’s take a look at the older cameras and for the newer cameras just forget the mirror part.
When we take the photo, the mirror locks up and the first shuttercurtain opens, at one point followed by the second curtain closing the film/sensor again for light.
The faster you set the shutter the faster the second shuttercurtain will follow the first.
Now you have to understand that when you use a strobe/flash all its power is emitted at once, so it’s just a pulse. And that pulse is REALLY fast, they can for example easily be between 1/2000-1/50.000. As a rule of thumb, the more advanced the strobes the faster the flashduration.
Now that we know that the strobe is just a pulse it’s also easy to understand that the X-sync is the maximum shutterspeed in which the whole sensor is open for the light hitting it. Anything faster and the second shuttercurtain will follow. And we probably all saw that problem at least a few times, the black bar on top of your image where you probably wondered where it came from, but it disappeared when you lowered your shutterspeed. That’s the X-sync.
The X-sync will vary a bit per camera, but as a rule of thumb we can say that with normal strobes you can shoot up to 1/125 on 99% of the systems, sometimes with speed lights you can get up to 1/250 but that’s about it. This means that we often end up with smaller apertures and a less shallow depth of field than you might want, so what to use when you want that nice shallow depth of field?
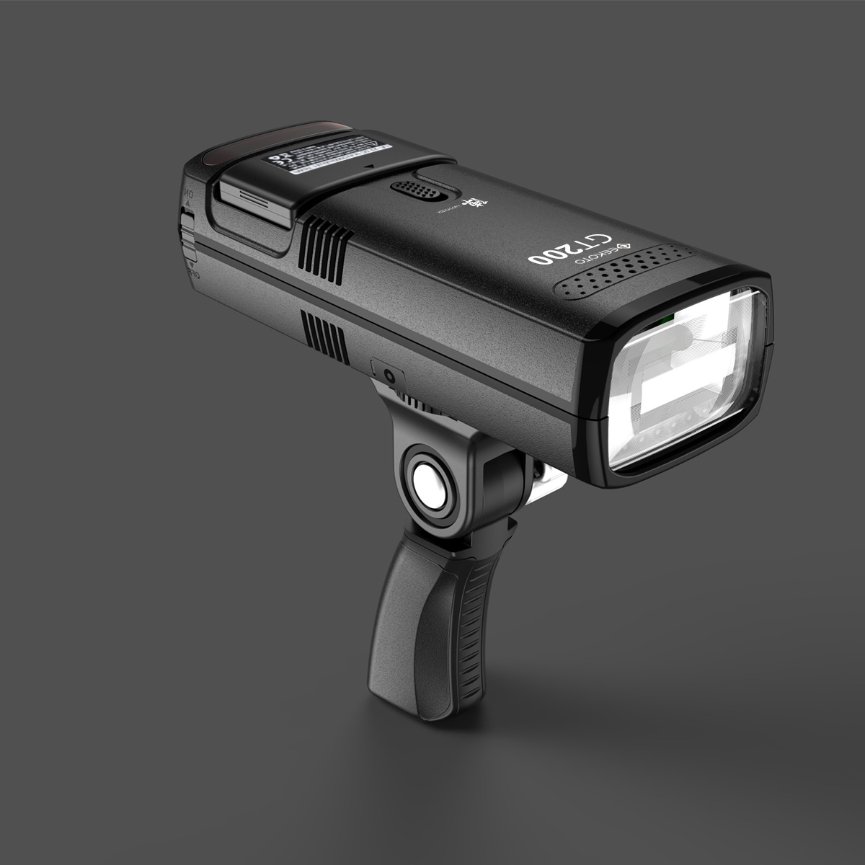
Geekoto GT200 Portable Off-Camera Flash
HSS
With High Speed Sync we can overcome the X-sync problem by using the strobe not as one pulse but by using the stroboscopic effect and this way the strobe acts almost like a super powerful continuous lightsource. The disadvantages are of course that you will burn through your batteries faster and the strobes are more prone to overheating, so my advise when using HSS is to take it a little bit easier and let the strobes cool down between series and shoot slightly slower.
Also when shooting HSS remember that the power-output is a lot lower than on manual.
But thanks to HSS it is possible to shoot on a very high shutterspeed and wide open aperture to create great images with a shallow depth of field, something that was not possible without HSS.
For outside sessions I’m mostly using the Geekoto GT200 and GT250. Both support HSS and have more than enough power to use even during bright sunlight.
There are also some other options at the moment like the Sony Global shutter sensors which makes it possible to shoot up to insane shutterspeeds with strobes. There are some limitations you need to know, but this is one of the biggest steps forward for flash photography in decades.
Manual mode
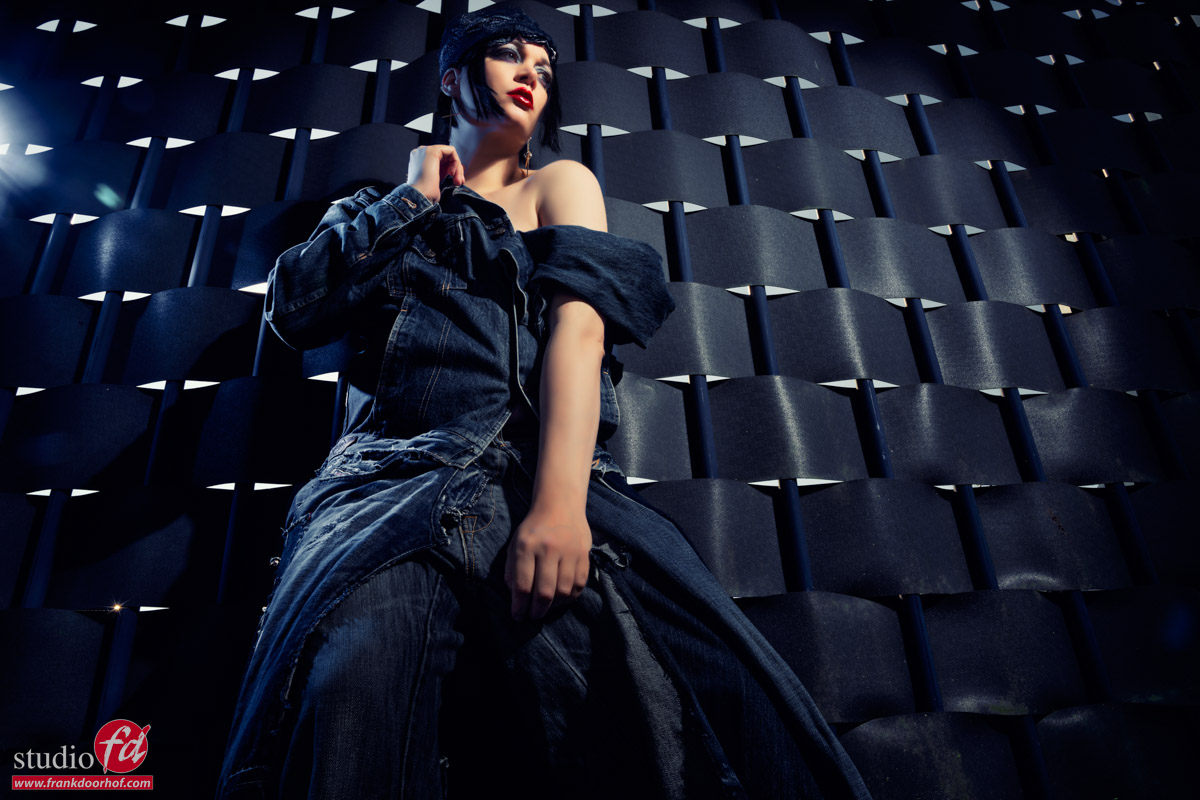
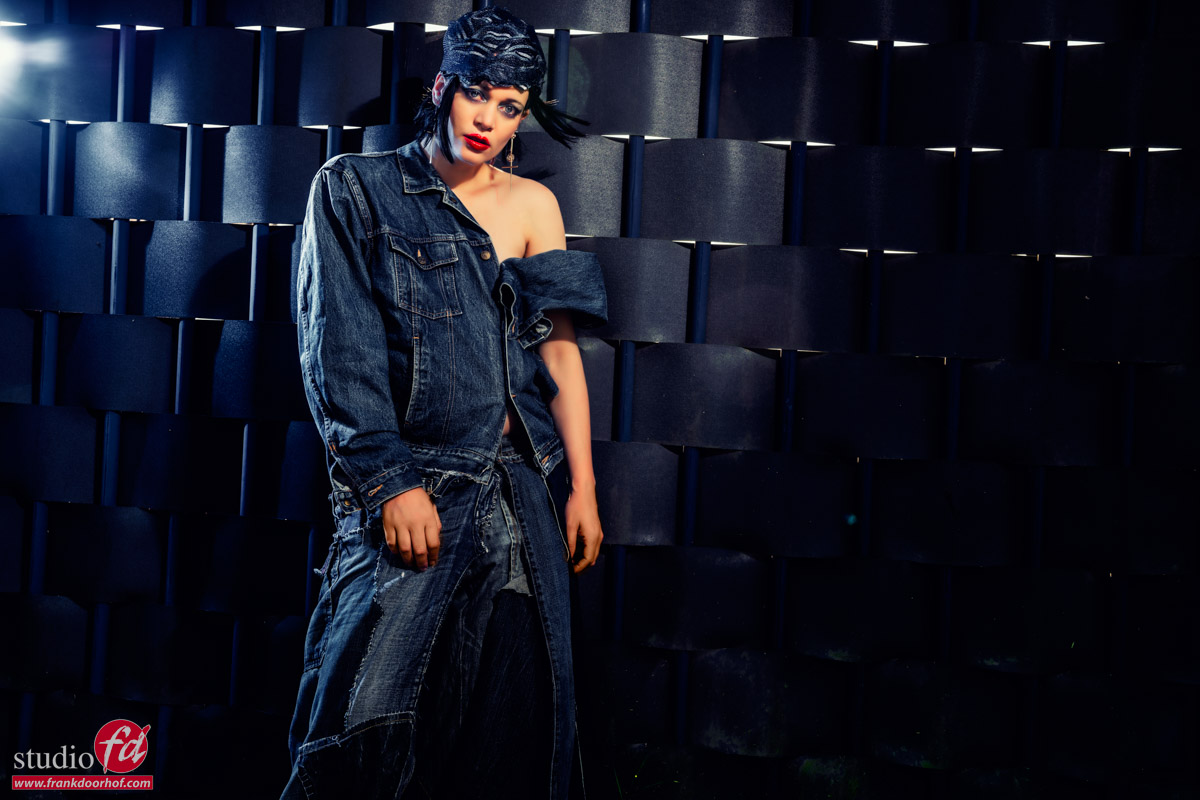
Todays images are part of the workshop “on location in Emmeloord” we did with our Model Nadine.
In this workshop we look for uninteresting locations and the challenge is to make it interesting with the use of strobes.
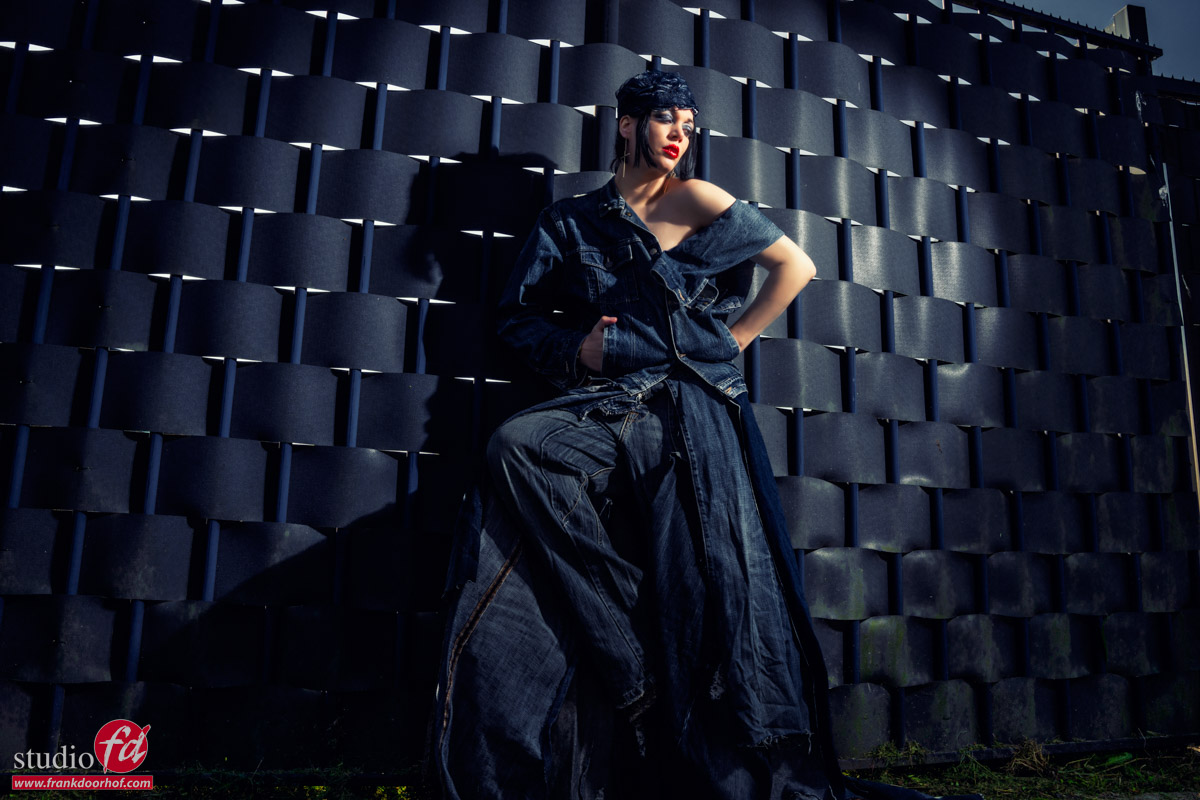
This wall is next to our studio and we loved the combination of Nadine’s outfit and the color of the Fence.
In the video I explain the lighting setups and how to incorporate a gel and the sun in the final shots.
And of course here are the images from the video.
As explained in the video these were shot on manual mode.
The reason we use manual mode during the workshops is because HSS is camera dependent, if you use your strobes yourself that’s no problem but during workshops we have attendees with different camera brands, so we have opted for a so called universal system that will just trigger the strobes on manual mode. Because I use my strobes on Manual mode in 99% of the cases this is not a real problem, the only limitation is of course the X-Sync. But as you can see we have plenty of power in the Geekoto’s 😀
Also want to visit a workshop?
Today I showed you the results and of the sets we did during the workshop outside with Geekoto strobes “on location in Emmeloord” with Nadine.
During the workshops I always try to use 3-4 different setups explaining different techniques and of course it’s a great way to get a good addition to your portfolio.
If you think “that’s for me”
Than visit photography-workshops.eu for the Dutch workshops.
But if you are not living in the Netherlands or don’t speak Dutch we also have other options.
If you let is know 2 weeks in advance I can teach the workshop you want to visit in English.
Or if you can’t travel to our studio we also now offer the option to get a full 1:1 experience with 5 different camera angles, lightroom/Photoshop view and a talkback channel, you also get all the raw files and retouched results from the workshop. Visit our online workshops page for more info.
https://frankdoorhof.com/web/wp-content/uploads/2024/09/Nadine-2-September-21-2024-copy.jpg8001200Frank Doorhofhttps://frankdoorhof.com/web/wp-content/uploads/2015/03/studioFD_Logo-1FV.pngFrank Doorhof2024-11-16 18:00:312024-11-06 17:16:49Working with strobes on location and how to kill the ambient light part II
I think most of us will agree on this. If you want proper colors and happy customers (depending on the assignment of course) it’s very smart to calibrate your monitor at least once a month, but preferably before every important retouching job. But what are the important settings during calibration?
Calibrating your monitor is super easy.
I’ve been using Calibrite (X-rite) products for years. They are easy to use and compatible with the hardware calibration options inside my BenQ monitor. This is a big plus because although the software from Calibrite is great, hardware solutions are always better, of course. Most professional and semi-professional monitors support hardware calibration.
By the way, if you are in the market for a new monitor and you live in the EU drop me an email, I have a few 10% discount codes from BenQ They have been supporting my work with Digital Classroom for years and love to give you guys a nice discount.
Anyway back to the story.
Even with easy software, it’s sometimes easy to get an error that… well you can’t fix.
You checked everything, and although you know your brand new monitor should really be perfect, it’s far from.
Or maybe you don’t know how to read the rapports and just wonder why there is so much fuzz about professional monitors.
Step 1
This one is for all systems.
When you are using the HDMI connection make sure your monitor is set for 0-255 or FULL RGB.
If it’s set up for 16-235 (video) you will get all kinds of weird behaviors, very noticeable in the dark and bright areas, but in essence, your whole image looks way off.
When you are using USBc, TB, or Display port you don’t have to check this.
Those connections automatically select the right output.
So is HDMI bad… absolutely not, it’s just as perfect for what we do as USBc and Displayport, you just have to check that one setting.
Step 2
And that’s the nasty one.
In the Mac, there is one setting that will almost certainly have you scratching your head and probably a little bit in panic mode.
If whatever you do, you can’t pass the final certification from your calibration and the errors are constantly changing per calibration, there is probably one setting you forgot the turn off. You can find it under “Displays” in Mac OS.
This one will give you A LOT of issues when you want a stable and trusted display.
So turn it OFF.
This goes for all settings with labels like “auto”, “Enhancement”, “Super”, “Real”, “natural” etc.
Just turn everything off and run the calibration software.
You will see that you will pass the certification without any problems now 😀
Don’t forget this important setting during calibration!
If you have any questions, feel free to leave them below, or reach out via our social media.
https://frankdoorhof.com/web/wp-content/uploads/2024/09/Untitled.png20482048Frank Doorhofhttps://frankdoorhof.com/web/wp-content/uploads/2015/03/studioFD_Logo-1FV.pngFrank Doorhof2024-09-21 18:00:542024-09-19 13:36:18That setting that drives you nuts during the calibration process on Mac (and windows)
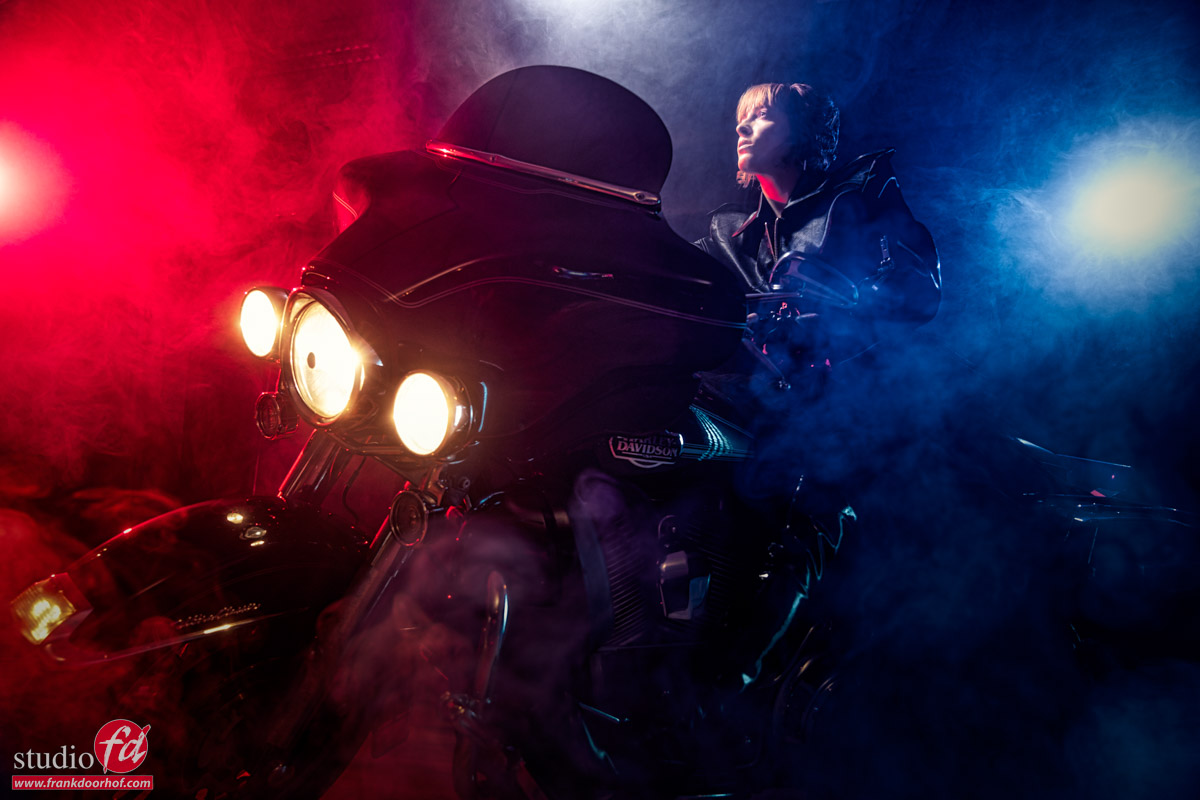
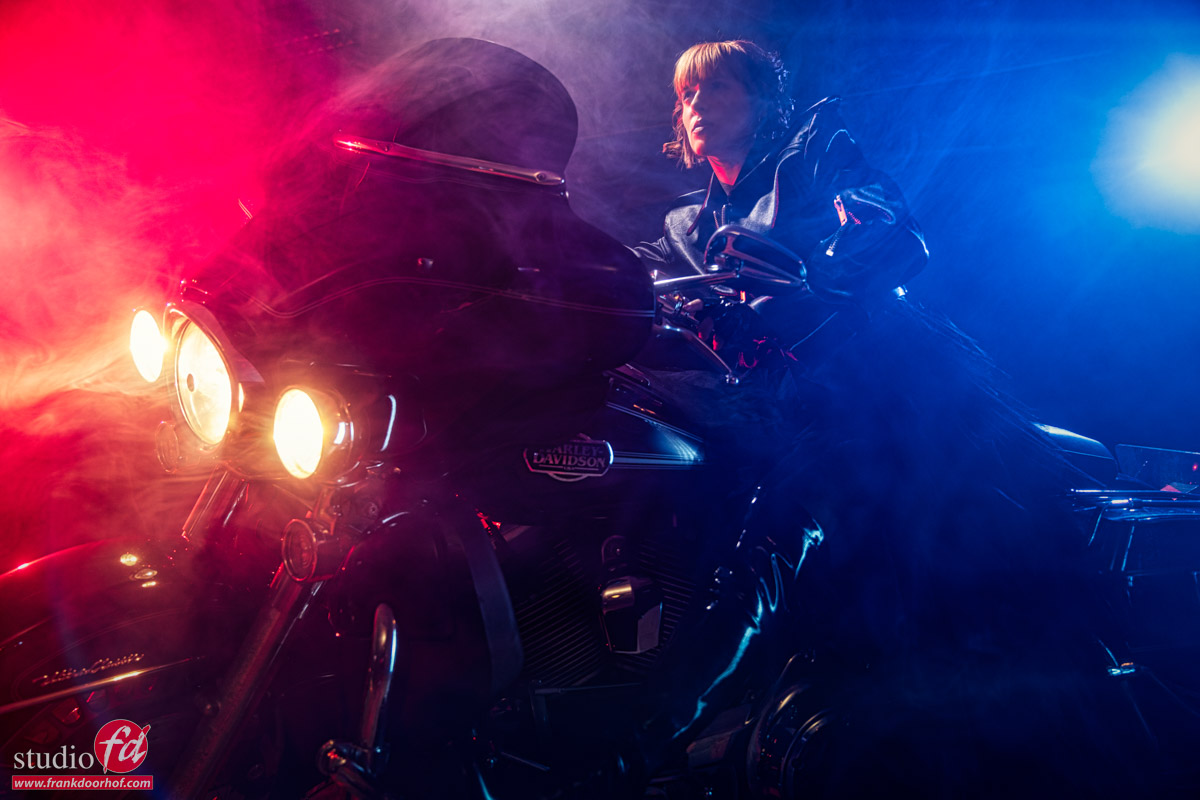
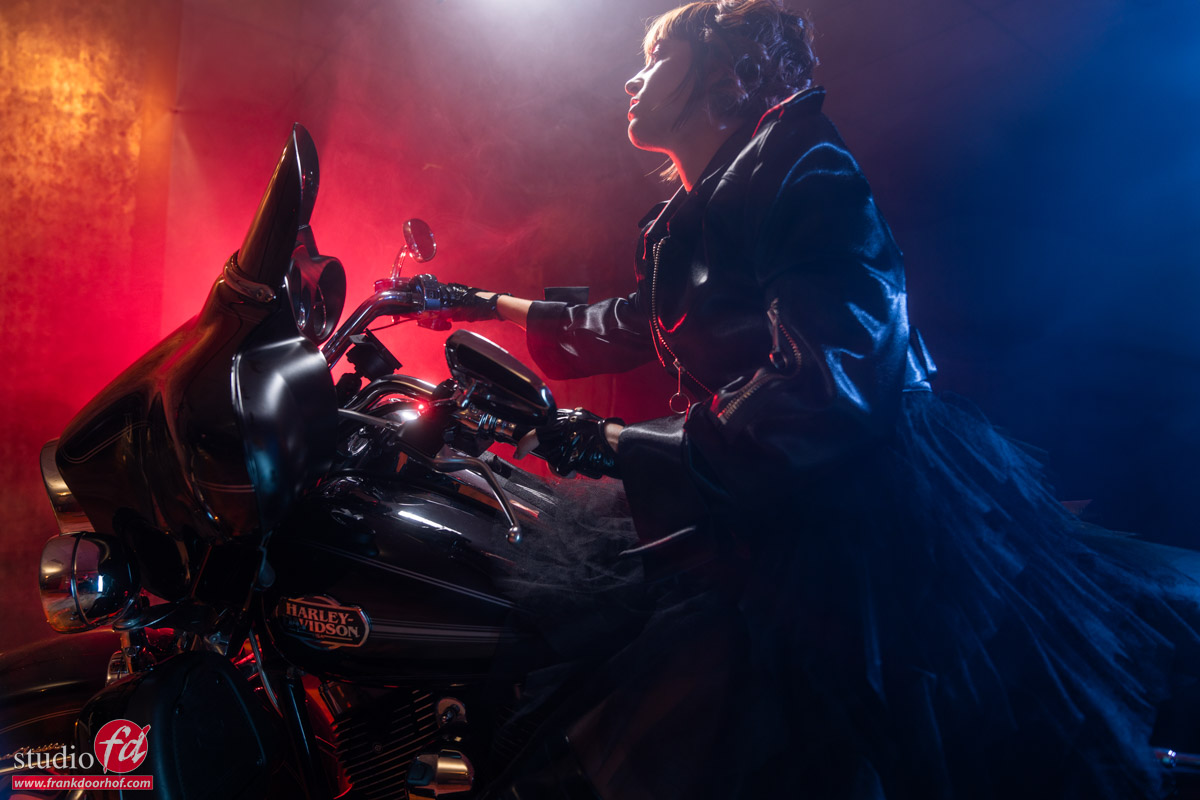
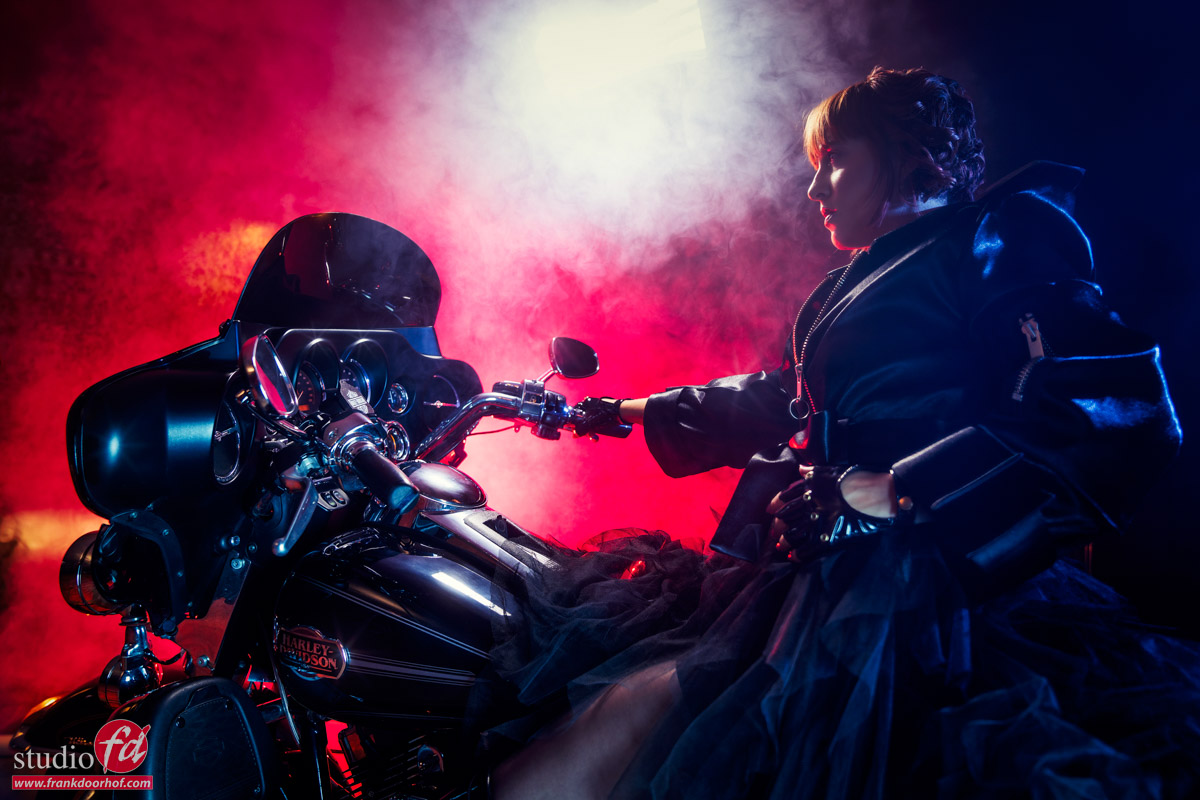
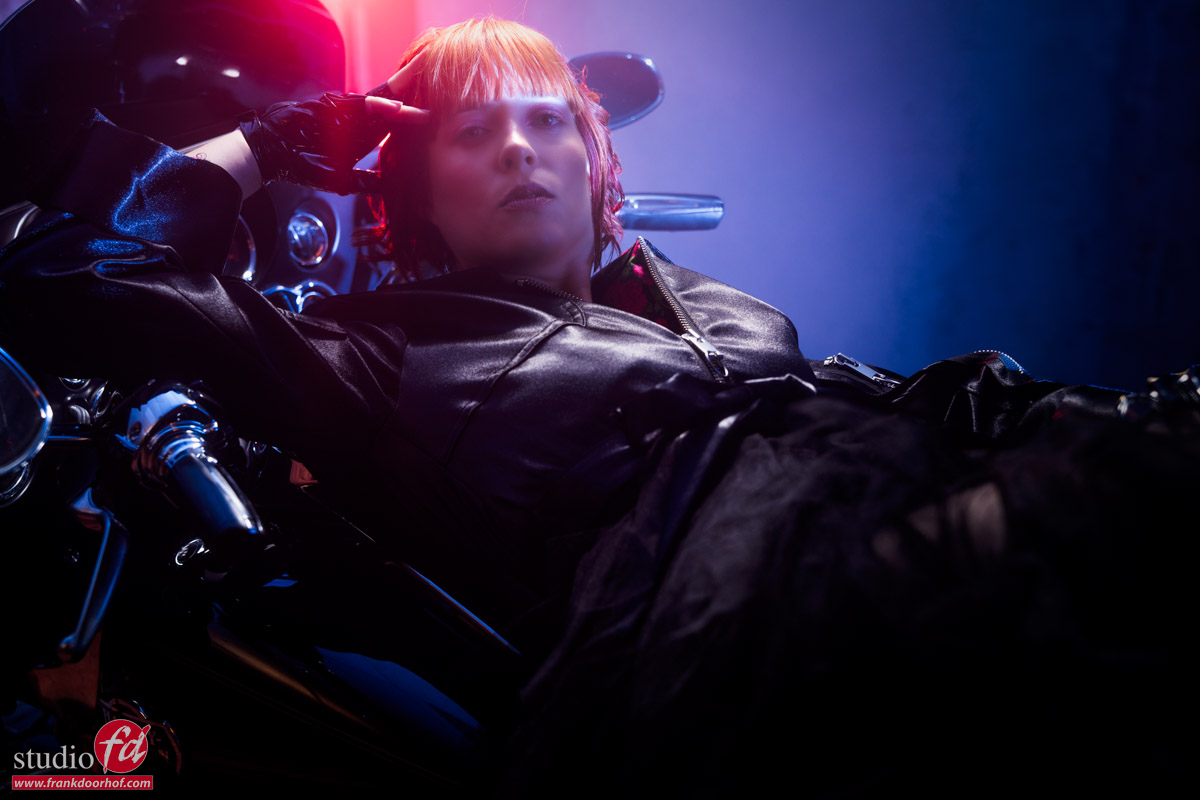
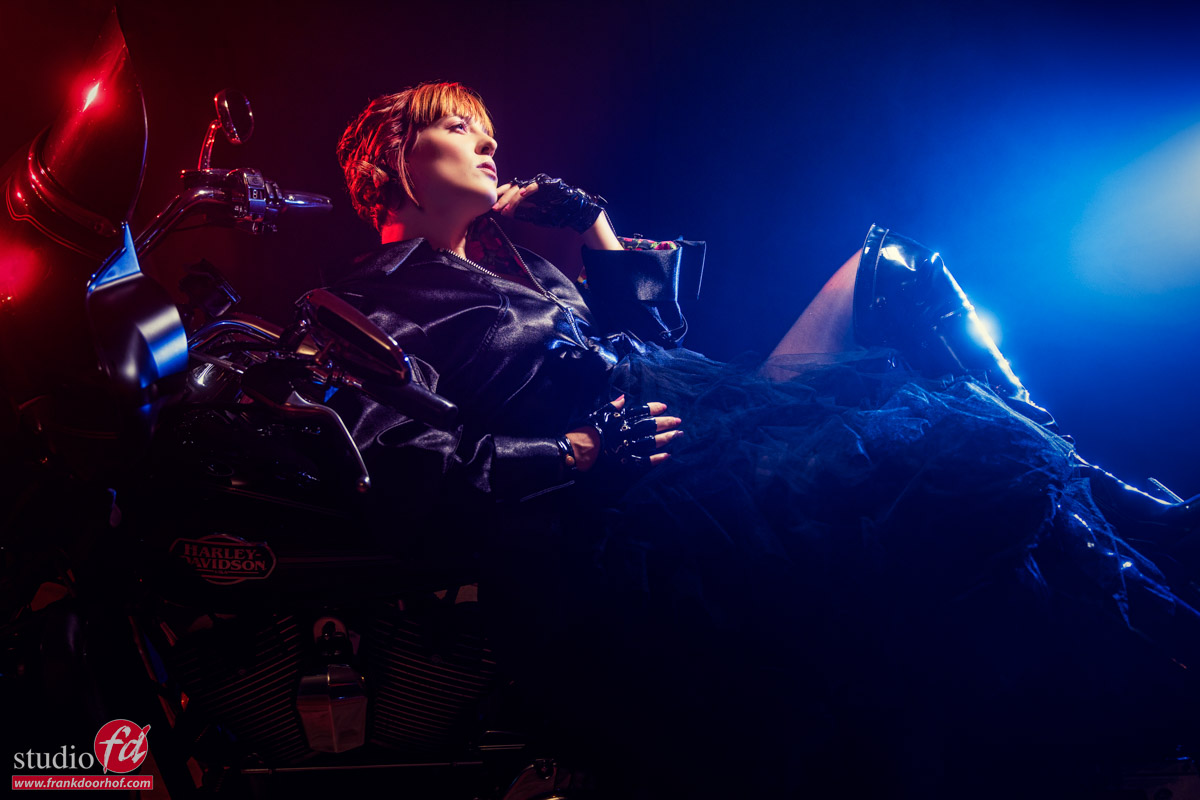
Frank Doorhof’s Digital Classroom, model shoot with a motor
Have you ever wondered how they got those shots?
Well, you’re going to love the Frank Doorhof’s Digital Classroom series.
In these broadcasts, we show you complete setups and tell you about the technique but most of all, we also talk about choosing the right angle, styling, adding elements in the set or for example, smoke, working with lens flares, colors, etc.
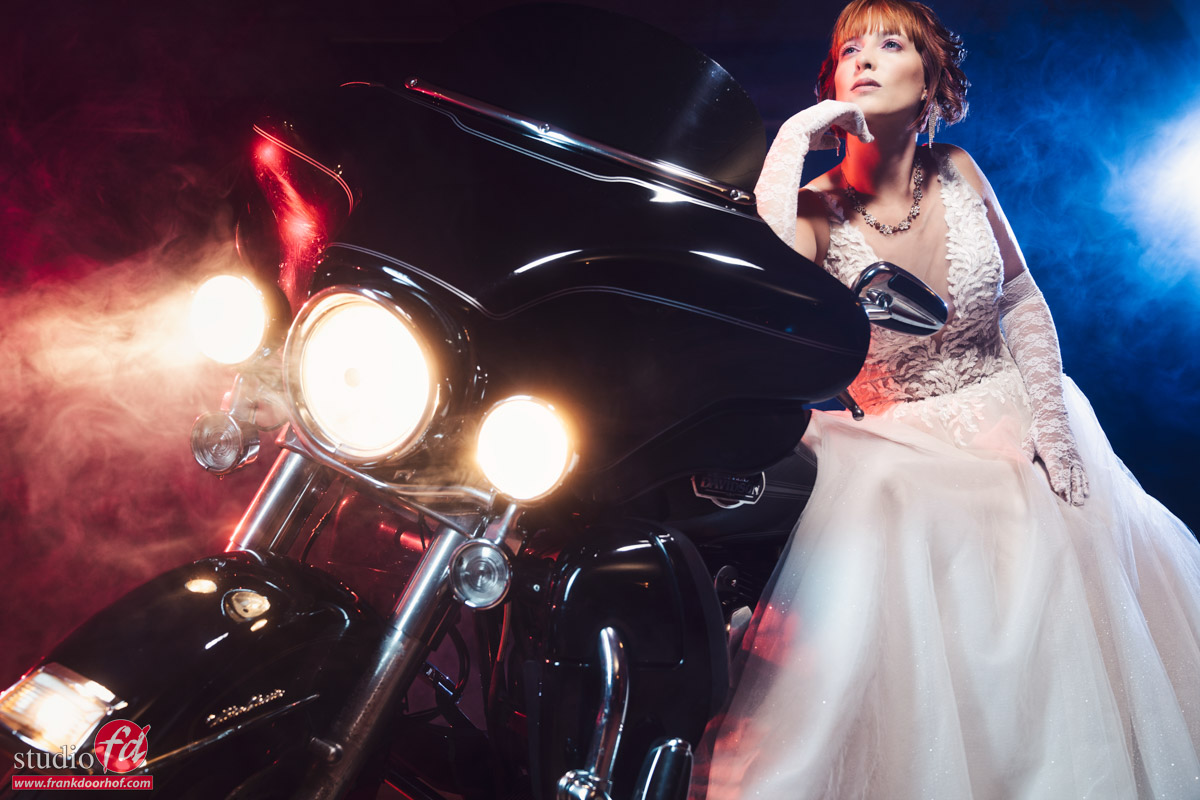
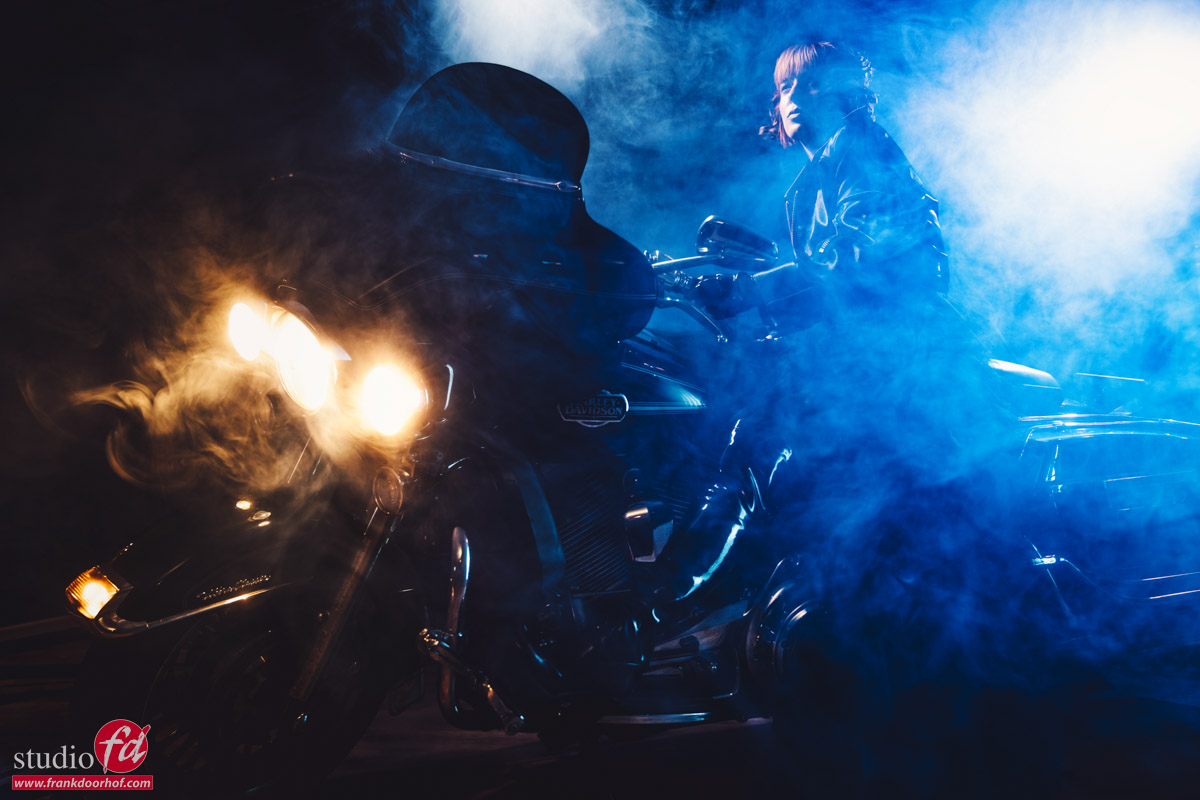
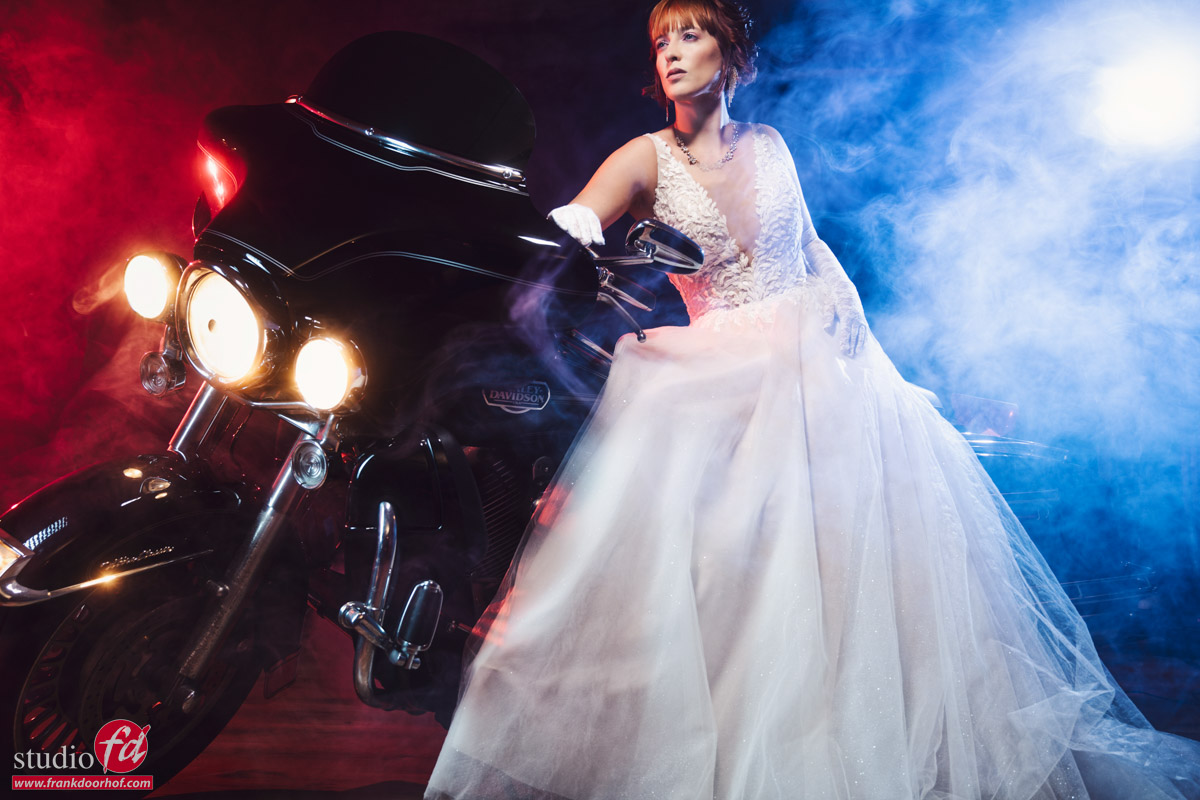
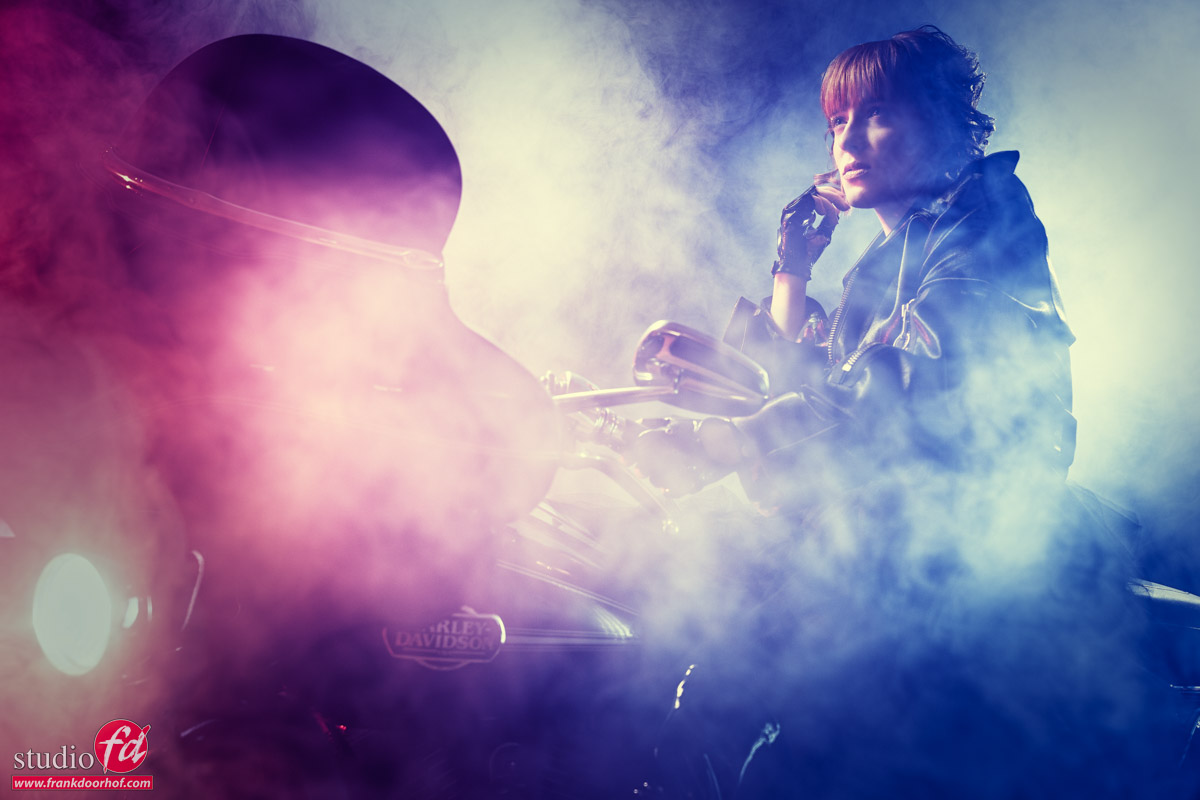
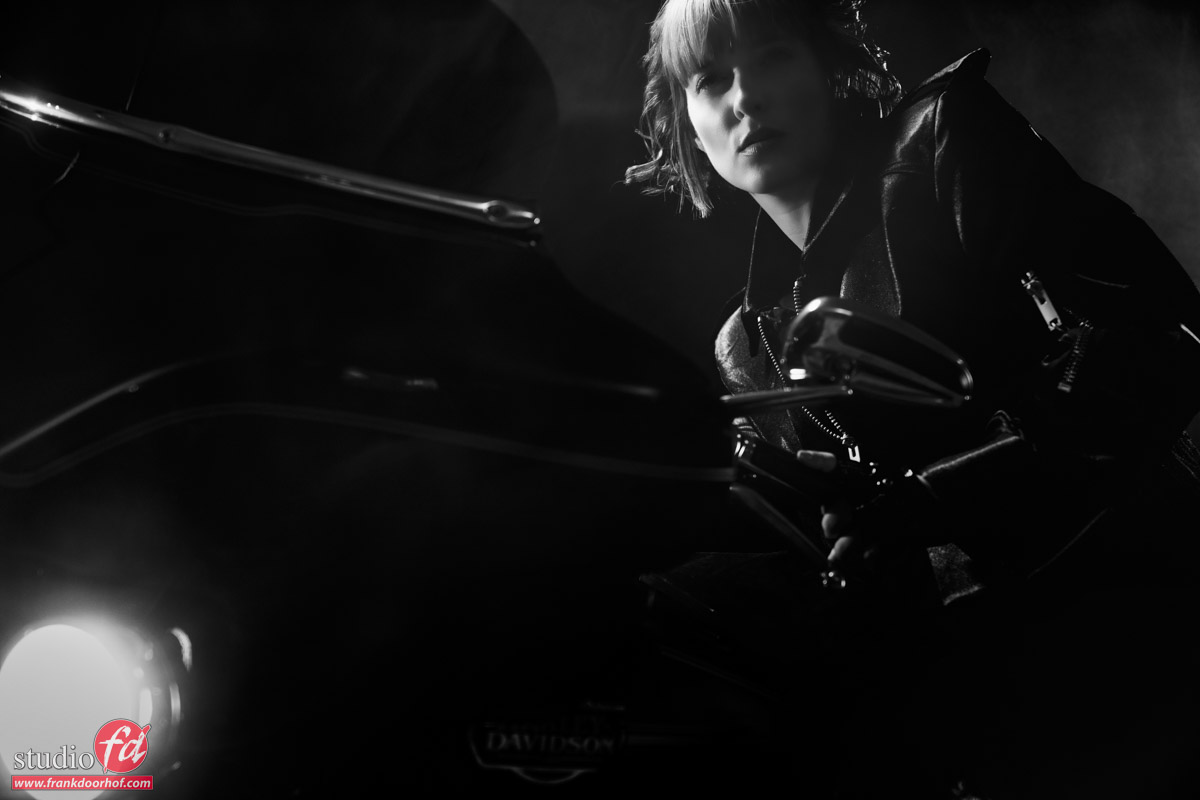
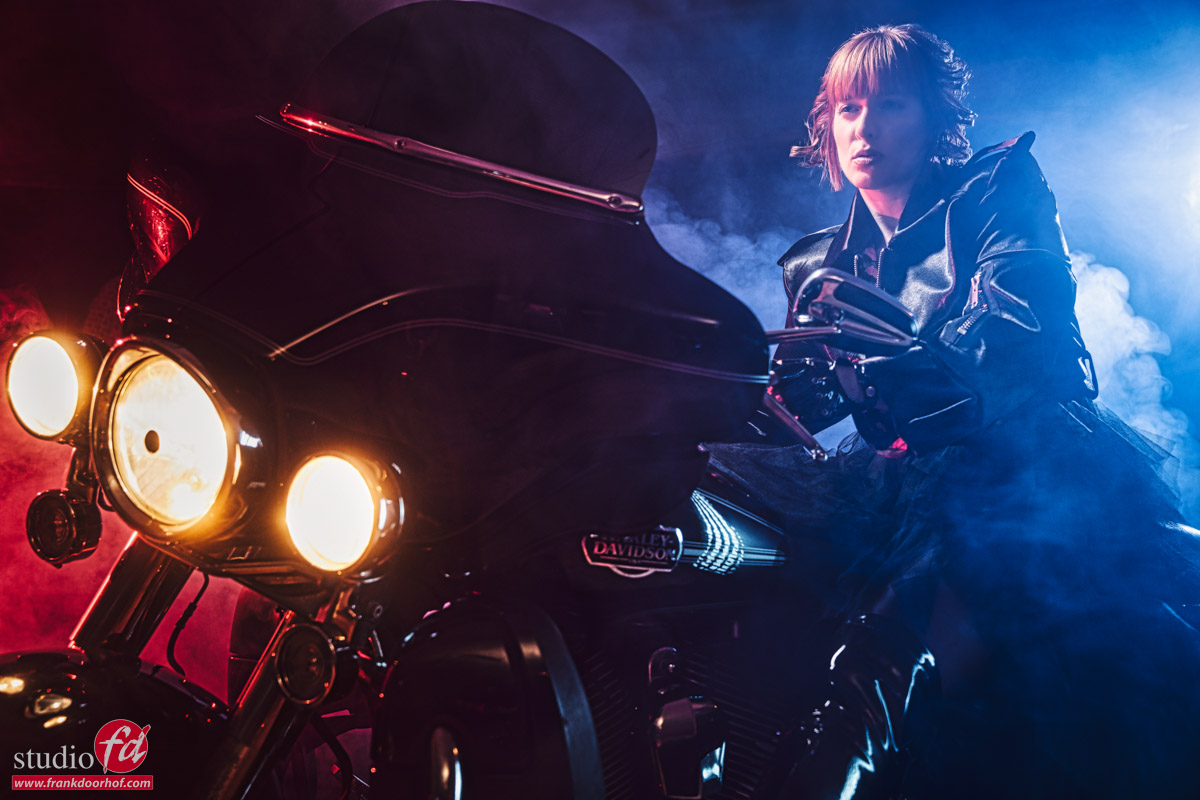
And this time we had a very special prop, a Harley Davidson.
In two completely different setups, I show you how to light the set and pose the model, but also how to light in zones and understand feathering and light placement for reflections and covering up light sources.
And the coolest part?
I did it all with the Geekoto strobes, the FlashBender in striplight configuration, and the Rogue Magnetic system.
A complete setup everyone can afford and still gives you awesome results both on location and in the studio.
See frankdoorhof.com/shop for the gear I use.
Here is the episode of the digital classroom.
Digital Classroom results
And of course, you also want to see the results.
Do realize these were all shot during a live broadcast, so not the perfect circumstances to get everything 100% right 😀
Frank Doorhof’s Digital Classroom supporters
We have to thank our sponsors for making Frank Doorhof’s Digital Classroom possible.
Frank Doorhof’s Digital Classroom is sponsored by BenQ Photographic Monitors & Rogue Expo Imaging; Photographic Design (FlashBenders & Magnetic modifiers, color, correction, and reflection)
Also powered by Calibrite (calibration done right, the best solutions for photographers, filmmakers, designers, and content creators who love color and demand the very best tools for their color-critical workflow) and Cascable (tethering software for the iPad),
Furthermore, we thank YOU! the viewers and fans of our Digital Classroom from all over the world. We like your questions and remarks in the chat live or below our videos.
Special thanks to our friend Martin, who drove his precious Harley in our studio, and friend and model Claudia for being creative.
You might have seen our little mascot Chewie the Labradoodle, who doesn’t like smoke but was brave enough to be watching from below the desk.
https://frankdoorhof.com/web/wp-content/uploads/2024/08/Claudia-DC-35-August-21-2024-Edit.jpg8001200Frank Doorhofhttps://frankdoorhof.com/web/wp-content/uploads/2015/03/studioFD_Logo-1FV.pngFrank Doorhof2024-08-23 12:02:022024-08-30 11:19:53A Harley Davidson and a beautiful model and you get to see it all….


You must be logged in to post a comment.