I never ever spend so much time on reviewing a smartphone, but I think the P20Pro is often not reviewed the way that photographers use it in other reviews, or features are not mentioned that I think are very important. Now don’t worry this will NEVER become a smartphone blog, it is and will always stay a photography blog.
Than why spend so much time on a fricking phone?
Well first of all because you guys keep asking me about it, and secondly and probably the most important reason is that this phone is just a real step forward in usability for pro shooters, one could say that it’s the first major break through in years in this segment, and in all honesty I don’t really regard this as a smartphone review, I REALLY and honestly see this as a PURE photography review, yes it’s that good.
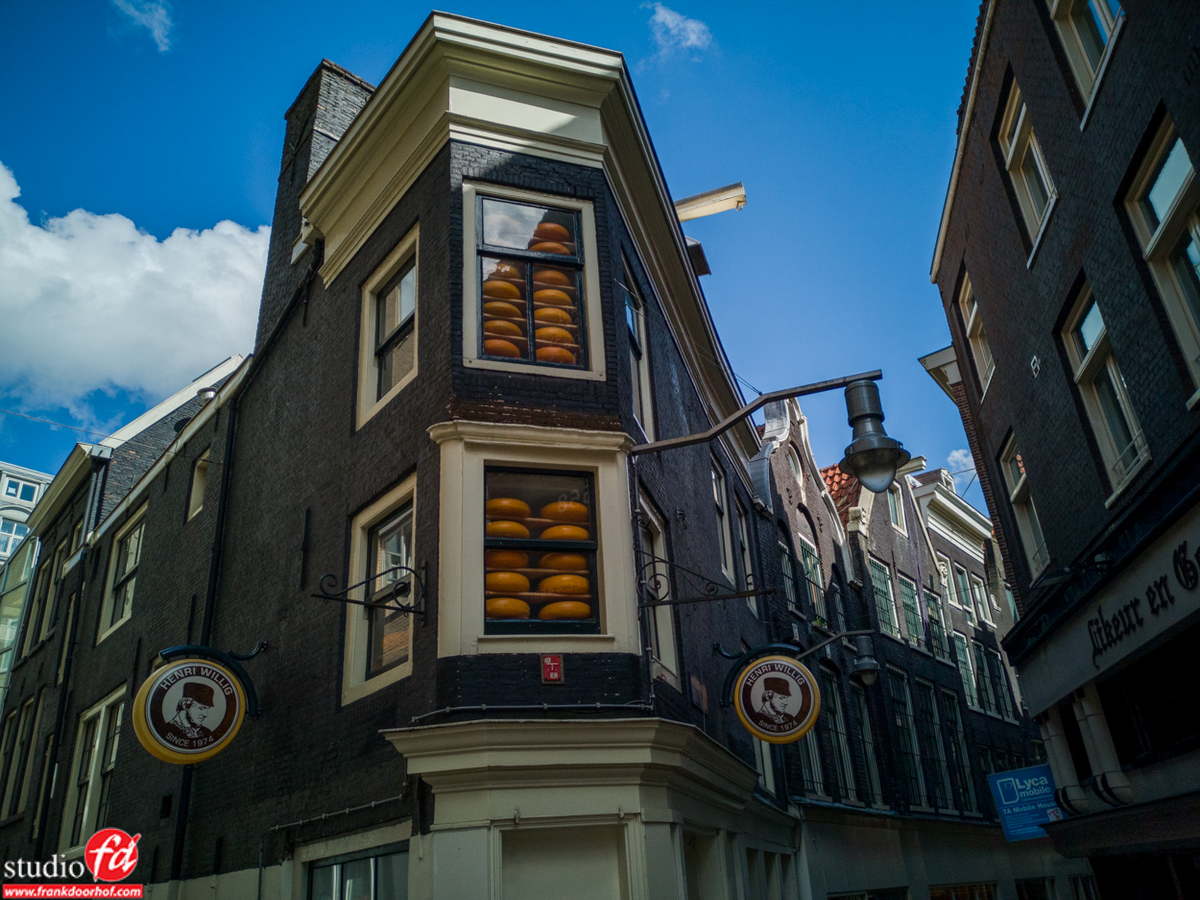
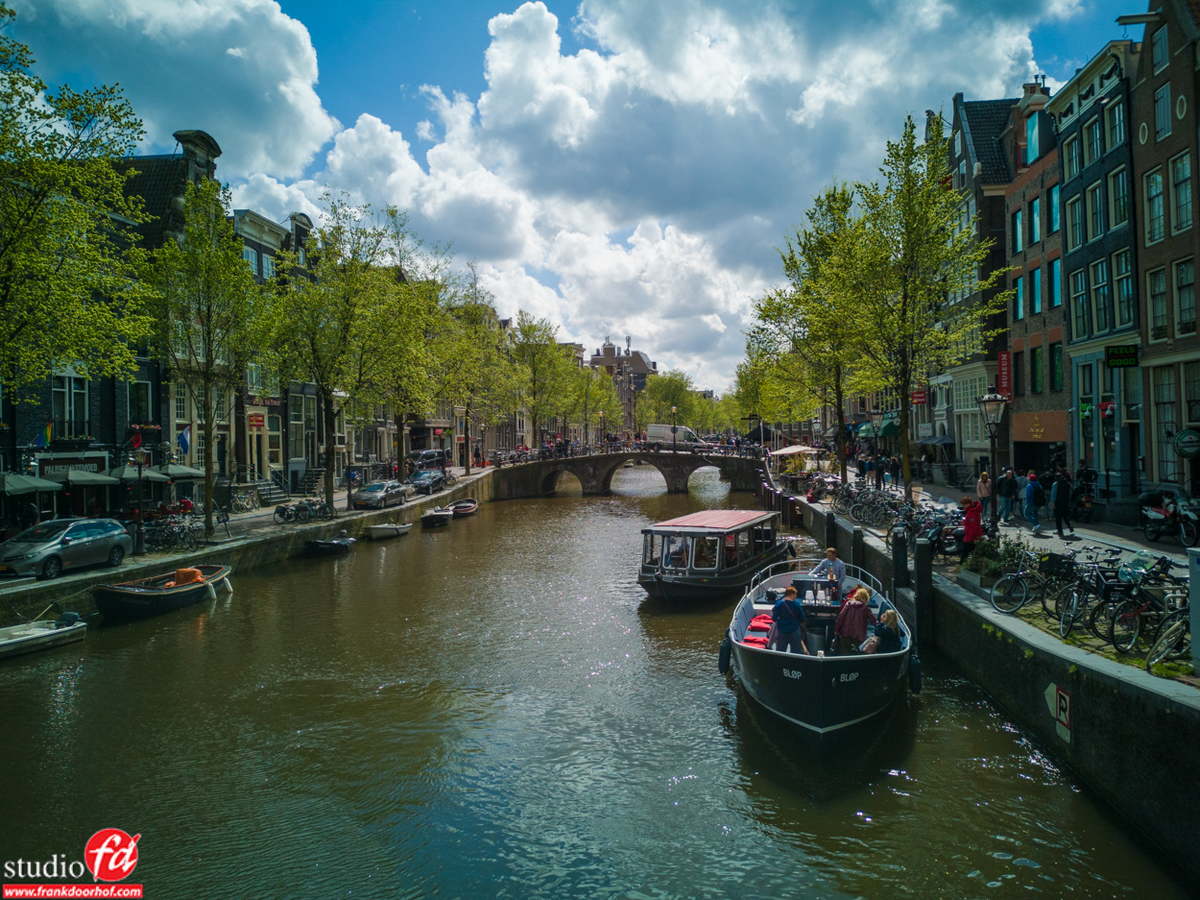
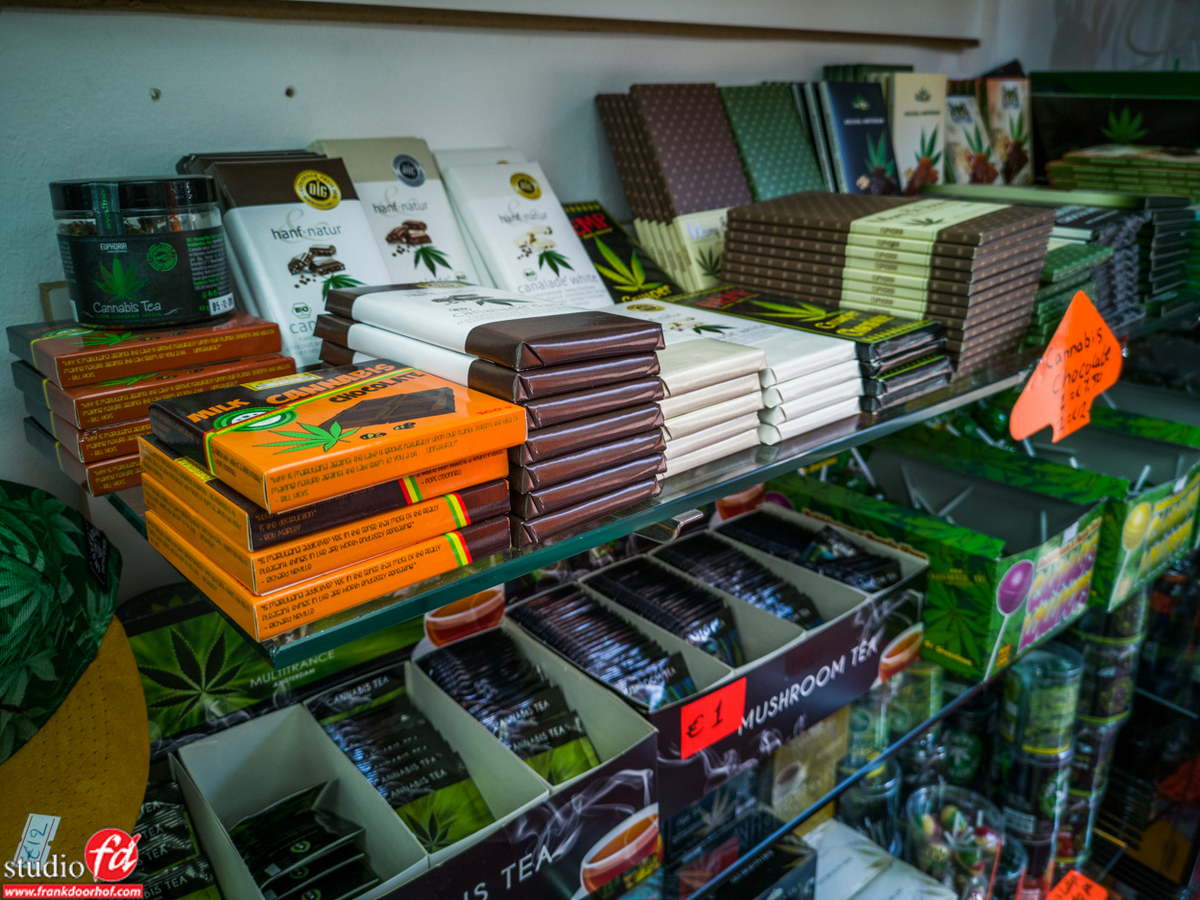
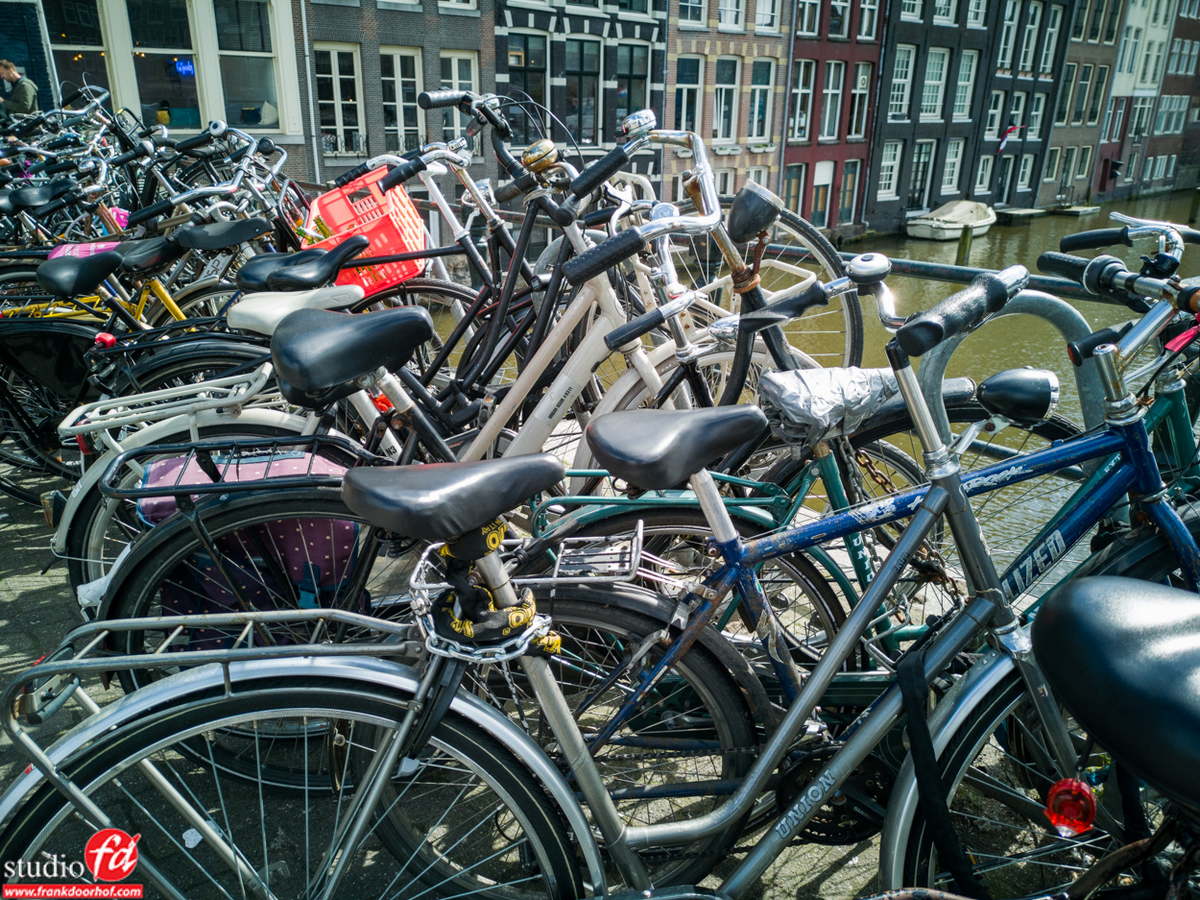
So after the last review you guys asked me how it would perform on the street, just a few shots were not enough to give an impression and “as always” I agree, so today we went out on the streets of Amsterdam for about 30 minutes to shoot some images. Now before I start lets make a few things clear…..
- Oversharpening
PLEASE Huawei, PLEASE lower the sharpening in the JPGs, I don’t want to go as far as that they are unusable, but when you shoot something with fine detail it’s literally unusable, it might look fine on instagram but I would never shoot something like that for even the slightest important shot, it’s really hit and miss. Some shots look nice and detailed but most with fine detail are just a mess. And this is a shame for the very simple reason…. it can easily be fixed in a firmware update.
- Nightmode
Absolutely magic, I don’t know what’s going on but even when there is motion in the shot it’s a perfect shot without any motion, you really have to see it to believe it, but also there PLEASE back down the sharpness a LOT, again it’s hit and miss, some shots are amazing, some are just horrendous
Ok, so JPG pretty much is hit and miss… but who cares about JPG ?
Well if you want to use the amazing night mode you have to work with JPG, so I really hope they will address this in firmware, again it should be incredibly easy to do.
Ok let’s go to the goodies…..RAW
40MP pure raw files…. mmmmm
Now we are talking, this is night and day compared to the JPG files, the RAW files I didn’t expect a lot from when I bought the phone (to be clear I’m NOT associated with Huawei, in fact I did try to contact the Netherlands and got a standard reply that they are not interested in working with Photographers… well ok, and I paid full retail for my phone). The moment I got the phone and saw the RAW files I did like them a lot, but after today it did convince me about one simple thing….
The P20Pro could be the best street/travel cam out there today in the compact range.
Yes you heard that correctly. But I also added could be.
In essence.
If you are ok with shooting on the 40MP RAW setting, and not using all the special features like HDR, Lightpainting, portrait etc. and can work with the wide angle lens this is in fact a full replacement for a compact camera. Yeah the compact camera will be better in some cases, but let’s be honest your phone is always with you and the compact camera you have to drag with you. In essence I would say that the resolution of the sensor is really good, without doing the scientific stuff I would say it renders detail just as good as 30mp sensor in a DSLR, there is some fringing in some areas due to the bayer filter they used which is inherent to the pixel binding but for a smartphone…. man this baby can shoot.
Ok let’s take a look at some images.
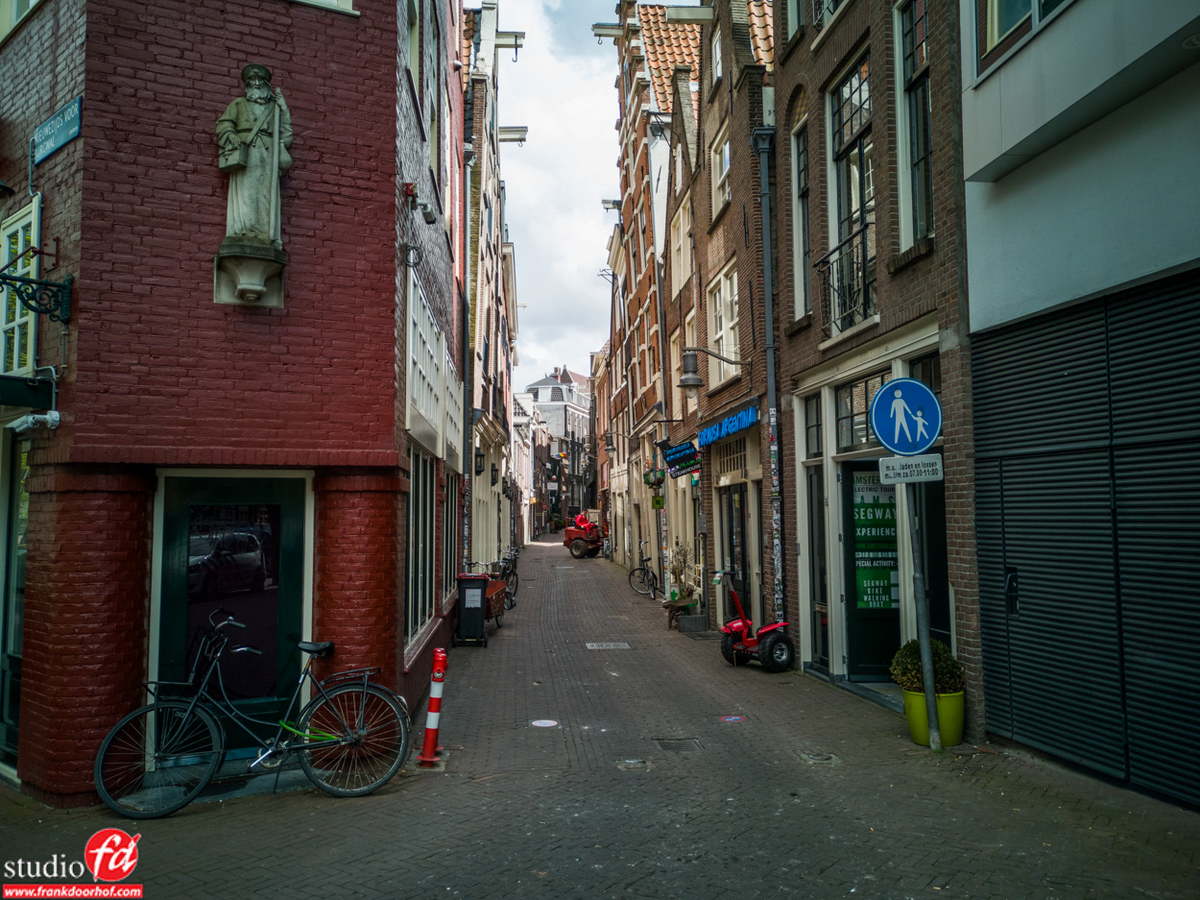
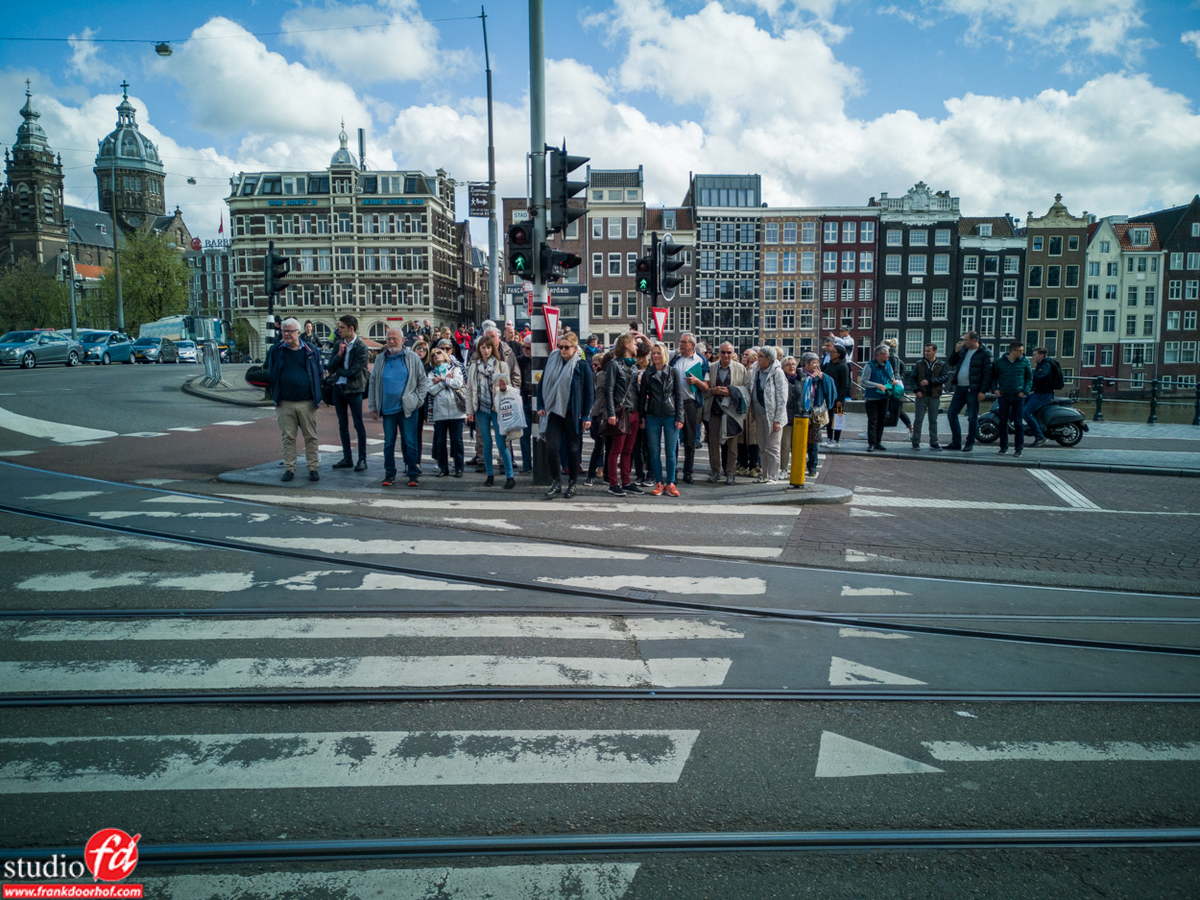
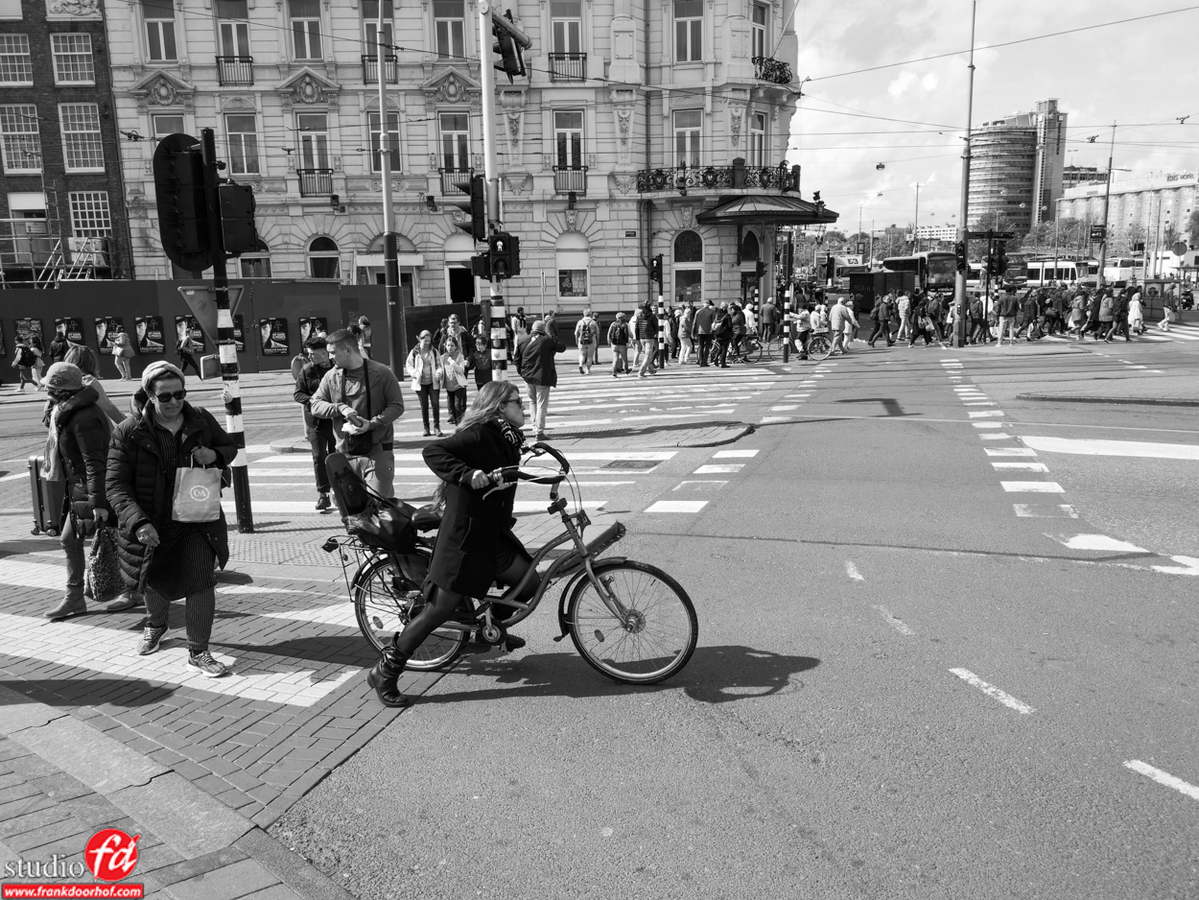
First up dynamic range
All these files are straight out of the camera with Lightroom adjustments, now this might not be your taste, but I tried to show how much you can get back from the files, and it’s pretty impressive. Again… remember this is a smartphone… or let’s say a really really compact camera.
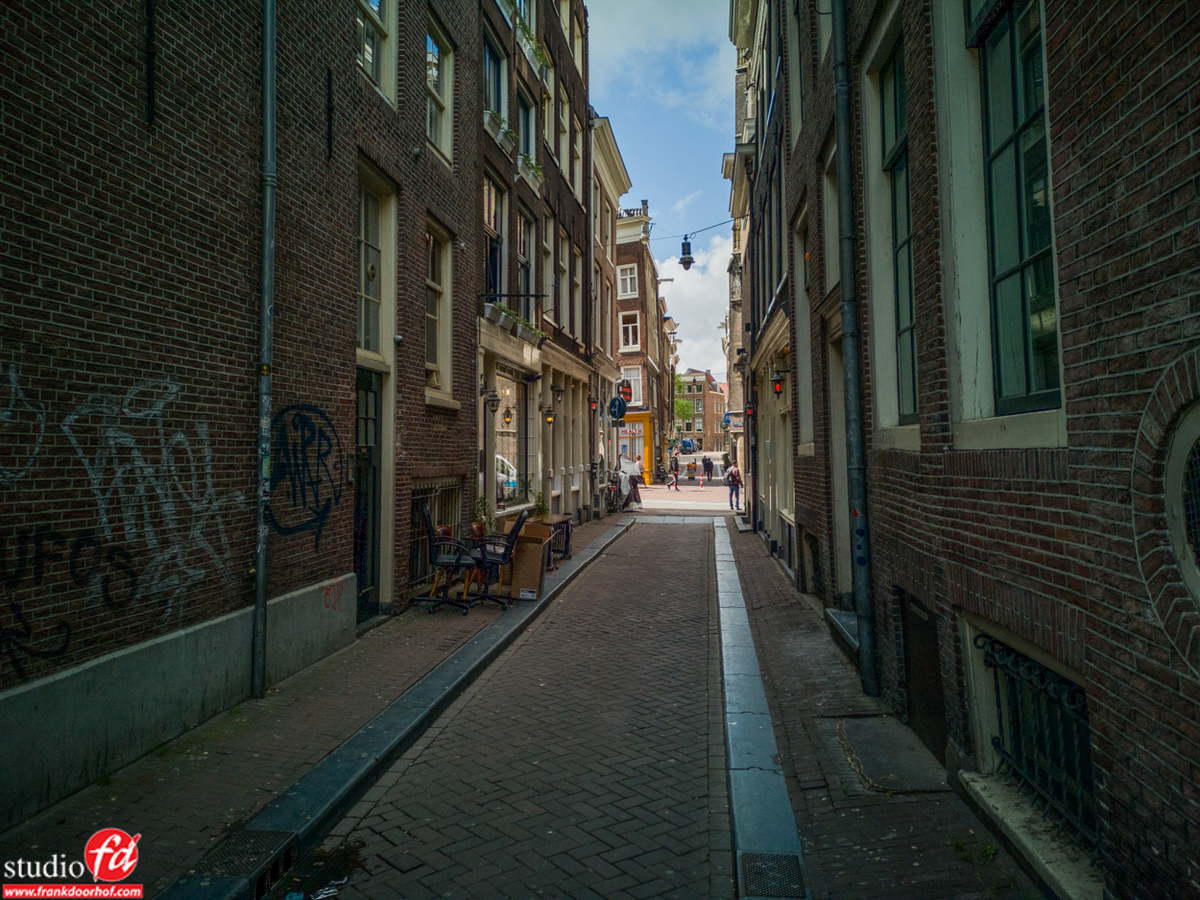
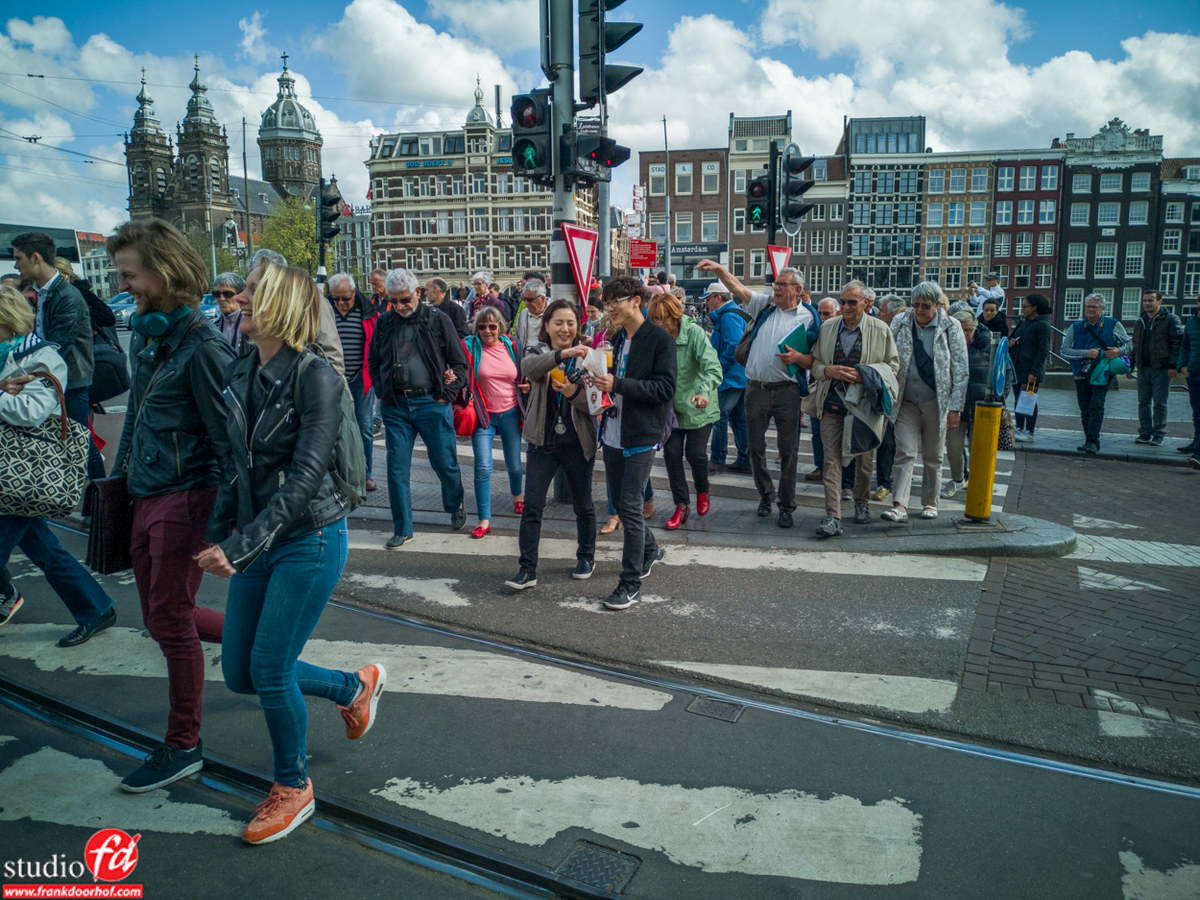

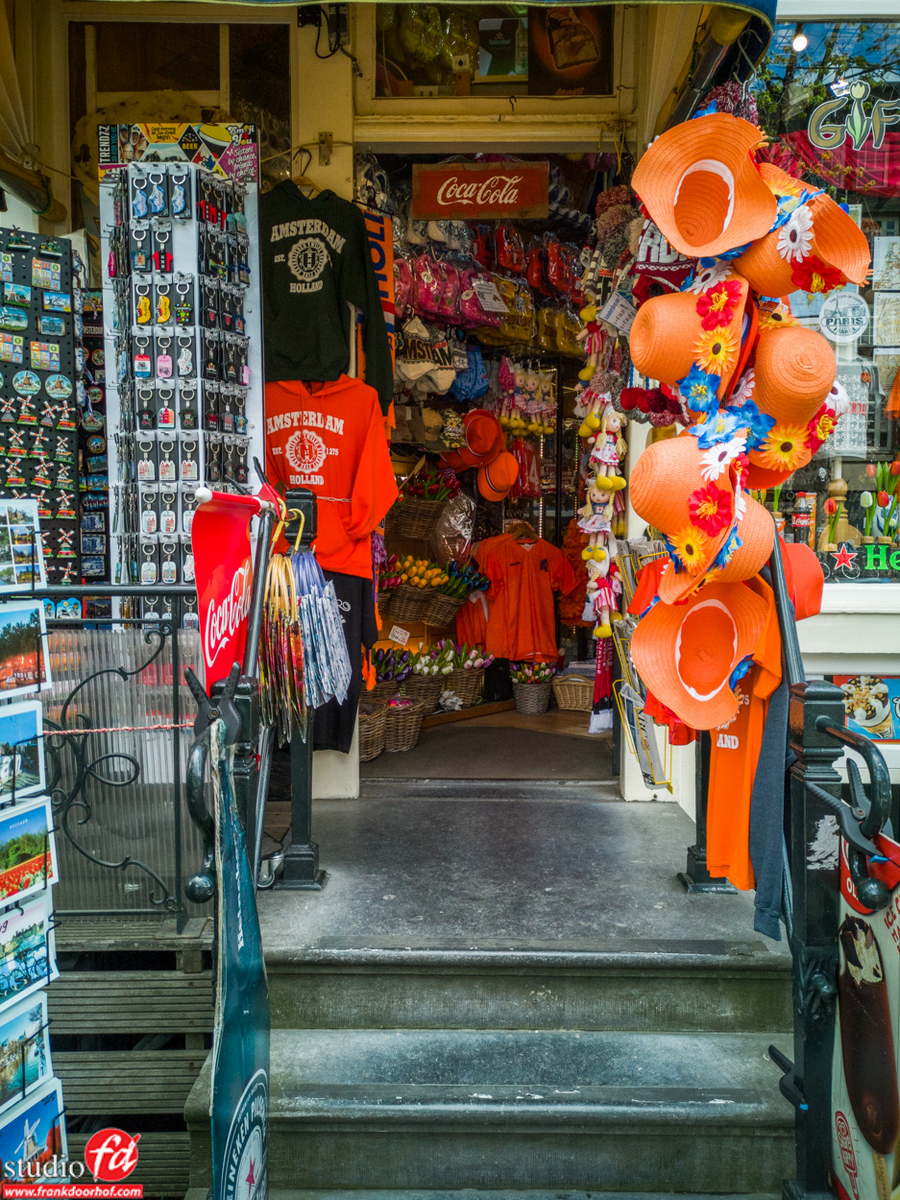
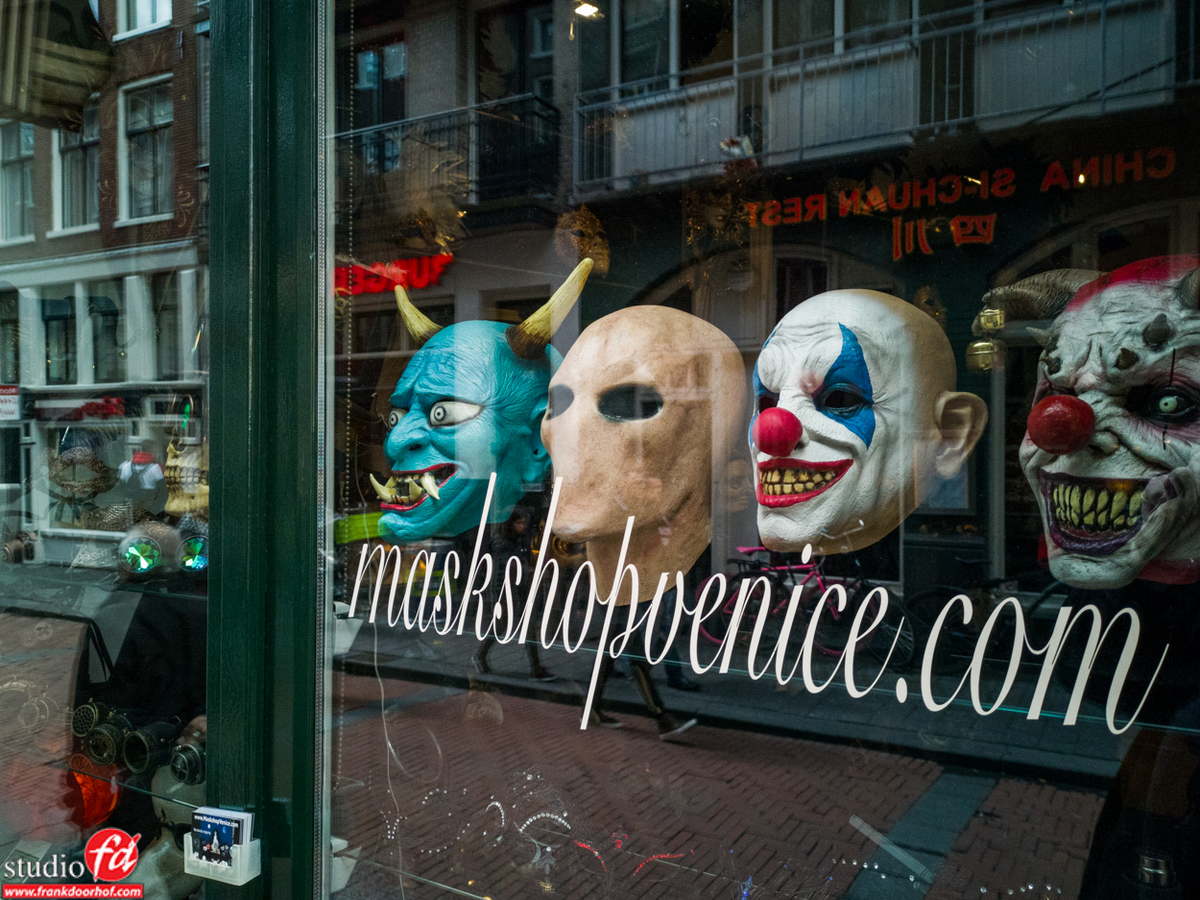
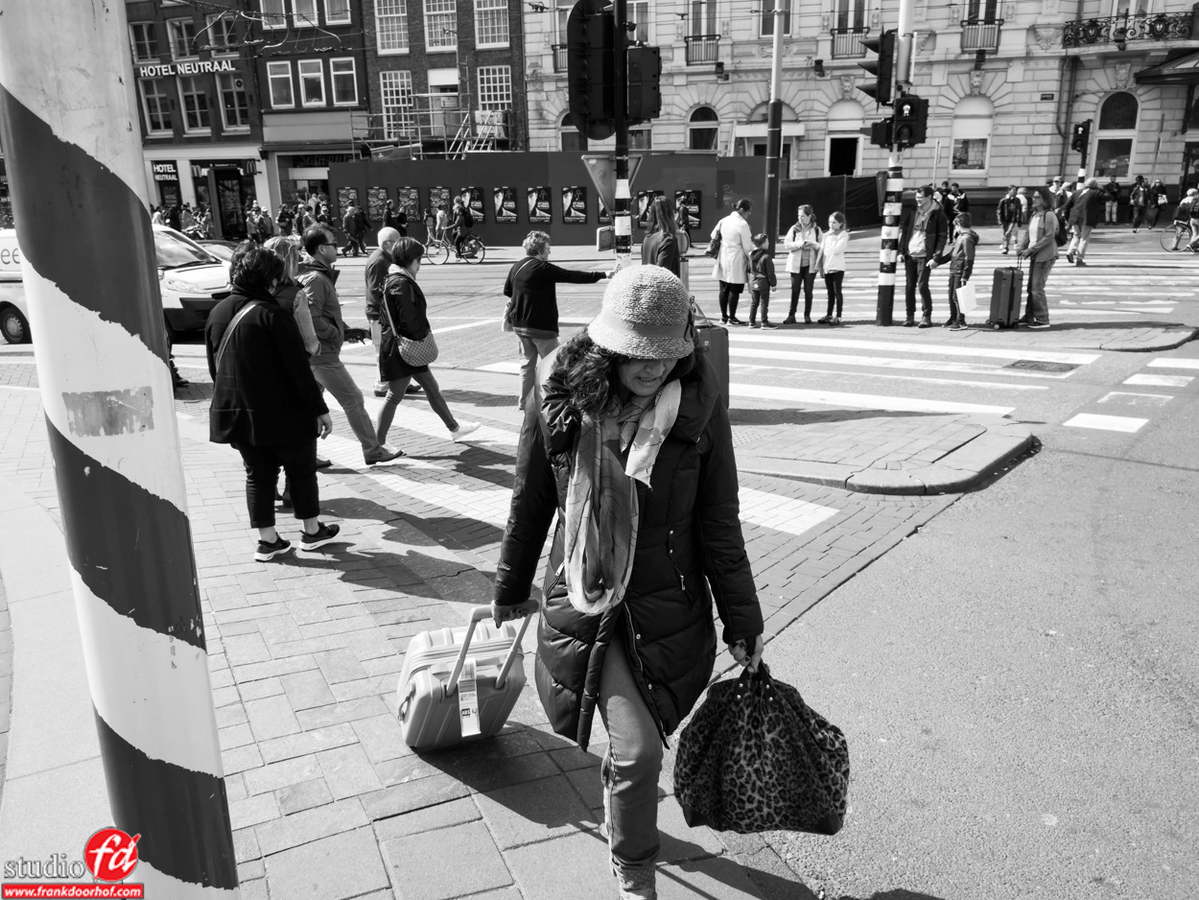
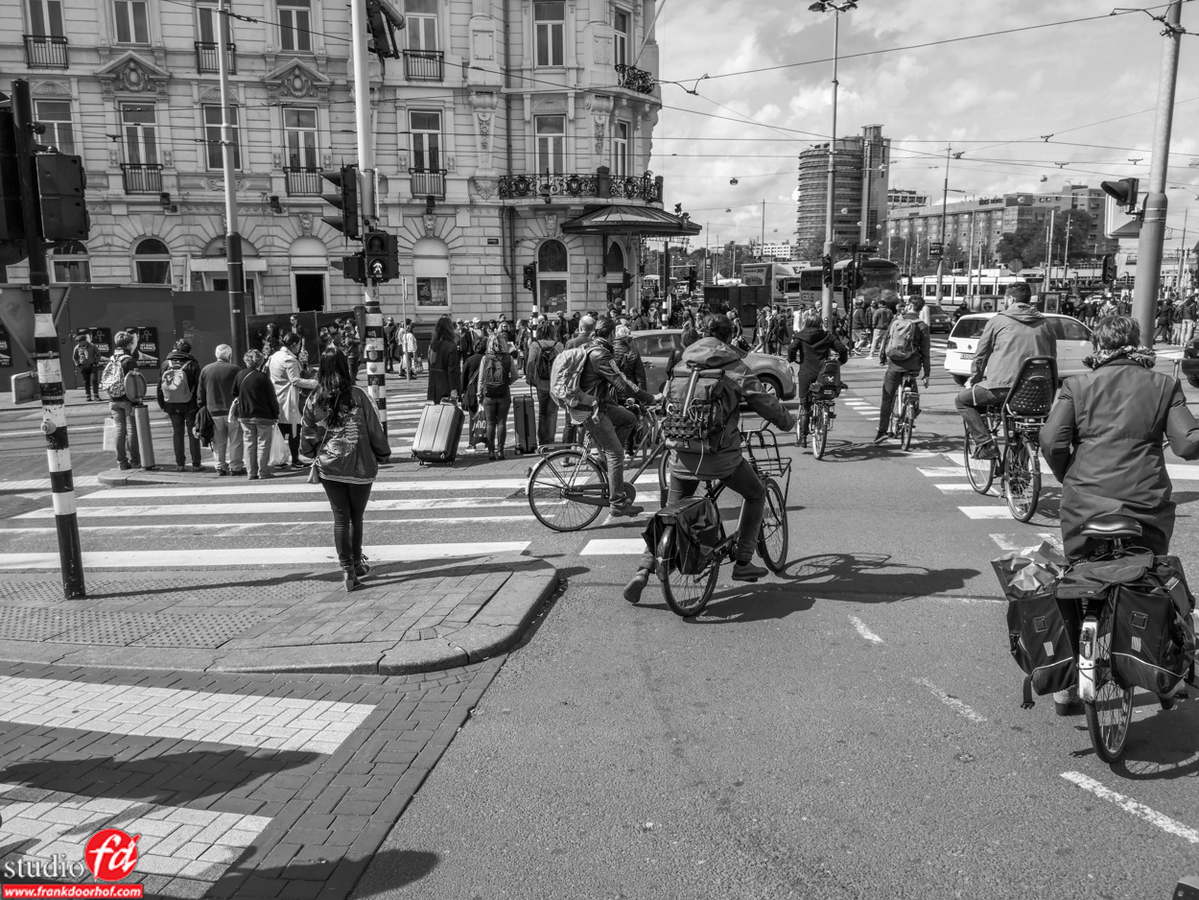
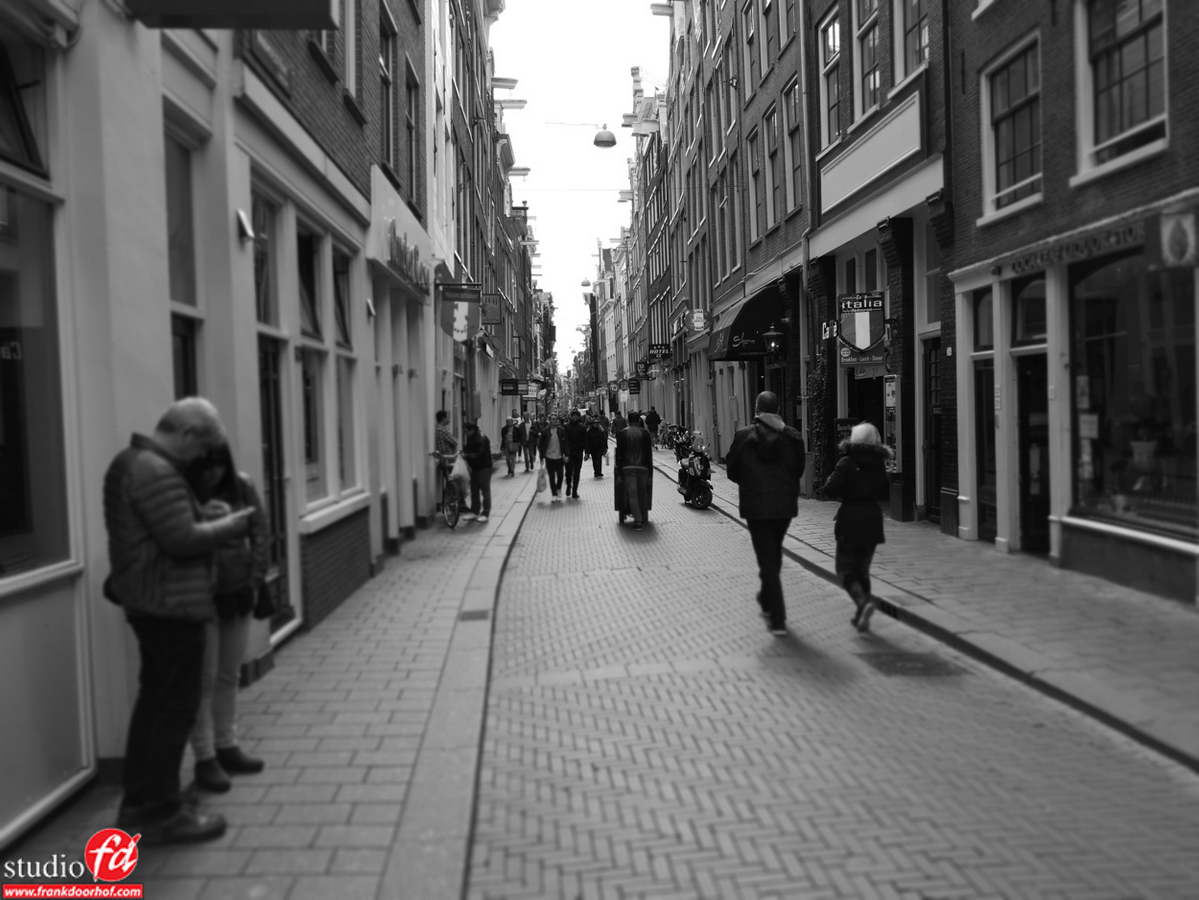
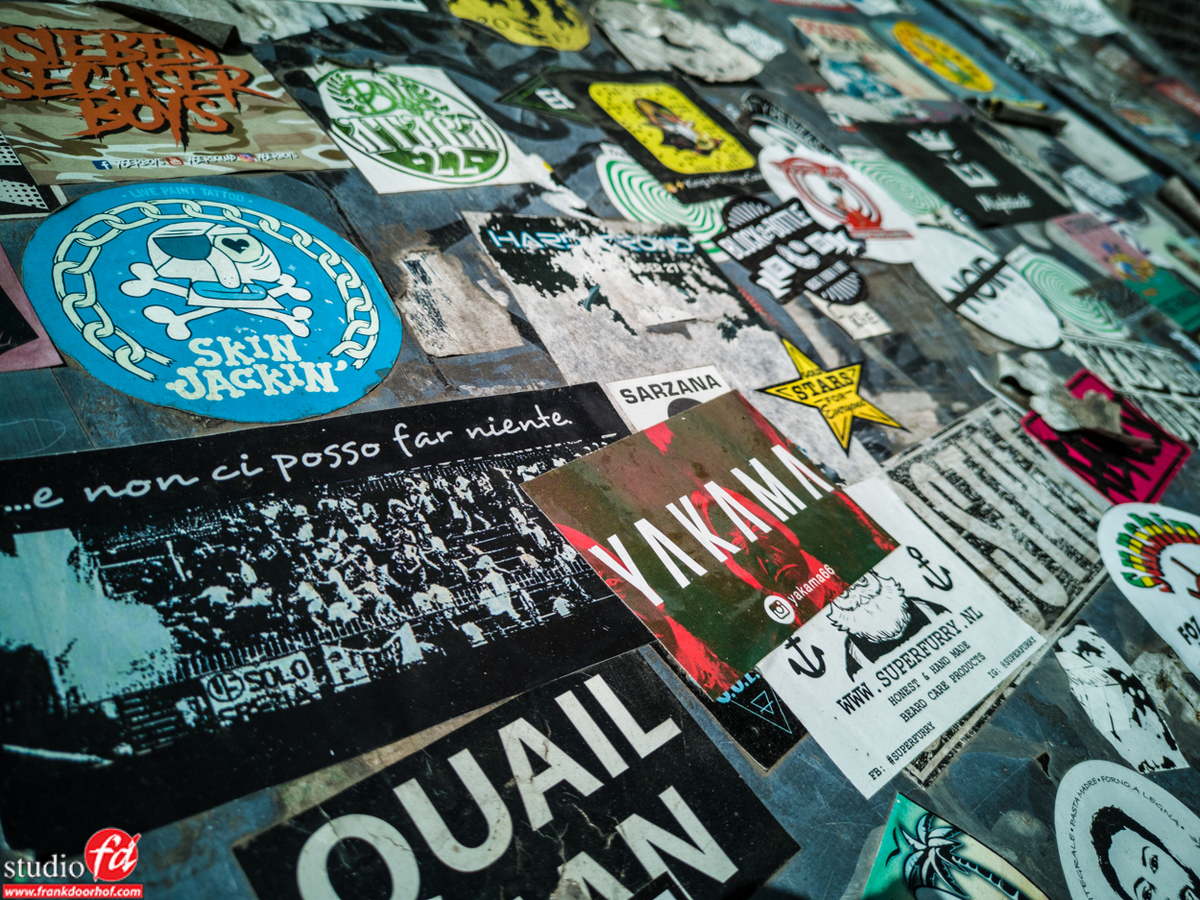
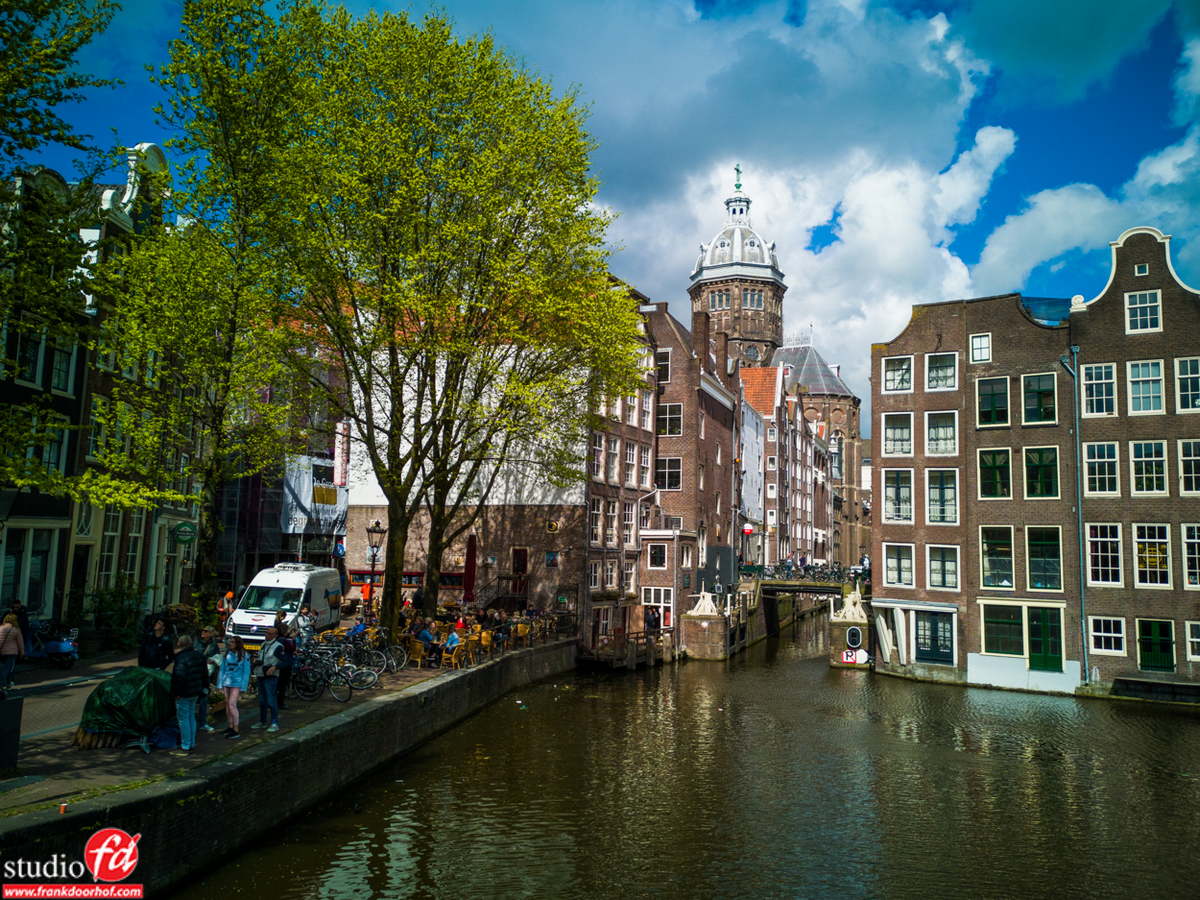 Next up some more shots with difficult lighting situations and some bright colors.


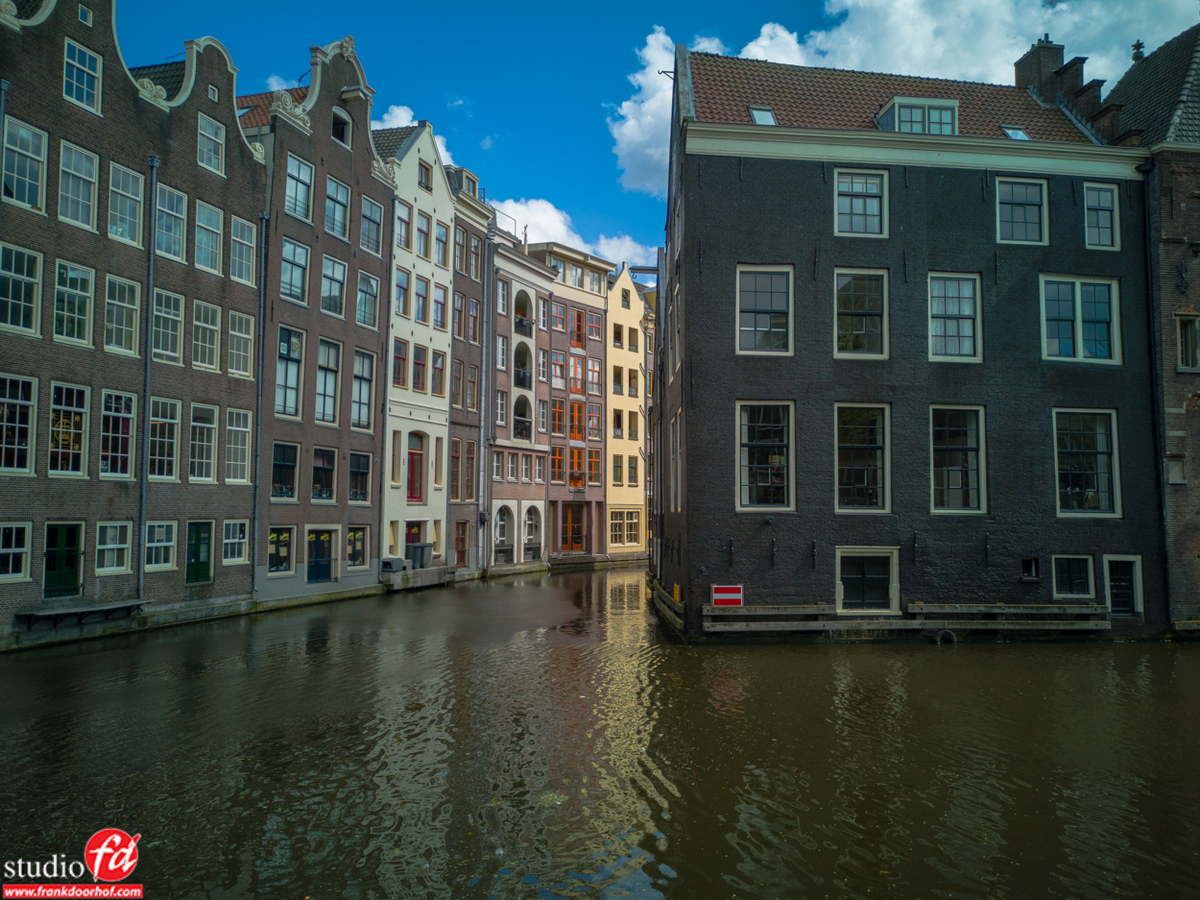
 Now it has to be said that when you shoot with perfect light the noise levels are extremely low on the RAW setting. HOWEVER… as soon as you start to push files you might end up with some noise in the shadow areas where a DSLR will be as clean as a whistle. However do remember that this is a much smaller sensor with a huge amount of pixels, and…. also as with DSLRs with 40MP you should actually never ever judge noise on 1:1 on your monitor, for the very simple reason, that’s like looking at a billboard with a magnifying glass. I dare to say that the more noisy shots will hold up to prints as large as A3 and maybe even A2 without showing any problematic noise. Kick in a little bit of noise reduction in lightroom or your favorite plugin (I love Topaz denoise for this, use Doorhof99 as a coupon for a cool 10% off (and I don’t mean this as a commercial, just pointing it out for you guys to save some money)) and I’m sure you can print a lot larger.
Also do realize that a little but of noise is not a bad thing, just a few years ago almost every single DSLR had noise above ISO400, we’ve come a long way with that and every year also these cameras will get better, for now it’s already not a big deal, but I’m very anxious to see the future.
Ok next topic.
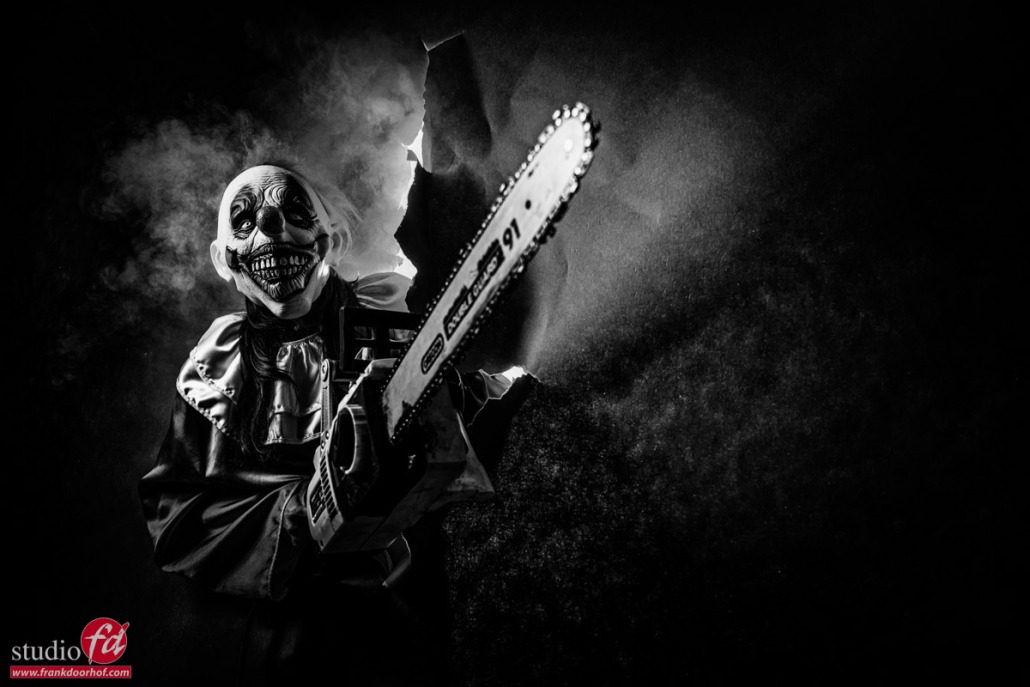
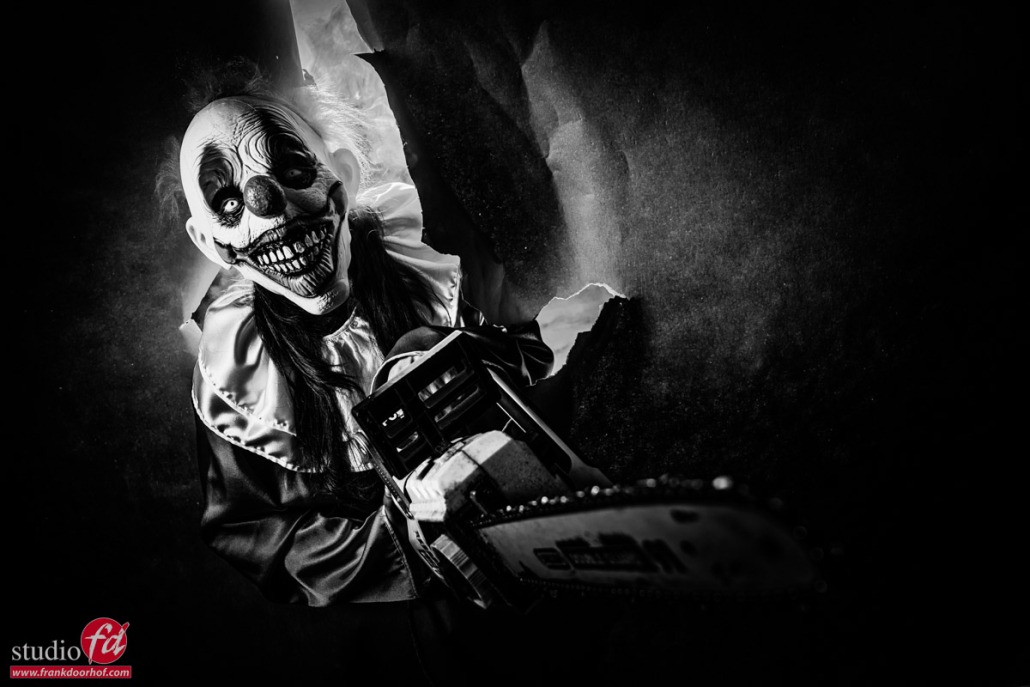
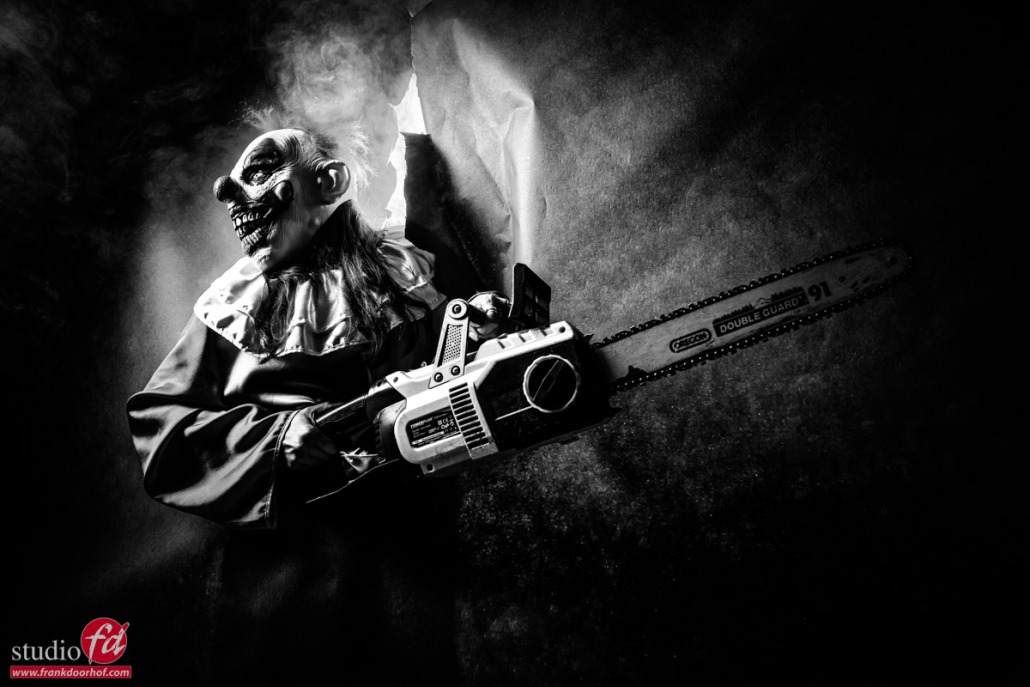
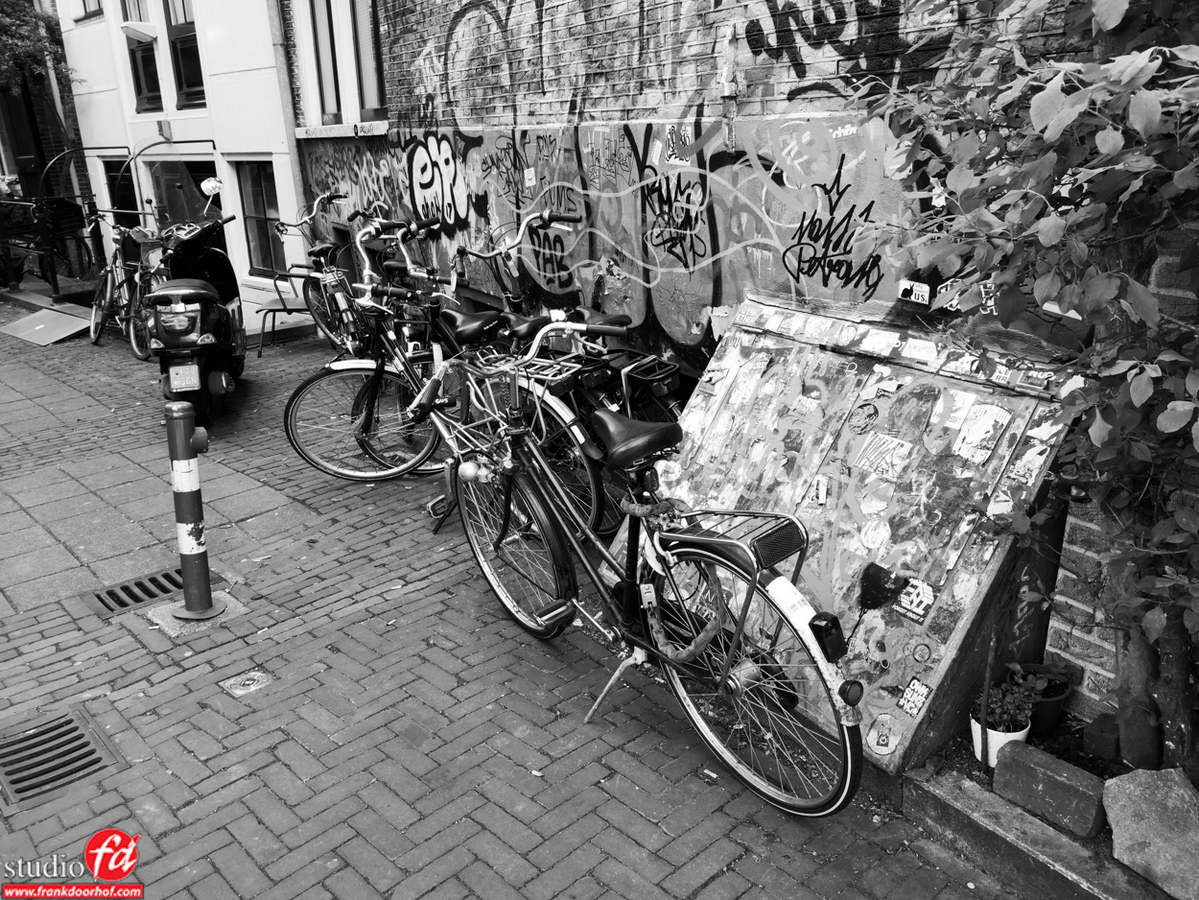
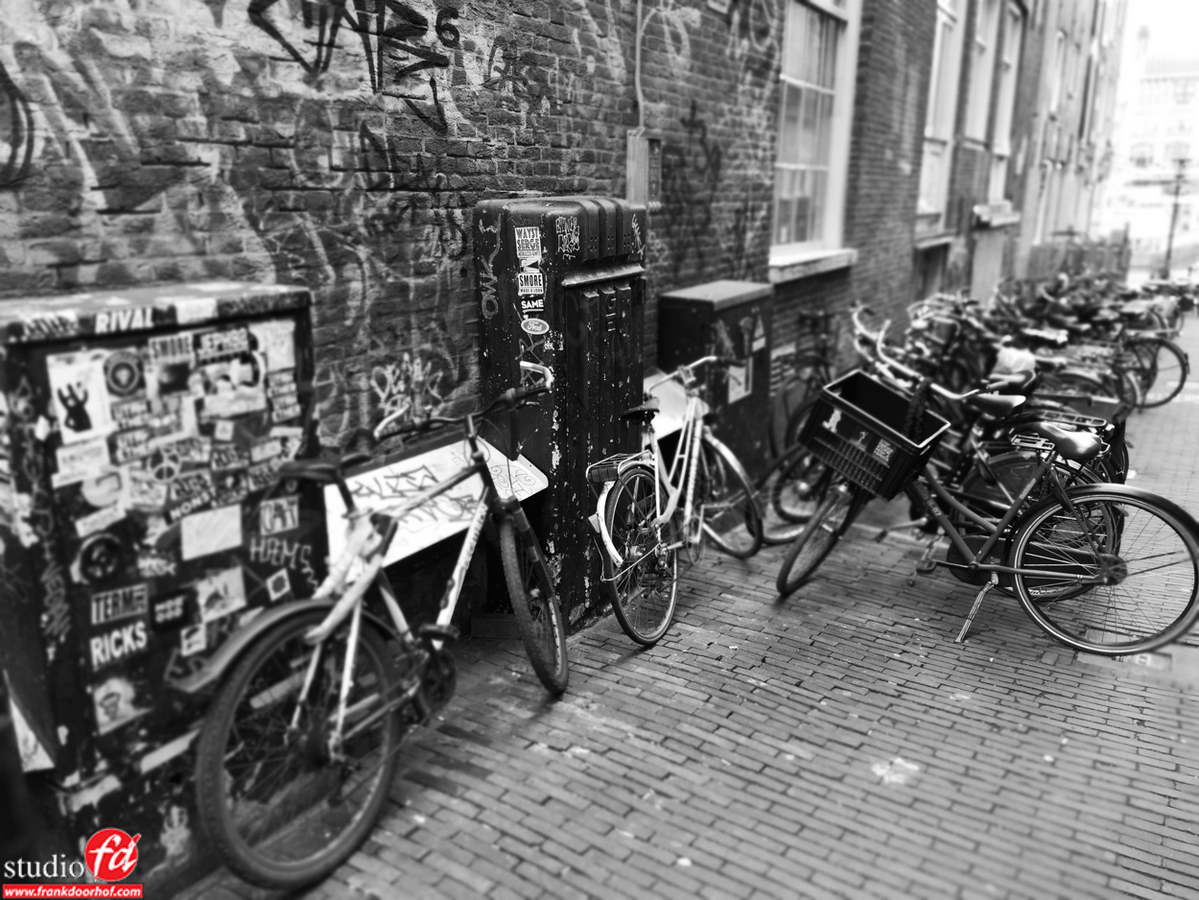
Black and white
I’m a bit in doubt with this one…
Why not just shoot color and make it Black and White right?
Well yes and no.
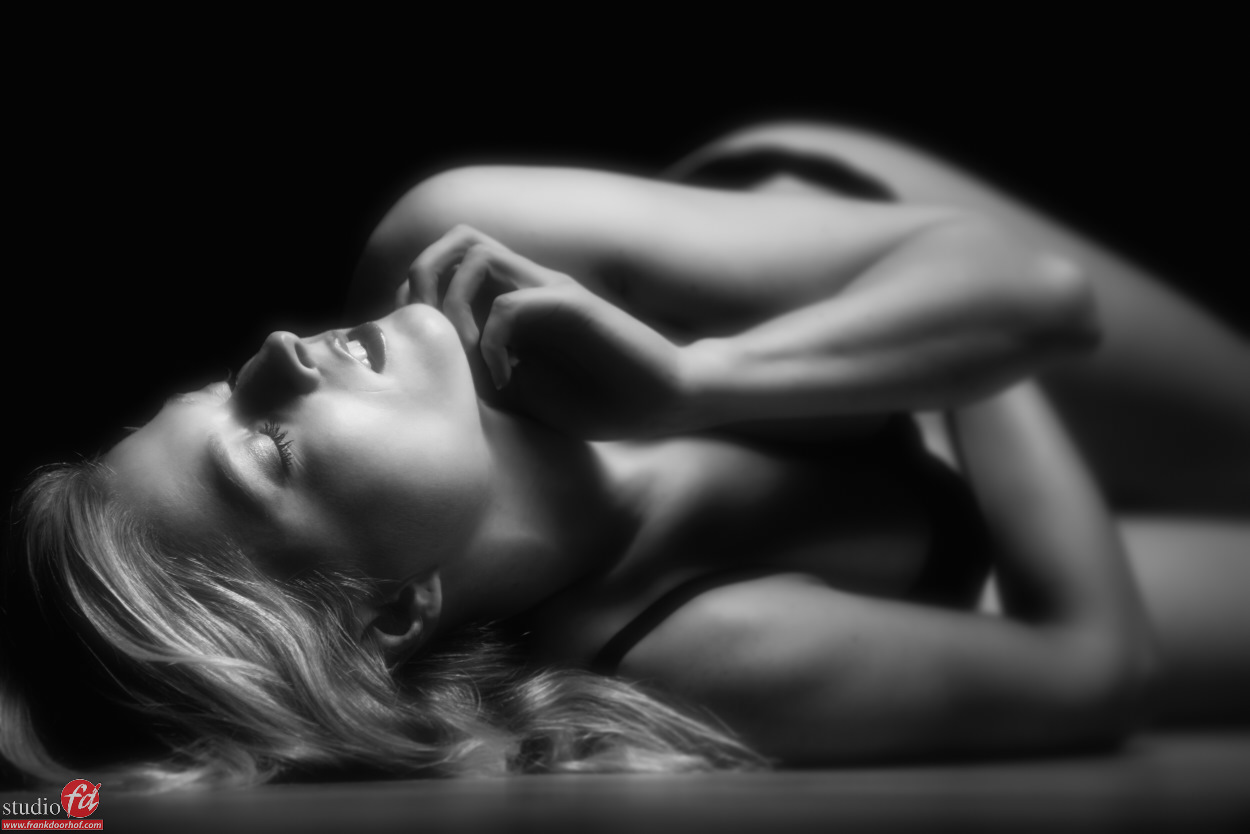
The main advantage of the BW sensor is of course the noise levels and dynamic range. Because it’s a dedicated monochrome sensor it handles noise and dynamic range a lot better than the main sensor, add to this that it’s also a very nice 20MP and shooting dedicated BW is in fact not a really bad thing. Call me old fashioned but I just LOVE shooting BW with a real dedicated setting, but only when it gives me an advantage over color. For example I never shoot BW on my Sony’s but I love shooting BW film in my Leica R or Mamiya RZ ProII, with the P20pro shooting BW is a dedicated sensor with advantages, so why not use it 🙂
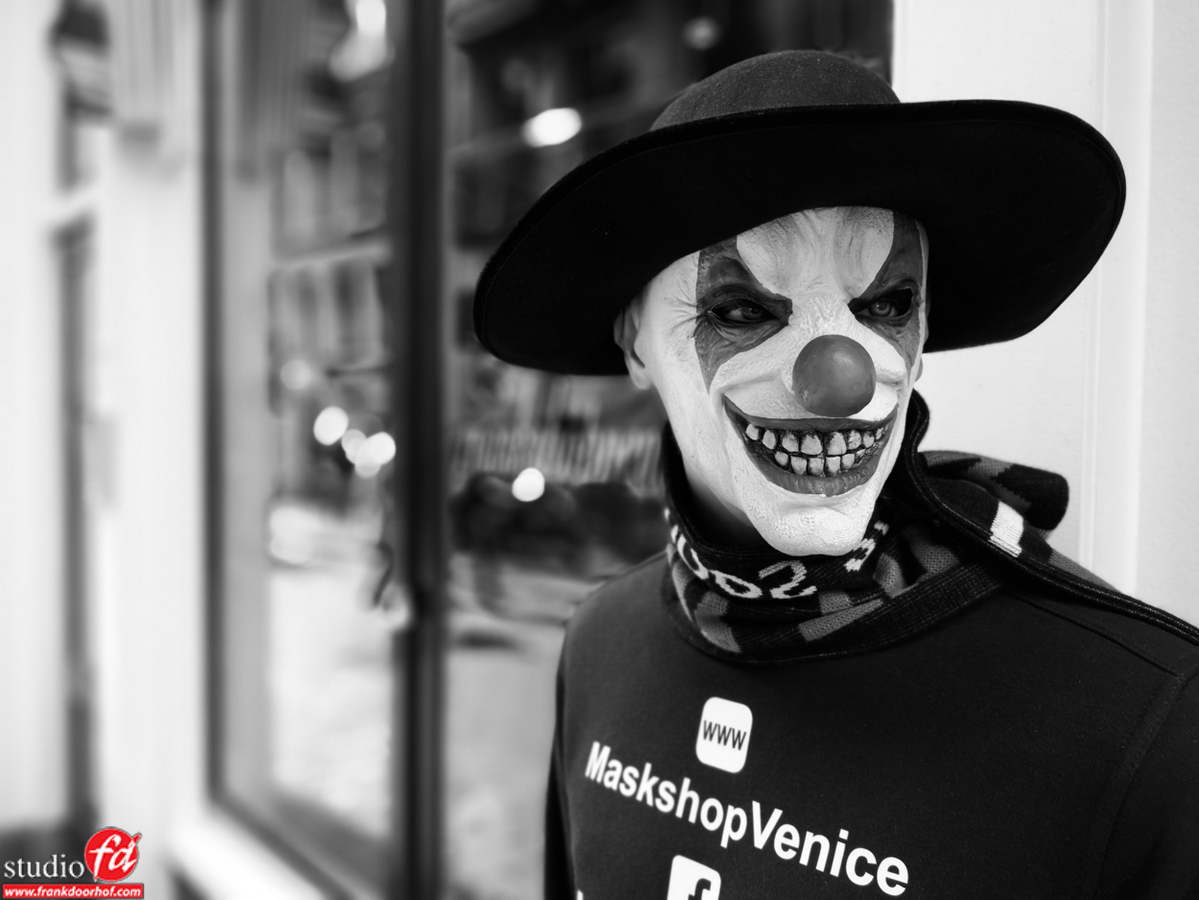
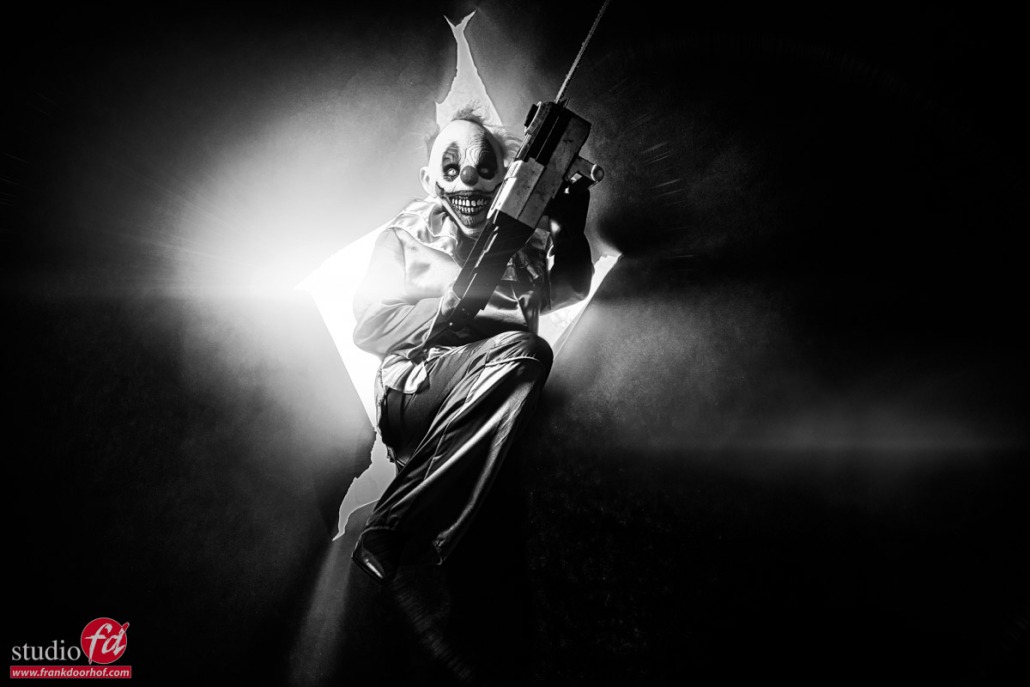
Now one thing that I found really fun to work with is shoot in aperture mode and just lower the aperture all the way down. It’s a bit of hit and miss and some images came out pretty ugly but when it works…. man this is a LOT of fun.
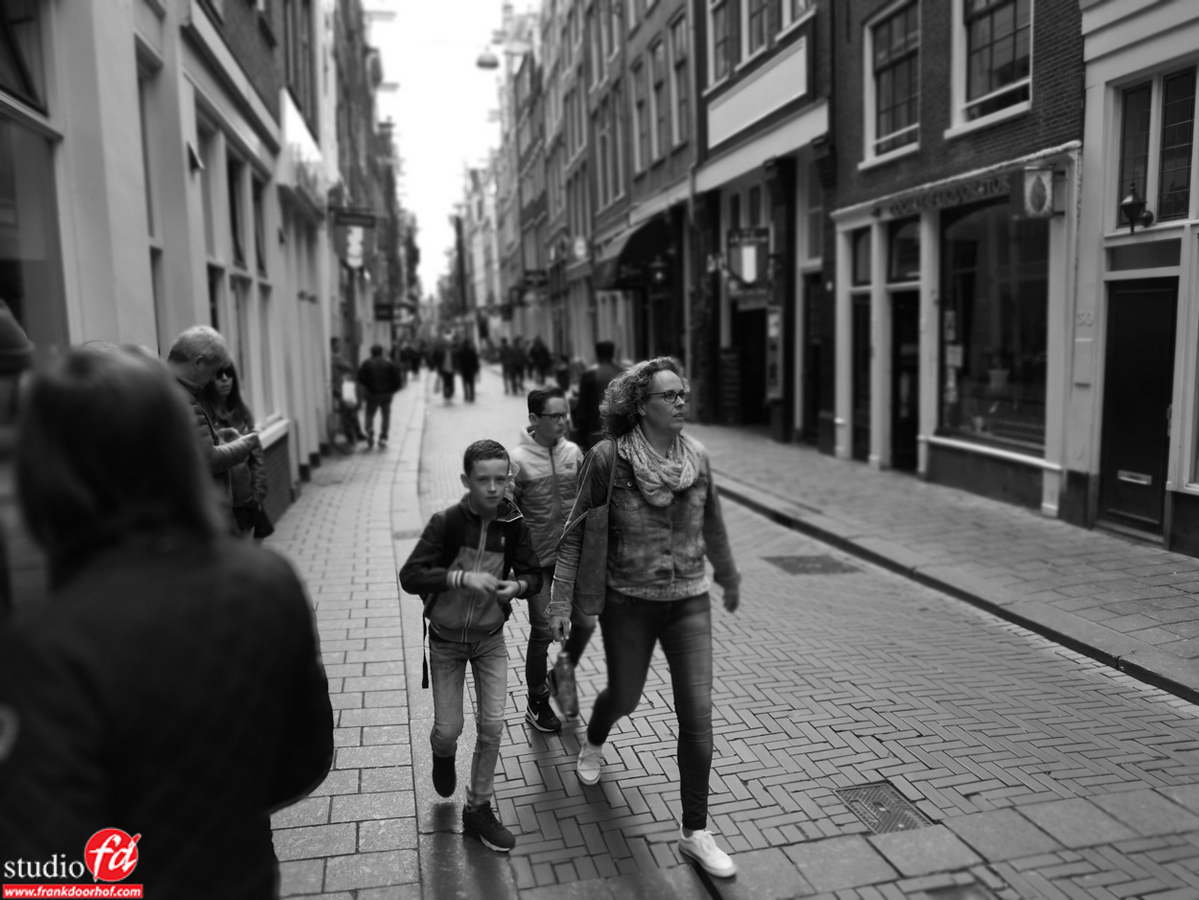
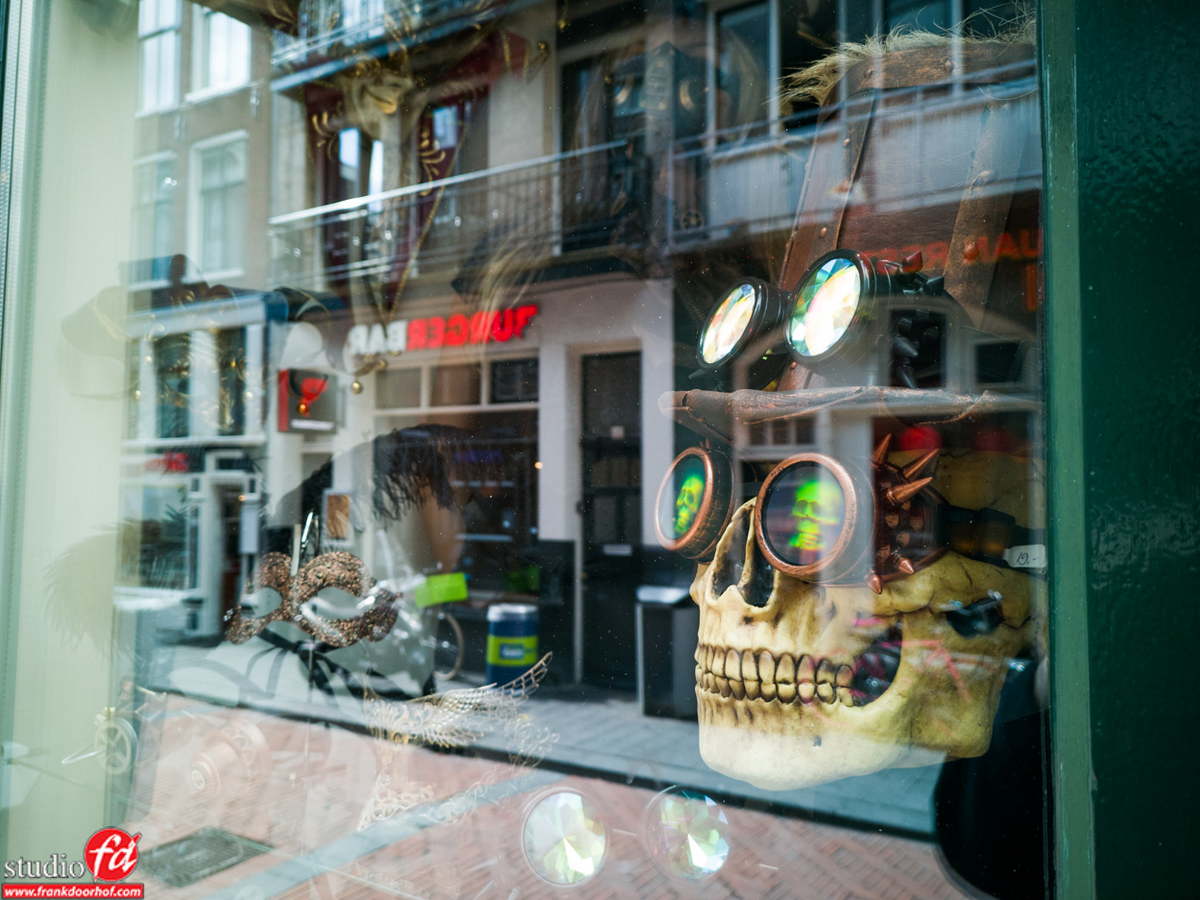
Talking about Depth of Field.
You’ve heard it before, the sensor is REALLY big for a smartphone and the aperture is really fast, meaning if you stand close to your subject and choose your focus point carefully you can get some awesome DOF effects, I think a lot of people could be fooled by this shot and might even think it was shot on a full frame DSLR.
The Bokeh is ok so it’s a bit of a give away that it’s not a Sigma Art 1.4 lens… but let’s be honest, this looks pretty sweet right?
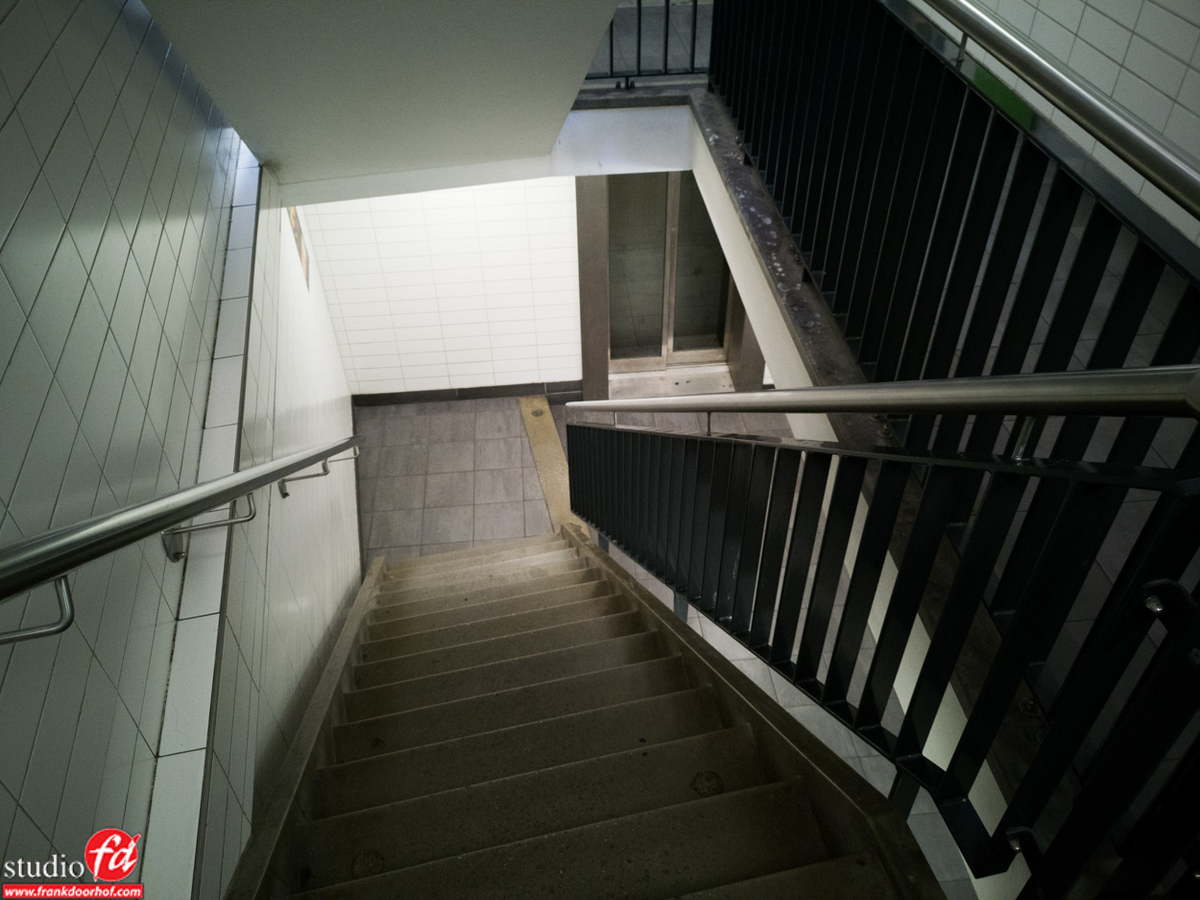
Ok so how bad is that noise?
Well it’s ok.
This was shot in a pretty dark parking garage.
And let’s do a 100% crop of this one.
This is with a slight noise reduction in Lightroom (not the best noise reduction)
PLUS… I zoomed in on a problem area, focus was actually somewhere else but there was less shadow there, so just focus on the noise, not on sharpness.

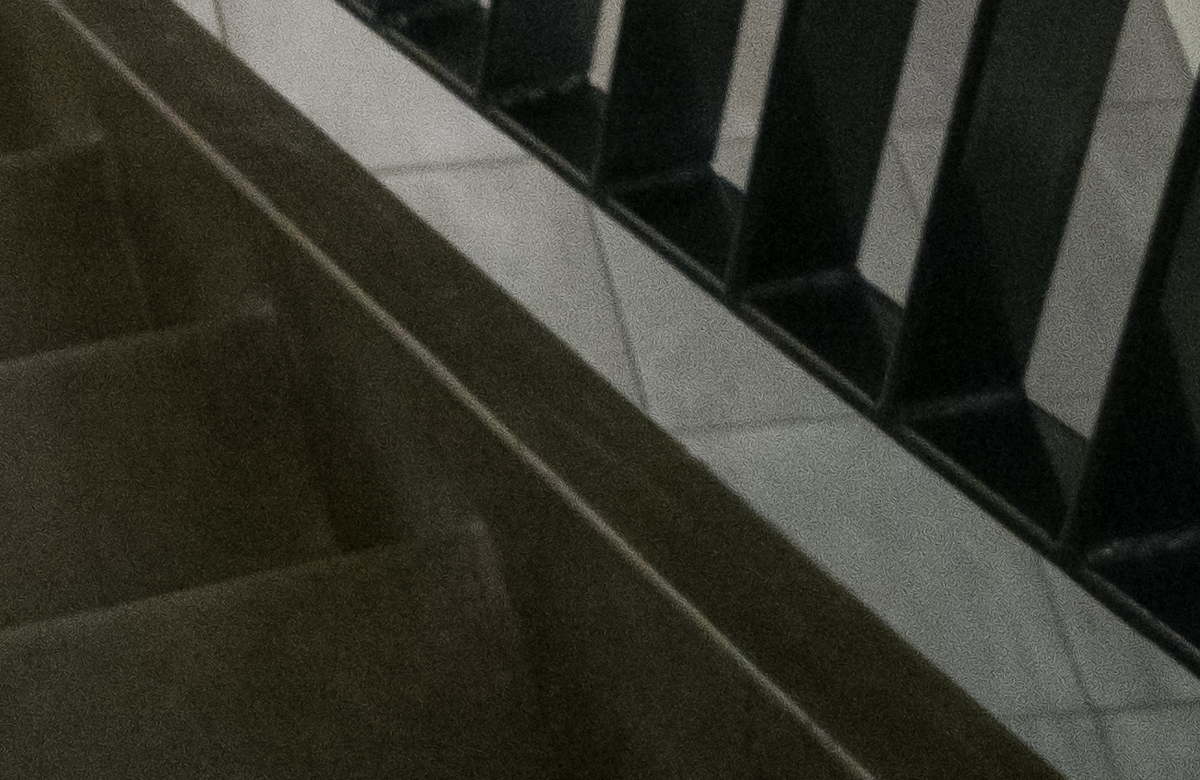
And this is without any noise reduction.
Seeing it wasn’t the brightest situation I think it’s very usable, also remember this is a 40MP crop from a smartphone.
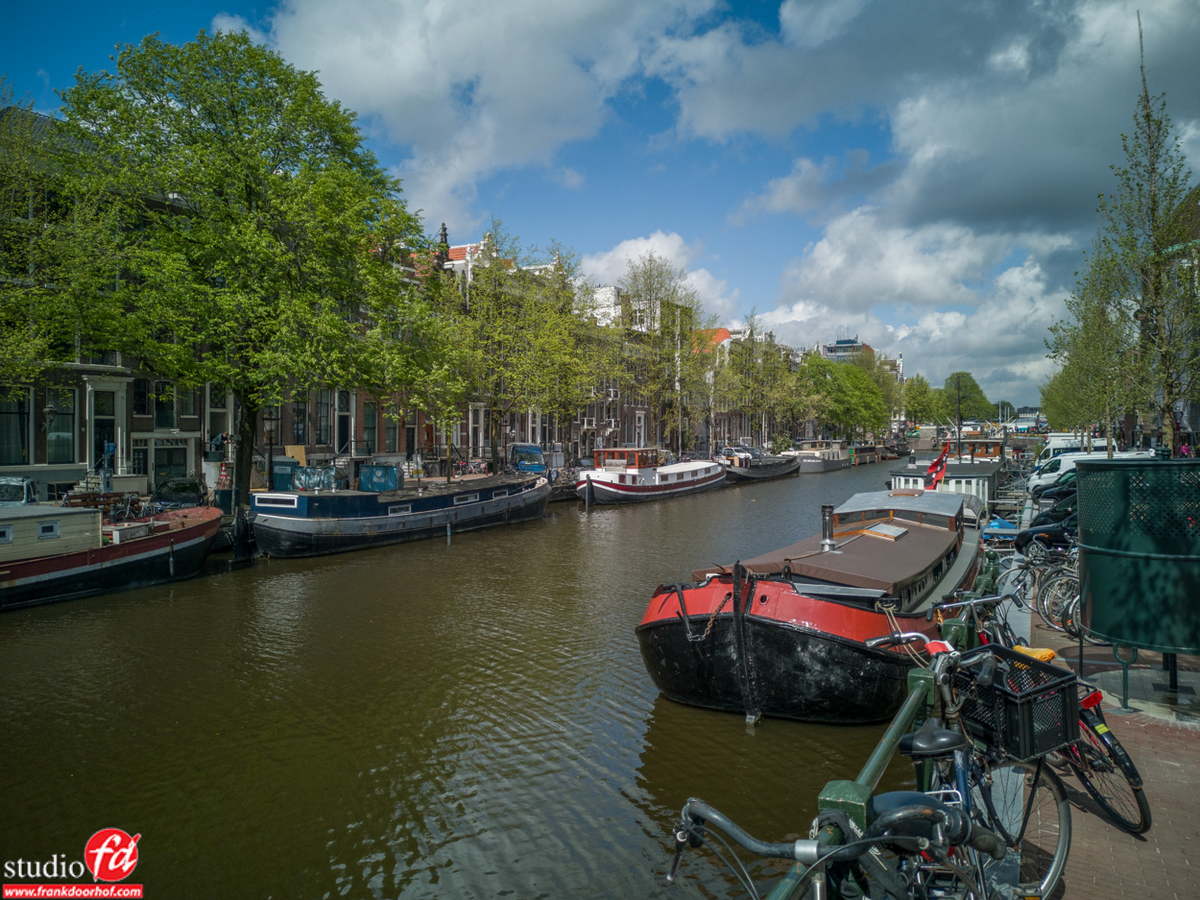
So how does 40MP look when you shoot it under good conditions?
Well like this.

I think that pretty much shows what you can expect.
“Final conclusion”
Overall I’m more than impressed with my new Phone.
I truely think that this is a major step up from ANY smartphone out there, and this camera system actually rivals many many compact cameras, will it beat a Sony RX series? well no duh, that’s a totally different camera, it has a zoom lens, it’s a dedicated camera and it has better noise handling, but… it’s also more expensive if you have to buy it next to your phone and the RX100 is one sick camera. Will it beat anything that is well… cheaper? I didn’t test all cameras out there of course but I almost dare to say that if you look at sub 500 euro compact cameras this will actually beat it with a margin.
Do remember… you have to be ok with shooting with a “prime lens” if you want to use the 40MP setting. Stay away from the JPGs until they fix it, which again I really hope they do because if they do, I dare to say this is a killer allround camera because the 3x tele lens is actually more than ok (stay away from the 5, just crop from the 40MP sensor or use it because you have to, it’s not bad but it’s far from good).
One thing I really have to mention as conclusion.
My phone is hardly used for making calls, I do my work on it, answer mails, update social media, watch videos etc. and I take a LOT of photos and video, and I mean A LOT, with the P20 pro for the first time I now have a camera/phone that makes me happy when I see the results, not because I see cool shots but most of all because I see the detail and dynamic range I normally missed.
Add to this the 4000Mah battery which lasts me all day, I don’t know how they do it but my Note 8 always needed at least one top up per day, and with the P20 Pro I end up with 15% left at night.
And finally… the most important thing that will make or break ANY camera phone or camera….
BOOT UP TIME…
This thing is FAST.
Just double tap the volume button and you’re ready to shoot, you can even set it up to shoot an image as soon as it boots.
Improvements…
1. Back down on the sharpening of JPG’s
2. Back down on the sharpening of JPG’s
(I mention this twice because it really destroys an otherwise awesome camera in JPG)
3. In the camera it would be nice to create a custom order, I would for example love to see, PRO, Night, BW, Video next to each other and the rest after these three. It shouldn’t be hard to do in software, but it would make working fast a lot easier.
Ok I think this concludes the very long review.
Again, I only did this because you guys kept asking me things to try out, and because I think this is a ground breaking product. And let’s be honest….. it is a camera 🙂
No go out and buy one…. tell them Frank send you.