Tag Archive for: best

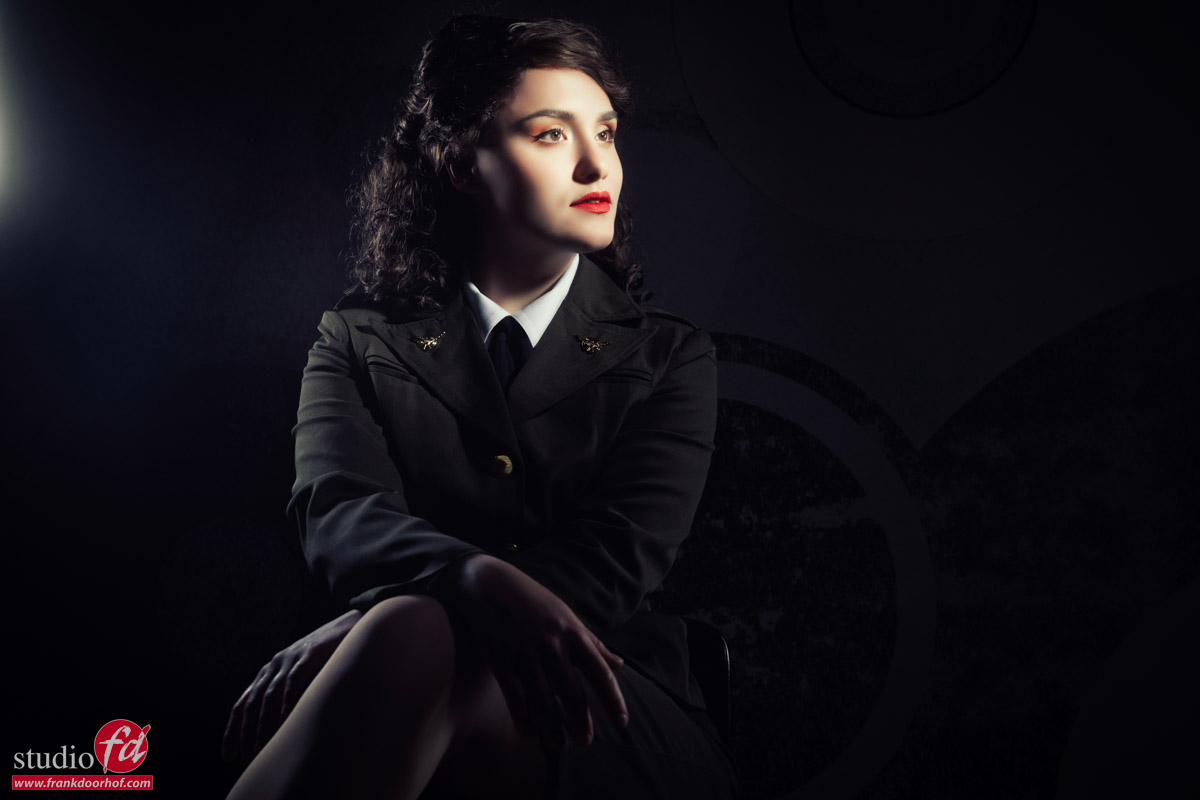
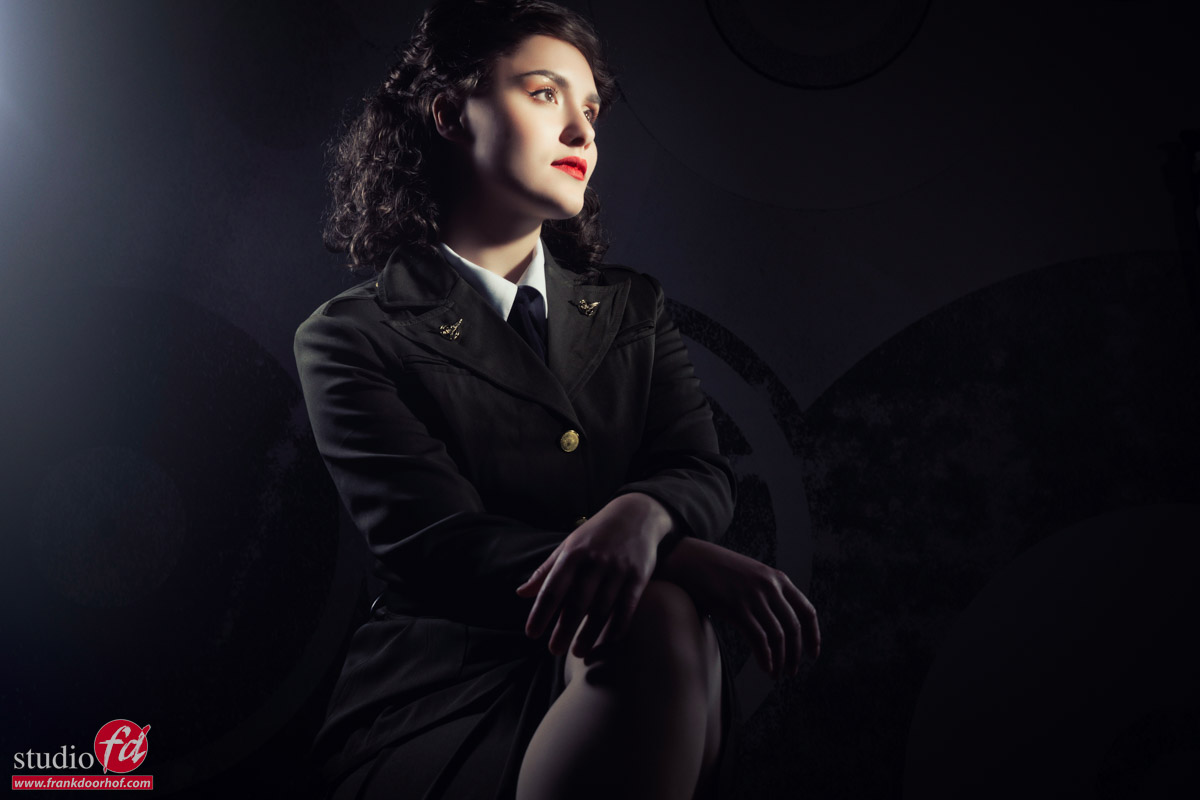
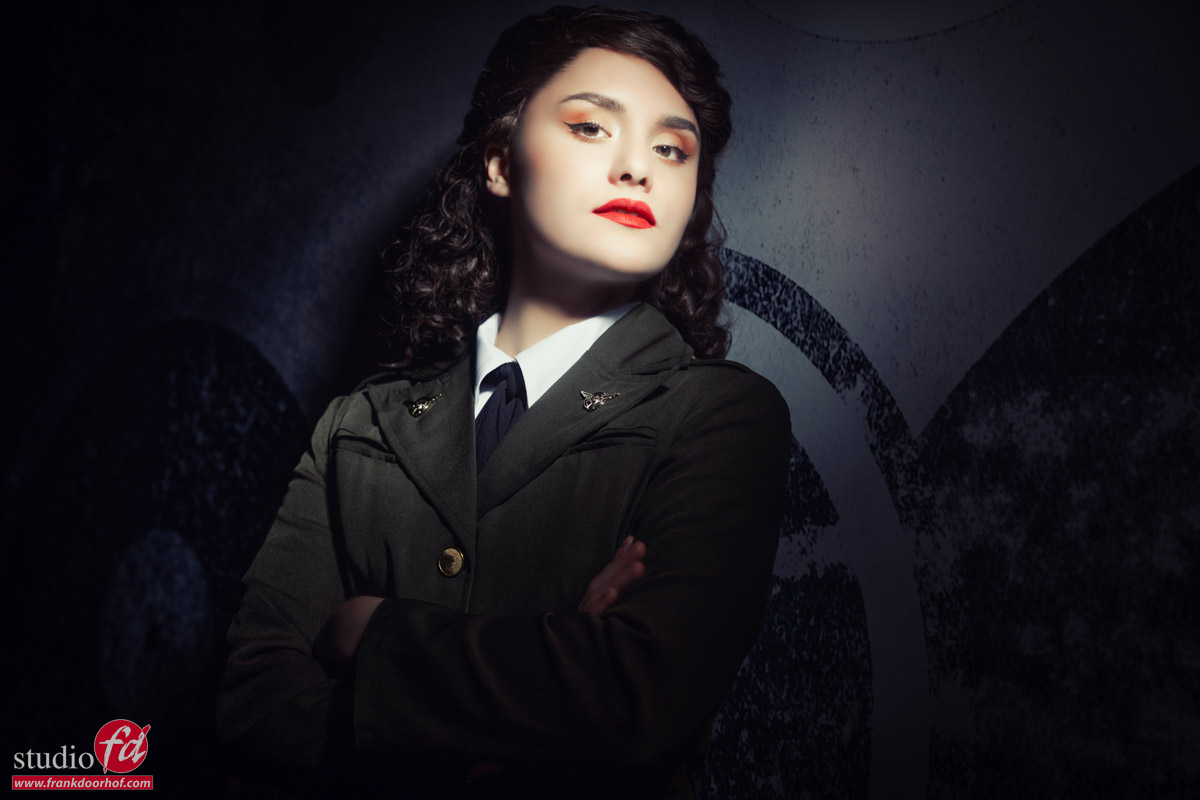
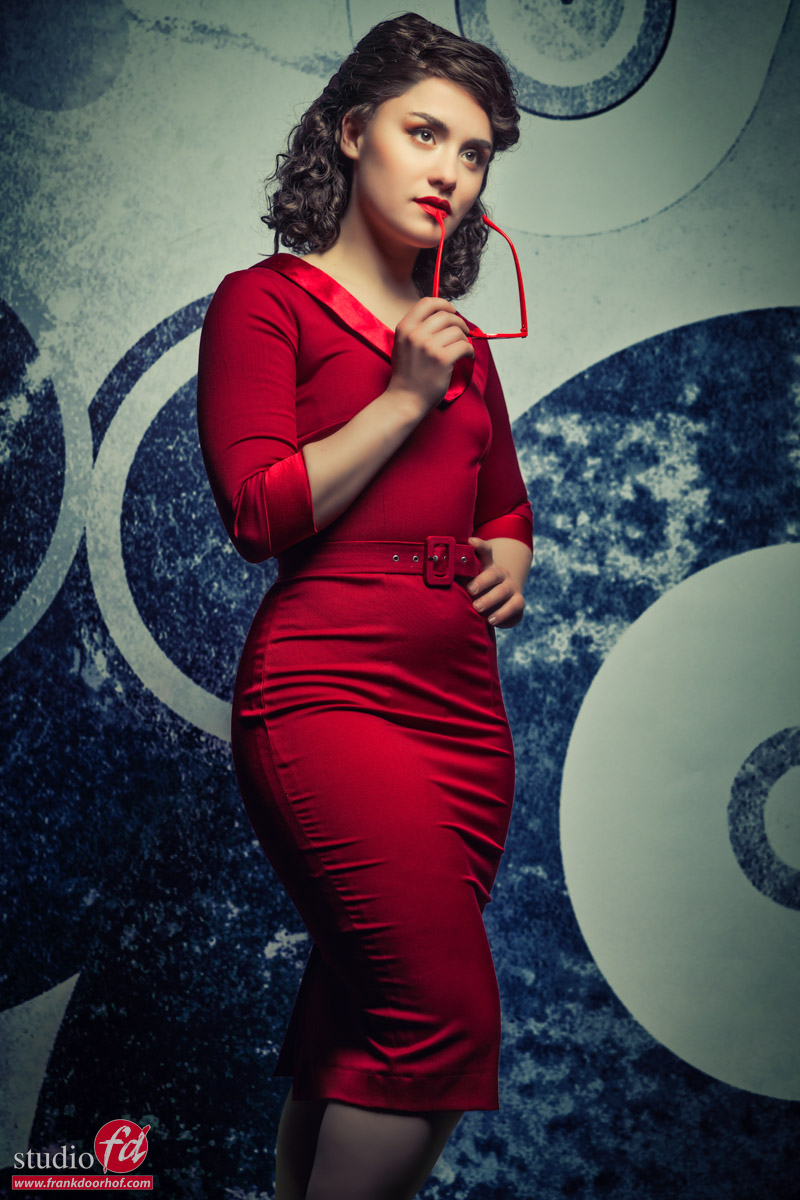
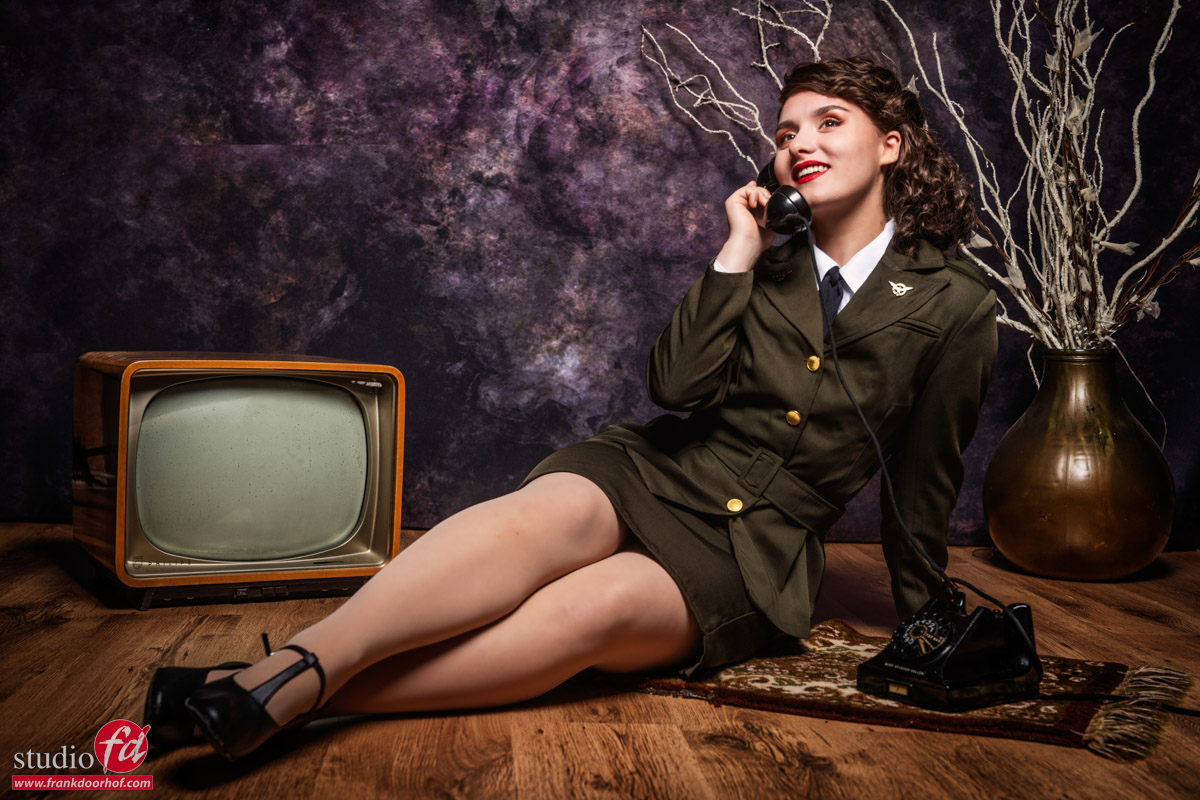
Love that look, it like old Hollywood revived

In a previous blogpost I already talked about my favourite light shaper, the Fresnel.
Read the blogpost here.

Today some more images shot with the Nanlite Fresnel on our own Geekoto strobes.
LOVE that combination.

Model : Jona
Clothing : Gabe

All shot during a 1:1 workshop with Gabe in our studio in Emmeloord.

The amazing Rogue snoot

Rogue amazing snoot for creative photographers (and all others)


It’s no secret that Rogue creates some of the most creative light-shaping tools on the market.
Last year they released their hugely successful magnetic system for speedlights and round flashes (like Godox, Geekoto, Profoto, Westcott, etc) containing the omnidirectional dome, grids, and gel holders, including color and correction gels. This is already a very complete setup, but recently they added an amazing snoot to the system, and I mean amazing 😀
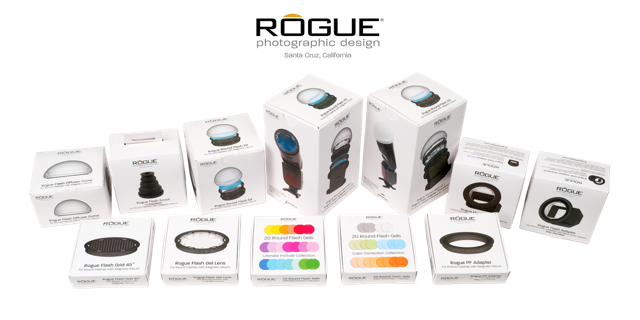
 

the complete Rogue magnetic kit including Snoot

As you all know I love to play with light. And I love products that don’t lock me into one or two uses but also can be used creatively. I always called it “gear that invites the creator to be used in ways it might not directly be designed for”. Think about the FlashBenders which started out as a high-end bounce card but quickly grew into a complete lighting system including accessories for a gridded strip light, a softbox, and a snoot. You can even get different accessories to combine with the FlashBender, but even without any modifiers, it’s already incredibly flexible as a background light because you can literally bend the light.

the Rogue FlashBender v3 XL with grid on a speedlight

But let’s focus on the snoot

The snoot is fully collapsable so it doesn’t really take up any space in your bag, and Rogue could of course just give you a snoot that….well is collapsable… but why stop there, right?
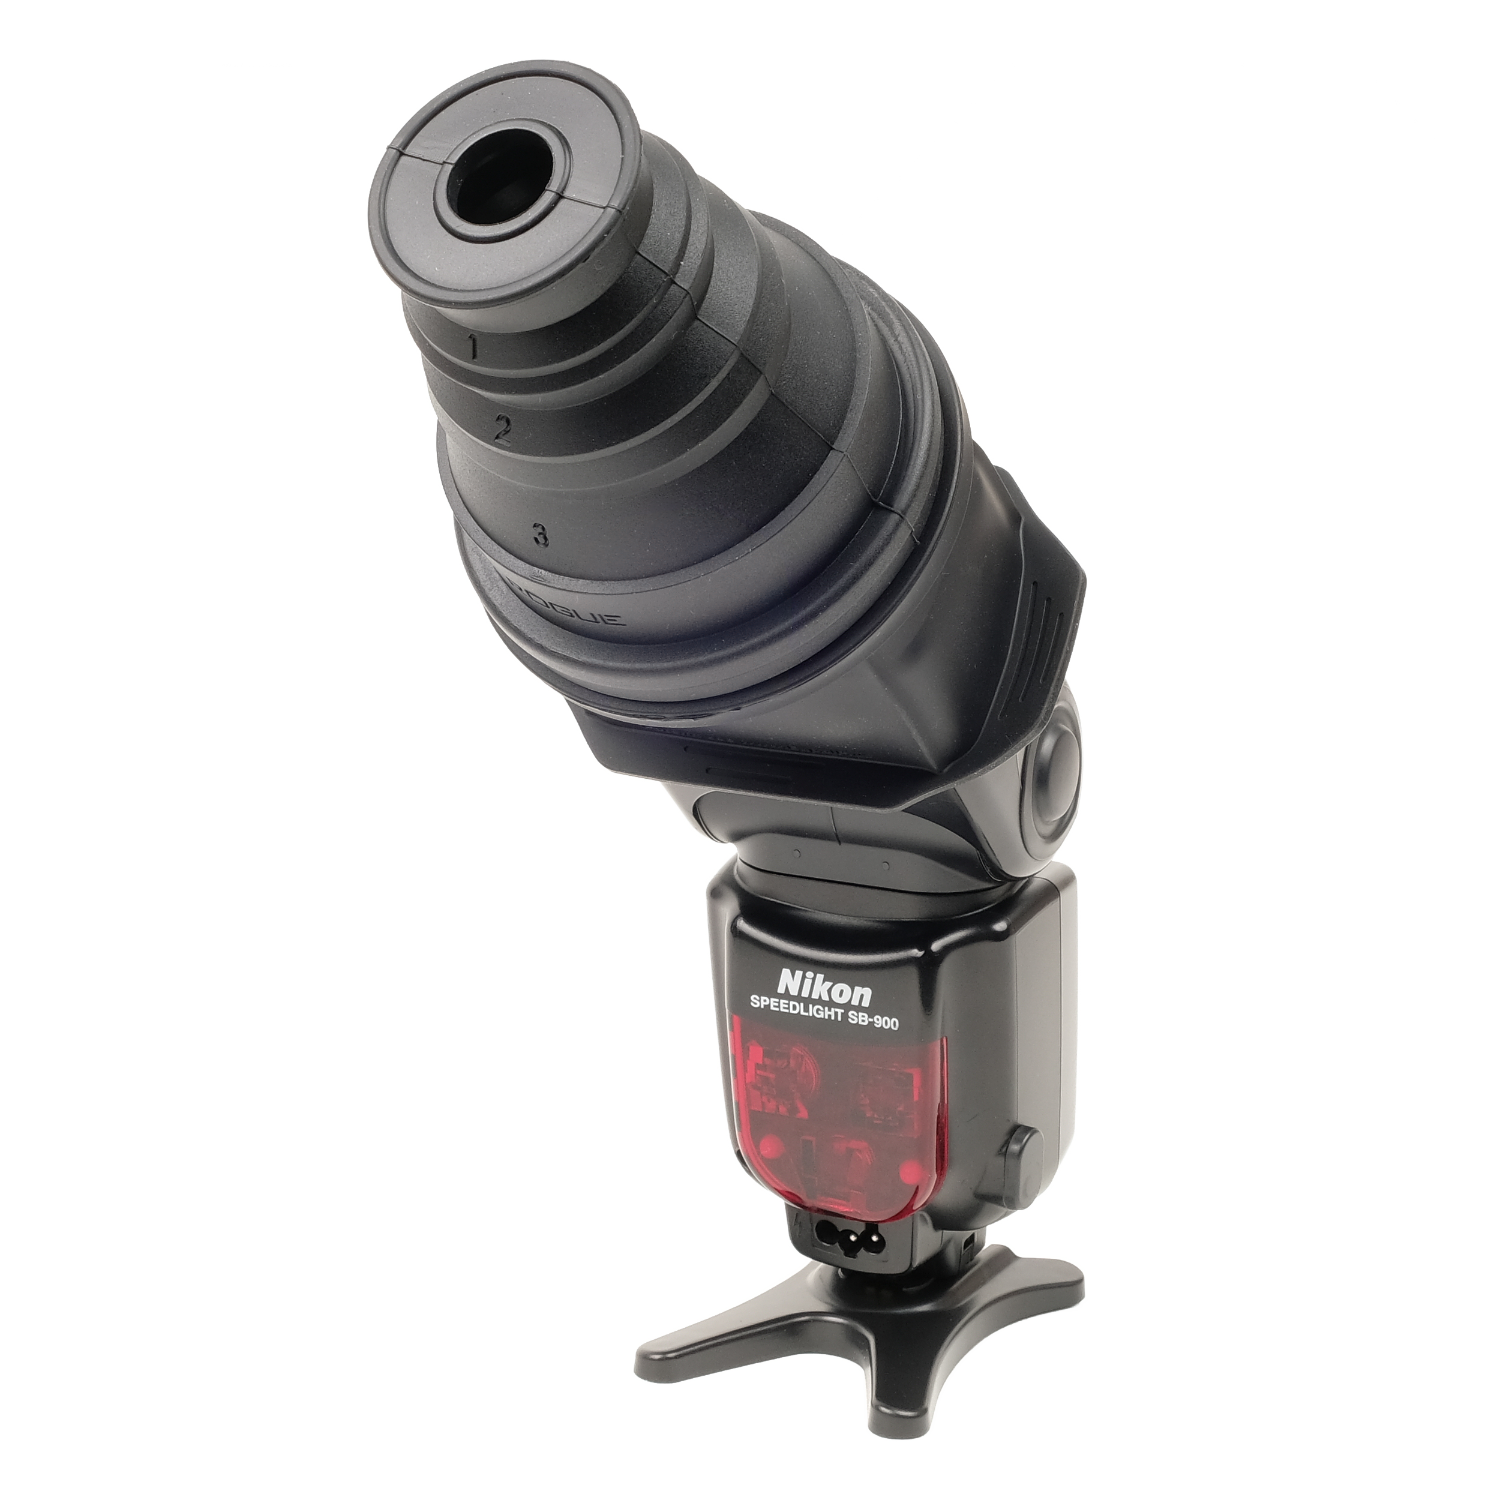
The snoot fits round flashes but with an adapter also your rectangle speedlights

The snoot fits round flashes but with an adapter also your rectangle speedlights

So they created a snoot that has 4 different settings, from relatively wide to a very focused beam of light, but wait… there is more about this amazing Rogue snoot. When we look at the snoot it’s a round modifier, so meaning when you place it on a round strobe it will create the familiar round light beam we all love and mimics the theater spots to really make your subject jump out or just add a touch of light on the face/eyes or whatever you want to jump out, the snoot is a very cool light shaper.

So I already told you the snoot can create 4 different beams of light, but think about this.
If you place it on a speedlight you need to use a gel holder with a diffusion gel, a simple white gel that creates the round effect you also get with round strobes…. but…. what if… indeed you don’t use the gel holder?

Indeed you get the form of your speedlight, which is rectangular, and this is what I absolutely love to use with the snoot, I’ve written about it before but we are a bit further in time and I just keep finding amazing things to do with the snoot.

Some examples

First of all, you can use the rectangular look on a portrait, or just to make your model’s eyes jump out a bit more (been there done that and it works). But after doing that a few times I started to think…. “what if we use the strobe not horizontally but vertically”

Because of the rectangular light shape, this is a really powerful tool to really create tight lighting setups.
Here you see two examples where I used a boom stand to get the strobe into a vertical position and use the snoot on the setting I liked to create a sort of vignette around our new model Wendy.
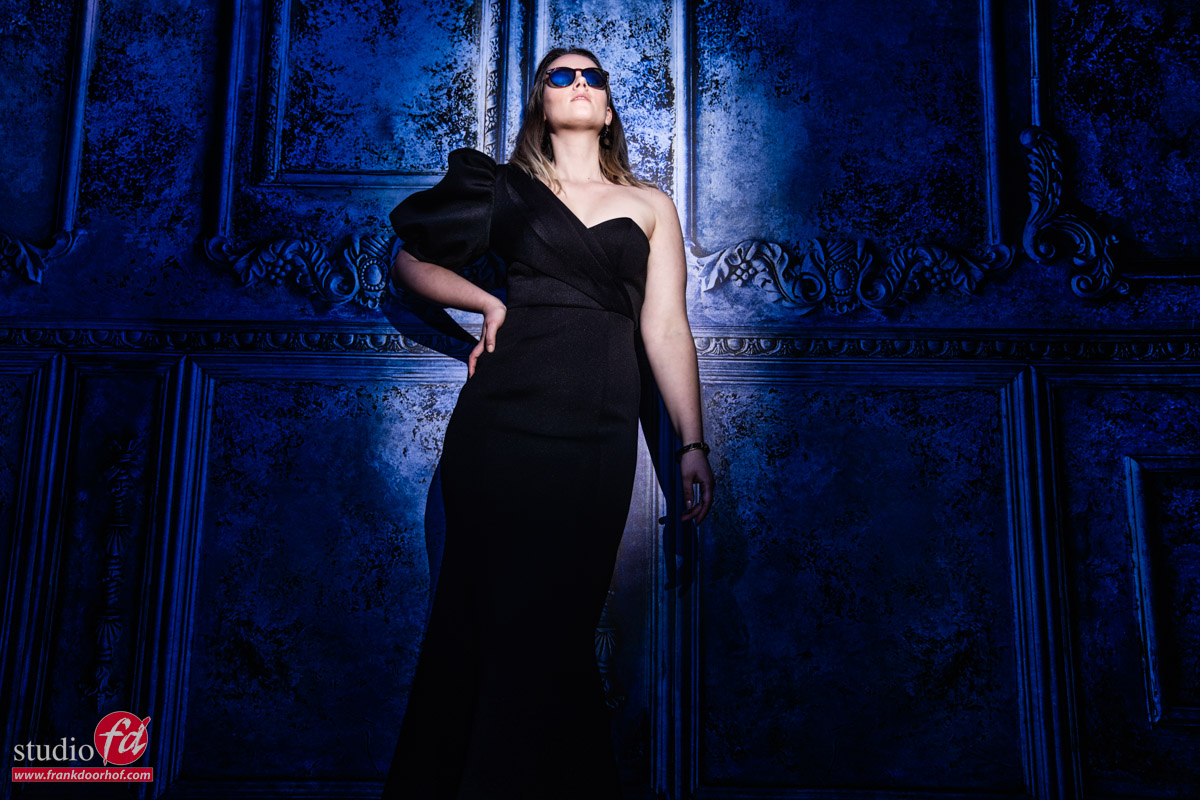
model Wendy in the light of the snoot for the Navy Wall

In this shot, you can see that I’m using our ClickBackdrops Antique Navy wall and shooting from a low angle to create a bit more tension in the shot. If I would have used a striplight with a grid I would have come really close to this but the striplight has to be really close to the model. So close it’s almost impossible to shoot it like this. And with a normal round strobe… well you just can’t create this effect easily, unless you block off the light with flags, which (let’s be honest) on location (and even in the studio) is a lot of work to get right and not a setup you get perfect 1,2,3.

By simply angling the strobe on the stand you can create this effect really easily. After that, it’s a matter of setting the snoot to the position where you get the right coverage and fine-tuning it by changing the distance. Easy peasy 😀

Adding lens flares

Now of course we also love lens flares, but getting them so close to the background is often not easy. Especially when you want to also open up the shadows with some color (and who doesn’t :D). So in the next shot, I used a second strobe fitted with the dome from the magnetic system and placed it just in front of the camera lens, by changing the distance to the lens I can have full control over the amount of lens flare I get, while not influencing the shadows I open up. This is an insanely flexible setup that I use more and more and is actually very hard to do with studio strobes but a breeze with the dome.
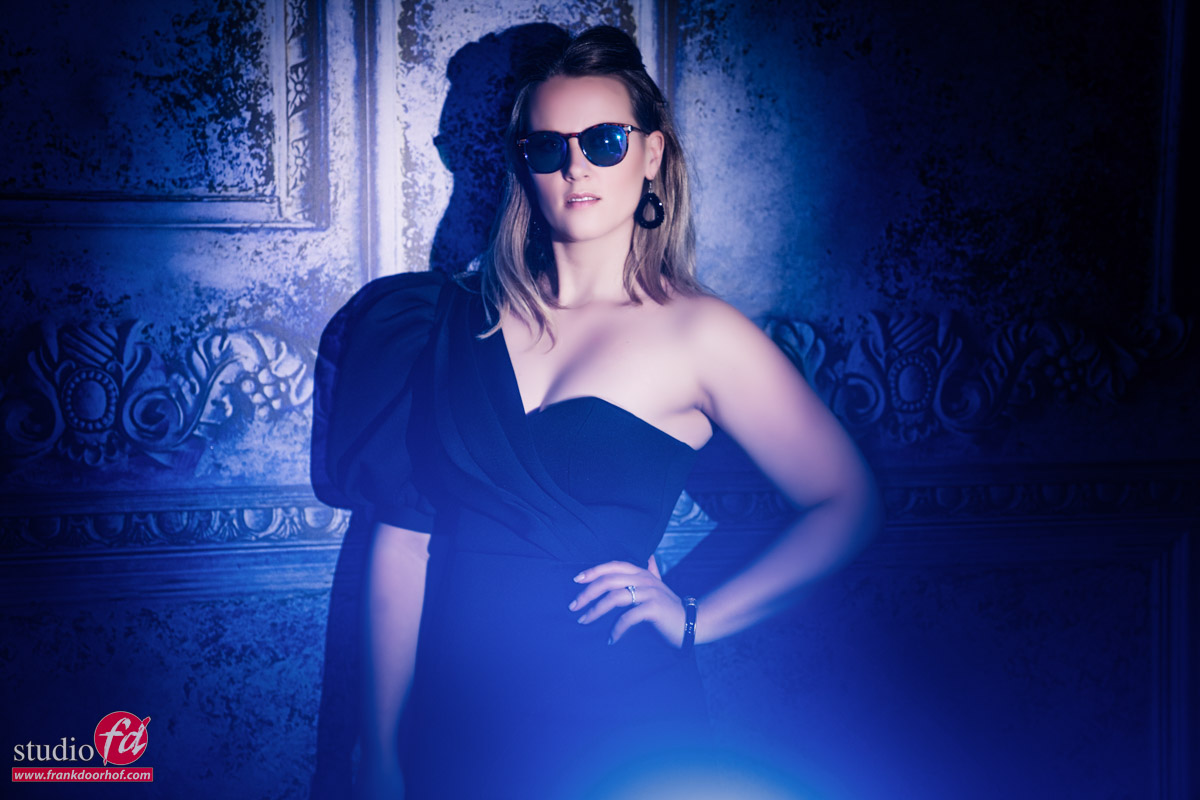
I moved the snoot slightly to the right in this shot to get a nice shadow that is also opened up with the blue from the dome. Normally I’m not a fan of eye-height lighting but in this case, I absolutely loved the outcome so I just left the snoot in a slightly lower position than I would normally do.

But that’s just the start….

I love the old-fashioned photos from the ’70-’90s and the classics like Harcourt, George Hurrell, etc.
Photos where they really knew how to create a mood in the images but also where you could find unique and intriguing patterns on the background. One of the solutions I use a lot (and love) is the Westcott Lindsay Adler projector where you can use gobos or even the built-in blades to create sharp (or soft) patterns on the background, but let’s be honest… it’s not a cheap solution (although from what you get it’s one of the most interesting on the market in my opinion).

Another solution is of course to use plants, ladders, etc. to cast shadows on the background, a much cheaper solution but also a bit harder to get something you really like. So I started to think… with all the different ways you can use the snoot, what if I would use it under an extreme angle on the background, add a gel, and play a bit with the angles of the snoot itself. And the results actually surprised me a lot.

This is just the first test I did with this. I’ll create a video about this in the coming weeks, but it’s really super easy to do. Just play with the angle itself, but you can also play with the snoot itself, creativity is your only limitation :D. Thank you Rogue for this amazing snoot.
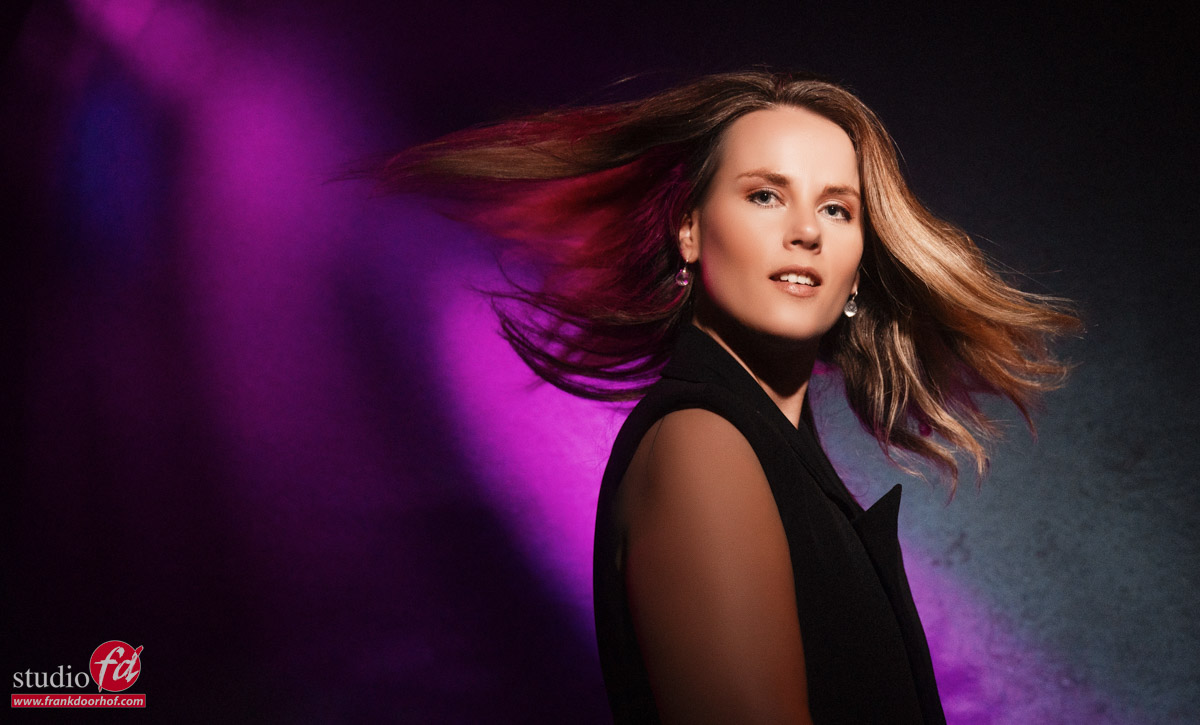
the Rogue amazing snoot can make wonderful patterns on the background

I took this picture with the snoot folded in a weird way. Because the snoot is so flexible, it’s not a problem
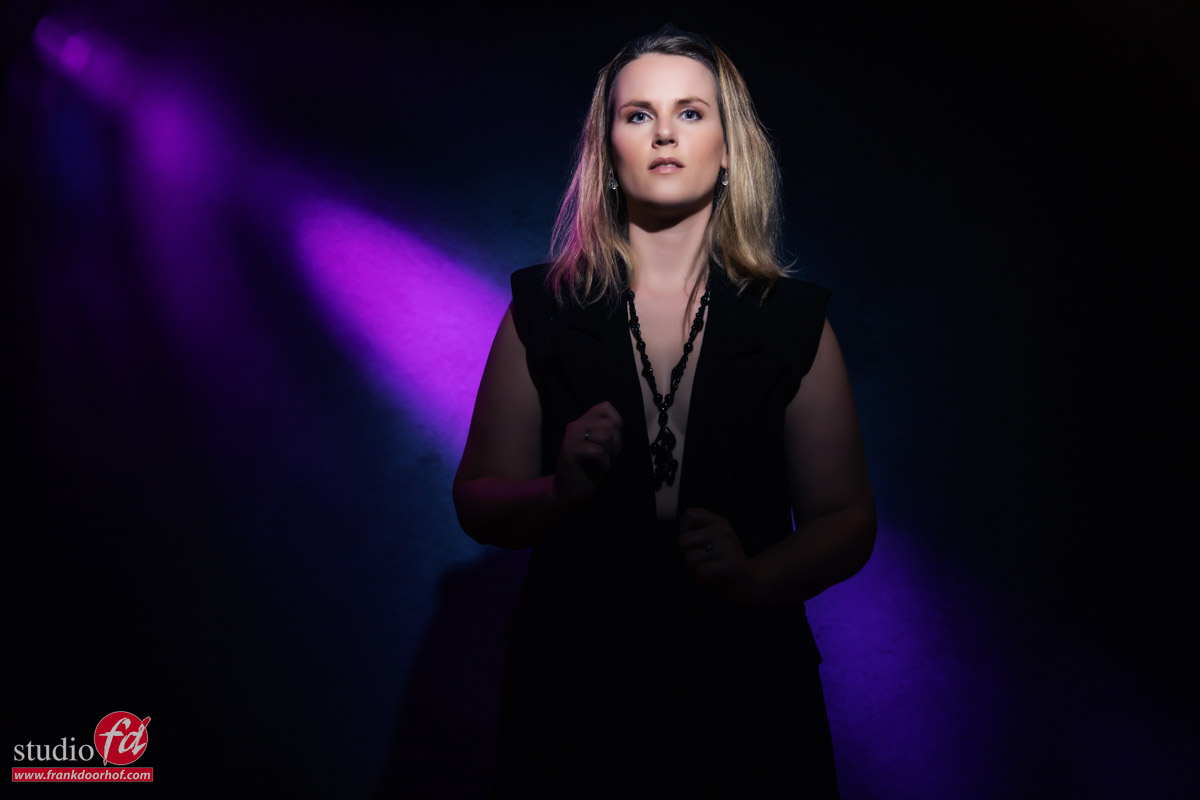
another image with the amazing Roug snoot, folded in a weird form

Conclusion

As you can see you can get some really nice and funky patterns on the background with the amazing Rogue snoot,  and it really makes the shot a lot more interesting.

Can’t wait to start using this on more complex lighting setups and backgrounds. But I couldn’t wait to share this already with you guys. I just love it when light shapers really wake up the creativity in a photographer :D.

More info about RogueFlash on the following sites :
www.rogueflash.com
www.rogueflash.nl

If you have any questions about the amazing Rogue snoot or want to know what you need for your strobes just drop us an email and we always try to respond the same day.


Disclaimer:
As you probably know I’ve been working with Rogue/Expoimaging for many years and also had input on the Frank Doorhof FlashBender products In April 2022 we made the next step, and after being an ambassador for over 10 years, we became the distributor for Rogue in the Benelux. 
First of all… I’m not for sale 😀
So I would never promote any product I’m not 100% convinced about or use myself, so all the reviews and enthusiasm I show for these products are 100% honest. I’m fully aware that building trust takes years and can be broken down in seconds so we value that a lot.

This is a game changer: Topaz Photo AI

It seems the world is going really fast nowadays.

Where a few years ago the term AI (Artificial Intelligence) was just something that you talked about in connection to some robot vacuums that were actually pretty dumb today the story is completely different and in all fairness, it’s an exciting but also frightening time.


Personally, I’m all for innovation but also have problems with some applications. Like probably most of you I am totally stunned by the quality of photorealistic images you can get from several AI image generators. But I also have to add I don’t see this as “art”. Of course, it looks insanely good, but it’s not “real” like where you create a set, light the set, coach the model, and take the image. In a group of its own yes! But Instagram is almost overflown with awesome-looking fashion shots where I literally thought “What a great photographer” until I scroll down more and see that the rest of his/her work is often below average/ It’s something I struggle to recognize as art, but maybe that’s just me.


The chatbots are also getting incredibly good and will probably be a real problem for education, but can help with writing articles and/or doing research. But do we really want to see the same kind of reviews without any personal input from a real human being? I don’t think so, but again it can help a lot with research and I’m excited to see how AI can be used for medical and scientific applications. I truly believe we are on the verge of some major breakthroughs. We have to find ways to incorporate AI into our workflows without losing the “soul” we all put into our work.


So why this intro about AI? 


Well, a lot of software nowadays uses the term AI. And in all honestly most of the time it does do it work pretty well. But nothing where I really had to pick my jaw up from the ground. Yes, the first time I saw Content Aware Fill I had that kind of moment, and that was way way before it was officially released and became much better. Today I can tell you I had the same sort of experience, and probably even more important.


Photography for me is freezing unique moments in time that will never come back again.
But Photography sometimes also means we have to capture those moments in situations that are far from perfect. So sometimes images are a little bit soft or have some tremendous noise because there wasn’t enough light to capture a razor-sharp clean image. Now I can’t even remember how many images I threw out that were just not “usable” at that time… But what if I told you that those cherished memories from our loved ones can be saved? That those concert images can be stunning and noiseless? And that time you missed focus is not a real problem anymore… would you label me crazy? or tell me “yeah, well we can sharpen it a bit, and use some filters, but it’s not sharp so it can never be as good as shot right at the moment we took it”


Well, I would have said, “absolutely” a few weeks ago, but not anymore.
Enter Topaz Photo AI.


Topaz Photo AI 


I’ve been a Topaz fan for years. They always deliver awesome plug-ins or standalone solutions that really add something to my workflow. It’s hard to really describe, but a lot of plugins work great on razor-sharp images, or images where there is a little bit of noise. But when I started testing Topaz Photo AI my jaw literally dropped to the floor, and for the first time, I was literally wondering how the heck did they do this….

I can talk for hours about the importance of proper focus, controlling noise on location, etc. but sometimes you just don’t have that option. All the images that would normally be unsuitable for release are now…. “perfect”. So let’s take a look at some samples.


Let’s start very simply with something that happens to all of us.
I took this shot during a visit to the Orchideeënhoeve (the largest tropical attraction in Europe).

It’s a screenshot straight out of Topaz Photo AI

I am using the sharpness here on full blast to see the effect of ringing (artifacts) and to be totally honest…. this is so much better than expected. The image really jumps out and is sharp enough to publish. It’s also incredibly handy that the software gives you the option only to affect the subject and not the background. In other words, keep your silky smooth bokeh but fix your foreground….


And what about an image where the focus is just slightly off, let’s be honest this happens a lot.

As you can clearly see it’s a HUGE improvement, and you can also see a boost in the 3d look, something I’m always looking for in images.
So it’s pretty clear now it can fix images where you missed focus.


But that’s not all, what if you’re perfect and always shoot sharp images?
How about using it on an image that was already pretty sharp?

Even on an image like this, the improvement is pretty substantial to the point the original actually starts to look soft…..
But lets up the ante a bit.


The following image I shot during a workshop with our model Claudia. This was shot with continuous lighting and although my Sony A7RIV is pretty good with noise,  it is still an image that looks a bit flat and noisy. So I was curious to see what it could do with this one… and again I was stunned.


It’s not only the noise that is gone, but look at the depth in the image….. this is just insane.


Depth in an image is always something that is very hard to do in post. It’s a combination of contrast in your lighting, lens choice, and even the sensor has a huge deal to do with this. For example, a Medium Format camera renders depth a lot better than even the best full-frame 35mm camera. Well, at least the Medium Format cameras I used over the years. And I’m totally honest when I say that for the studio Medium Format is awesome, but with Topaz Photo AI for the first time I see that depth also in my Sony images. Look at the way the mask wraps around the face, this is HIGHLY addictive.


By now I was convinced about the magic of Topaz Photo AI and I was ready for the real test.


As many of you know I’ve been shooting Wibi Soerjadi for years. One of the highlights is the Christmas concert in the Amsterdam Concertgebouw. But this its also a real challenge for any camera. ISO values of 32000 are almost standard (yes indeed 32000) and in some cases I have to shoot at even higher ISOs to be able to capture Wibi’s hands in motion.

This image is already a real challenge, but as you can see it works like a charm.


When I saw this result I thought “let’s throw something in there that’s really terrible and unusable for publication”.

Let’s be honest when someone is filling the frame noise can be “ok” but when you shoot something with a wide-angle look it can really ruin a shot. The following shot is one of those images where you shoot it more to remember the situation than to ever publish it….. or………


As you can see… this is insane.
No loss of sharpness, no dull colors, no ringing, and all the noise is gone….


But there is more

In this short review, I only show you the tip of the iceberg.
There is also an excellent upscaling engine, and for example, the face recovery option is great for bringing back detail in faces that are shot with low-resolution cameras or are covered in noise.


Conclusion


It doesn’t happen a lot that I have to pick my jaw up from the ground. But while reviewing Topaz Photo AI it happens continuously. It didn’t matter what I threw at it, it did improve every single shot. Now don’t get me wrong, I still strongly believe you should try your best to shoot everything as well as possible on location. But when for one reason or another you don’t get the shot perfectly sharp or there is a lot of noise, there is absolutely no reason anymore to throw it out. I really hope you did save some of your images of loved ones or special locations that were not 100% perfect and in the past seemed unusable.


It might be a bold statement but with Topaz Photo AI you can bring your images/memories back to life and enjoy and keep those special moments forever in much better quality. And only for that, I would love to say to Topaz, “Thank you so very much from the bottom of my heart and from many other photographers out there for saving some of my precious memories which are now looking 100x better”.


As a tool, I think Topaz Photo AI should be installed on all workstations and should be a standard part of your workflow. The improvements are just too good to not use. It doesn’t just act as a great noise killer (one of the best I ever saw) but it also doubles as one of the best sharpening engines I ever worked with. Add the options to select only the subject and change the effect with sliders and add in the upscaler and face recovery option and you probably know why I’m so incredibly enthusiastic.

Buy Topaz Photo AI through our link 

Disclaimer:
I’ve been working with Topaz software for as long as I can remember and I get my software for free from Topaz, however, this has and will never influence my opinion about the software, I’m always 100% honest in my reviews and don’t believe in telling you guys stuff that doesn’t reflect reality. 

Ultimate weekend Emmeloord Feb 26/27th

It’s almost time for the new Ultimate weekend workshop again….
This is without a doubt the most intense workshop I teach, 2 jam packed day filled with information on model photography.. I literally teach you everything I know about working with models, lighting, retouching, workflow, social media, business etc. plus we have an amazing diner at night with the whole group in a local restaurant.


At the moment we have 3 seats left so if you want to learn everything you always wanted to know about model photography…. read this.


Ultimate weekend day 2 2401

“Put the magic in your lighting” 

This is without any doubt one of my most popular and most intense workshops…
The ultimate workshop weekend in our studio in Emmeloord
(the Netherlands)
Language for this workshop will be ENGLISH


Join us in our studio in Emmeloord for a very intense workshop weekend in which you will get all the answers you always wanted about model photography, business, retouching, workflow etc. In 2 full days (and evening) we go through every part of a successful photoshoot.
Styling will be in cooperation with Nadine Stephan and Sinister.


This whole weekend is 100% flexible in topics, styling, storytelling etc.
Each day we start with a Q&A which will be the base on which I build the rest of the day. This means that every attendee will learn exactly what he/she wants and there will be no questions left unanswered. This is a unique style of teaching that has proven to be incredibly successful for the attendees and a challenge for me as an instructor 😀


Day 1:
Full studio day from 10:00-21:00

Topics will cover at least :
Metering, workflow, color management, coaching the model, building a complete set and styling it, vintage portraiture, glamour photography, high-end fashion, styling ideas, working with clients, adding movement, using smoke, adding gels, going from ok to WOW and much much more.


Evening 1:
A nice diner and chats about everything (and photography)
Hang with our team during a nice diner and after this we continue in the studio with a retouching workshop.


Day 2:
The location day from 10:00-17:00
Working on location has a whole different range of challenges and we will discuss them during this day.
We start again with a Q&A after which we use different locations near our studio ranging from edgy to nature. We will be using flash, natural light, reflectors etc. In the studio we will mimic locations with constant lighting and alternative light sources will be used and discussed. 


Day 2 afternoon:
Retouching part
Learn how to control your workflow, retouch techniques for Photoshop, Lightroom, Capture One, DxO and the use of plugins.
Business tips


Register now for just 699.00 (euro)

This includes the diner, lunches etc.
No hotel and flights are covered, but we will offer a good location close to our studio and transport to and from the hotel to our studio.
Group size is very limited and the language of the workshop will be English.

This is the most complete workshop you will find anywhere.


Some samples from previous workshops, this is the kind of material you will be shooting too…..

Manon 46 - November 22 2014_DxO editSharon Jan 24 2015 27584Anna Matthea February 14 2015 0452Chantal November 21 2014 0168Manon 101 - November 22 2014_DxO-retouchManon 119 - November 22 2014-EditManon 134 - November 22 2014_DxO retouchSharon Mei 31 2014 (83 of 101)-EditLenaa Januari 25 2014 B (4 of 4)