Bring some Hollywood in your images
Sometimes you come across software that is truly unique.
Most software that you find online are variants of each other, eg Lightroom, Photoshop or they are focused on a specific part of the workflow such as tinting, skin processing, etc. But there is always a variant of a variant to be found. That’s why I was really surprised by BorisFX Optics.
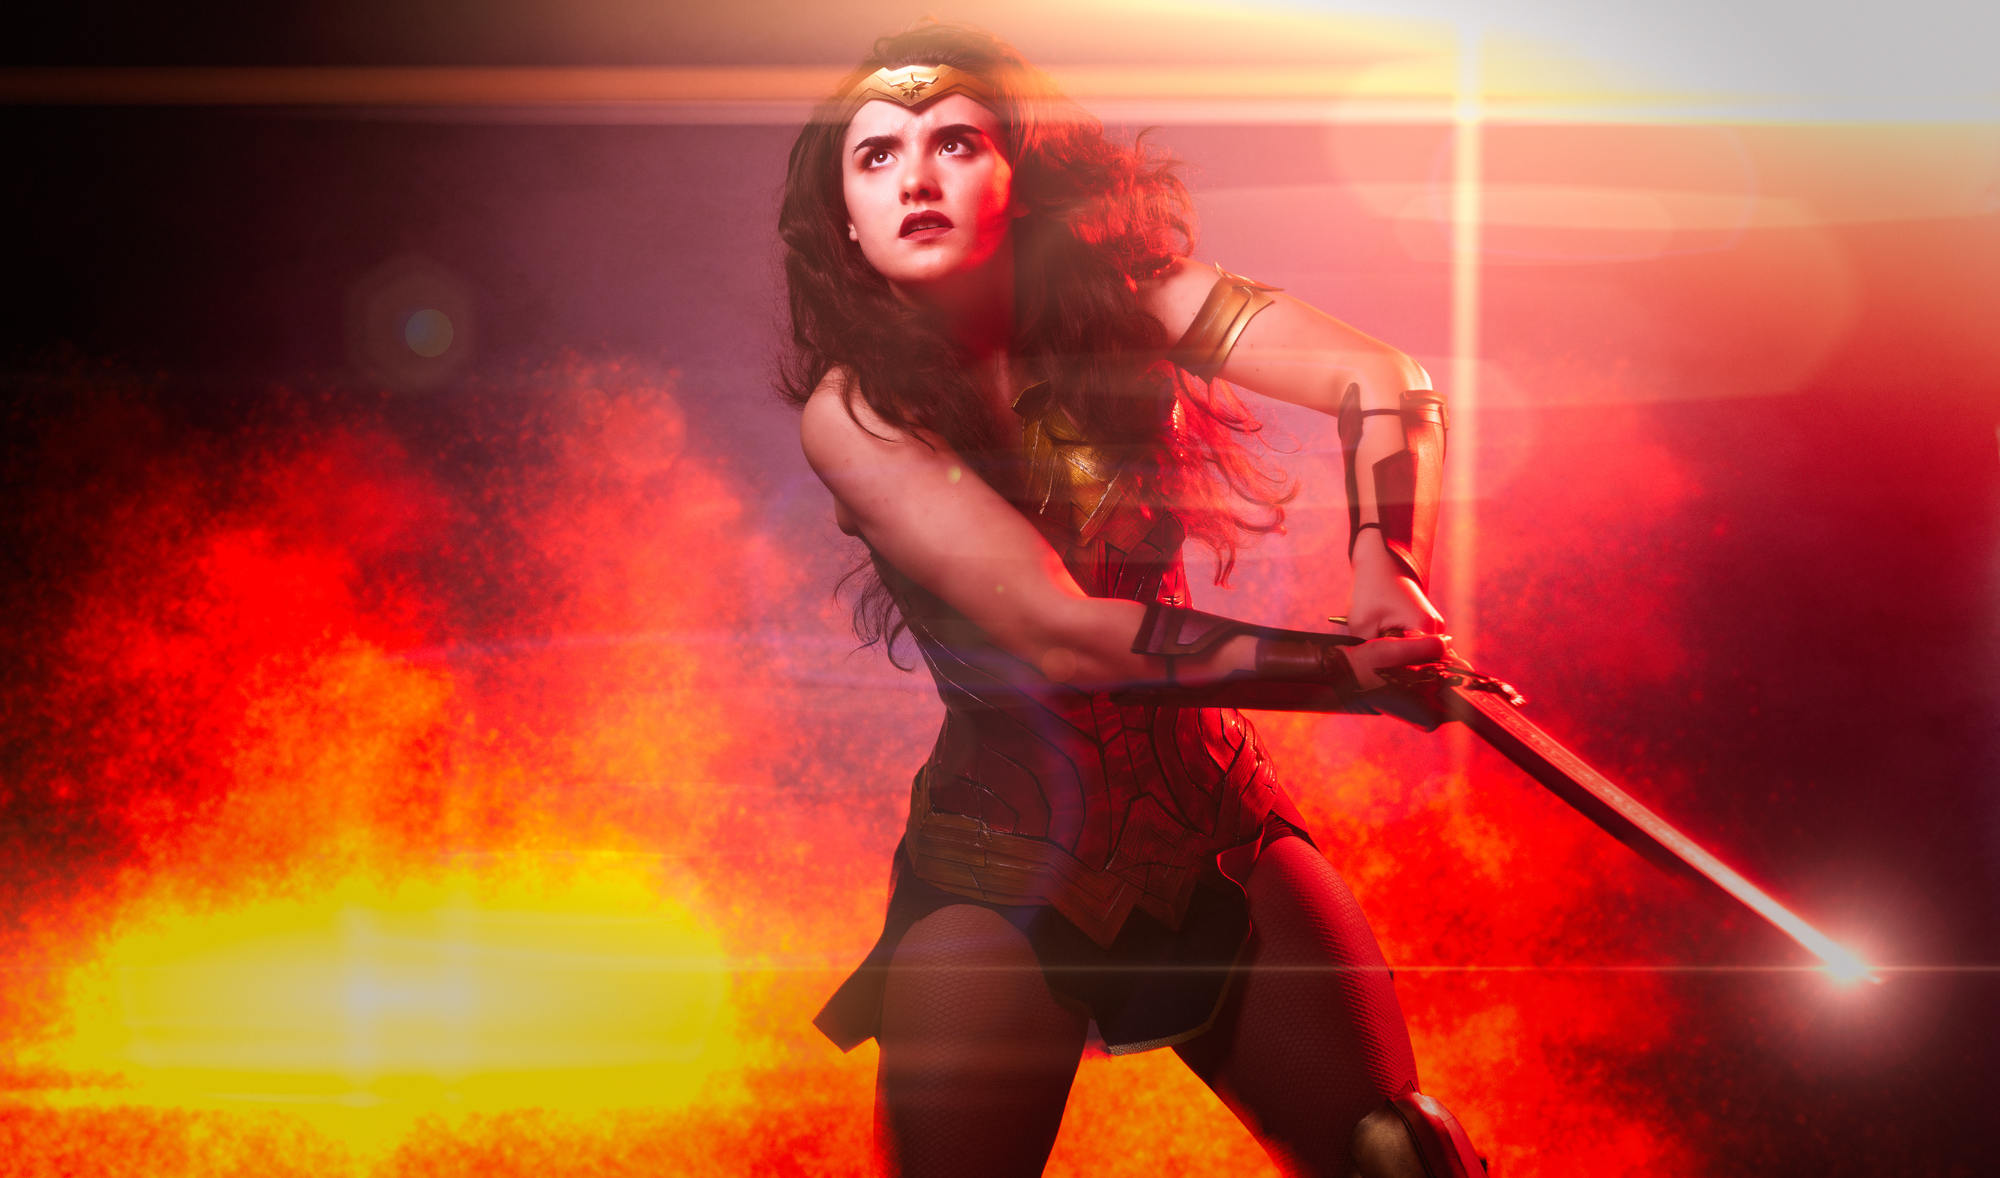
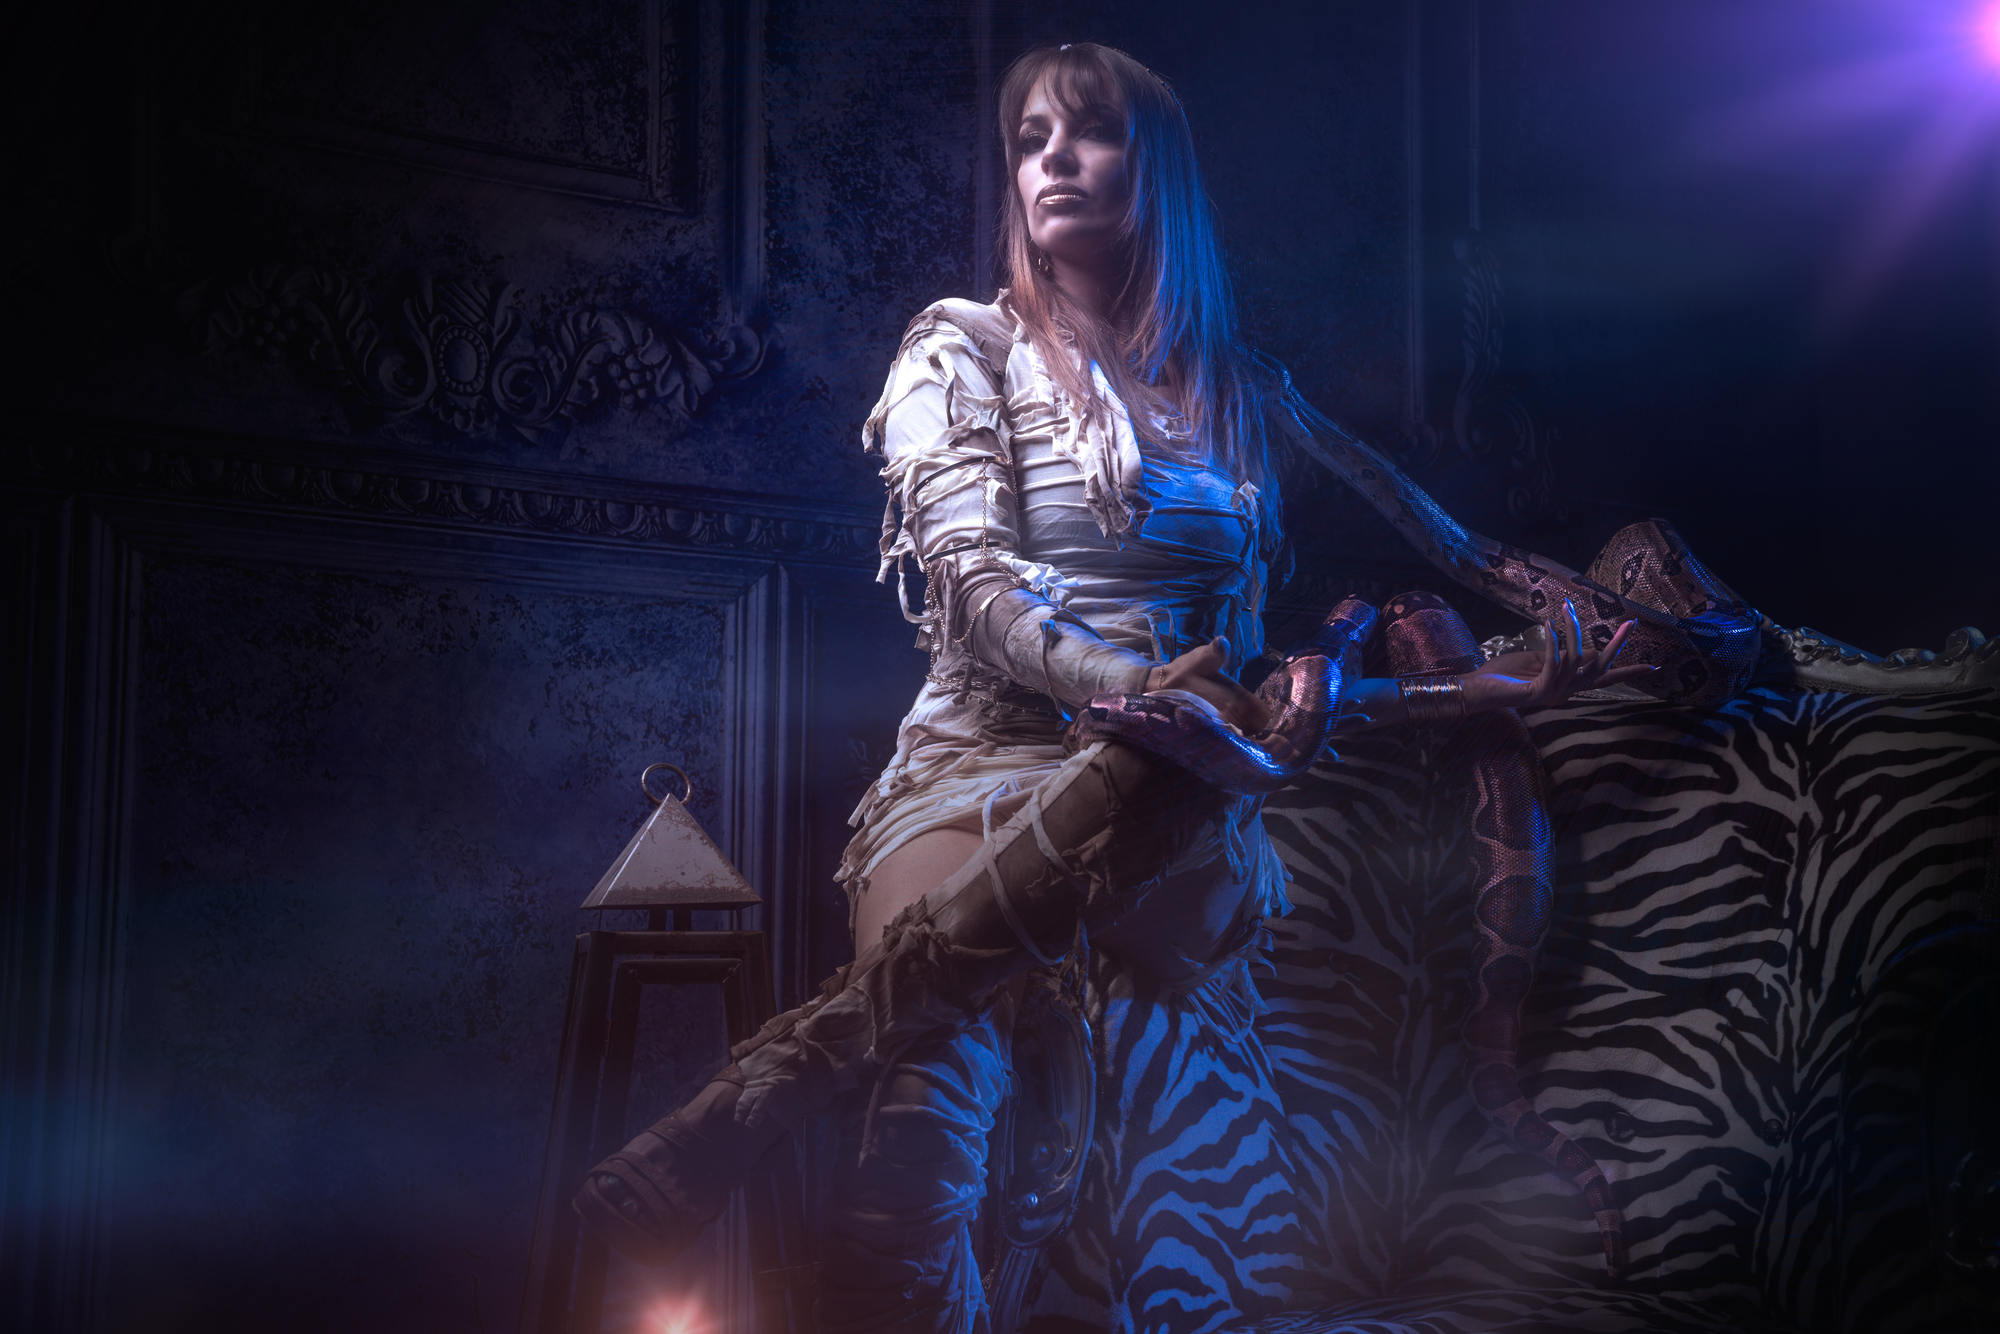
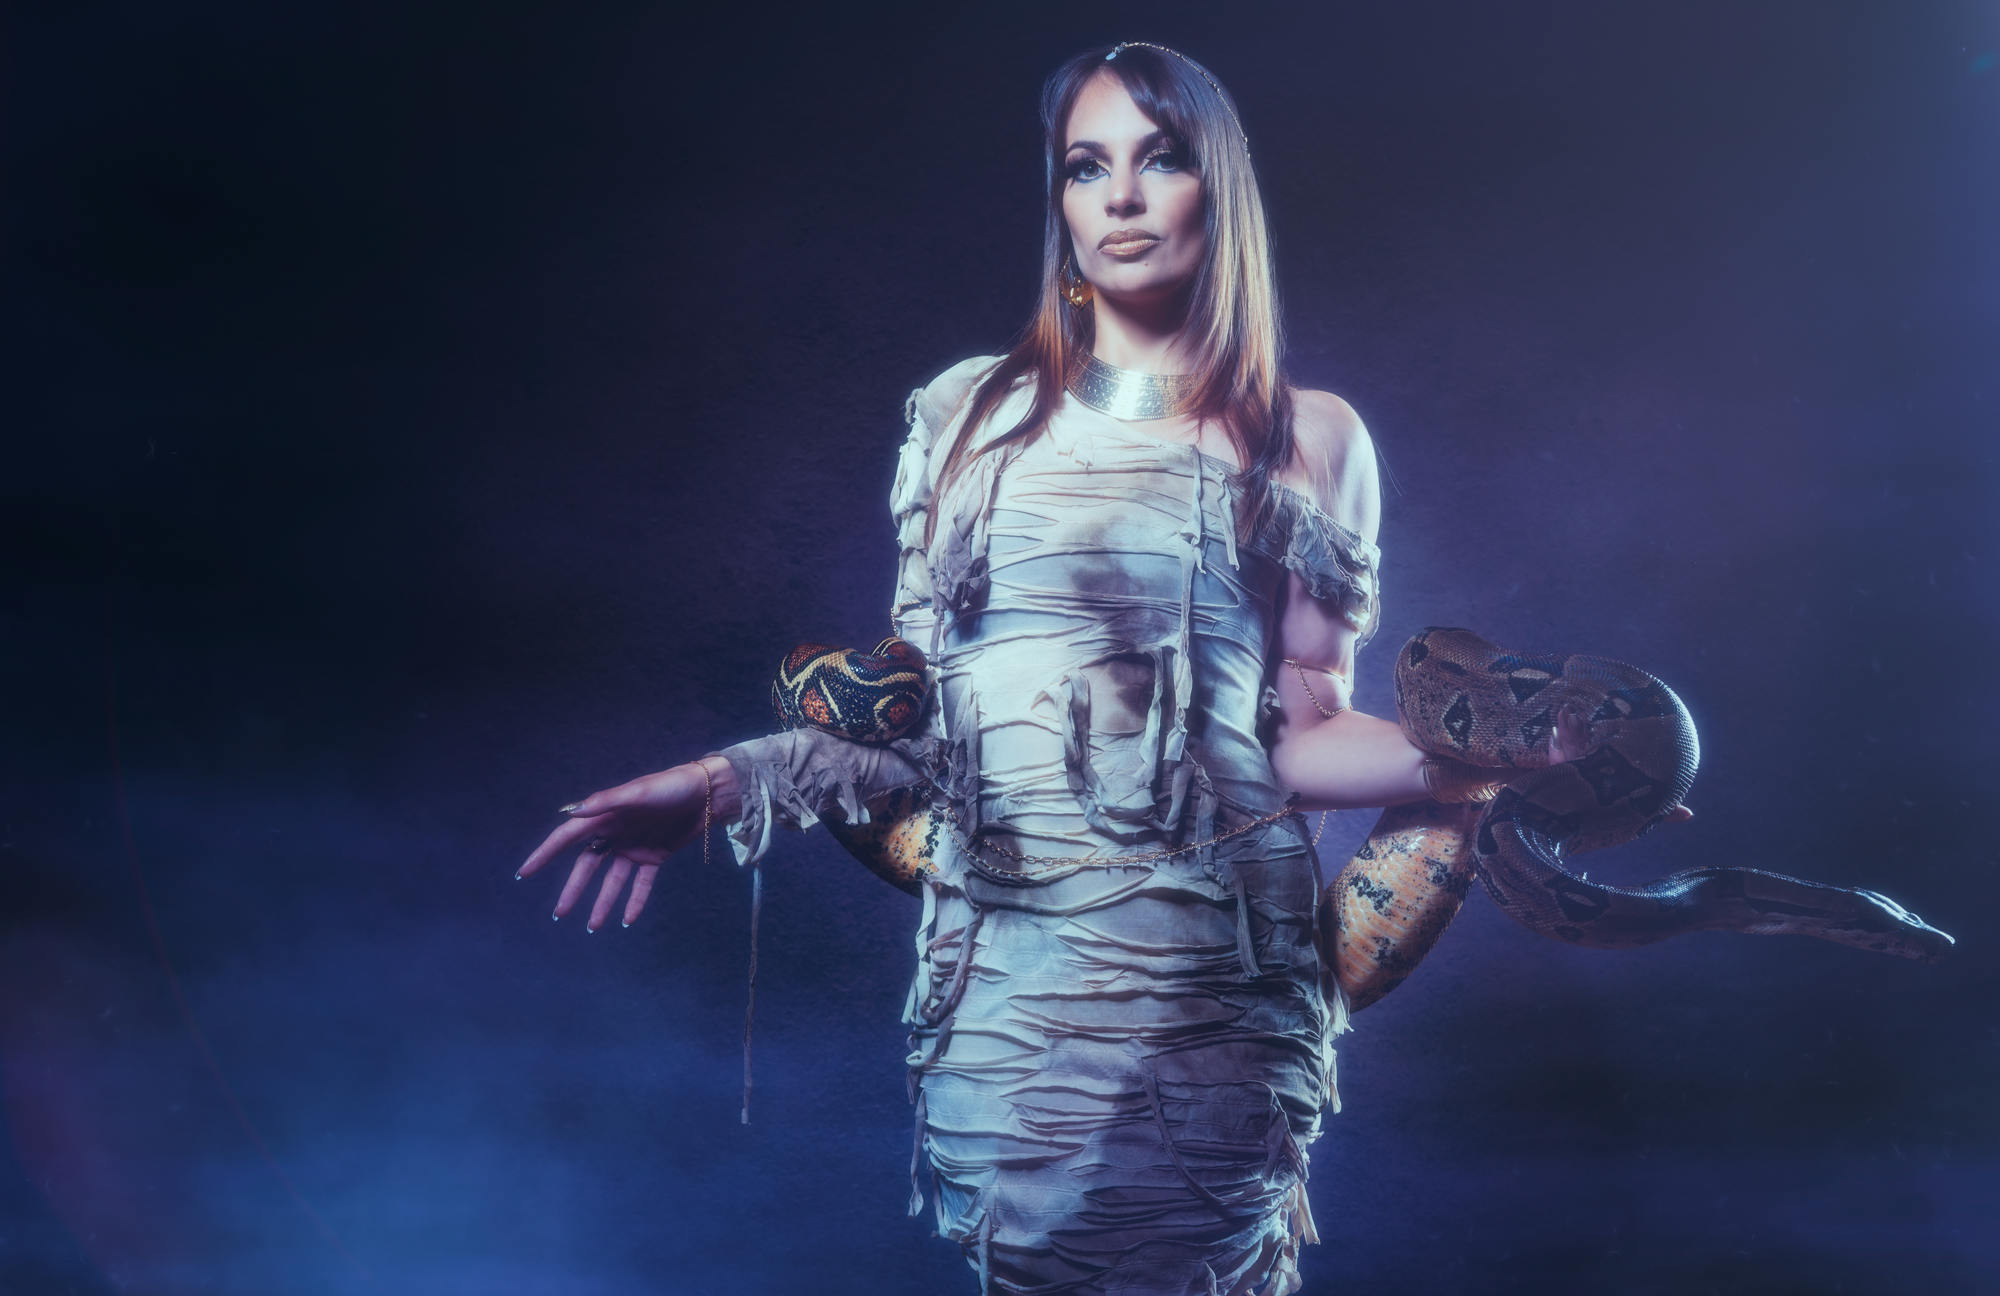
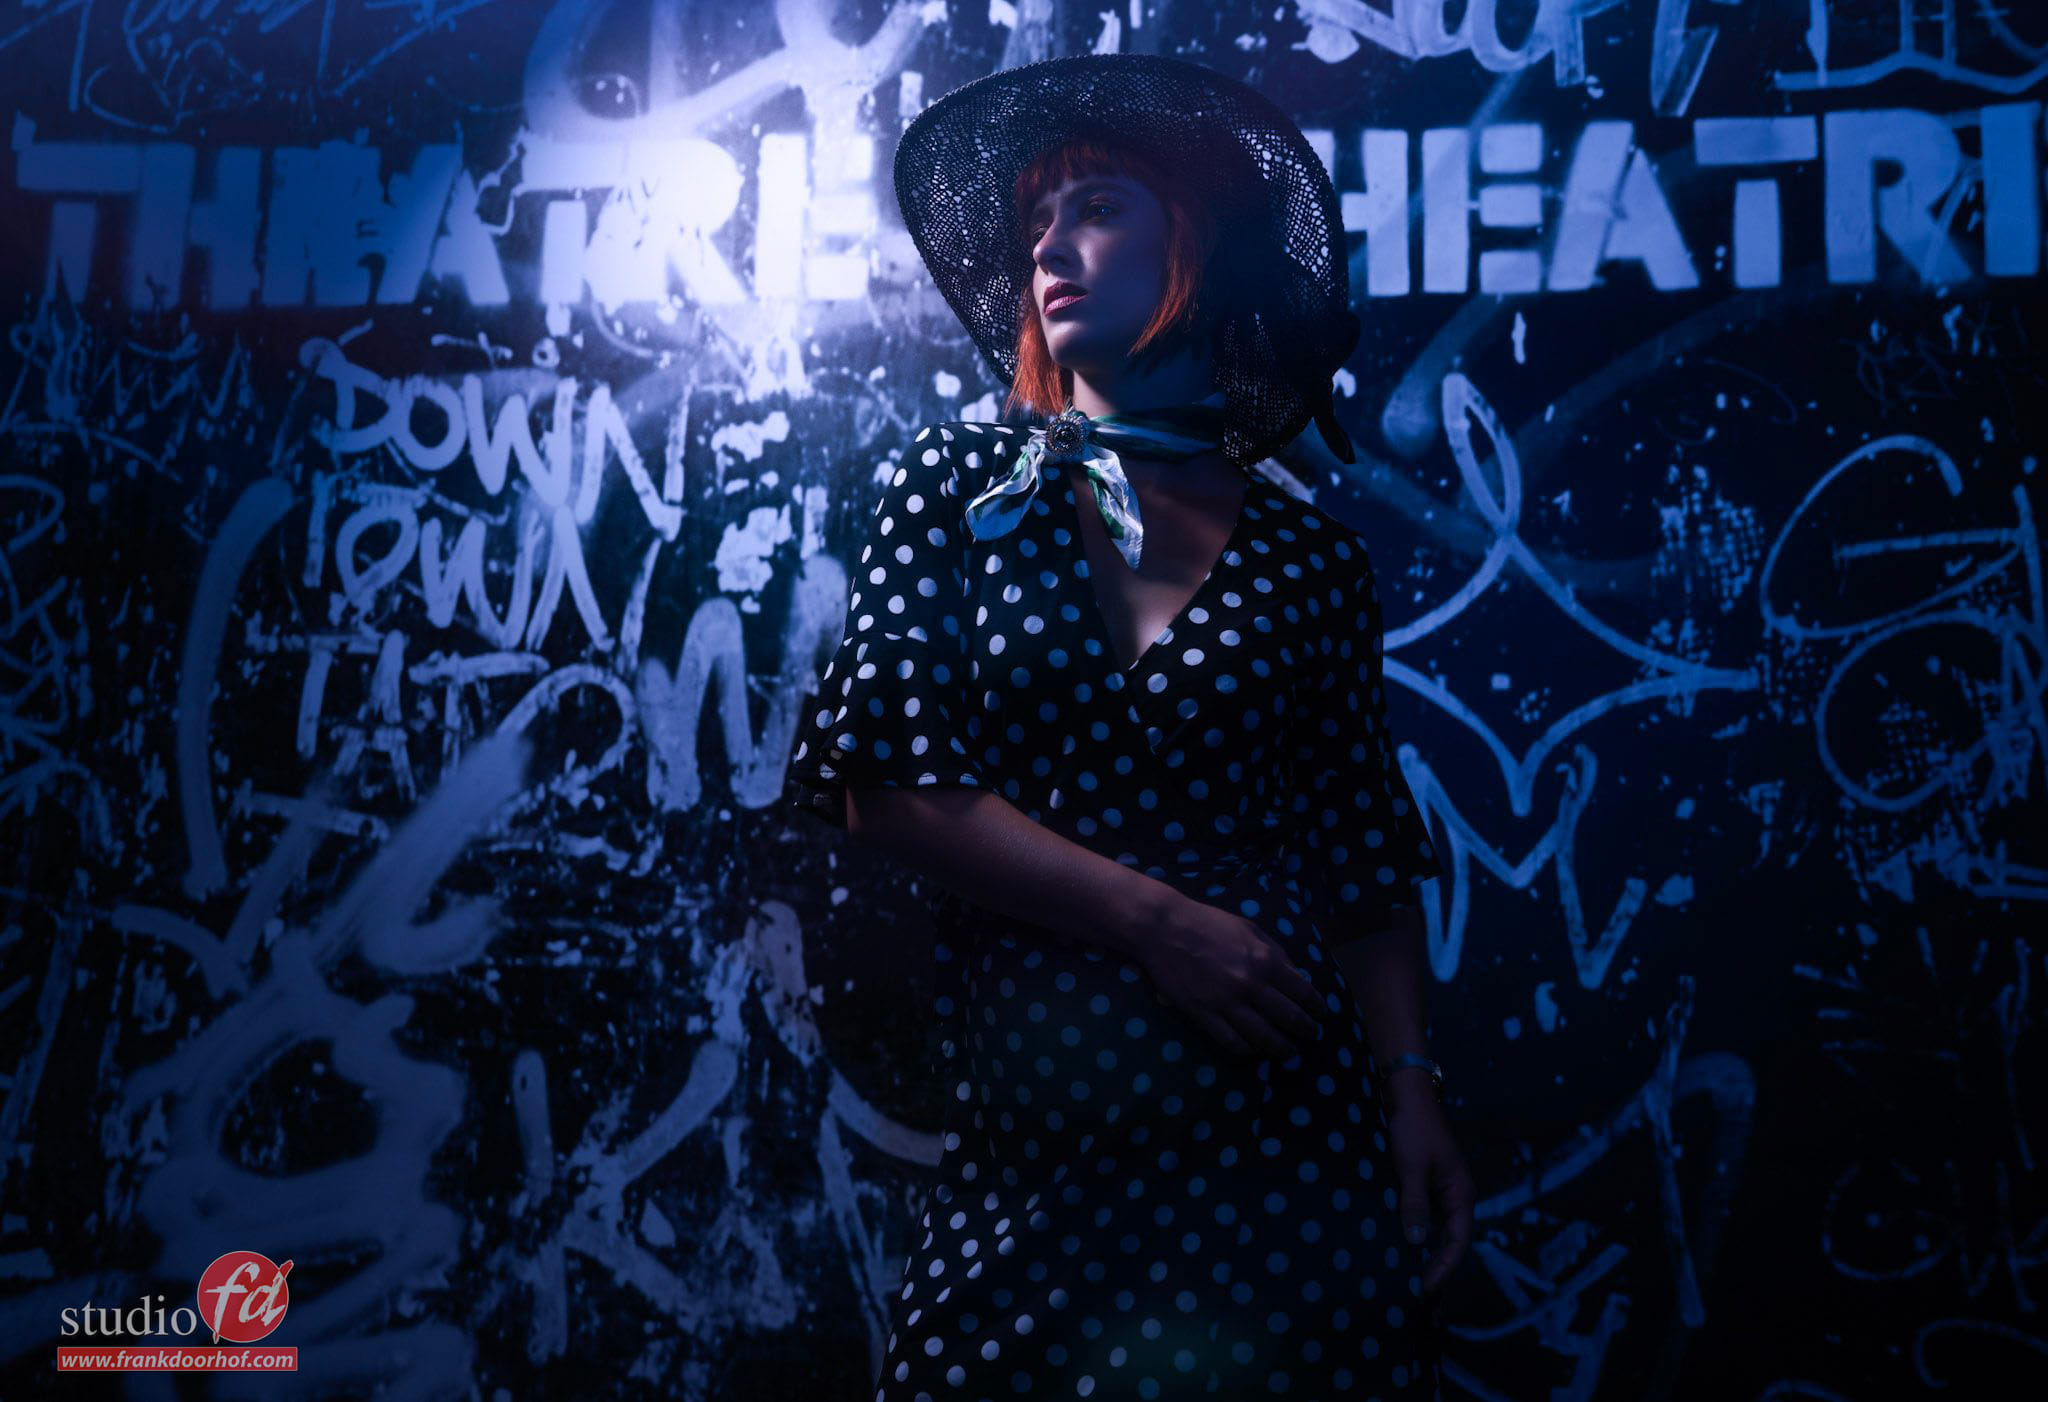
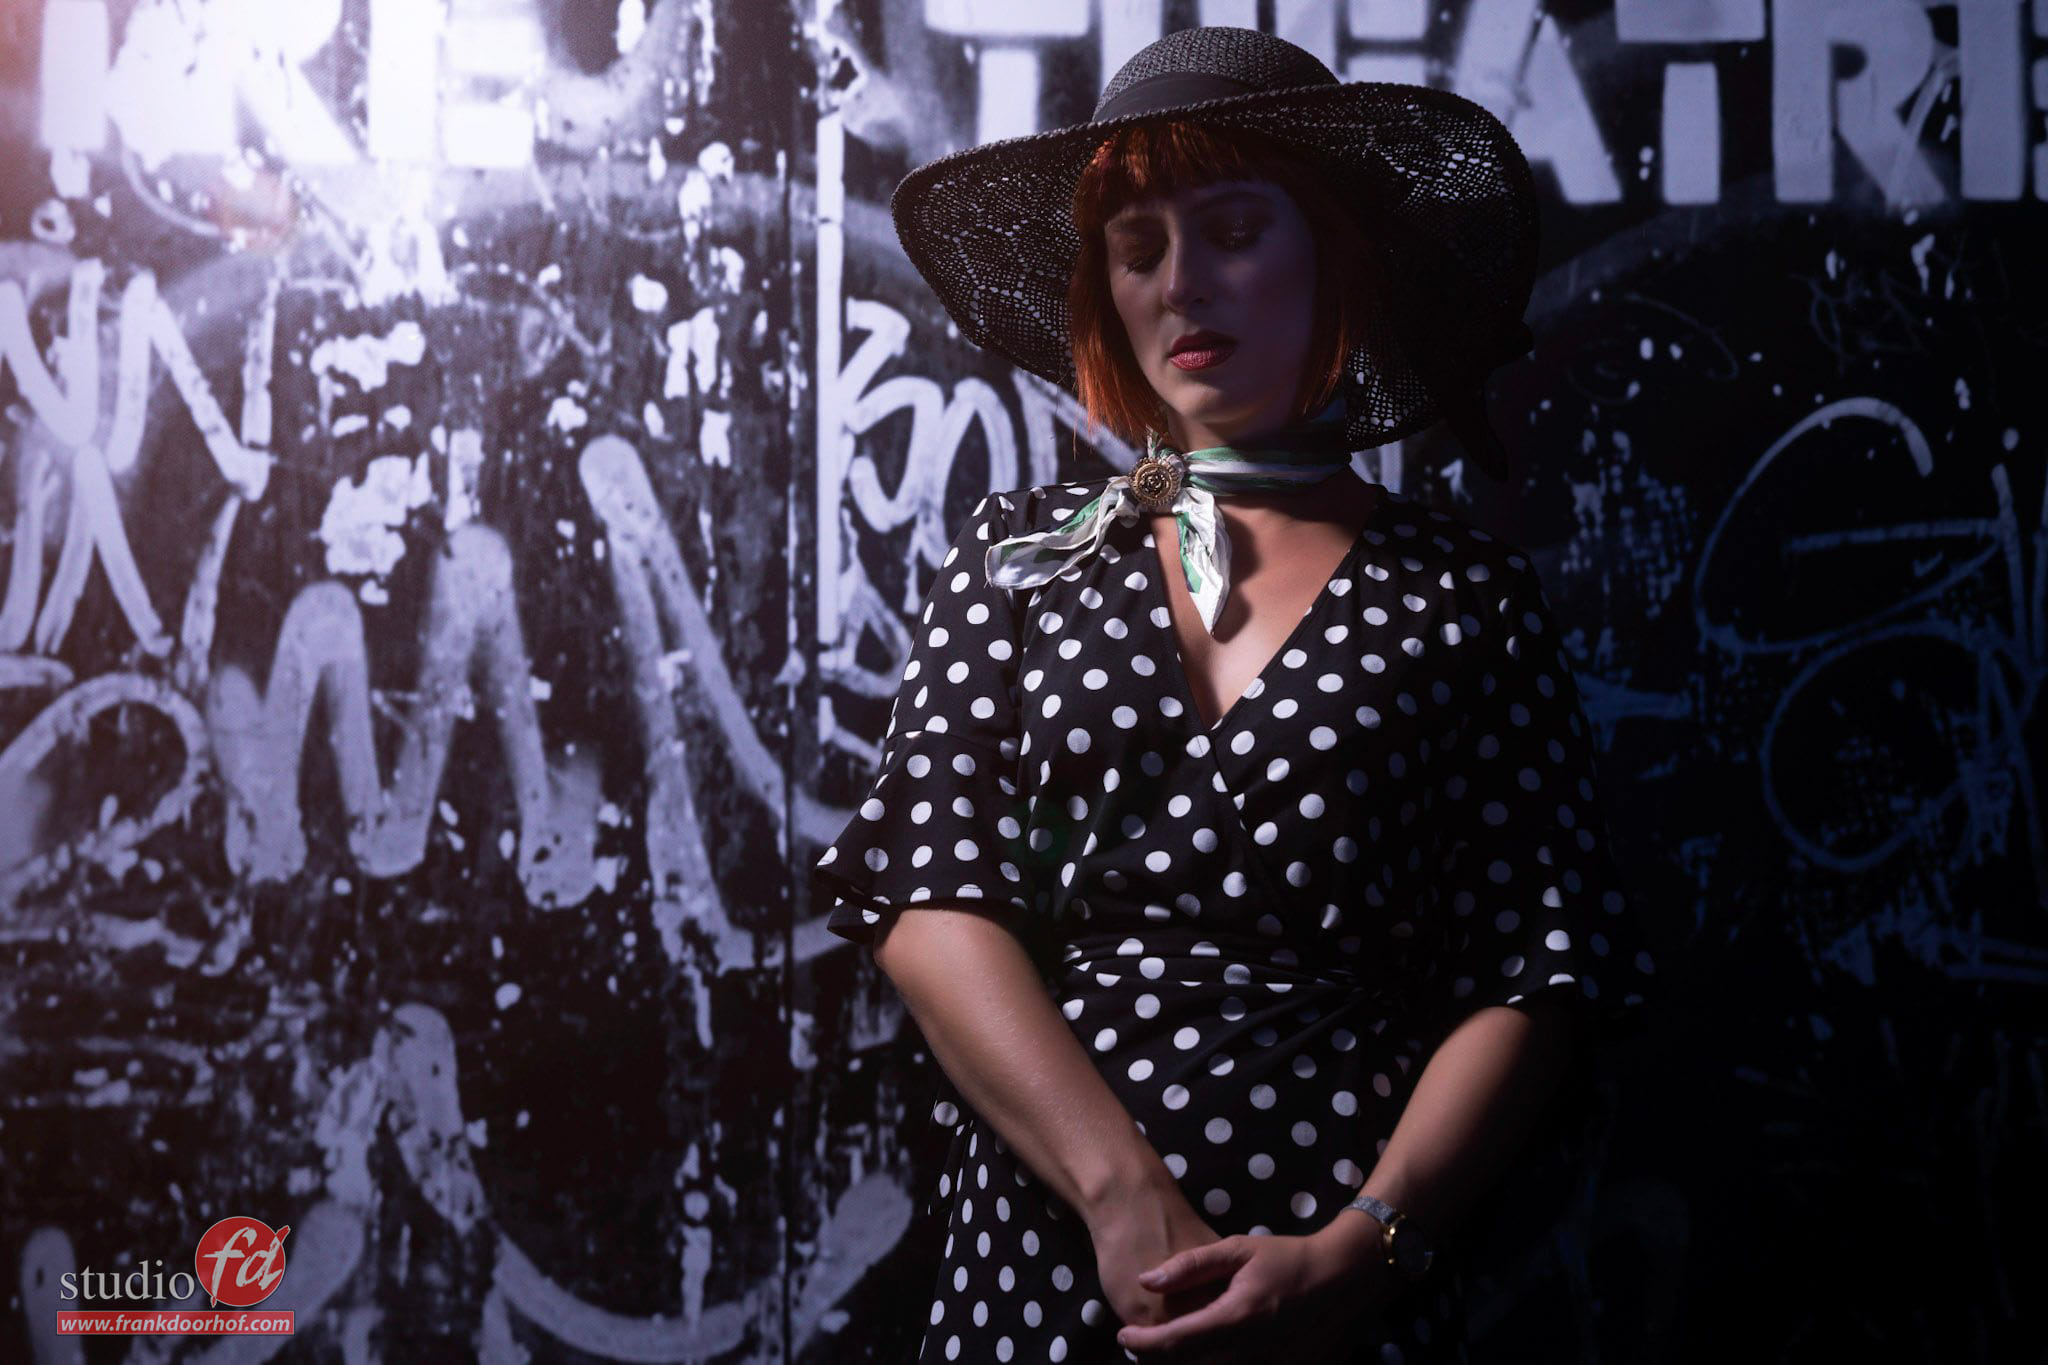
As a big film lover I regularly see light effects of which you as a photographer know that it is as fake as can be… but oh how beautiful it is in the context of the film, think of the beautiful glow around street lighting in the fog on a warm summer evening, realize that there was no fog at all but it was added through special effects….
When we think of special effects we often think of space ships, talking mice, etc. but what we often don’t think about is that special effects are also used to add fog, glow, lens flares, smoke, etc. to a scene to increase the atmosphere. in a movie, and it’s just often easier to add it later than to fog up an entire street perfectly.
But also fire and particles are part of special effects, just think of a scene where someone walks into a burning house, all those small fire particles of burning paper/material… huge chance that these are all special effects.
The software that is used a lot for this could be labeled as the big brother of BorisFX Optics. And this is also very clear by the huge amount of options and very realistic looks.
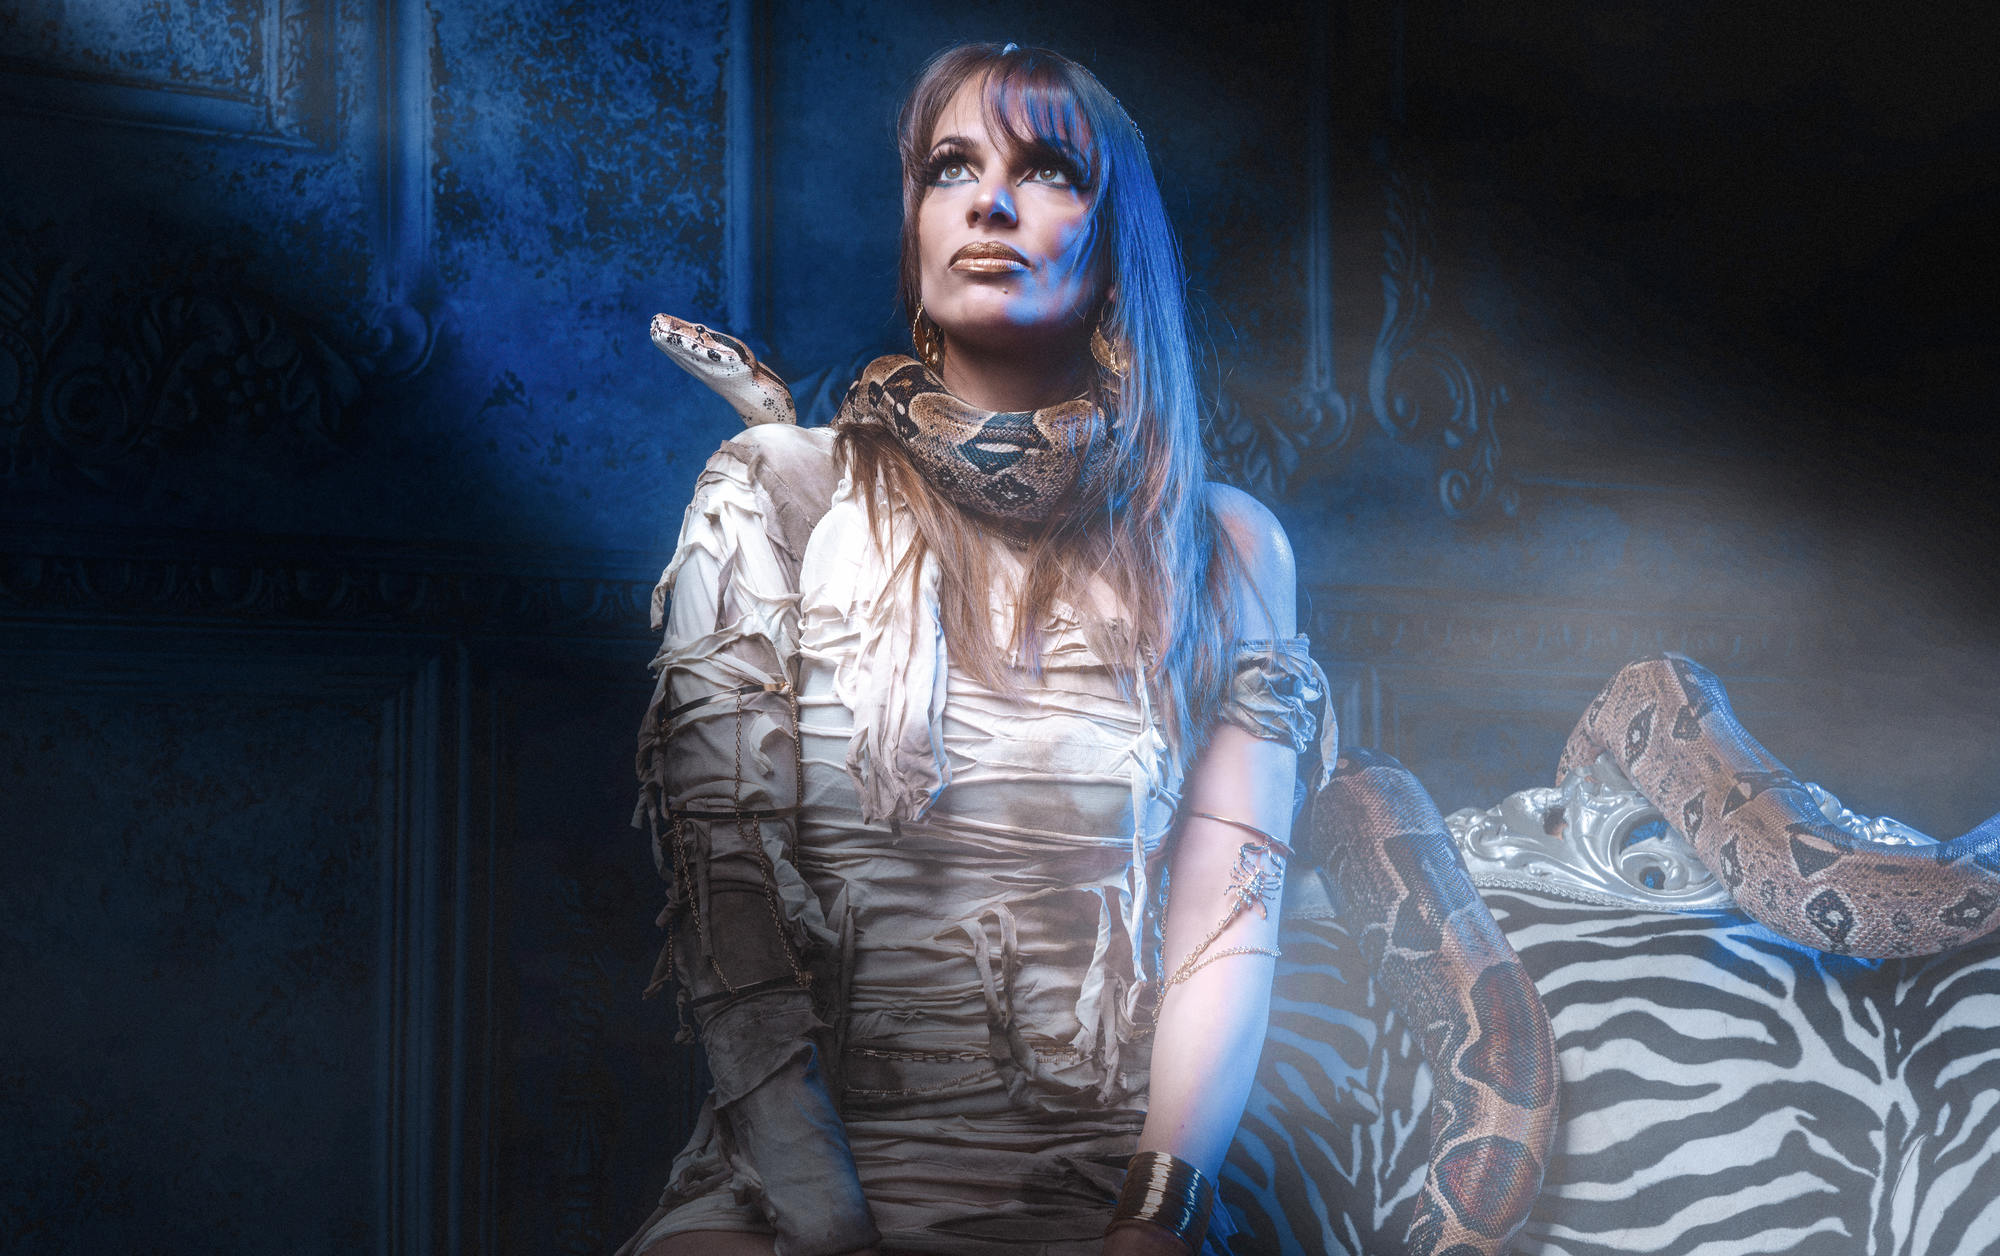
There is a lot of software where you can work with overlays for smoke, for example, but I have never seen software where you can literally let the smoke pass by like a movie via a multitude of sliders and choose EXACTLY where you want the smoke, and even then you can still change a staggering amount of things building the perfect smoke. And believe it or not but almost every effect you choose has a similar slider choice, if you don’t get the desired effect with this I wouldn’t know what to do.
Anyway, isn’t this “cheating”?
Yes and no.
What I personally have trouble with is when people make no effort at all for correct lighting or styling and then try to make a photo interesting through all kinds of filters, and although sometimes you can get some very nice results, it is a completely different result if what I have in mind when I shoot a scene.
Of course you can always say that if it is not caught by the camera, it is not real… but…. then I wonder how do you see a black mist filter, which makes a lens flare clearly stronger?
And that’s basically how I see BorisFX Optics too.
I’m still trying to get the photo 100% correct in the camera, I build the whole set, put the lighting in the right places, use smoke etc. etc. But after the shoot I use BorisFX Optics to turn everything “on”, the lens flare is already in the photo, but in the retouch process you can enhance it with eg BorisFX Optics and really give it your look and feel. The same applies to turning on a spot just a little bit extra, it is there, but you make it just a bit clearer, or enhance the glow of an old tube amp… I personally have no problem with that at all.
And let’s be honest, in the end we still made the photo ourselves and went through the entire process in the software and that is a completely creative process, only instead of just colors we now also add atmosphere in a photo which otherwise would not have been possible, and this makes it possible for me as a film enthusiast to give photos a much more film look.
In the coming months I will make several videos about BorisFX Optics, you can find them on our YouTube channel and of course from this site.
► Get 20% off Boris FX Optics via https://bit.ly/3zpQLzZ and use coupon code: doorhof-optics22


You must be logged in to post a comment.