Using colortubes to spice up your shot
It’s no secret that I love to take my images a few steps further than just a portrait, don’t get me wrong, there is nothing wrong with standard portraits, but for me the real challenge is more into creating something more surreal, and one of the things I love to do is combine coloured gels with a bit of smoke and maybe throw in some lens flares here and there.
During a recent live stream we decided to use the led tubes as my main light source and play with the different options, and today I’ll show you some of the results.
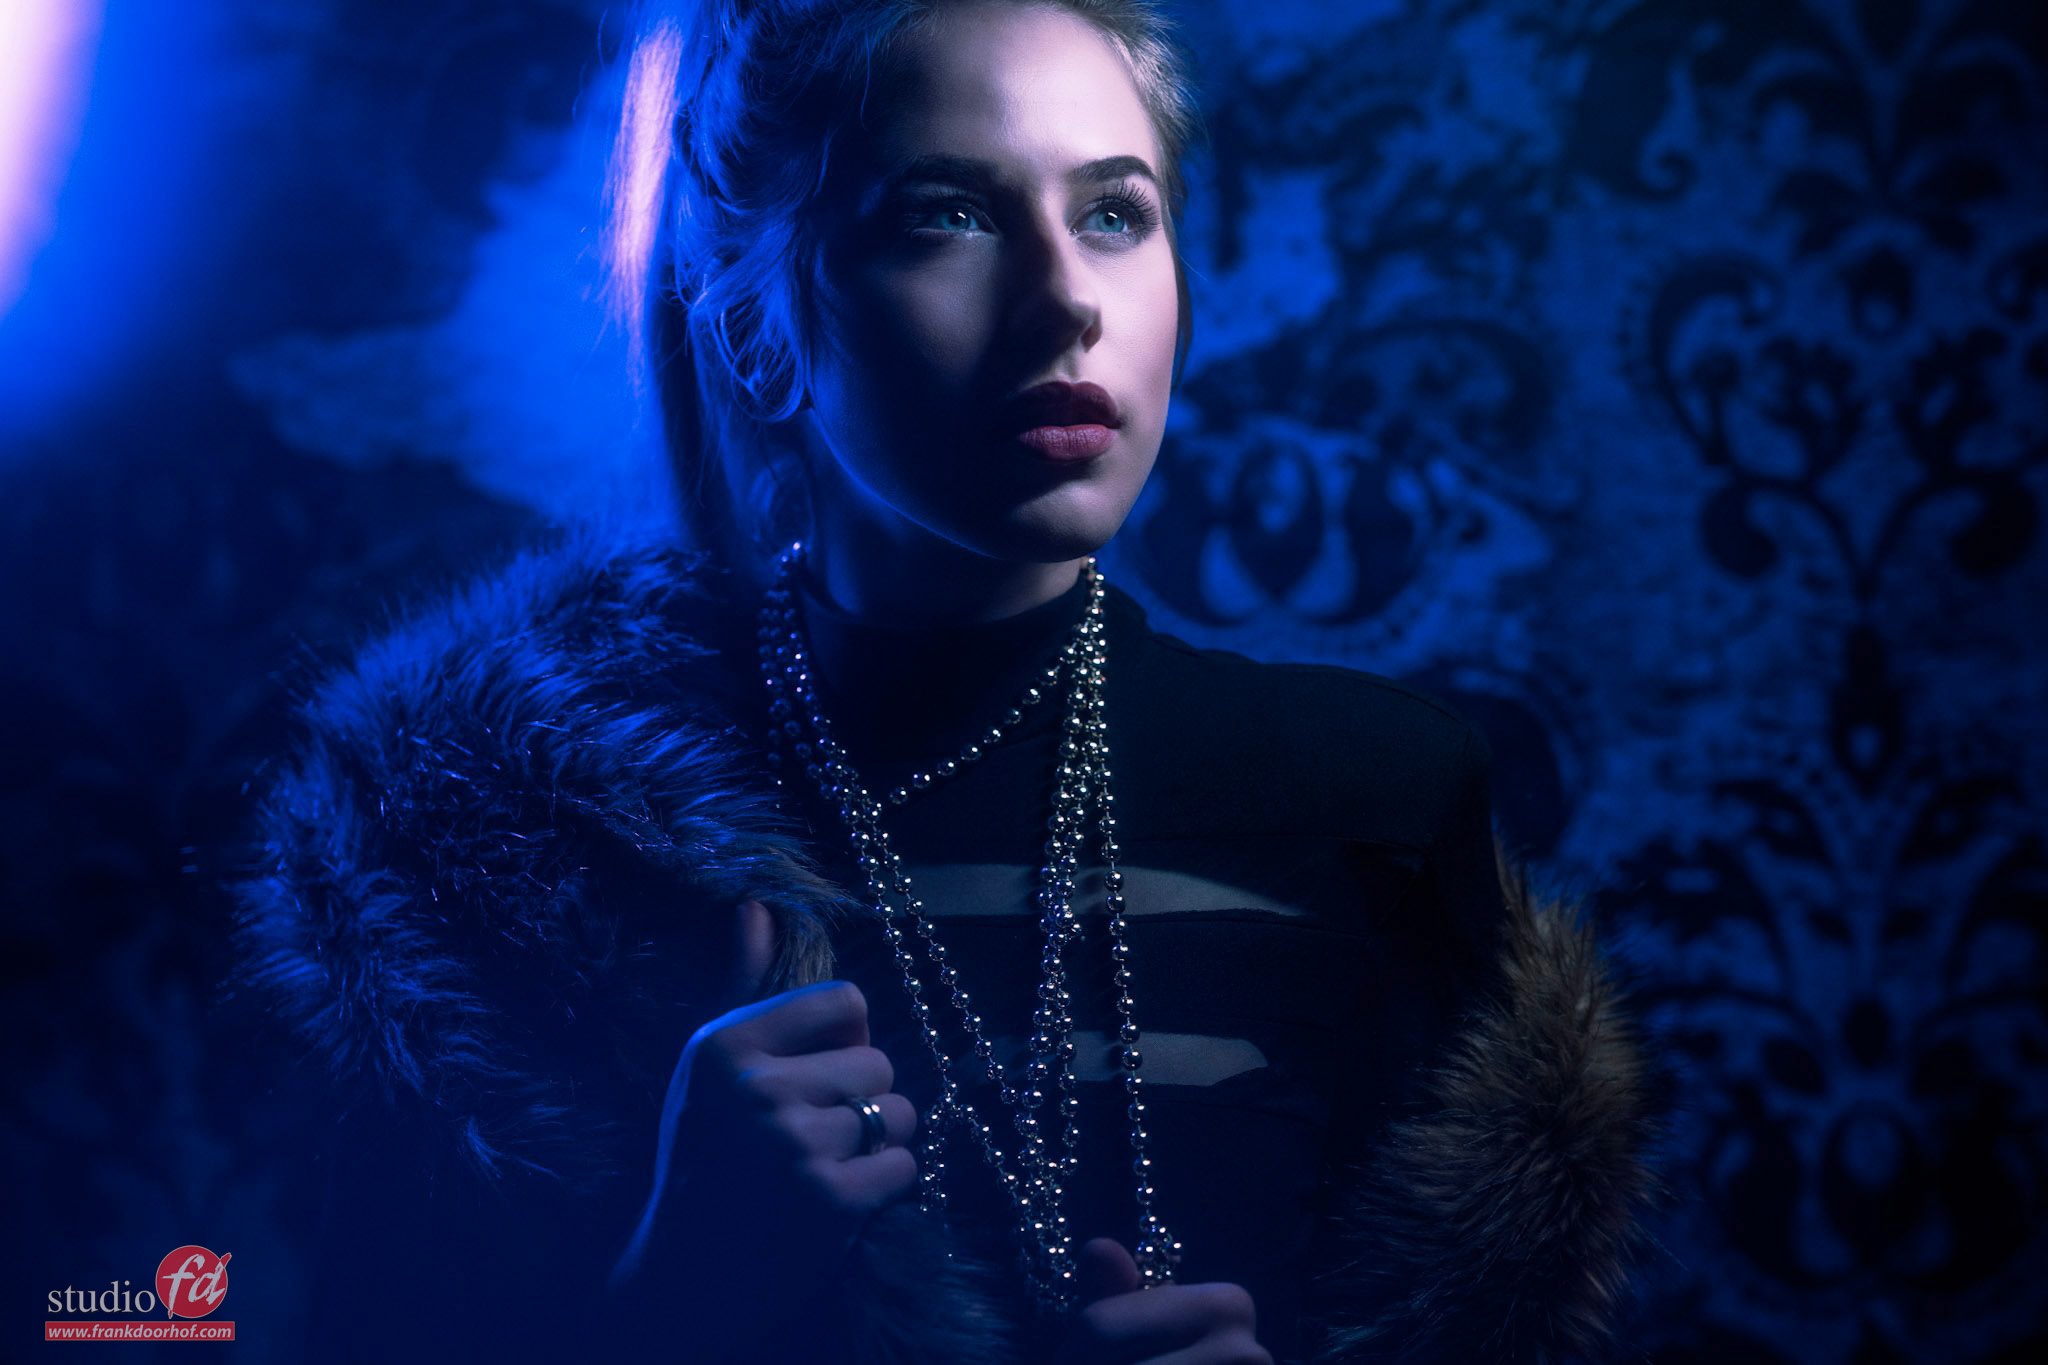
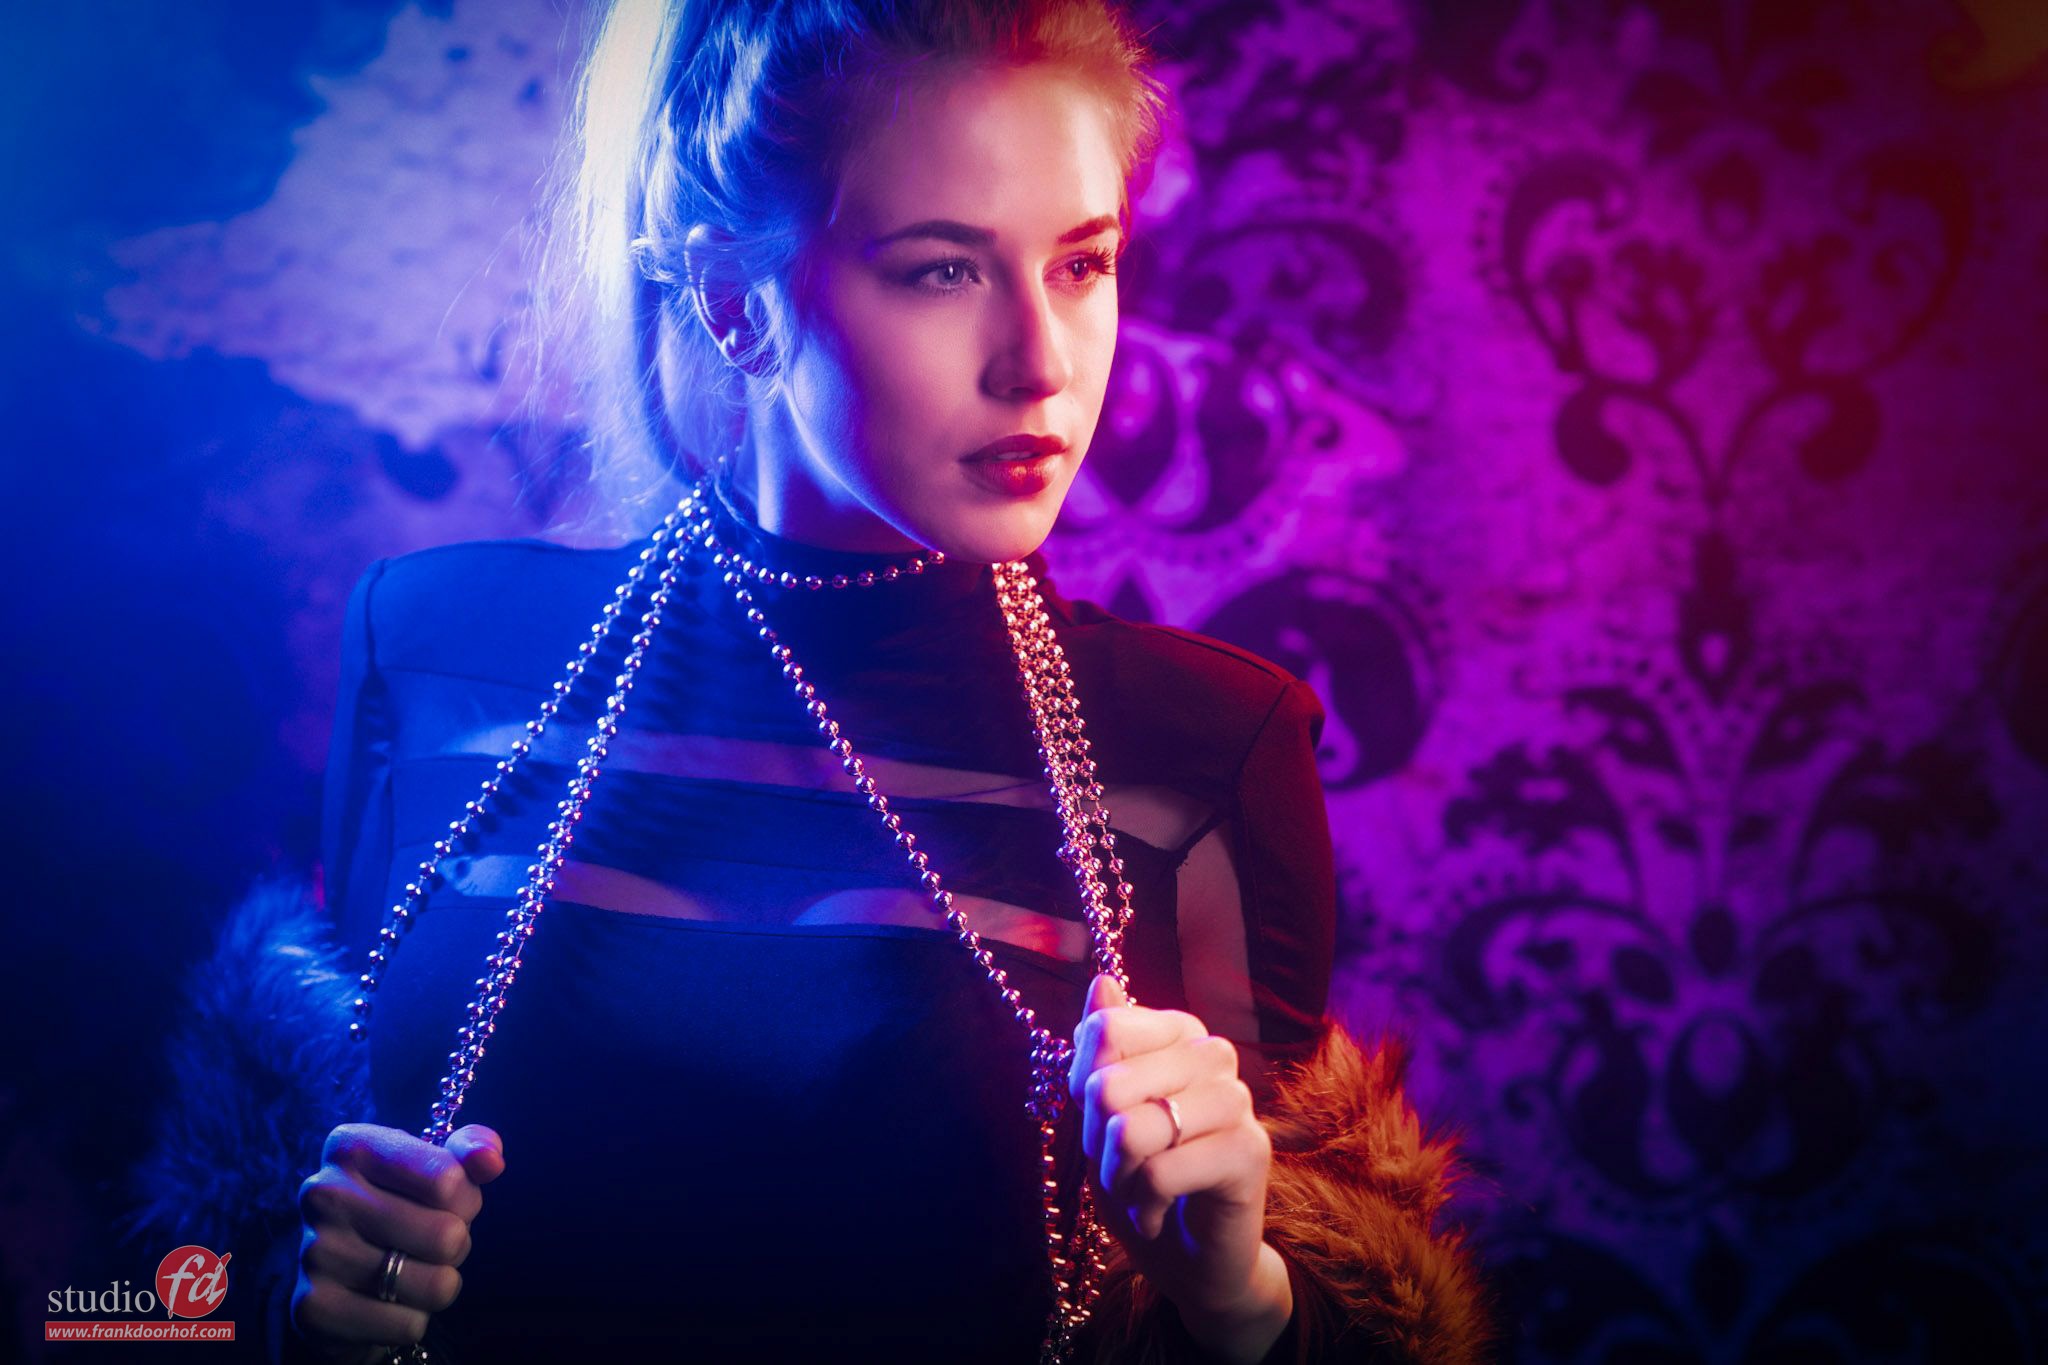
Our model during the live stream was Lois.
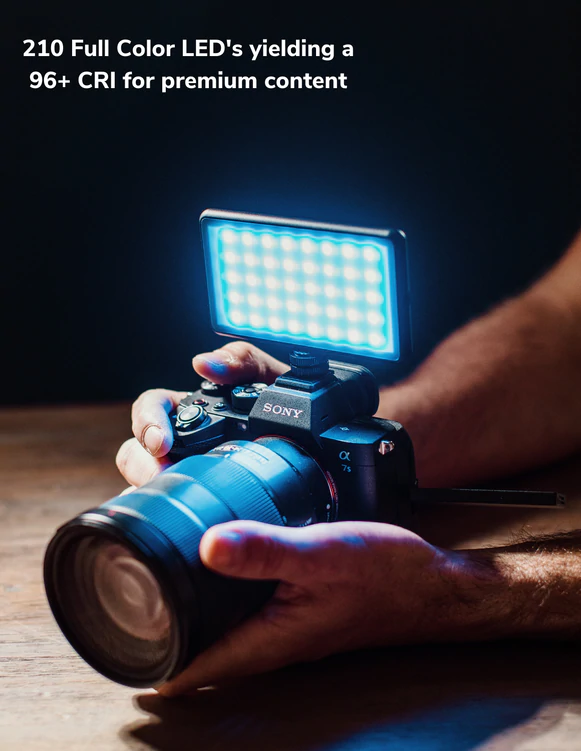
I’m using two small Nanlite led tubes and one large Nanlite led tube.
The nice thing about these tubes is that they not only are able to show almost every color imaginable but also output more than enough light to actually use them in professional photography. I absolutely love those tubes.
But enough talk, let’s take a look at the setup I was using.
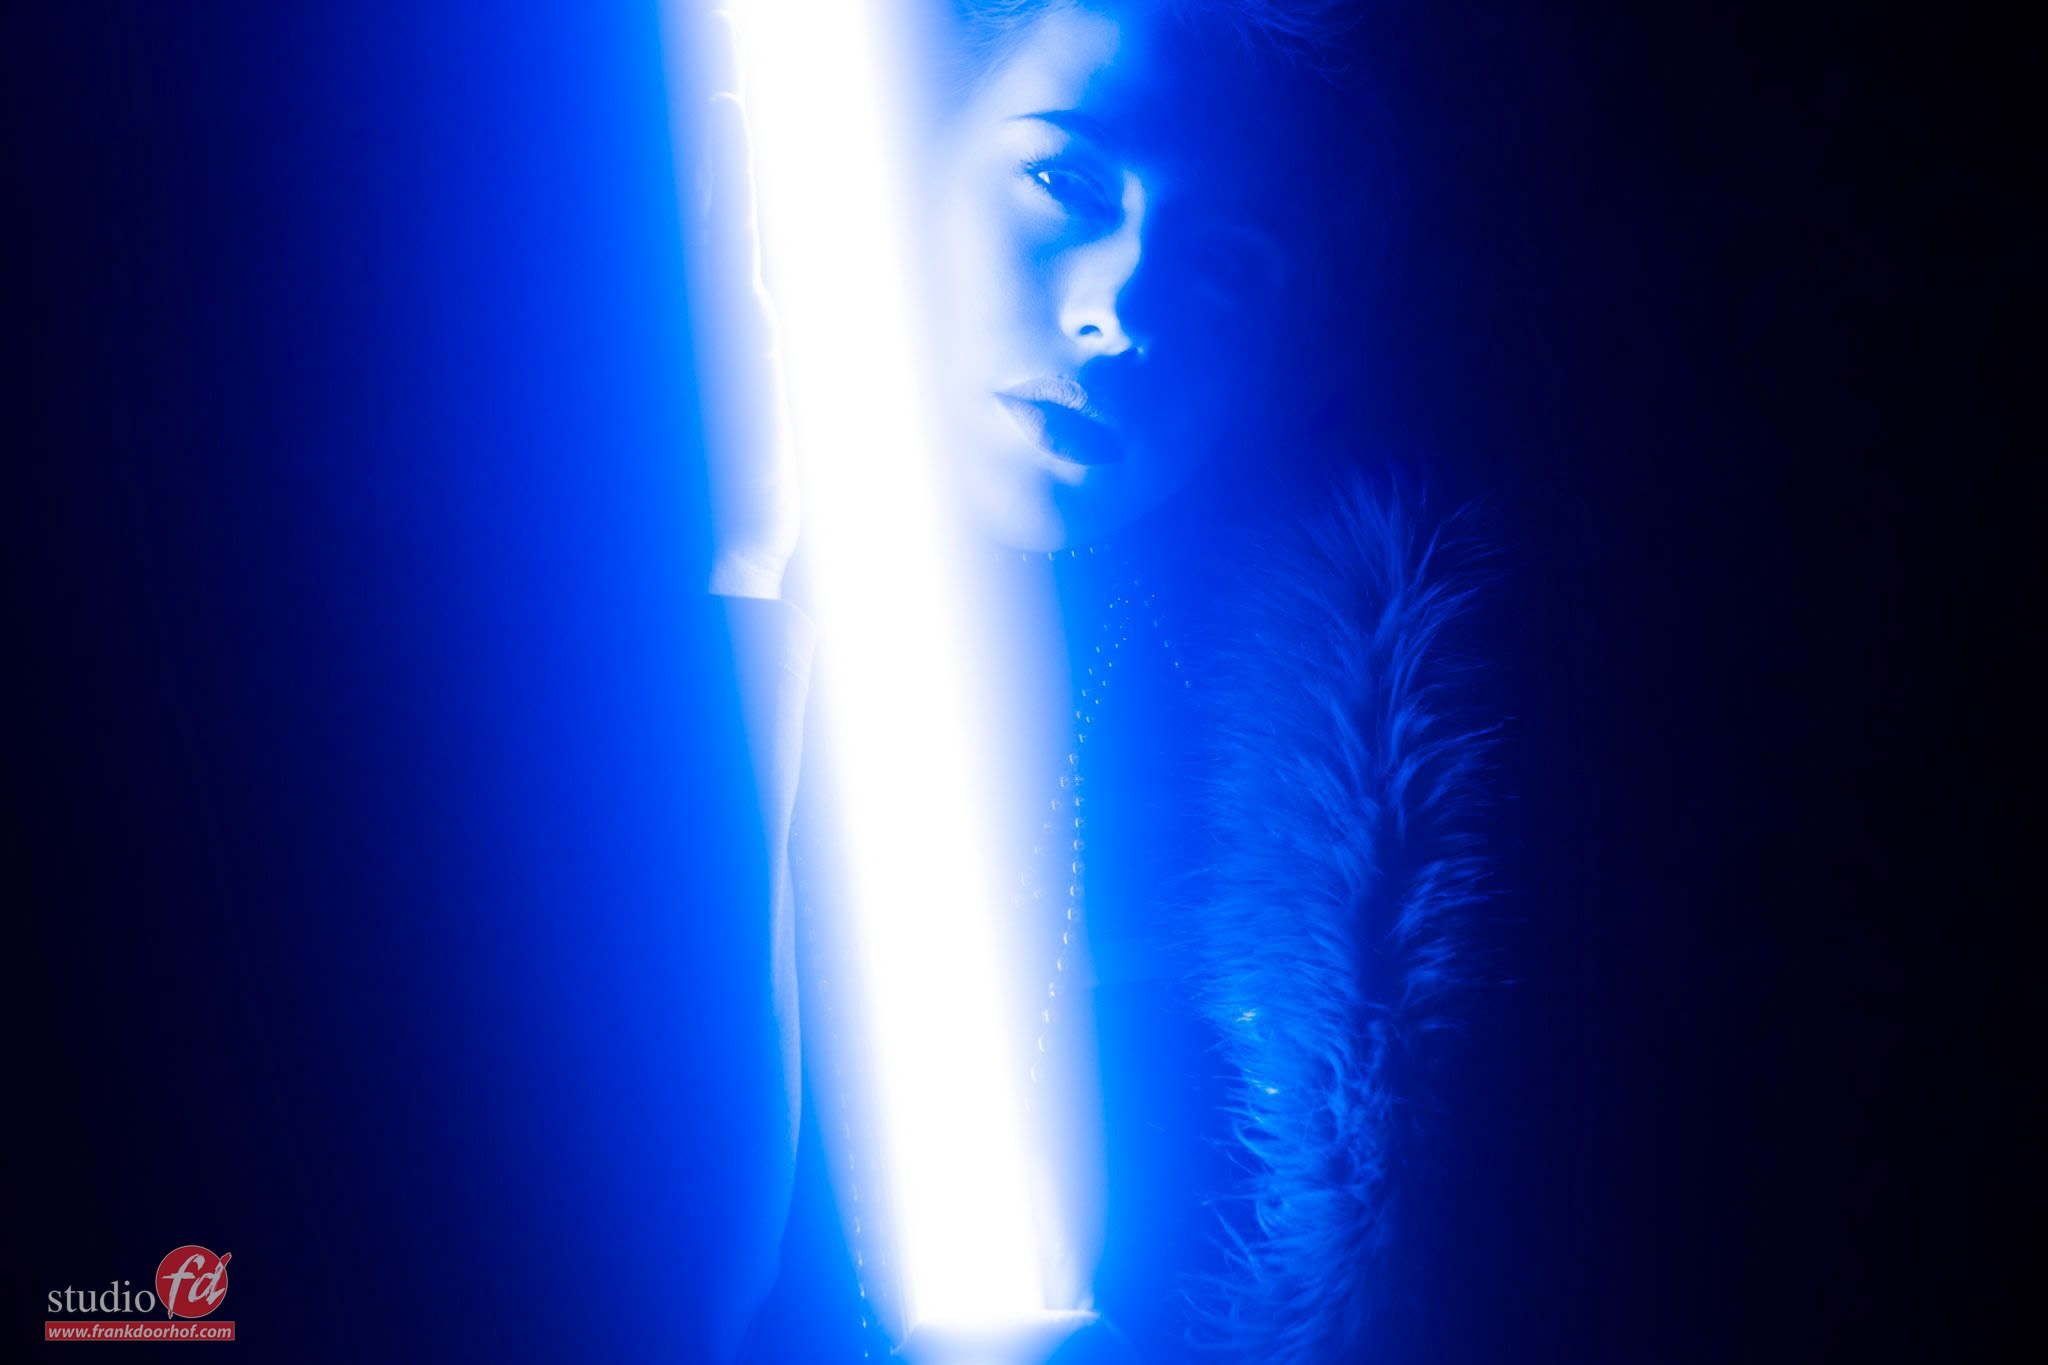
I do have to add that the glow is achieved by using the amazing Black Mist filter from K&F concept, I can’t tell you guys enough how much I love using that filter, in fact you can now even buy it from our webshop at frankdoorhof.com/shop
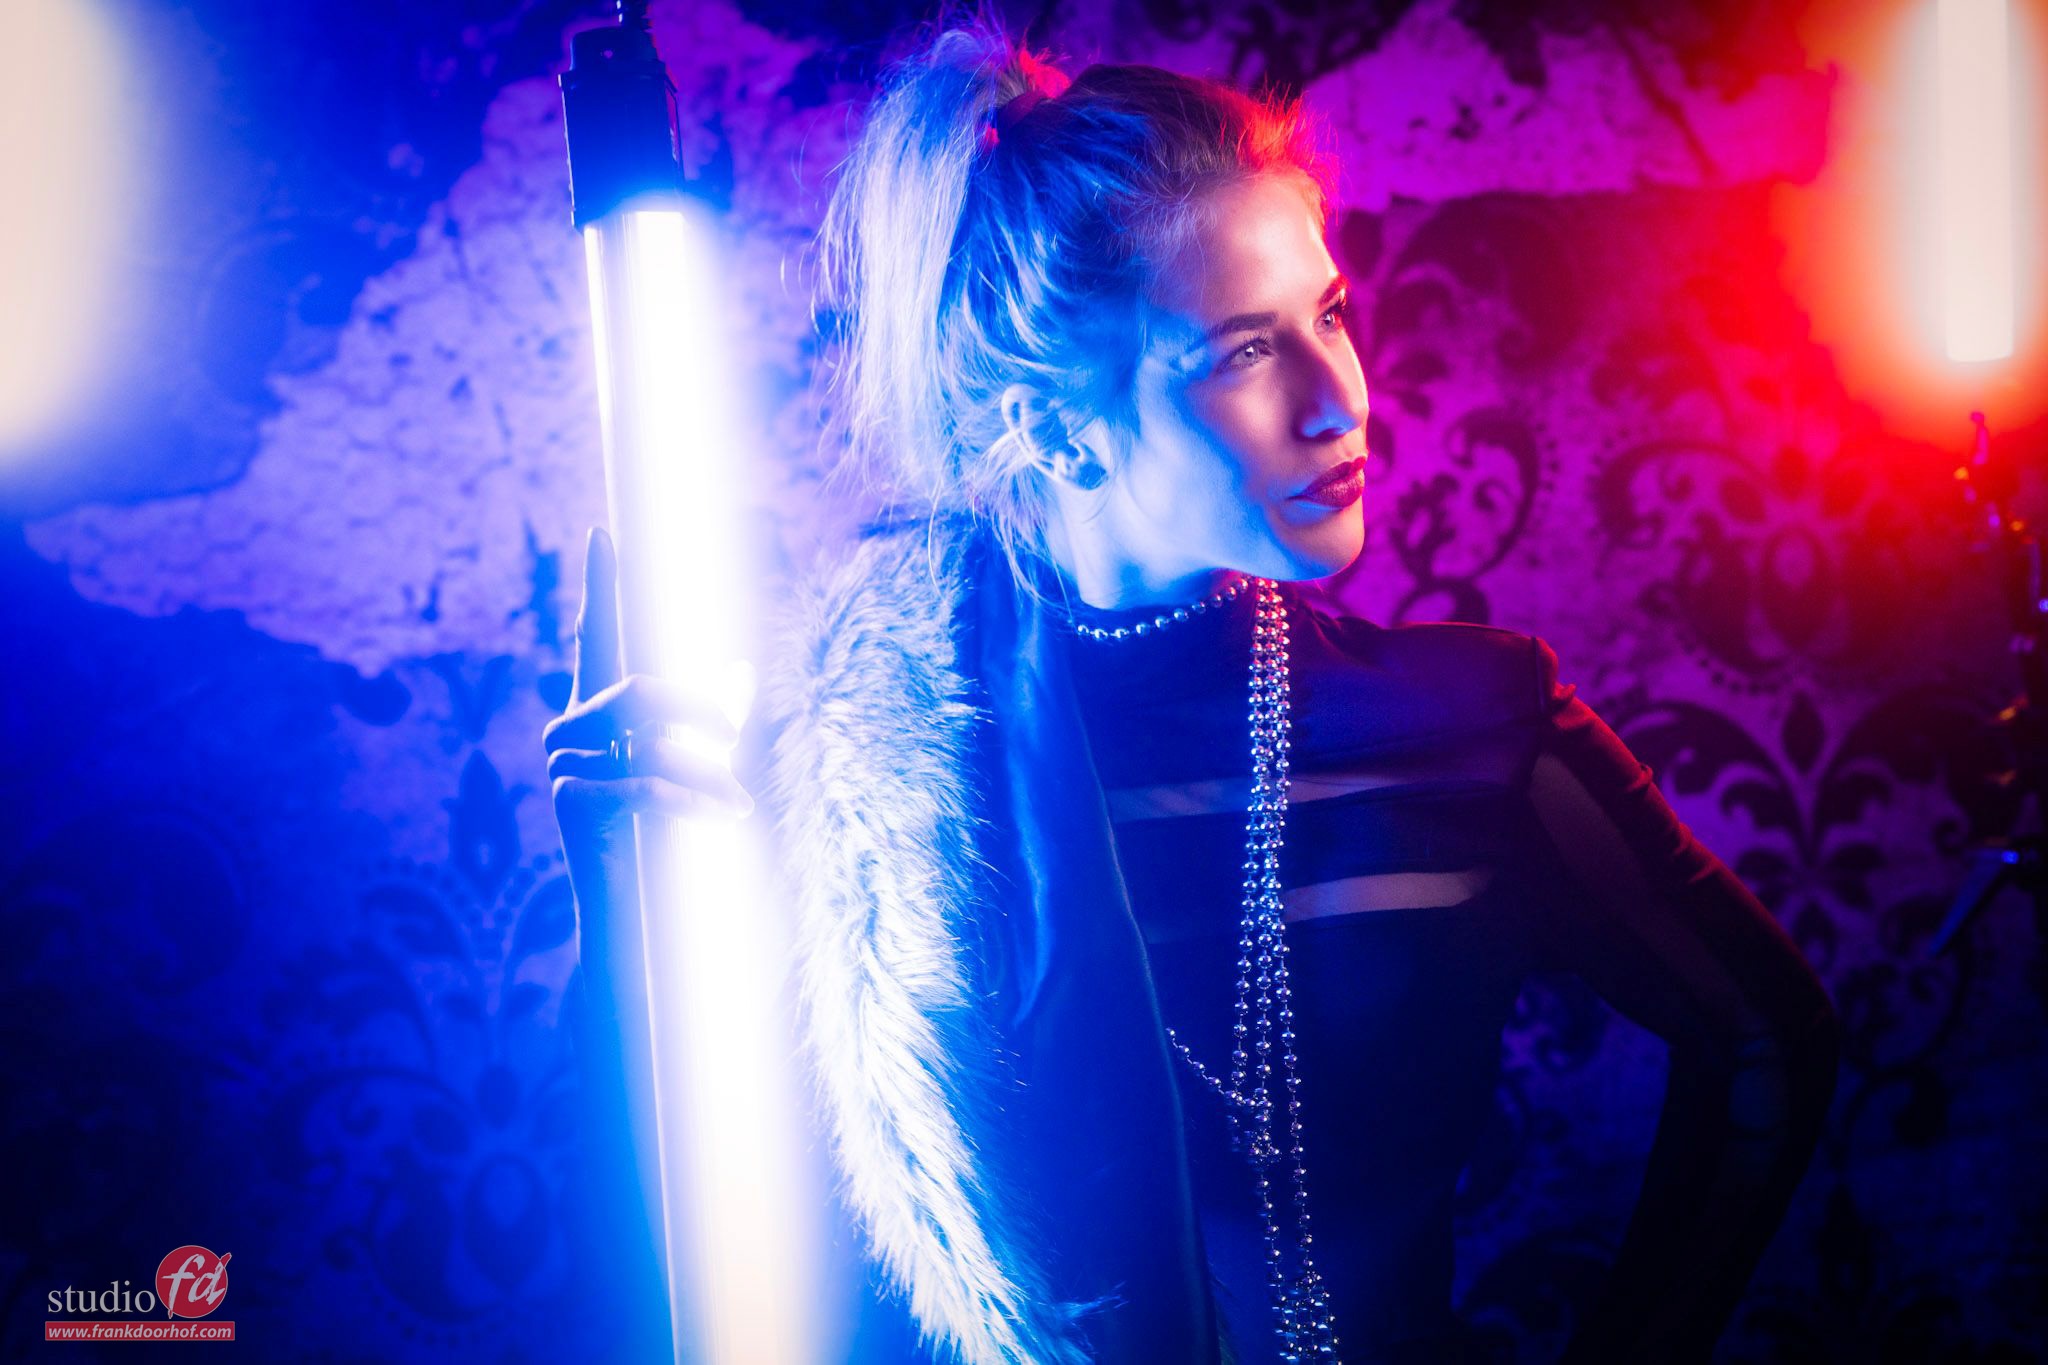
Here you can clearly see the two lights on the side and the large tube Lois is holding. With this setup I just started to experiment during the live stream and came up with the following results.
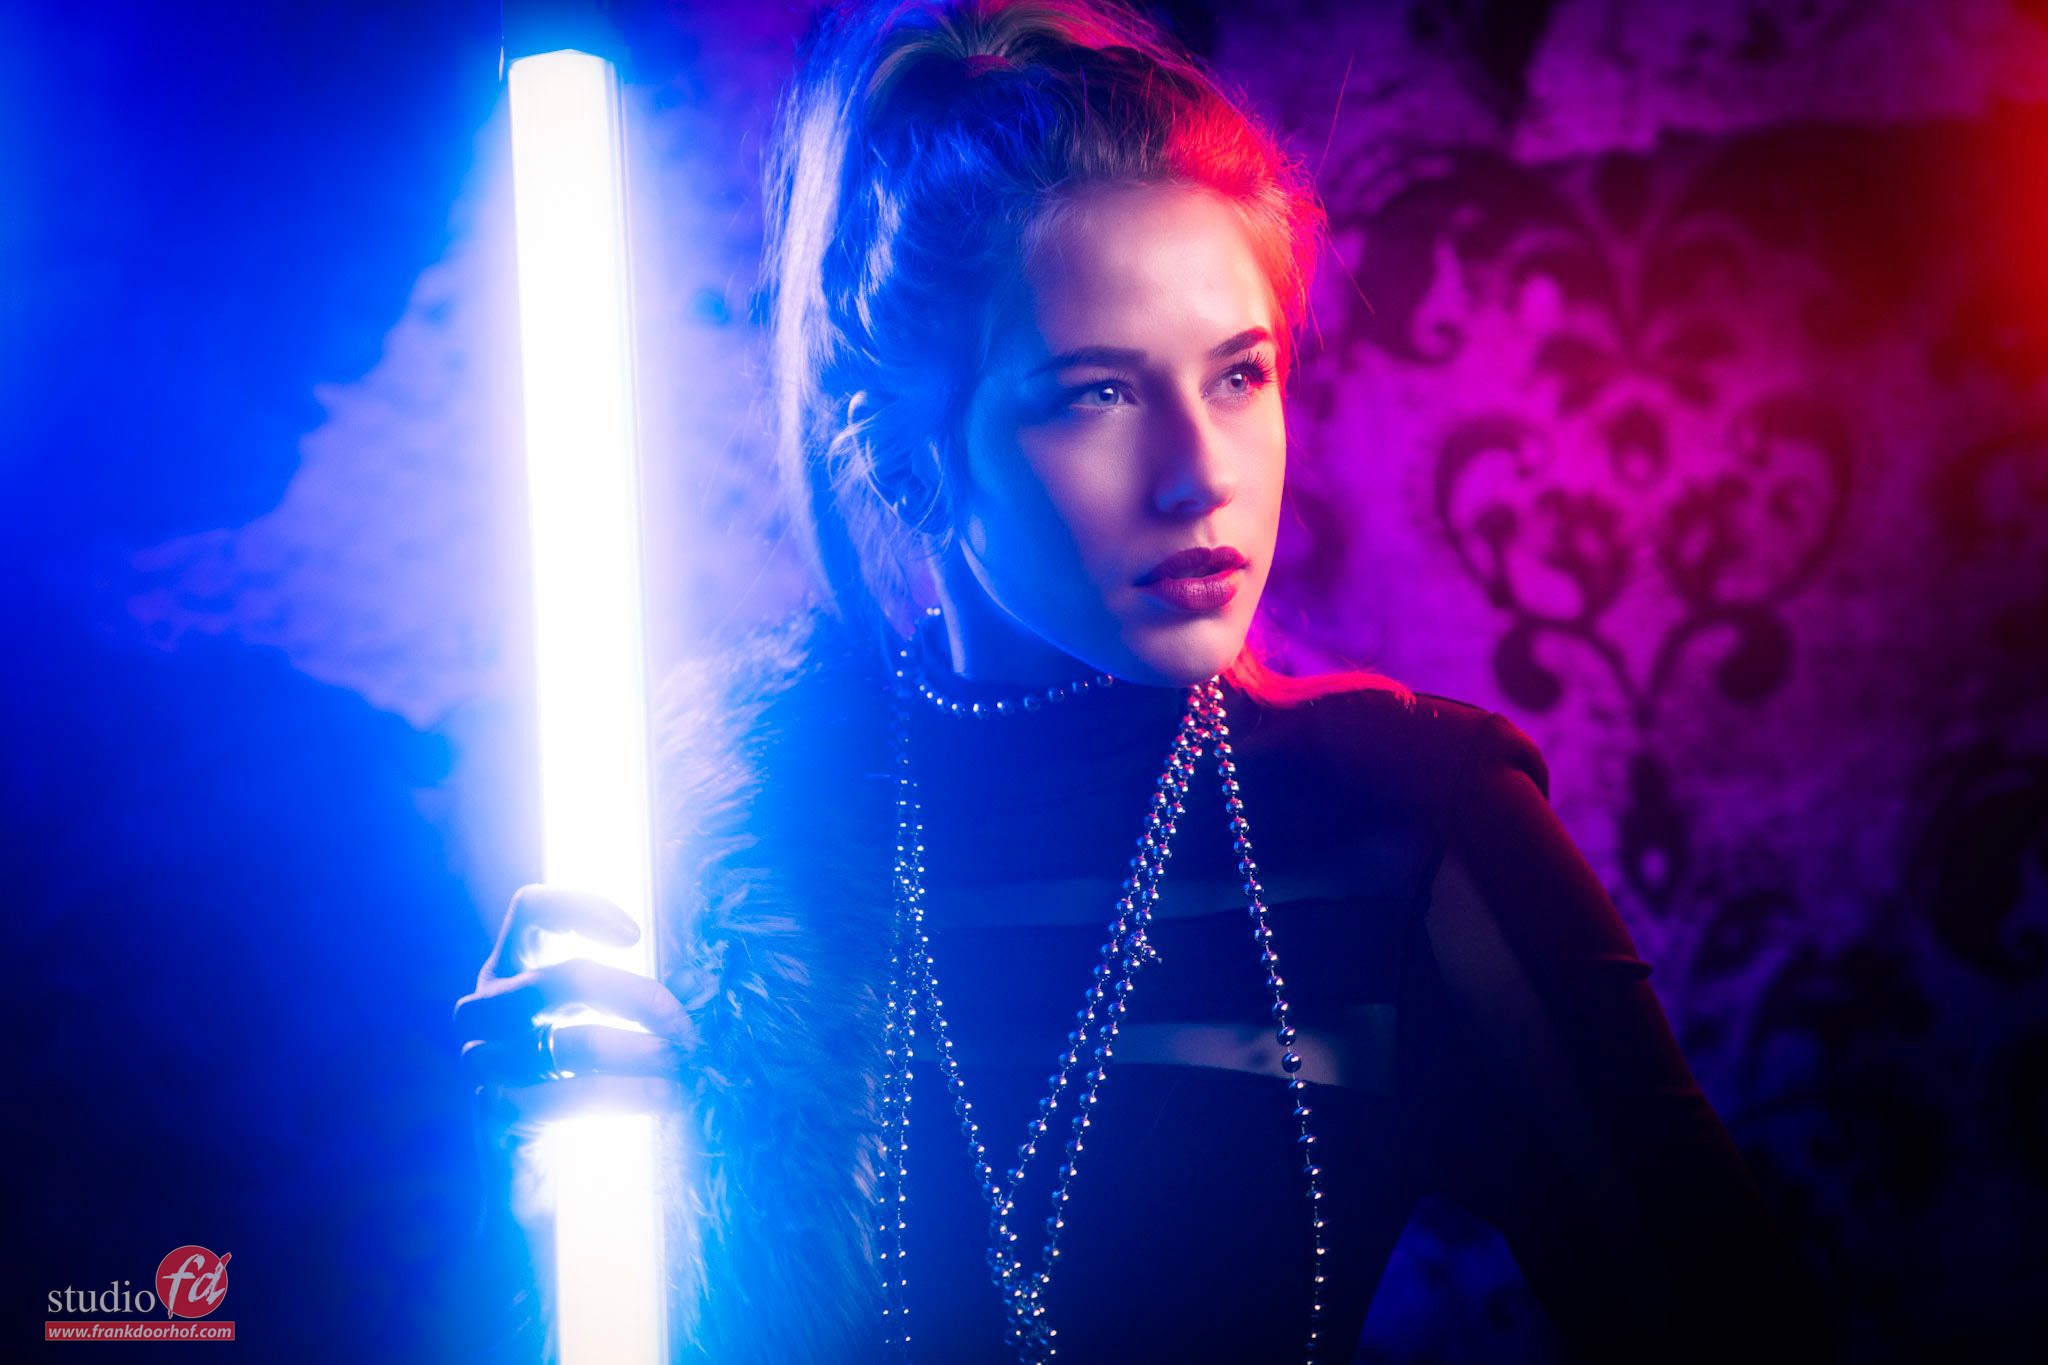
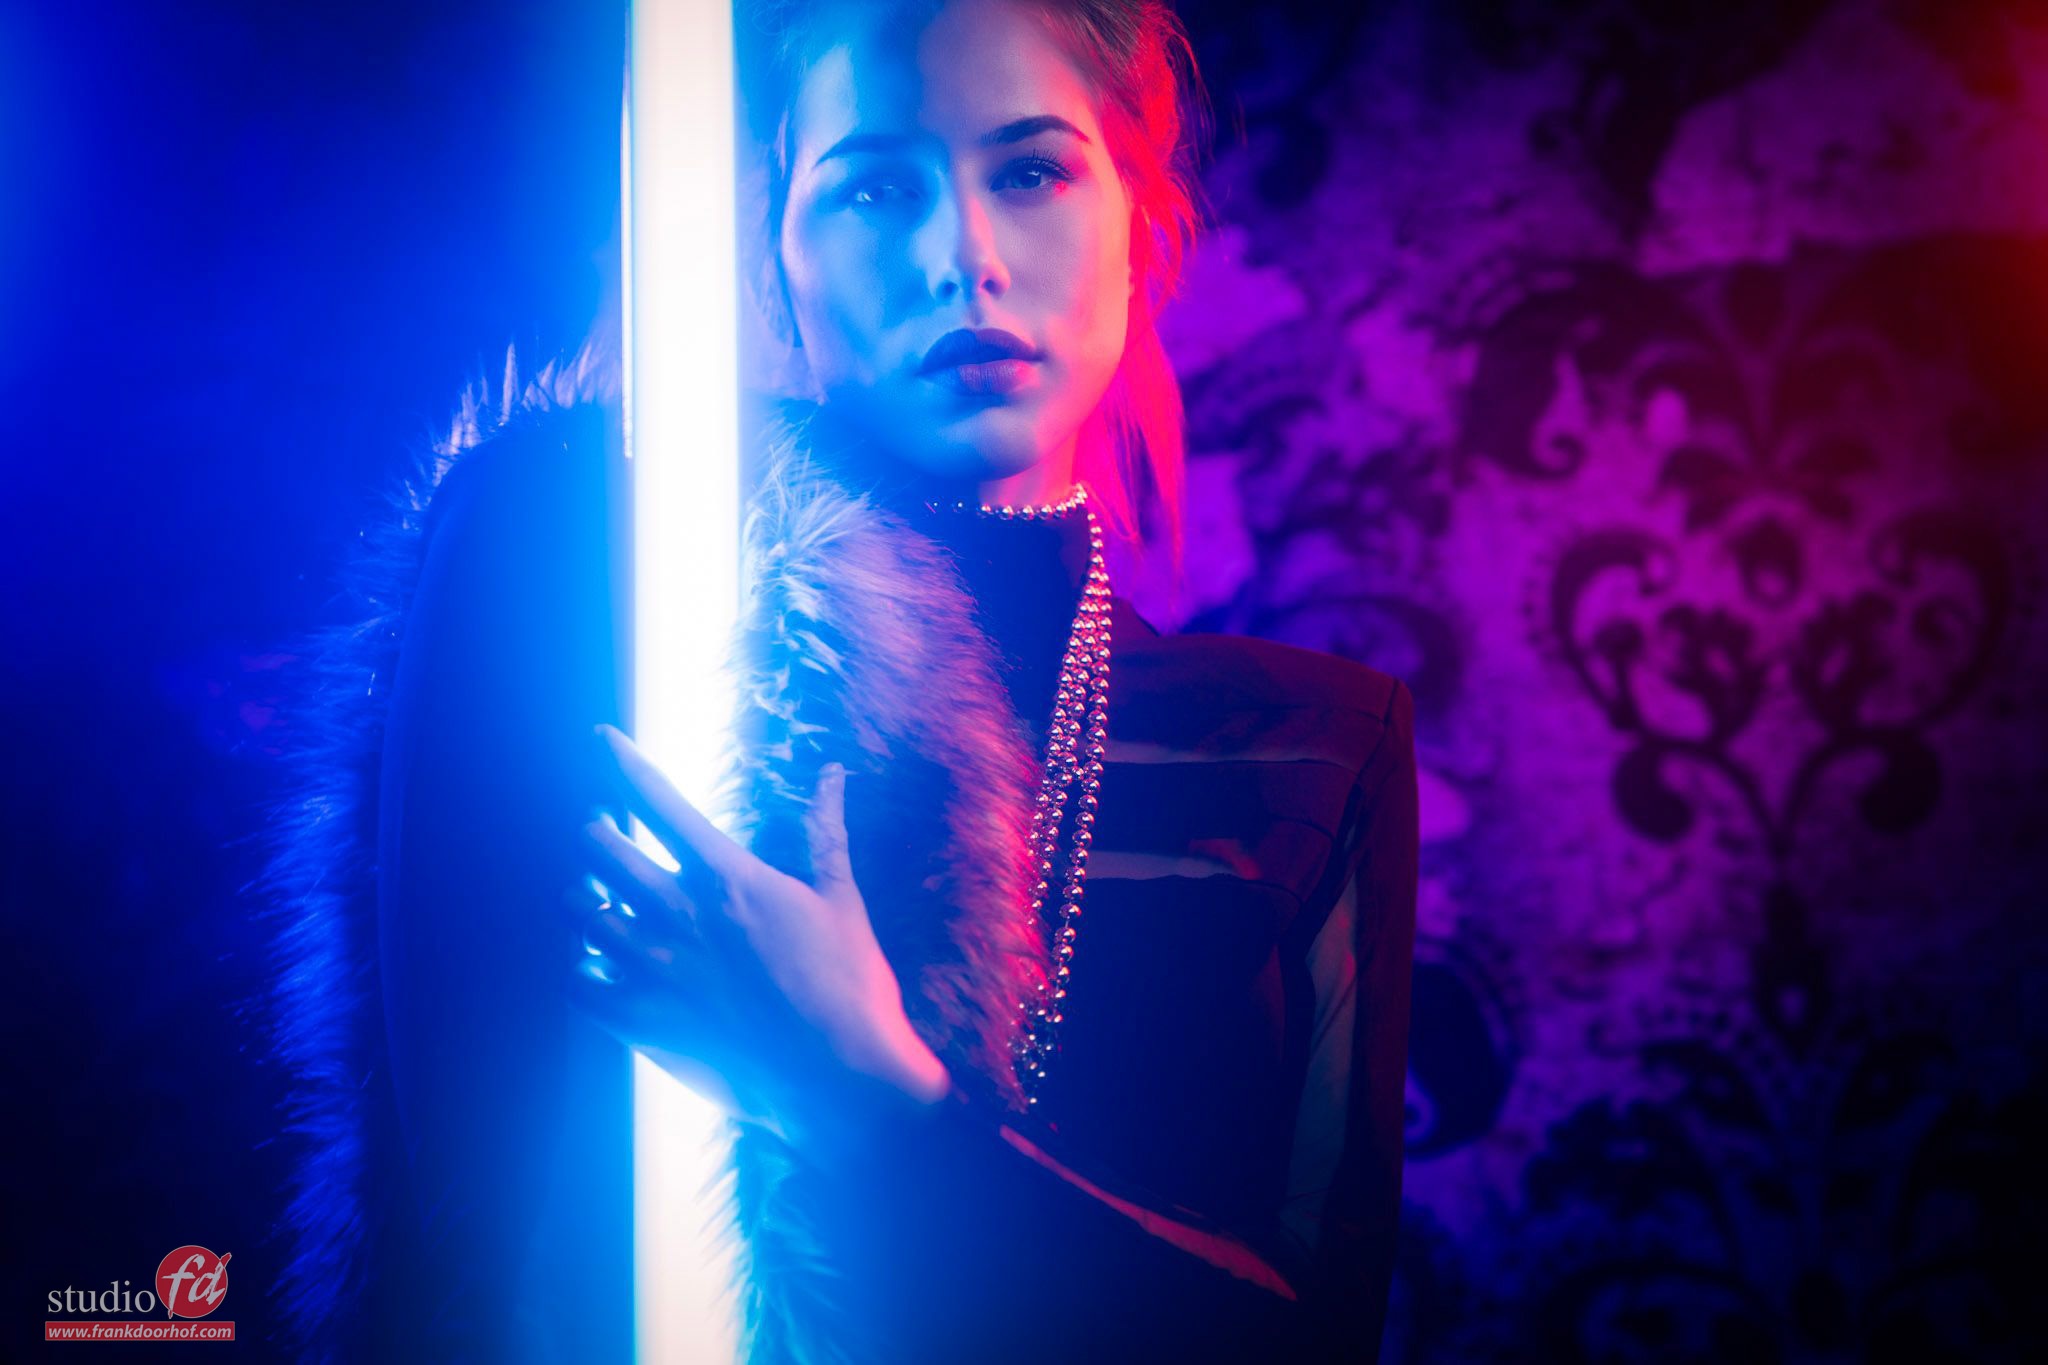
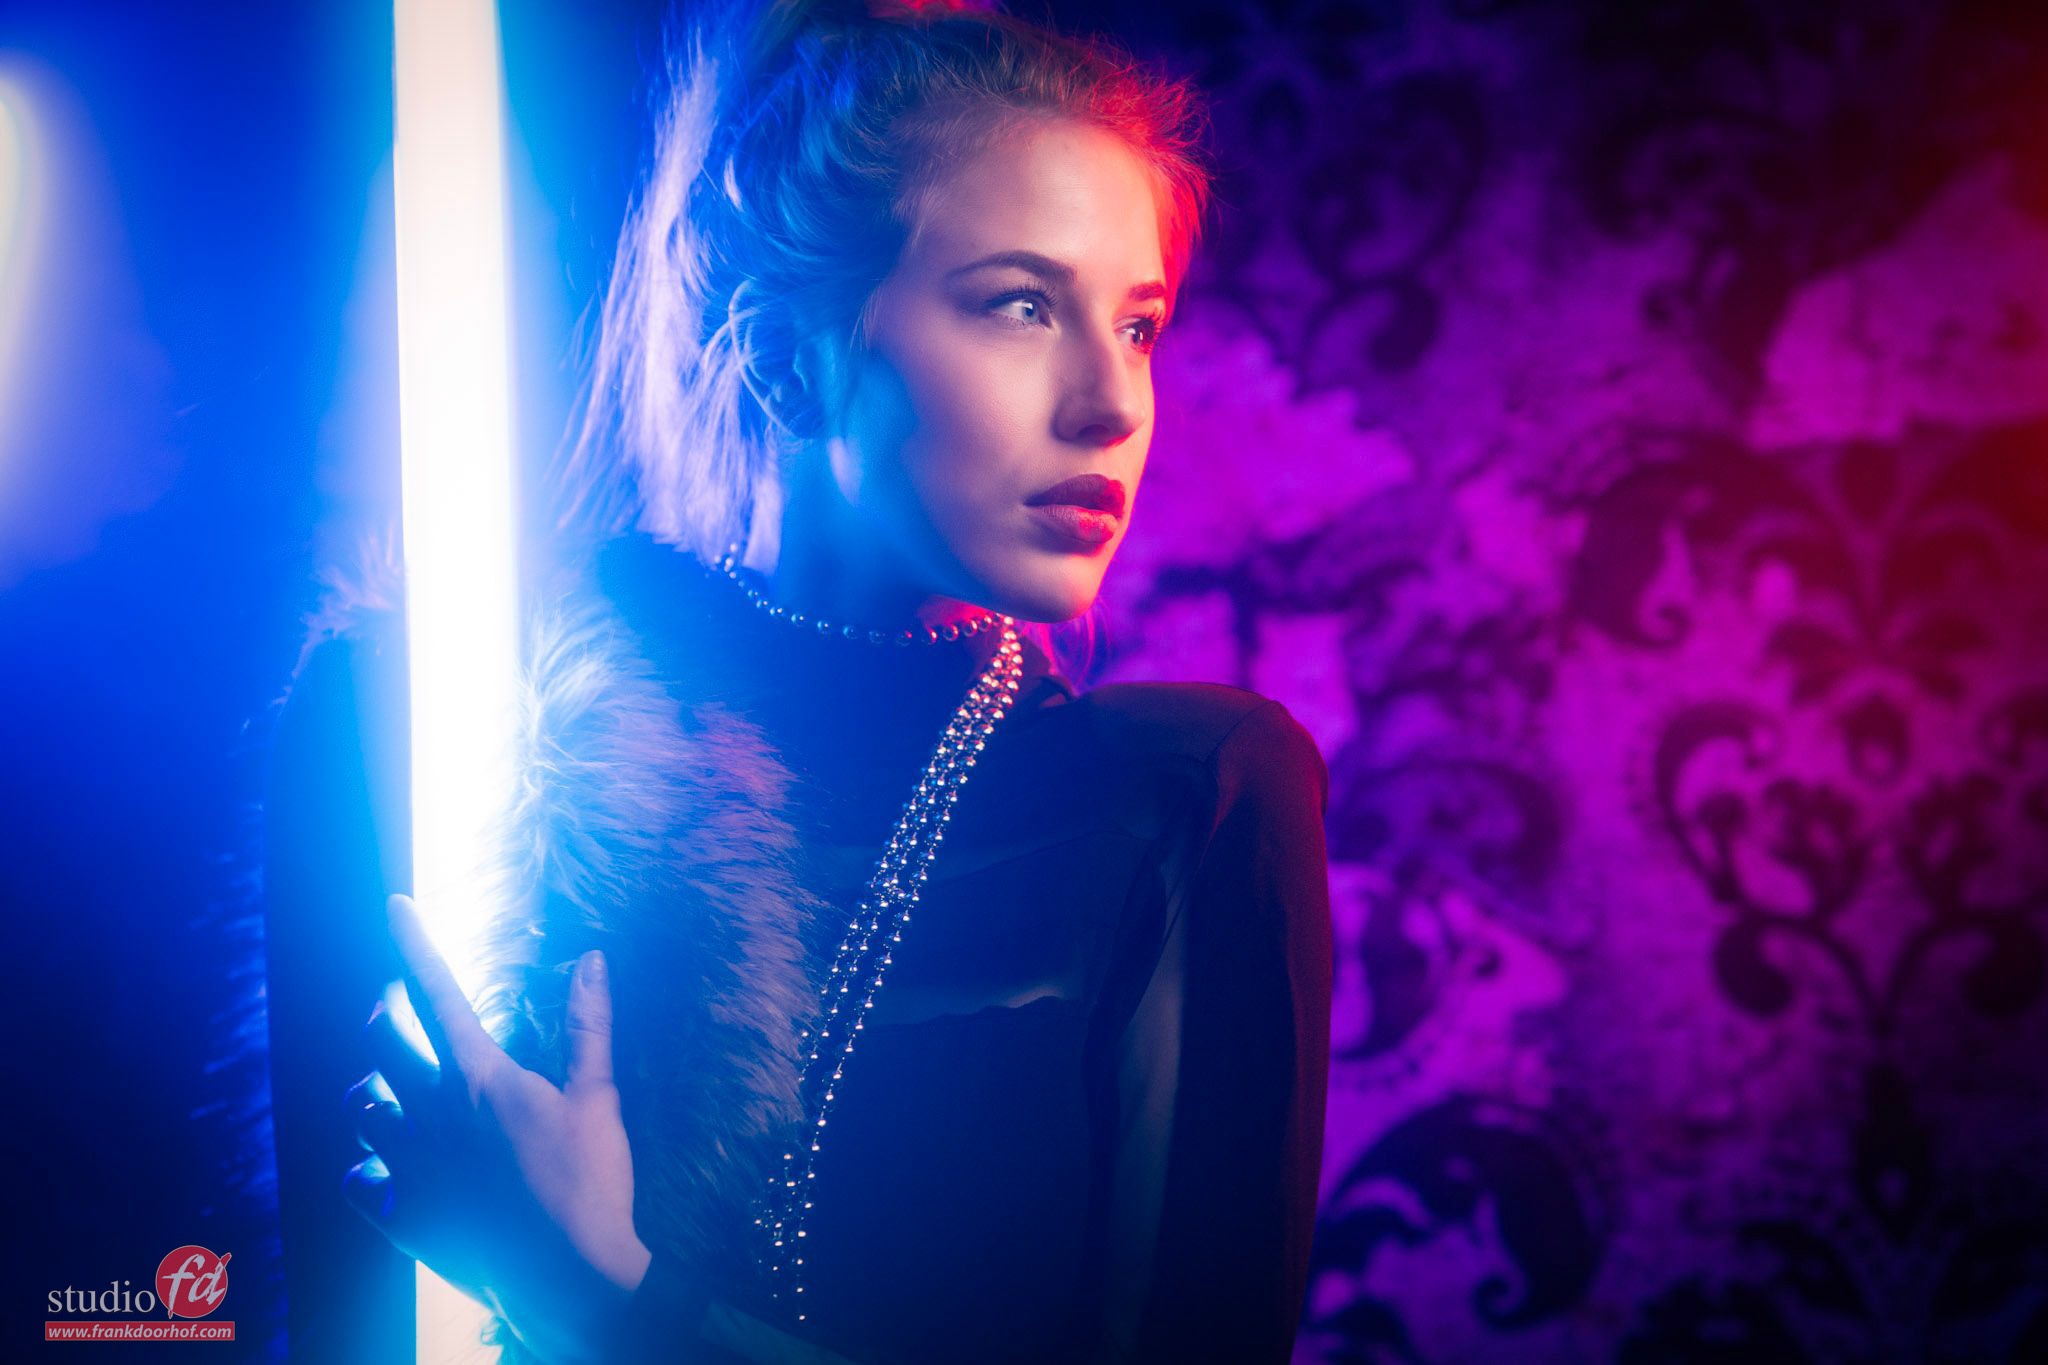
But you don’t have to use all the lights at once of course.
So whenever you do a photoshoot, always try to experiment with different ways of lighting your model, move around your model and of course turn off certain light sources, you will be surprised how many different options you get from your lighting setups if you just dare to move around and move your lights a bit more than you normally do.
Now loads of images will fail, but always remember, there are no fails/mistakes, you only fail when you stop. So all the things that not work (and will drive you nuts) are just steps towards understanding and learning to visualise your setups.
For the next images I played mostly with the larger led tube and asked Lois to keep it really close to her face. When you are shooting on aperture priority mode or any other auto setting, you will have to adjust your exposure compensation because otherwise the face will blow out due to the fact that the metering of your camera will be thrown off by the large dynamic range in shots like this. It can help if you use spot metering in your camera as meting mode, but even than… I strongly advise to shoot things like this on full manual mode and use the EVF or Live View of your camera to check lighting. Plus of course when you shoot tethered (which I also highly advise as you all know) you can check the final results on a large screen and already do some tweaking in your RAW convertor (Lightroom, C1, Luminar etc.)
Playing with led tubes is very challenging but a boat load of fun, but do beware… it’s incredibly addictive, but also a great way to learn and understand your lighting.
You can see the whole live stream for free on our YouTube channel (we would love a subscribe).
Digital classroom mixing strobes and leds


You must be logged in to post a comment.