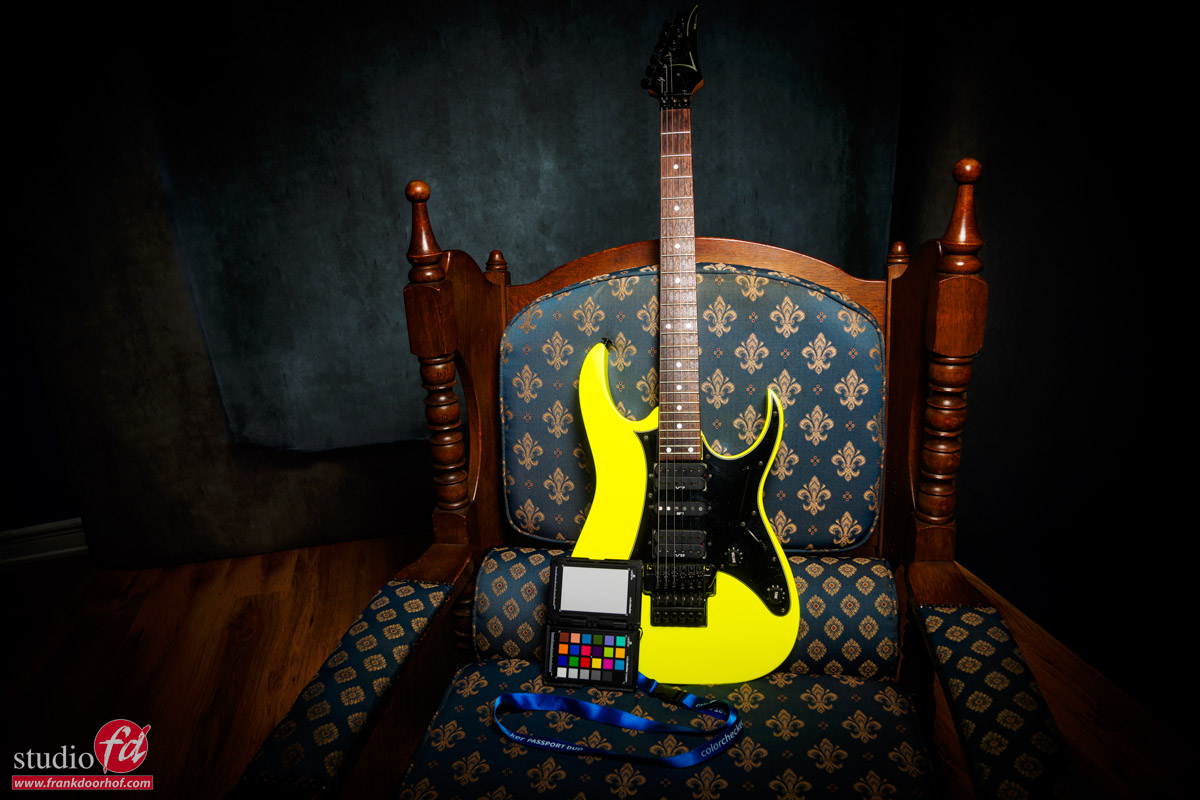
What a beauty, a yellow Ibanez RG505r
Modelphotography is loads of fun
But of course as a studio we also regularly shoot products.
And in essence you can use the same techniques you use for modelphotography on your products to spice it up.
And let’s be honest a product against a white background is very boring and been done way too often to make it a challenge. In our studio for example we use a Bresser product table or for the larger products white seamless, and although those images are great for a webshop it doesn’t really capture the attention of a viewer in a way they “WANT” that product.
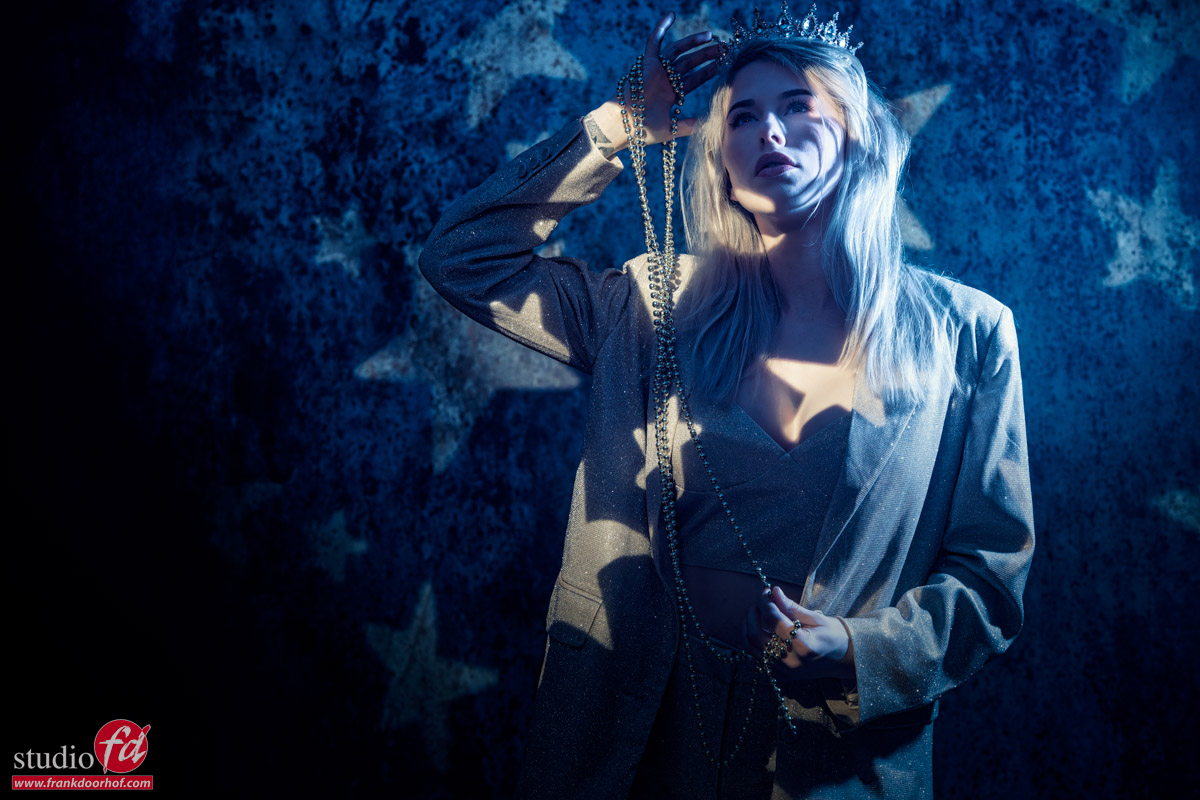
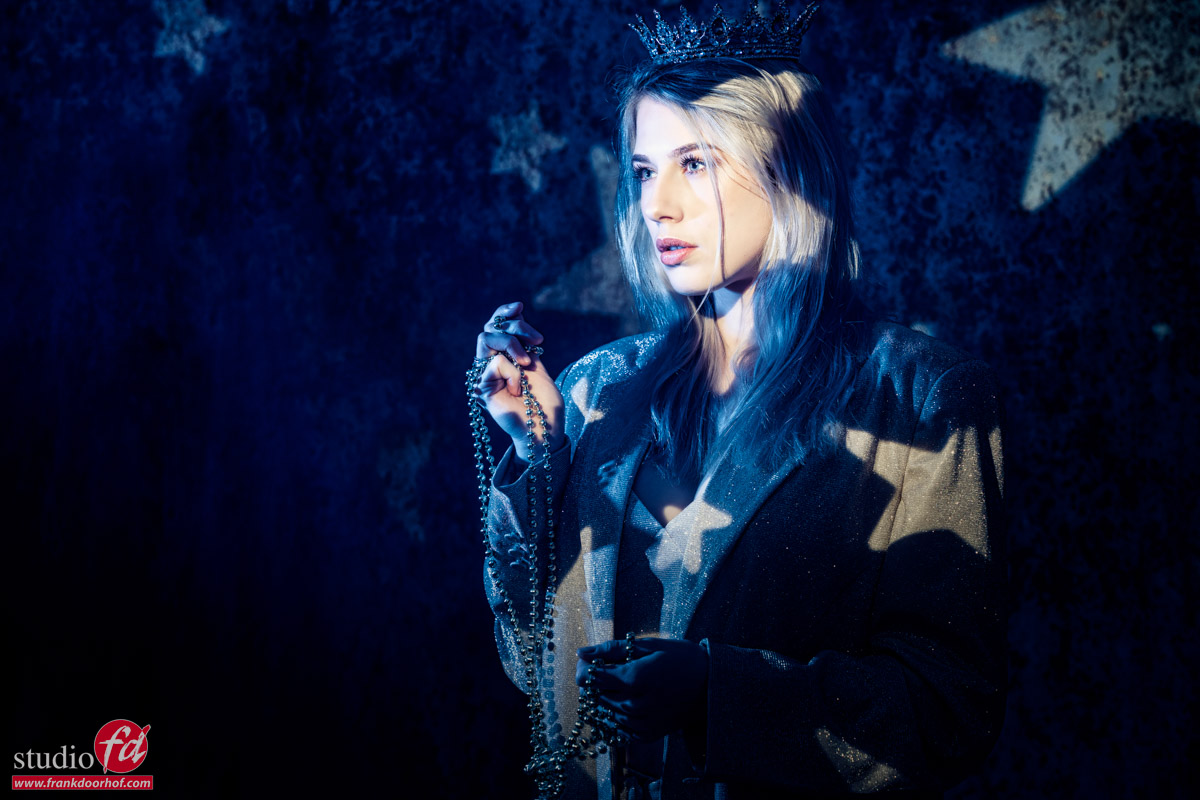
But when we add some nice backgrounds, maybe a prop like a chair instead of a flat surface, add some accent lighting (and when color is not 100% vital add a color gel), maybe some smoke and before you know it you have a totally different product shot.
These images I shot during a small 1:1 workshop explaining our Geekoto system.
And when I have the chance I of course pick one of my guitars to act like a prop.
The one that started it all
In this case (for the guitar lovers) the guitar that started it all, the whole metal/shred scene. The Ibanez RG550 in Desert Yellow, 1995.
Now the fun part, this is actually not a RG550 but a RG505r, it’s still the RG550 but only manufactured for the European market and has a different neck and black headstock, the R is for the fingerboard which is Rosewood, instead of the standard maple.
Ok so now why this information?
When we shoot a product or a business I always want to know what the product is, or what the company does, and most of all, which mood fits the product/company.
People often underestimate how much difference photos can make, a company can get a totally different “vibe” by using different angles or lighting. So we have to make sure we know exactly what we shoot.
We now know this is an important guitar in history.
We also know that they were know for the extreme colors.
Also the face there is a different neck and headstock in this sample.
And of course it’s a very versatile guitar mostly used for fast playing and rock/metal.
With this information I’m deciding what to do
For the first shot I’m using a nice “royal” looking chair.
This chair was the closest I had to something “royal”, also the blue works very nicely with the yellow.
I’m shooting from a lower angle to make sure I get that HERO pose here.
The headstock has to be in the shot, because it makes it clear it’s a RG505 and not a RG550. If you don’t know this detail it could very well mean your client will decline the whole series.
Because the pick guard and the yellow is very reflective we have a problem with reflections from the strobes.
This is where you always have to remember the “angle of incidence is the angle of reflection” so make sure you shoot under a different angle from the reflection. You can literally see this in the viewfinder. Also the yellow has to be nice and saturated.
We know that color has a luminance part and when we lower the luminance the color will become more saturated.
So to make sure I don’t have any reflections and my yellow is nice and extra saturated I’m angling the guitar slightly away from the main lightsource, it’s just a very slight angle but it does take away any glare and reflections plus it just makes the yellow a bit more saturated, combined with the blue from the chair it created a very nice and popping contrast.
Mainlight is a Geekoto GT200 with our Geekoto S26 softbox with grid
For a special effect I’m using a Geekoto GT200 with a blue gel from the side.
To get the lens flare nice and smooth I’m using the K&F concept black diffusion filters
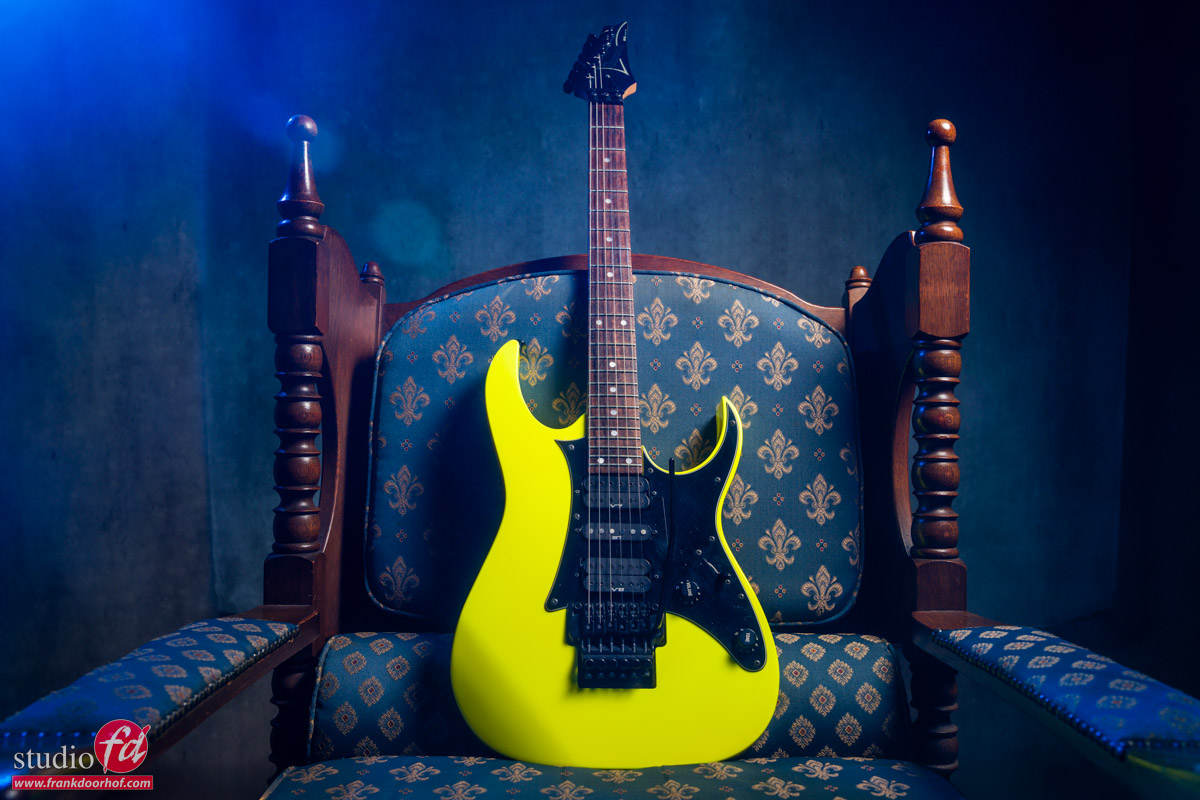
Now this looks nice but…. I’m missing that “ROCK” feeling.
So lets pump up the power on the blue strobe to get more blue and flare in the frame.
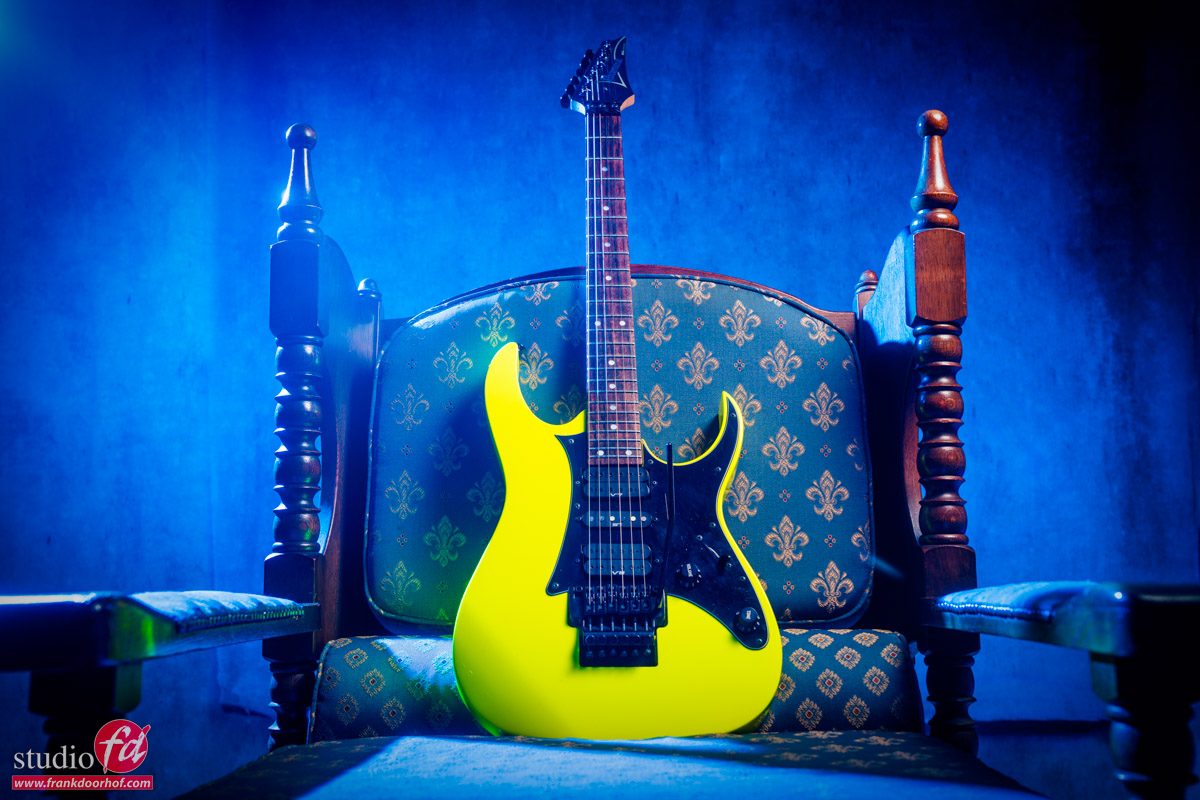
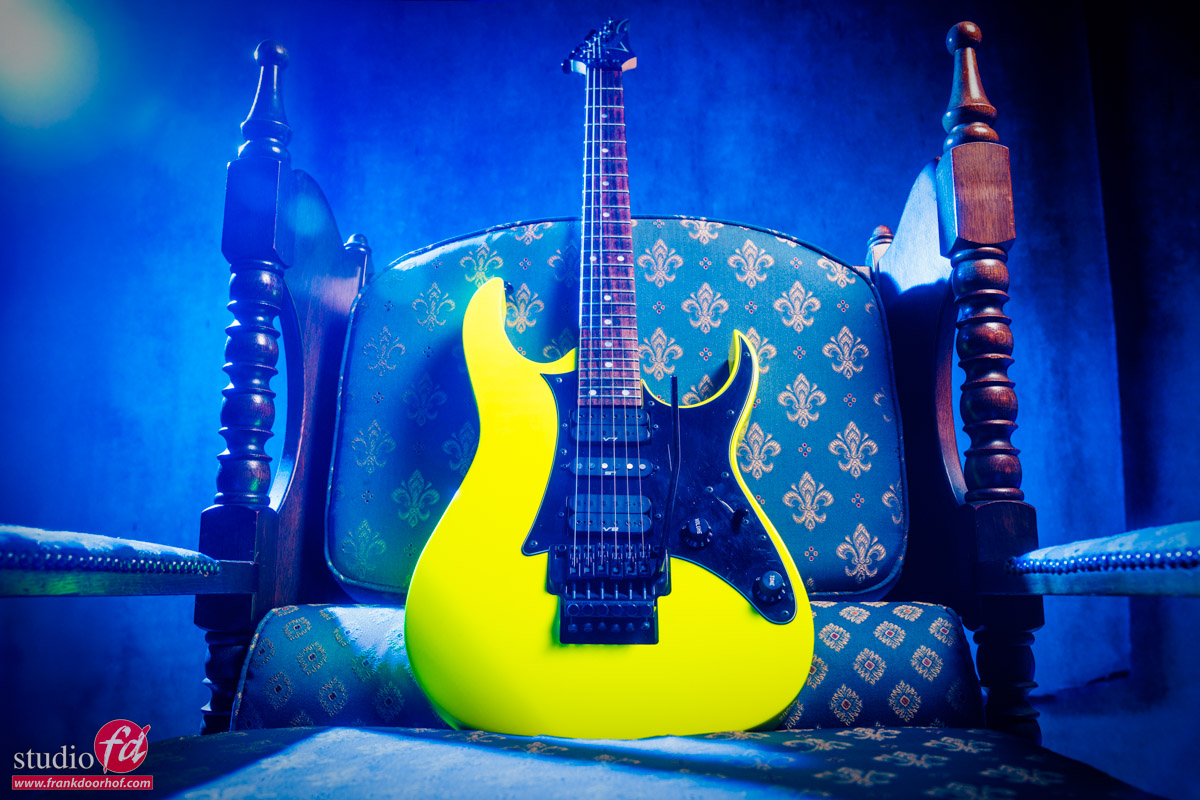
Ok, now this is a lot nicer.
As you can also see that the angle under which you shoot makes a huge difference in “projected power”
But what if you want a lot more power in your shot.
So far I’ve been shooting almost straight on, so for the final shot I’m now shooting from a lower angle and from the side creating a totally different look. The shadows have a much larger part in the final look, and the blue gel has a much nicer effect.
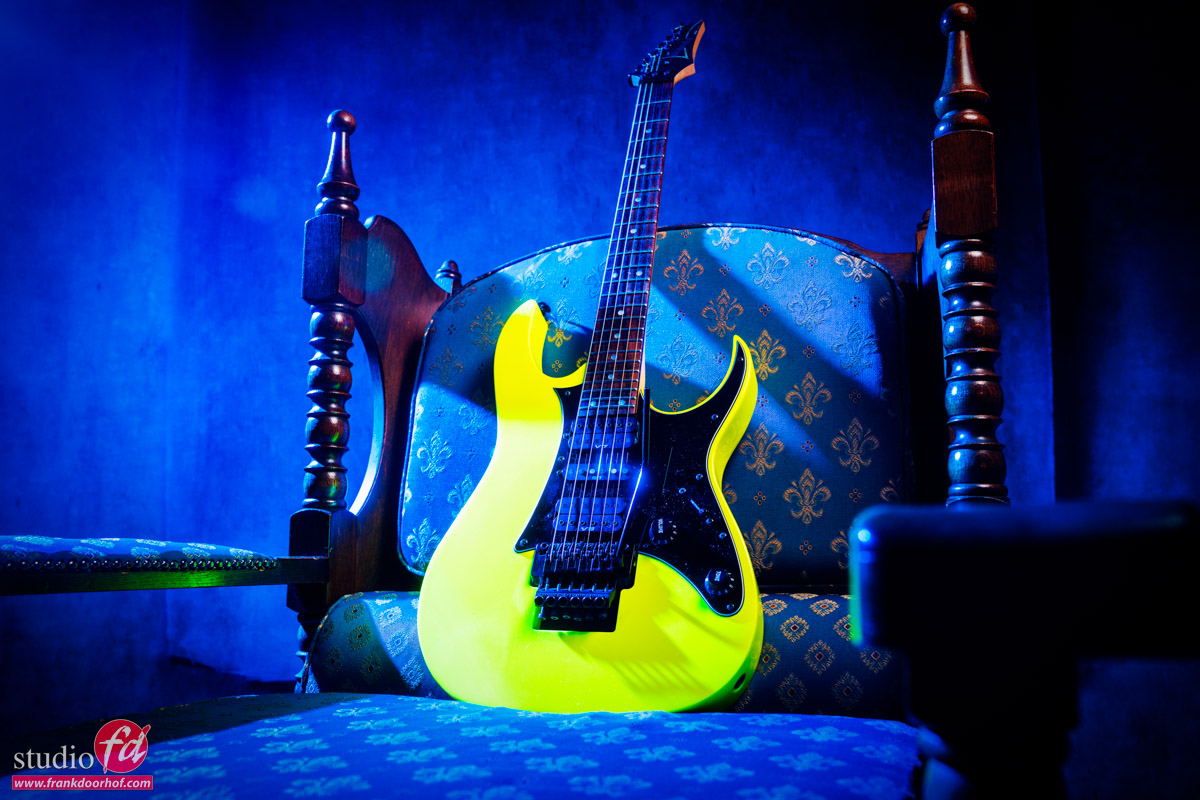
Now in this final image you also see the reflection on the tremolo arm much better and thanks to the diffusion filter it gets a beautiful glow. Also as mentioned before the shadows have a much larger part in the final look. But by shooting under an angle you can also see that the blue light on the chair looks much more evenly.
So when you think you get the perfect shot, always try it from at least 2 different angles, you might be surprised how often you will use the extra images.
If you have any questions feel free to post them below this post, or on social media.
And before I forget
When you want the colors to be perfect it’s always necessary to use a colorchecker.
I’ve been using the Calibrite colorchecker passport for years and can highly recommend them.
When you shoot with gels make sure you take the colorchecker passport photo without the gels.
Shoot the colorchecker as flat as possible with your mainlight in the correct exposure (remember luminance is a vital part in your colorcoordinates) and you will get a perfect base every time you shoot. After that it’s of course the creative part to change colors, but the advantage is that when you need perfect colors, it’s there, but also that all presets you create will give the correct results, because they all start from the same base settings. This is something a lot of people forget when they claim they don’t need a colorchecker or lightmeter, it really saves loads of time on location, but even more when retouching.








You must be logged in to post a comment.