My blog, although I don’t see myself as a blogger but as a Photographer I will try to blog some interesting material during the weeks.
Expect at least 2 updates a week.

And now for something completely different digital vs VHS for music

Yes you read it correctly

As you might or might not know I love playing guitar and recording music.
Every minute I can get I’m playing around in our Home Studio we build during Corona.

I don’t have any illusions of making it as a songwriter or musician but I love experimenting with sounds, modes and recording techniques. It’s probably no surprise for people knowing me that my gear is mostly vintage tube amps, older guitars and of course vintage studio gear. Still love the Alesis, Digitech and Lexicon gear. Somehow due to the imperfections it just sounds beter.

To make the connection to photography, when I shoot with older M42 lenses there are a lot of downsides but somehow it just inspires more and the images have “Character” it’s hard to explain but you just see and feel it under certain lighting conditions. The flares of an old lens are just so much different, same as the bokeh. But ok, todays topic is something else.

Digital all the way

Today it’s not strange to go all digital.
Well ok the guitar is still analogue (I hope) but most guitarists will probably play over a modeller.
For me it’s a mixed bag. I love modellers but I still feel that a real tube amp is still king.
I’m in the lucky position to own a few older models and they are… well just awesome.

When I grew up my first one company was a recording studio which I ran together with a friend.
There we wish we would have the options you now have in a laptop.
I had to work with 2 consoles, one for drums and one for the rest.
Recording was done on a 8 track (which was very nice for that time and the size of our studio) reel 2 reel deck which had to be aligned every single recording. We were saving for an ADAT system but before that happened my fried decided to use the building for something else.

Many years later I picked up playing myself again and was literally shocked by the options you have now.
When I was starting I owned a 4 track Tascam which immediately made me one of the most sought after bandmembers, a bit like the PA from David Lee Roth 😀
I still own the recorder (but it’s doesn’t work anymore) and the main problem was that you had to bounce almost everything because 4tracks was very limiting especially when you wanted to work in stereo.

Now a days we have almost no limit to the amount of stereo/surround tracks and how many effects you want to use. We had to work with one Reverb unit 😀

At the moment I’m recording in Logic and using an X32 console.
Somehow mixing or recording in the box feels very unnatural and having loads of sliders feels like home.
The X32 has this really handy feature of recording your song on a USB stick via an internal recorder. Just pop the drive in your PC/Mac and you’re ready to master.
The results are great.

But…. there is always a but

Don’t get me wrong the sound quality is amazing from the X32 (well more than enough for me).
But I always have to grab some tape emulation plugins to tame the sterile highs I often hear from the drum samples and keys.
In the past I tried a few older reel2reel tapes and dump the stereo mix there before mastering and always came back disappointed, yes the sound was there that I loved but it was messy, lost definition and it wasn’t in sync. And spending 400,00 on a reel2reel that is 100% correct (for how long) is not something I’m willing to spend.

So…
The idea came to test out a device you probably would not expect in a recording setup.
An Hi-Fi stereo VHS recorder.
Now it may seem weird, but it’s not.
When I grew up, most music was spread on tapes and even with Dolby noise reduction and great players the sound quality was nothing near the very expensive CDs.
Until we started to experiment with BetaMax and VHS recorders. Especially the Hi-Fi VHS recordings sounded great. Beta was still beter but compared to even the best cassettes this was a huge step forward, and you could get loads of music on one tape.

So that got me thinking.
The recording technique on VHS is different from tape, so you know you’re not going to get that real tape magic, but let’s be honest anything that doesn’t run at very high speeds and has the proper width will not, and those decks are horrendously expensive. So I dug up our VHS recorder, blew of the dust and ordered a new tape.

The test

Now this is of course just for fun.
I recorded the same mix simultaneously on both the VHS and USB stick.
After that the VHS was routed back into logic via the interface.
In logic I selected both tracks and did the exact same mastering workflow, this time I did not fine tune anything to make sure I didn’t change anything by accident and uploaded the two files here for you to compare.

The outcome might surprise you.
I advise headphones or a really good set to listen to the details.

Click here to download the files
VHS mastering
USB mastering

The song

The song is called under the balcony.
It’s recorded during the holiday on an Ibanez Tod10N.
This is a nylon string acoustic electric guitar.
I hope you enjoy the song and the test.

If you also record music or a podcast and you want to be available on all streaming services and want to keep your revenue, but also get nice art for releases and landing pages.. check out distrokid. I’ve been with them for 2 years now and it’s a great service. Songs are released for free on all streaming platforms (even more than I knew existed) and you get a nice overview of your revenues. And if you use our link we also get a nice bonus.

Want to hear more of my music?
Check out your favourite streaming service or
https://soundcloud.com/frank-doorhof

https://www.bandlab.com/frankdoorhof


The highlight of the year, the Wibi Soerjadi concert 2024

Live photography has its challenges, but I love it

Every year has its ups and downs. But for us both as a family and as photographers there is one highlight that stands out.
The Christmas concert in Het Koninklijk Concertgebouw Amsterdam with Wibi Soerjadi. The Wibi Soerjadi concert in 2024 was his 30th anniversary.

Wibi and I met many years ago without any connection to photography. Still, we talked about it, and before I knew it, I was shooting my first real international celebrity. I can already tell you I was incredibly nervous, but Wibi was absolutely nothing like I imagined. He was very creative and knew what he wanted, but he was 100% open to the photographer’s opinion.


Wibi Soerjadi Concert, 30th anniversary

At the end of the year just after Christmas Wibi ends the year with an always sold-out concert in one of the best-sounding concert halls in the Netherlands, Het Koninklijk Concertgebouw Amsterdam. When he asked me to shoot some images I started from the balcony with a long lens. I was sitting in the family part so we had a great view. But the images… well were basic. So we started talking about how we could get something more interesting. The problem is that with most concerts and especially classical concerts, it’s not allowed to shoot for a longer period. And of course, I also had to abide by that rule. So the next year I did get some better images but at that point, I think also Wibi started to have fun with the whole shooting of the Christmas concert so we started to joke around how to make it even better.

Wibi Soerjadi Concert 2024

Wibi after the awesome Queen transcription at the 2011 concert

Better locations and more spectacular every year

I said “Well maybe when I lie under the piano” to which he replied (If I remember correctly) “Yeah, we’re going to do that”.
Well, in all honesty, I’m a pretty shy guy, and that idea I did not want to execute, but at that point, we did decide to take it one step further—shoot from the stage.

I was incredibly nervous, first of all with this chance but also with all the challenges you get when shooting under those conditions. But it went great… but we wanted more.

Over the years, the Christmas concert grew into something that overshadowed everything I ever saw from a solo artist.
I think it’s a shame he never played with the Concertgebouw Orchestra, I think they would sell out for a long period.

Last year’s concert

Last year I shot some of my best live work ever. But this year Wibi decided to up the ante and really push the limits (wait till next year).
The problem with a lot of different lighting setups is that I have to choose my spots very carefully.
Although I’m an all-access area photographer and am allowed to shoot from every location during the show I still have my responsibility to the visitors who paid for the tickets and don’t want to be disturbed.

Wibi Soerjadi Christmas Concert 2024

For me, this meant this year I started on the podium at approximately 1-2 meters away from Wibi.
Right after the break I ran to the balcony and shot the second part of the concert from there for more oversight shots. The lighting on the stage is totally different from the other side. After the last notes, I had to run through the building to end up right in front of the stage for the final encores. This is one of my favorite locations to shoot due to the extreme angle which gives it almost a rock concert look. It’s not a series you can use for everything but it does complete the concert for me.

The gear

Today I show you a very small selection of the images I shot.
Thanks to the dynamic range of the modern cameras (A7RV) and low noise (or Topaz/Lightroom Denoise) the quality of the full resolutions are absolutely breath taking.

For the wide angles, I used the A7rIII with a Sigma 12-24
For the other shots the Sony A7RV with the Sony 24-70 F2.8

I hope for the end of the year you have some time to enjoy the images.
And for 2025 we wish you all the best and hope that 2025 will be a much better year than 2024.

CLICK ON THE IMAGES TO START THE GALLERY
And see them in the correct aspect ratio

last year I also made a short BTS video

So much fun with cheap materials and lights

It doesn’t have to be expensive

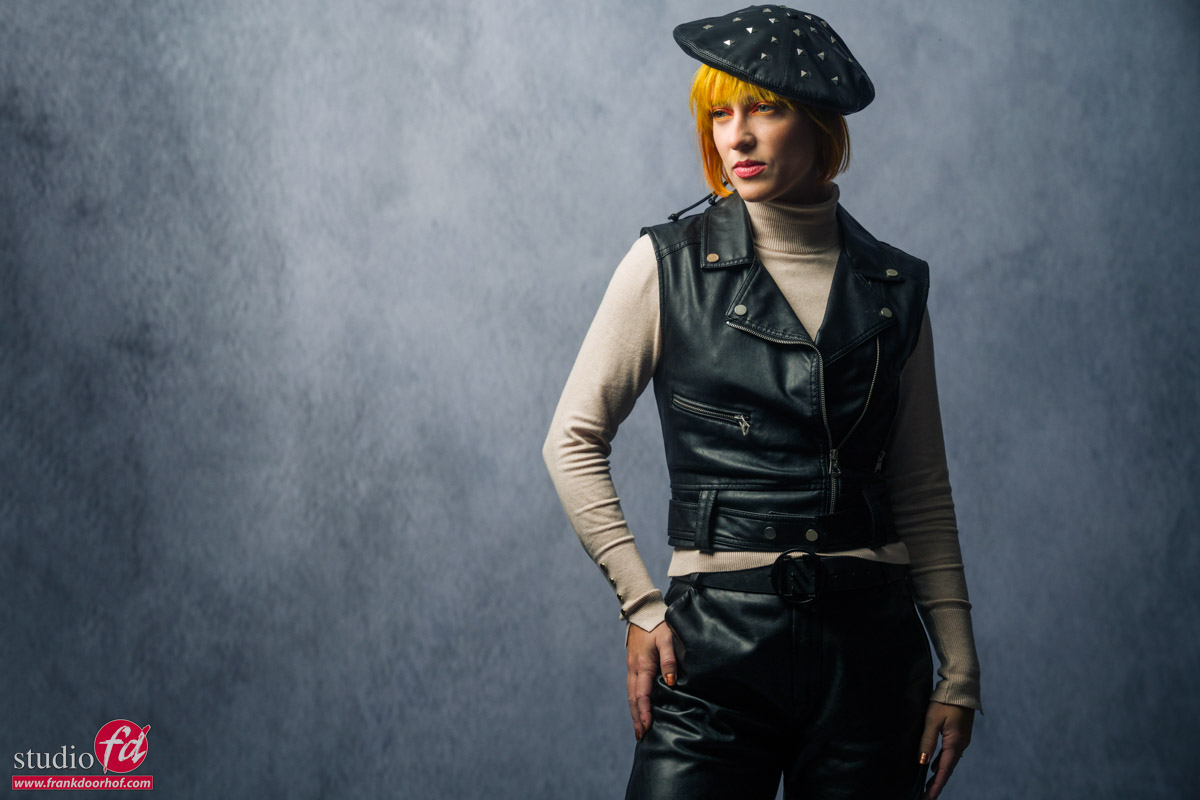
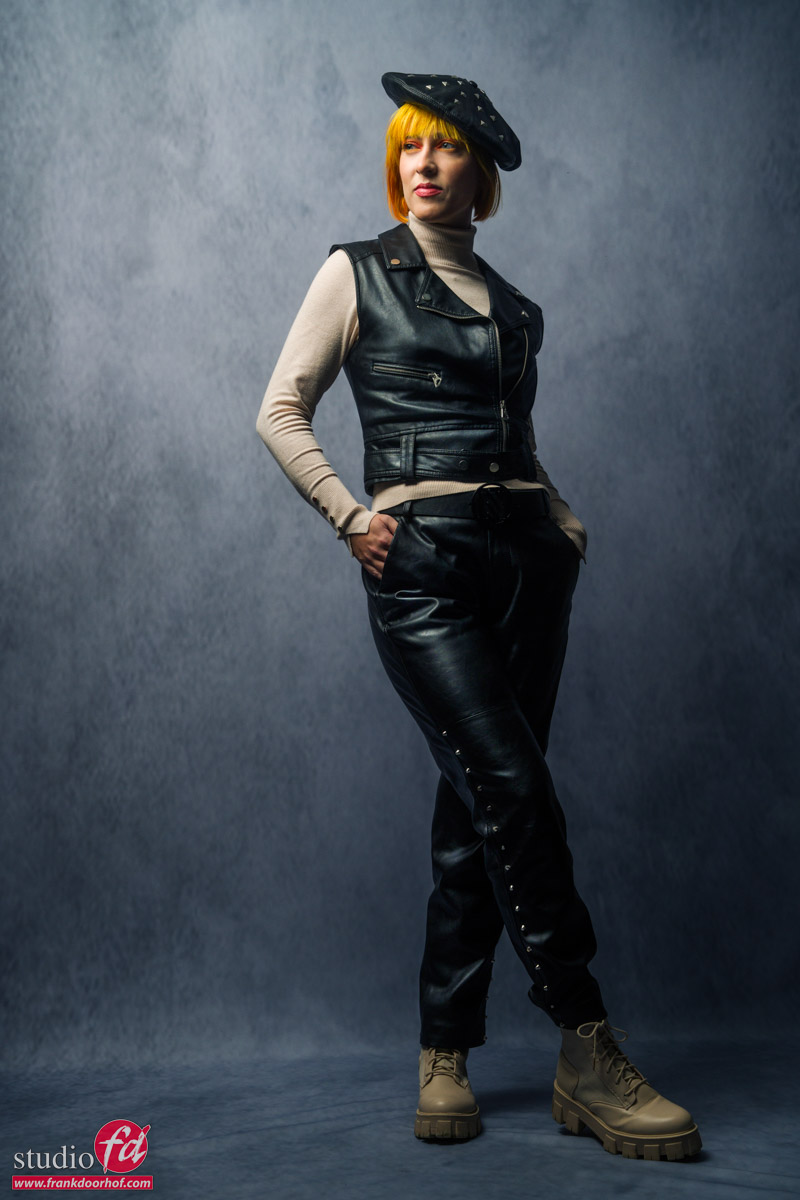
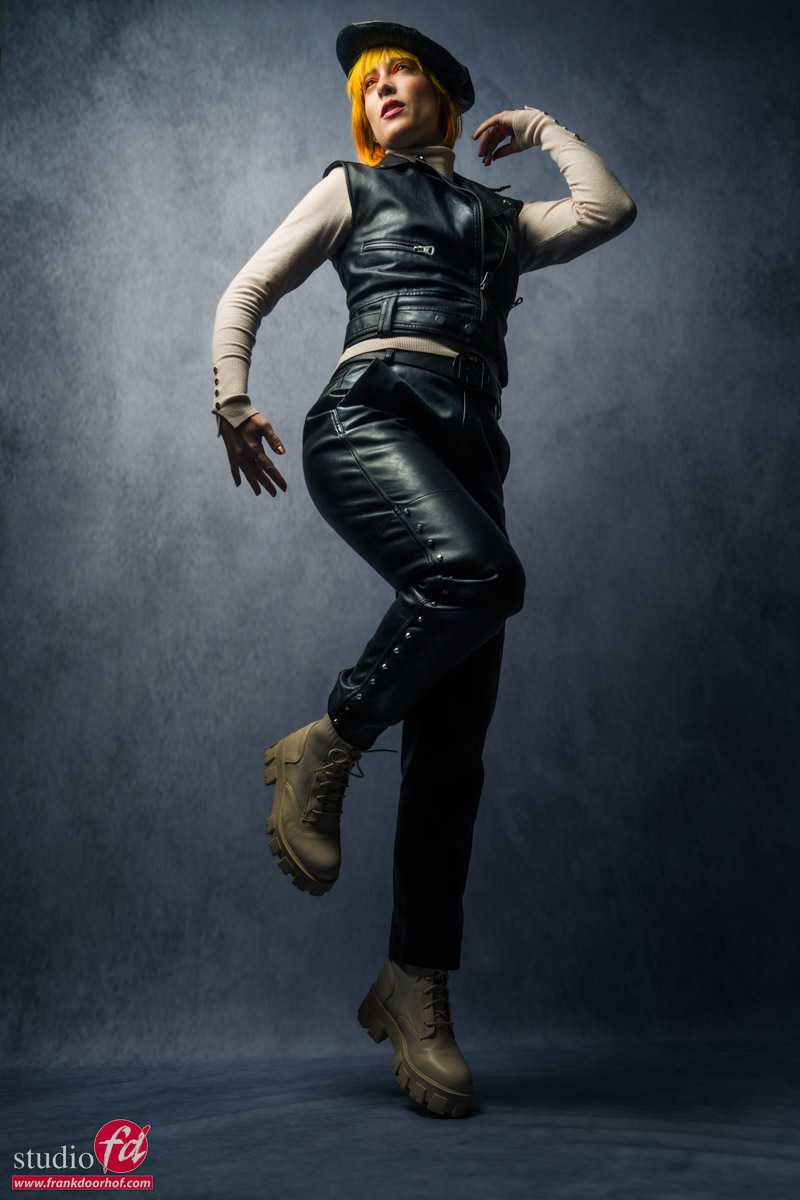
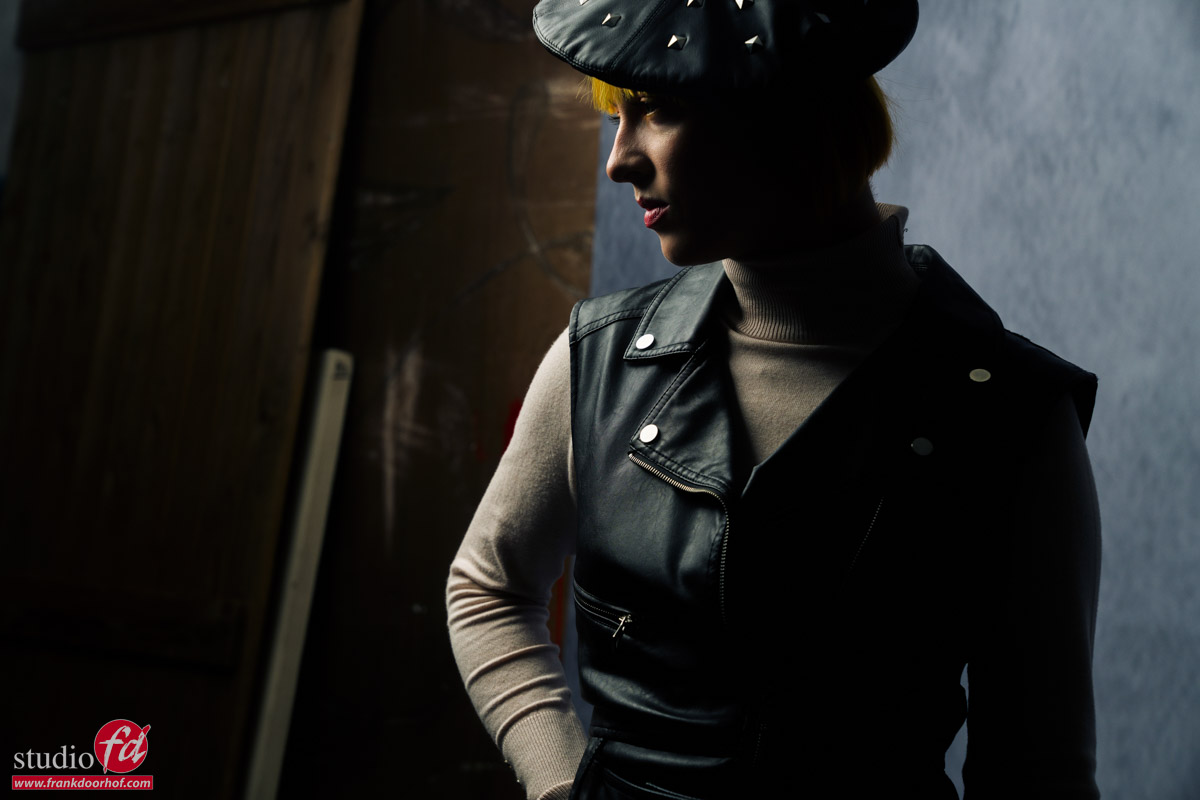
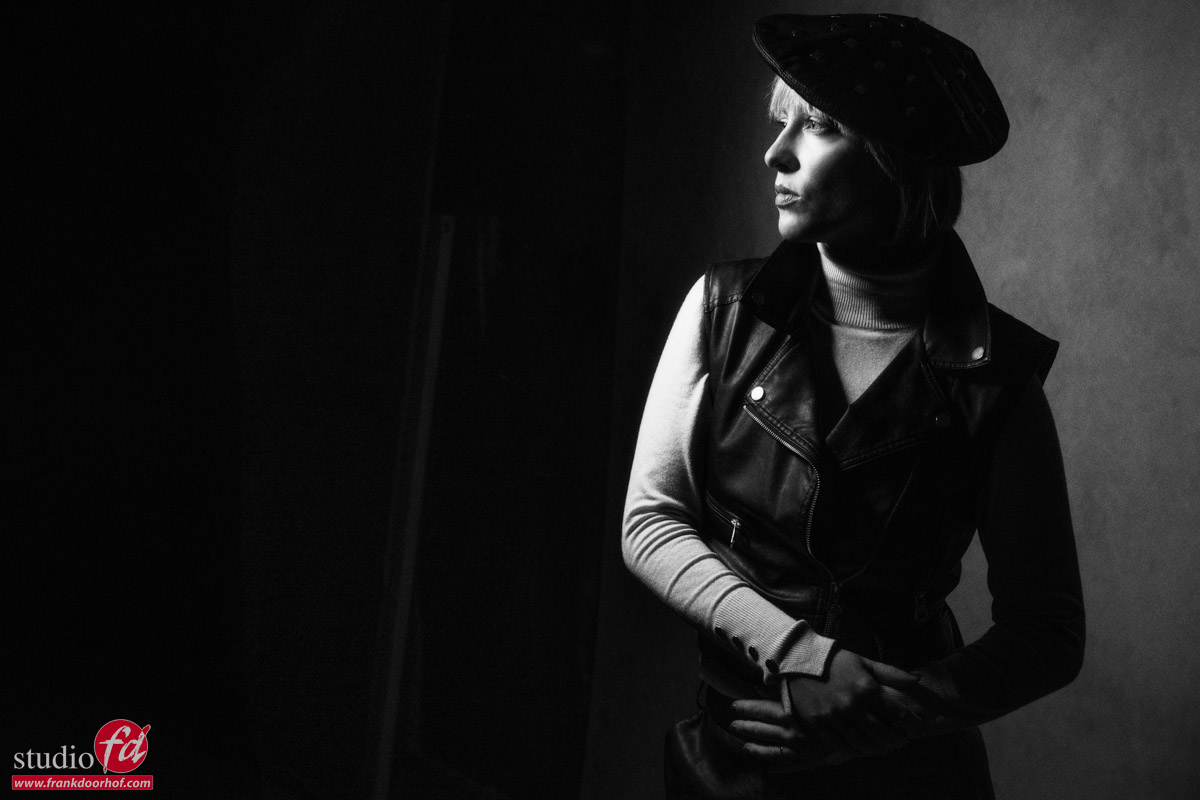
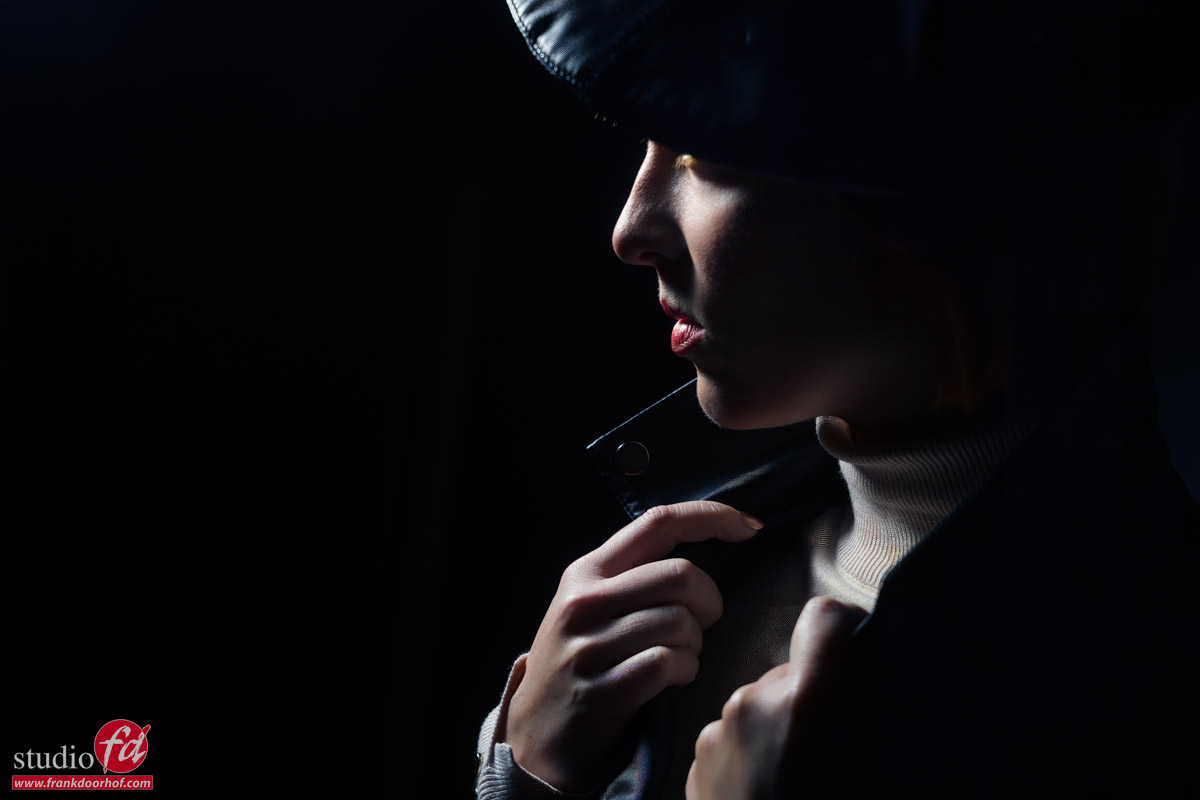
There is often a discussion about what you need to get a great image. And often it boils down to “I can’t do it because I don’t have any budget”. Well, it might surprise you but 99% of the images I post are shot during workshops, events, and trade shows. So not really situations where I have time or even a budget to really use large sets. Today a blog post about model photography with cheap materials and lights. In our studio, we do use the ClickBackdrops backgrounds of course 😀

Experiment with cheap materials and lights

One of the things I love to experiment with ar cheap lighting solutions.
This can be a string of fairy lights, Christmas lighting, or a magic lantern.
With modern cameras and great noise reduction in Lightroom or Topaz, you can really push the creative limits.

One of the biggest advantages of the strobes (Geekoto) I’m using now is that they can be adjusted to output a very slight amount of light.
Because most of these light sources are very faint it’s great that I’m now able to mix strobes and continuous lighting much easier.


Setup

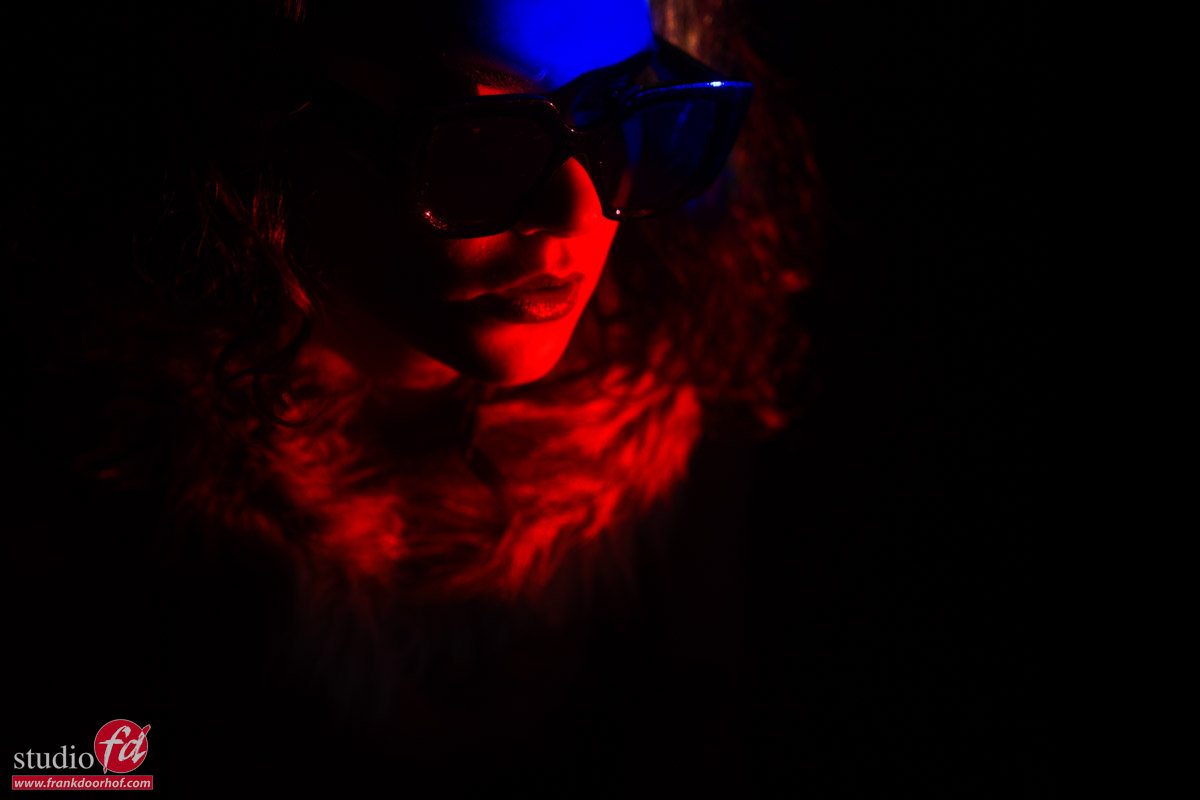
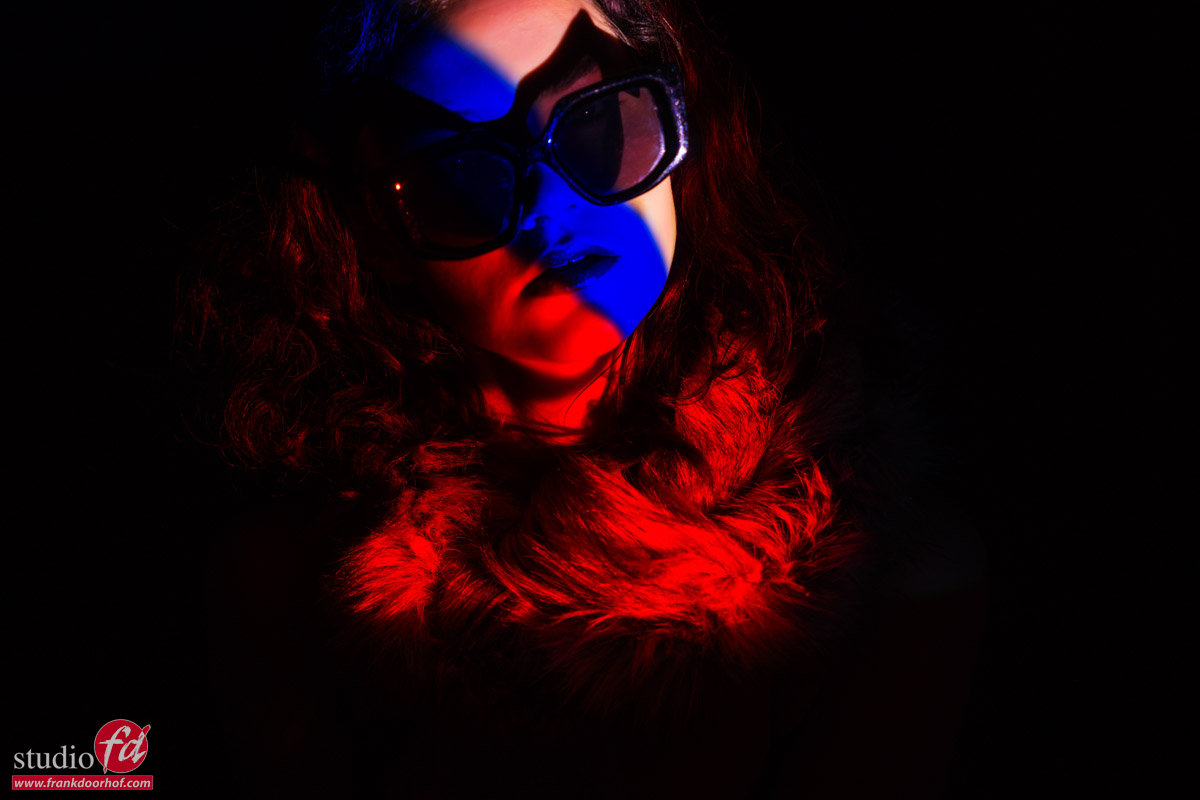
For this setup, we used wings with small lights inside. To make sure the lights show up you have to be able to capture enough light.
This can be done with a higher ISO or a longer shutter speed.
What I normally do is use the EVF of the camera in emulation mode. This way you can see what your setup in your camera looks like.
I would advise to set up with an option to lower the shutter speed. Often when you start adding the strobes you will find that you need a bit more light from the continuous light source. Especially when a model is uncomfortable it’s nice that you can quickly change the setup by just lowering the shutter speed.

Now that you have the perfect setup just use a light meter to set the strobe up to the ISO and Aperture you chose. And you’re ready to shoot *and probably lower the shutter speed.

Background

A nice dark background is ideal with see-through materials and lights.
But it’s vital for these kinds of shots you use a focused light source, in other word,s make sure you only hit the subject with strobes where you need it. This way the continuous lighting will have a nice dark background to show up and show their color and brightness much better.

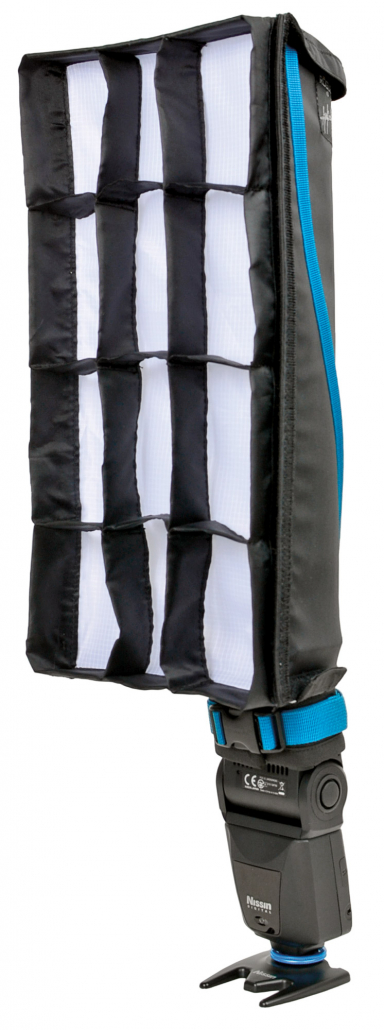
I’m using the Geekoto GT400 with a Geekoto Quicky softbox with a grid.
The Quicky is a smaller softbox that has a very straight light beam and is great for focussing light on your subject, even from a slight distance.

Model photography with cheap materials and lights, I like it!

Model photography with cheap materials and lights Model photography with cheap materials and lights Model photography with cheap materials and lights

Check out this video about being creative with 2 models dressed up as Barbie

You can rent our studio and get creative too 

A special Christmas scene with a beautiful background

Christmas is a special time of the year

It’s a time where I hope we all find some time off, warmth or comfort.
It’s a time where it sometimes seems the world is just a bit more quiet.
And of course it’s a time of joy and celebration.

For me when I think of Christmas I always see a Charles Dicksens like scene, but with more warm tints and of course glowing lights. Let’s say a bit Fashion vs Charles Dickens.
During a recent session in our studio I joined the group for the last setup in building a small set with a Christmas tree.
We used our new scenic ClickBackdrops background, to get some some extra warmth I’m using a red gel from the left side aiming down from a high angle, this way it gave our model a nice accent and also side lit the tree a bit.

As main light I’m using the small Quicky softbox from Geekoto, this softbox it great for aiming your light to a smaller area than a conventional softbox and it worked great for this shot of Felisa.

I used Photoshop AI to extend the background and add a slight part to the Christmas tree and fill up the an area that was empty.
Boris FX was used to add 3 extra lights in the tree, making it all fit together.

When you try to get the image 100% right in camera, it’s often very easy to add what’s needed (if anything).
Using Photoshop AI this way is a great update and will really push the limits of what we can do creativity with photography.
Personally I’m not a big fan of text to image claiming as art, but using it to add to your photography where you build the set, setup the lighting, styling, makeup etc. I think it’s a great tool to make it possible create images much closer to our vision than ever before.