During the Photodays 2023 I got the chance to shoot with the new Sony A7RV.
I’m still using the Sony A7RIV which is a great camera, but to be honest I was shocked with the upgrade.
Because I was shooting demos 3 days almost back to back and I used the A7RV only during the last day it really caught my eye how much more “depth” there seems to be in the images.
I’m not saying the A7RIV images are flat, but the A7RV does seem to be a little but more 3D, probably due to a different way of sensor processing, it’s subtle but clear when you know your camera. Now that wouldn’t be worth an upgrade, but the much faster and MUCH better (accuracy) autofocus is without any doubt. Much better with eye detection and now also with a load of AI options for trains, planes, animals and even chosing the correct eye. YES SONY, now I can use the eye focus (probably, still testing this). Also the display is a huge upgrade, tethering speed is faster and the display is now finally fully adjustable (I really missed that).
I’ll be using the A7RV a lot more so if you have any questions let me know.
I can confirm that tethering to the iPad Pro with Cascable works.
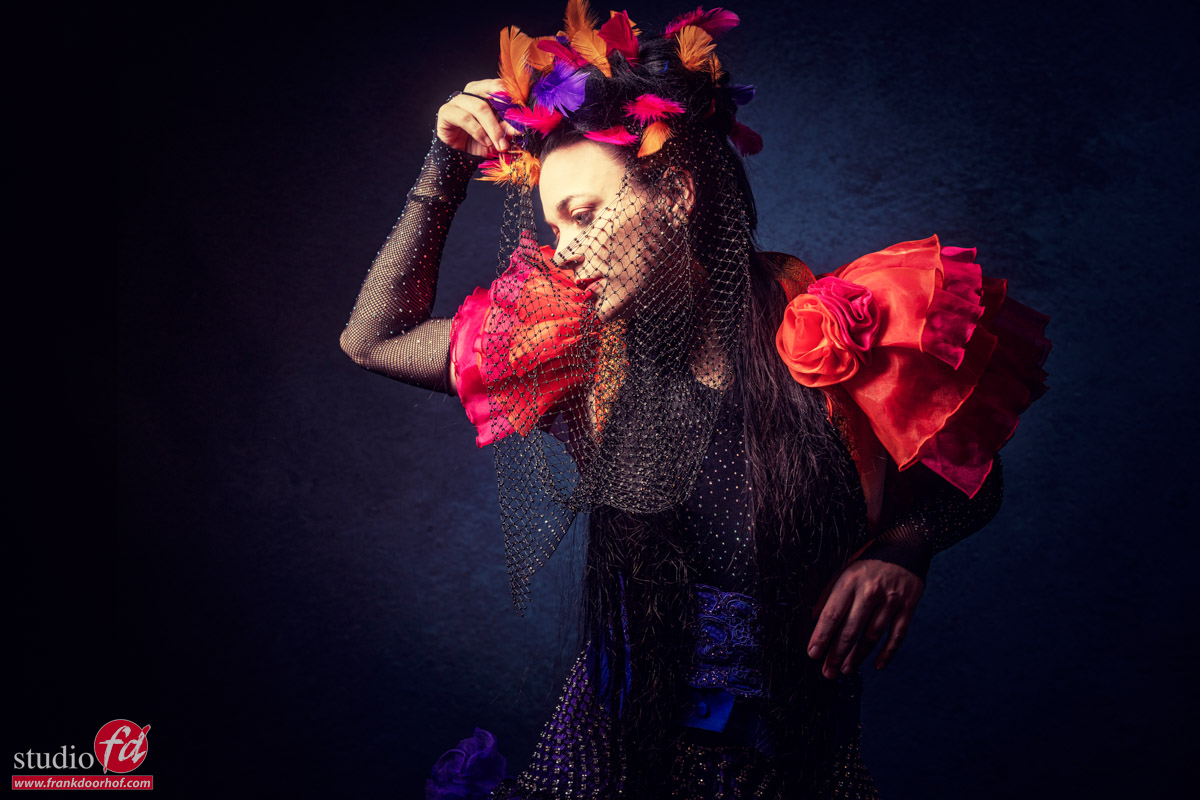
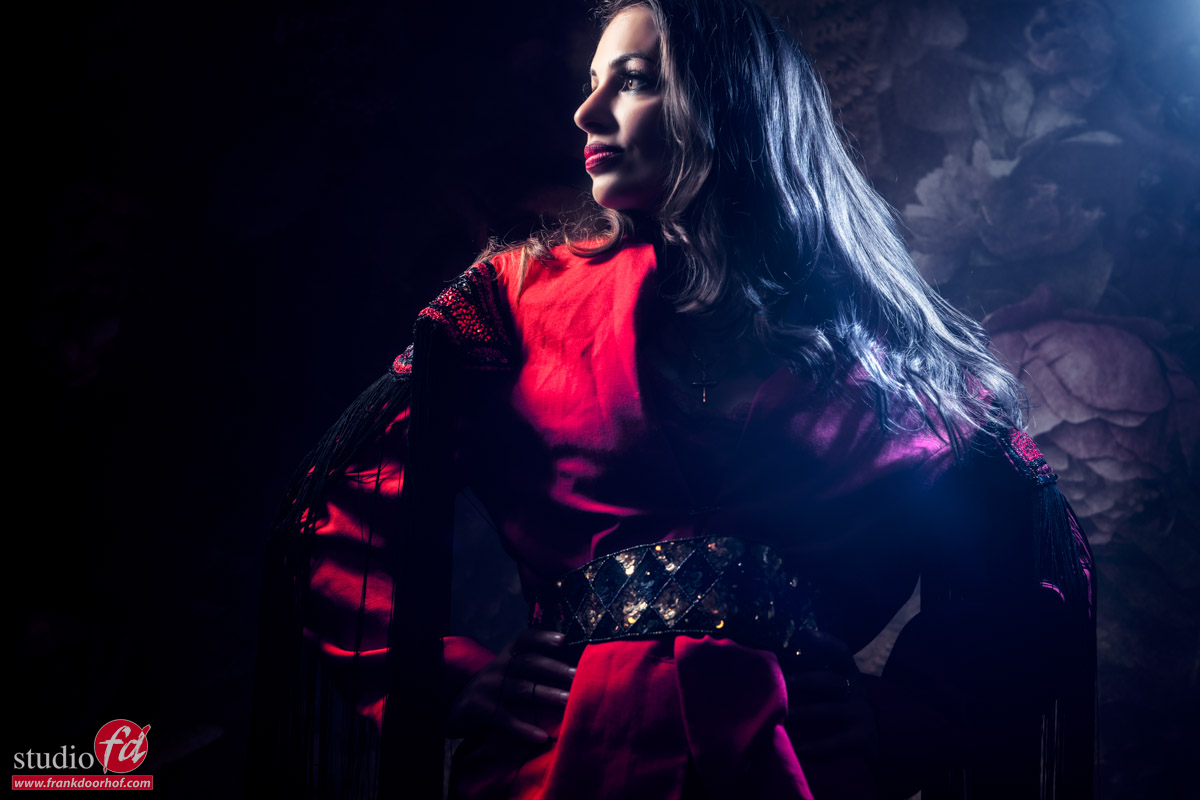
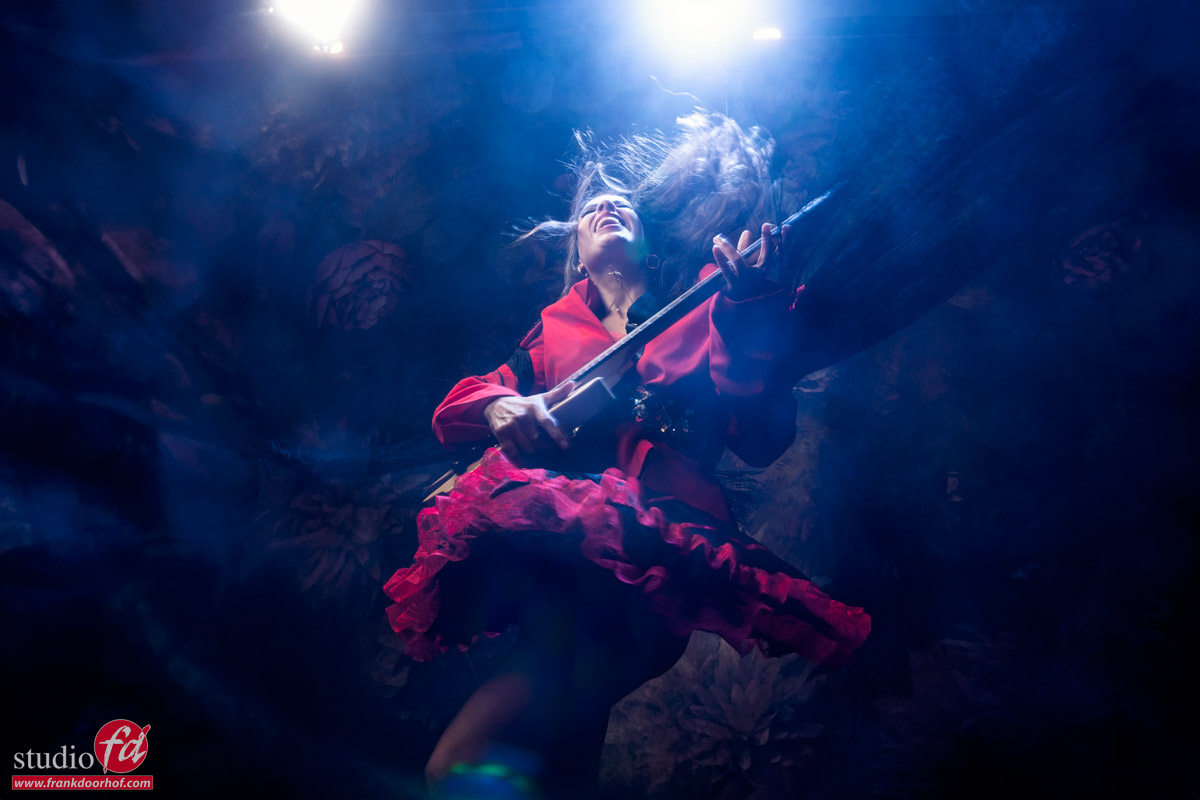
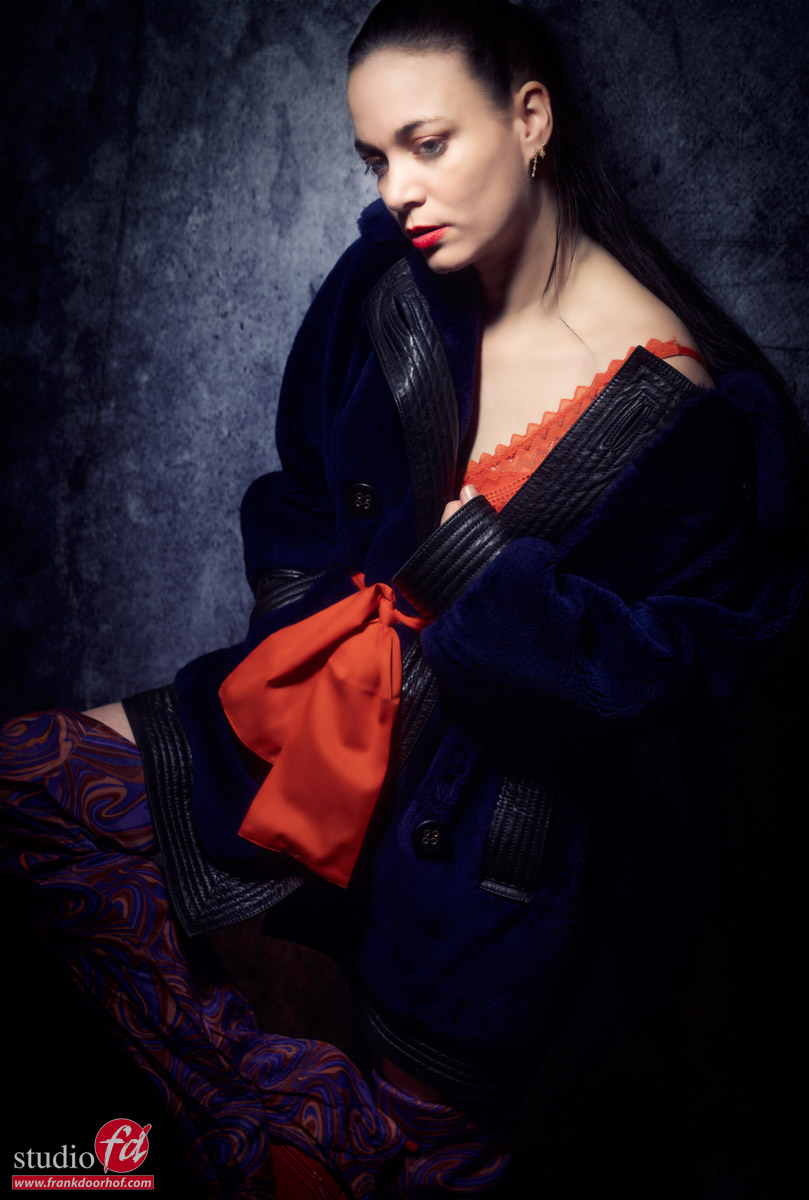
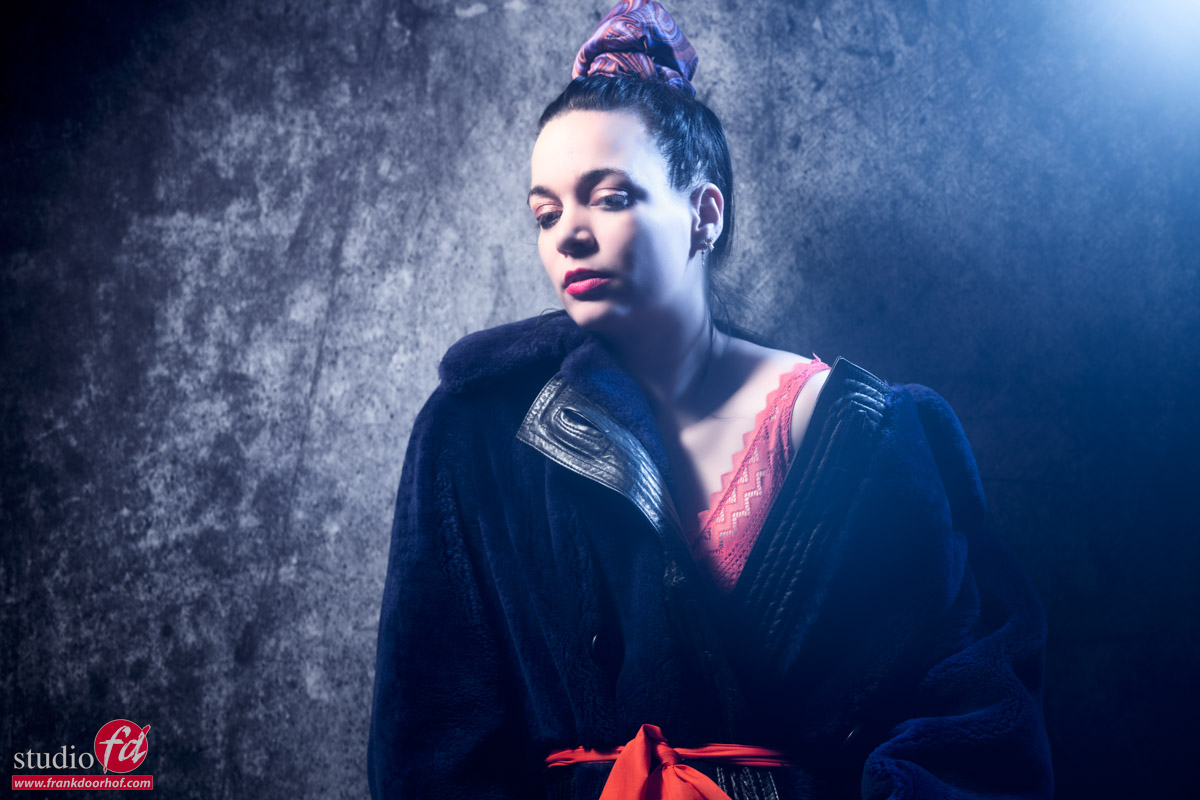
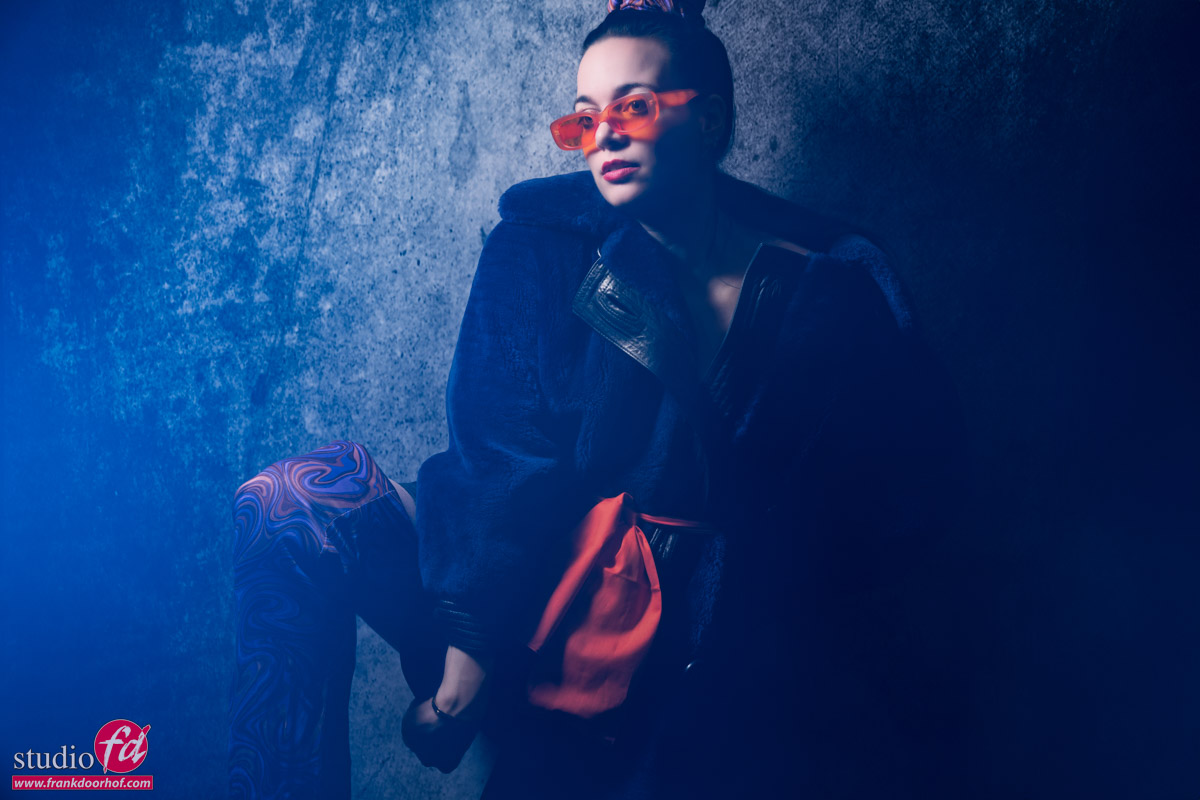
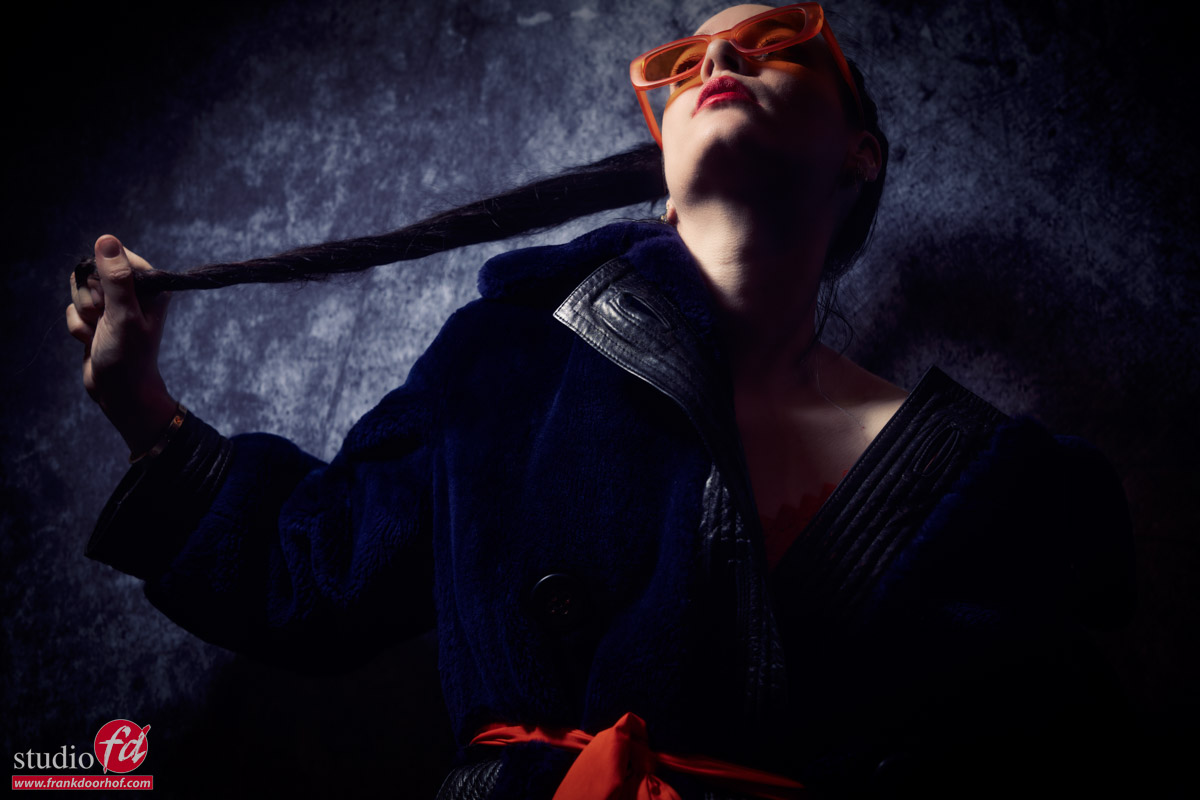
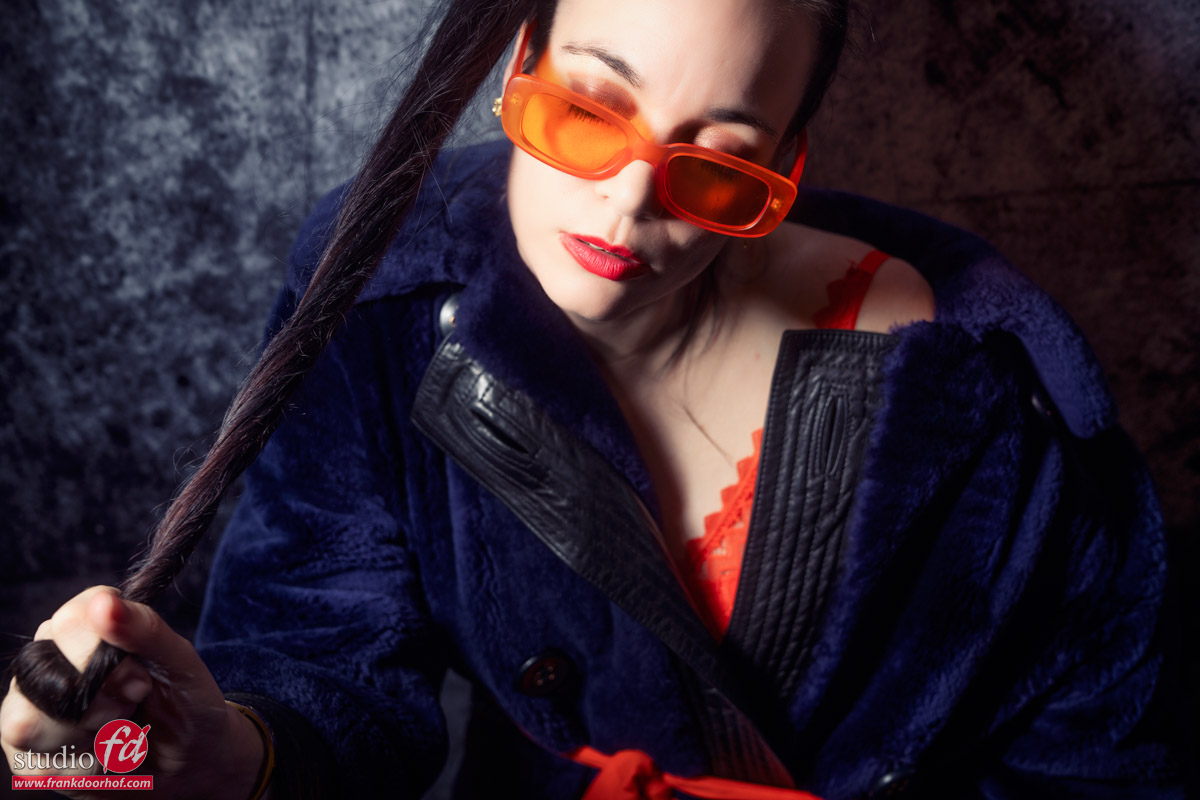
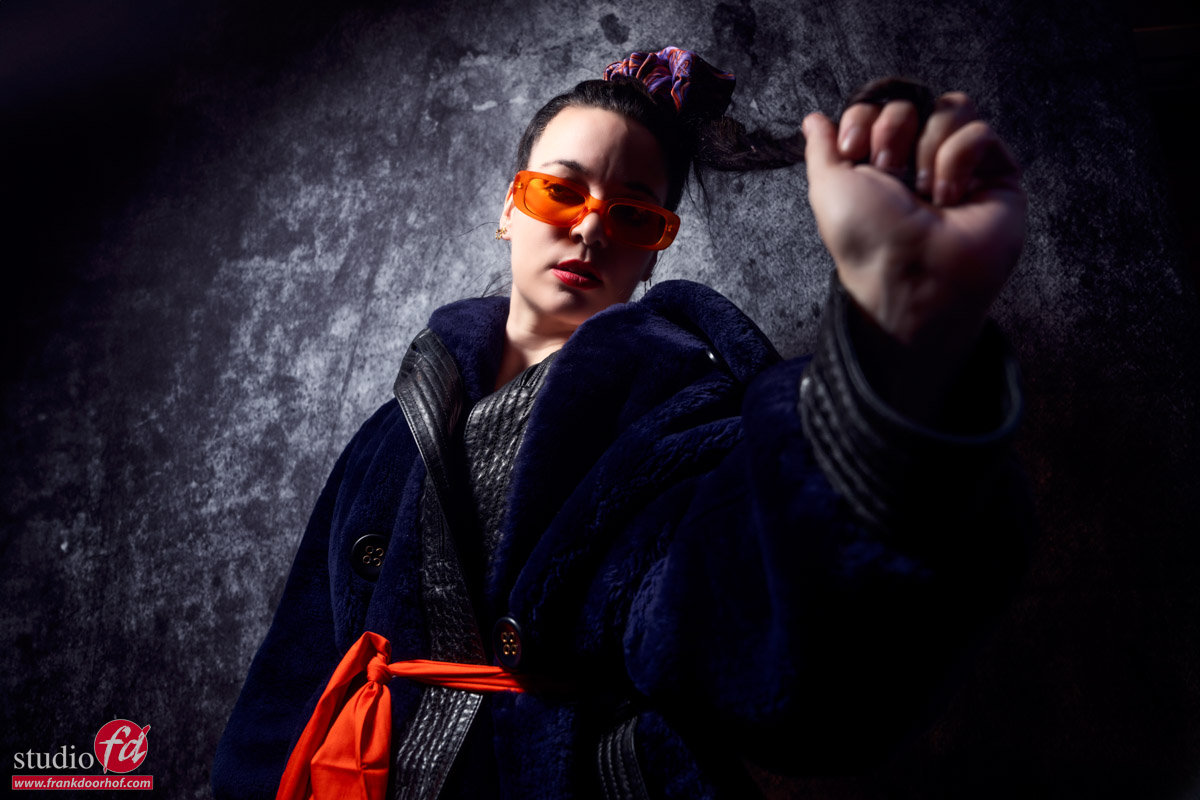
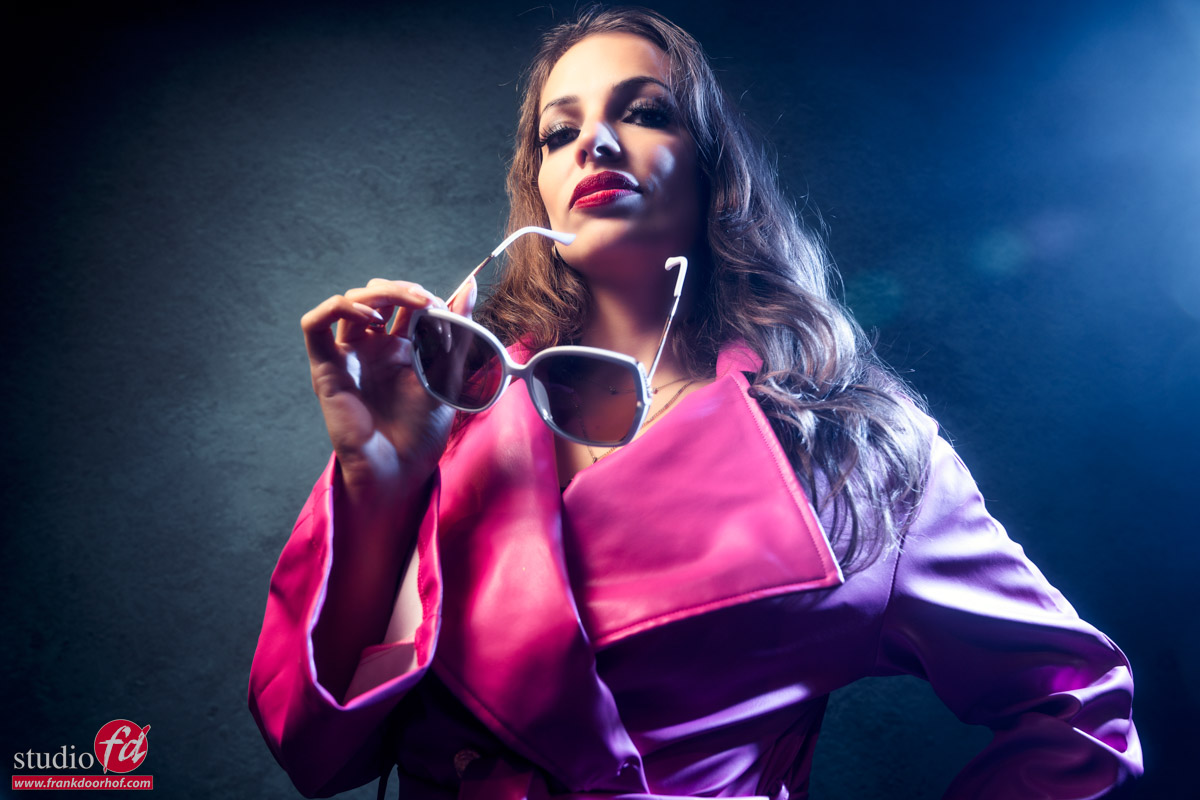
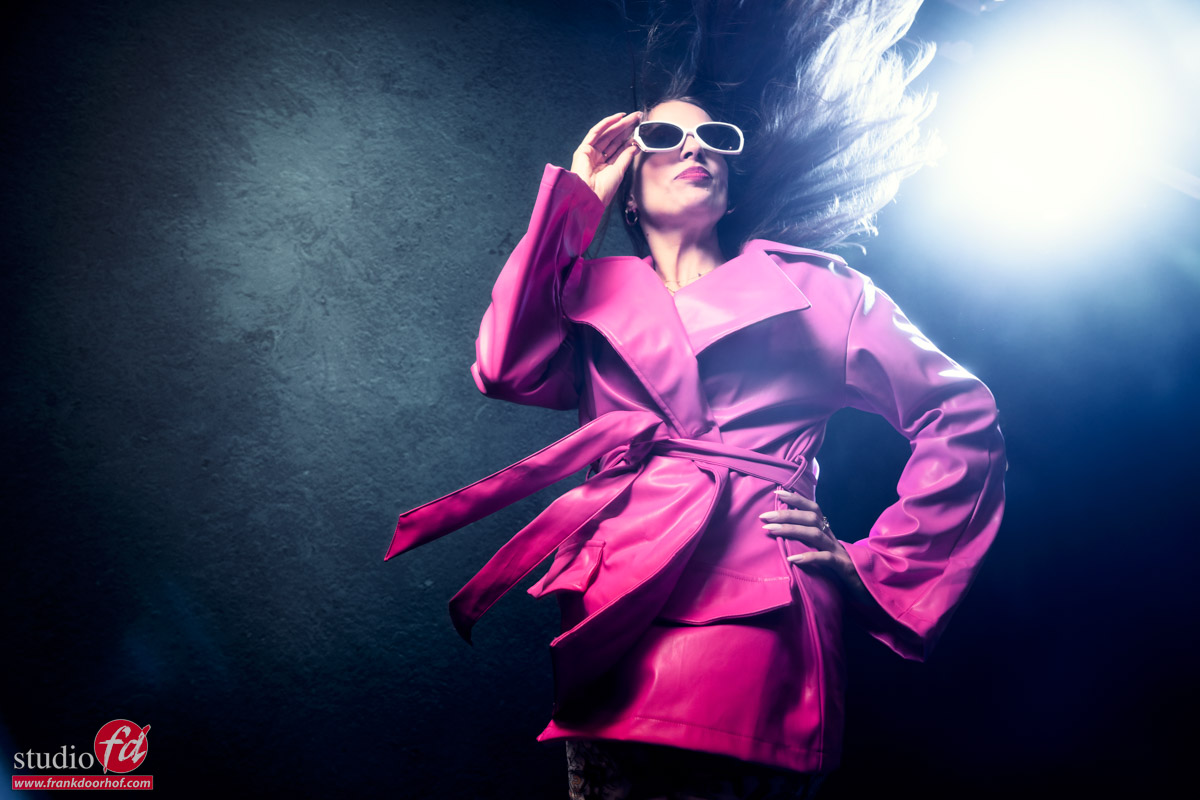
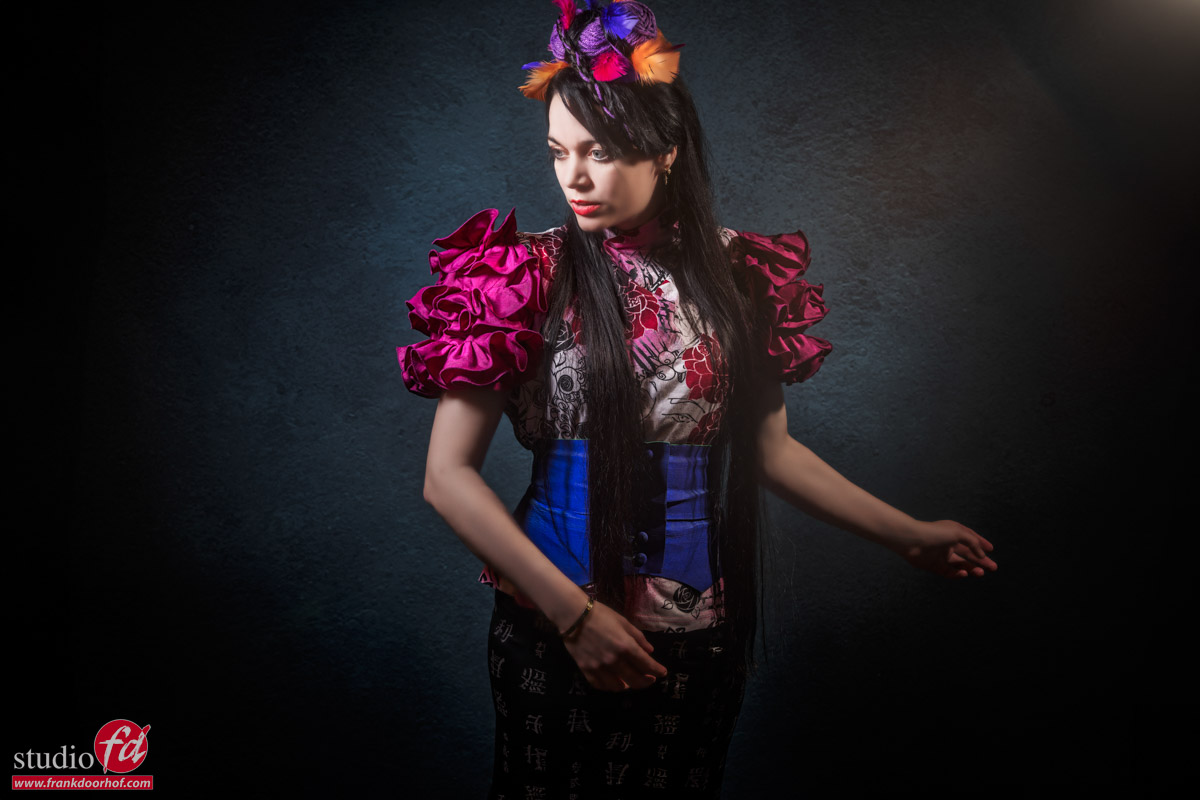
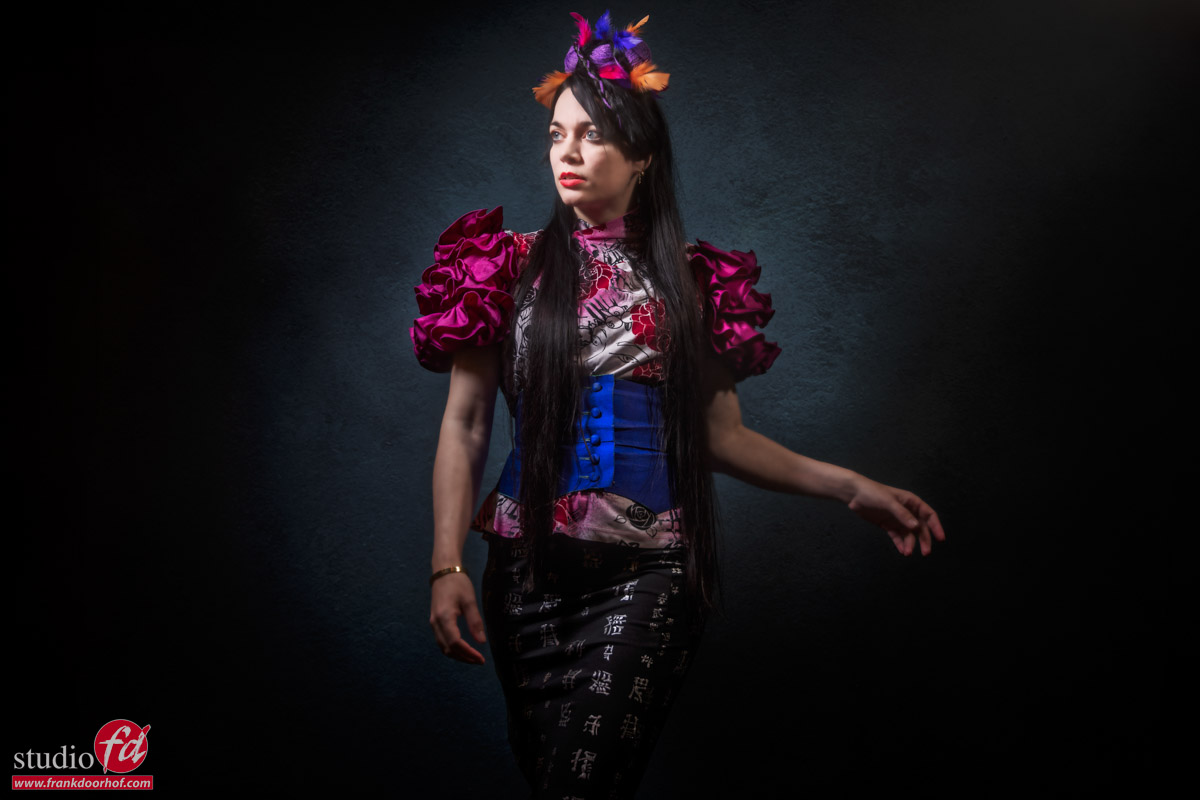
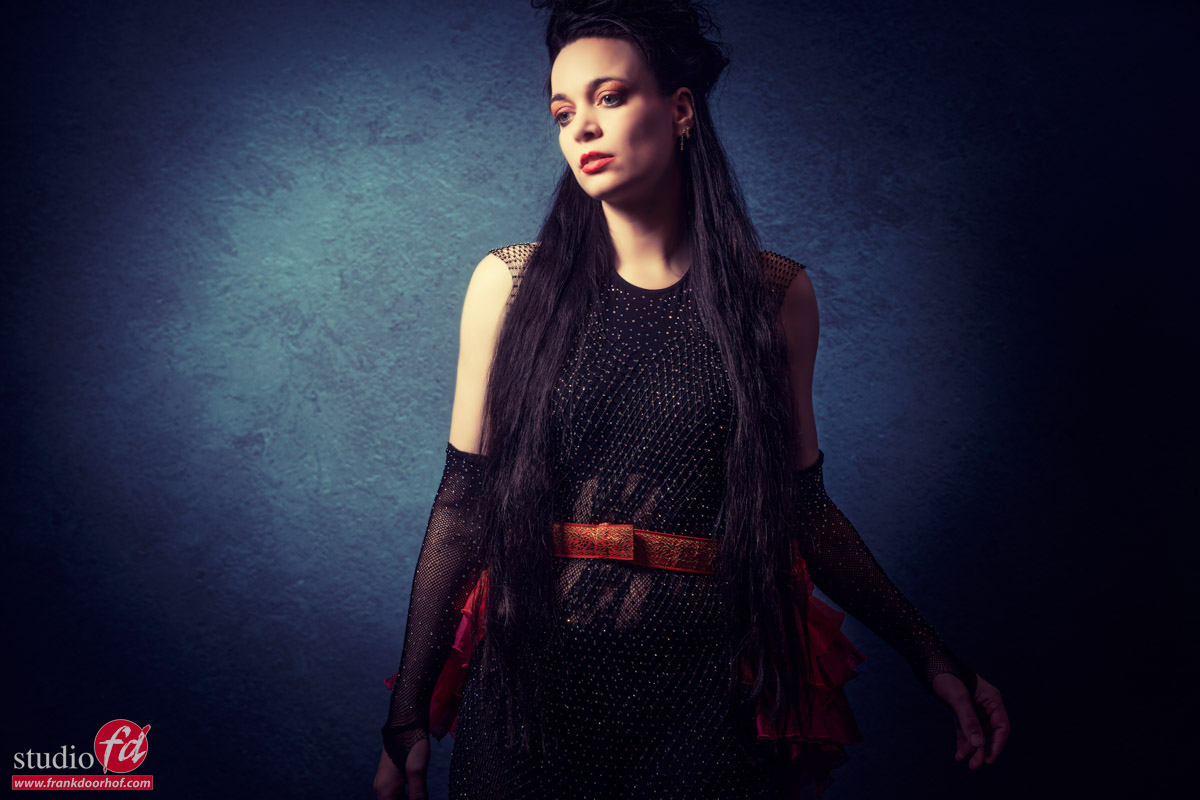
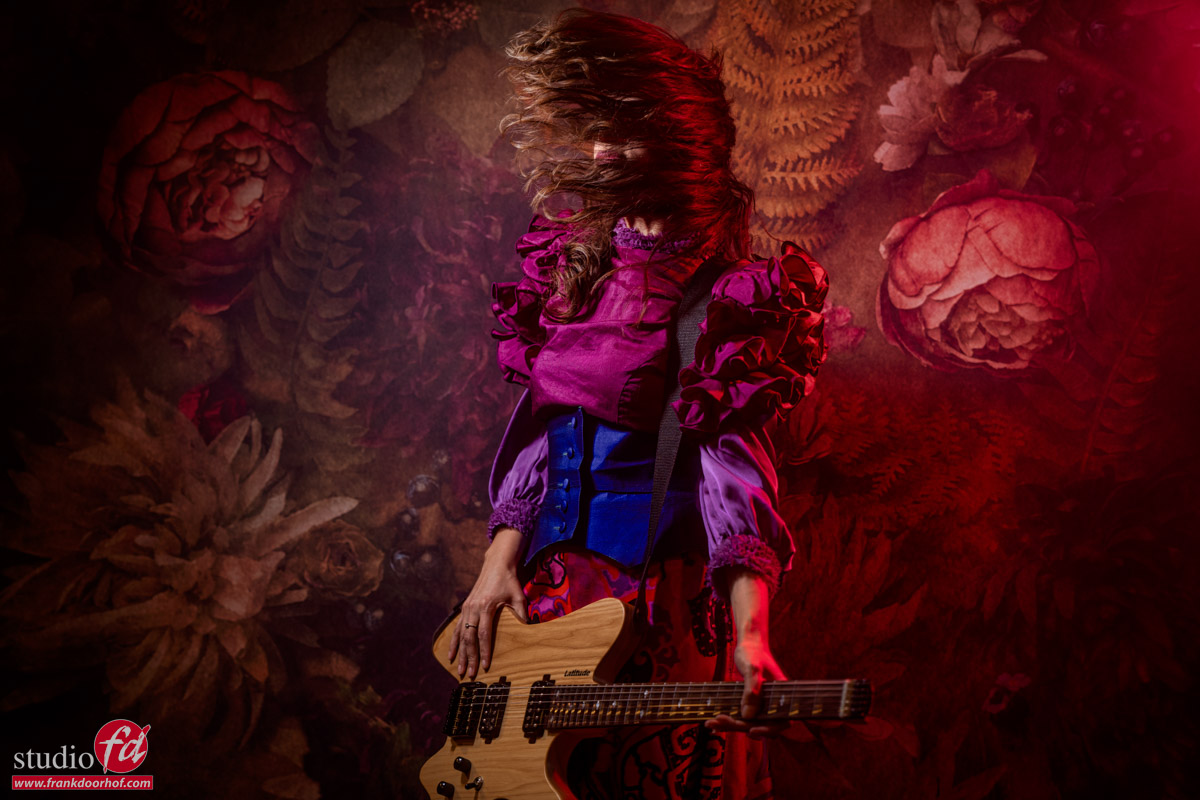
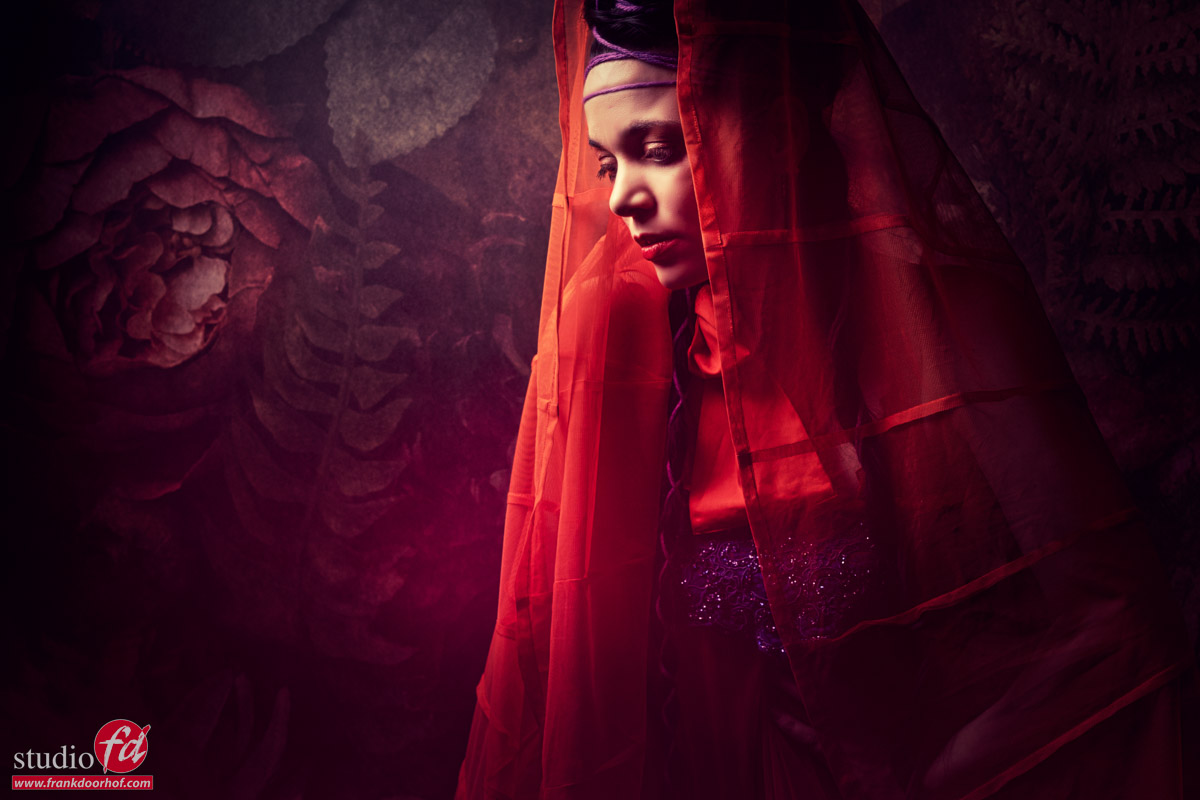
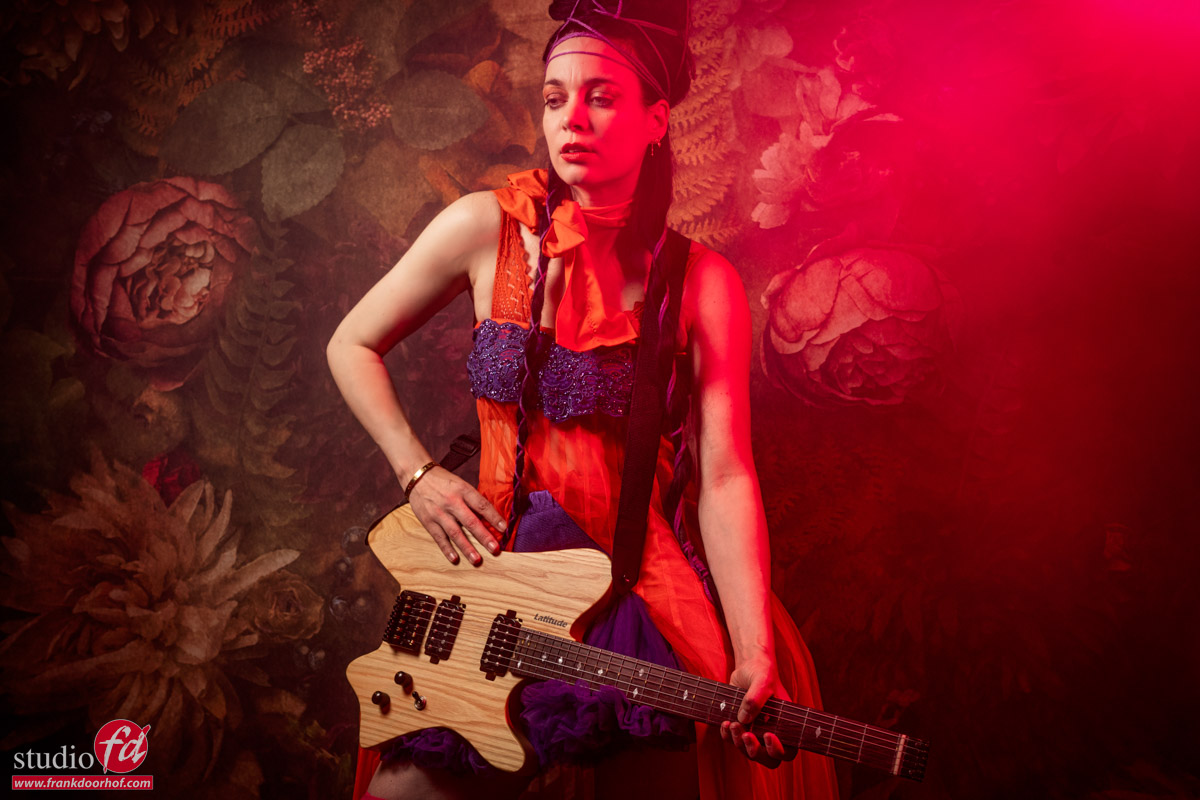
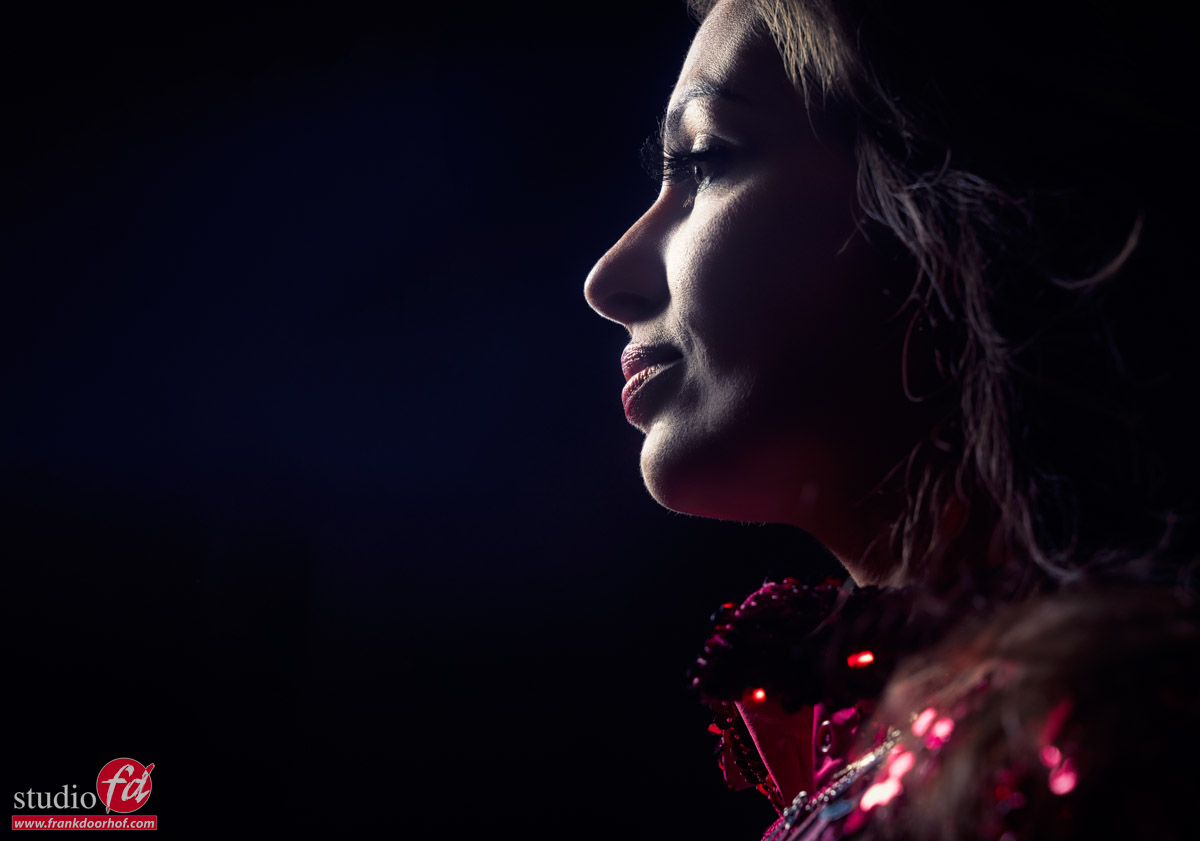
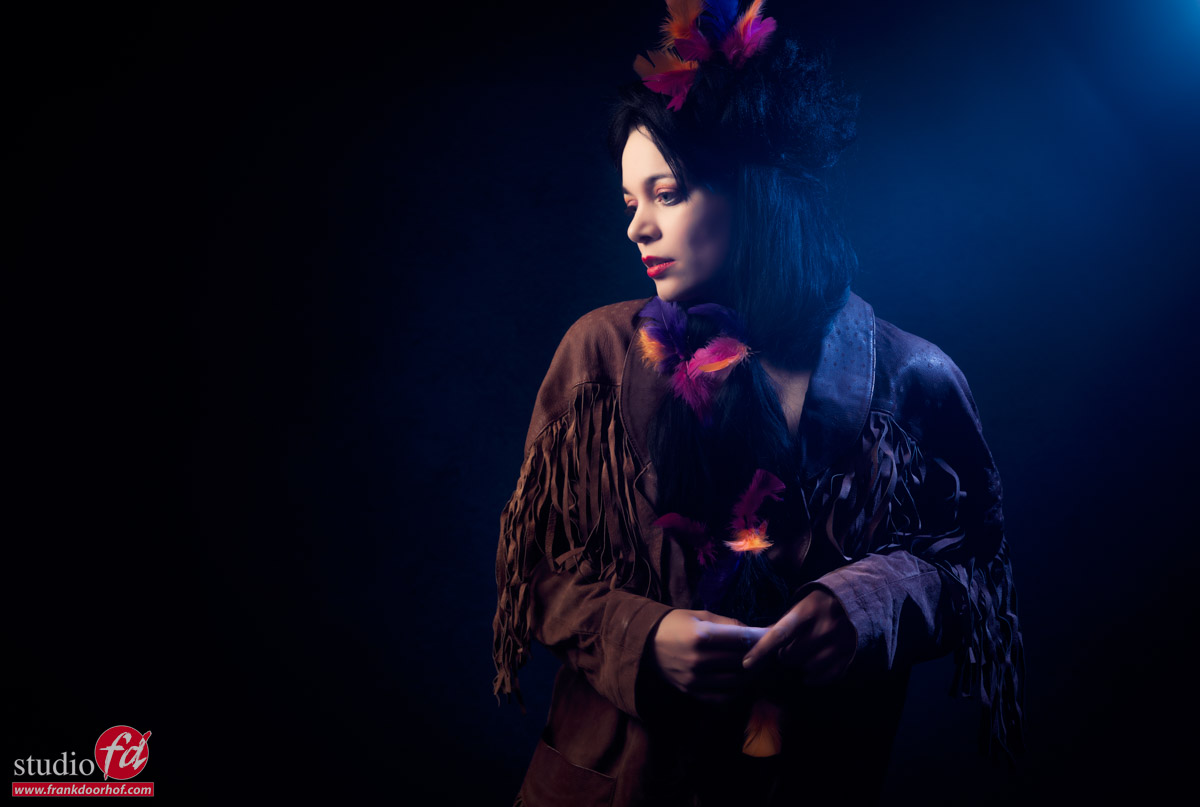
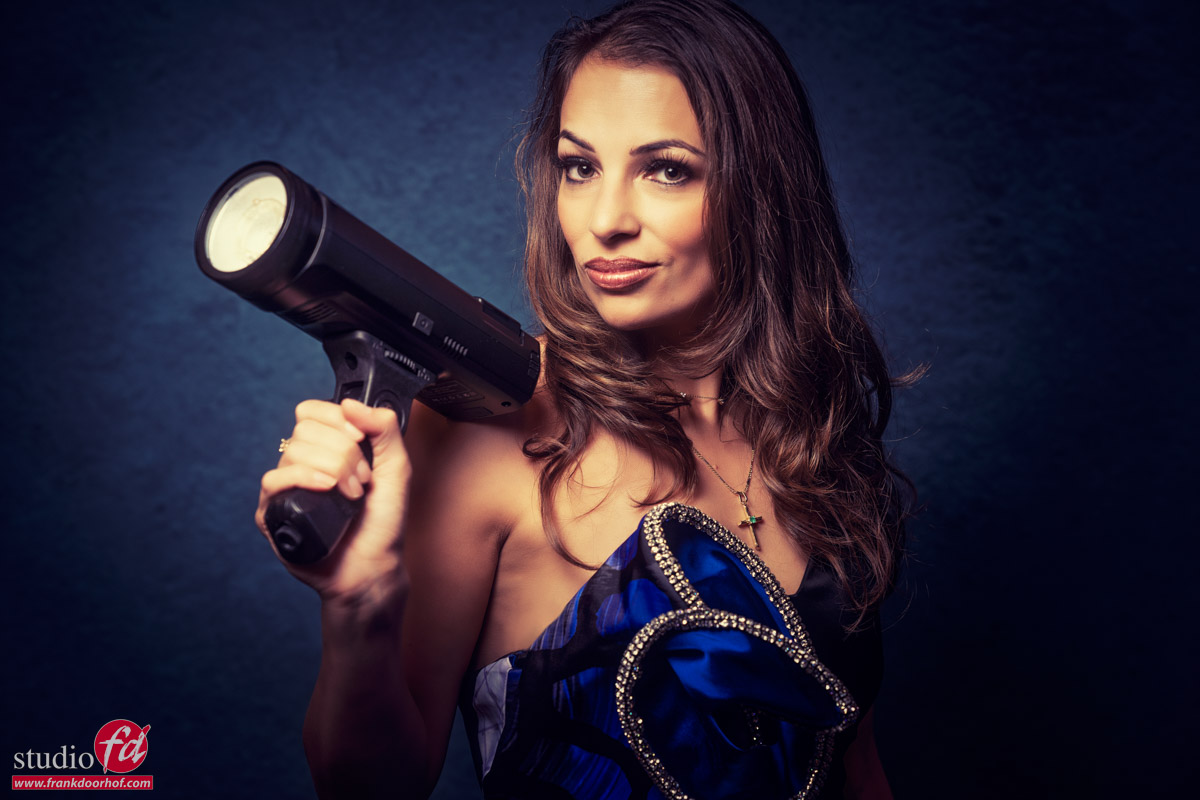
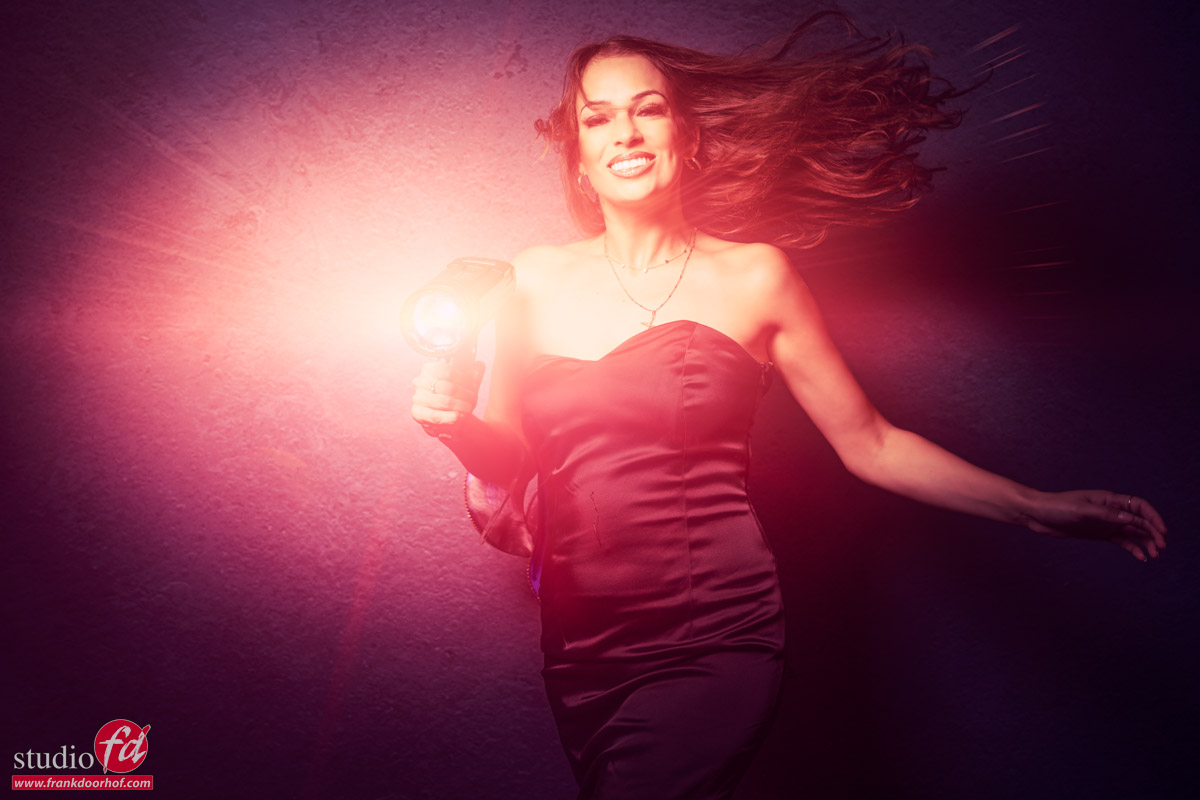
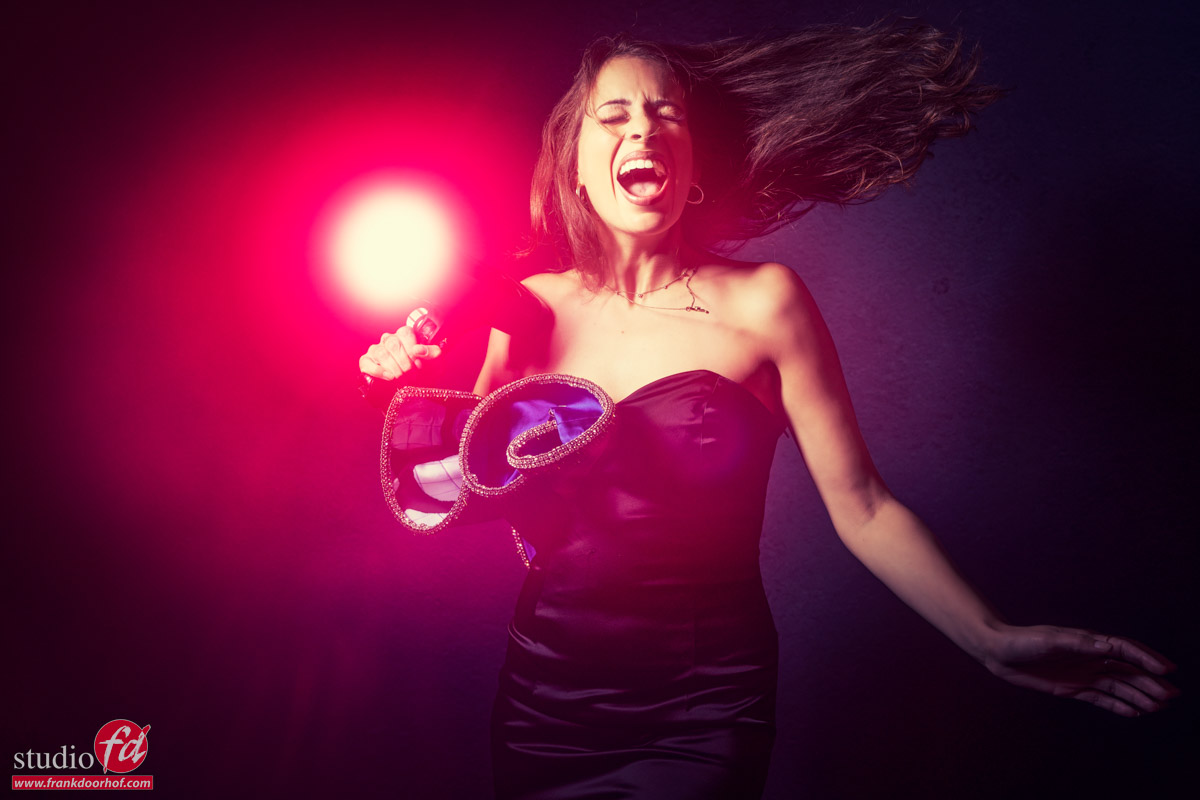
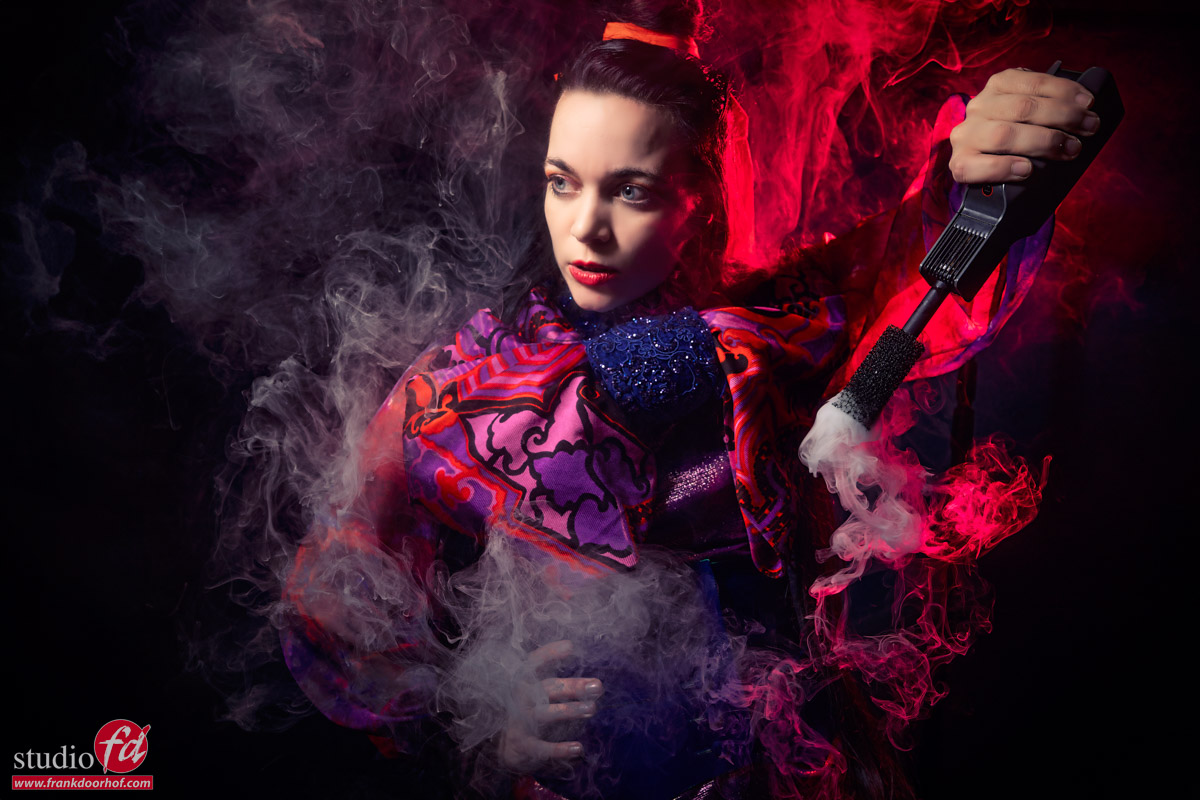
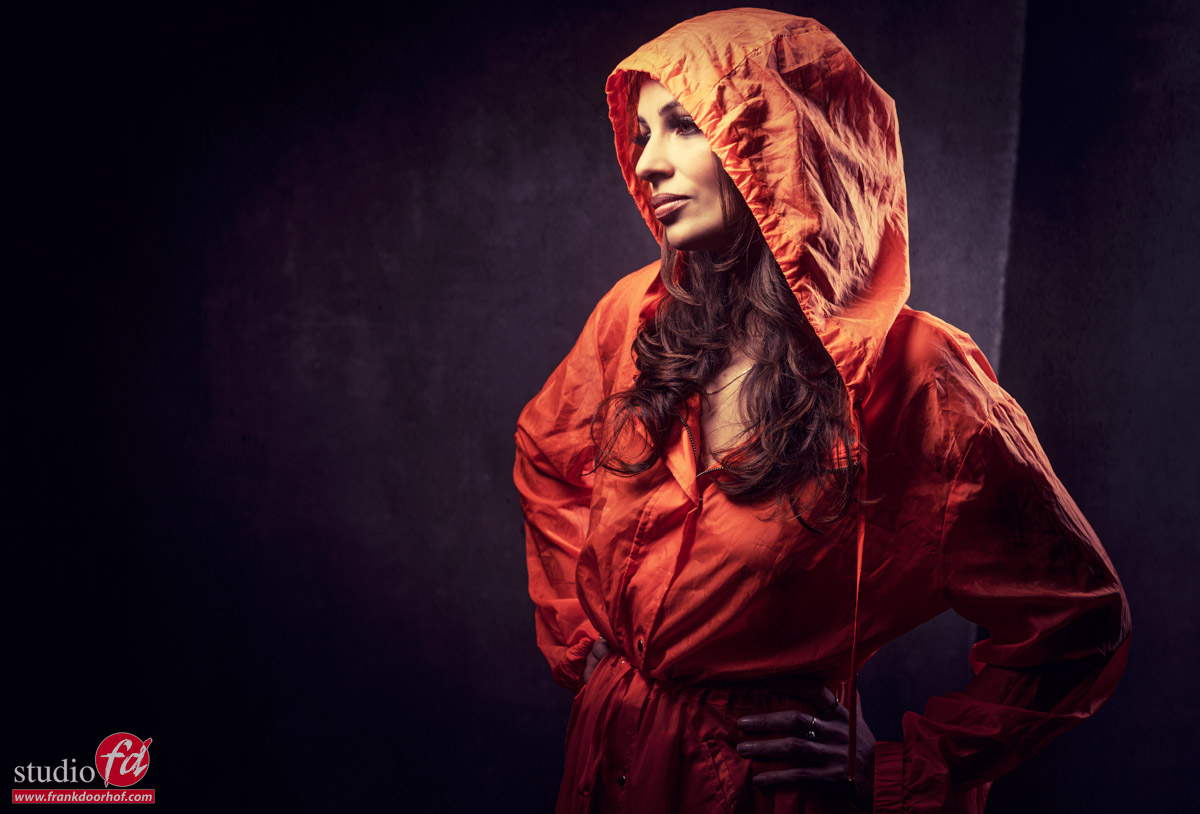
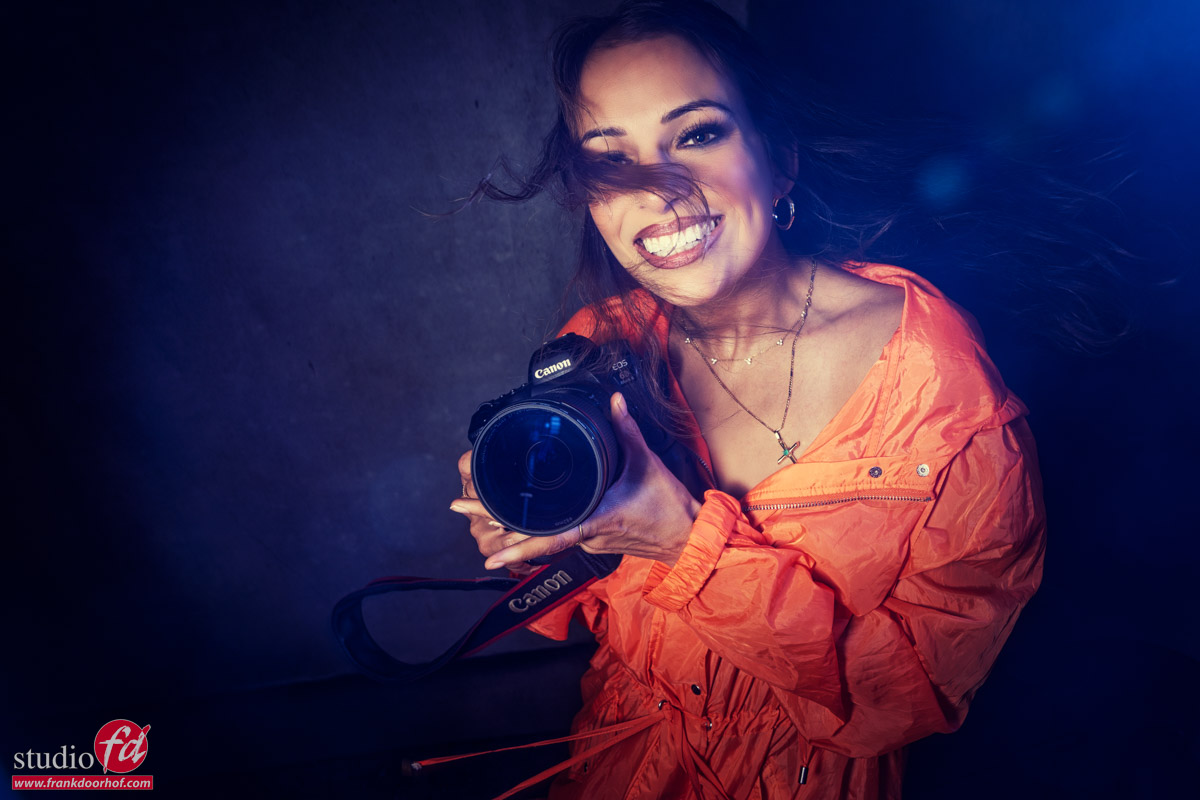
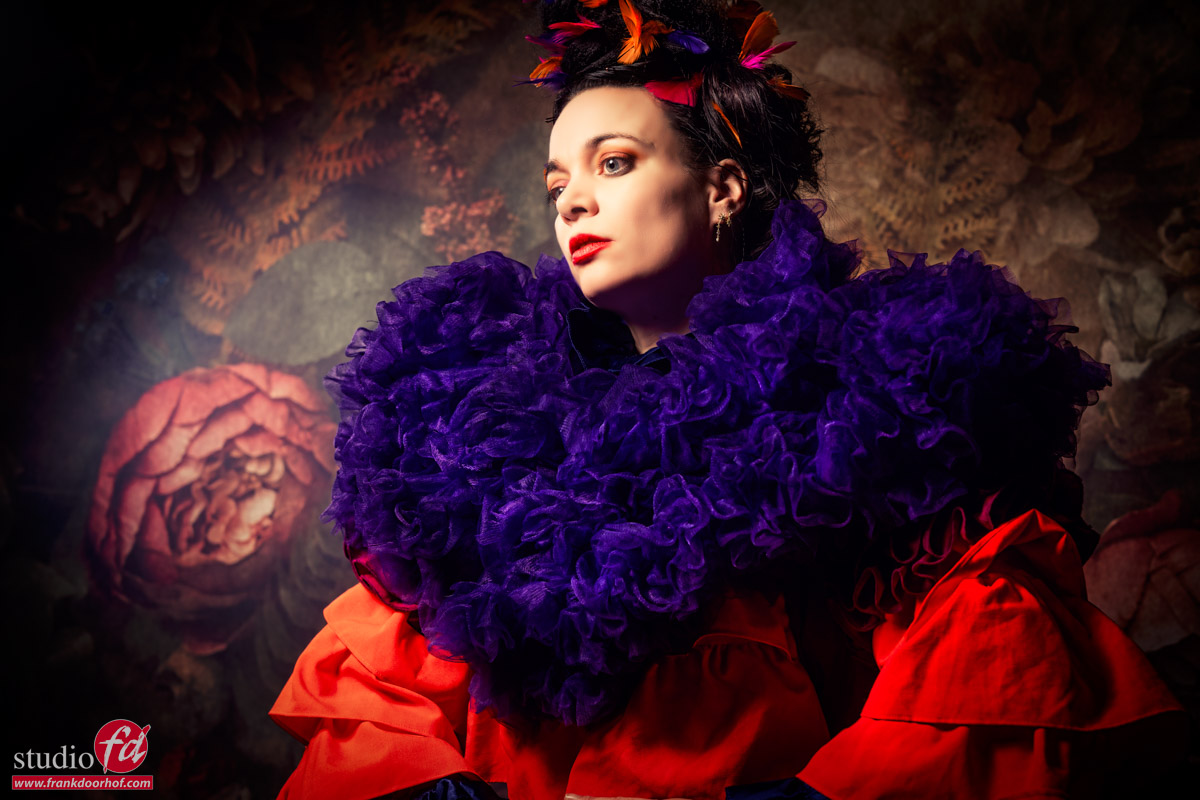
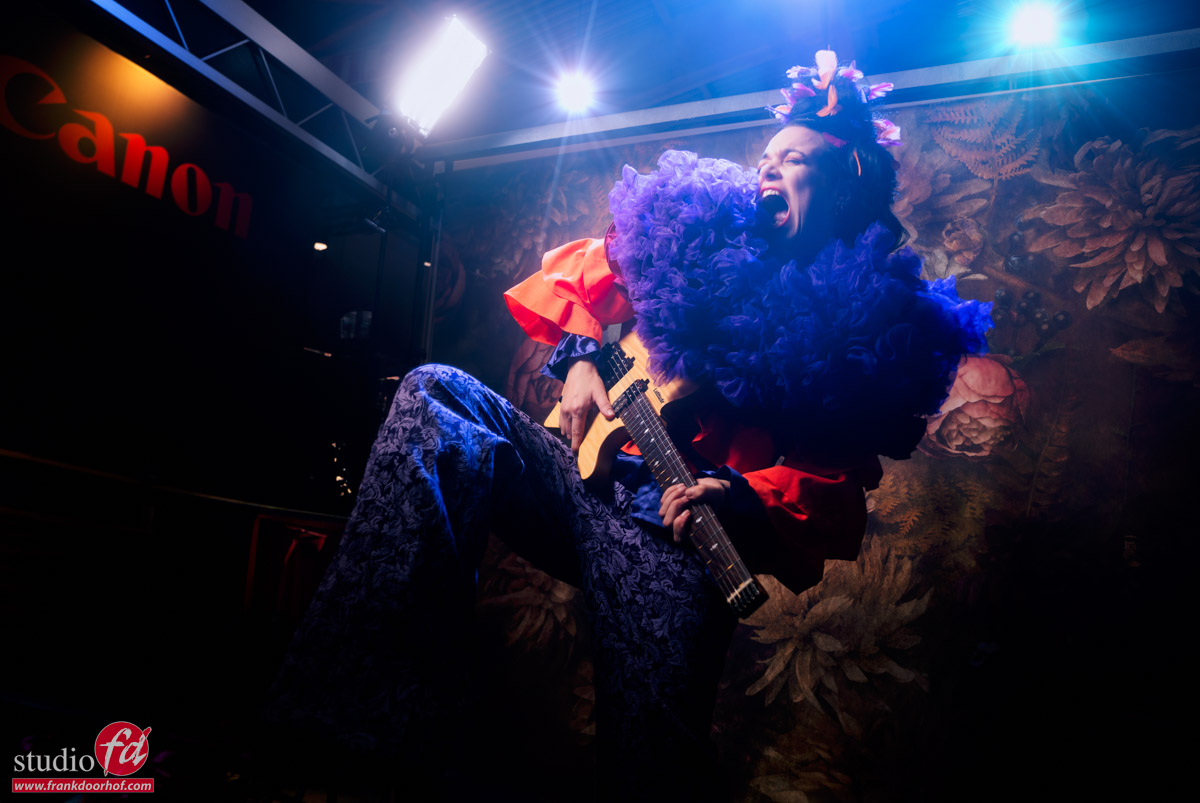
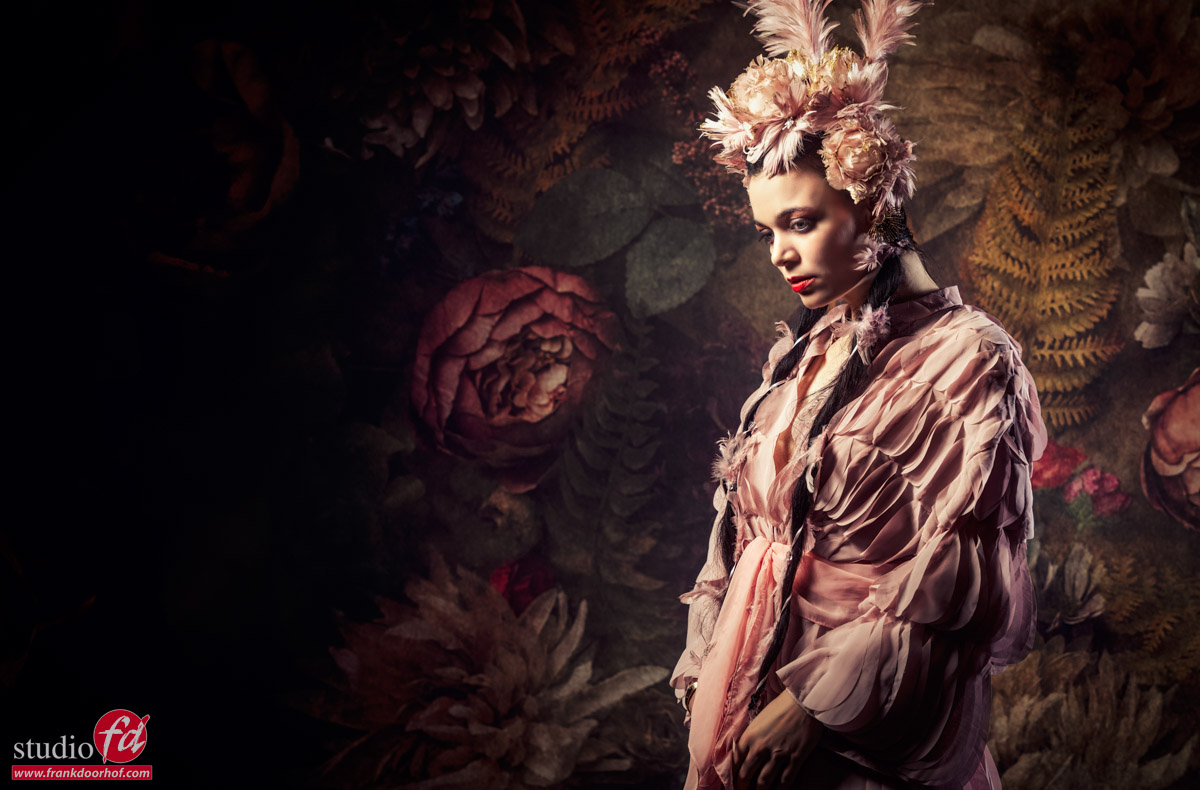
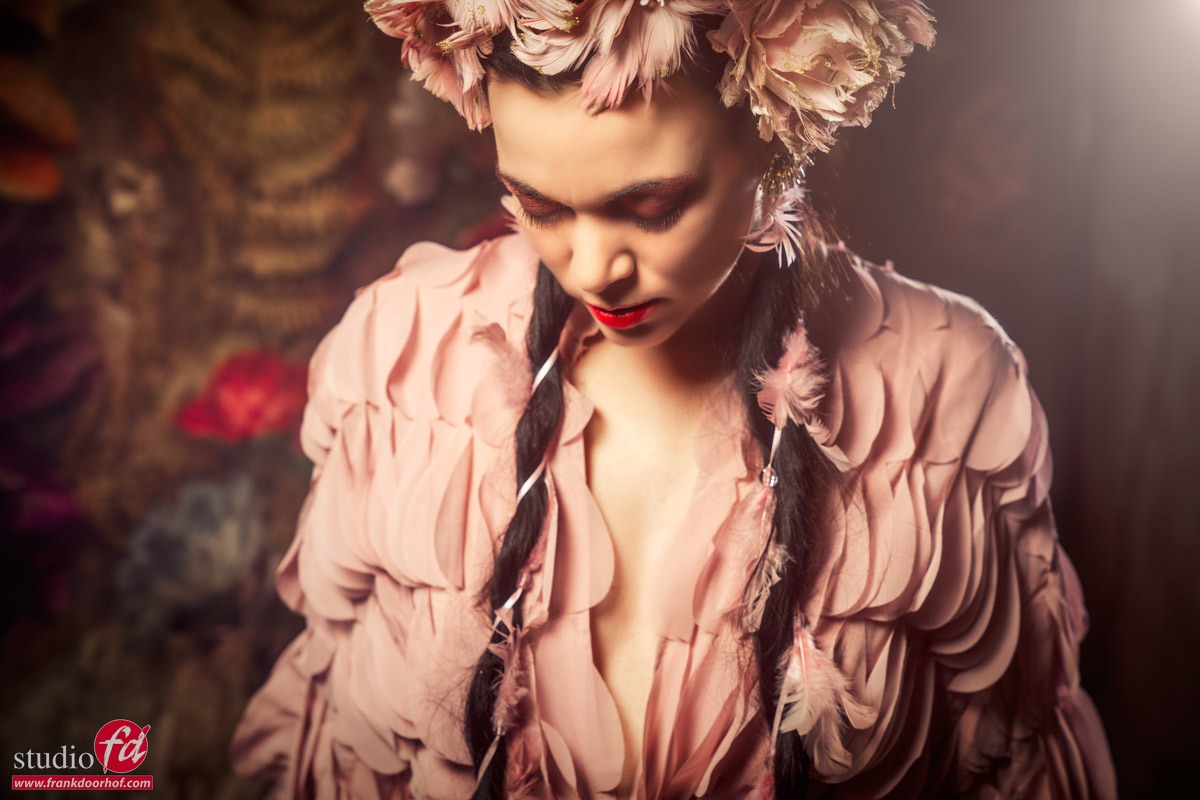
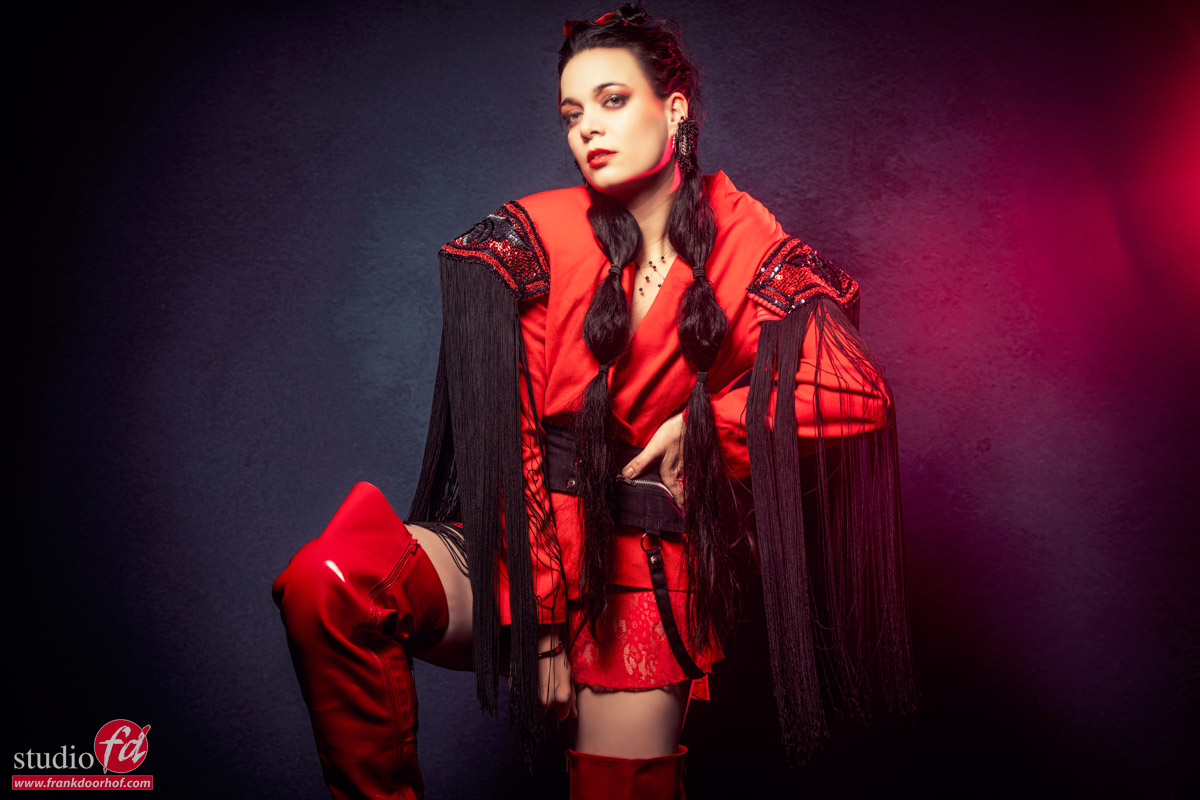
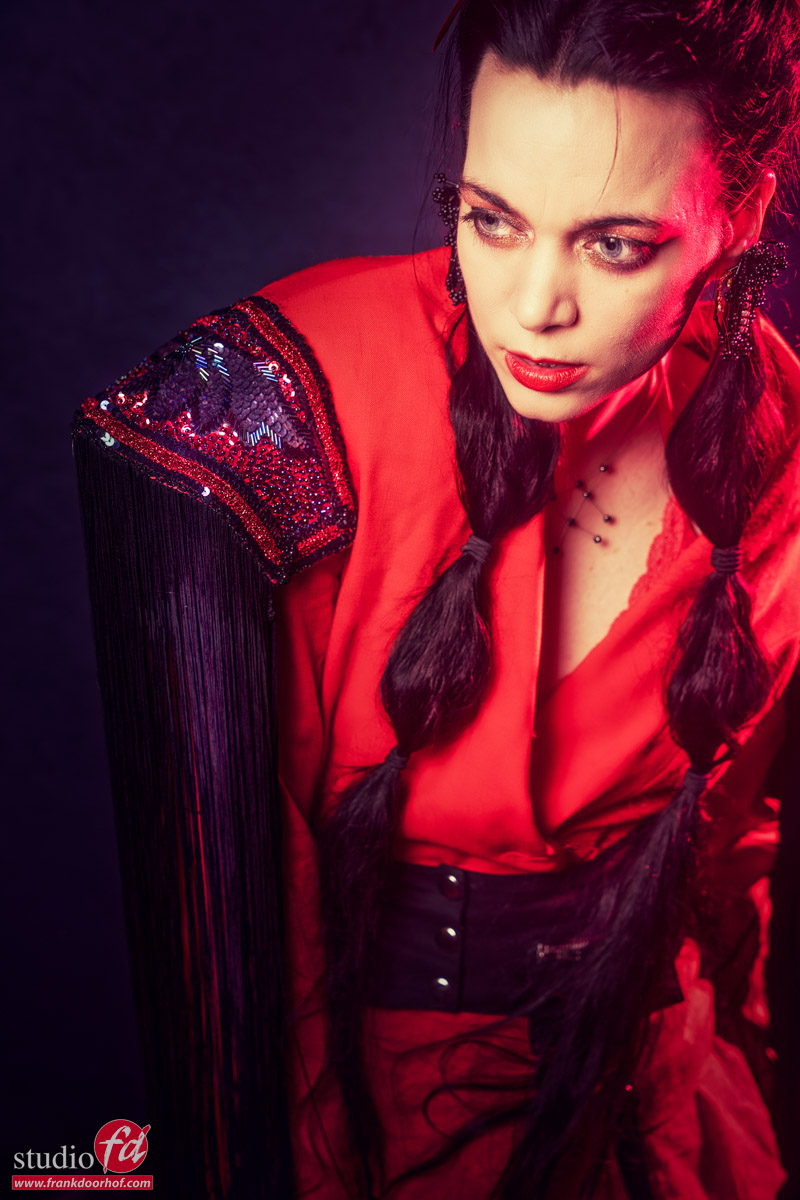
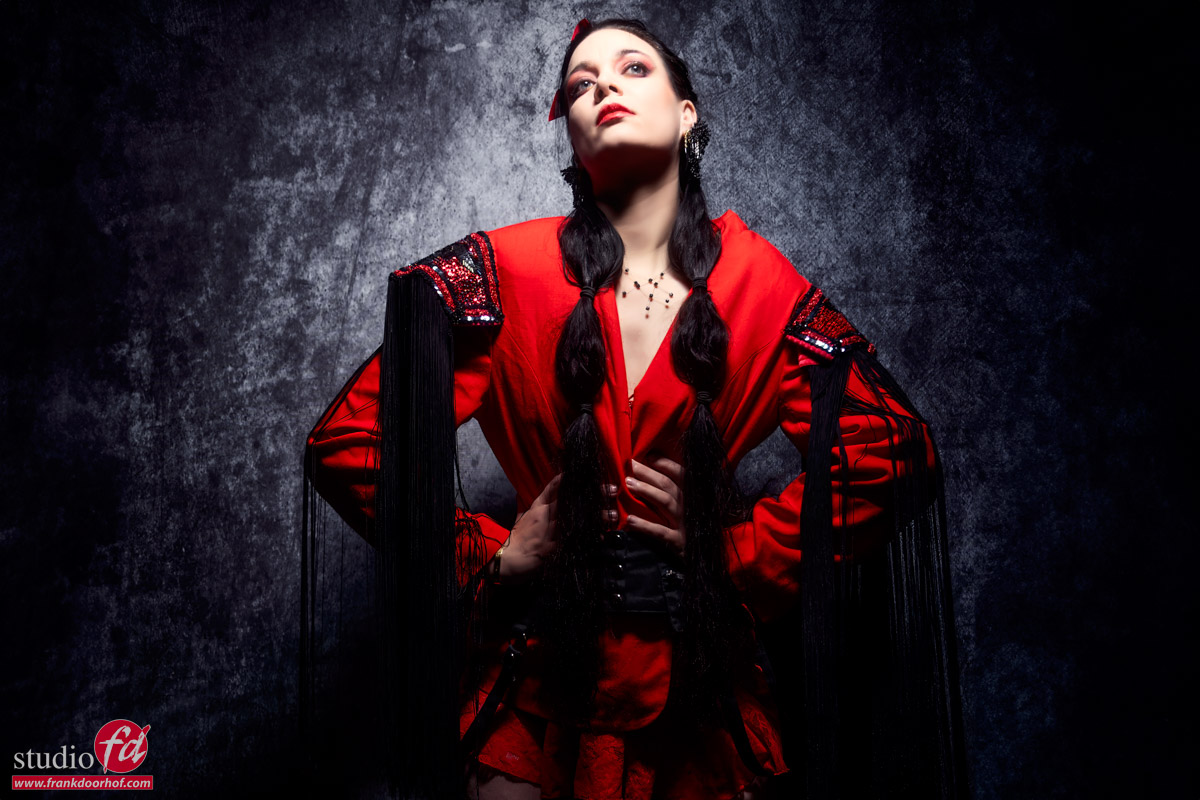
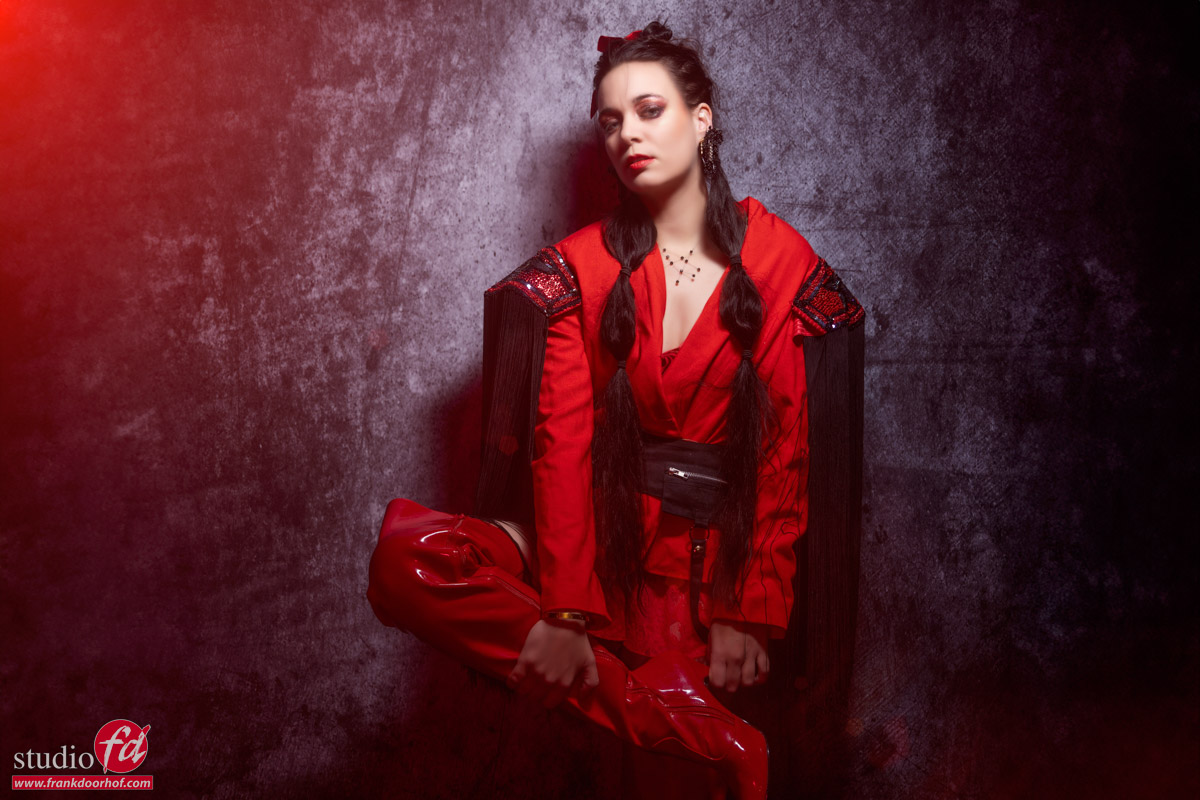
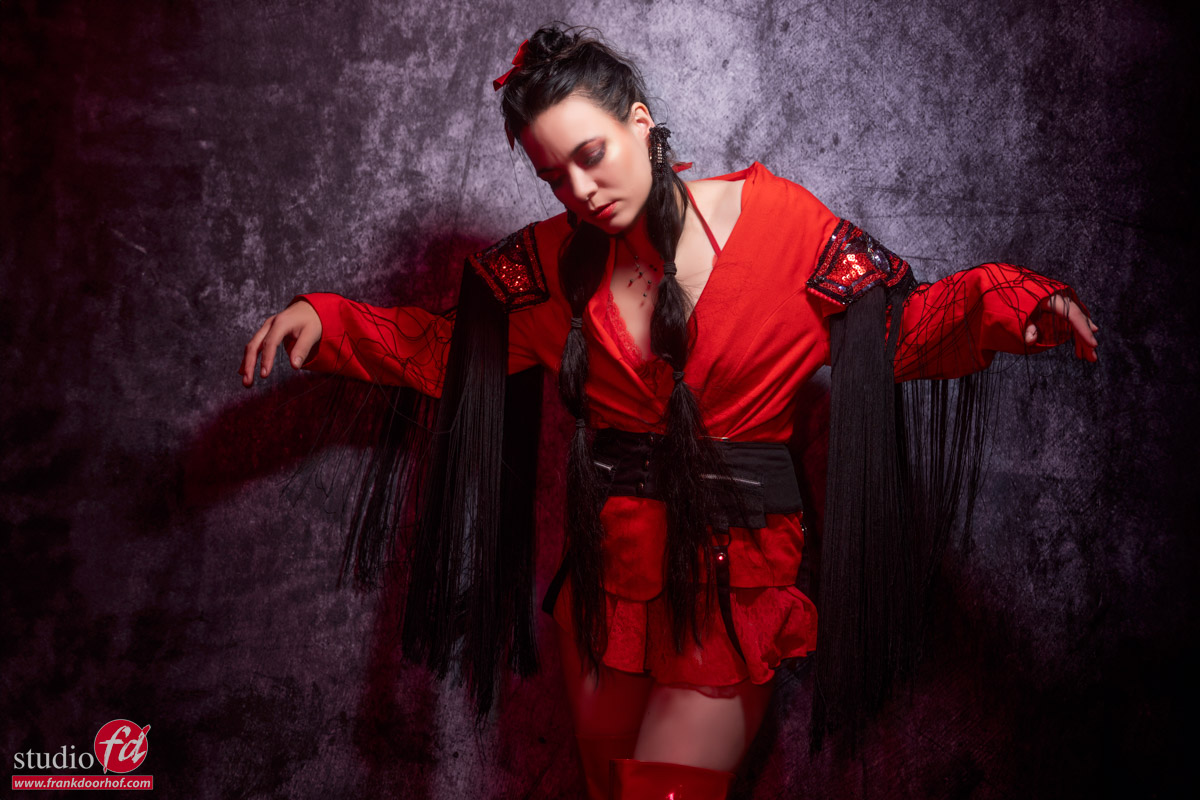
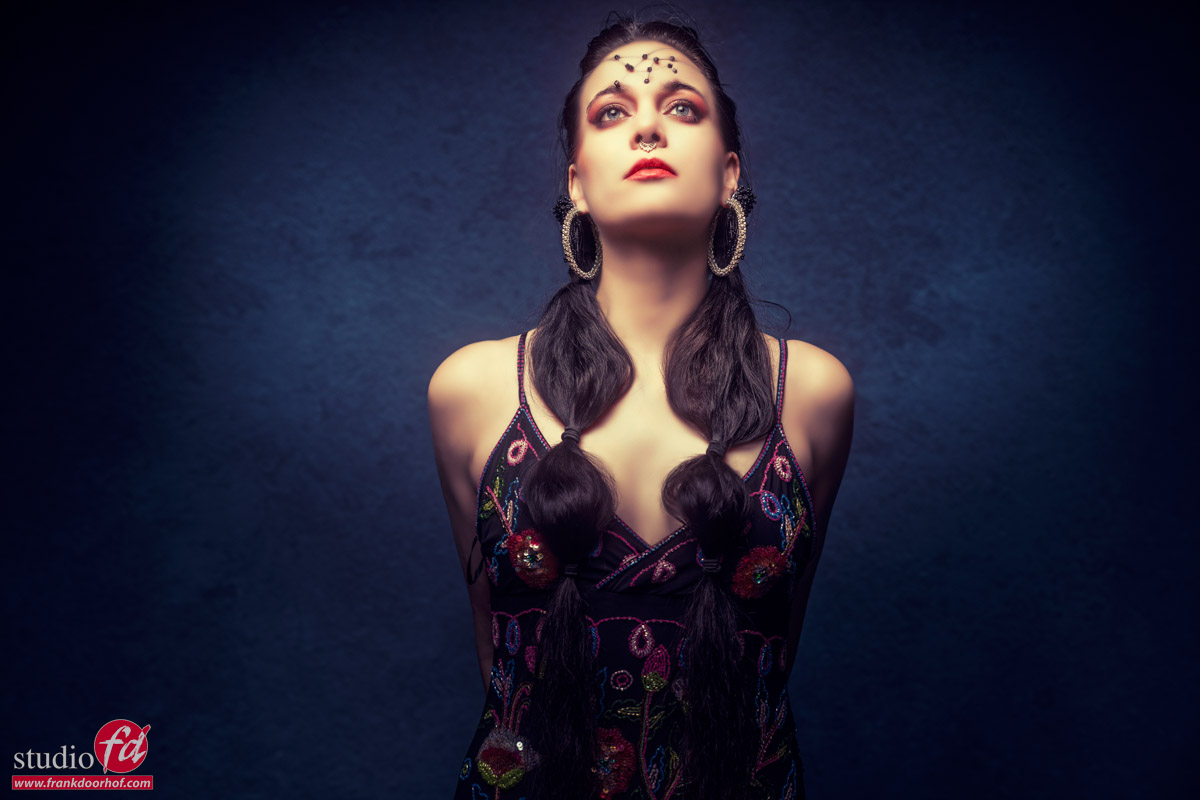
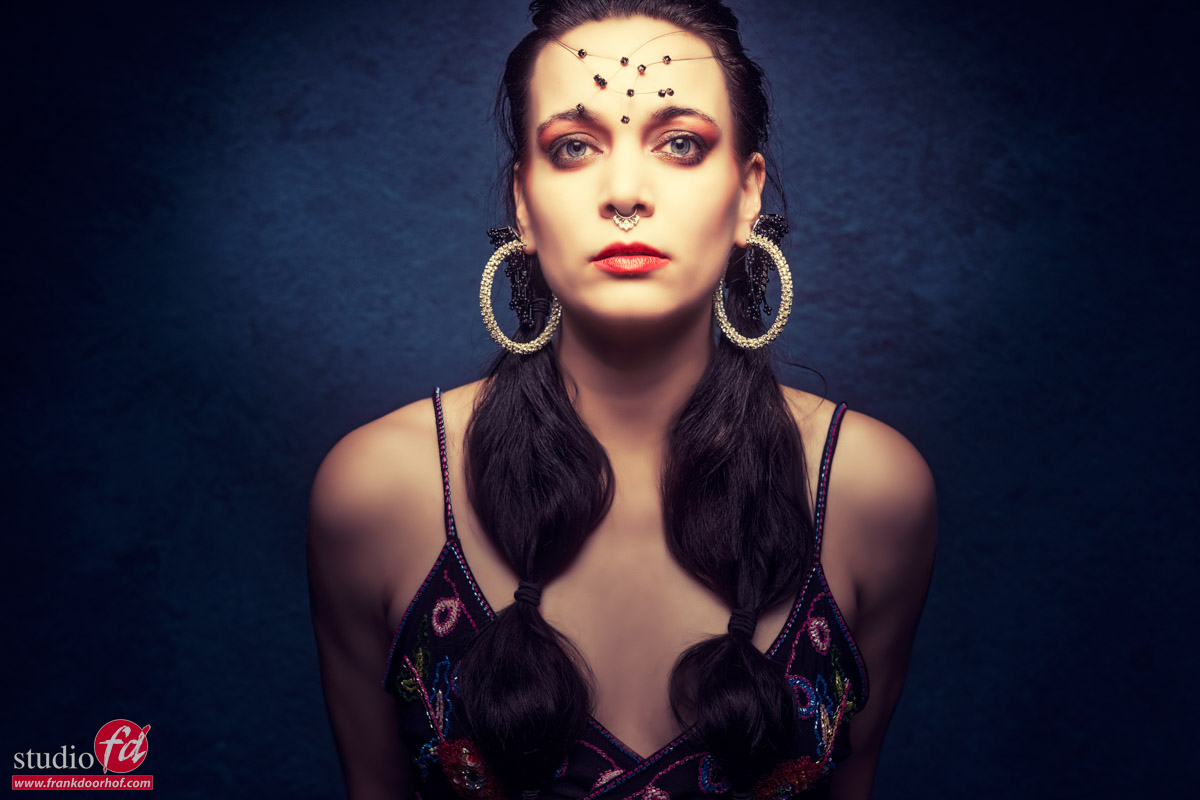
Today in the blog some of the results from the last day at PhotoDays 2023 Brussels.
Models : Nadine and Felisa.
Do remember that these kind of images are shot during a trade show on our booth during demos, so short time periods where I have to pay more attention to explaining what I do and the crowd than taking the photo, so there are often far from perfect, but I just love the styling Nadine did, so I had to share them.
Strobes : Geekoto GT400/GT250/GT200
Modifiers : Geekoto small softbox, Rogue magnetic system and Flashbender
Backgrounds : ClickBackdrops
Tethering : IQ Wire 10mtr to iPad Pro running Cascable

Like this:
Like Loading...


You must be logged in to post a comment.