
Compositing with Nadine
Last Saturday it was time again for the new Advanced II workshop.
This workshop has recently been changed to a workshop with compositing as theme. During the workshop the students first get a 2 hour theory part about inspiration and getting shot, during this part the model gets ready for the first set. During the workshop there are app. 3 sets. After each set the model changes and in that time I show the group how to make the final images you see in this post. I do put myself up to a limit of 20 minutes per shot, so some images can look a bit rushed in some areas, but do remember they where shot during a workshop.
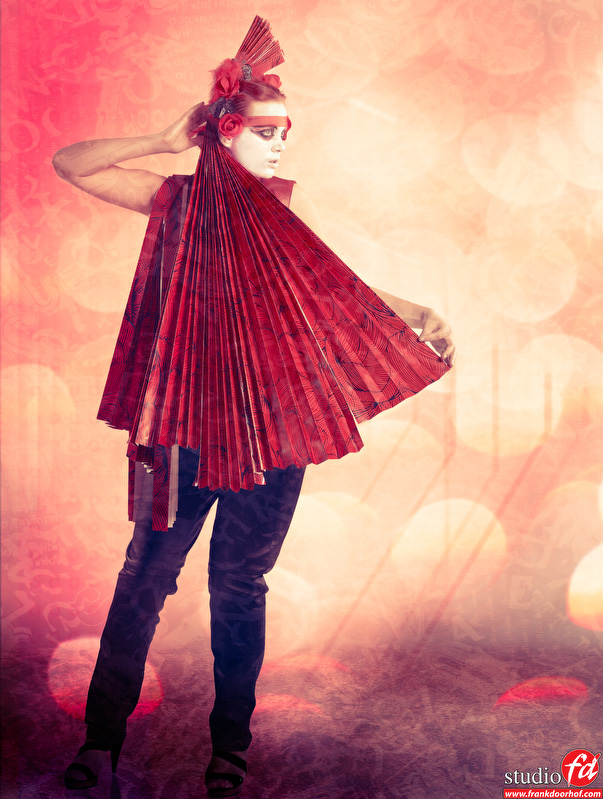
In this blog post some small information about how to make a quick composite.
To be totally honest I never really dove into compositing until I saw my friend Matt Kloskowski do the composites during Professional Imaging last year. Before that I did try some images but somehow with someone who’s motto is “Why fake it, when you can create it” it’s maybe a bit weird to dive into this part of the digital arts. This is were for me the border between photography and art is crossed, and I don’t mean this with disrespect on the contrary, I’ve been totally infected with creating composites, it’s way too much fun, but as mentioned before I really see it as an art form and I like to make my images also look like that. Maybe that someday I will create something that looks “real” but for now I mostly love to create the images you see here (the techniques are the same by the way).
So I promised some tips, so here they come:
1. Photoshop does a pretty good job.
I love OnOne filters, just like NIK they are for me the top of the line for plugins in Photoshop. However with CS5 I must say that I only use Photoshop for my extractions. A very important thing you have to remember is to think ahead.
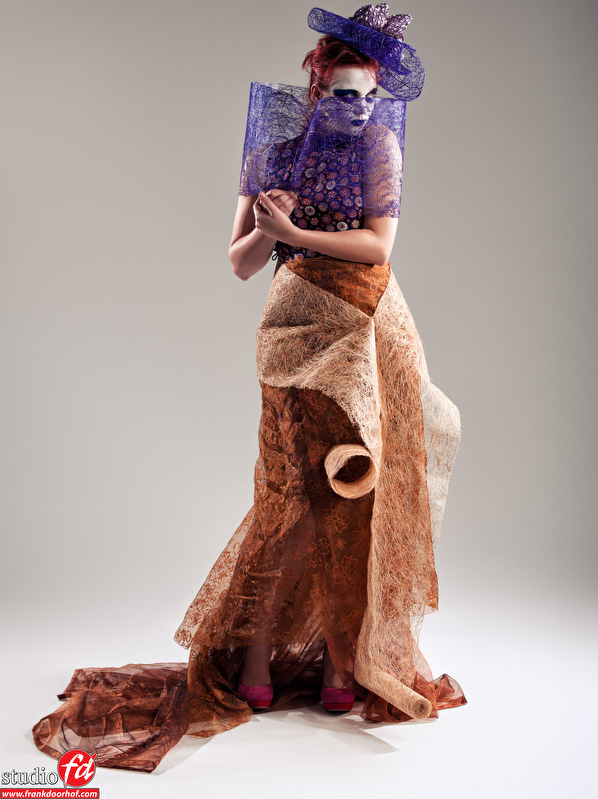
If you don’t yet know which background you’re gonna use a very good setup is :
White seamless
two accents on the model
One large soft box on the model also hitting the background
The end result can look a little bit like this :
 From here on it’s actually pretty easy to do the extraction.
In Photoshop CS5 I use the quick selection tool and drag this over my model, it will now select the model and all the clothing, make sure you don’t hit the background. When this is done go to the refine edge and from there you can play with your selection. If you’re not 100% happy just brush around the selection you don’t like and let refine edge do it’s work (it’s magic), in most cases in about 4-5 minutes you will have a perfect selection, and you will be STUNNED how good it handles stray hairs, my jaw dropped to the floor when I first saw it.
However as with everything, planning ahead is very important.
If you know you’re gonna use a dark background and you’re shooting a blond model it can be wise to do the extraction against a black background, but make sure there are clear accents, and no black clothing on the model, the most important thing is that you can let the quick selection tool do it’s work, the accents help with this, but also the choose color.
I would never go for green or blue for the simple reason that if some information stays in for example the hair you will very likely be more happy with dark gray than with blue or green 🙂 Make sure that you save your selection, you can always need it later and it’s a simple procedure.
2. Compositing tricks
Some of the tips I try to teach my students are actually quite simple if you think about it.
2a. make sure shadows align.
In other words make sure that if you light your model and put her into the background and do use shadows (which I like) make sure that the light comes from the same side as the background.
2b. feet are important, but not that important.
Feet are important to walk on, but can be a drag when working with composites.
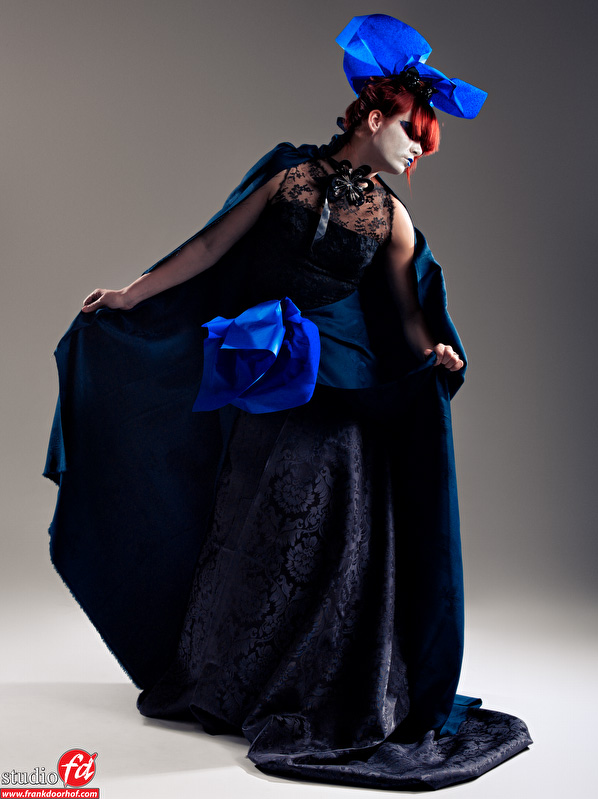
A trick is to just not include the feet (look closely at many composites and you will see that a lot of them don’t include the feet), the reason is very simple. Creating convincing shadows can be a problem. However it can be done. When you have done your composite you can always include the original shadows as dark areas and multiply them for example with the new background. What you can also do (see this in the first image in this blogpost) is mirror the model, make it black and flip it vertically and use the opacity to make the shadows more convincing. After this I will always make the floor more dark to make the whole “feel” of the final image more “real”.
2c. Color.
In almost all instances you will find that the color somehow doesn’t match.
To solve this you can duplicate the background, blur it at maximum setting and place this on top of your cutout and mix the two together, for example on soft light and play with the opacity. This will often help to make the setting more convincing.
2d. Color 2.
For the final look I will always add a filter like the amazing Alien Skin exposure set, or NIK colorEfex 4.0 Vintage looks (which are great for this). When you do this on the total composite you will often find out that the image looks much more “real” than before that final step.
PLEASE remember that if you really want to know more about composting there is actually one place to go…. buy the book “Compositing secrets” by Matt Kloskowski it’s one of the best books about compositing I read, it’s easy to understand and will sky rocket your process. Of course during the workshops I do things differently, everyone has her/his own style but I was more than inspired by the book to start finding my own way.
Here are some of the results I did during the workshop.
I’ve included several versions because I’m still not 100% sure which ones I like the most.
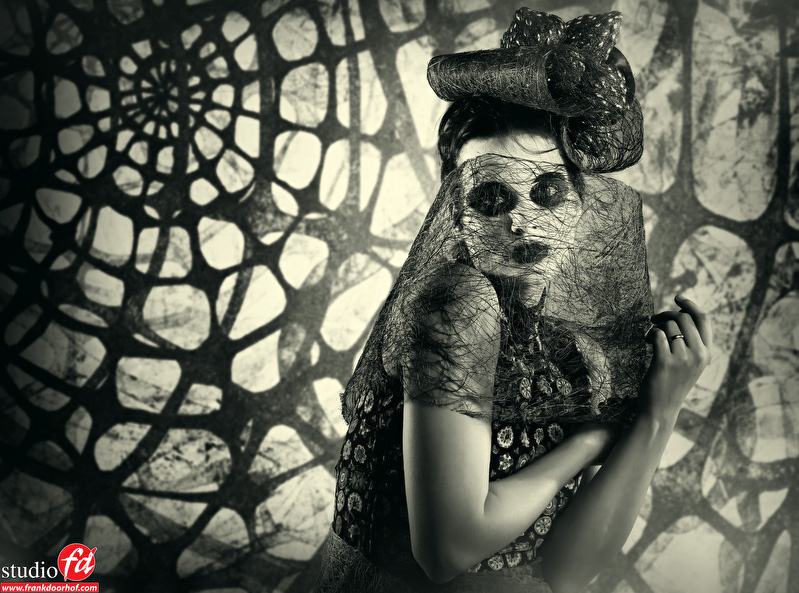
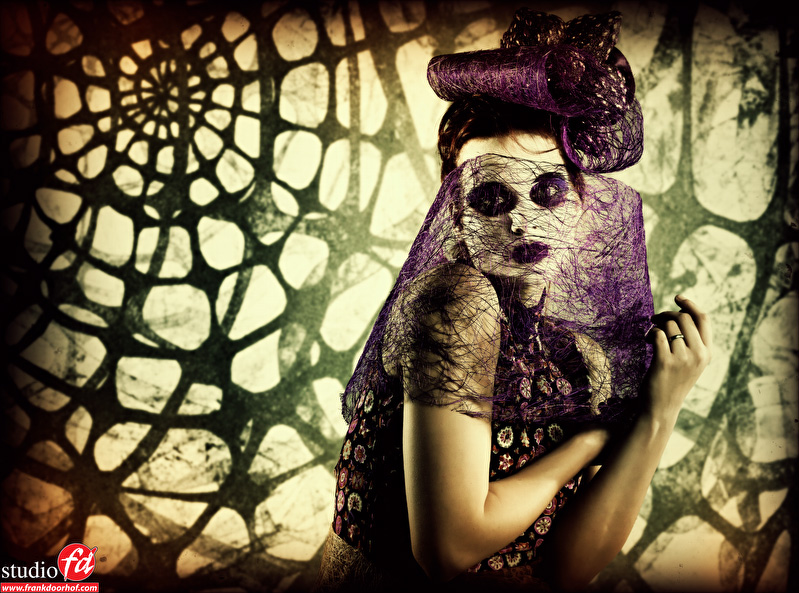
And some with the tunnel I shot recently in the background.
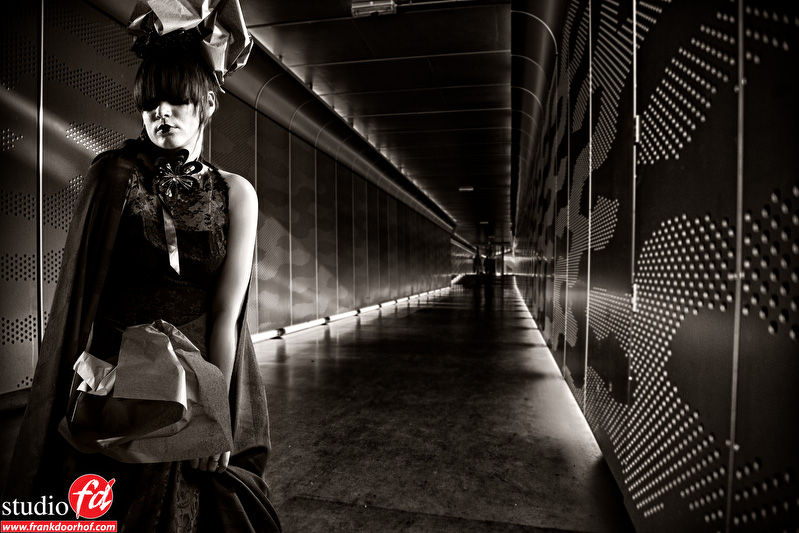
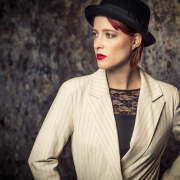
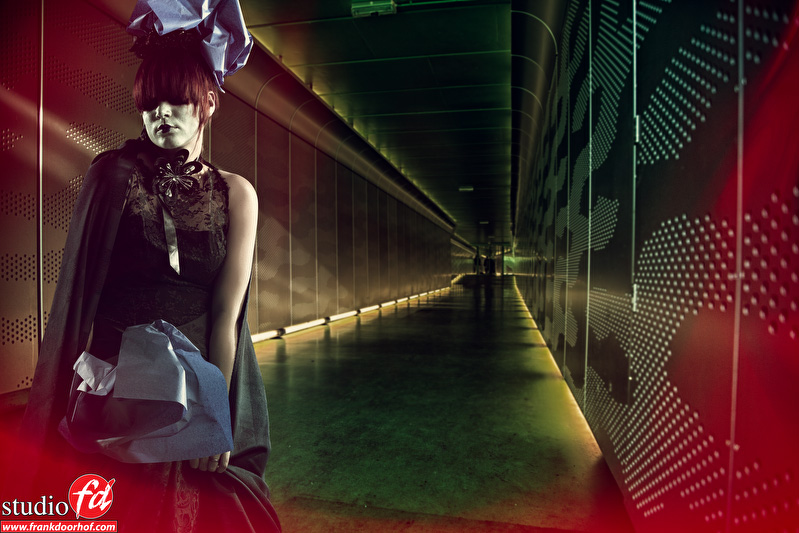 And of course I also shot some images without using compositing.
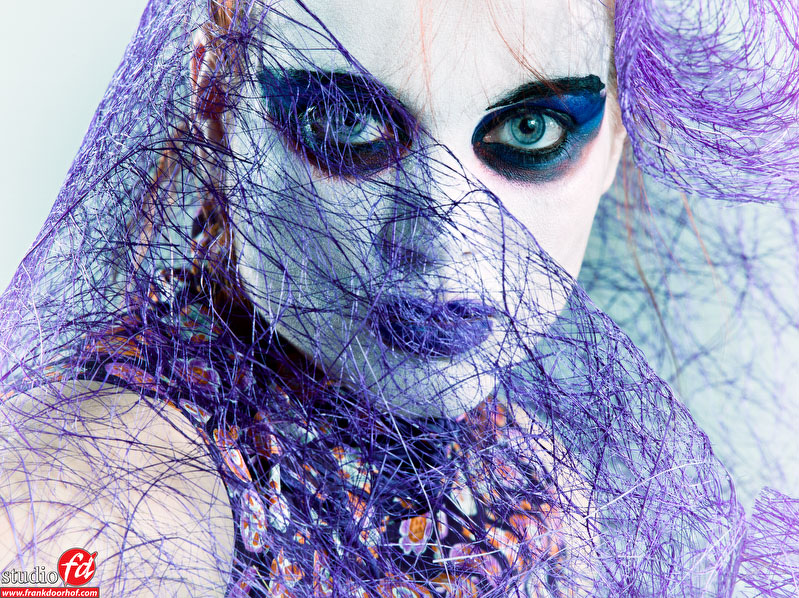 And a slightly cooler version.
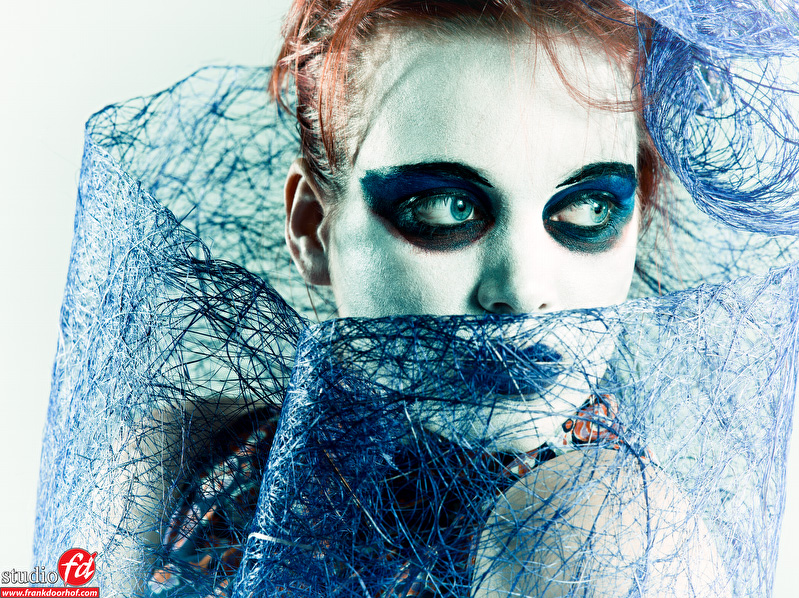 And the final one, with MANY thanks to Nadine for her amazing styling.

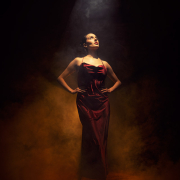



I love the last one the best. Just amazing color.
Great article! Thanks
CS5 compared to CS4 , is it way better at the selection process of isolating the model from the background?
Yes, without a doubt.
wow very inserationall ;]
Woooow , Prachtige Beauty,s
Chris Beumer (foto club FODO Doesburg )
Thanks, en leuk je hier te zien 😀
looking at your imagry again makes me want to attend one of your workshops again…. Come back to ireland soon 🙂