Frank Doorhof
  • Blog (articles)
  • Rent our studio space
  • MAIN SHOP
    • MAIN SHOP
      • Orders
      • Account details
      • Downloads
      • Addresses
      • Lost password
      • Cart
      • Checkout
      • Terms webshop
      • Return policy
      • Privacy Policy
      • Privacy Statement in3. Dutch customers only. When you want to pay in 3 parts
  • IQwire Tether Cables
  • Rogue Modifiers
  • Geekoto Flash and Modifiers
  • Platypod
  • Click Backdrops
  • PORTFOLIO
  • Learning with Frank
    • Dutch workshop agenda
    • Workshops
    • A Year With Frank
    • Online 1:1 workshops
    • 1:1 workshops in English
    • Portfolio review by Frank Doorhof
    • Patreon
  • Support our work
  • Merchandise
  • Digital Classroom LIVE
  • Our YouTube channel
  • Biography Frank Doorhof
  • Services
  • Discounts etc
  • I need help
  • Menu Menu
  • Shopping Cart Shopping Cart
    0Shopping Cart
  • Link to Facebook
  • Link to X
  • Link to Youtube
  • Link to WhatsApp

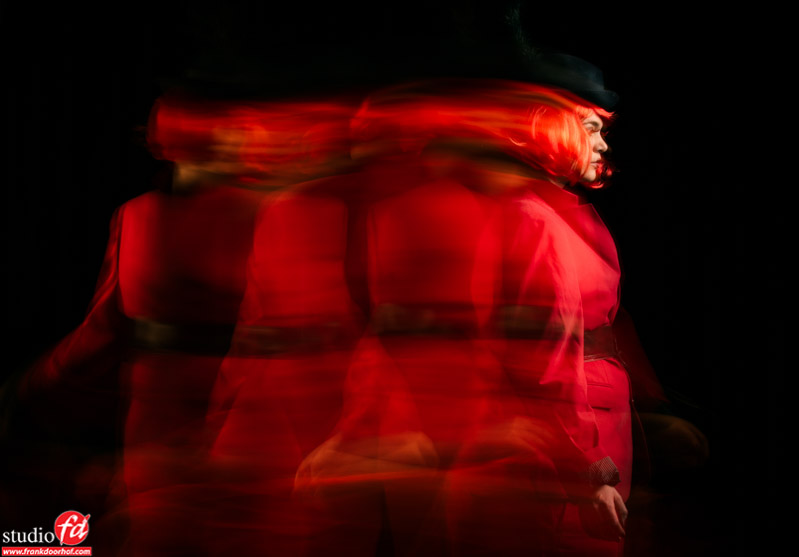
How to shoot awesome shadows

29-06-2026/0 Comments/in blog, Visions and technique, Webinars and instructional videos/by Frank Doorhof

Shadows are the soul of the shot

And those awesome shadows are not an accident!

Learn how to create cinematic shadows, Venetian blinds effects, and creative lighting setups that transform your photography into a movie-like scene.
Discover how shadows can add mood, depth, and storytelling to your images.

In this episode of How Did I Shoot This One?,  I show you how I created a dramatic portrait using Venetian blinds, hard light, and controlled shadows.

We explore why shadows are the soul of an image, how classic movies like film noir used shadows to create tension, and how you can use the same techniques in your own photography. You’ll learn how light distance, modifiers, grids, and continuous light can help you create sharp shadow lines and a cinematic atmosphere. Whether you shoot portraits, creative photography, or studio work, these techniques will help you take control of your shadows and create more powerful images.

Workshops

Want to learn everything about light control?
Want to visit a workshop where it’s not just shooting a model with a fixed lighting setup, but see how the setup is built and adjusted to the taste of the group?
And of course learn how to work with poses, backgrounds, small sets, styling, retouching, and a lot more…..

If this all sounds awesome, visit fotografie-workshops.nl and book your workshop.
If you don’t speak Dutch, no problem, let us know a few weeks in advance, and we can switch the workshop to English.
Not possible to travel to the Netherlands?
We got you covered with our 1:1 online workshop.
We have a full streaming setup in our studio. 4 detail cameras and of course the retouching software, so you can see every detail and of course ask questions during the day. Plus, you get all the RAW files after the workshop.

https://frankdoorhof.com/web/wp-content/uploads/2026/06/Linda-May-30-2026-13-Edit.jpg 800 1200 Frank Doorhof https://frankdoorhof.com/web/wp-content/uploads/2015/03/studioFD_Logo-1FV.png Frank Doorhof2026-06-29 18:00:022026-06-23 17:28:30How to shoot awesome shadows

Direction of light

26-06-2026/0 Comments/in blog, Visions and technique/by Frank Doorhof

There is only one sun

I don’t know how often I heard that expression.
But what about, reflections from a car, a white wall, a window, or at night extra lights?
For me lighting within photography is always about creativity, and if that means using 10 strobes… so be it 😀

Why Angling Your Light Downward Creates Mood and Three-Dimensionality

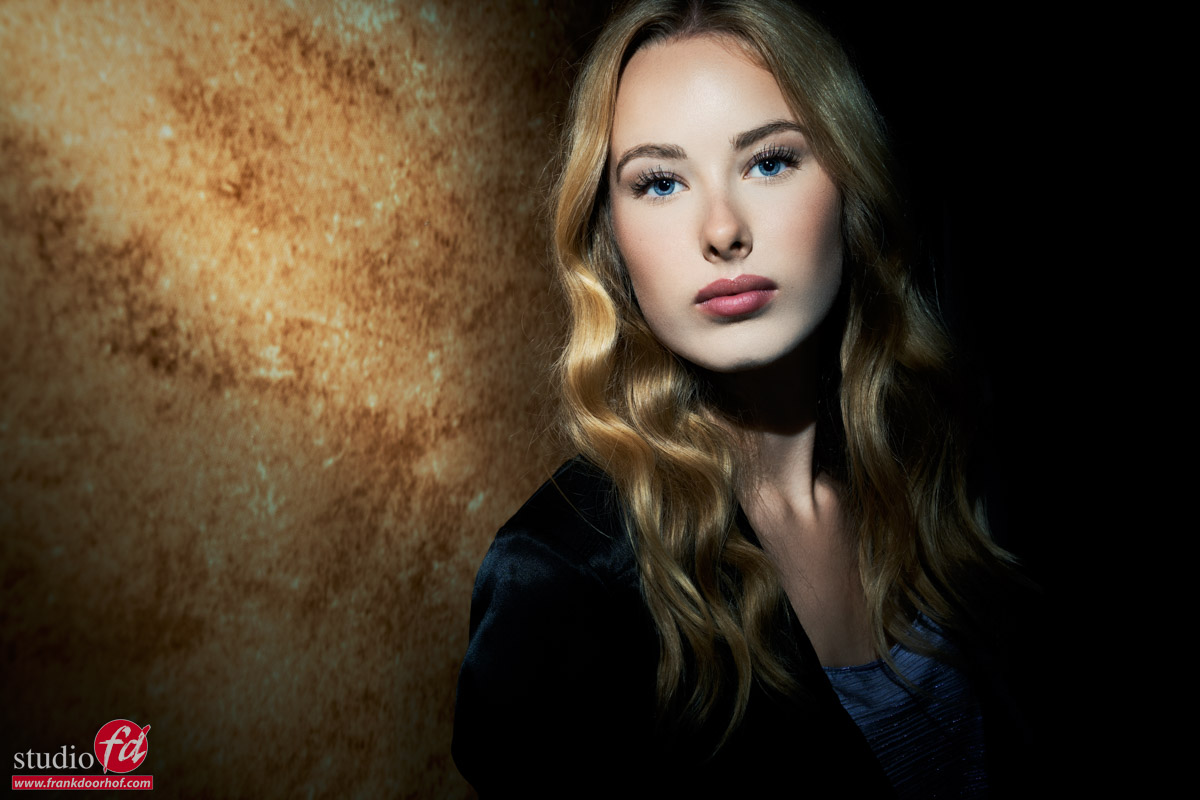
One of the biggest mistakes photographers make when starting with flash or continuous lighting is placing the light source at the same height as the subject. While this may illuminate the face, it often produces flat, uninspiring images that lack depth, mood, and visual impact. If you want portraits and fashion images that feel sculpted rather than simply lit, the position of your light matters just as much as its quality. One of the most powerful techniques is placing your key light above the subject and angling it downward.

It sounds simple, but this small adjustment can completely transform the look of your photographs.
We See the World From Above

Think about natural light for a moment.
The sun is above us.
Ceiling lights are above us.
Even window light often enters a room from a higher position relative to the subject.

Our brains are accustomed to interpreting light that comes from above.
Because of this, a downward-angled light feels natural and believable.
The shadows fall where we expect them to fall, helping the viewer immediately understand the shape of the face and body.

When light comes from eye level, many of those shadows disappear. The result is a flatter image with less dimension.
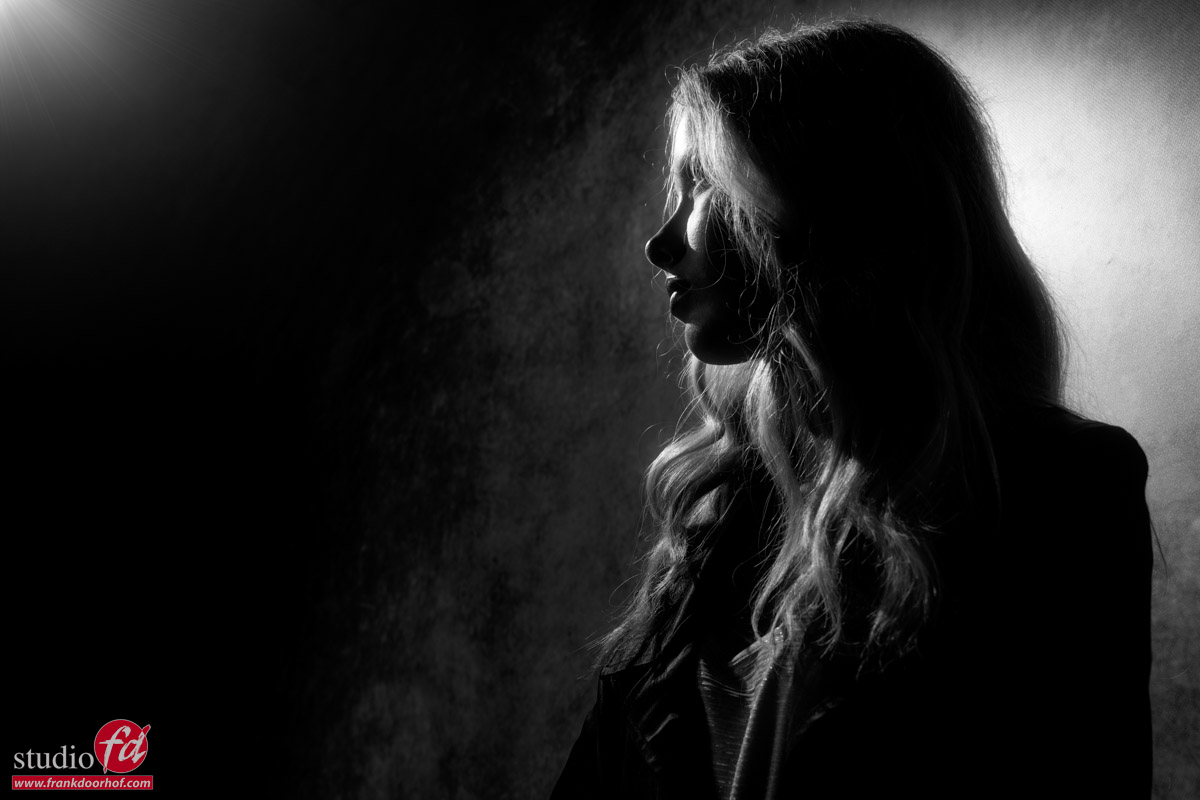
But beware that you don’t place the light too high to prevent the dreaded raccoon eyes.
When placed just high enough and when shooting into the light, you can get some instant WOW effects.
Shadows Create Shape

A common misconception is that photographers should avoid shadows.
In reality, shadows are what define shape.
Without shadows, there is no depth.
Without depth, there is no three-dimensionality.

By raising your light and aiming it downward, subtle shadows appear under the eyebrows, nose, jawline, cheekbones, and chin.
These shadows help separate facial features and create the illusion of depth within a two-dimensional photograph.

The goal is not to create harsh shadows. The goal is to create controlled shadows that describe the subject’s structure.
Fashion photography is often about emphasizing form, texture, and attitude. Strategic shadow placement helps accomplish all three.

Besides light there are also other elements that can help to create a more 3D look.
When I shoot with a medium format camera for example the sense of depth is much beter than on a full frame camera.
When you mainly shoot portraits or people I highly recommend a full frame camera. Not just due to the different DOF and lens choice but also because the way the light travels through the system and hits the sensor also contributes to that nice “round” look.

When I switched from my Canon 10D to the 5D this was one of the first things I noticed.
After the 5D I started using Medium Format and although today I mainly use the Sony A7R series I still prefer and love the medium format look in portraits.
Creating the Classic Portrait Look

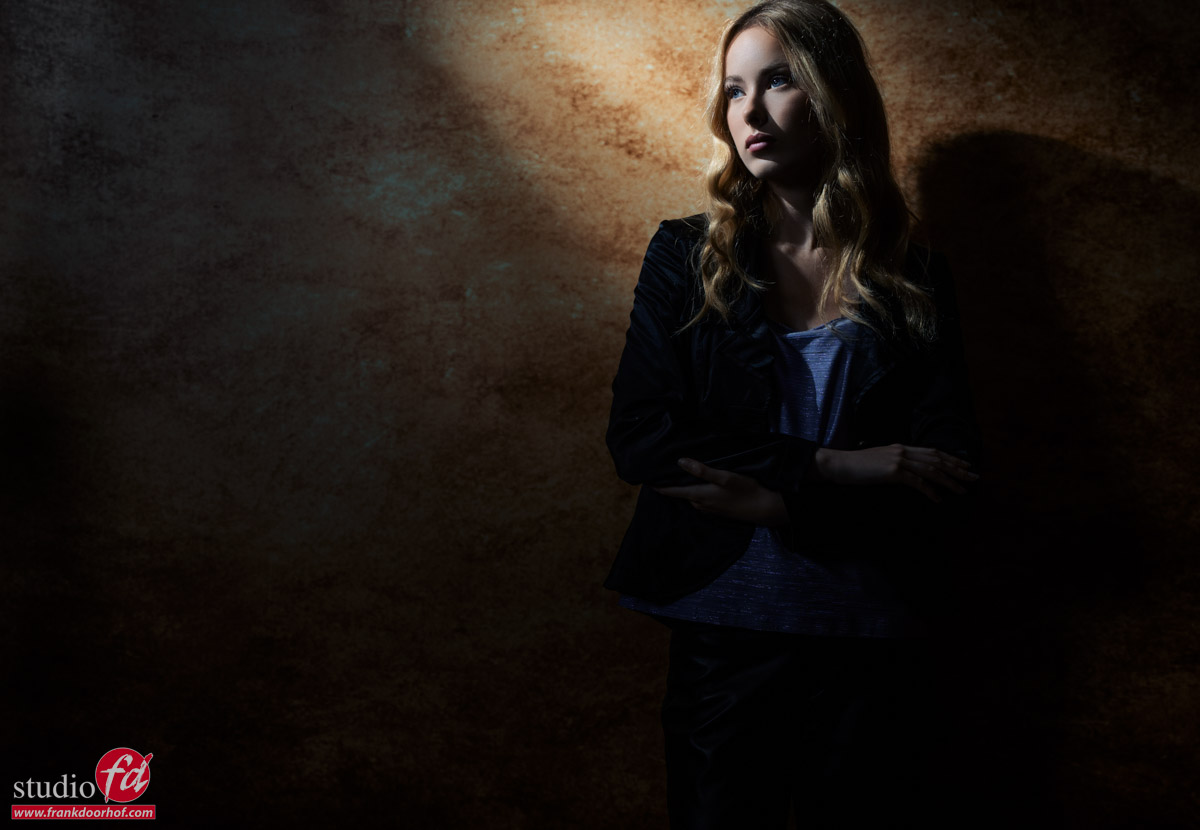
Many of the most popular portrait lighting patterns rely on a light source positioned above the subject.
Loop lighting, Rembrandt lighting, and butterfly lighting all share one common characteristic: the key light is elevated and directed downward.
The thing we do change is the direction, angle and of course if we use accent lights or not.

Due to the angle of light from above it naturally defines the cheekbones, slims the face, and adds elegance to the portrait as we like to say.

Mood Comes From Direction

The direction of light also has a huge influence on the emotional impact of an image.
A light placed close to camera height often feels documentary or straightforward. It records the subject but rarely adds drama.

Raise that same light and suddenly the image gains atmosphere.
The shadows become deeper. The transitions between highlight and shadow become more noticeable. The viewer’s eye is guided through the image instead of simply receiving information.

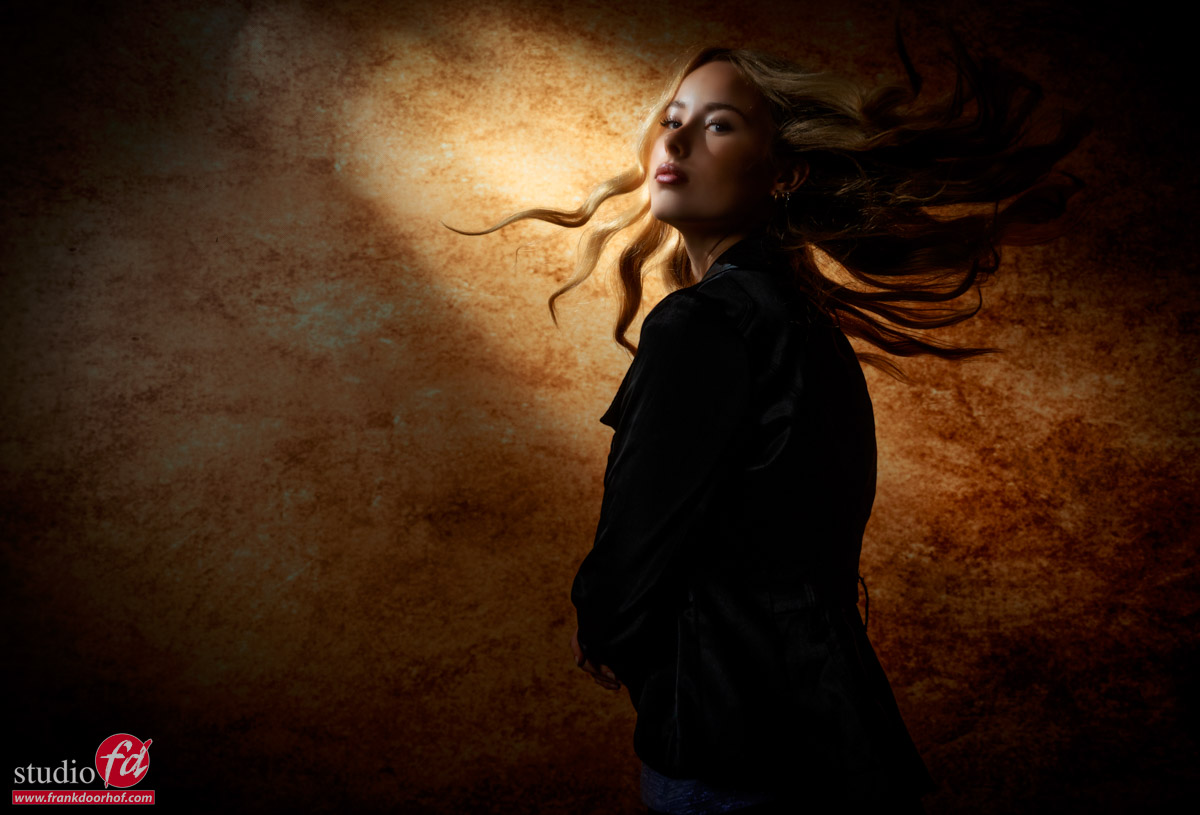
Fashion photography thrives on mood. Whether you’re creating a high-end editorial image or a dramatic beauty portrait, downward lighting introduces a level of sophistication that flat lighting struggles to achieve. And of course you can also add some motion to spice things up.
Separation Between Subject and Background

Another advantage of this kind of setup is improved subject separation.
When the light is angled downward, the brightest areas tend to remain on the face and upper body while shadows naturally fall away from the background. This creates visual contrast and helps the subject stand out.

Even in a simple studio setup with a plain backdrop, this effect can add depth and dimension.
The image begins to feel layered rather than flat. This especially works great on location. Due to the rapid light fall off you can “hide” the elements of the scene you don’t want in the final results, plus due to the angle everything that has a little bit of “grit” will look much “nicer/dirtier”. Especially with brick walls this works like a charm, but also with almost everything else. Just try it out the next time you’re on location and want that one extra look for extra oomph.

The Sweet Spot

Of course, more height is not always better.
Raise the light too high and you’ll create deep eye sockets and excessive shadows under the nose and chin we call this Raccoon eyes.
The image can quickly become unflattering.

A good starting point is positioning the light slightly above the subject’s eye level and then gradually raising it until you see shape appearing in the face.
Watch the shadow beneath the nose. Watch the jawline. Watch the cheekbones.
In essence what you see through the lens is how the image will turn out, IF you are working in a totally dark studio.
Do always remember that if you don’t look through the lens it’s a lot harder to predict the exact end result, also the angle under which you shoot has an effect on how you perceive the shadows. So best is a dark studio and look through the viewfinder when setting up. On location and in the studio these are the sets where shooting tethered has huge benefits.

Small adjustments often make a dramatic difference.
Don’t just throw the light somewhere and start shooting, really try to follow the lines and look closely for weird shadows. A weird shadow is very easy to creep in but very hard to take out naturally, and when you see it once……

Light the Subject, Not the Room

A common habit among beginners is to light the whole scene. Preferably with a huge softbox or umbrella.
Professional portrait photographers think differently.
Instead of thinking, “How do I light the entire scene?” you should think, “How do I shape the subject?”

A downward-angled key light directs attention where it matters most. It creates highlights that attract the eye and shadows that define form.
It’s the leading line of light.

Final Thoughts

If there is one lighting adjustment that can instantly improve fashion and portrait photography, it is raising the key light and aiming it downward.

This simple change introduces shadows that define shape, creates a stronger sense of three-dimensionality, enhances facial structure, and adds mood to the image.
Photography is not about eliminating shadows. It is about controlling them.

The moment you start viewing shadows as a creative tool rather than a problem to solve, your portraits will gain depth, drama, and a far more professional appearance.

Best gear for this setup

The light source doesn’t really matter, but the light shaper is essential.
You could do a setup like this with a large softbox or even umbrella which you feather away from the background and light your model with the extreme sides, but it’s easier when you use one of the following light shapers.

My absolute favorite one is (how can it be different) the Frank Doorhof Rogue Flashbender.
With Rogue we tried to design the ultimate foldable light shaper that can be used from super foccussed light in the snoot configuration to a nice soft quality of light via the small softbox attachment, and for this setup I mostly use the flashbender without any attachment or as the striplight configuration with grid.
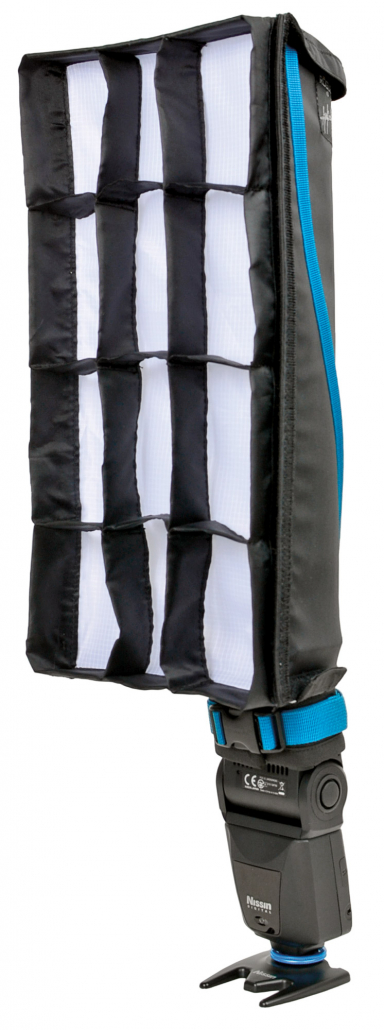
Rogue FlashBender v3 XL Pro

As you can probably guess, you can also use a striplight.
Depending on what you want you can use a smaller or larger striplight.
Do always remember that you can always feather a light source (aim it away from the subject and use the edges of the light).
I’m  using the small and medium strip lights from Geekoto for this setup.
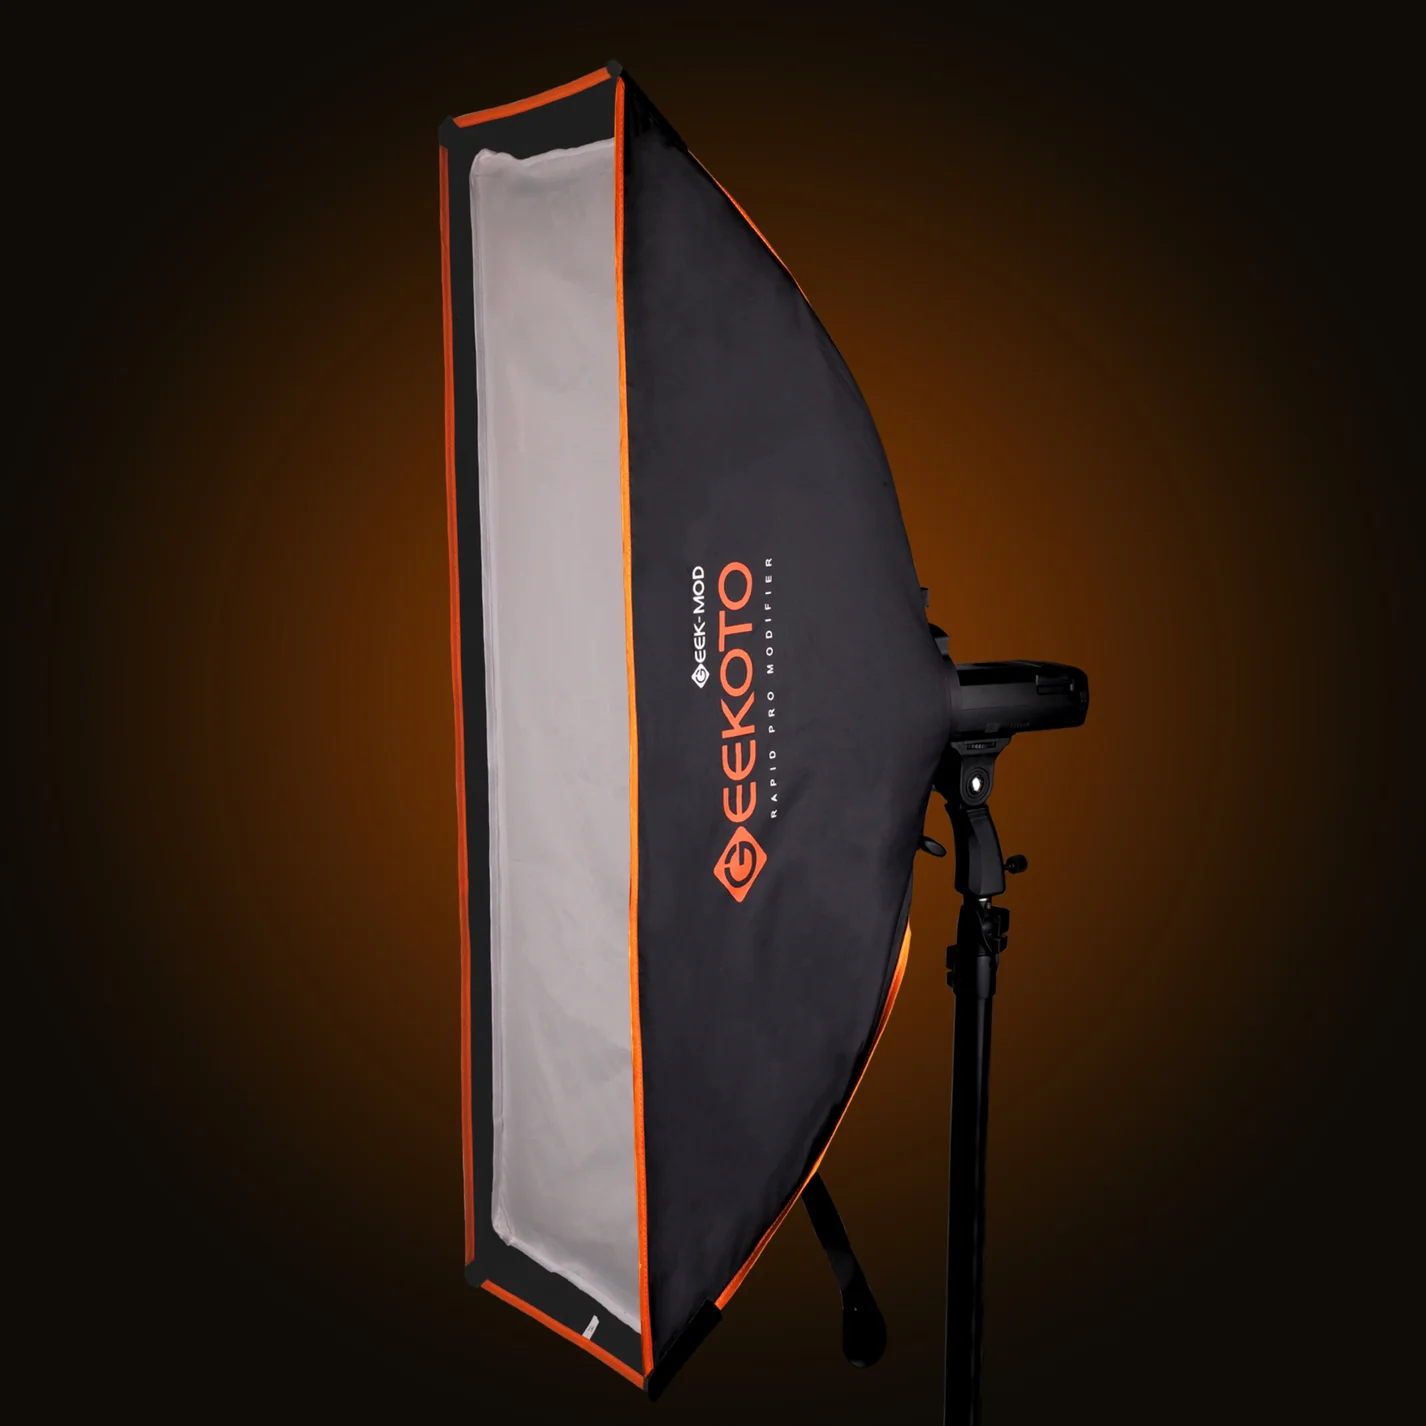
Geekoto SQ36

Another option is the Geekoto Quicky
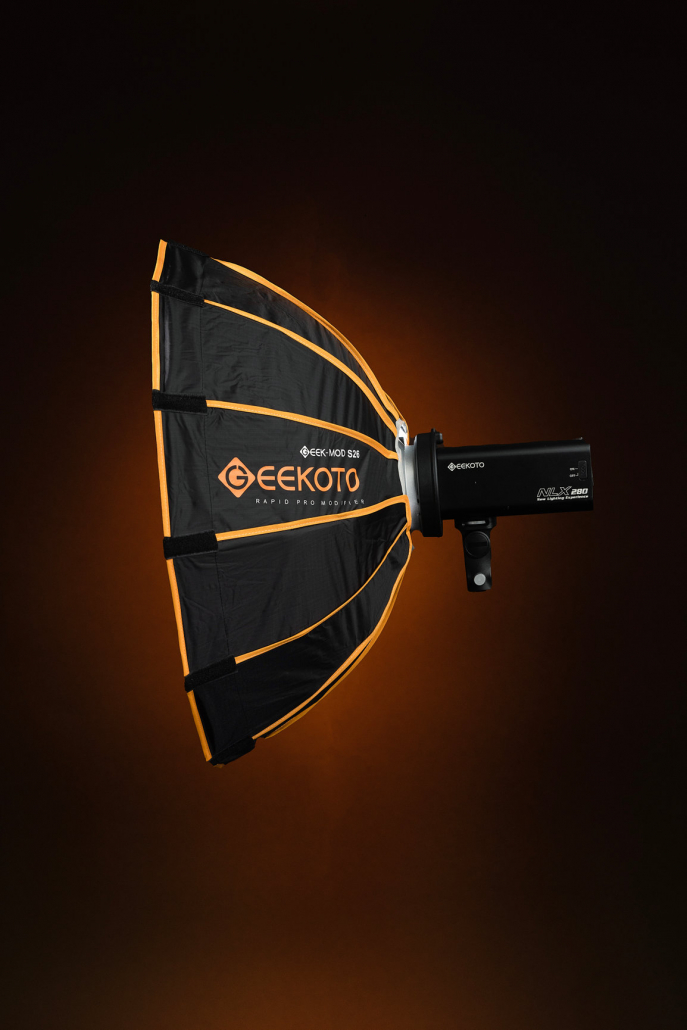
As mentioned you can use almost any lightsource, and for example a smaller softbox like the S26 would also work, but what makes the Geekoto Quicky unique is the way it literally steers the light towards your subject, it’s besides the flash bender my most used light shaper if I want something with high impact.

here you can see the S26.
When you look at the rods you can predict the light path. It spreads out very nice. which makes this softbox also great for portraits and 3/4 if you don’t have a large studio OR if you want to create a really rapid light fall off and still light most of your subject.
Lets compare that to the Geekoto Quicky
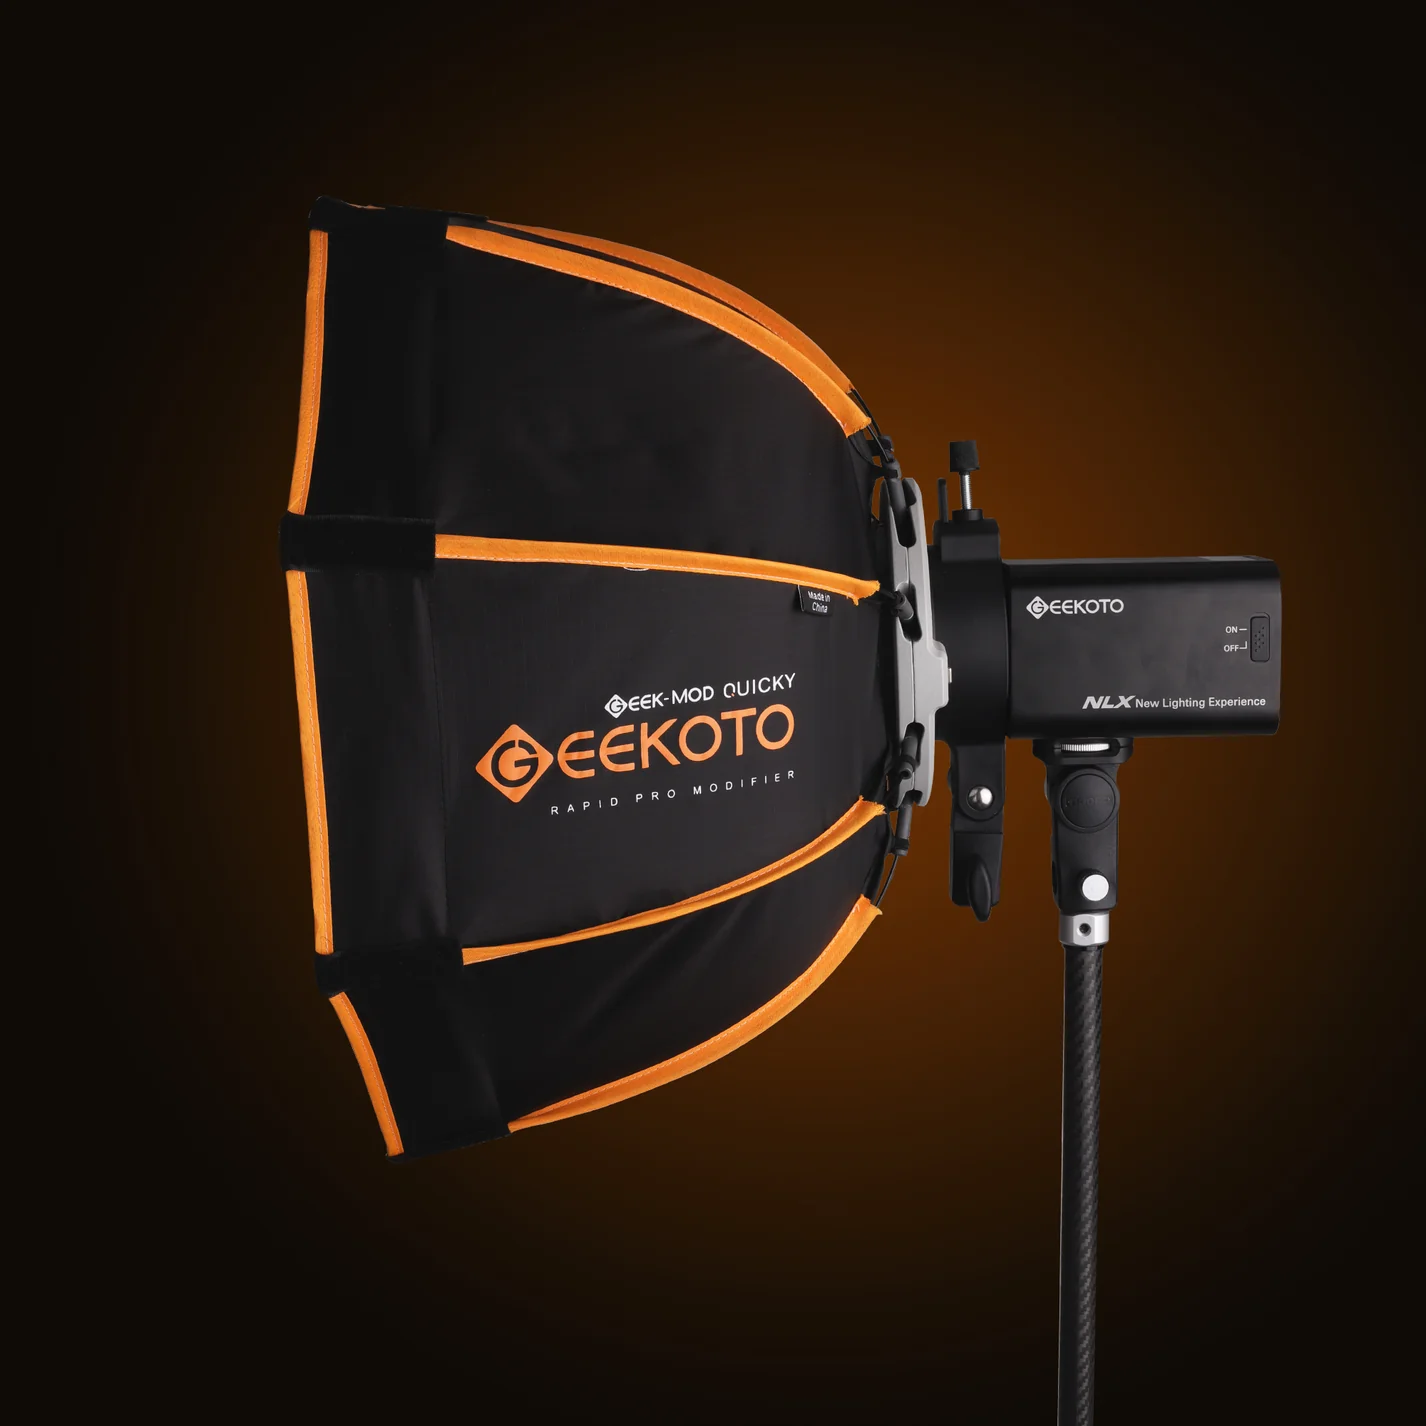
As you can see the rods are aimed much more forward.
This means the Geekoto Quicky is a great light shaper for lighting a high impact portrait and also have some light on the background, because you can place the Quicky further away than for example the S26. Or use it from an angle aimed downwards slightly touching the wall. The light will fall off beautifully. The Quicky is a must buy if you love to work with deep shadows and high contrast.


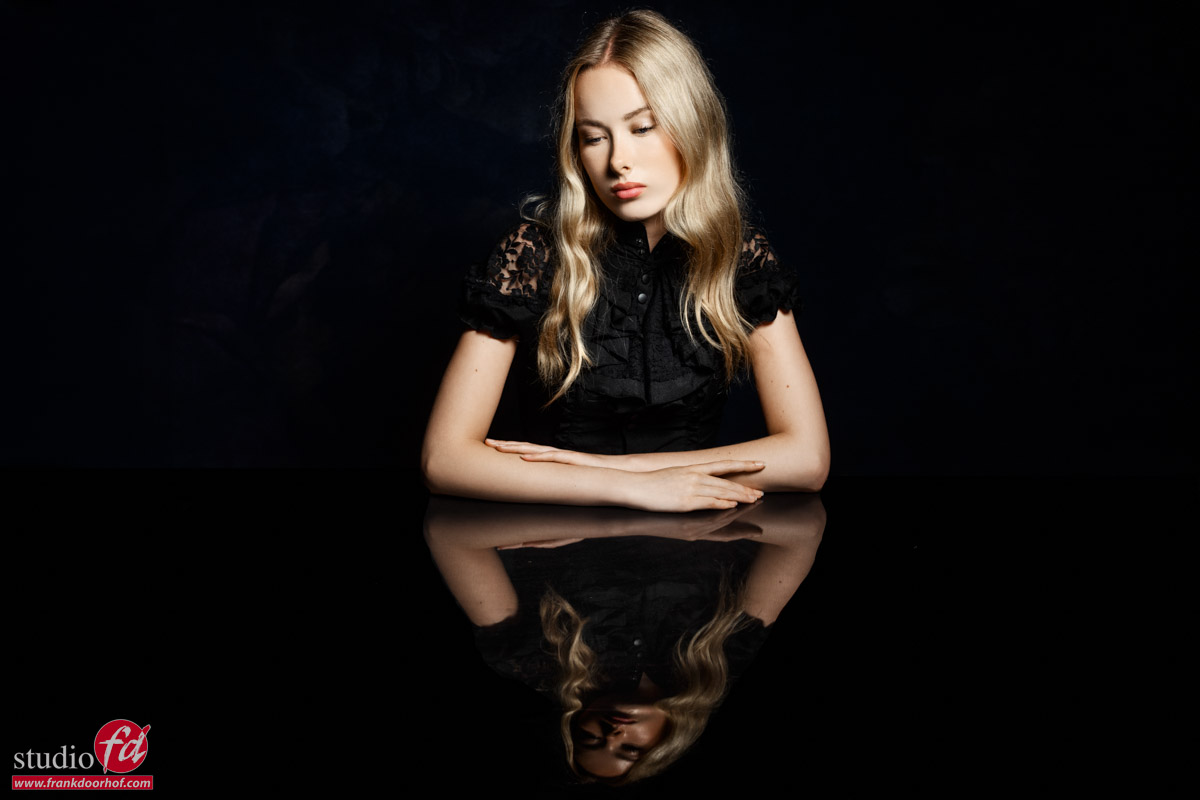
MODEL : MARIT

Workshops

Want to learn everything about light control?
Want to visit a workshop where it’s not just shooting a model with a fixed lighting setup, but see how the setup is built and adjusted to the taste of the group?
And of course learn how to work with poses, backgrounds, small sets, styling, retouching, and a lot more…..

If this all sounds awesome, visit fotografie-workshops.nl and book your workshop.
If you don’t speak Dutch, no problem, let us know a few weeks in advance, and we can switch the workshop to English.
Not possible to travel to the Netherlands?
We got you covered with our 1:1 online workshop.
We have a full streaming setup in our studio. 4 detail cameras and of course the retouching software, so you can see every detail and of course ask questions during the day. Plus, you get all the RAW files after the workshop.

https://frankdoorhof.com/web/wp-content/uploads/2026/06/Marit-June-20-2026-17-Edit.jpg 800 1200 Frank Doorhof https://frankdoorhof.com/web/wp-content/uploads/2015/03/studioFD_Logo-1FV.png Frank Doorhof2026-06-26 18:00:092026-06-23 17:22:41Direction of light

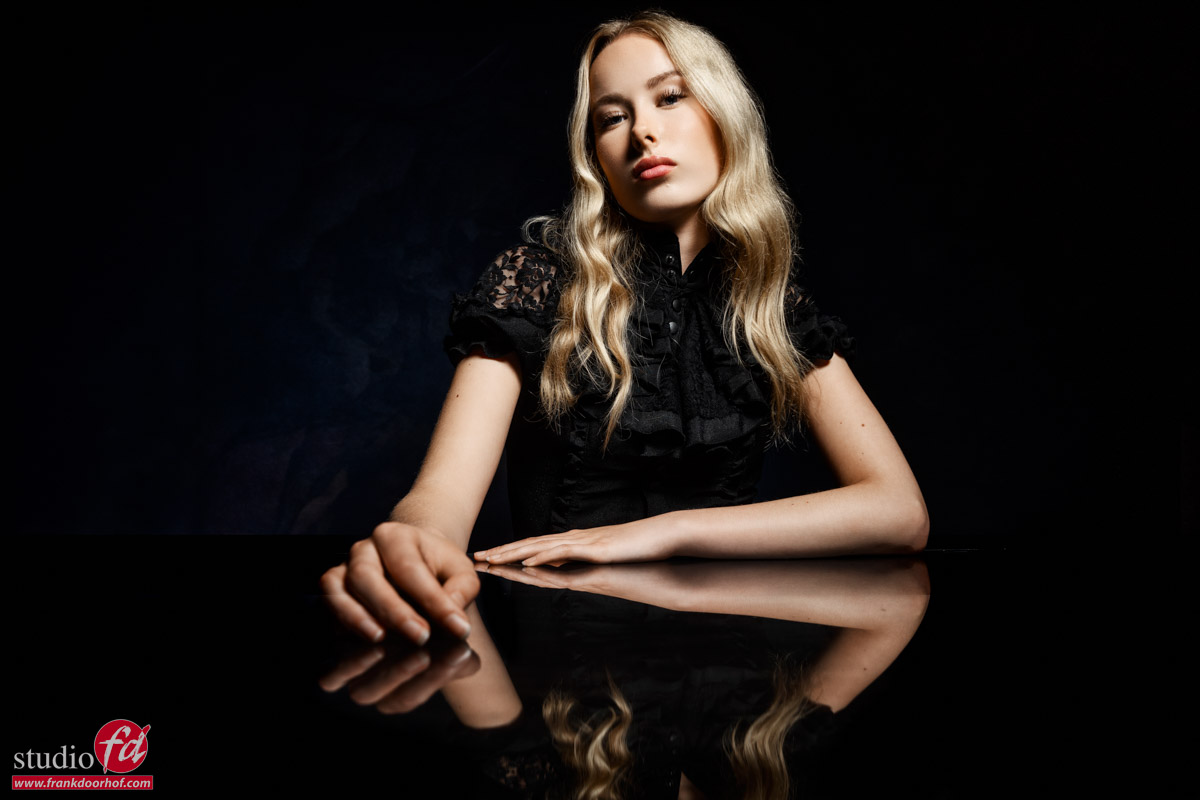
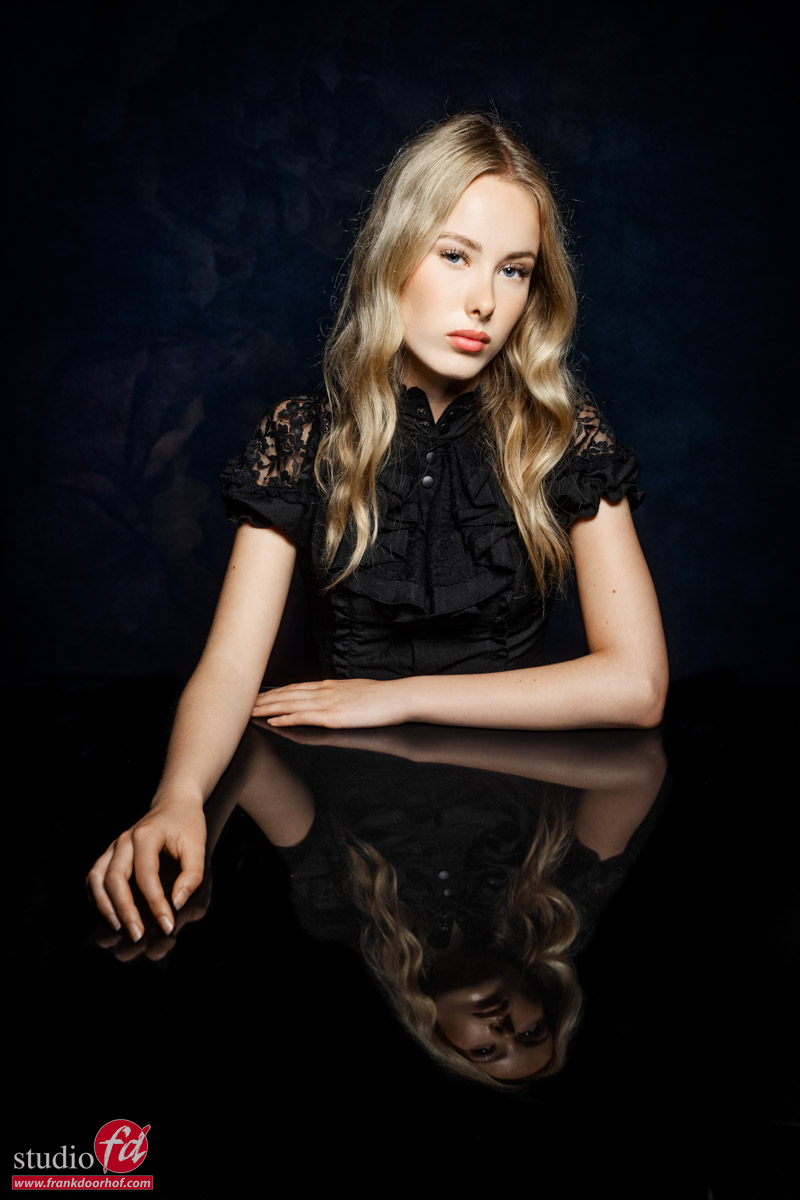
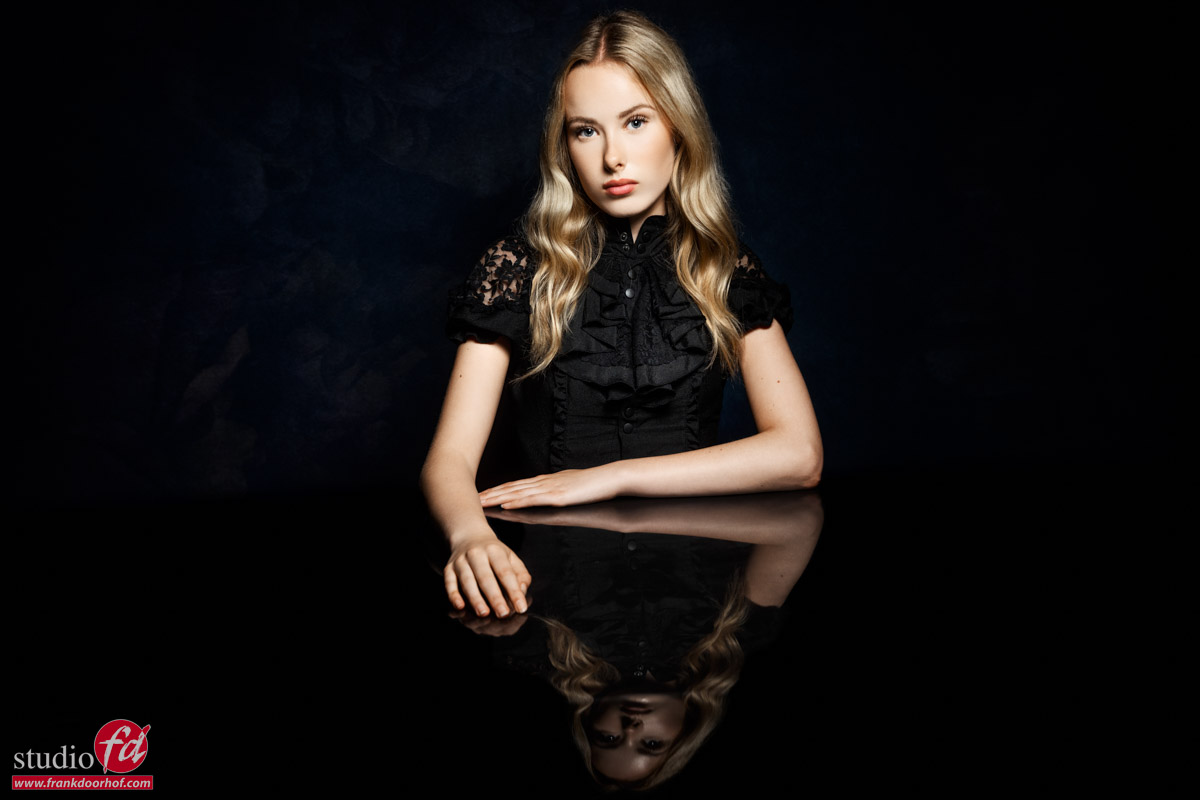
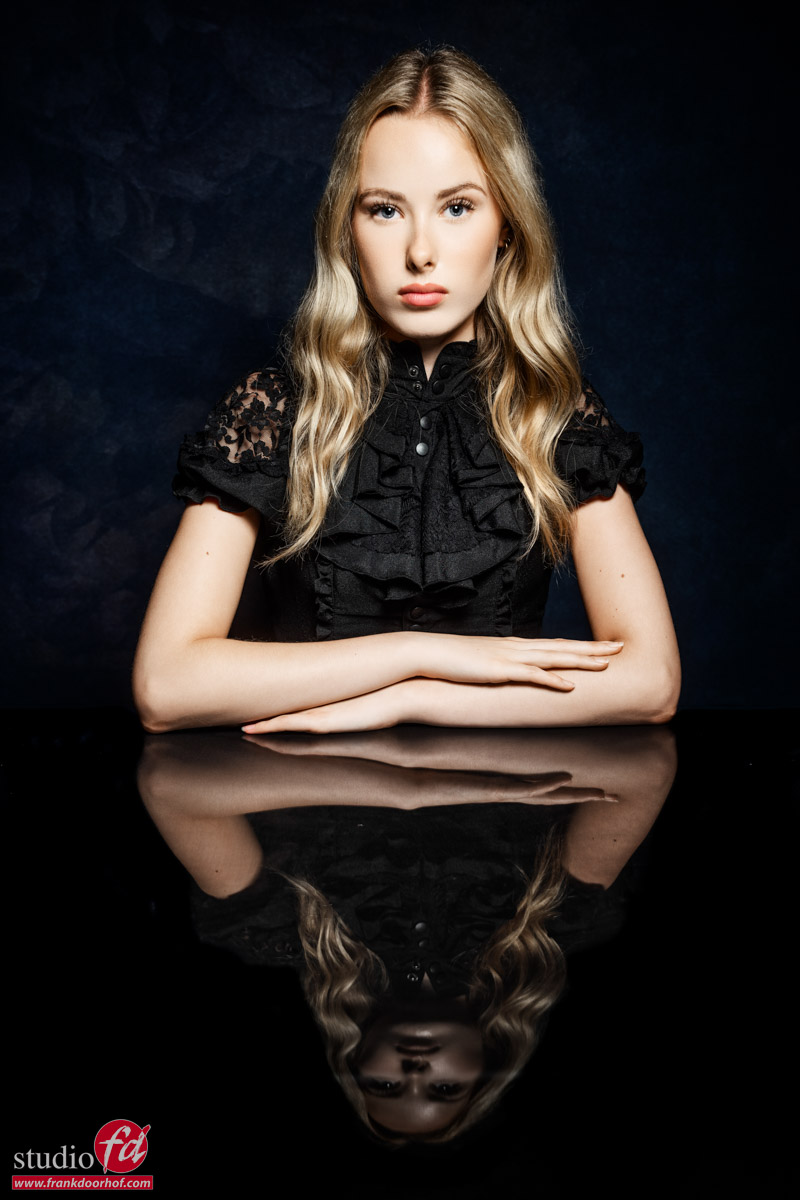
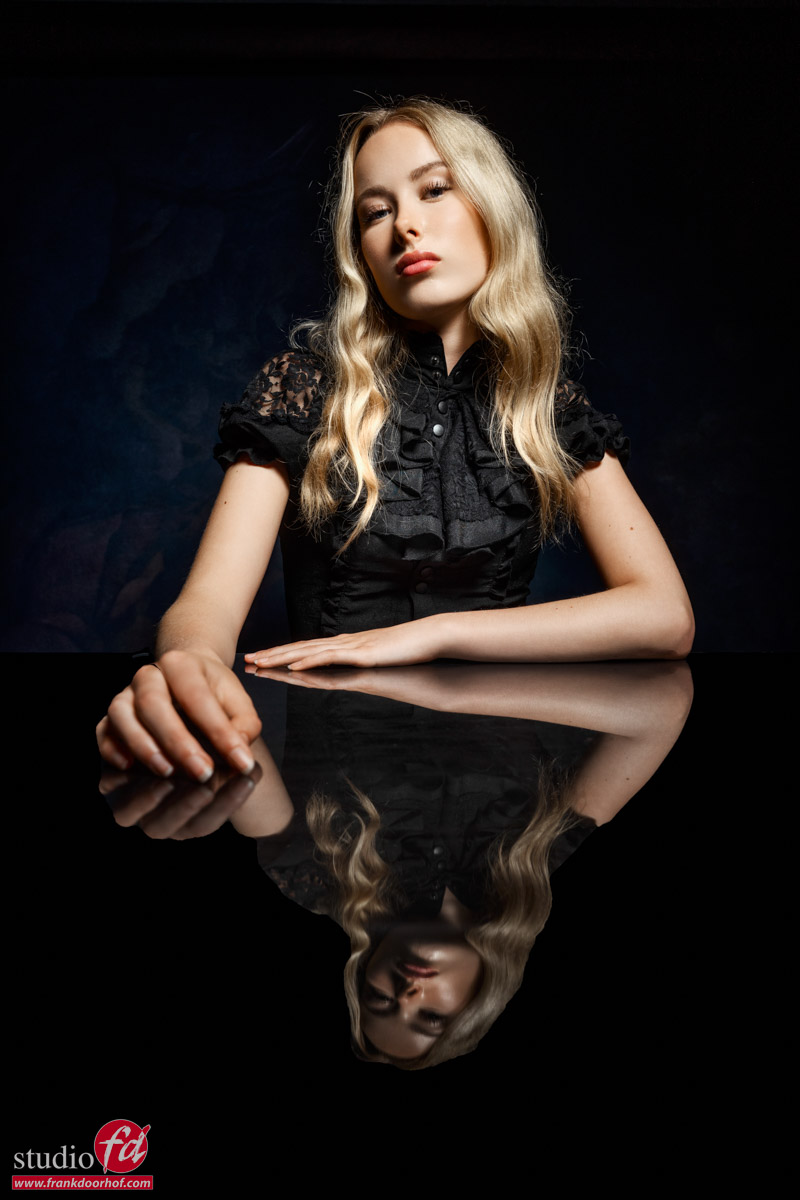
Creative reflections

23-06-2026/0 Comments/in blog/by Frank Doorhof

One of the things I love about the workshops..

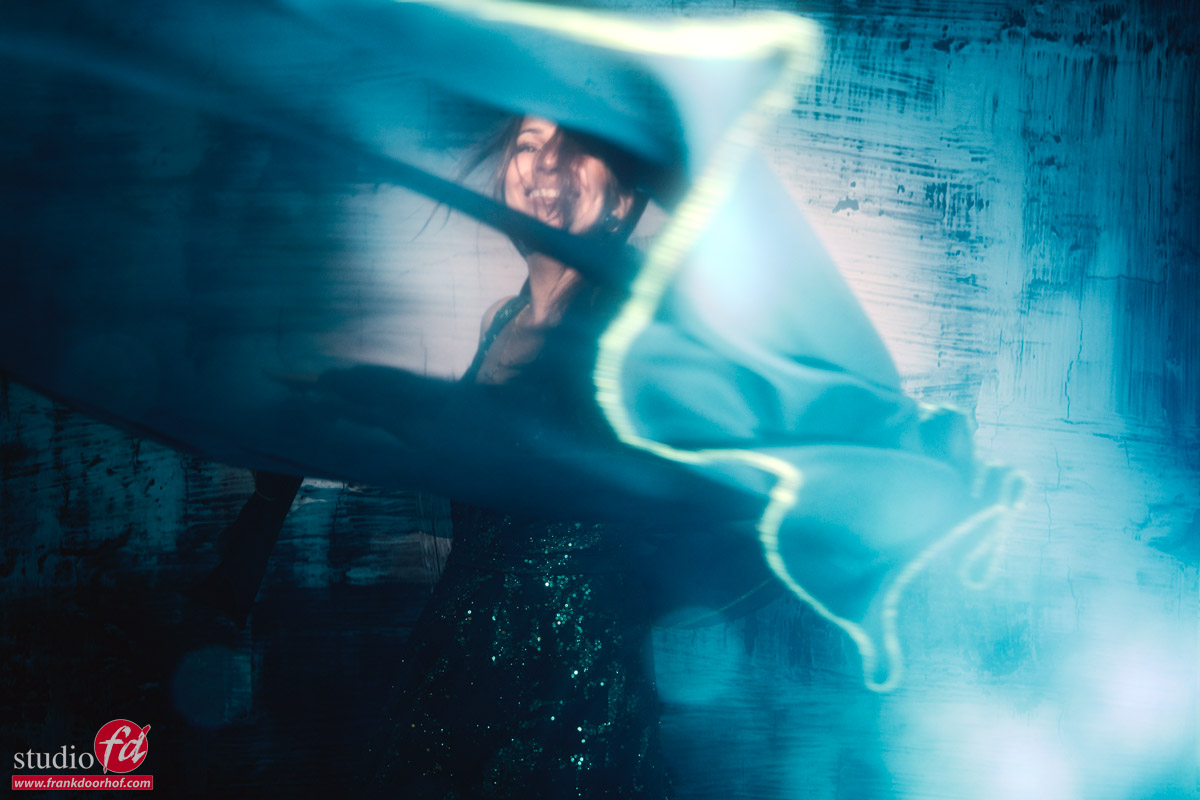
is when one of the attendees brings something to use during the sessions. This could be a prop or material that we can incorporate into the session. And this time it’s about creative reflections

Someone brought black reflective material. When we started setting everything up, we quickly realized that the material wasn’t wide enough. So, we decided to change the material to black cloth. The material itself was not reflective enough, but luckily, we always have some plexiglass in stock.
And to make something reflective, you can often just place a piece of plexiglass on top, which also works great for backgrounds and floors.

I didn’t want a completely black background, but I also wanted to have some very faint details in the background. So we opted to let the light fall off slightly on the background.
(This also serves as a great way to incorporate some theory and tricks into the set. :D)

This was the second workshop for our model, Marit, and I think she did great with this rather limiting setup.
Her poses had to be exactly like we placed her, so not a lot of room for improvisation.

So let’s take a look at the results.

Creative reflections Creative reflections Creative reflections

Workshops

Want to learn everything about light control and work with creative reflections?
In our workshops, it’s not just shooting a model with a fixed lighting setup, but you will see how the setup is built and adjusted to the taste of the group?
And of course learn how to work with poses, backgrounds, small sets, styling, retouching, and a lot more…..

If this all sounds awesome, visit fotografie-workshops.nl and book your workshop.
If you don’t speak Dutch, no problem, let us know a few weeks in advance, and we can switch the workshop to English.
Not possible to travel to the Netherlands?
We also teach 1:1 online workshop.
We have a full streaming setup in our studio. 4 detail cameras and of course the retouching software, so you can see every detail and of course ask questions during the day. Plus, you get all the RAW files after the workshop.
 

https://frankdoorhof.com/web/wp-content/uploads/2026/06/Marit-June-20-2026-39-Edit.jpg 800 1200 Frank Doorhof https://frankdoorhof.com/web/wp-content/uploads/2015/03/studioFD_Logo-1FV.png Frank Doorhof2026-06-23 18:00:492026-06-23 17:21:58Creative reflections

Freezing motion while painting with Light

20-06-2026/0 Comments/in blog, Visions and technique/by Frank Doorhof

Adding energy through zooming and camera movement

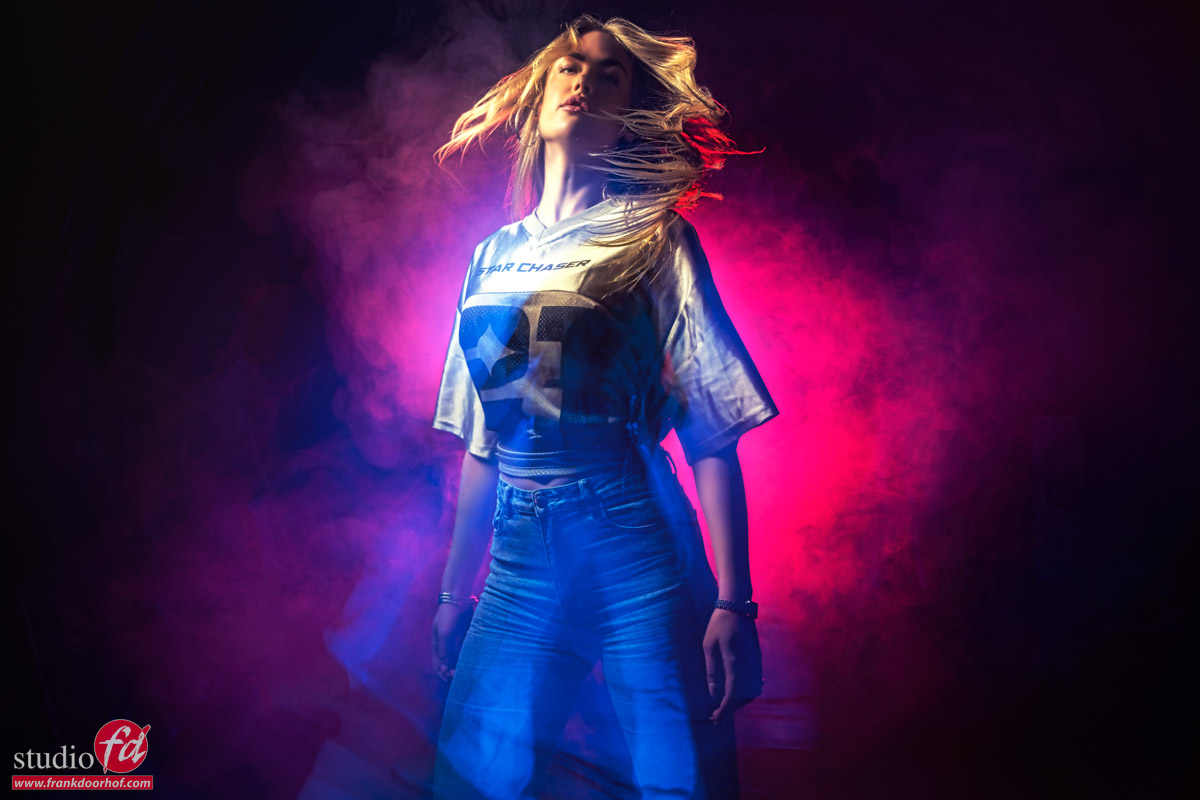
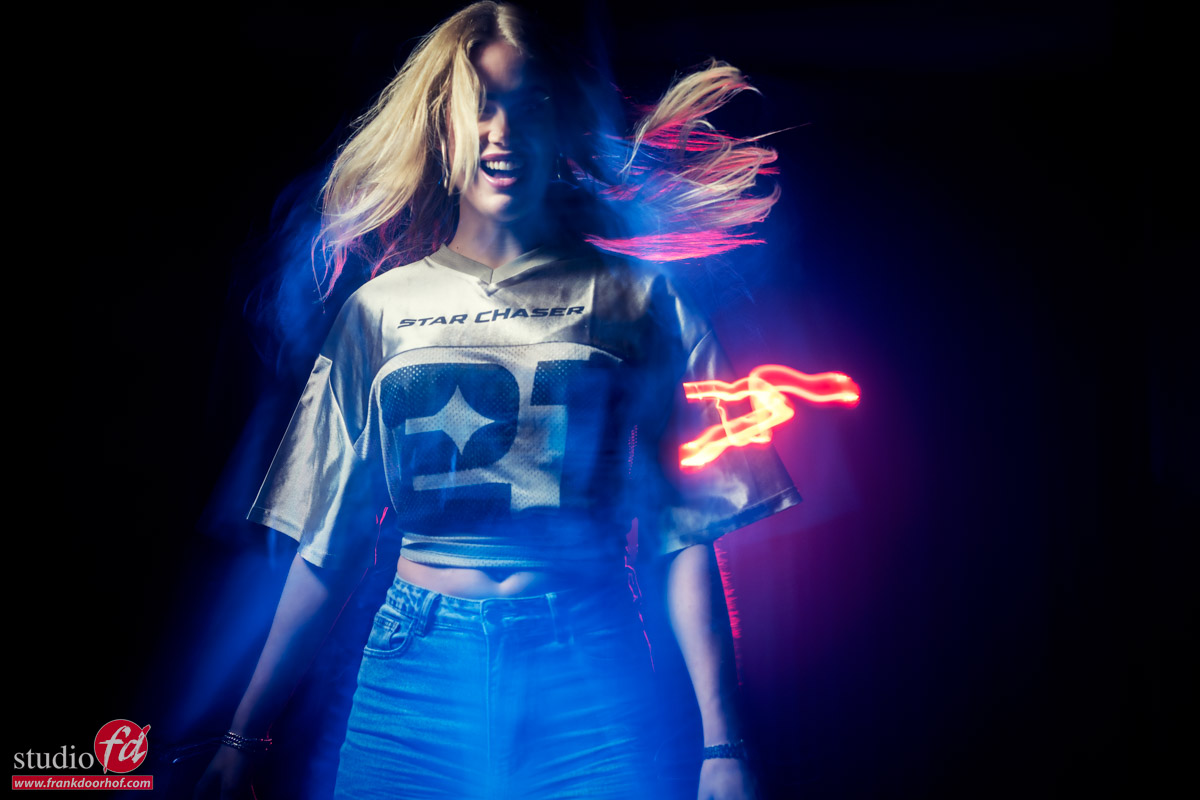
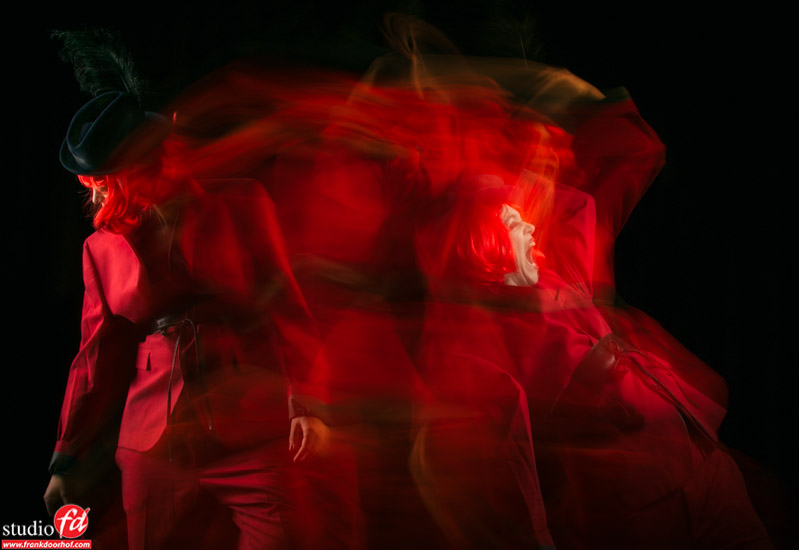
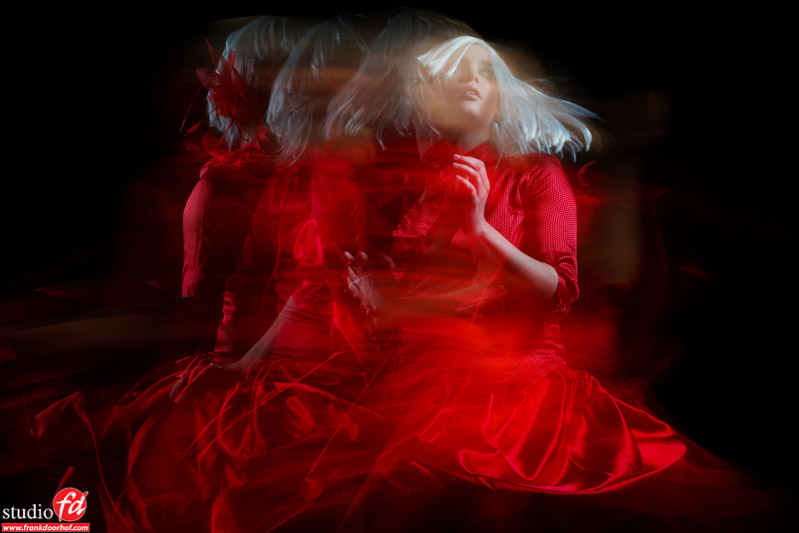
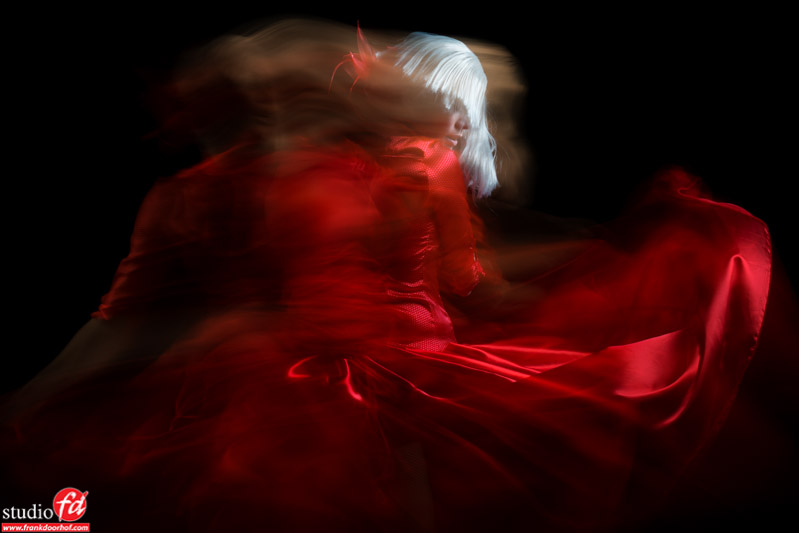
One of the questions I often get during workshops is how to create images that feel dynamic while still keeping the subject sharp. The answer is surprisingly simple: combine a flash that freezes the subject with continuous light and intentional camera movement.

This technique allows you to create photographs that have both structure and chaos. The flash captures a razor-sharp moment, while the ambient or continuous light creates streaks, swirls, and motion trails around it. The result is an image that feels alive. There is one big problem with this technique….. it’s like a box of chocolate, you never know what you’re going to get.

Understanding the Principle

When you work with a longer shutter speed, every movement of the camera records as a blur. Normally that’s something photographers try to avoid, but in this case we use it creatively.

The trick is that the flash duration is incredibly short.
Even if your shutter is open for half a second, the flash freezes the subject for only a tiny fraction of that time, literally freezing the motion.
That burst effectively freezes the model, while the rest of the exposure records the movement from continuous lights.

Think of it as combining two photographs into a single frame:

  • The flash creates the sharp image.
  • The continuous light creates the motion effect.


The Basic Setup

A simple setup might include:

  • One flash with a softbox as the main light.
  • One or two LED lights in the background.
  • A shutter speed between 1/4 and 2 seconds.
  • ISO 100–400.
  • An aperture that balances both light sources, which in most cases means wide open to let in as much available light as possible.

Start with the continuous light lighting your subject correctly. Once you have that exposure, you can now setup the strobe.
Do take into account that when your continuous light moves it will not “burn in” like a stable light source, so you can get away, or actually need a longer shutterspeed. This is also a part experience.

Zooming During the Exposure

One of the most dramatic effects comes from zooming the lens while the shutter is open.
Set your zoom lens to a longer focal length and begin the exposure.
During the exposure smoothly zoom toward a wider focal length or vice versa.

The continuous lights will stretch into dramatic lines radiating from the center of the frame.
If the flash fires near the end of the exposure (second curtain sync), the subject remains sharp while the zoom effect creates a sense of speed and energy.

This works especially well with:

  • Concert photography
  • Fashion portraits
  • Automotive photography
  • Creative editorial work

The key is smooth movement. Sudden jerks often create distracting patterns, which can also be interesting of course.

Moving the Camera

Instead of zooming, try physically moving the camera.

You can:

  • Rotate the camera in a circular motion.
  • Move it vertically.
  • Move it horizontally.
  • Draw figure-eight patterns.

Each movement produces a different signature.
Circular motion often creates a vortex-like effect, while vertical movement can make lights appear as dramatic columns.
Don’t be afraid to experiment. Some of the most interesting images come from movements that seem completely wrong when you first try them.

Rear-Curtain Sync

A feature that can dramatically improve this technique is rear-curtain synchronization.
With rear-curtain sync, the flash fires at the end of the exposure rather than at the beginning.
This means the motion trails appear to lead naturally into the frozen subject. Our eyes interpret this as movement rather than a mistake, making the image feel much more intentional.

Choosing the Right Continuous Lights

LED tubes, RGB panels, and handheld light wands are perfect tools for this technique.
Bright colored lights create stronger streaks and add another layer of creativity. Blues, reds, and magentas often work particularly well because they separate visually from the neutral tones produced by the flash. The more contrast you create between the flash-lit subject and the moving light trails, the more dramatic the final image becomes.

When I shoot setups like this I will make sure the strobe only hits the body of my model on the areas where I really need it (remember that the continuous lighting also fills in the shadows) and when I include movement I will make sure the face of the model is in the frame when the strobe fires, but immediately out of the frame when I move. This way the models face is not influenced by the continuous lighting anymore and stays natural and super sharp….. as always mix and match. sometimes it’s great to have this effect, sometimes not. It’s art 😀

Experiment and Embrace Imperfection

The biggest mistake photographers make with this technique is trying to control every detail. Forget about it.
Creative motion photography rewards experimentation.
Change the shutter speed. Move faster. Move slower. Zoom in. Zoom out. Rotate the camera. Try different colors.

You may shoot fifty frames before finding the one that truly works—but that one image will often have far more impact than a perfectly static photograph.

Photography is not always about eliminating motion. Sometimes the most exciting images are created when you deliberately invite motion into the frame and then use light to control exactly what remains sharp. By combining flash, continuous light, and camera movement, you can create photographs that capture both a moment and the feeling of movement itself.


Want to learn a lot more and see it in action?

I’m teaching a full class on freezing motion the creative way during the “Photographing people event”
See this blogpost for more information and booking your seats (it’s an online KelbyOne event)

https://frankdoorhof.com/web/wp-content/uploads/2026/06/Felisa-June-06-2026-10-Edit-copy.jpg 800 1200 Frank Doorhof https://frankdoorhof.com/web/wp-content/uploads/2015/03/studioFD_Logo-1FV.png Frank Doorhof2026-06-20 18:00:442026-06-16 15:06:09Freezing motion while painting with Light
Page 1 of 3123

Newsletters

Subscribe to our newsletter for updates, discounts, and much more

English news letter
Dutch news letter

Interesting links

Here are some interesting links for you! Enjoy your stay :)

Snel naar

  • Blog
  • Learning with Frank
  • News etc
  • Reviews
  • Shop products & books
  • Contact

Contact

Studio Frank Doorhof:
Constructieweg 8
8305 AA Emmeloord

The Netherlands
+31-6-14522327

Or Email : info@frankdoorhof.com


© Copyright 2000 - - Frank Doorhof
  • Link to Facebook
  • Link to X
  • Link to Youtube
  • Link to WhatsApp
Scroll to top Scroll to top Scroll to top