Frank Doorhof
  • Blog (articles)
  • Rent our studio space
  • MAIN SHOP
    • MAIN SHOP
      • Orders
      • Account details
      • Downloads
      • Addresses
      • Lost password
      • Cart
      • Checkout
      • Terms webshop
      • Return policy
      • Privacy Policy
      • Privacy Statement in3. Dutch customers only. When you want to pay in 3 parts
  • IQwire Tether Cables
  • Rogue Modifiers
  • Geekoto Flash and Modifiers
  • Platypod
  • Click Backdrops
  • PORTFOLIO
  • Learning with Frank
    • Dutch workshop agenda
    • Workshops
    • A Year With Frank
    • Online 1:1 workshops
    • 1:1 workshops in English
    • Portfolio review by Frank Doorhof
    • Patreon
  • Support our work
  • Merchandise
  • Digital Classroom LIVE
  • Our YouTube channel
  • Biography Frank Doorhof
  • Services
  • Discounts etc
  • I need help
  • Menu Menu
  • Shopping Cart Shopping Cart
    0Shopping Cart
  • Link to Facebook
  • Link to X
  • Link to Youtube
  • Link to WhatsApp

VIDEO : Using light very creatively

8-12-2025/in blog, Visions and technique, Webinars and instructional videos/by Frank Doorhof

Using light in different ways is fun

And gives you something unique.

Geekoto’s Beauty Dish is a very versatile modifier.
In this video Frank explains how to be very creative with this Beauty Dish.
Including behind-the-scenes video and results

Spoiler: it’s about angles and using or not using diffusion.

Want to learn everything about light control?
Want to visit a workshop where it’s not just shooting a model with a fixed lighting setup, but see how the setup is build and adjusted to the taste of the group?
And of course learn how to work with poses, backgrounds, small sets, styling, retouching and a lot more…..

If this all sounds awesome, visit fotografie-workshops.nl and book your workshop.
If you don’t speak Dutch, no problem, let us know a few weeks in advance and we can switch the workshop to English.
Not possible to travel to The Netherlands?
We got you covered with our 1:1 online workshop.
We have a full streaming setup in our studio. 4 detail cameras and of course the retouching software so you can see every detail and of course ask questions during the day. Plus you get all the RAW files after the workshop.


https://frankdoorhof.com/web/wp-content/uploads/2025/11/Nadine-43-October-18-2025-Edit.jpg 800 1200 Frank Doorhof https://frankdoorhof.com/web/wp-content/uploads/2015/03/studioFD_Logo-1FV.png Frank Doorhof2025-12-08 18:00:072025-12-03 17:31:44VIDEO : Using light very creatively

Results from one workshop Cosplay!

5-12-2025/in blog, Visions and technique/by Frank Doorhof

Results from workshop Cosplay

So what do we shoot during a workshop?

I often get the question, “So what do we learn or shoot during a workshop?”
Believe it or not, but 99% of what you see in my portfolio was shot during workshops or events.
So in essence, that’s what you’re going to shoot. Today I show you some results from the workshop Cosplay

But of course, it’s about a lot more than just getting portfolio material.
For me, a workshop is not a shooting day, but a day in which you learn about lighting, and of course, get great shots.

So let’s see what we did during a recent workshop with Linda. She is inexperienced in cosplay but did a great job.

Set 1: Building depth

Using the Clickbackdrops backgrounds really changed the way I shoot.
Our walls in the studio are all painted and are awesome, but are always the same. Of course, we also have moving walls with wallpaper, seamless paper, and some collapsible backgrounds; they all have advantages and disadvantages. The Clickbackdrops backgrounds I’m using are perfect in size, and the material is top-notch. My first backgrounds still look brand new and have been used on several events.

Background

But whatever you use, it’s still a background.
And sometimes you want more.
During the workshops, we always build small sets around the background.
The background we are using here in the workshop Cosplay, is one of my favorites for that old-fashioned “movie/glamour” look.
Add a chair, some accessories, and it’s very cool quickly.

For this setup, we decided to make it a bit more difficult and use red material (curtain) in front of the set to create some extra framing and depth.
The problem is of course that you want to see the material, but don’t want it to take away the light on the set.

Lighting setup

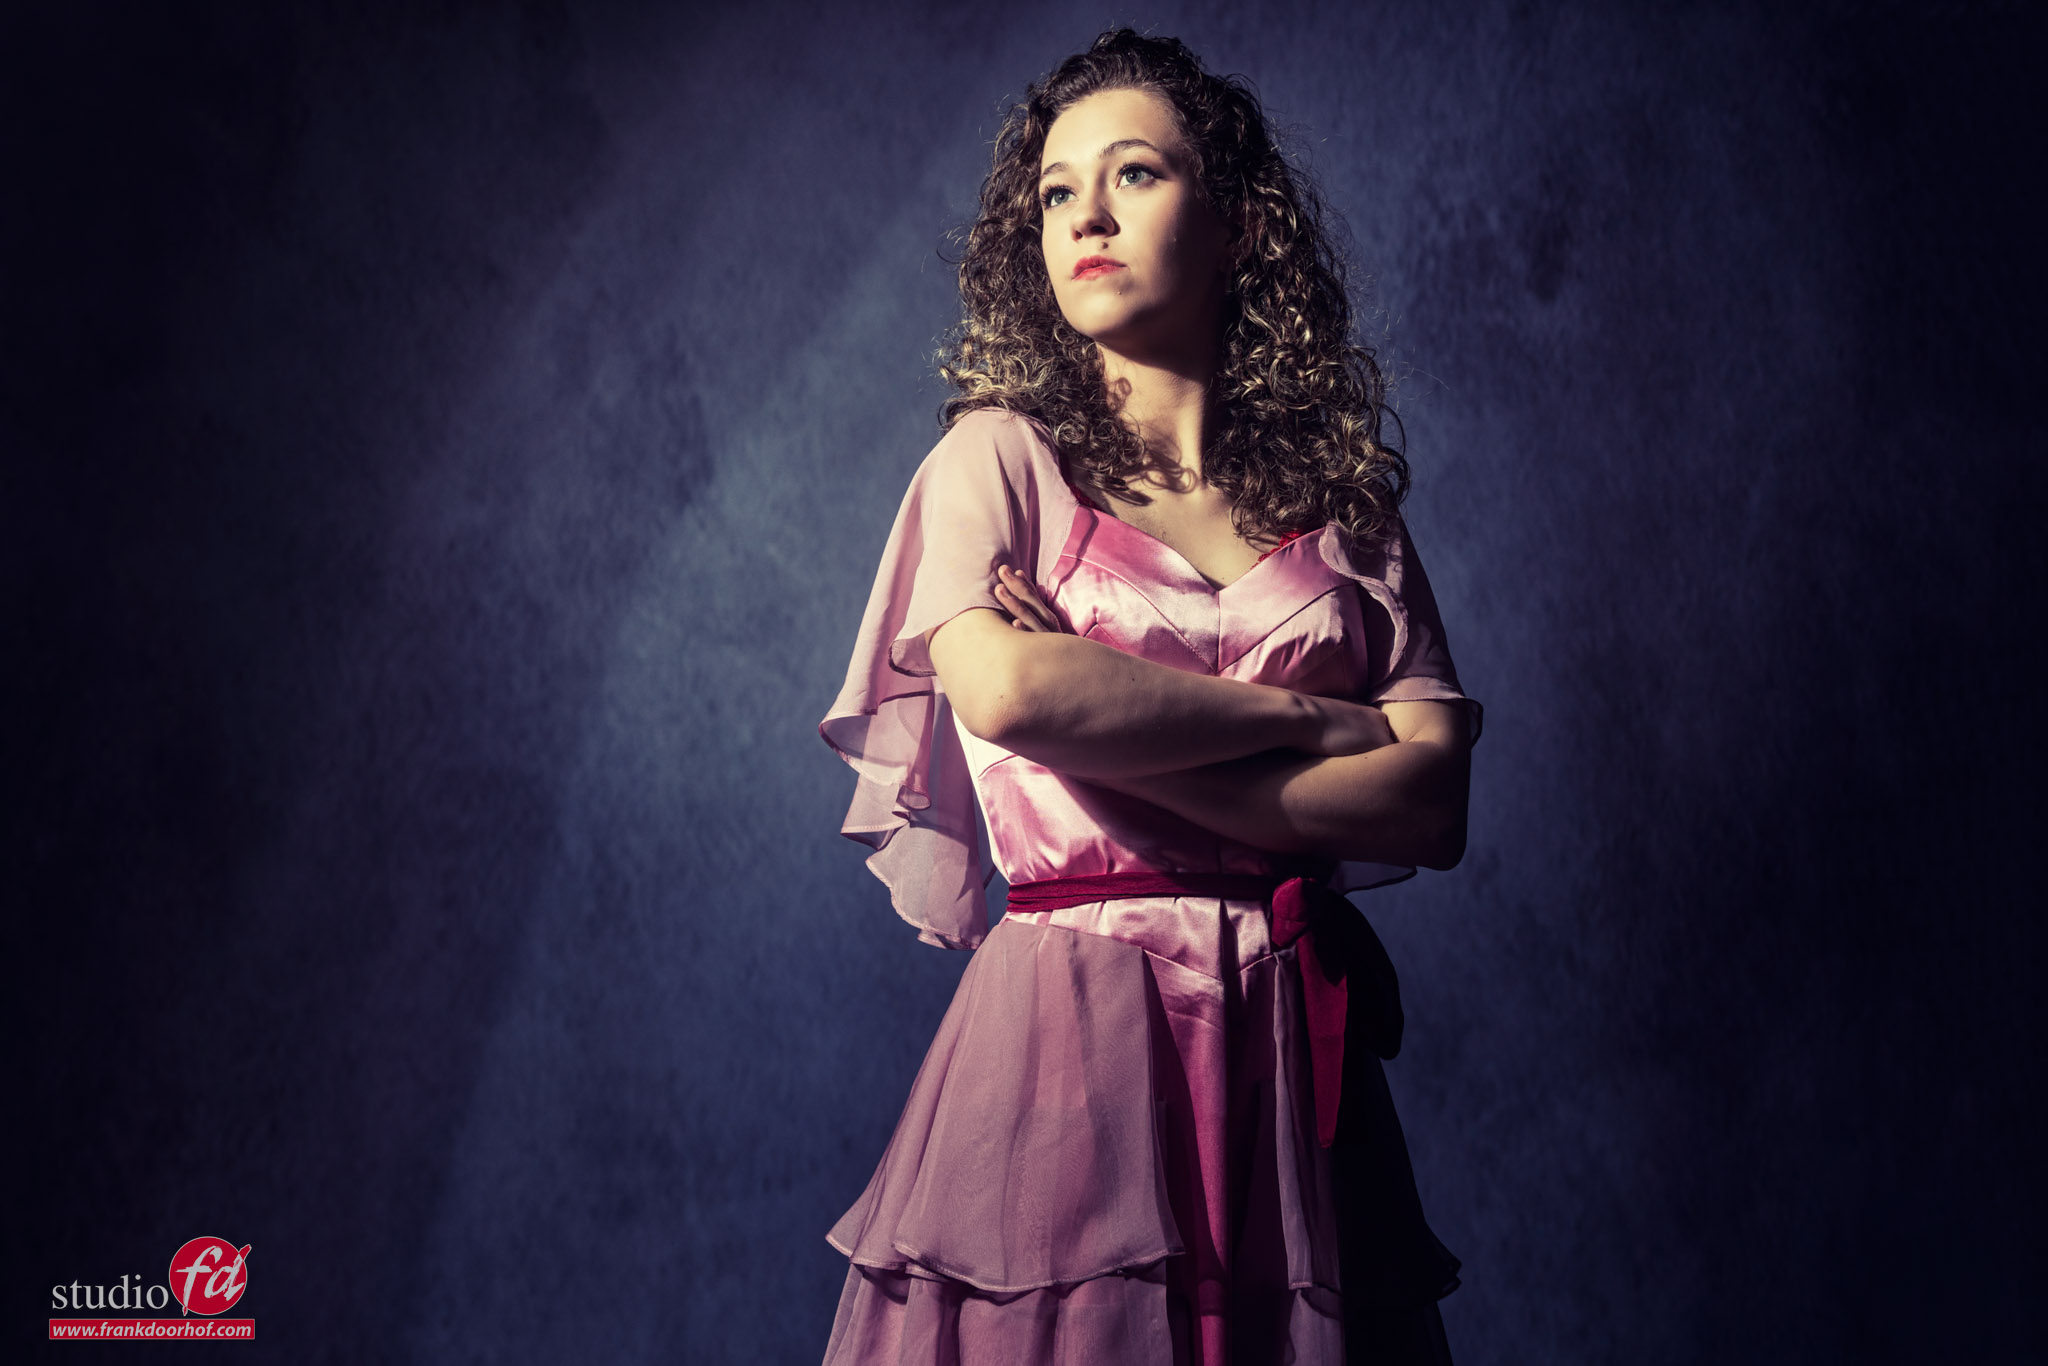
In this case, I’m feathering Geekoto GT200 with a red gel and Rogue dome in the front to make sure the material is lit as evenly as possible with one strobe.
By feathering and using the dome, you can do this pretty quickly by angling the strobe.

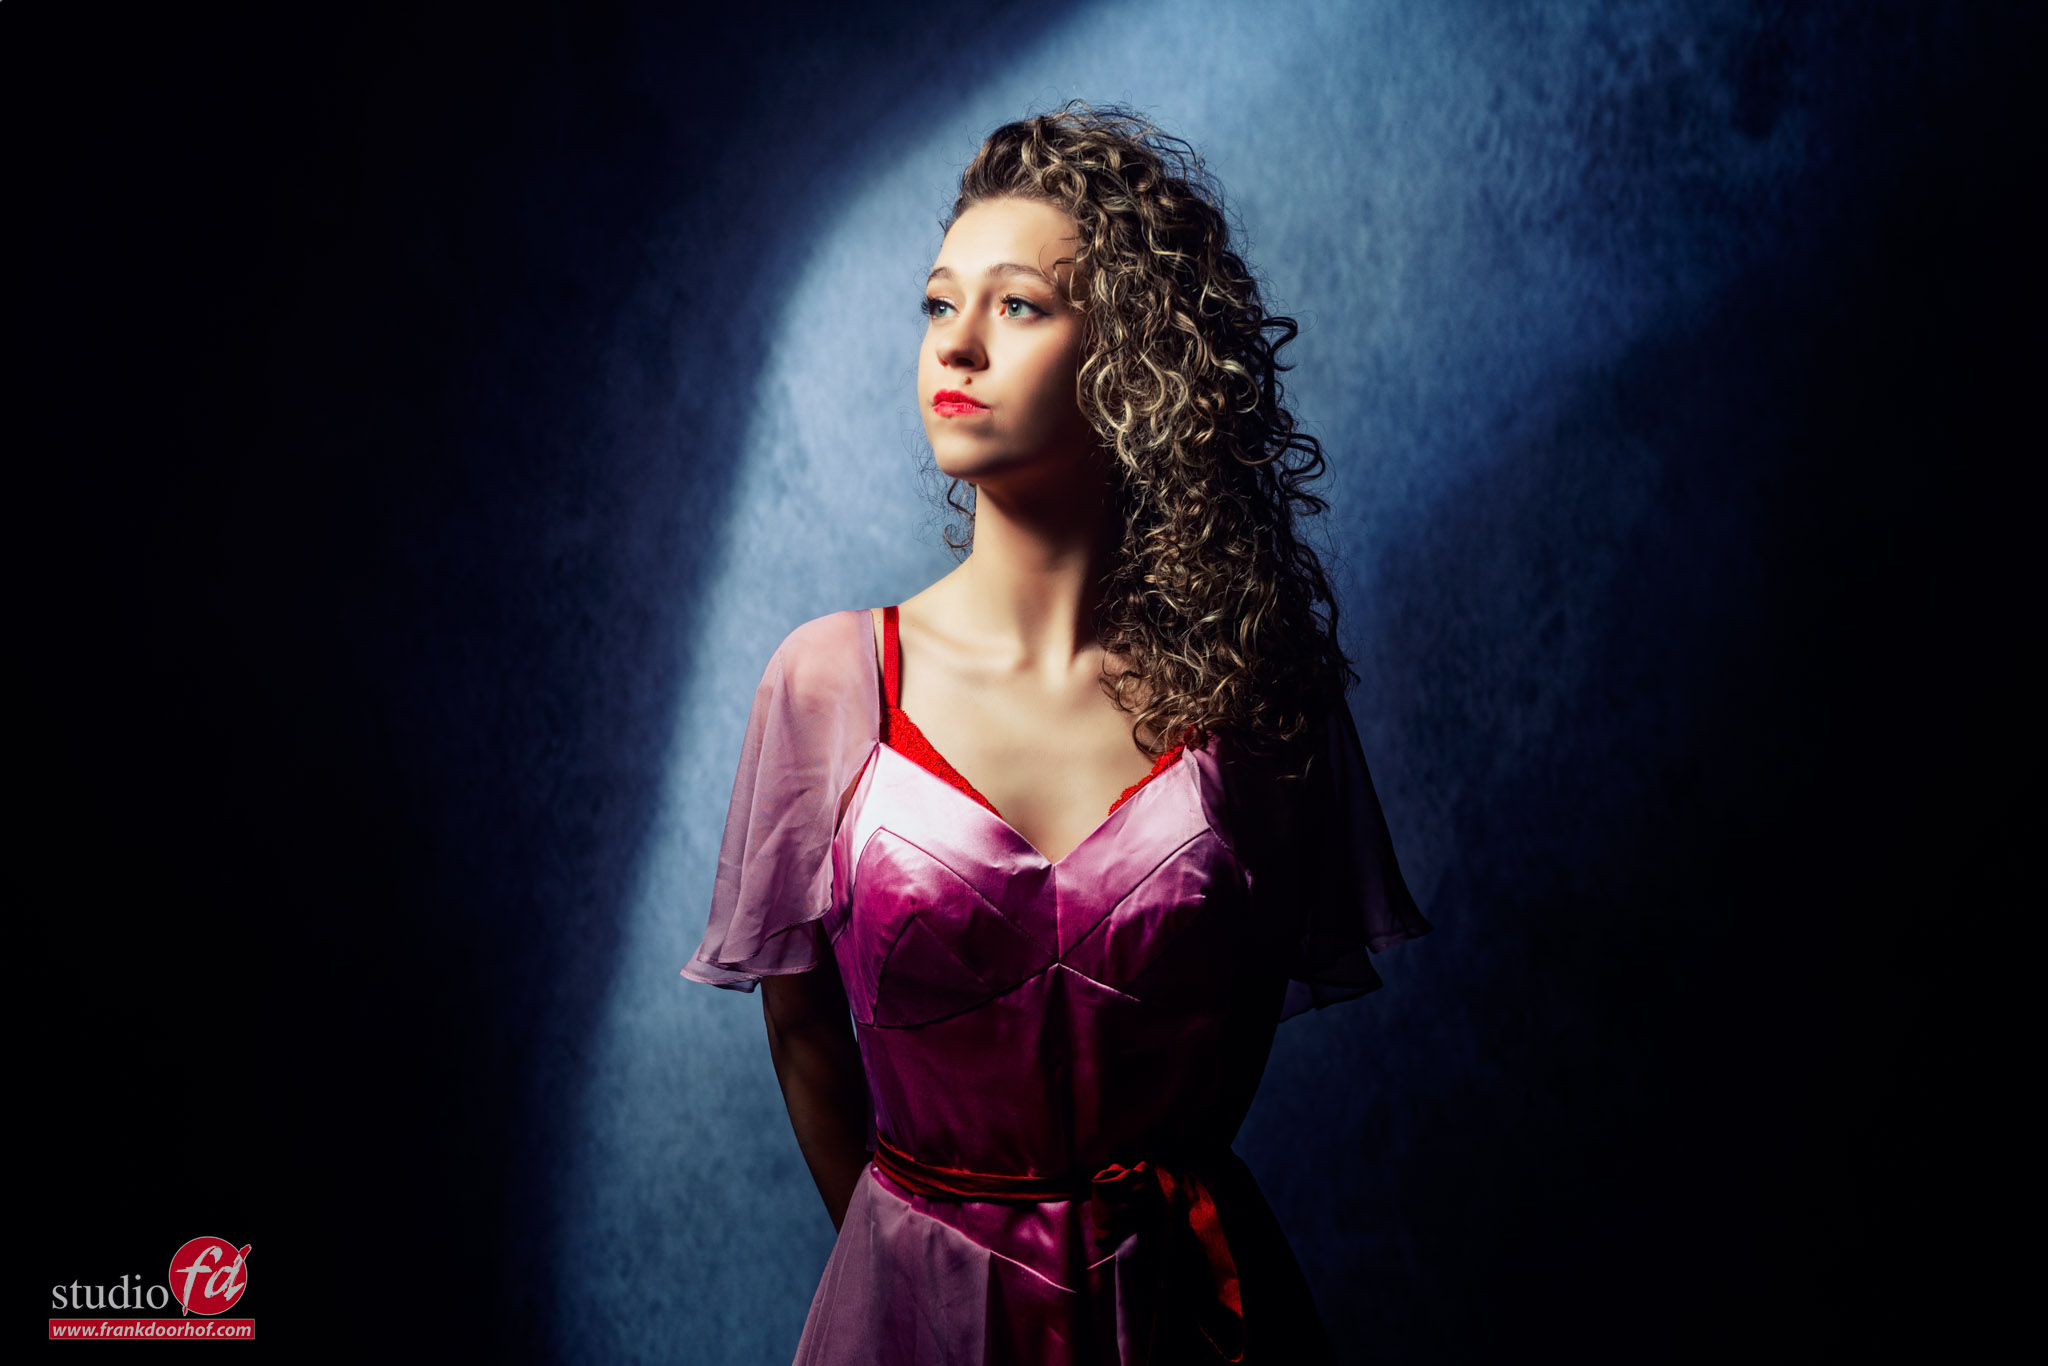
For the main light, I’m using the Geekoto GT400 with the new Quicky softbox with grid.
This light is aimed from the ceiling down, so the model does have to look slightly up.
To finish the set, I’m using a second red gel from the back for a nice lens flare.
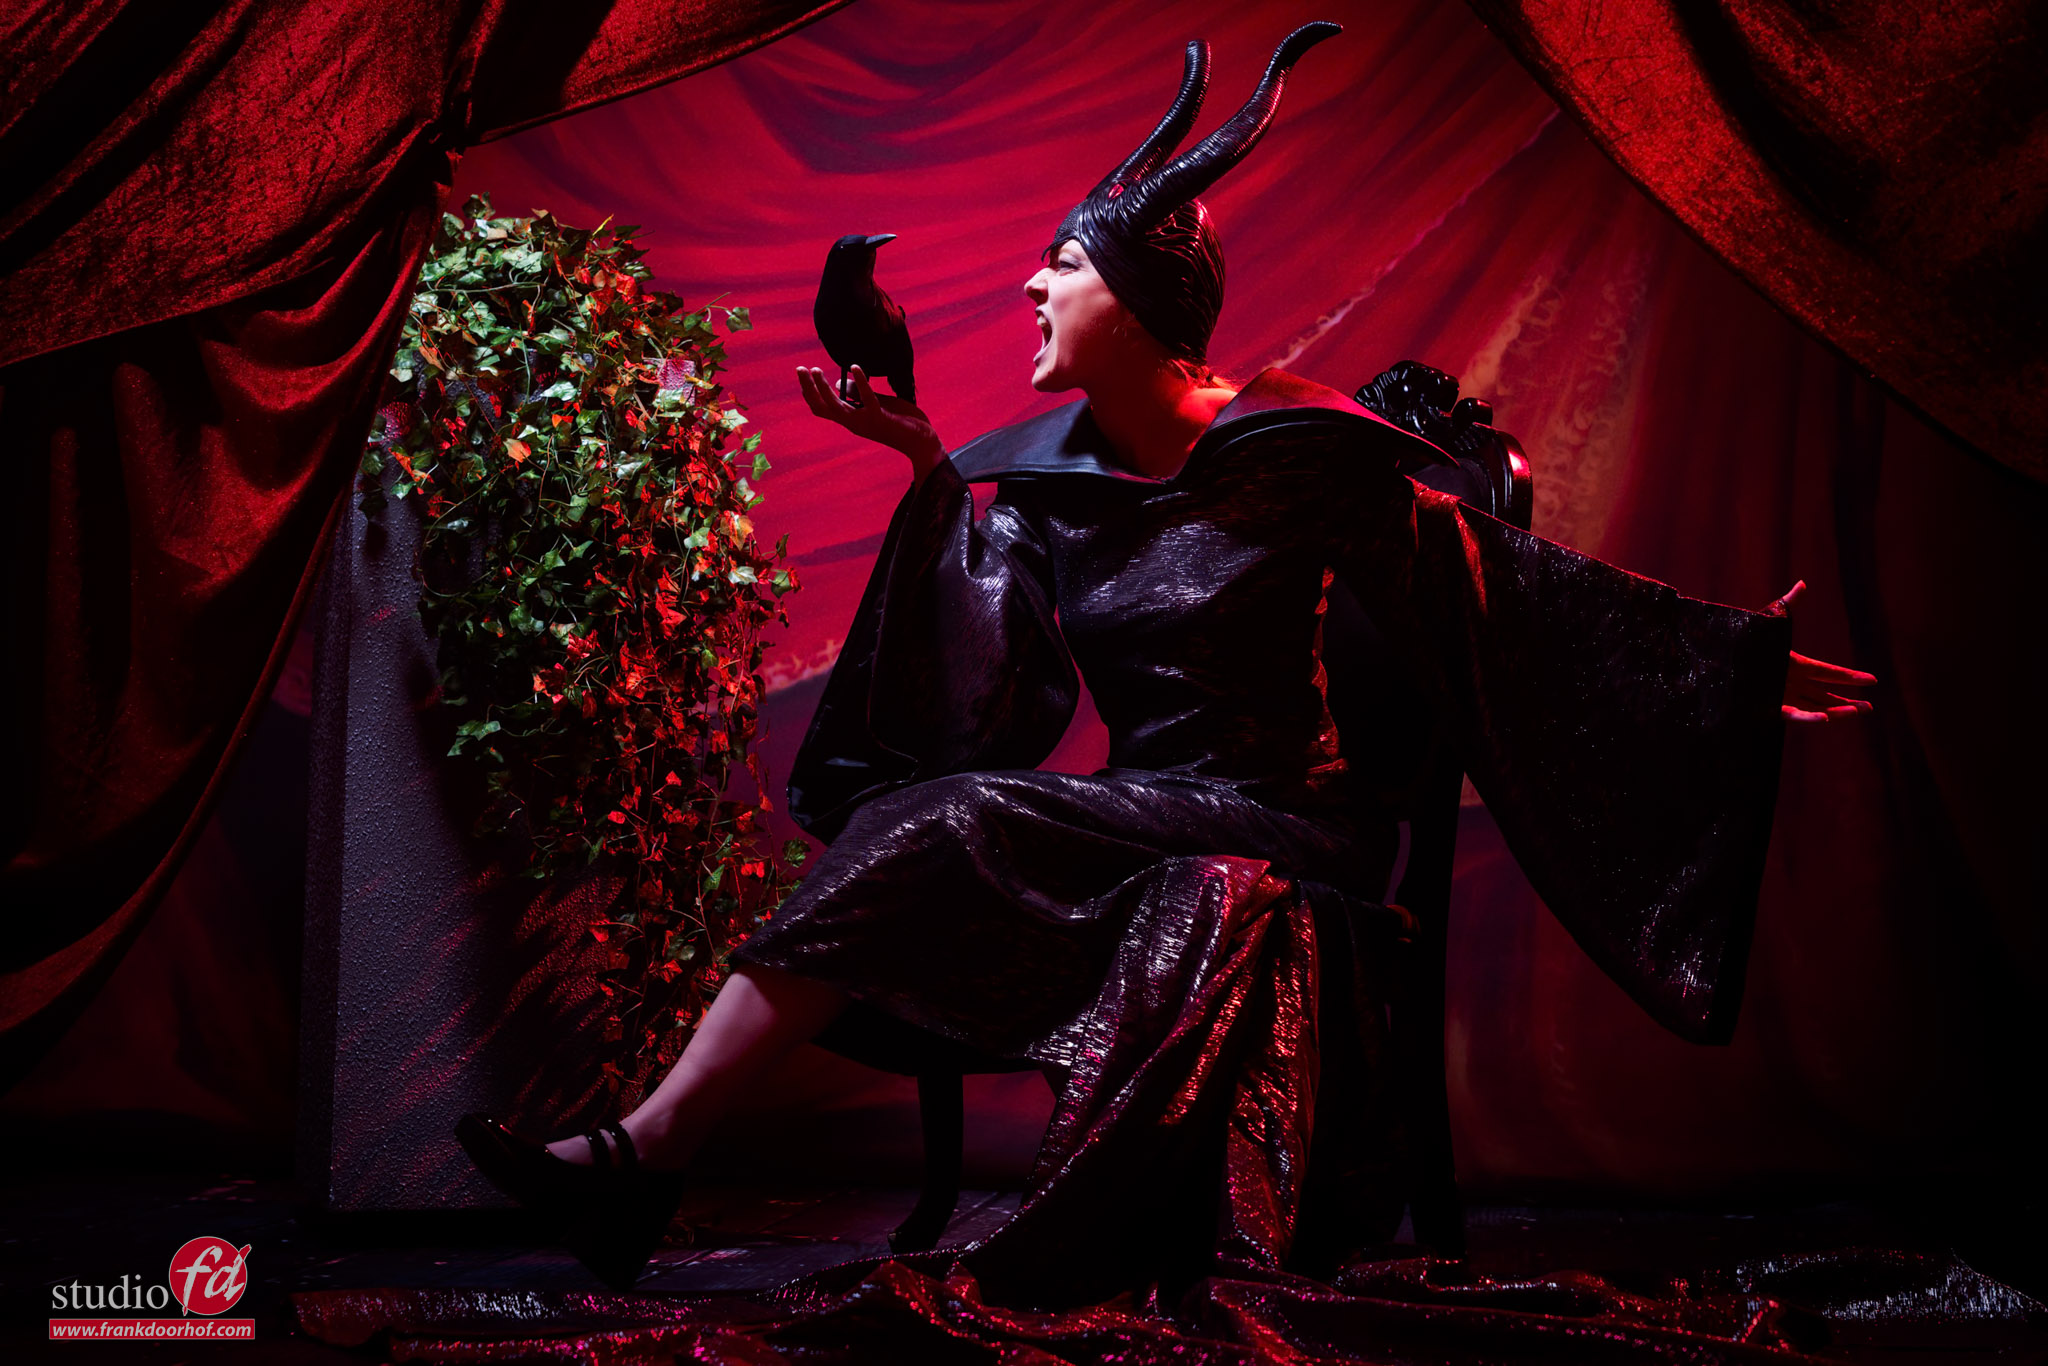
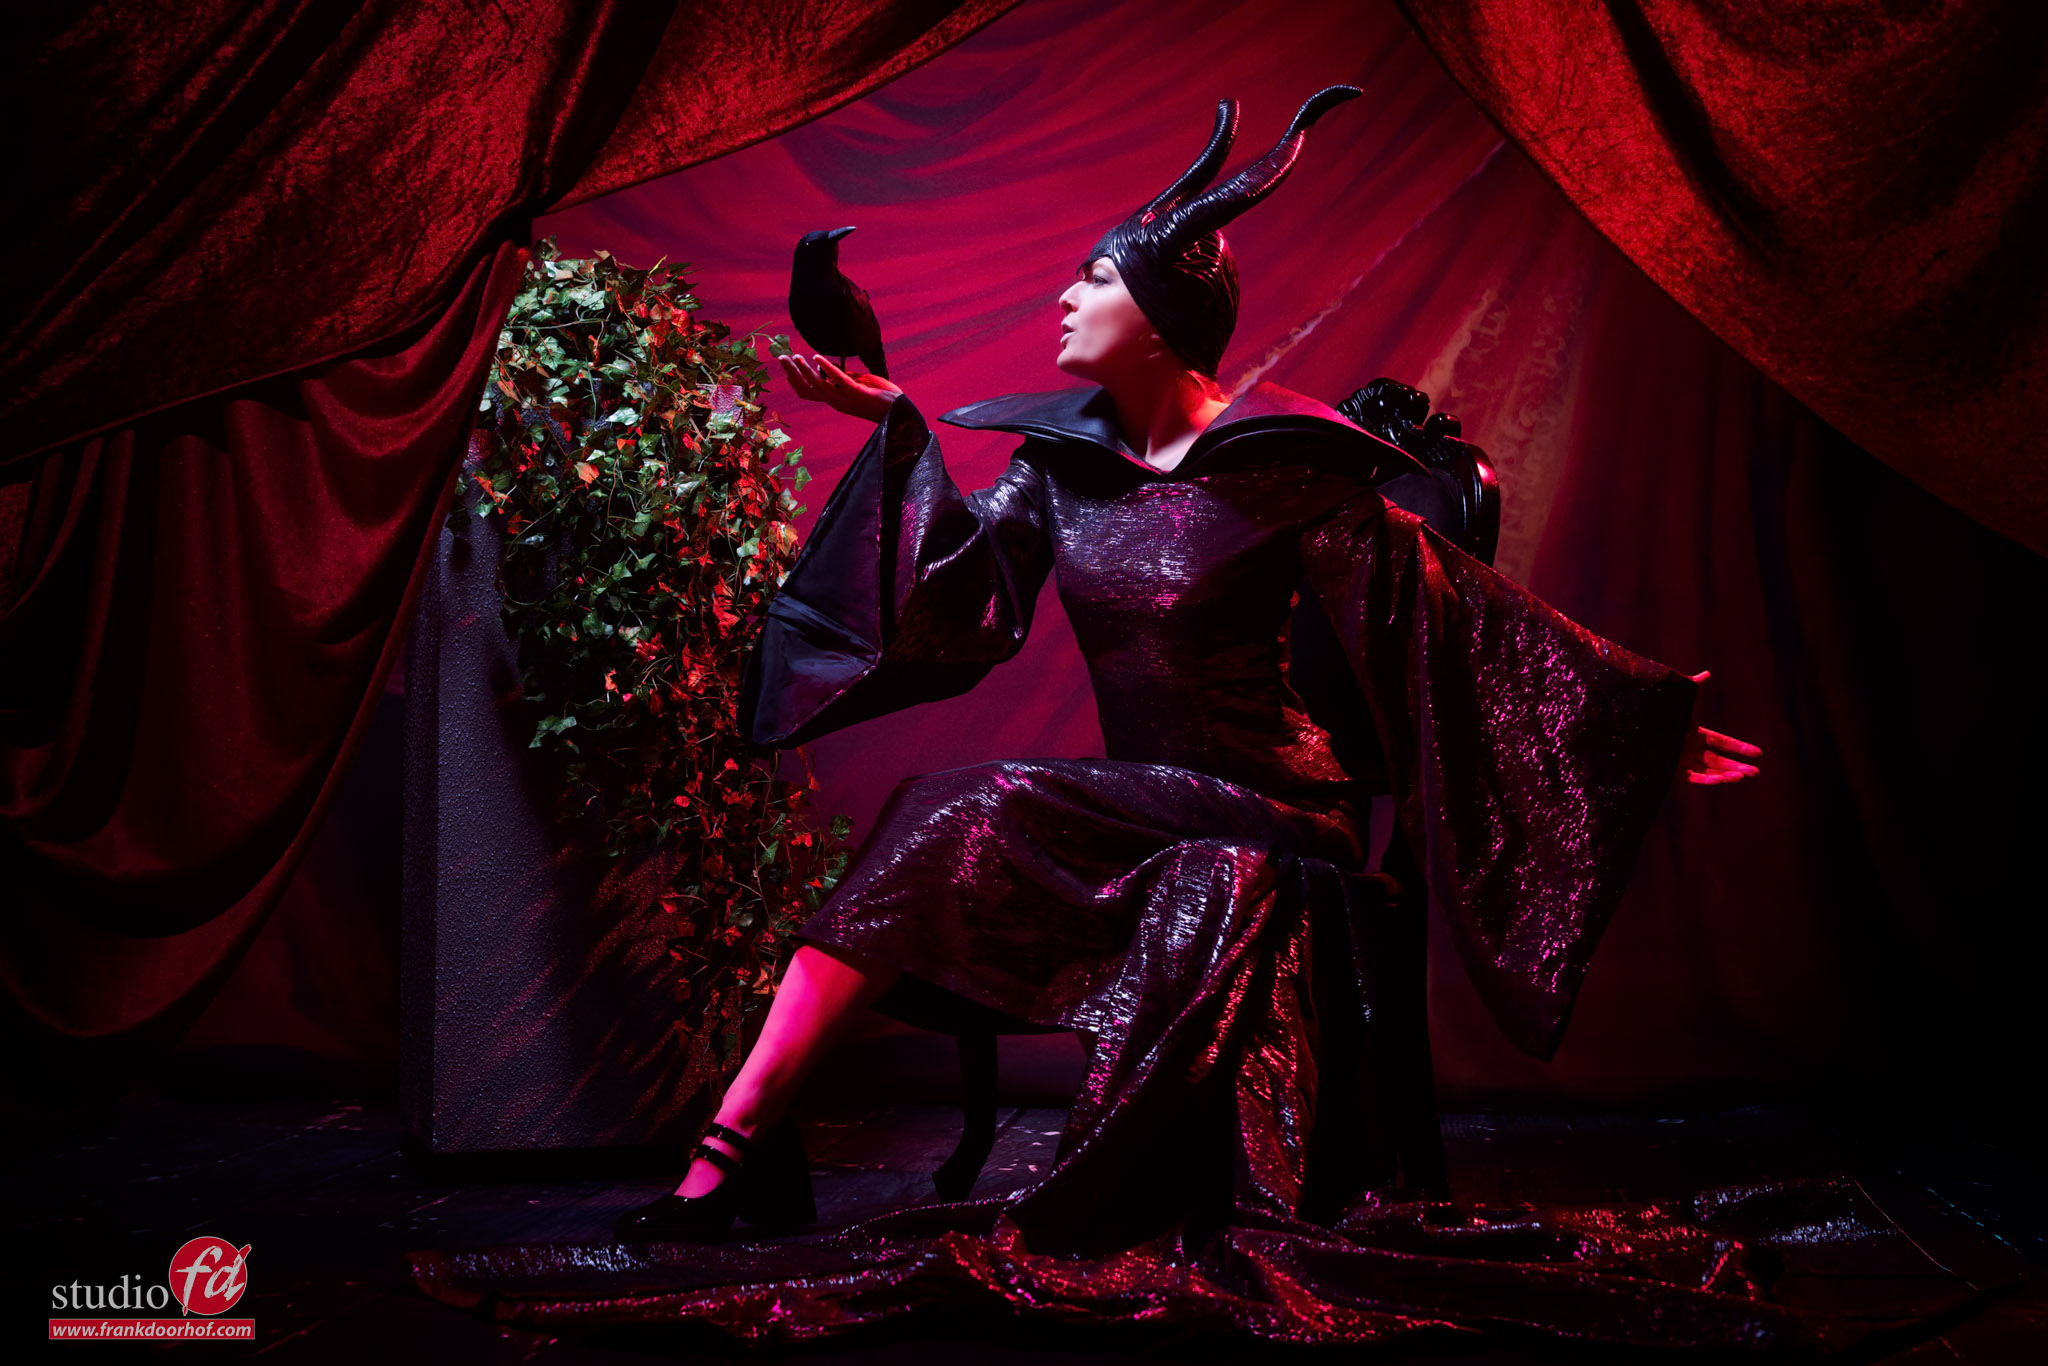
first result in the workshop cosplay

Although I absolutely love the images above.
As soon as I start shooting from a lower angle….. I like it a lot more.
So always shoot from different angles.
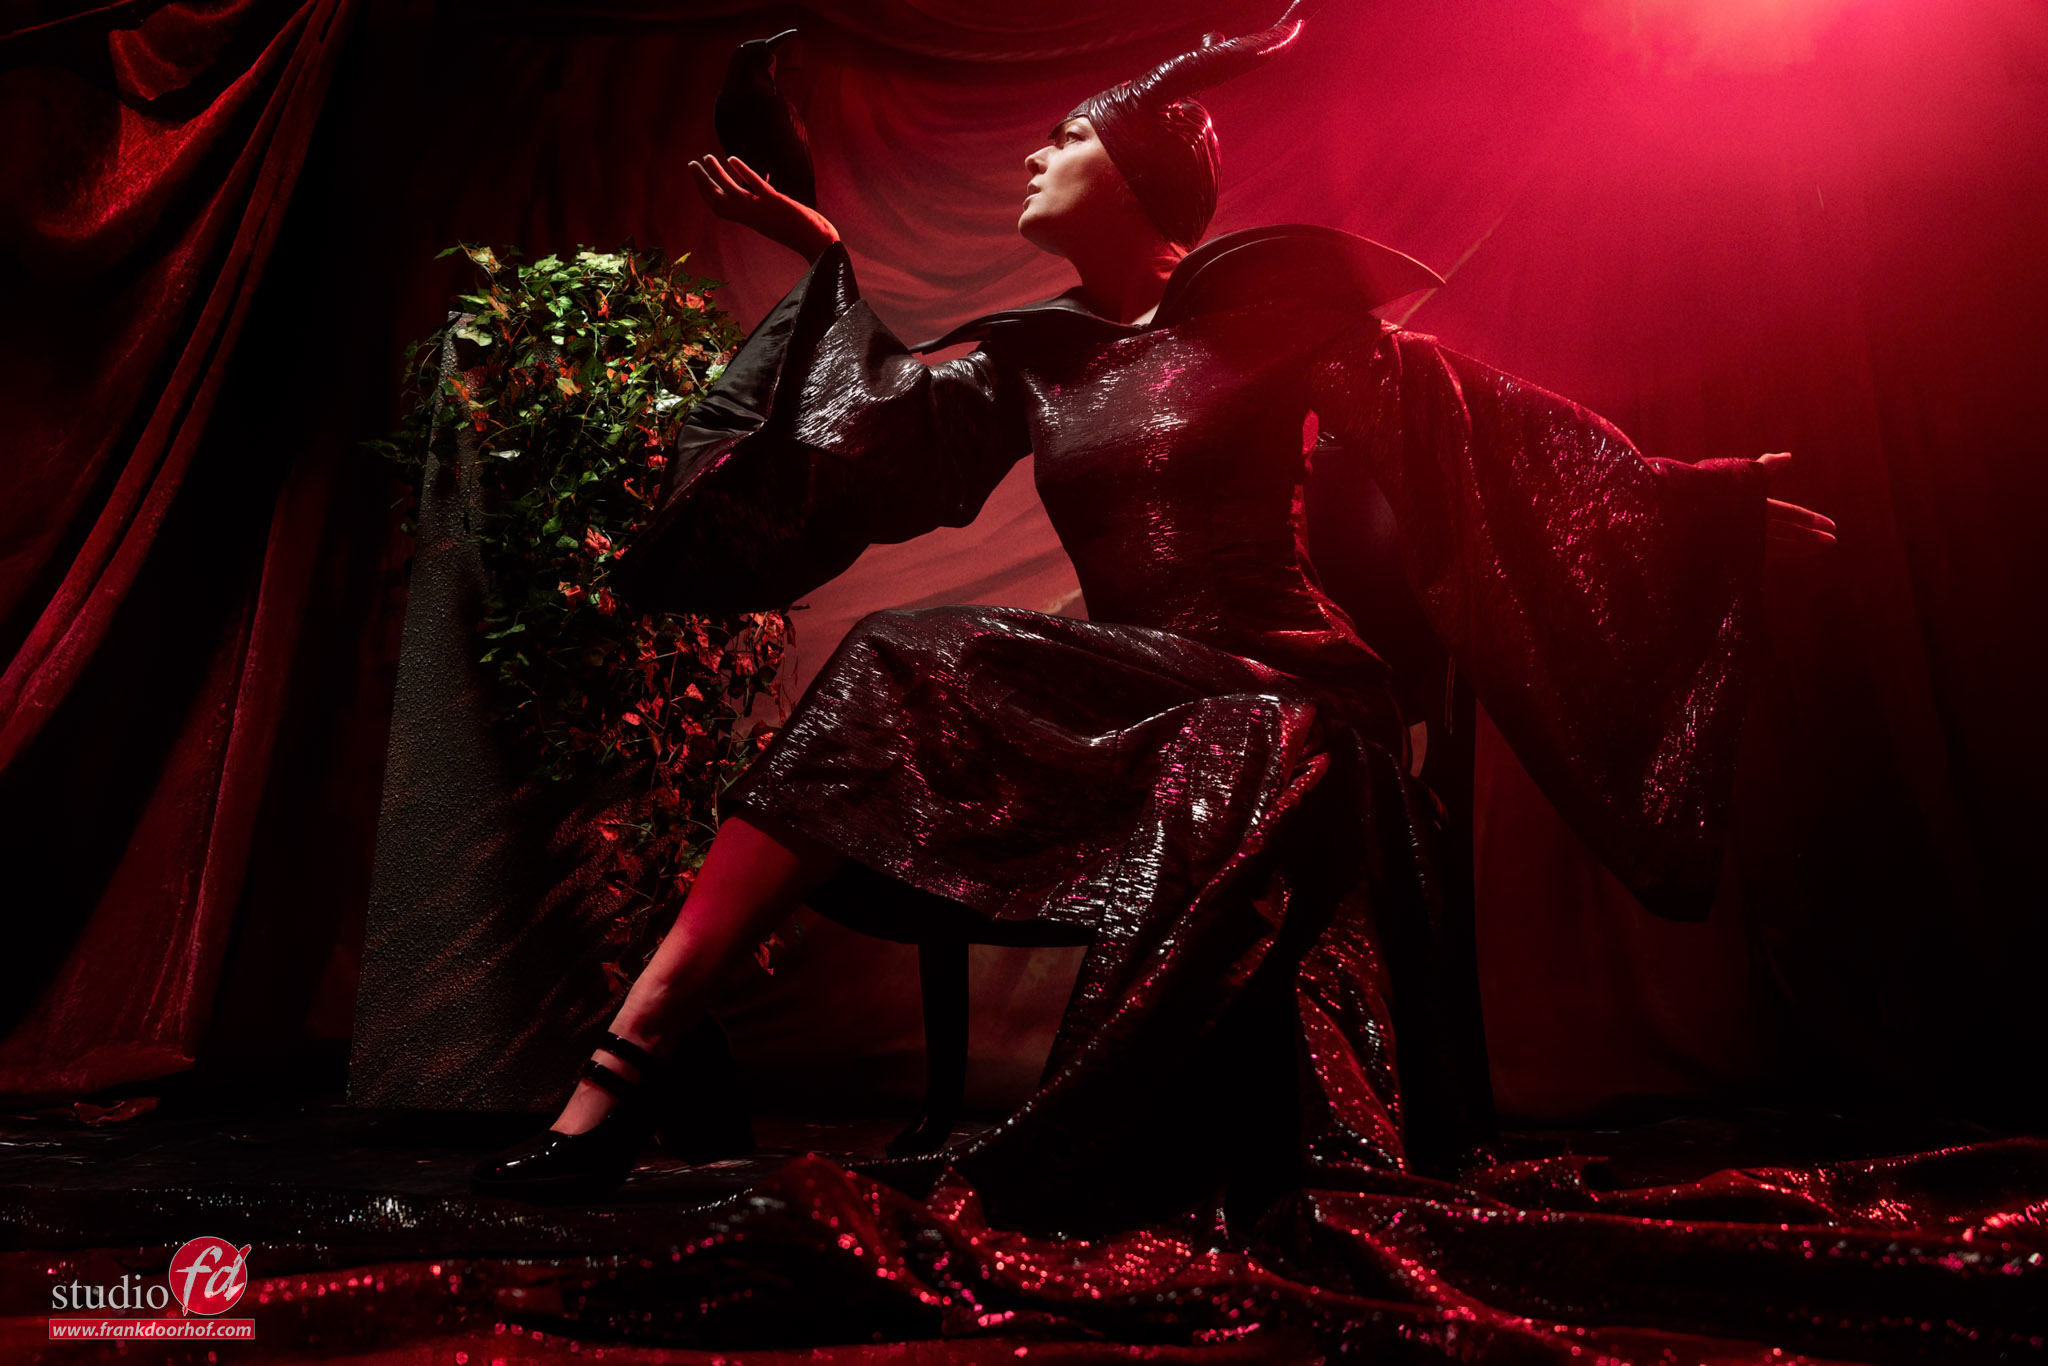
workshop Cosplay

Final image of Maleficent, a powerful, iconic fairy from Disney’s Sleeping Beauty


Set 2, using a mirror

Reflections are always difficult.
And of course, we could get a model with glasses and explain that the angle of incidence is the angle of reflection, but it’s much more fun to create something a bit more difficult and cool.

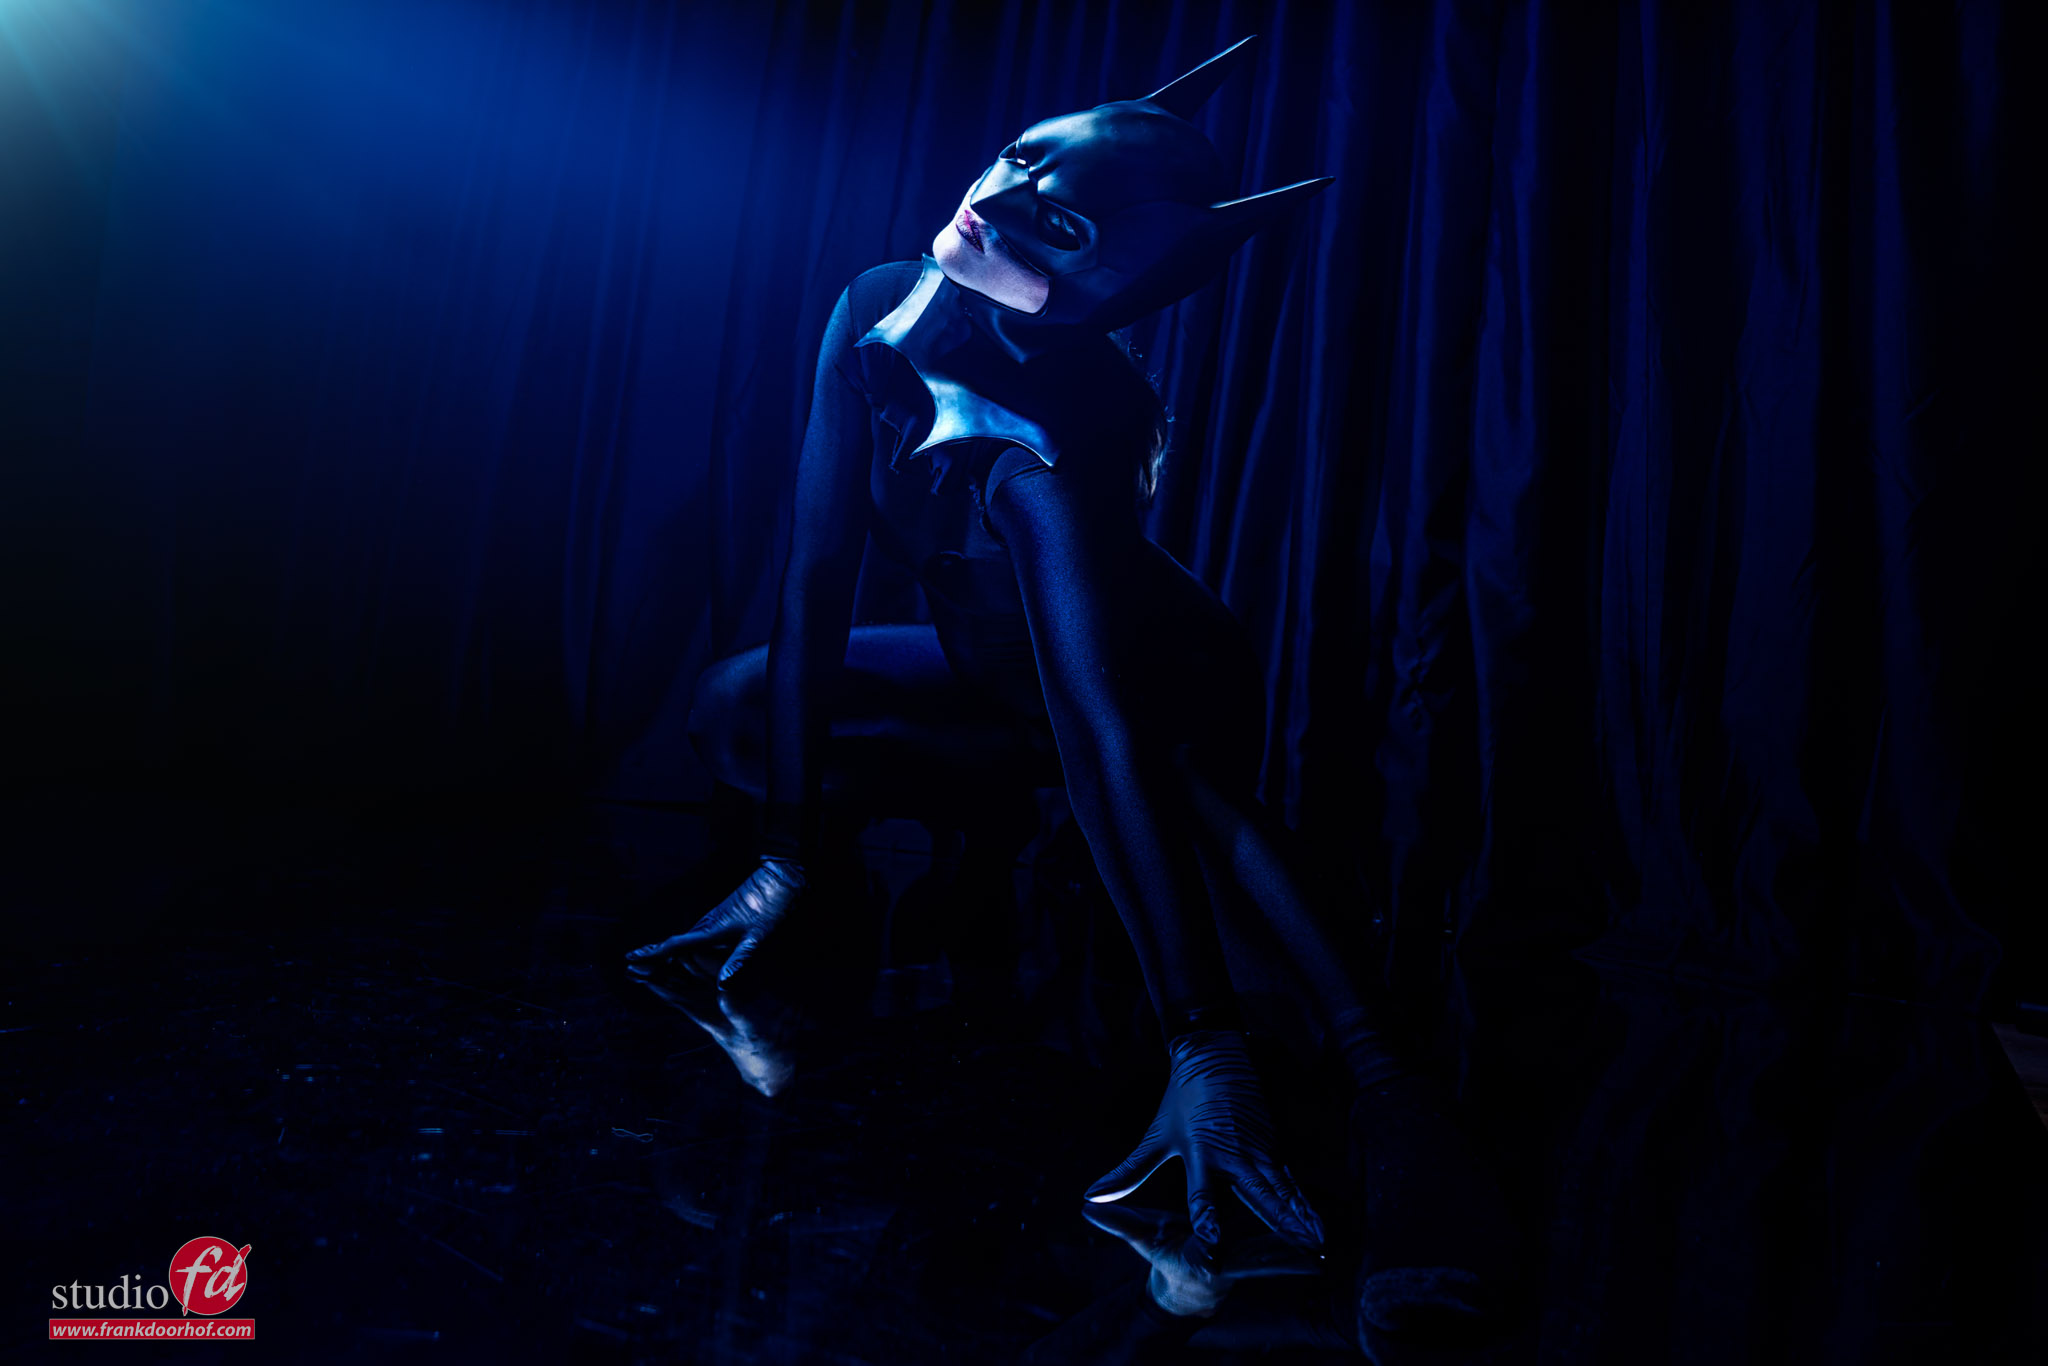
For this set in the workshop Cosplay, I’m using a plastic mirror on the floor and one strobe on our model, plus a blue gel as a fill-in light.
The trick is to make sure both strobes are out of the frame. But also that you don’t see the ceiling of the studio, but only the black background.
It’s a cool shot, but most of all, it’s a great way to learn how to control reflections and make them do what you want them to do instead of the other way around.

And indeed the mirror is very dark.
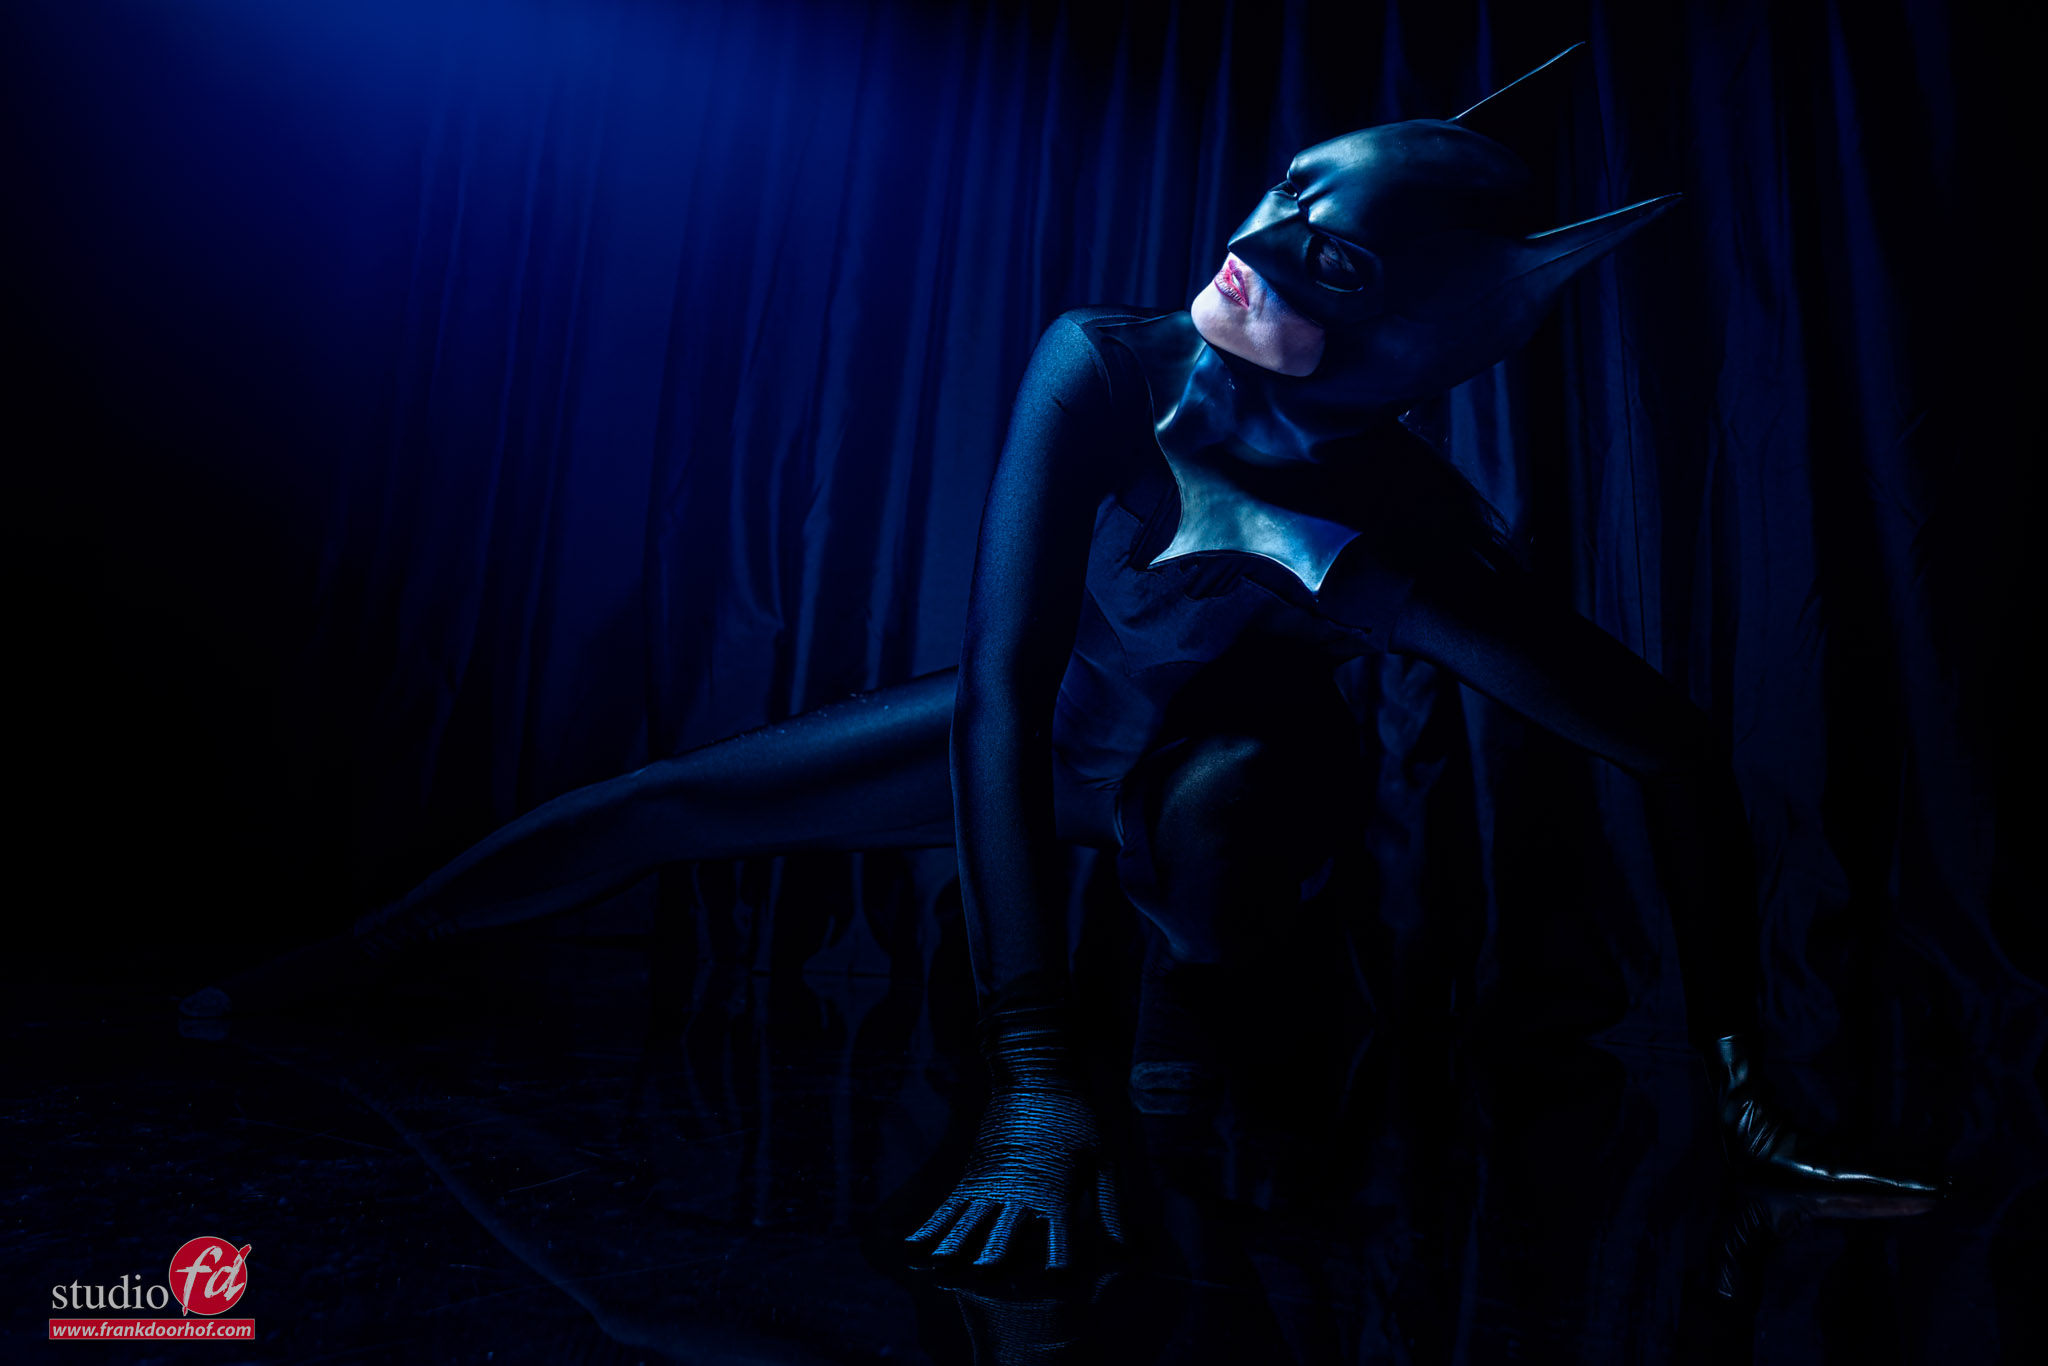
workshop Cosplay workshop cosplay

Lenses

Most of my images are shot with the Sony 24-70 F2.8 G-master.
A lens that I really like because you can go from wide angle to compression and use the full range of looks in your shoots without changing lenses.
But that doesn’t mean the lens is always on my camera 😀

In the next image, I’m using one of my favorite creative lenses, an old LensBaby Composer with the 80mm edge lens.
You can create some funky focus effects with this lens, but it’s easy to overdo it.
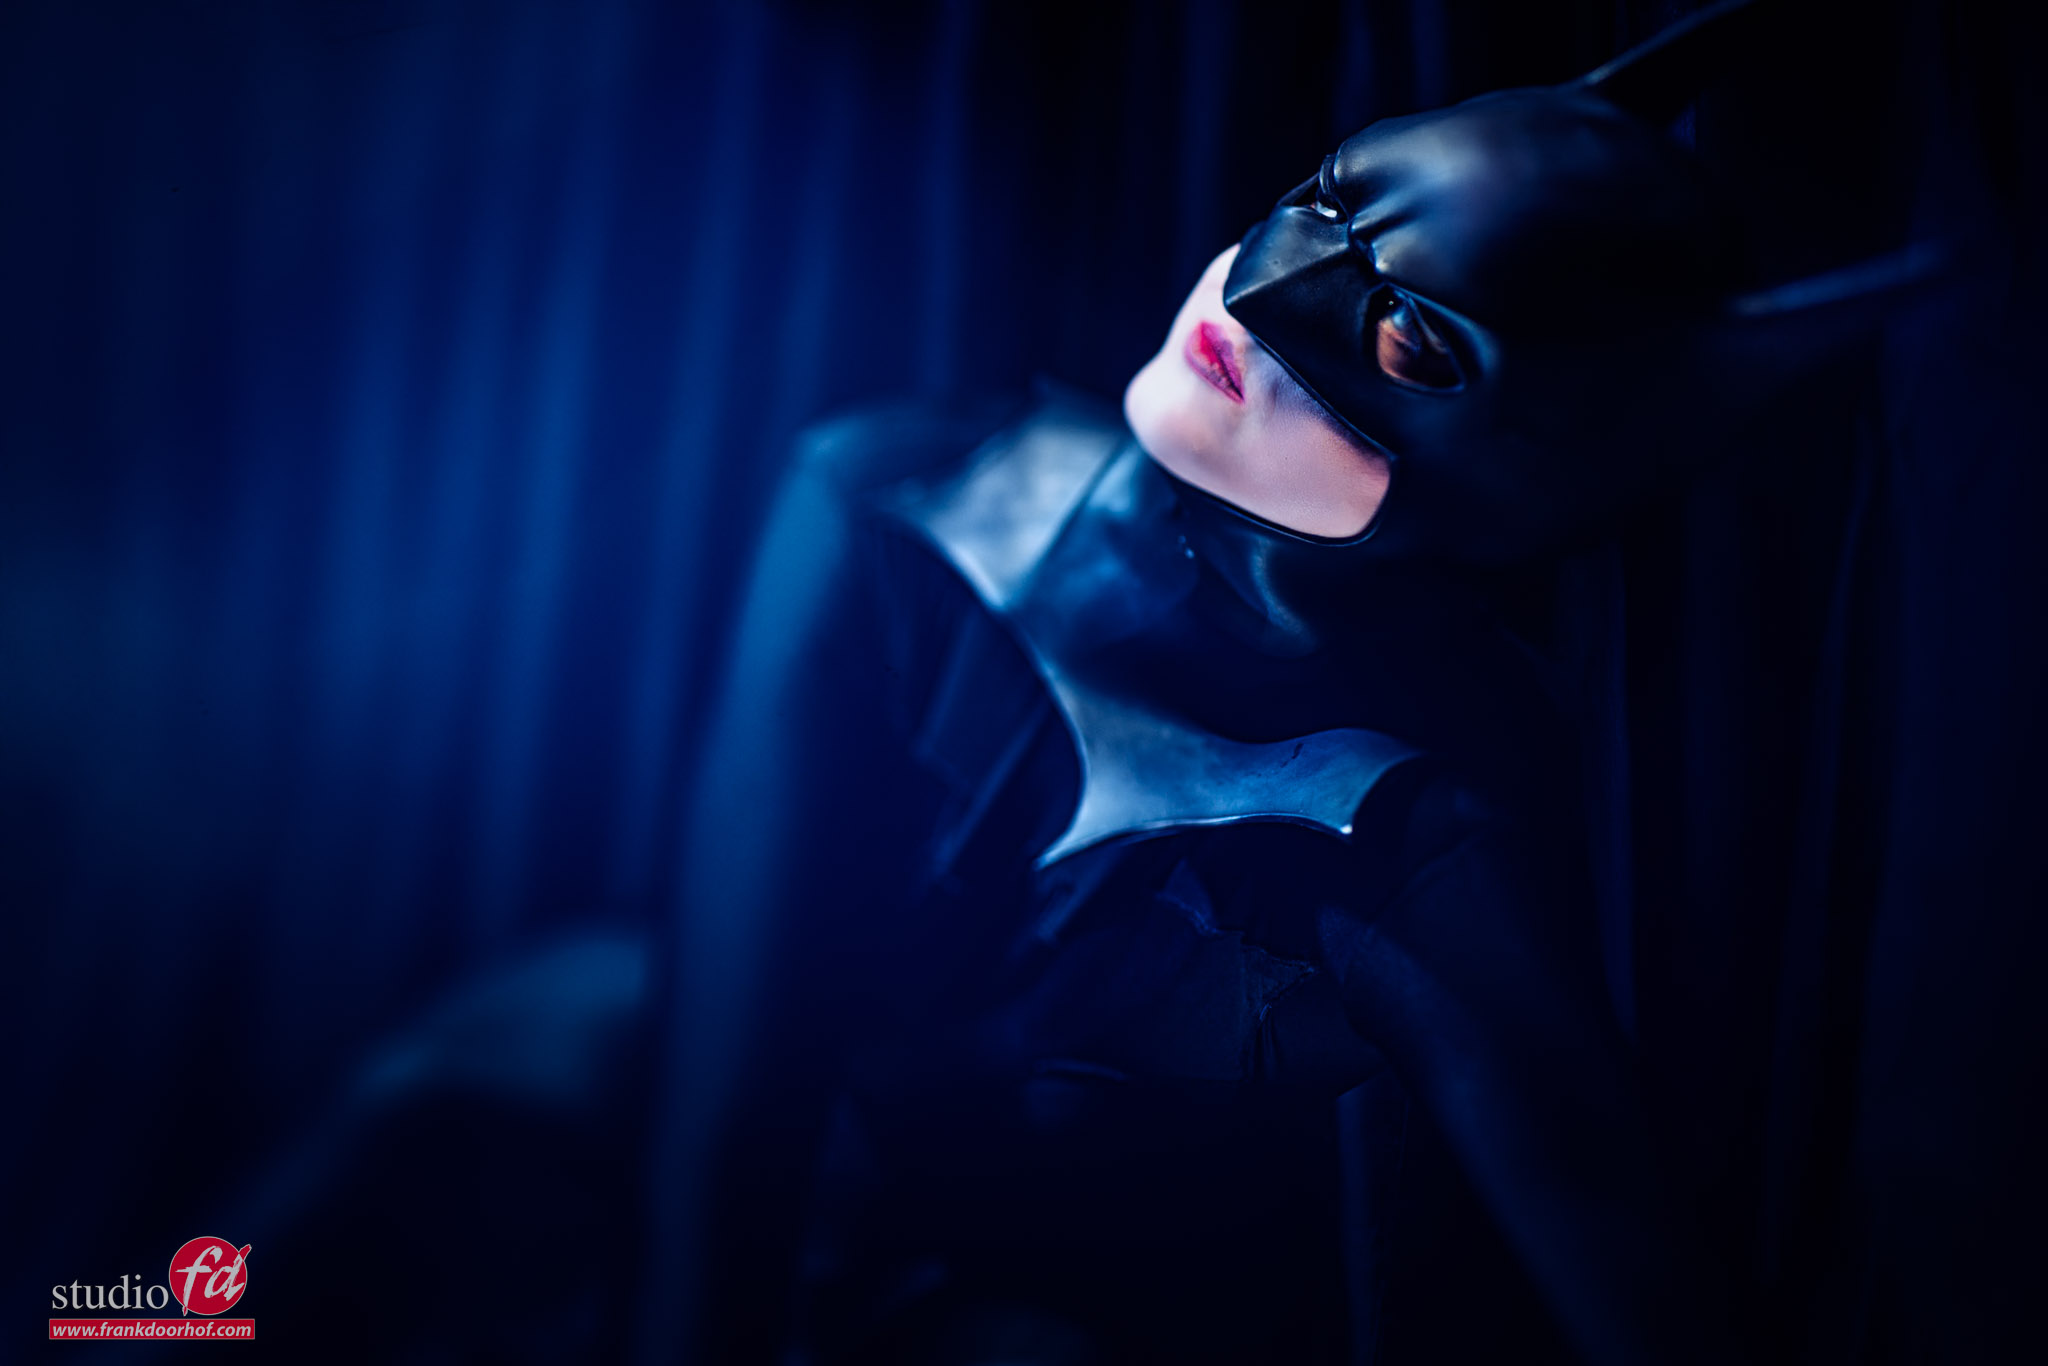
workshop Cosplay

This was our Batman costume. Because the model had no matching shoes, she is just wearing black socks.

Set 3: The mix set

Another question that comes back a lot is “how to mix continuous lighting with strobes.”
So we decided to do the final set of the day with a chandelier and mix it with strobes.
Of course, I could have gone for a focused light source, which makes it slightly easier to get separation between the continuous light and strobes.
But it’s a workshop, and one of the attendees wanted to see what the effect would be with a very broad light source, like the Geekoto Lantern.

And that’s exactly what I used.
The main advantages of strobes like the Geekoto’s are that they can output a lot of light, use HSS, ETTL etc., but also that you can go really low.
And when mixing strobes with continuous lighting, this really helps.

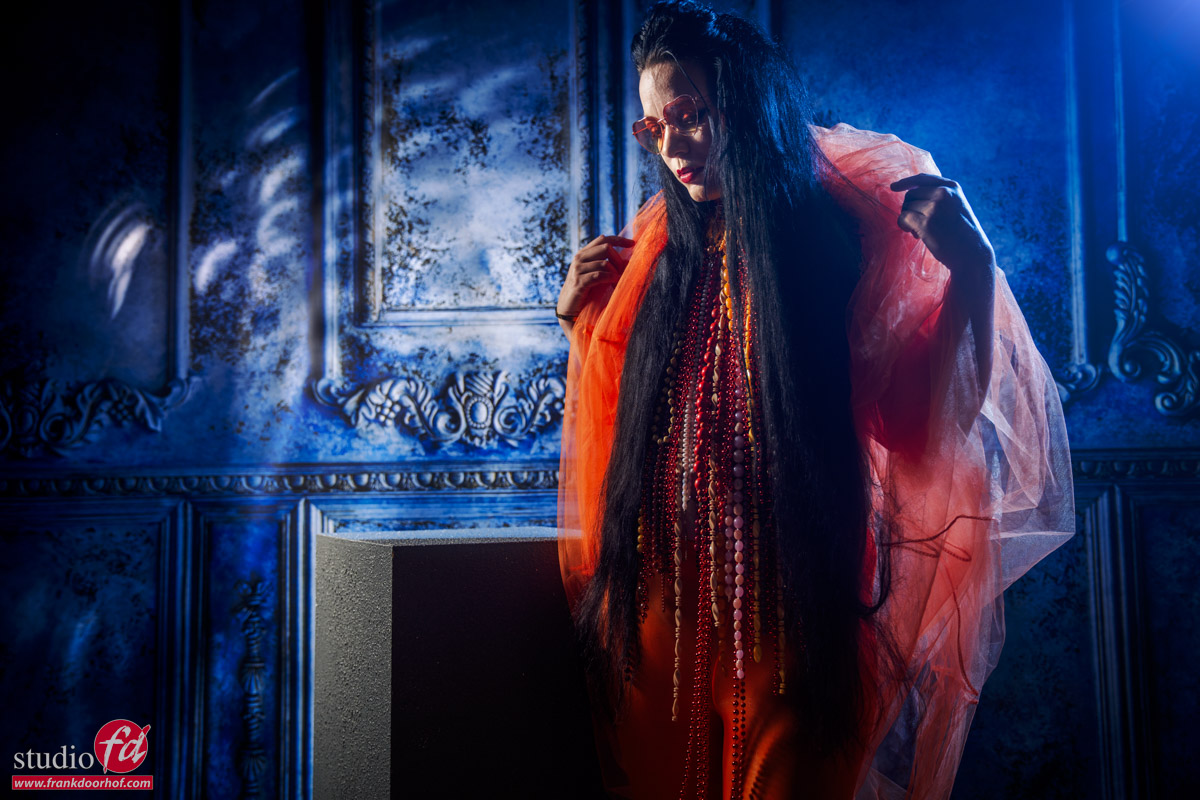
mixing light sources: flash and “natural” light

Because the lantern is a very broad light source, I decided to place it on the front and side to create different looks on the background.
Although the lantern is open on the sides, you can still feather the lantern; you just have to do it slightly more extreme. But the results are stunning if you like this look. It’s very hard to work with smaller light sources.

The first thing you do with a set like this is turn off all the studio lights. And you can use a light meter to meter the chandelier. But it’s easier to set your camera up for “exposure compensation/setting effect”, and look at the LCD/Viewfinder and adjust the settings till you like the effect of the chandelier.
Because I’m using a very broad light source, I’m actually opting to keep the chandelier very dark, preventing blown-out lights, but still keeping the mood of the set.
As soon as you know the aperture and ISO (shutter speed is not important as long as you don’t break the X-sync (1/125)), you can use the lightmeter to set up your strobes.
It’s a super-fast process, and thanks to the live view emulations, it’s now easier than ever to get the lighting the way you want.

When you’re shooting, and you want more of the chandelier, just lower the shutter speed; if you want less, just raise the shutter speed.
I will often set everything up for 1/60. This way I can go 1 stop darker and 2 stops lighter.
You cannot change the ISO or Aperture, because that will have an impact on the strobe; the shutter speed only influences the continuous lighting.
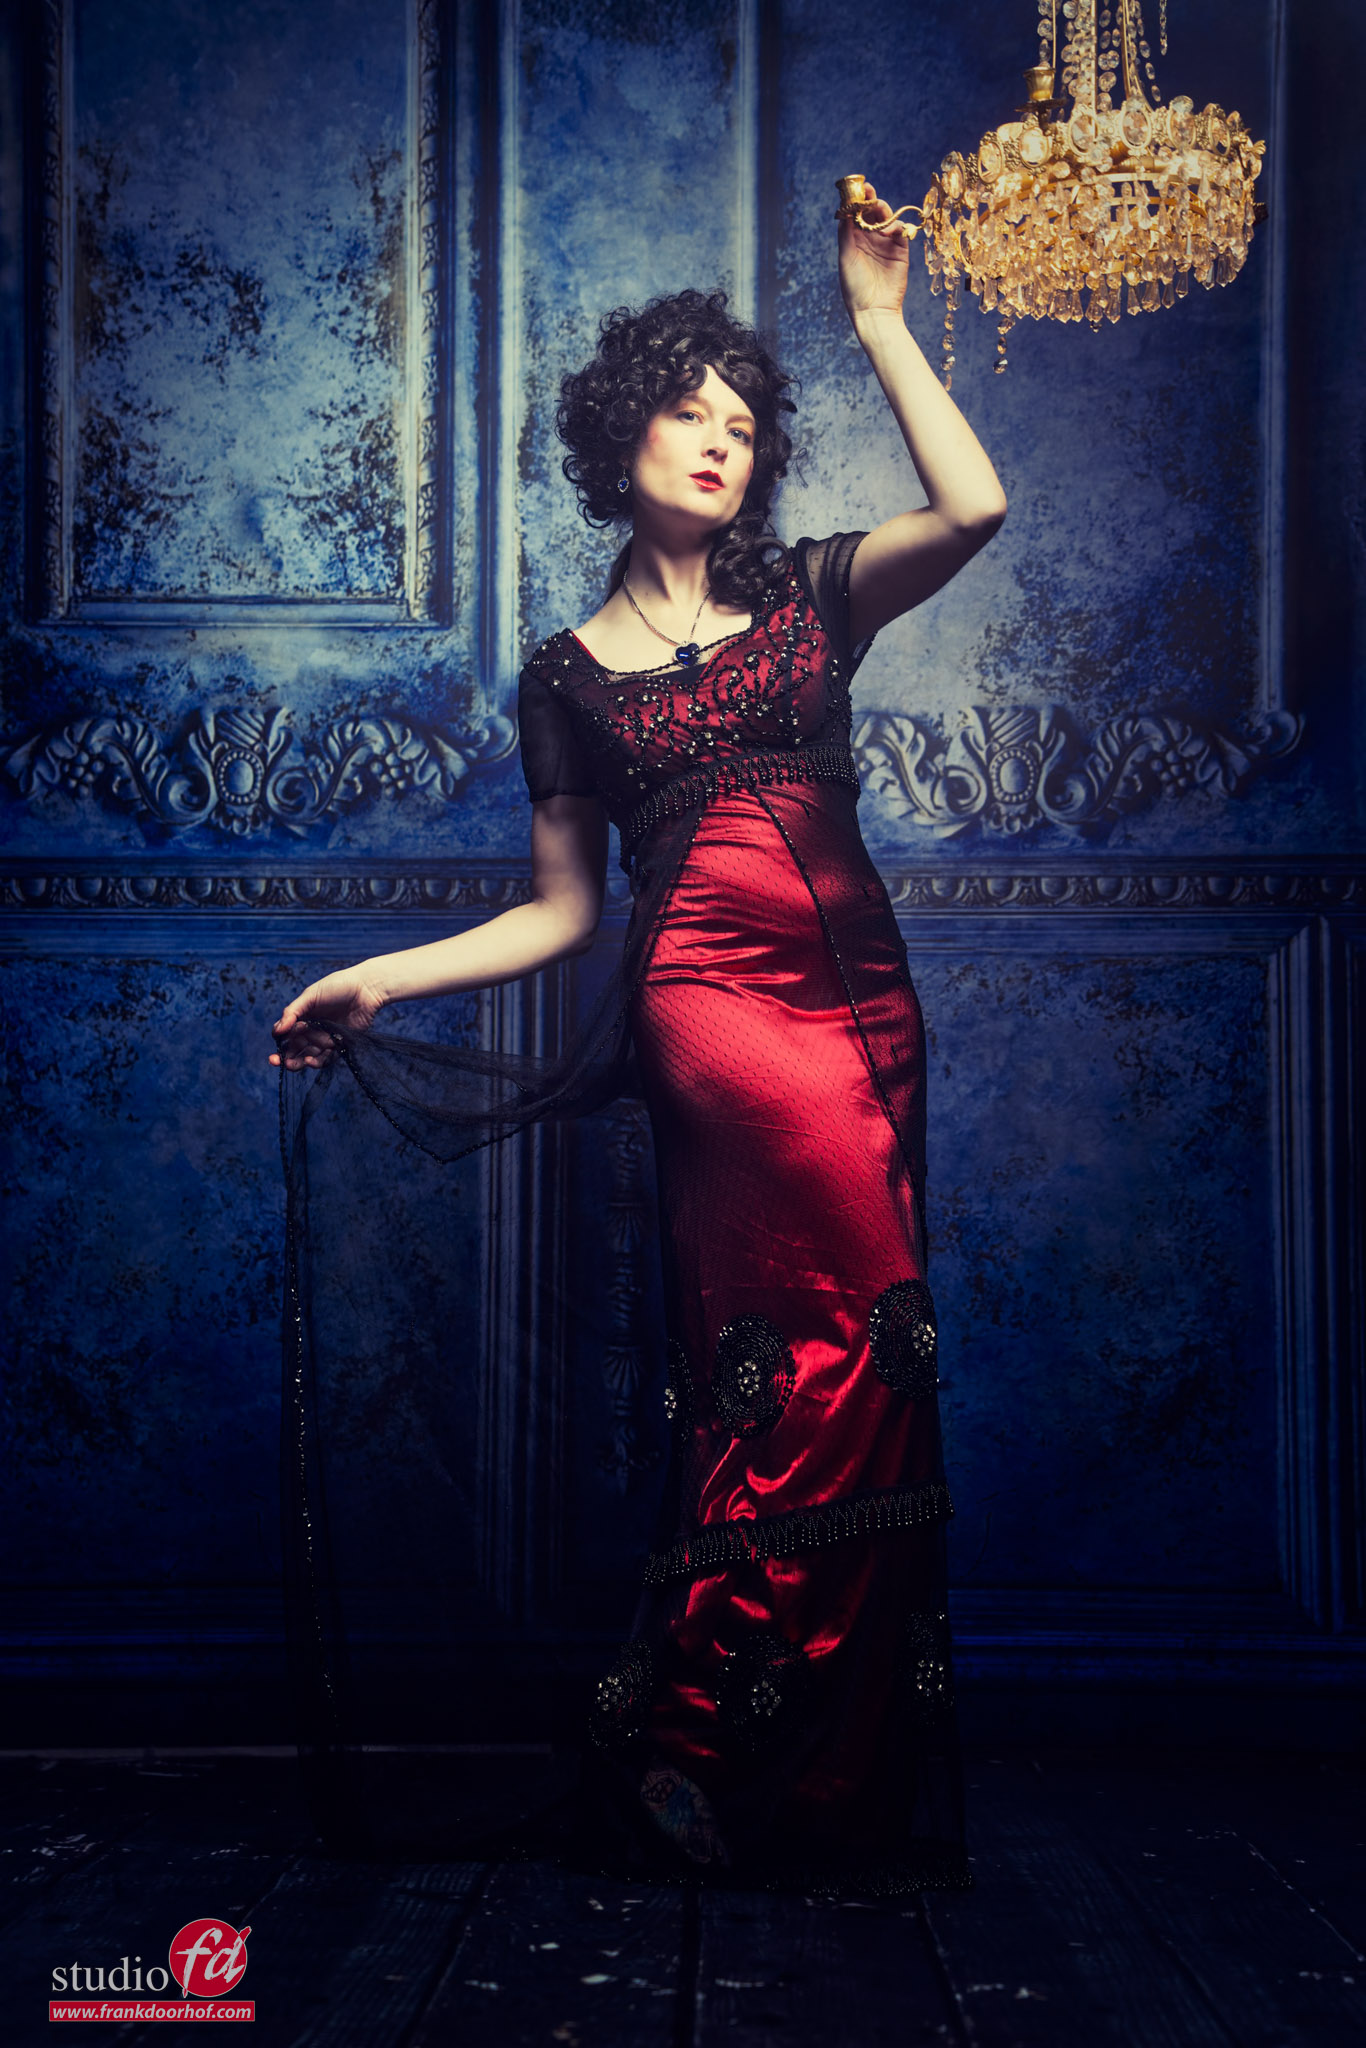
workshop cosplay

This is a replica of the Titanic Dress, with matching accessories like the heart earrings and necklace.
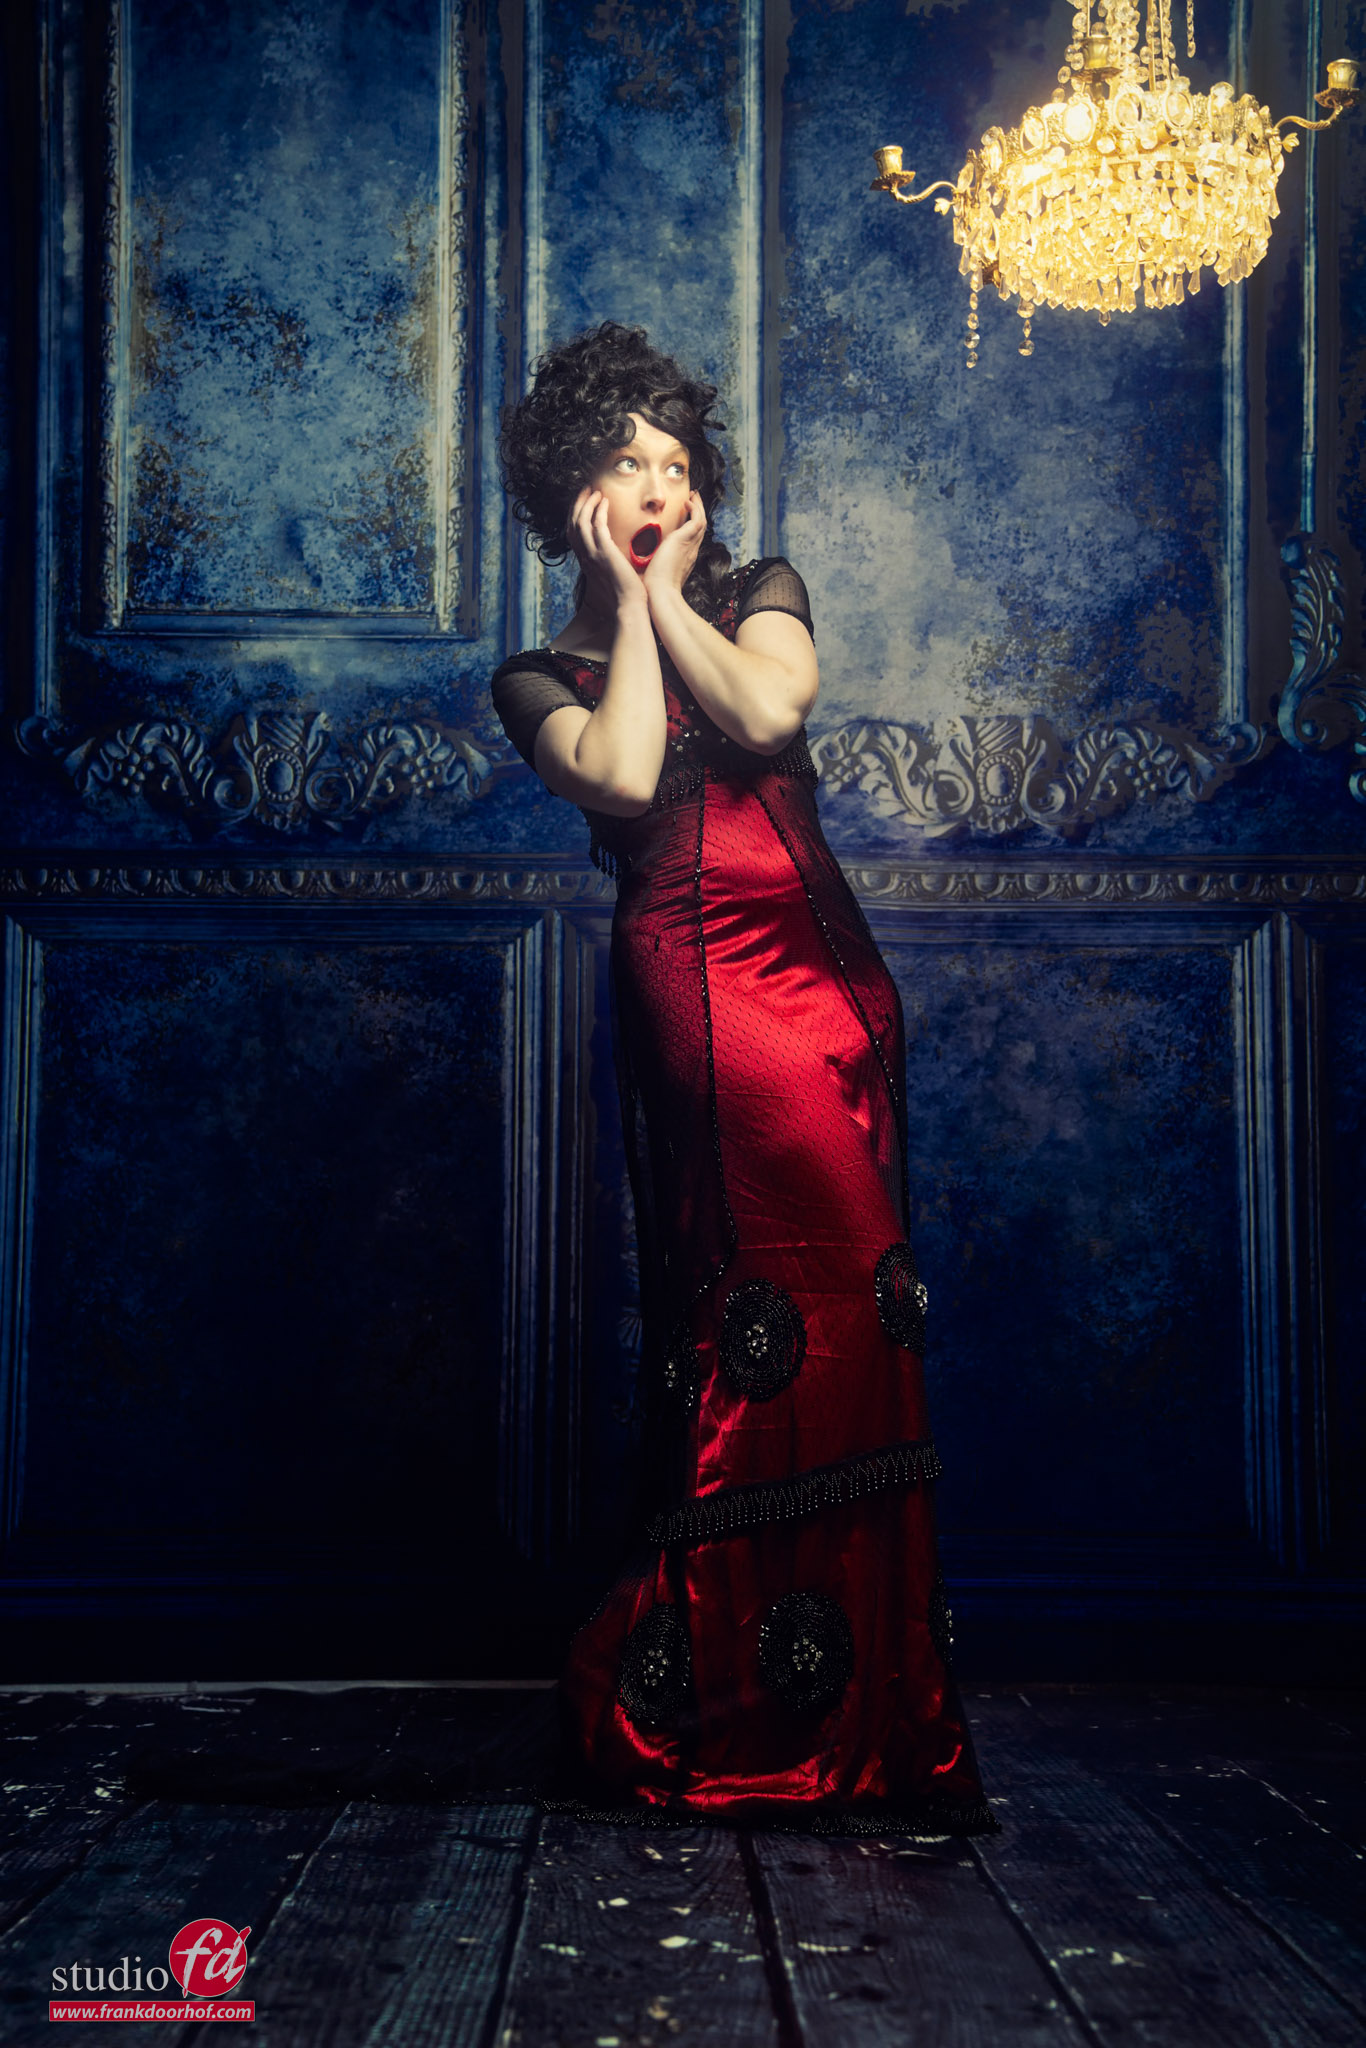
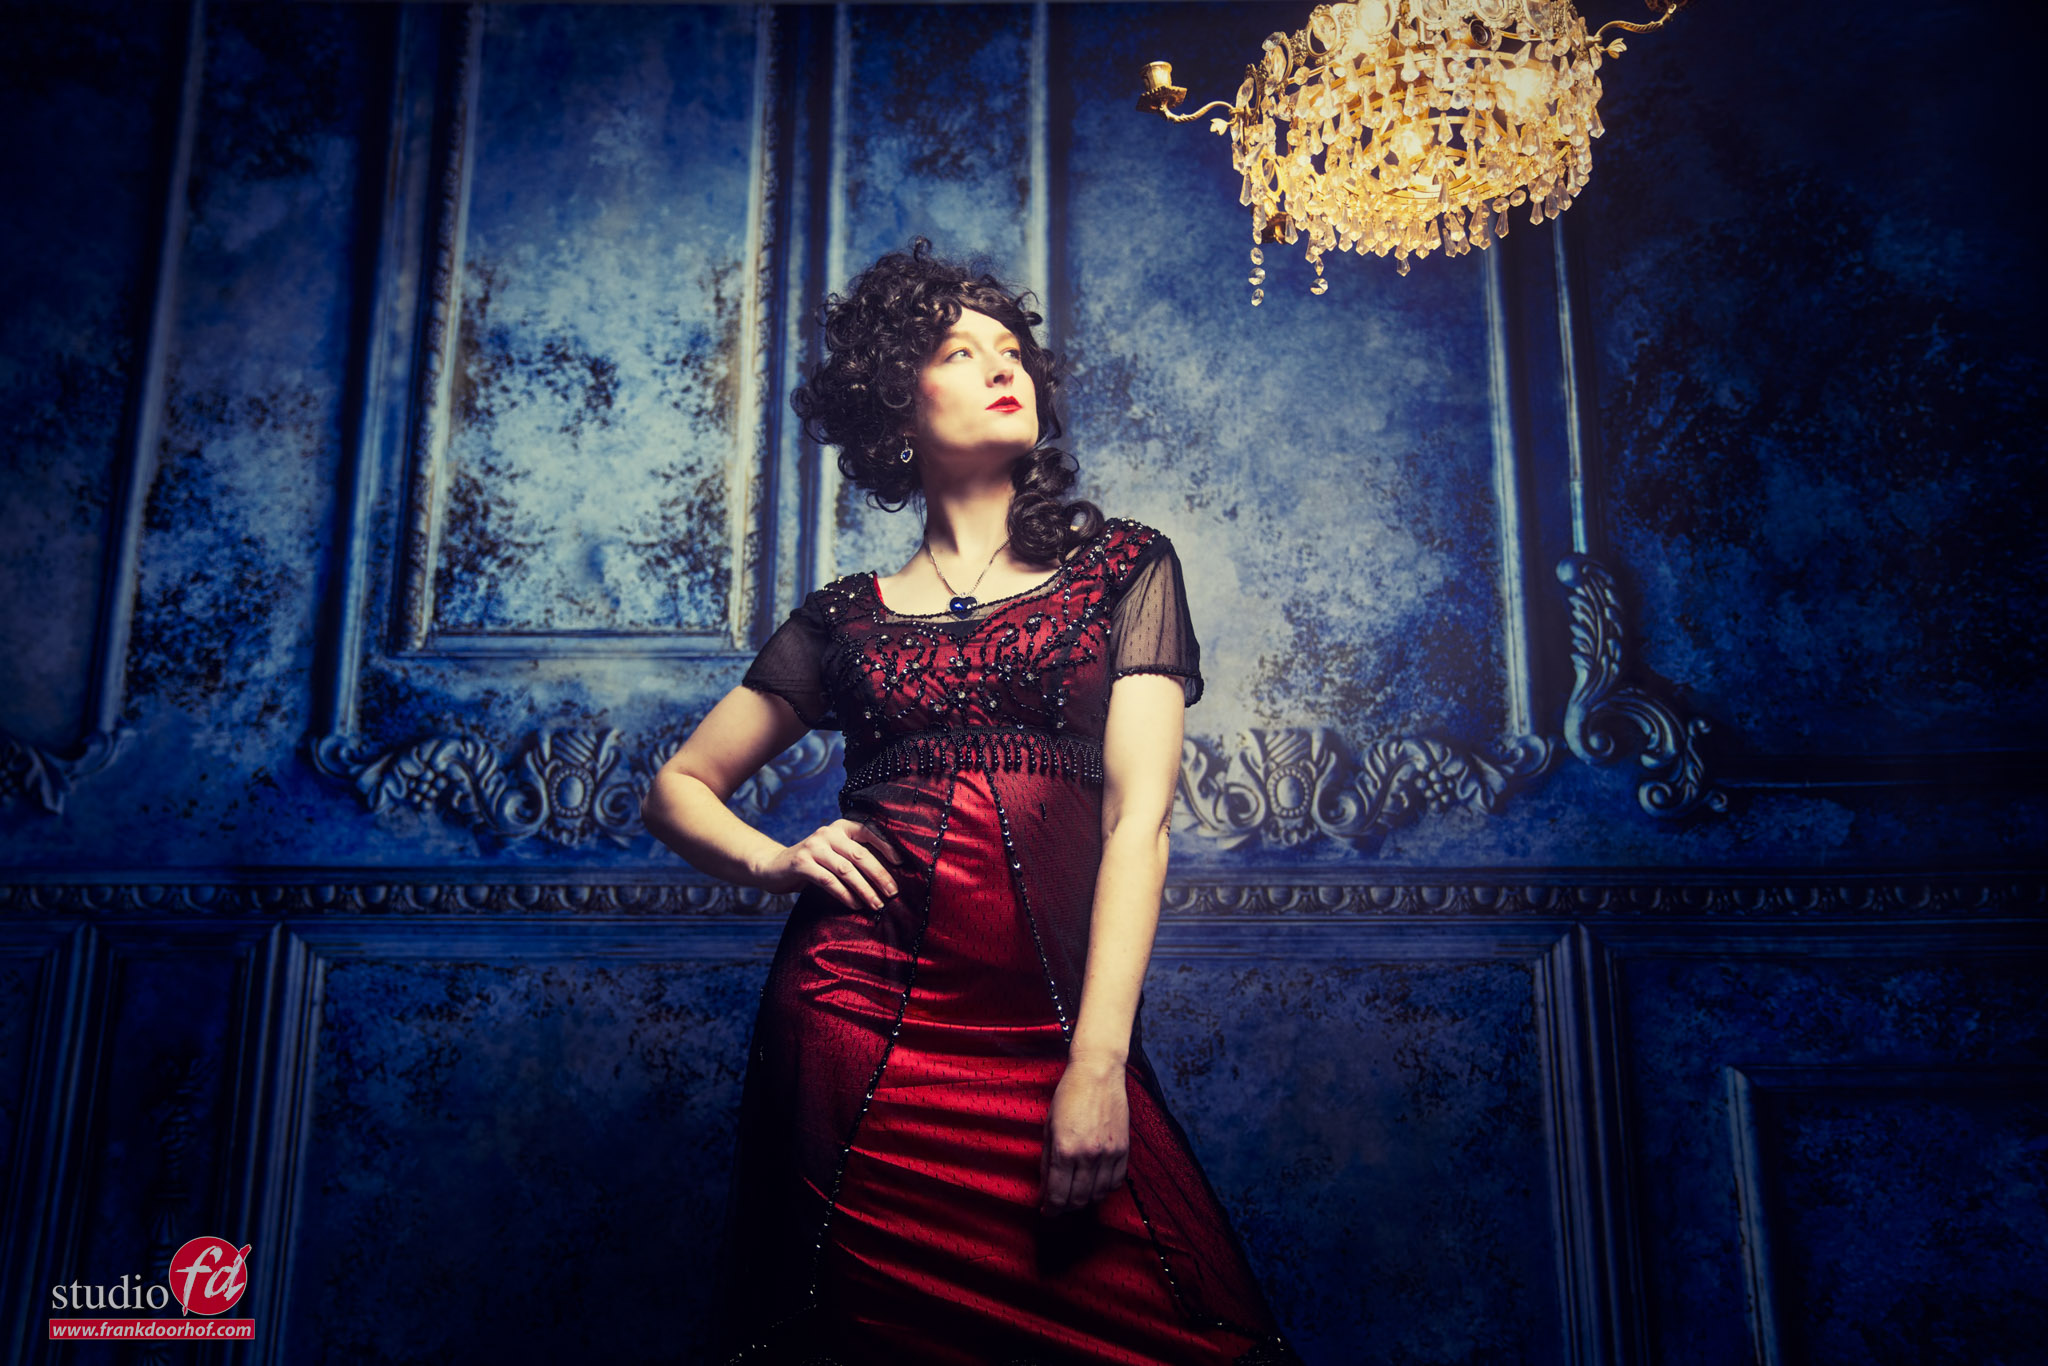
And of course, we also shot a few images without the strobes.
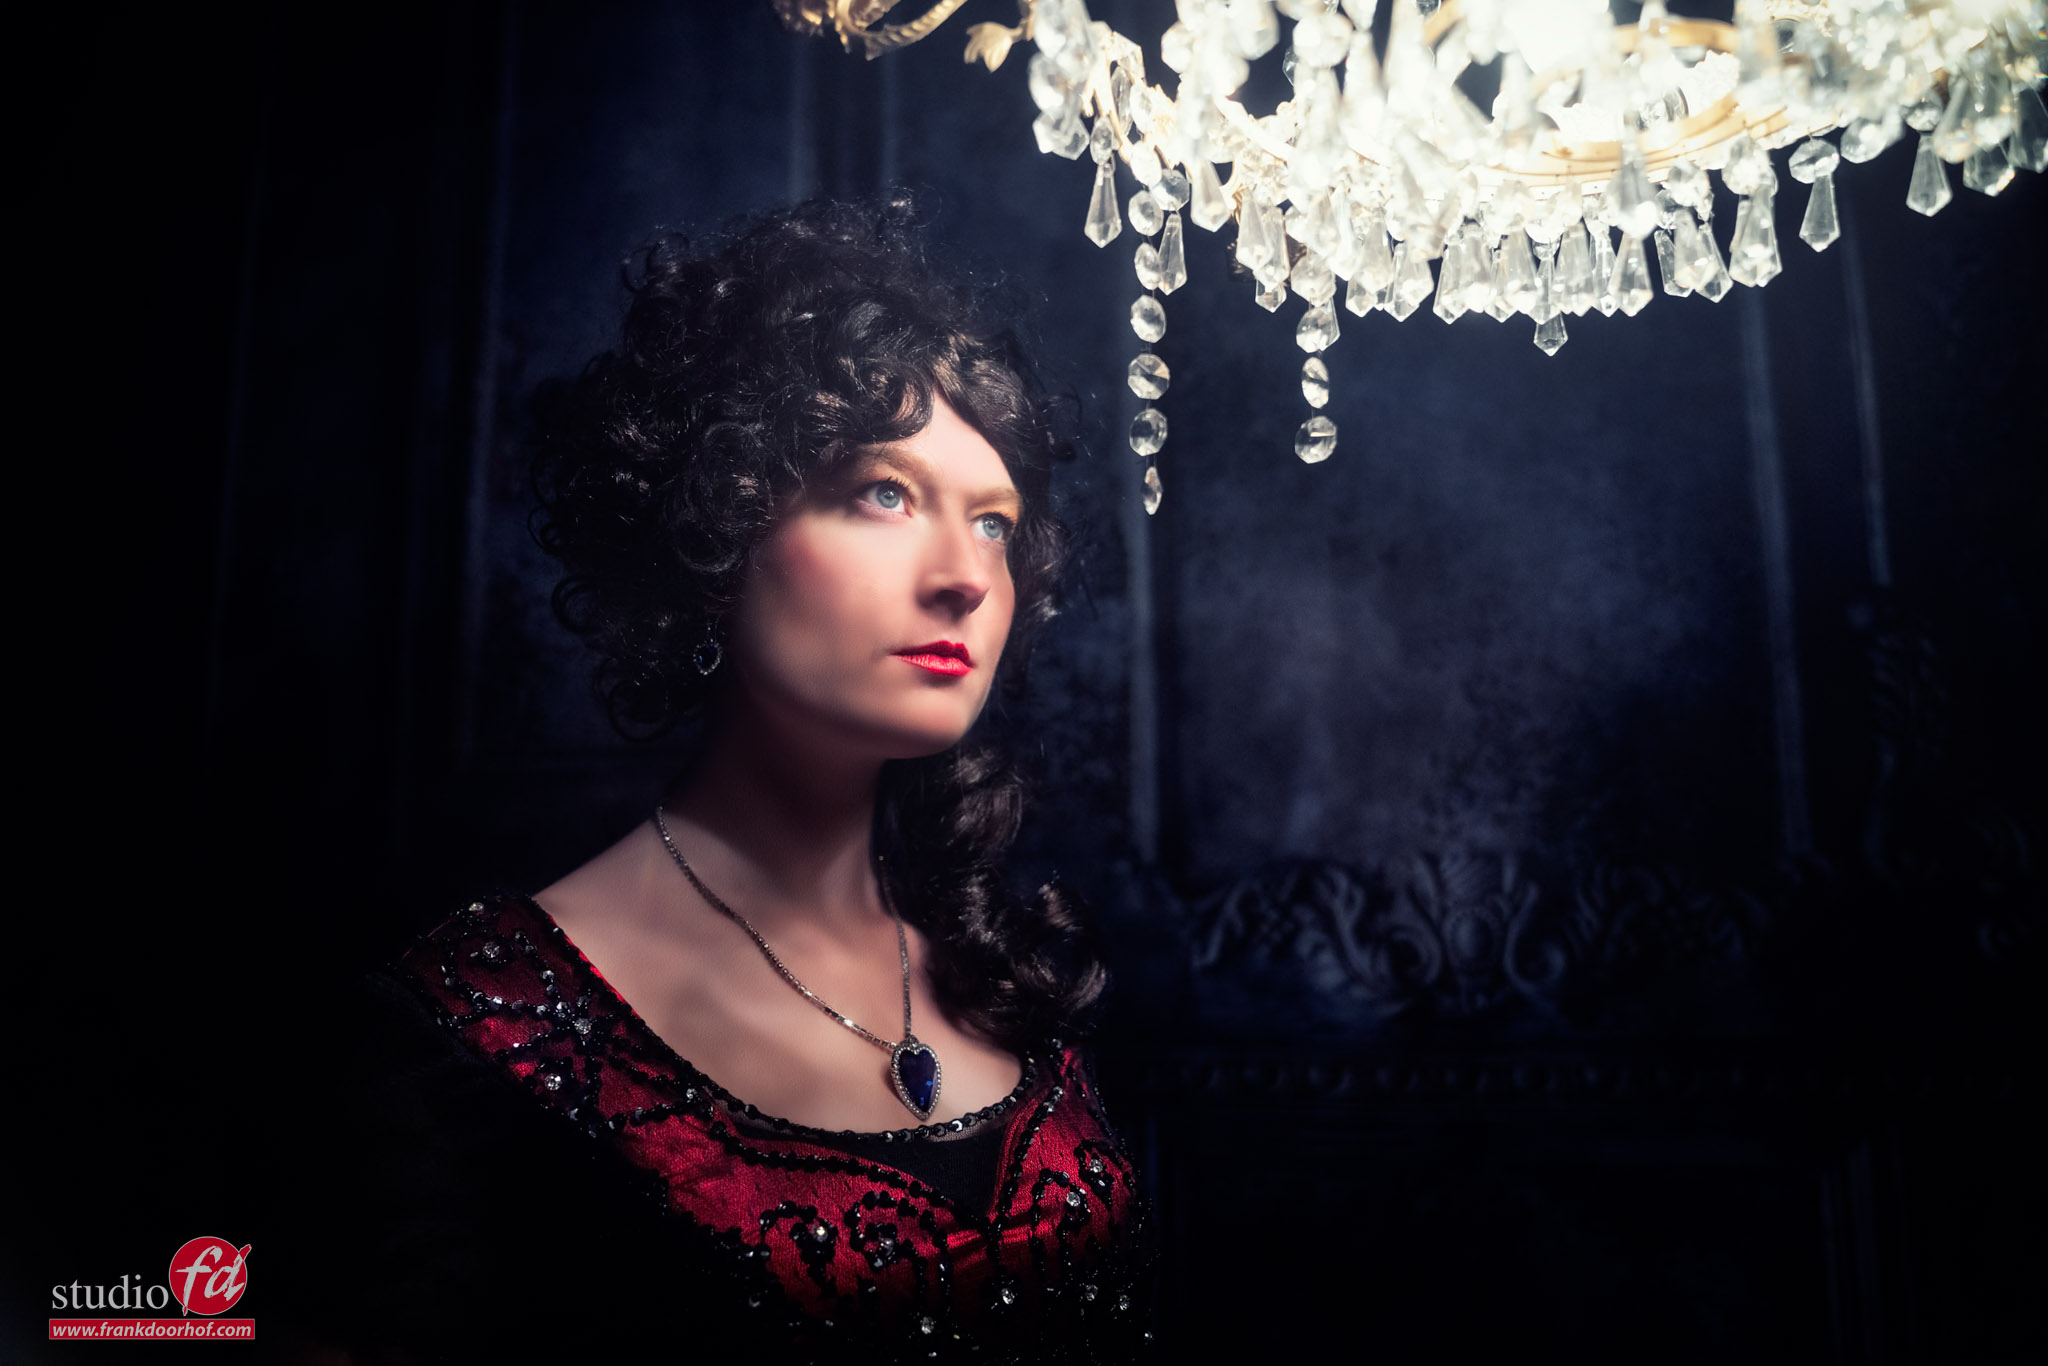
workshop Cosplay

Conclusion about the workshop Cosplay

The workshops are always different.
We start the workshops with a Q&A in which all the attendees can ask whatever they want. Some questions will be answered right away. But most will be incorporated into the workshop. This means the workshops are always a challenge for the whole team, including the attendees. And it also means we always have different sets and results. Meaning the workshops are always interesting but never the same.

If you also want to visit a workshop, visit fotografie-workshops.nl for the Dutch agenda and events.
If you’re not speaking Dutch, no problem, let us know a few weeks in advance, and we’ll change the workshop language to English.
Or you can, of course, opt for a full day 1:1 online workshops. We have several cameras set up, and you see the whole retouch process, plus after the workshop, you get the video and all the RAW files I shot. This is a great interactive learning tool you won’t find anywhere else.

https://frankdoorhof.com/web/wp-content/uploads/2025/11/Linda-1-November-22-2025.jpg 1366 2048 Frank Doorhof https://frankdoorhof.com/web/wp-content/uploads/2015/03/studioFD_Logo-1FV.png Frank Doorhof2025-12-05 18:00:522025-12-06 15:41:18Results from one workshop Cosplay!

It’s a funny story

2-12-2025/in blog, Visions and technique/by Frank Doorhof

Sometimes it’s not what you expect

But that doesn’t always mean a bad thing.
Recently Geekoto released their new collapsable Beautydishes  
I’ve been shooting fashion/portraits for a long time and have worked with a lot of different beauty dishes, and this one is different.

For me a beauty dish is literally a dish in silver or white that gives a very harsh but nice light quality of light without hotspot due to the deflector that is placed in front of the flash tubes. It’s a very distinct look and to be honest the first time I saw the beauty dish from Geekoto it was not what I expected. But it ended up one of my favorite modifiers.

But of course I started to experiment and came to a totally different conclusion than “this is not a beauty dish”.
It’s actually a very interesting softbox.

First of all when you use the diffusion material you get a very nice evenly lit softbox without hotspot.
Use the grid and you will get a slightly darker center but it actually creates some really cool effects when you start to experiment a bit more.

The diffuser can be placed in two different positions which got me thinking.
What when we take off the diffusion material and use it like a beauty dish. Of course this doesn’t work because the deflector is still inside a softbox that focusses the light, compared to a shallow dish, but the effect is actually super cool.

By using the deflector and no diffusion material you get the “weird” lighting effect where the center is darker and the sides lighter.
by changing the position of the deflector you can change this effect.

But what about when placing the beauty dish next to the model and experiment with the placement of the deflector.
I think I never saw an effect like this without using flags or other kinds of tricks.
With the new Beautydish it’s super easy, and without a doubt a setup I’m going to be using a lot.

Don’t judge by name

One of the things I always try to do with new gear is to see in how many different ways it can be used.
My first impression was “not a beauty dish” but after these tests I can only say, this is one of the most versatile soft boxes on the market.

Place the diffuser and deflector for a super soft softbox.
Take out the deflector for a standard softbox
Use the grid to focus
Use it from the side and front with only the deflector for some cool lighting fall off effects.

And finally, how about using it without the diffuser, but with the deflector and the grid, indeed awesome effects on the background, but because the model is in the center, there is no shadow on the model due to the deflector. It’s so much fun to find so many uses for one light shaper.

You can get the Geekoto light shapers and strobes on our webshop.
If you have any questions, feel free to reach out, we always try to answer within 24 hours.

Workshops

Want to learn everything about light control?
Want to visit a workshop where it’s not just shooting a model with a fixed lighting setup, but see how the setup is build and adjusted to the taste of the group?
And of course learn how to work with poses, backgrounds, small sets, styling, retouching and a lot more…..

If this all sounds awesome, visit fotografie-workshops.nl and book your workshop.
If you don’t speak Dutch, no problem, let us know a few weeks in advance and we can switch the workshop to English.
Not possible to travel to The Netherlands?
We got you covered with our 1:1 online workshop.
We have a full streaming setup in our studio. 4 detail cameras and of course the retouching software so you can see every detail and of course ask questions during the day. Plus you get all the RAW files after the workshop.


https://frankdoorhof.com/web/wp-content/uploads/2025/11/Nynke-53-October-11-2025-Edit.jpg 1366 2048 Frank Doorhof https://frankdoorhof.com/web/wp-content/uploads/2015/03/studioFD_Logo-1FV.png Frank Doorhof2025-12-02 18:00:352025-12-03 17:39:51It’s a funny story
Page 3 of 3123

Newsletters

Subscribe to our newsletter for updates, discounts, and much more

English news letter
Dutch news letter

Interesting links

Here are some interesting links for you! Enjoy your stay :)

Snel naar

  • Blog
  • Learning with Frank
  • News etc
  • Reviews
  • Shop products & books
  • Contact

Contact

Studio Frank Doorhof:
Constructieweg 8
8305 AA Emmeloord

The Netherlands
+31-6-14522327

Or Email : info@frankdoorhof.com


© Copyright 2000 - - Frank Doorhof
  • Link to Facebook
  • Link to X
  • Link to Youtube
  • Link to WhatsApp
Scroll to top Scroll to top Scroll to top