Frank Doorhof
  • Blog (articles)
  • Rent our studio space
  • MAIN SHOP
    • MAIN SHOP
      • Orders
      • Account details
      • Downloads
      • Addresses
      • Lost password
      • Cart
      • Checkout
      • Terms webshop
      • Return policy
      • Privacy Policy
      • Privacy Statement in3. Dutch customers only. When you want to pay in 3 parts
  • IQwire Tether Cables
  • Rogue Modifiers
  • Geekoto Flash and Modifiers
  • Platypod
  • Click Backdrops
  • PORTFOLIO
  • Learning with Frank
    • Dutch workshop agenda
    • Workshops
    • A Year With Frank
    • Online 1:1 workshops
    • 1:1 workshops in English
    • Portfolio review by Frank Doorhof
    • Patreon
  • Support our work
  • Merchandise
  • Digital Classroom LIVE
  • Our YouTube channel
  • Biography Frank Doorhof
  • Services
  • Discounts etc
  • I need help
  • Menu Menu
  • Shopping Cart Shopping Cart
    0Shopping Cart
  • Link to Facebook
  • Link to X
  • Link to Youtube
  • Link to WhatsApp

Hammering out a great shot with Harley Quinn

28-06-2025/in blog, Visions and technique, Webinars and instructional videos/by Frank Doorhof

Cosplay themes are always fun

Today we had a real movie star in our studio!
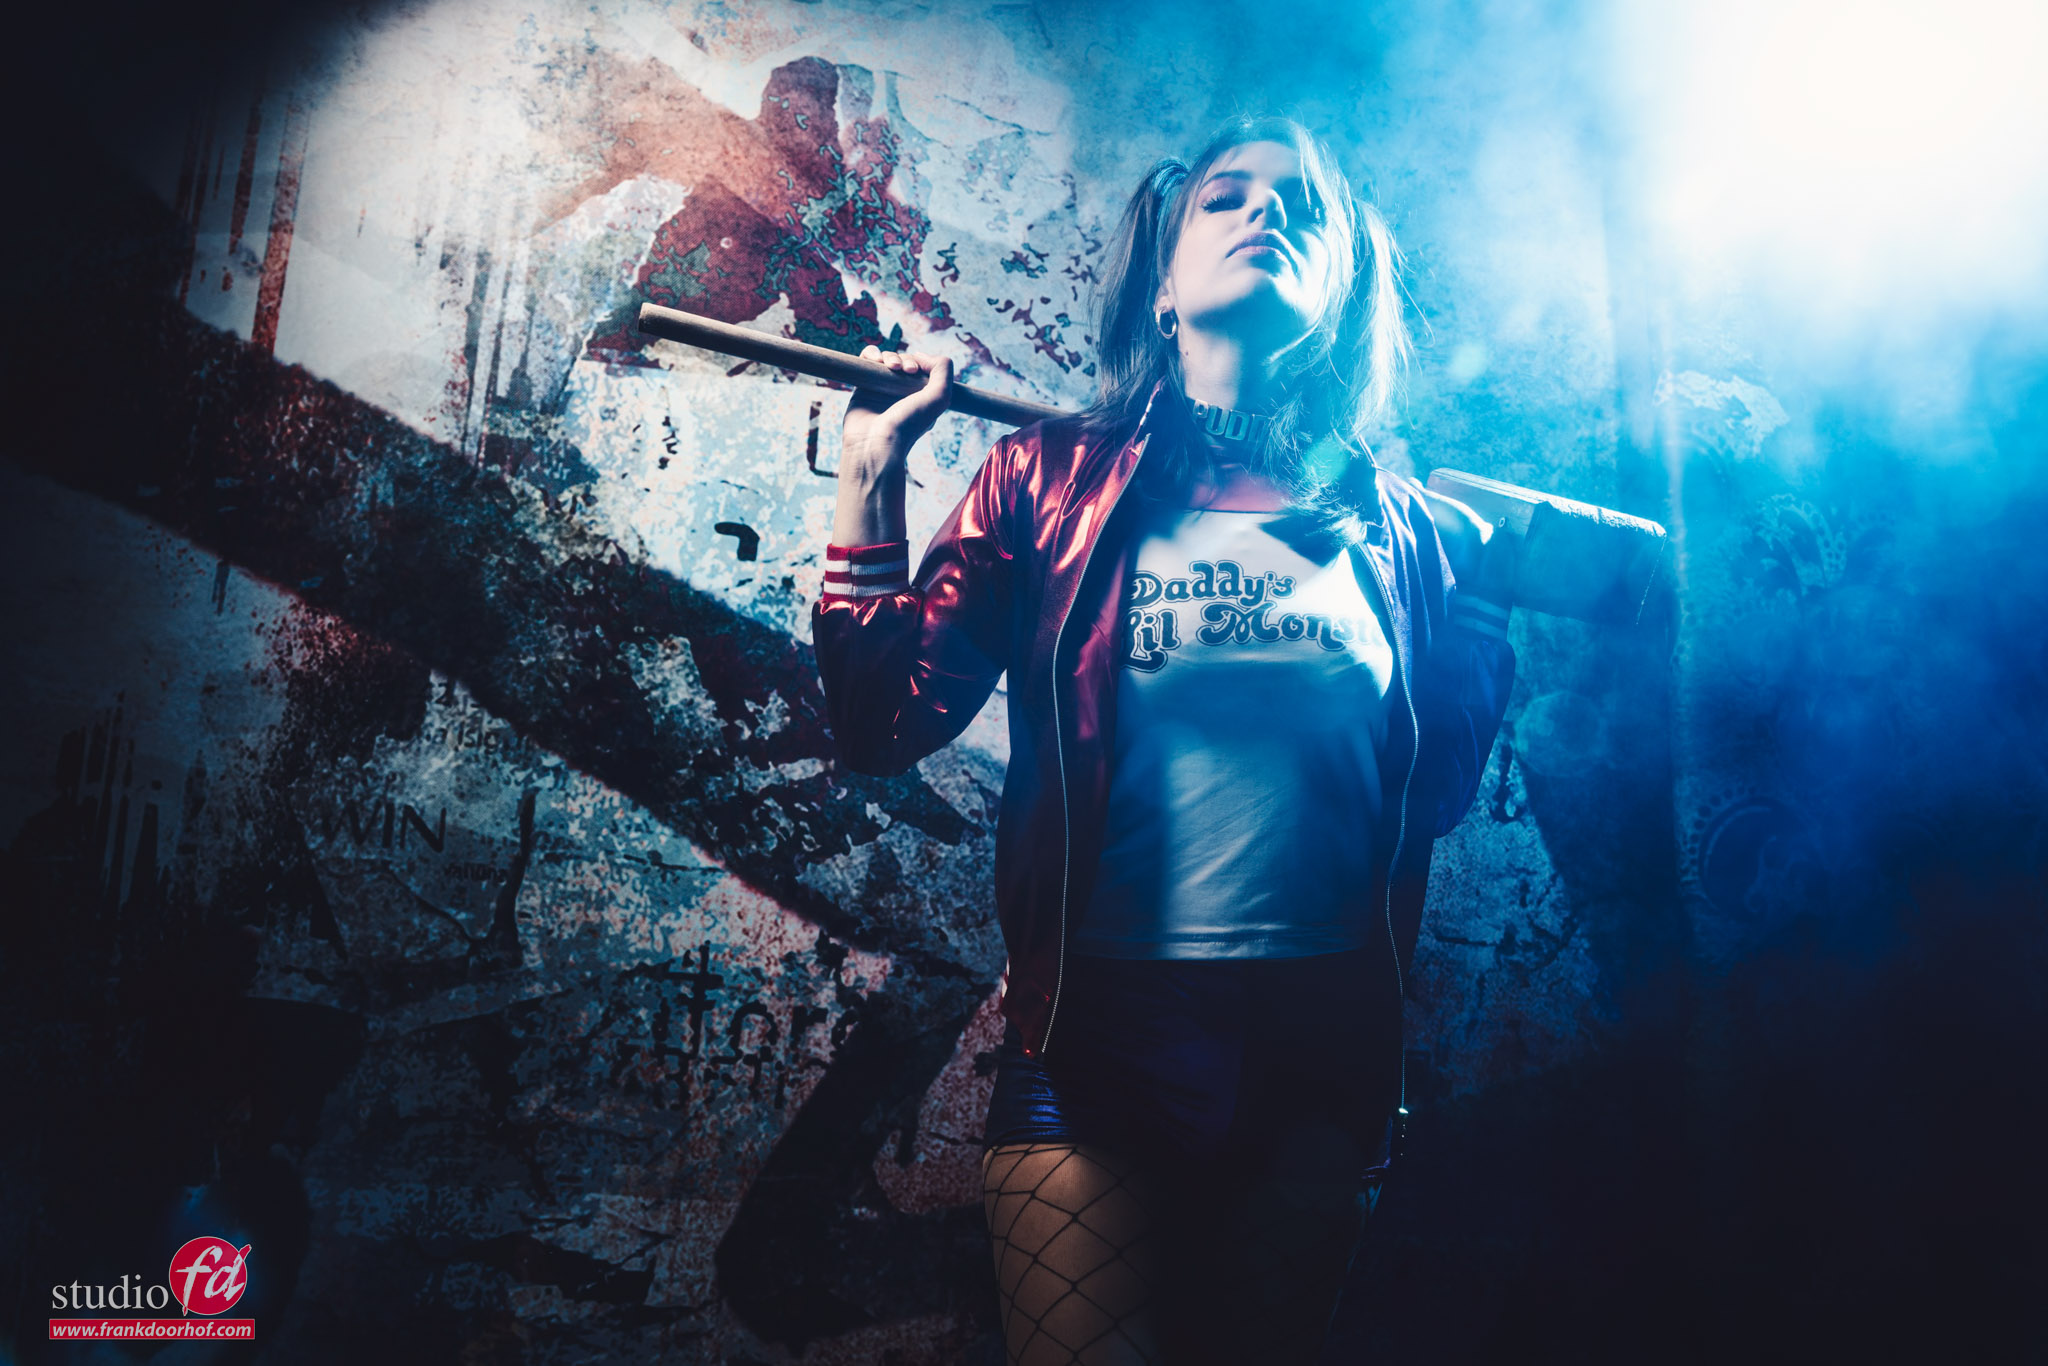
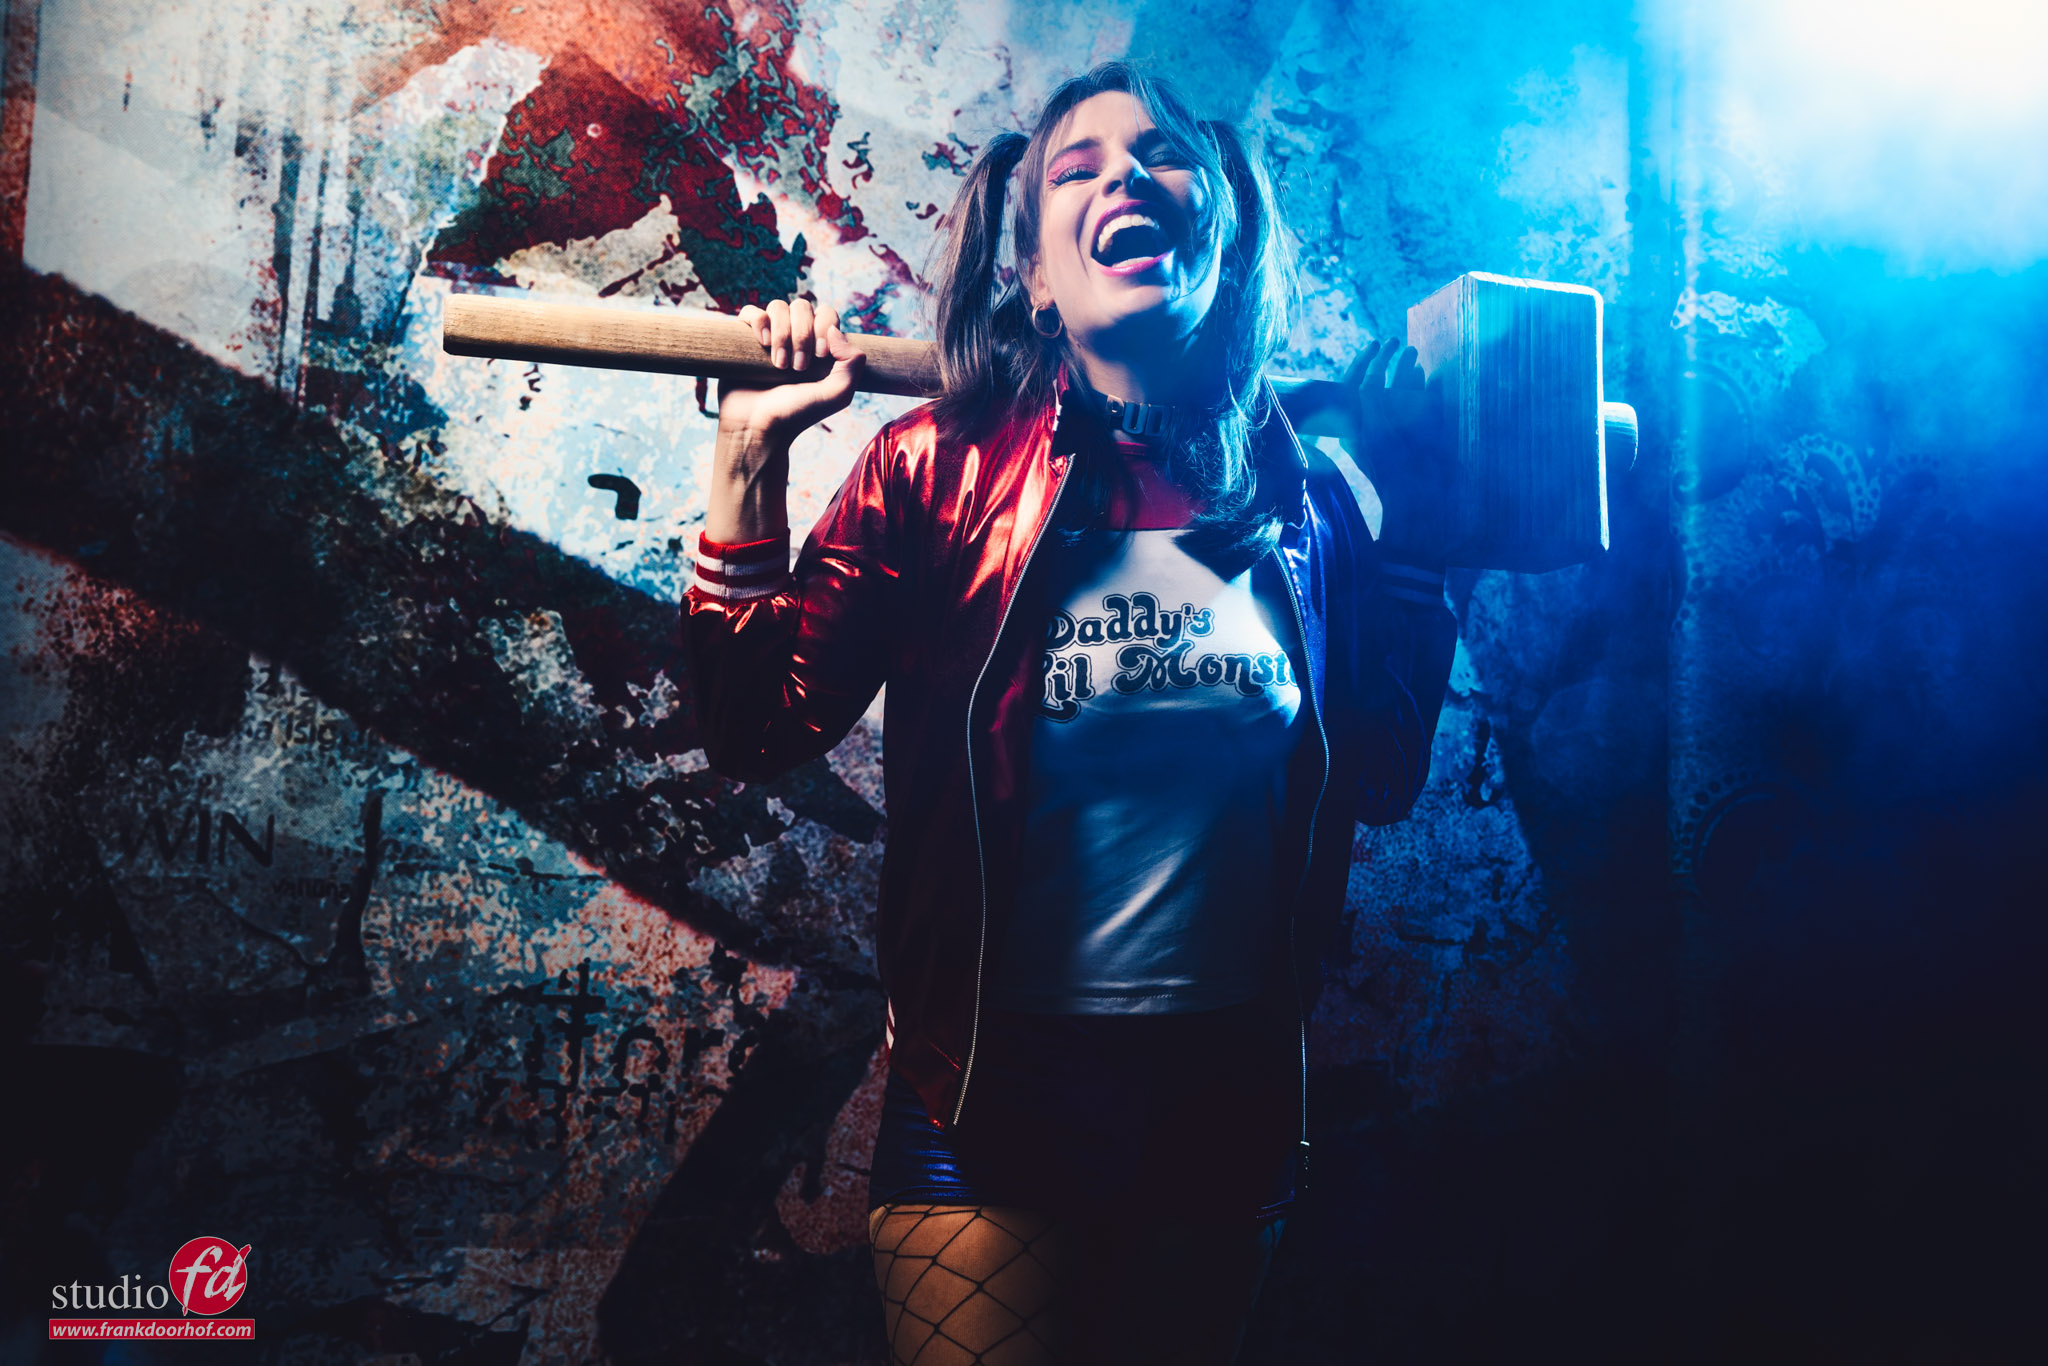
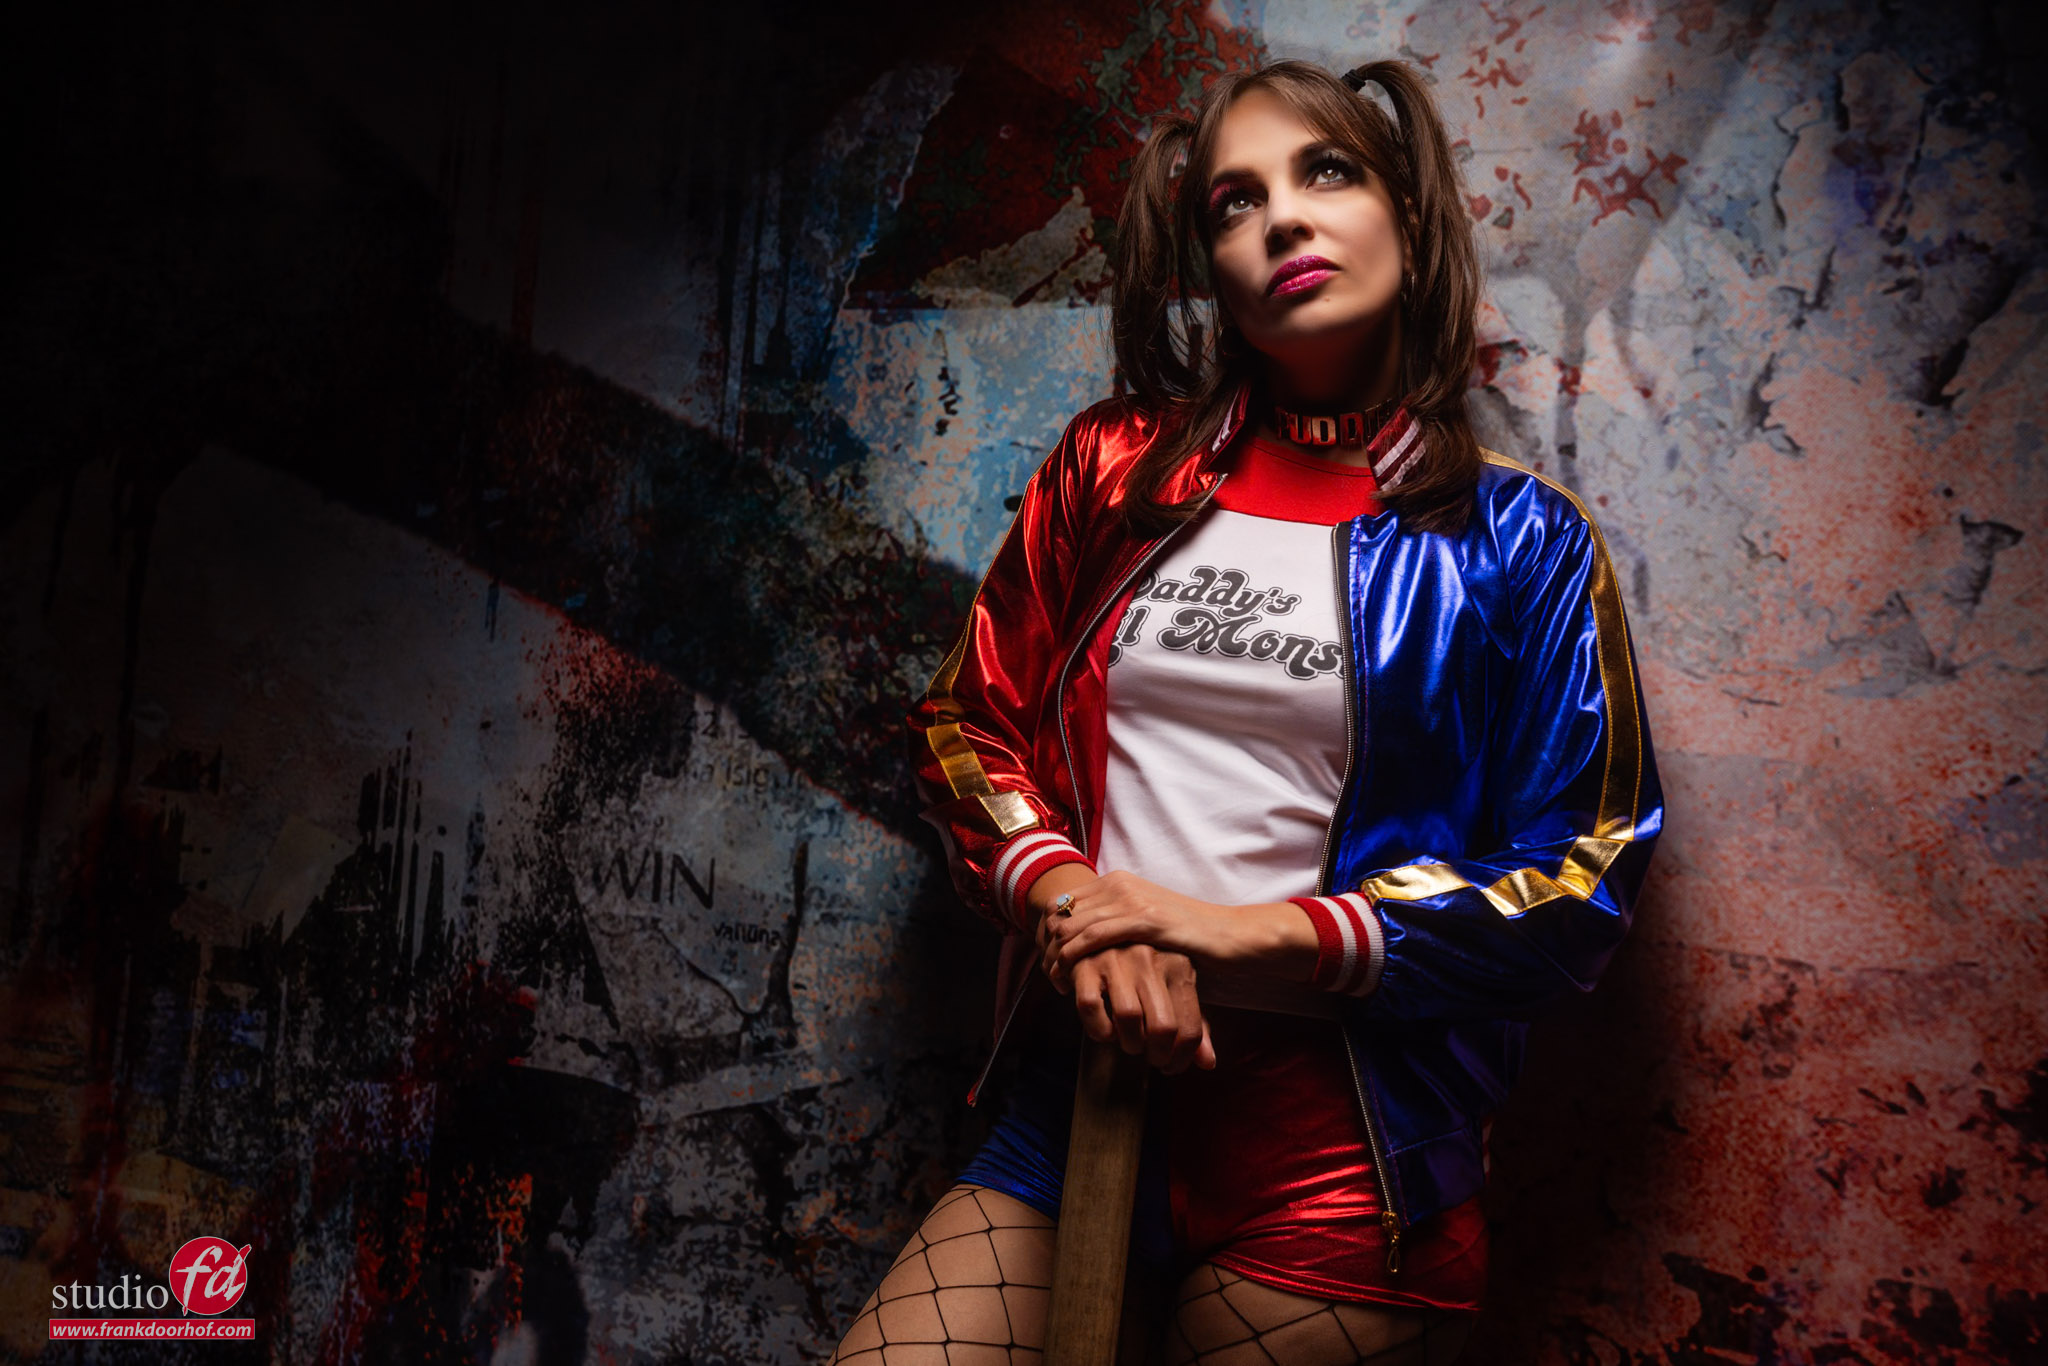
Felisa as Harley Quinn, complete with a big hammer, because Harley likes to smash things.

But how to create an image as if she is standing outside with a structured wall and adding some nice contrast?
When you want a more filmic look instead of a great portrait, other things are important in the shoot compared to a portrait.

It’s about the whole mood and atmosphere of the image.
In this setup I’m creating a mix between a photo and a movie scene by using some more top down lighting and of course lighting effects from a strobe from the back.

Of course, it helps if you have a great background like the Urban Arrow, graffiti from Click Backdrops.

In this video, you’ll see how the scene is lit, with a gridded softbox from the front and a blue accent light from the back for some extra lens flare.
Why blue?
Check the video.
You’ll see some behind-the-scenes scenes and the results.

But first the results.

And one without special effects, for the contrast 😀

https://youtu.be/I0kPx7G5U3E


https://frankdoorhof.com/web/wp-content/uploads/2025/06/Felisa-93-May-31-2025-Edit.jpg 1366 2048 Frank Doorhof https://frankdoorhof.com/web/wp-content/uploads/2015/03/studioFD_Logo-1FV.png Frank Doorhof2025-06-28 18:00:232025-06-25 14:11:19Hammering out a great shot with Harley Quinn

Some light, music and awesome photos

25-06-2025/in blog, Visions and technique, Webinars and instructional videos/by Frank Doorhof

Creative guitar photography with long shutter speeds & colorful light trails

As a passionate guitarist—and more importantly, a creative photographer specializing in model shoots with flash and vibrant colors—I’m always up for a fun challenge. In a recent workshop themed around motion, I decided to push my usual photography boundaries and dive into the world of long shutter speeds in this blog about creative guitar photography

Workshops are always fun and creative

And I always like to challenge myself. I don’t often use long shutter speeds. I decided to use this in a workshop about motion.
As you all probably know, I love guitars, and also play myself as often as I can.
You may have noticed guitars appearing in my photos from time to time. I often use my guitars for those shots. It also, of course, gives me an excuse to buy more, but don’t tell Annewiek.

Why Use Guitars as a Prop?

You’ve probably spotted guitars in my portfolio before. They’re not only a creative element—they also serve as a great excuse to expand my collection (shh, don’t tell Annewiek!). Normally, I shoot guitars solo or let models use them, but for this session, I wanted to capture something radically different: dynamic guitar performance combined with light movement.

Long shutter speeds

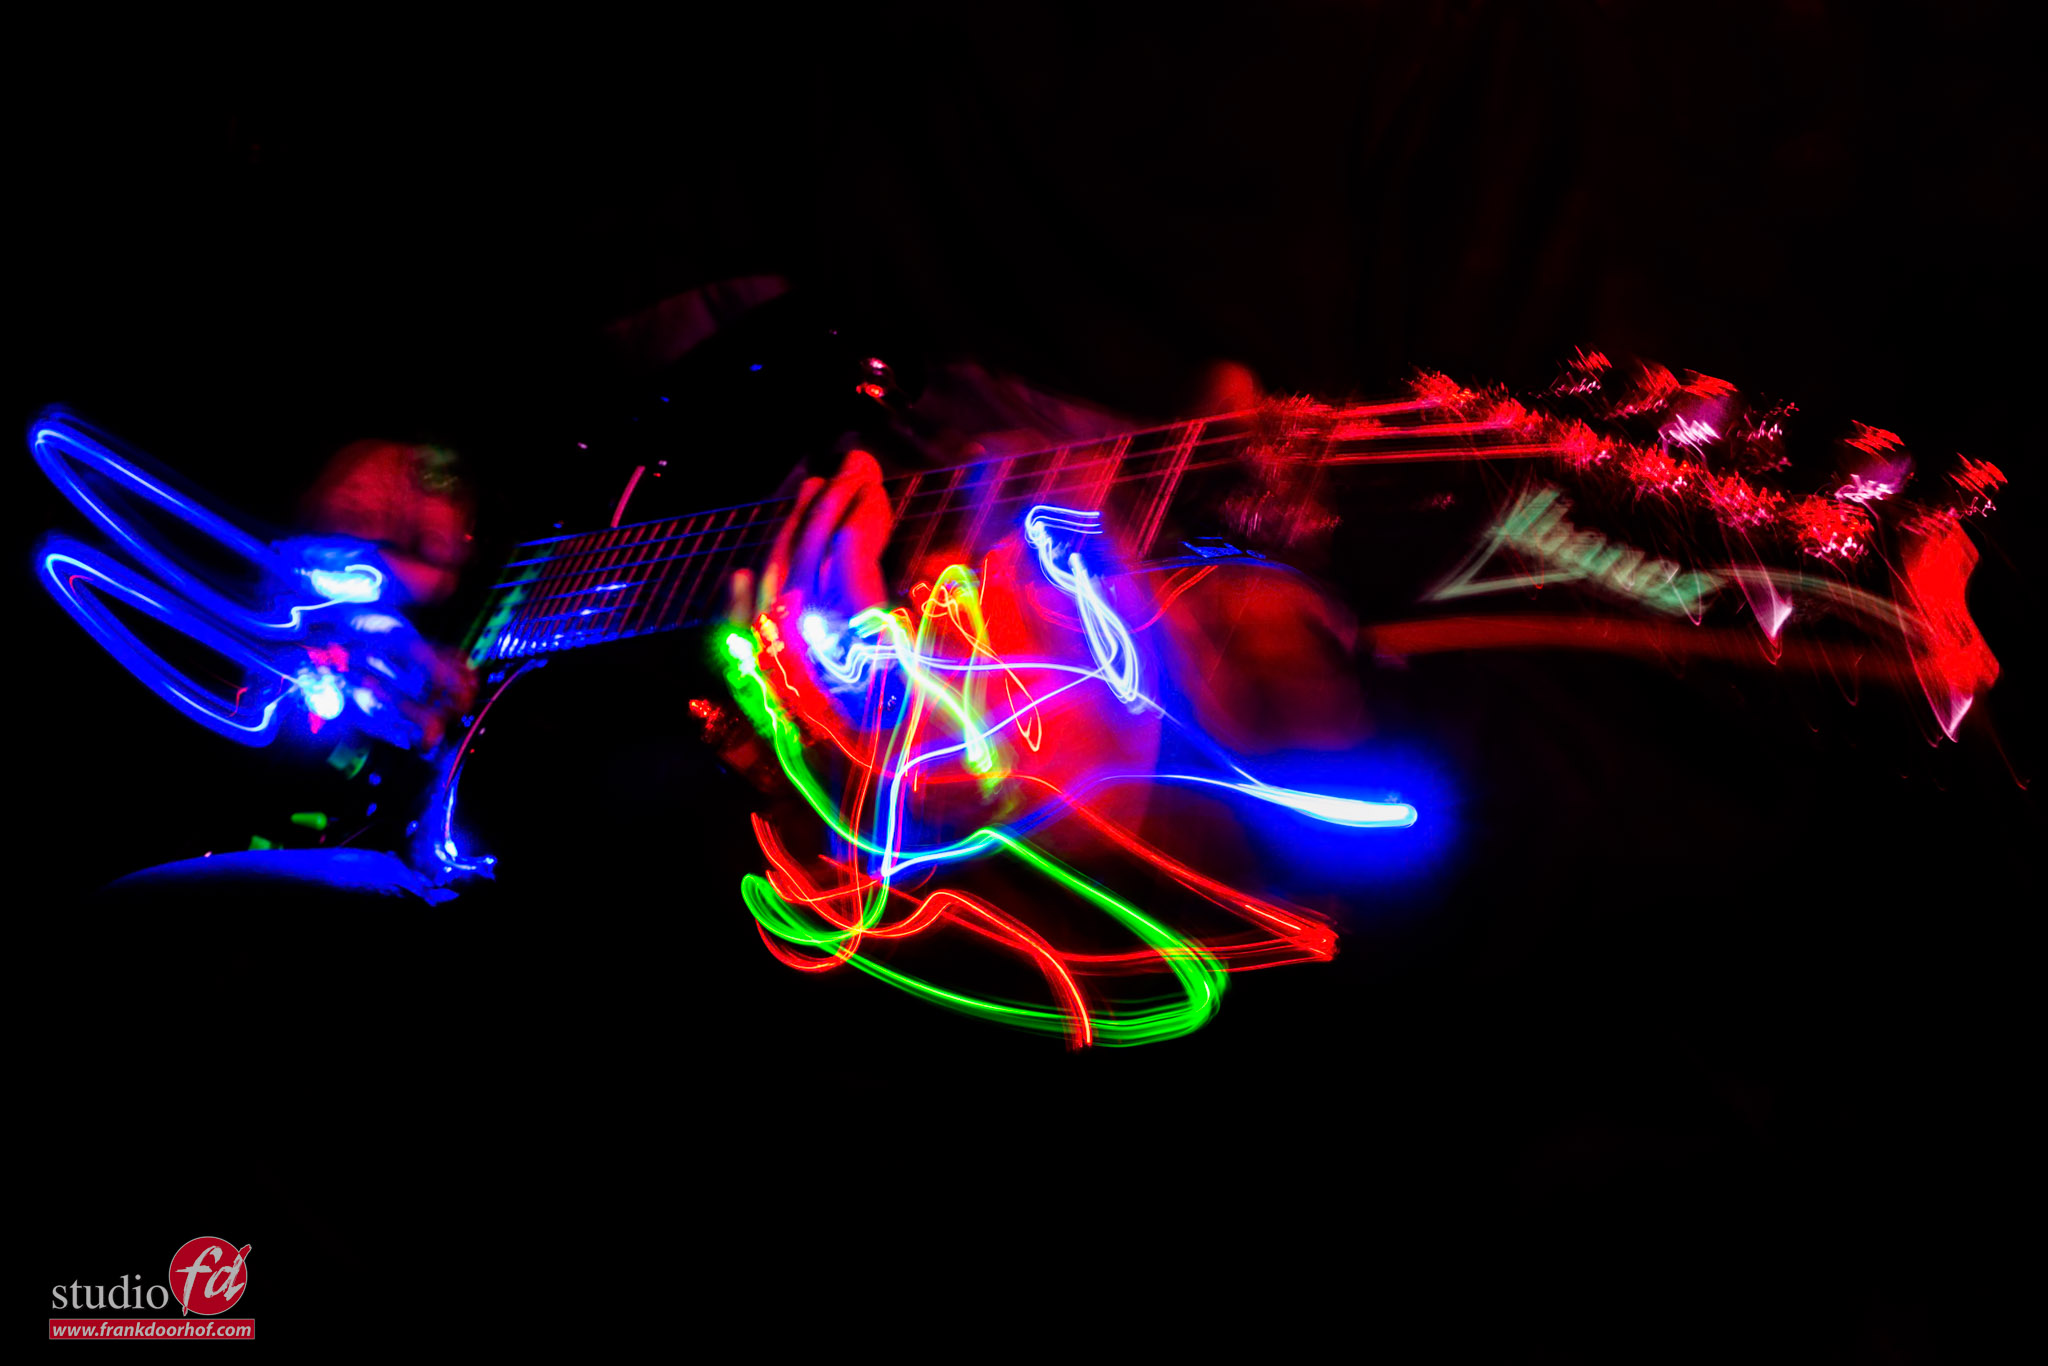
I wanted to create an image where you saw the motion of someone playing guitar and follow the play with lights.
One of my all-time favorite guitarists is Steve Vai, and he recently did a session very similar to this, so I thought it would be fitting to select my vintage Ibanez Jem 777V BK for this. This is a Steve Vai signature guitar.

For the lights, I’m using small LEDs with small elastic bands on my fingers.

Playing guitar is one thing, but playing with LEDs taped to your fingertips is a workout in itself (you’ll hear it in the video 🙃).

The trick is, of course, a long shutter speed and not using white lights, but only the colors.


The technique: long shutter & colored LEDs


We recorded a short video tutorial explaining the setup and how you can recreate this effect at home. The results are both creative and achievable with common gear.

Interested in hearing my music, too? Find me, Frank Doorhof, on your favorite streaming platform.

👉 Click the image below to watch the full video tutorial on Long shutter speeds: creative guitar photography—including stunning final shots!


long shutter speeds

Long shutter speeds: creative guitar photography Long shutter speeds: creative guitar photography Long shutter speeds: creative guitar photography


Read another blog about movement with Nadine and LED lights 


https://frankdoorhof.com/web/wp-content/uploads/2025/06/Frank-Jem-777VBK-Lights-40-March-29-2025-Edit.jpg 1366 2048 Frank Doorhof https://frankdoorhof.com/web/wp-content/uploads/2015/03/studioFD_Logo-1FV.png Frank Doorhof2025-06-25 17:00:232025-06-26 14:43:30Some light, music and awesome photos

A challenging location for a great shot

20-06-2025/in blog, Visions and technique/by Frank Doorhof

But we did it

Sometimes demos and workshops are at great locations with loads of room.
And sometimes (most of the times) it’s in a less than ideal situation.
This is why I love to challenge myself and the models during the workshops on location and in the studio.

Roel during the Camerado event

Recently we have a new very nice event in the Netherlands called Camerado.
It’s a small trade show with loads of workshops in different locations.
Some are hands on and some are lectures, but they all are very interesting topics.
I’ve been teaching at the last two episodes and this time we thought it would be nice to also do a small 45 minute location workshop.

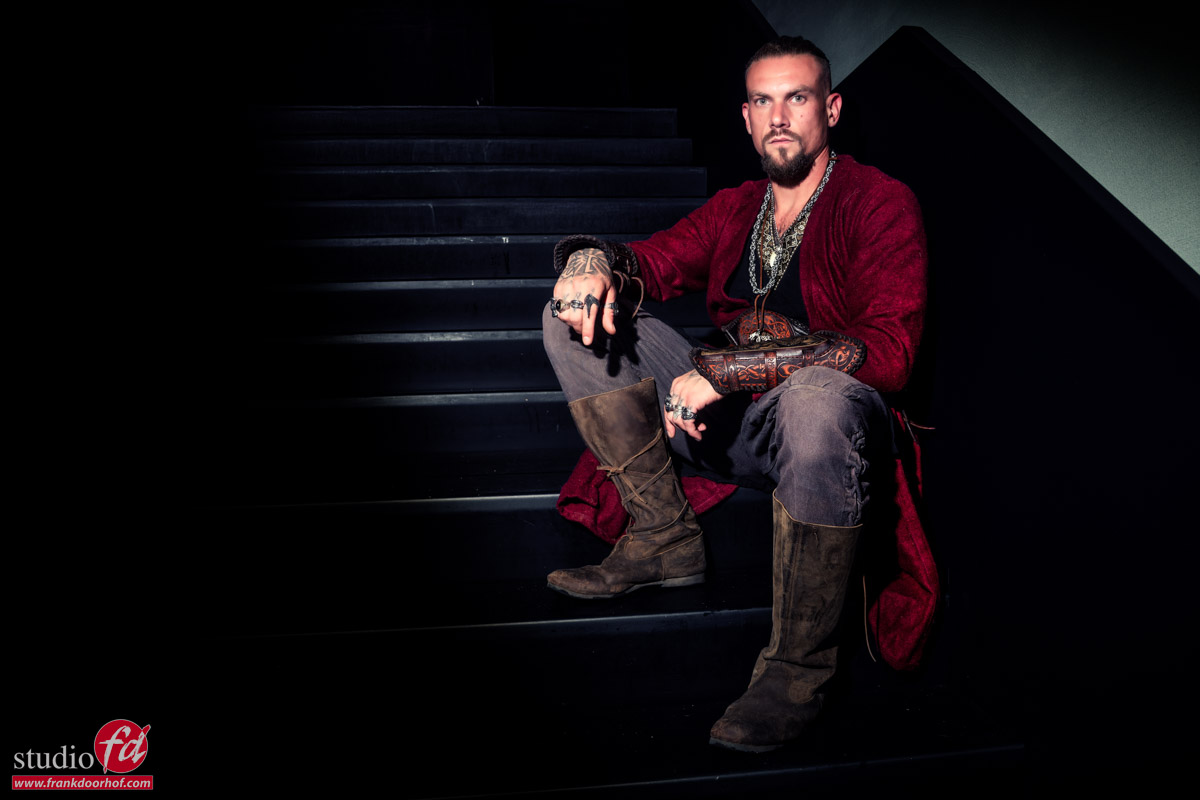
As you could have seen in the previous blogposts I love to work in tight spaces, so for this shoot we decided to use the staircase in the fort Noxx (yeah really :D) and place our model Roel in 2 different locations for totally different looks.

The first look is the “I know it will be usable” shot.
For this shot I’m using a Geekoto GT200 with the Rogue Magnetic system and the omnidirectional dome attachment. This will give me a very nice “semi-soft” quality of light. I’m using almost straight on the model. To make sure the surround area (where people were sitting) falls into the shadow area I’ve placed the light relatively close to the model. If you want to light more of the scene, move the light away, want more focussed light move it closer.

The result is a rather boring, but usable shot.

I did enhance the shadows in Photoshop and removed some feet and bodies 😀
But making sure it’s as good as possible in camera saves you a lot of work.

After getting the safe shot (always make sure you get that one).
It was time to experiment a bit more.
Using modeling lights on location is often not perfect or not even possible when there is too much ambient light and especially when you’re under time pressure it’s essential that you can judge your images when you shoot them.


I’ve been using the app Cascable for a while now on my iPad and can highly recommend checking it out.
Using the iPad makes tethering on location a lot easier and the battery runs all day without any problems.
Also with the new version the workflow between Lightroom and Cascable is super easy to setup, and it even works with Apple Photos.


More contrast

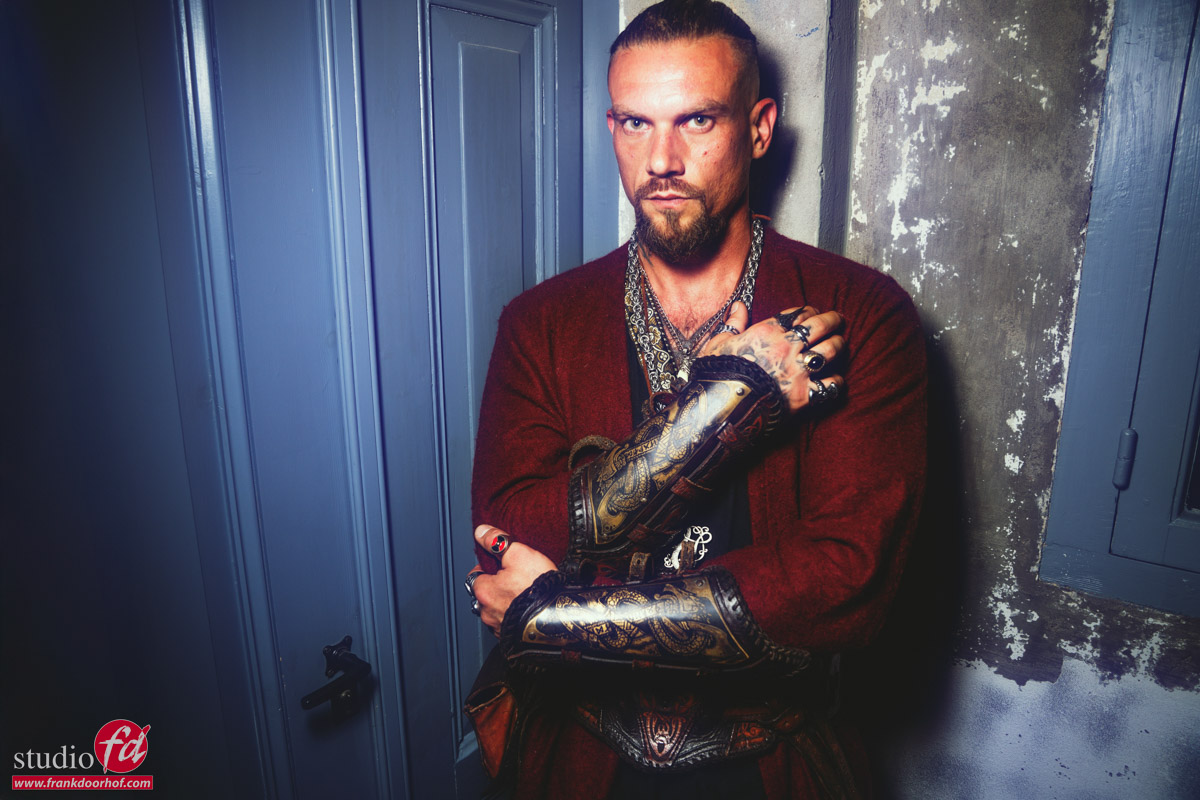
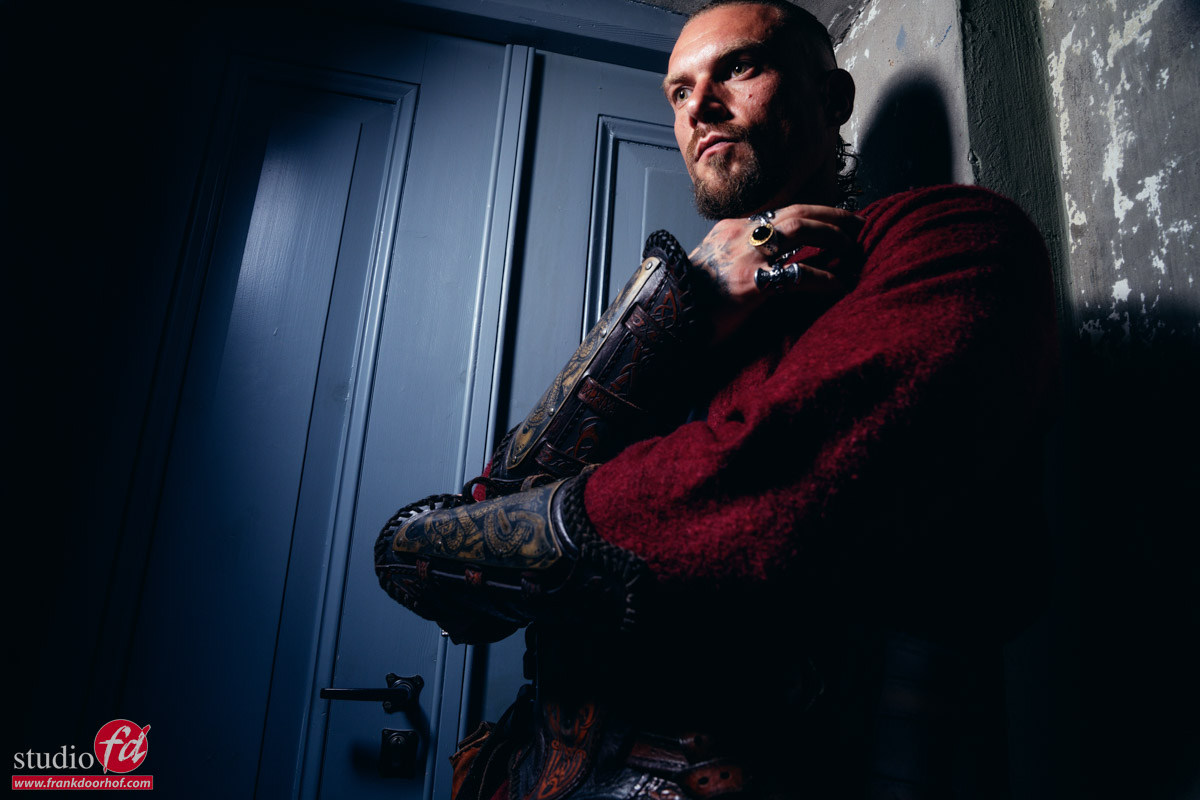
For the next setup we moved down the stairs and placed Roel in the corner near a old door.
For the lighting I’m using the Geekoto GT200 with the Frank Doorhof Flashbender in strip light configuration.

Again I’m starting pretty safe. With a more direct light setup

But now we really want more contrast, so the flashbender is moved more to the side and higher.
Due to the angle it’s very important Roel is looking slightly up to make sure the eyes are not too dark, one dark or close to dark is ok for this setup but there should not be a face with two black holes of course.

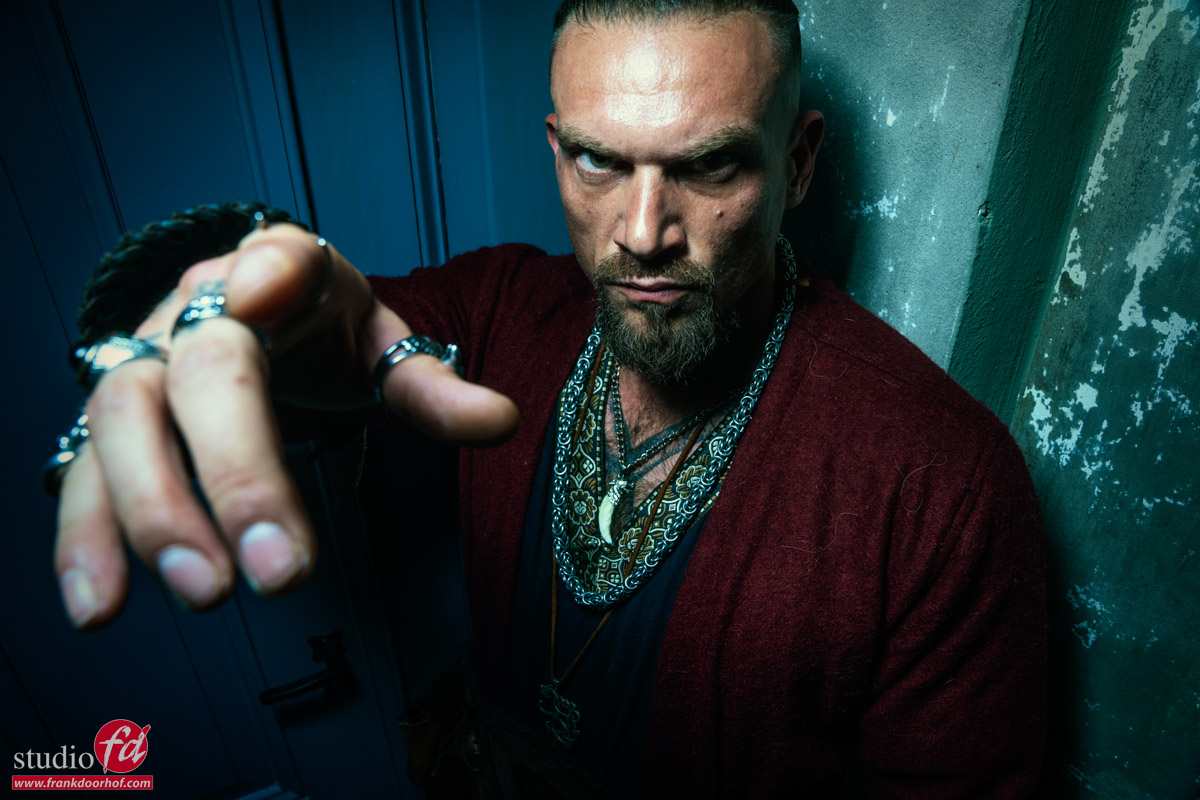
Playtime

We got the shots.
By the way that’s the advantage of shooting tethered, especially when your working under a time limit, you can check focus super fast on a larger display and of course right from the RAW file, this speeds up your workflow and prevents disappointments after the shoot.

So now it’s time for some fun shots. I always like to end a session with some fun sh0ts.

Conclusion

The whole photoshoot with Roel was perhaps 5 minutes (probably less) when you take away the explaining to the group.
Especially when you have limited time it’s vital to know your lighting, but also to make sure you have the shots. You can try to stun your client with the most awesome lighting setup ever, but if you fail you end up with nothing including no client/reputation.

So always start safe, and then start adding contrast or get more creative.
It also takes away a lot of the stress for yourself to know you already nailed at least “the”shot, and every next one will be better. Also use setups you know that work, of course freaking with light and lens flares etc. is awesome but when the clock ticks you sometimes are better of doing your “trick” that’s why they hired you, and when you have more time…. that’s when you can show them why they hired you 😀

One final tip, which can prevent some awkward moments.
Do make sure that you don’t place the monitor towards your model. When you don’t have a lot of time you don’t want to lose time because someone is looking at the screen instead of the lens.

If you also want to start shooting tethered a great way is to use Cascable on an iPad or Desktop, or use the software delivered with your camera, or a third party (there are many options). The only other thing you need is a proper tethering cable. To start out you can use a standard 1-2mtrs USB-c cable but when you want to start using it more frequently I highly recommend a proper tethering cable. This is no sales pitch but a tether cable is designed differently from a standard USB cable, it’s designed to handle wear and tear and not damage your camera or computer when something goes wrong.

I’ve been using IQwire myself for years and we also sell them via our webshop
On the webshop you can find all the gear I use.

So the next time you have a limited time.
Start simple and build it up, you’ll see it works a lot faster and you also project more confidence towards your model which also makes the session much easier.

Learning with Frank

Want to visit one of our workshops and learn a lot more about lighting, sets, styling and a lot more ?
Visit fotografie-workshops.nl for more info on the Dutch workshops.
If you don’t speak Dutch, don’t worry, let’s us know a few weeks in advance and we switch the workshop to English.
Don’t want to travel, also no problem, you can also book an online 1:1 workshop.
We got you covered with our Learning with Frank program.


https://frankdoorhof.com/web/wp-content/uploads/2025/05/Roel-18-May-24-2025-Edit.jpg 800 1200 Frank Doorhof https://frankdoorhof.com/web/wp-content/uploads/2015/03/studioFD_Logo-1FV.png Frank Doorhof2025-06-20 18:00:302025-05-30 16:33:11A challenging location for a great shot

Guestblog : The streets are alive

18-06-2025/in blog/by Frank Doorhof

A new guest blog

In the past we have had some guest bloggers and this is a great time to start again.
So don’t be surprised if sometimes you also find blogposts with interesting topics from other industry professionals and enthusiasts.
Feel free to reach out if you have a great idea for a guestblog.
Today it’s about one of my favorite things to do when traveling, street photography.

So without wasting your time with my talk, the blog is now in the hands of  manthan
The Streets Are Alive: How to Capture Candid Emotion Without Intrusion

Street photography is one of the more challenging types of photography, it can also prove to be unpredictable.
The most important skill required for street photography is the ability to find the extraordinary moments amidst the chaos, rhythm, and energy of street life.
You can convert everyday moments into compelling visuals using your camera.

The street photographers capture the moments or stories that are completely overlooked in the quiet alleyways or the crowded intersections and freeze the raw and candid moments perfectly. It is more than just pointing a camera and capturing an image, it is about the right timing, the intuition which moment to capture, and the artistic eye for which moments to capture. This genre allows the photographer to be involved in both ways, as both the observer and participant. The photographer can blend in the rhythm of the street while also staying alert in order to capture the right moment and real emotion without interfering, which can be challenging.

In this article, we will learn more about street photography and also some tips and tricks to help you improve and capture the best pictures on the street.

Why Candid Emotion Matters in Street Photography

Authenticity is an essential element in street photography.
The candid emotions, the raw and the unfiltered expressions are the ones that attract the viewers and also turns a simple click into a story the viewer remembers.
The unstaged, candid moments and the raw emotions can form a direct emotional connection between the subject and the viewer as they can maybe relate to the subject.

For example, an elederly couple sitting and chatting in the park can be a pretty normal thing.
But if you focus on them through the lens of your camera and capture them mid laugh or mid talk you will be able to see the love in their eyes for each other. The wrinkles on their faces as a show of experience of life, the years of shared memories, the kind of tenderness that grows with time, and all the history present.

These kinds of moments cannot be curated they just happen and are captured in split seconds. Candid moments and emotions are the heart of street photography.

While looking at your photographs of such moments, the viewers can feel a sense of warmth, empathy, and nostalgia, which makes the picture stay with them for a long time. The viewers can relate to the picture on a personal level, and get a sense of a familiar or their own story in someone else’s.
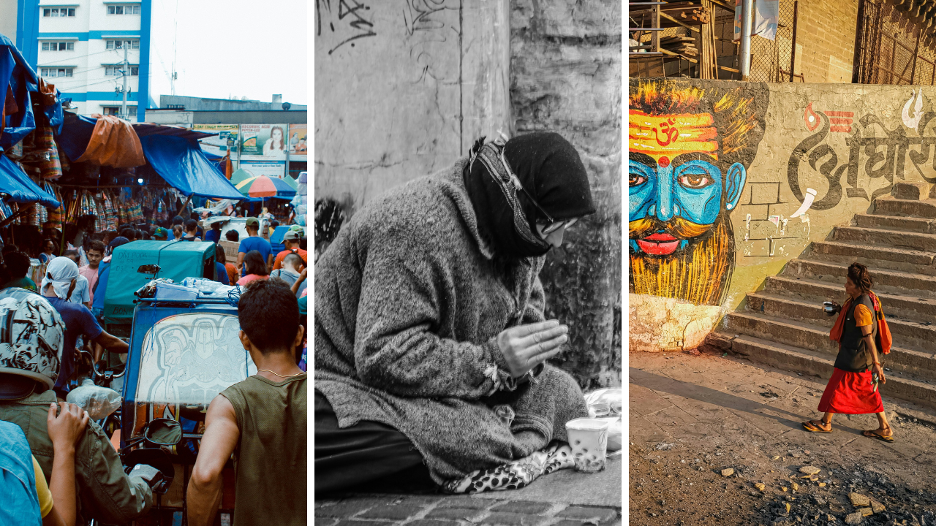
Understanding the Street as a Living Canvas

The street is changing and shifting continuously, no two moments on the street are the same.
The moments can vanish in an instant and cannot be recreated again anyhow.
The light keeps on changing, the people, the sound, everything is unpredictable, unscripted, and spontaneous.
This makes streets the best canvas, the most important thing that a street photographer must learn is to embrace the flow and not control it.

In order to get the best picture, the photographers must be “in the scene but not of the scene.”
Which simply means that you observe the scenes on the streets closely without disturbing or interrupting them.

One of the best qualities in street photographers is their ability to blend in the crowd seamlessly. This way, when people forget the camer,a the truth starts to come forward and you have authenticity in your photographs.

The key is to stay alert and patiently wait for moments, or the changes in the small details, which can make a small moment that tells a big story and is worth capturing.
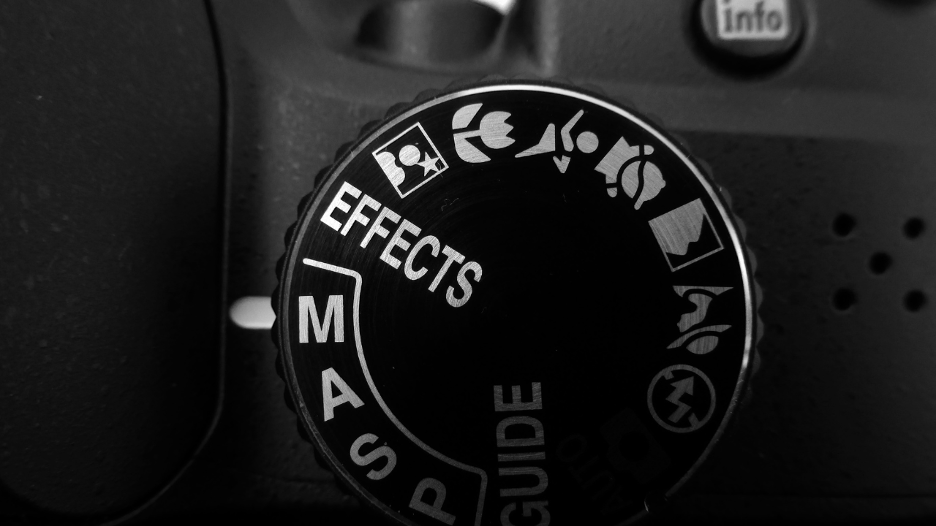
Gear & Settings for Staying Invisible

As we have already discussed, blending in is an essential quality in street photography.
In order to blend in, choosing the right gear and settings are important as well, so let’s discuss it further.

Firstly, the camera. Most street photographers, in order to stay invisible while shooting, use mirrorless cameras like the Fujifilm X100.
These mirrorless cameras are ideal for the silent shutters and the size which can help the make the photographer invisible.

You can pair these mirrorless cameras with the 35mm or 50mm prime lens, which can keep the low profile and also frame naturally.
In order to better blend in, you can use zone focusing by using the manual focus to about 2-3 meters and an aperture of f/8 or f/11. These settings can give you a deep focus area, and you can shoot quickly without adjusting the focus and also without attracting attention.

You should keep your gear simple and small, and discreet to blend in.
For carrying the accessories, you can use a plain sling or a messenger bag, avoid big bags and bulky accessories.
Move naturally, and never linger after a shot. People tend to notice behavior more than gear.
The less attention you attract, the more honest and more authentic your photographs are.

Techniques for Non-Intrusive Shooting

Non-intrusive shooting is nothing but a way of observing without altering the scene in front of you.

One of the best methods for non-intrusive shooting is using reflections whether it is from mirrors, glass windows, car panels, or even puddles.
Using reflections, you can frame your subjects indirectly and add a few layers which add a depth to your photographs.

You can also capture candid moments from different and unexpected angles while keeping your presence hidden.
Shooting from the hip is another invaluable technique. This way you can avoid alerting the subjects that they are being photographed.
Hence, instead of lifting the camera to the eye, you can use live view or tilt the screen to frame the shot from the waist level. This way you can capture the scenes naturally unfolding without drawing attention to yourself.

In order to improve your street photography, you should also learn to anticipate a moment rather than waiting for them to happen or chasing it.
You can do so by observing people carefully and seeing how the scene is going, and ultimately positioning yourself in a way to capture the best part.

To put it in simpler words, let the moment come to you.

For blending in better, you can also position yourself in areas that are crowded and have high foot traffic for example, Bus stops, markets, and busy sidewalks, etc.
In such areas, people are way too focused on their own activities to pay much attention to you.

Another thing to avoid is the jerky and sudden movement,s which can catch someone’s attention and make you noticeable in the crowd.
Hence, it can be said that keeping your body relaxed and avoiding too sudden movements is also a key factor.

You can even start practicing slow breathing in order to avoid sudden movements.
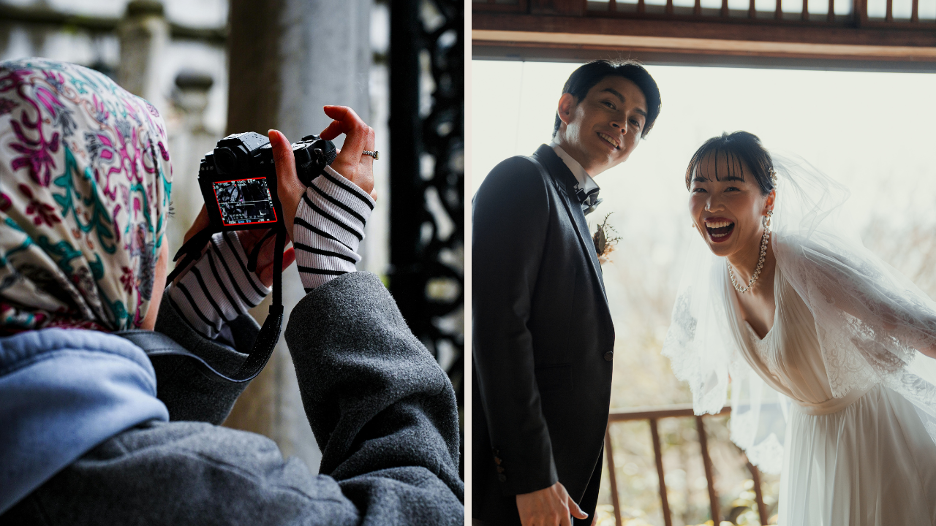
The Ethics of Candid Photography

As mentioned earlier, it is true that street photography is all about authentic and candid photographs, but there are also certain ethical responsibilities.

The most basic ethical consideration is knowing how to ask for permission before photographing anyone.
It is important to understand the difference between the public and personal space,and be creative.
Just because a person is in public doesn’t mean that you are free to click every moment.

For example, a sidewalk is a public but someone’s quiet and emotional moment deserves some privacy.
You should also know the difference between what’s legal and what’s respectful.

Street photography is legally allowed in most countries but not every photo is ethically right.
If someone seems uncomfortable with you shooting or someone asks you not to shoot them then you should avoid capturing them.

Sometimes, not capturing a shot says more about your integrity than any photograph.

You should know when to walk away.

Building Confidence Without Becoming a Nuisance

Nervousness is natural, but with some time and experience, you can develop confidence.
One of the helpful strategies is to focus on the story or the moment and don’t think about how people perceive you.

You can start by practicing in low-pressure environments and visiting quieter areas where people are less likely to notice or react.
You can even practice your timing, composition, and all the other essentials on street photography.

Also, learn to stay calm when people notice you mid-shot.
People don’t mind if you are not being aggressive or sneaky. So if someone approaches, just keep your tone friendly.
True confidence is about being loud but being subtle, respectful, and also self-assured.
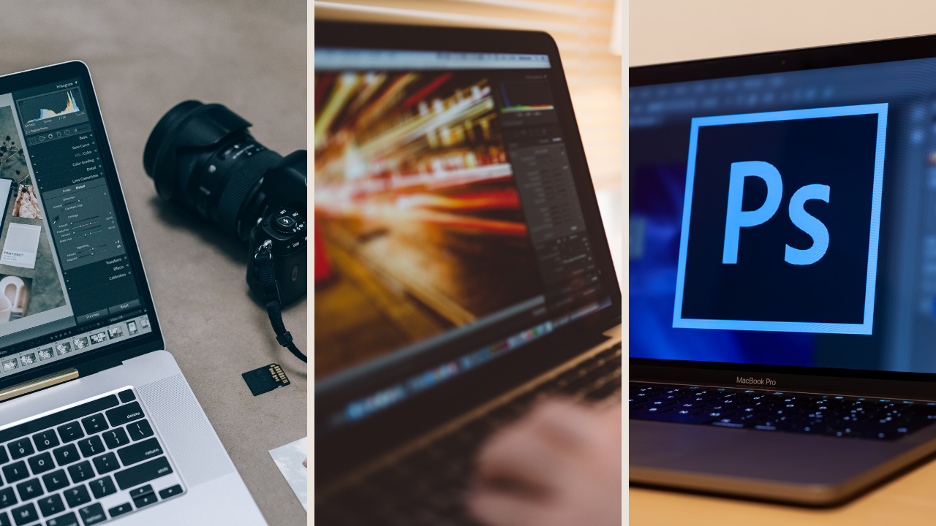
Editing for Emotion

Editing can have a huge impact on street photography.
You can deepen the emotional factor of your photograph without having an effect on the story.
While cropping your images, you should keep in mind the elements that are essential for your story.

Color or black and white can also be the thing that affects the mood and highlights the emotions and creates contrast.
Lights and shadows can also amplify the feelings, the shadows can add drama and depth to your photographs.

You can use applications or software such as Snapseed or Lightroom to enhance your images naturally, or most of them are now AI.

Conclusion

Street photography is not only about equipment but also about empathy and the awareness of your surroundings.
You can get the best photographs by trusting your gut, respecting your subject, and waiting for moments to unfold.
Sometimes, more than the technical skills, the storytelling of an artist stands out to the viewers.

You can use the tips and tricks mentioned in the above article to help you grow and improve your street photography.
Please share the story of your best candid shot.

Author Bio & Links

Instagram Profile URL: https://instagram.com/pewdoc.
Facebook: https://facebook.com/pewdoc
Pinterest: https://pinterest.com/manthan7
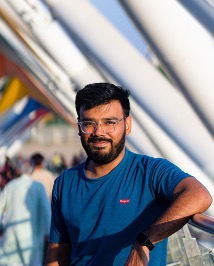
Hi, I’m Manthan I’m a professional photographer and founder of photographywith.com. this site hosts all of my writing on photography stuff like blogs, reviews, editing, and much more. whatever I learn new, I publish on my blog with some good and easy examples. Cheers, Manthan


https://frankdoorhof.com/web/wp-content/uploads/2025/06/Guestblog-Manthan-2.png 526 936 Frank Doorhof https://frankdoorhof.com/web/wp-content/uploads/2015/03/studioFD_Logo-1FV.png Frank Doorhof2025-06-18 18:00:462025-06-13 08:56:52Guestblog : The streets are alive
Page 1 of 3123

Newsletters

Subscribe to our newsletter for updates, discounts, and much more

English news letter
Dutch news letter

Interesting links

Here are some interesting links for you! Enjoy your stay :)

Snel naar

  • Blog
  • Learning with Frank
  • News etc
  • Reviews
  • Shop products & books
  • Contact

Contact

Studio Frank Doorhof:
Constructieweg 8
8305 AA Emmeloord

The Netherlands
+31-6-14522327

Or Email : info@frankdoorhof.com


© Copyright 2000 - - Frank Doorhof
  • Link to Facebook
  • Link to X
  • Link to Youtube
  • Link to WhatsApp
Scroll to top Scroll to top Scroll to top