During the last two weeks we have been busy with filming new classes for KelbyOne.
We thought it would be nice to show a quick behind the scenes photo.
The vlog we always film rather “run and gun” but for our tutorials we actually use 4 different cameras on average. This means we cover the set from different angles so while editing we can sync those up and switch between cameras if we want a certain viewpoint that fits the narrative best.
Especially for tutorials we think it’s essential to see the setup clearly but also see the interaction between the photographer and model, but we also sometimes want some close ups. You can of course film it with one camera and do it several times, but for me that just looks unnatural and it’s a lot more work. So we always try to use at least 2-3 cameras.
The nice thing about shooting multicam is that you can even use cameras like the Osmo Pocket (which records better material than one of our older 1080P cameras) or even your phone, you can use them for the overview shots or creative angles.
When we set everything up I often have the best cameras on me and an overview of the set, the better the camera the more wide angle we will use that one for, the cameras that are a bit more noisy or 1080P we use for close ups or the height cam showing the whole set. In other words they just give me some creative options to make the video more pleasing to watch.

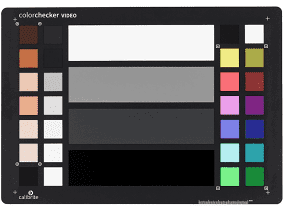
While editing it’s of course important that all cameras look at least a little bit the same, for this we use the video colorchecker from Calibrite. For most cameras it’s very easy to setup, most consumer and pro cameras have a custom white balance setting, just zoom in to fill the frame with the white balance part and press the screen or assigned button and the camera will set this as the white balance. This way all cameras will look at at least very similar and can often be made the same in post processing.
For our new products we will be creating new tips and tricks videos, so keep watching our YouTube channel 😀
Like this:
Like Loading...


You must be logged in to post a comment.