Many different looks from one setup
Often I’m asked what kind of setups I use and what kind of modifiers.
What people often don’t realize is that with only one modifier you can chance a lot just by playing with the angles and controlling the contrast/lightfall off. In fact placing a light closer or further away also makes a huge impact on the image look, add to this the option to feather a light source (using the sides of the light) and you know that there is a lot possible with one modifier and light.
It gets even more interesting when you are combining two strobes and for example add a gel to one of them.
During the workshop this weekend I made a setup like this with our model Lennaa and decided it would be a cool thing to share on the blog.
I started out with one strobe with a red gel.
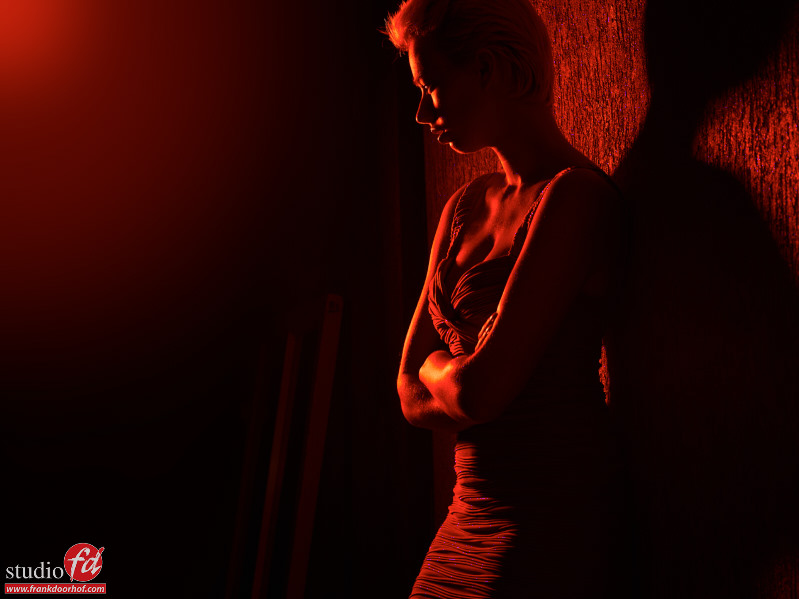
To get a bit more “punch” in the image I added another strobe without gel under the same angle to mix the two.
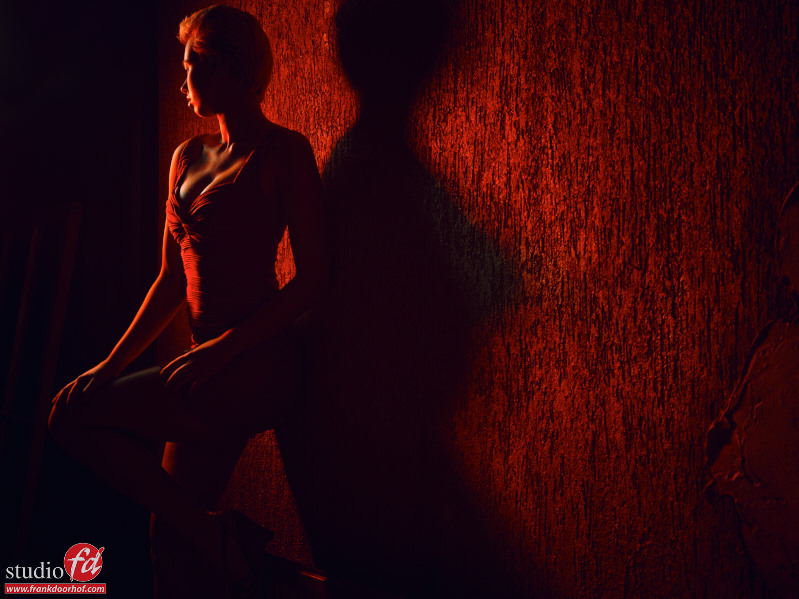 As you can see the image now gets a more defined and “natural” looking quality.
Now add a little bit of smoke.
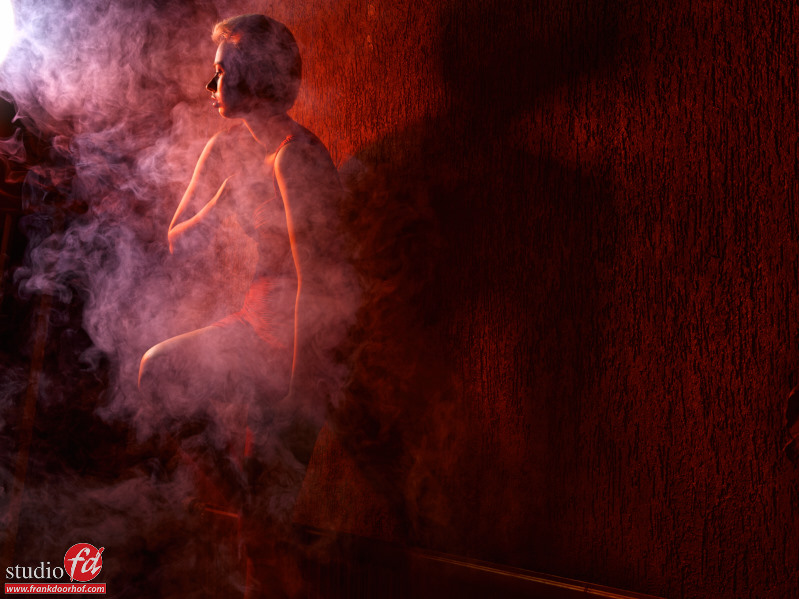
Include the light sources in the shot
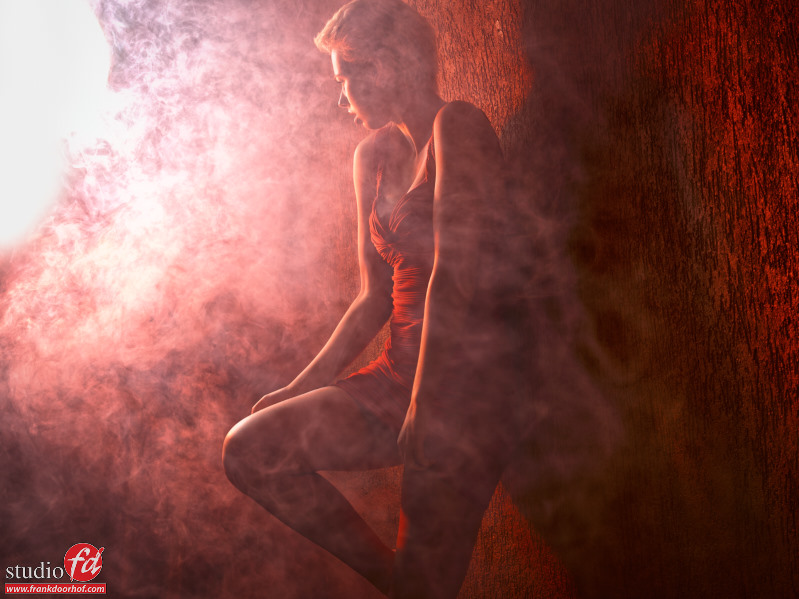
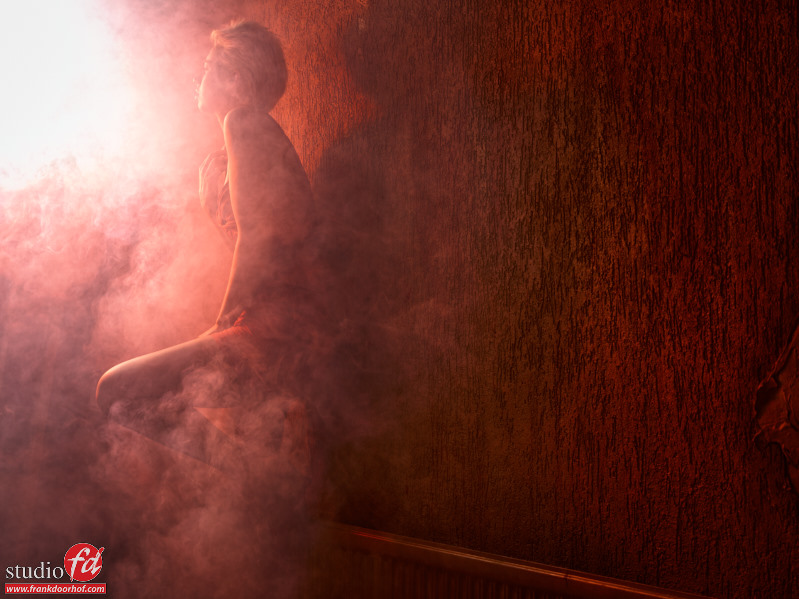
And we have something that almost looks like a frame from a movie.
And yeah these images are 99% straight out of the camera, the only thing I changed is a slight bump in definition of the smoke with about 10% of Intensify from MacPhun and I changed the color slightly to give a bit more contrast, but it’s really a very small chance.
Anyway.
Up until now I showed you images that were correctly metered towards the light source.
However as you know an incident meter works like this:
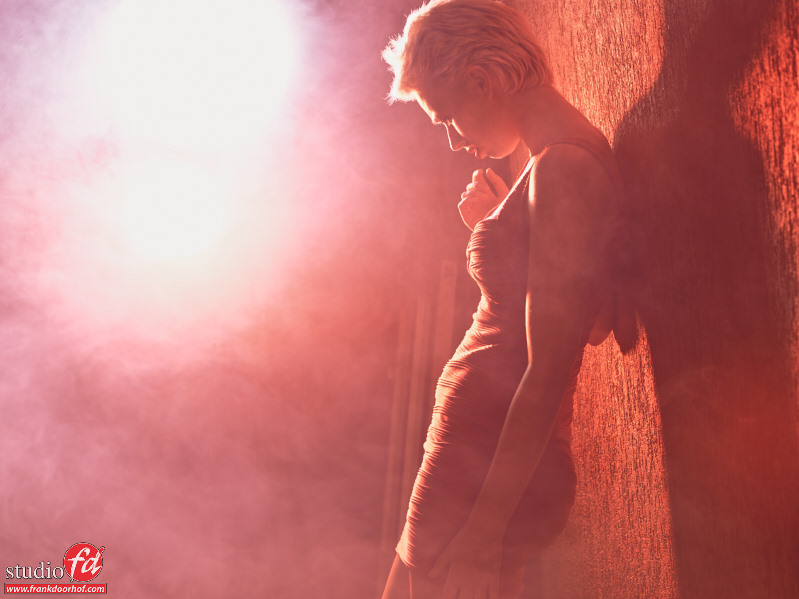
You hold it in front of the area you want to be lit correctly and use the value in your camera that the meter gives you, in the studio this often means that you meter towards the light source, HOWEVER that being said that’s not the way you SHOULD meter. When you actually meter in front of the model, aiming the meter almost towards the camera you get a totally different reading, now you have to be careful with these techniques because if you would point really towards the camera you will probably blow out the whites too much, so make an “educated” metering that will take into account the highlights slightly, I often choose in these kind of setups to meter under the same angle as the wall and tilt the meter towards the camera, this would mean that the metering will fall app in between pointing towards the camera and towards the light, I have to add that with these shots I’m almost under a straight angle with the lights.
The results you are now getting is something I really like and for me add the final mood to the shot.
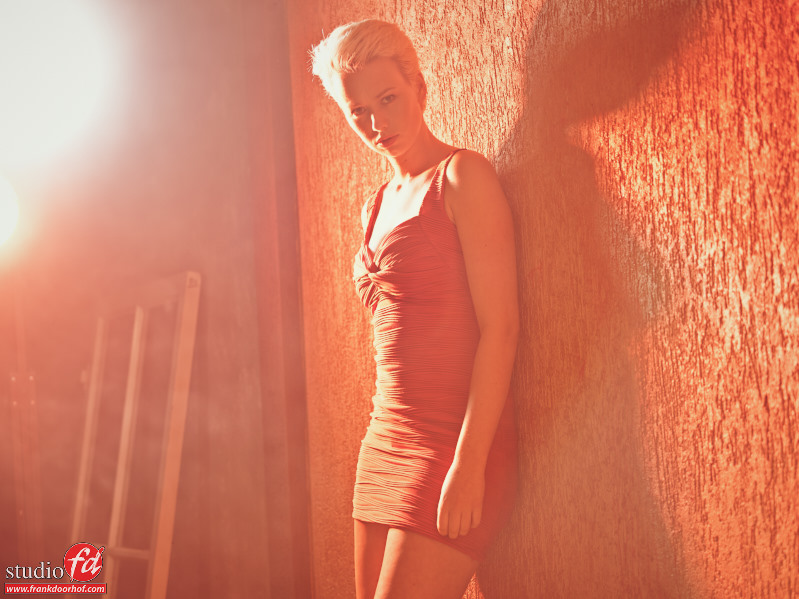
As you can see the reds are now less saturated, which is logical because the more lightness is added to a color the less saturated the color becomes. When you analyze the shot you can also see that the highlights are slightly blowing out but around the forehead the exposure is pretty spot on for skin tone less about 1 stop. Now why did I choose 1 stop less than my meter told me? This is easy to explain but sometimes takes a bit of time for people to understand.
Let’s take an example of a sunset and a model lit by strobes.
If you light the model the correct metered way you will end up with a “glued on” image, it just looks fake, now if you start underexposing the shot the exposure of your model drops indeed from “perfect” BUT the look of the image looks much more natural and believable. And that’s the same thing I did here, the shot looks more “believable” with the underexposed front, it also helps with controlling the blown out areas but that’s an added bonus.
Although I liked this shot it was time to add a little bit of smoke and expression again.
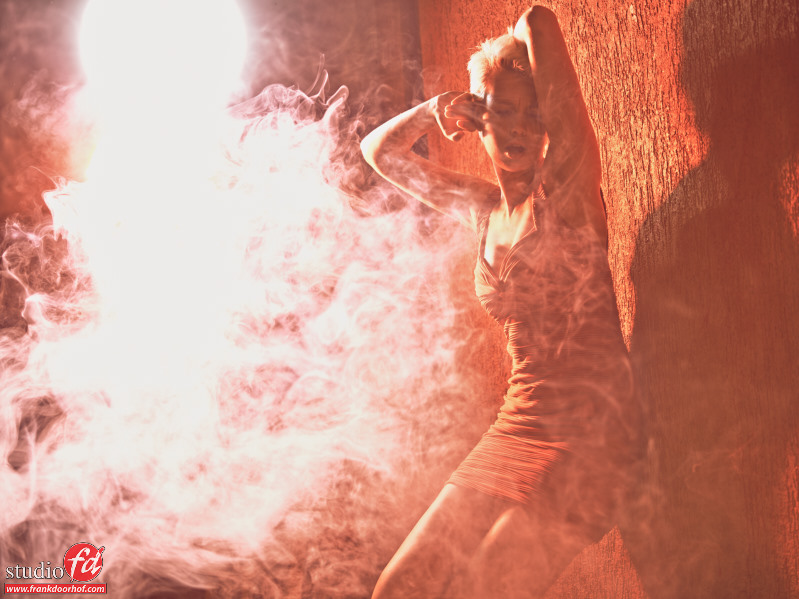
During the shoot you are of course 100% free to play a bit with the look and exposure but most of all with your angle and the models angle, as usual make the most of the scene/setup MOVE around.
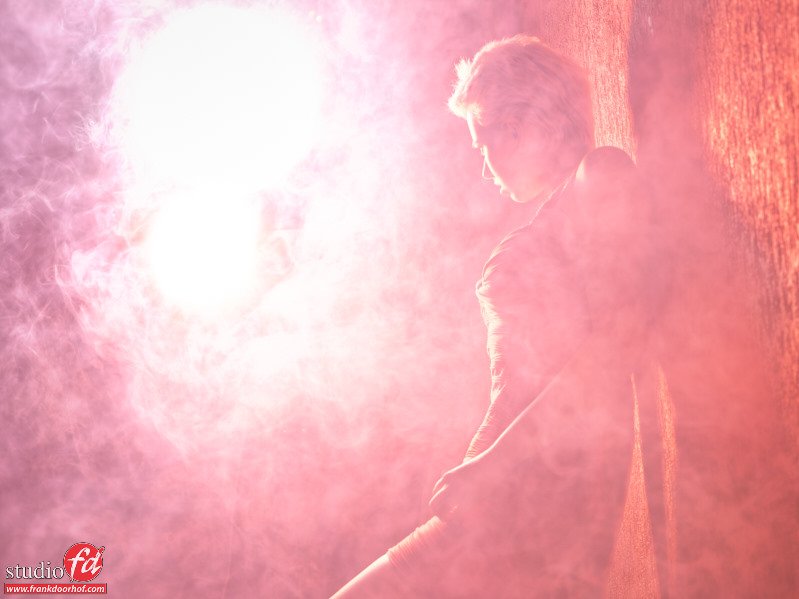
And one final shot when the smoke cleared
Mastering your lights is very important for a successful shoot, however understanding colors and being able to play with mixing them can give you very nice new and interesting looks and offer something unique to your clients, the nice thing is that if you pull this off in front of your client without Photoshop you will earn so much credit that the client will probably trust you more when you want to try something that goes against their “non photographic” feelings.
Of course you can try to do this in Photoshop… but …. “why fake it when you can create it” 😀
If you would love to learn this kind of lighting and understand lighting and color check out my book “Mastering the modelshoot” or register for one of my workshops.
During the ultimate workshop weekends in New York (August 29-30-31) and in Emmeloord (August 1-2) I will dive more into these techniques and understanding/manipulating lights (and colors).


Really like the red gel. Adding the white strobe is something that I’m going to try ASAP. Thanks for thinking out-of-the-box again..