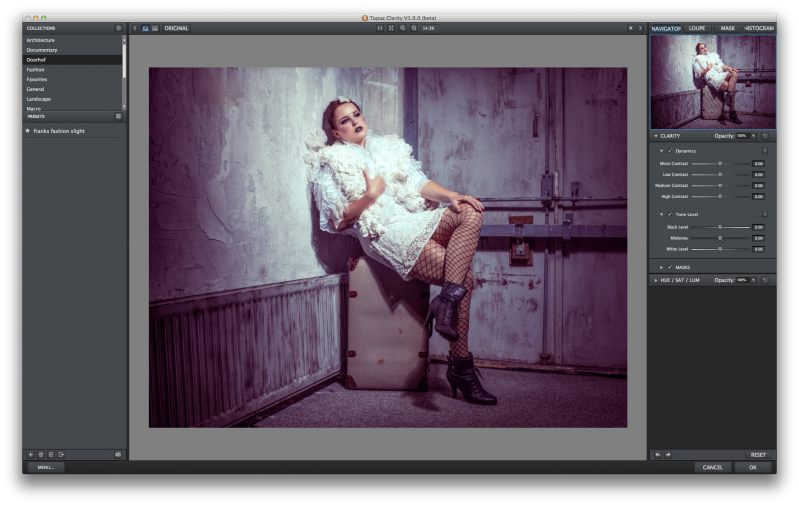
A little while ago Topaz contacted me if I wanted to play with their soon to be released Clarity plugin. I have to be totally honest that I always had a weak spot for Topaz, they really have some cool filters and I know a lot of my friends also use Topaz.
Now one of the things I love about NIK/Google is tonal contrast and when I was told that if I loved that one I would LOVE Clarity I could not wait. By the way you also don’t have to wait anymore because Topaz has just released the plugin, if you follow this link you can get it (and you support the blog)
Well Topaz didn’t exaggerated, Clarity is like Tonal contrast on steroids, wow.
The layout of the plugin is very functional and when you start the plugin it won’t take you long to start playing with it and getting some awesome results, when diving more deeply in the possibilities I’m sure that you will be just as enthusiastic as me.
The first controls you will start to play with are the contrast sliders, with these sliders you can target certain areas and manipulate their appearance, but this is just the start, when you go further into the plugin you will very quickly see the HSL sliders, for people not familiar with this term it’s actually the Hue, Saturation and Luminance settings panel, meaning you can control colors not only by saturation but also by their hue and brightness (luminance), this is a very cool thing to have in a plugin like this because in fact it can prevent certain problems you could get on more extreme settings (which I did not encounter yet).
 Read more
Like this:
Like Loading...


You must be logged in to post a comment.