The differences in posing and how to coach
Posing should be natural (I think)
When I started out one of the first things I bought was a so called “posing guide”
Well that was a waste of money.
Every person is different and in all honesty most of the poses in those books are… well very posed.
I like the more natural poses and over the years found some ways to always get fresh poses out of my models.
Today we do something slightly different on the blog.
Normally during a shoot you select the best images from a setup, maybe 1, maybe 2 and sometimes a bit more.
You don’t want to overload your model with images, and always remember you are often as strong as your weakest image.
So selecting the right images is vital I think. Only select the real winners.
So how do I do it?
I will always start out with a standard pose, just to get the lighting right and the overall look of the shot.
But right after that I will start coaching the model not how to pose but more giving compliments, pushing his/her energy up.
If you don’t tell your model what to do but only adjust slightly you will always get awesome and unique poses.
How many models/photographers do you know/recognise due to the poses?
To keep the energy high I want to shoot fast.
I would rather do 4 sets of 10 minutes than one set of 60 minutes to push for perfection.
In all honesty if you can’t shoot the correct image in 10-15 minutes after the lighting setup it’s better to continue. Exceptions are possible of course, we have also worked for a hour on one shot but those are exceptions (for me at least).
But when do you stop?
For me it’s a matter of first getting a really good shot.
As soon as I see I’ve got it I will tell the model “One more” and shoot 4-5.
If in these 4-5 there is one that’s better I shoot another 4-5 etc.
The models energy stays high, and because I always say “one more” and keep shooting (speek enthusiastic) the model really thrives and gives me great shot after great shot, sometimes it’s hard to stop.
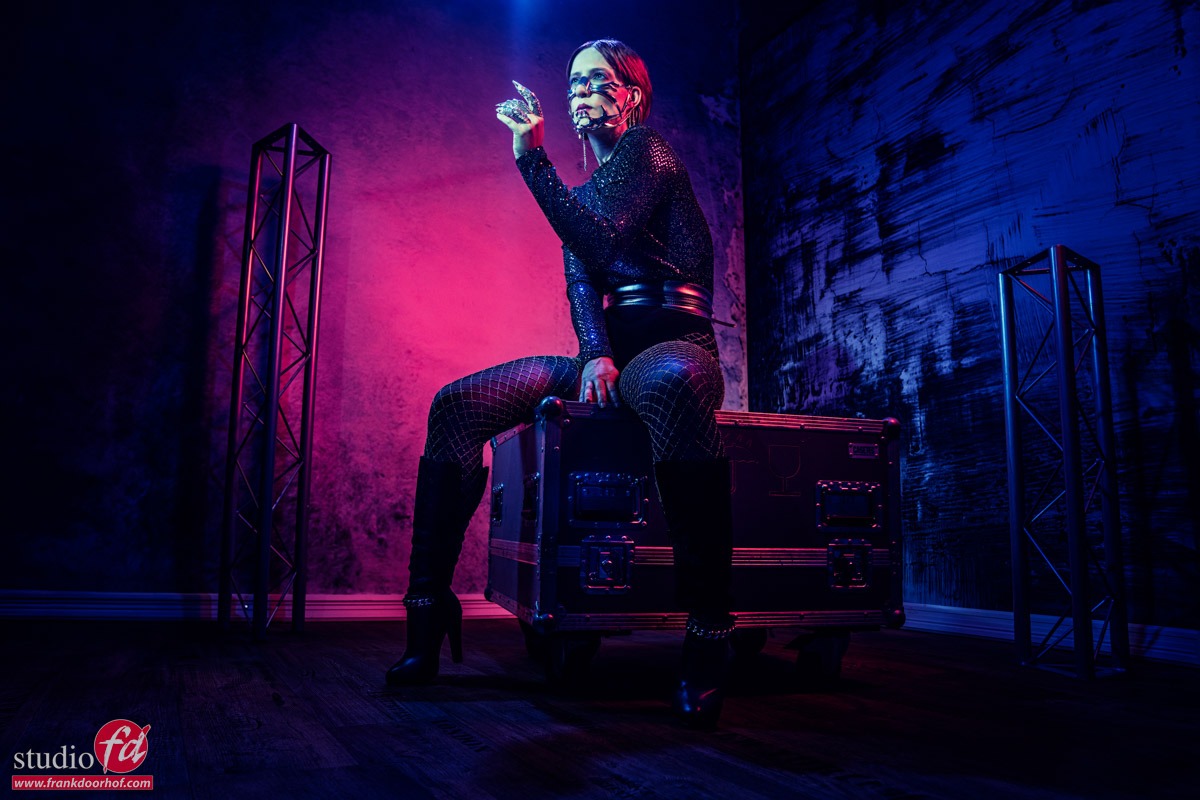
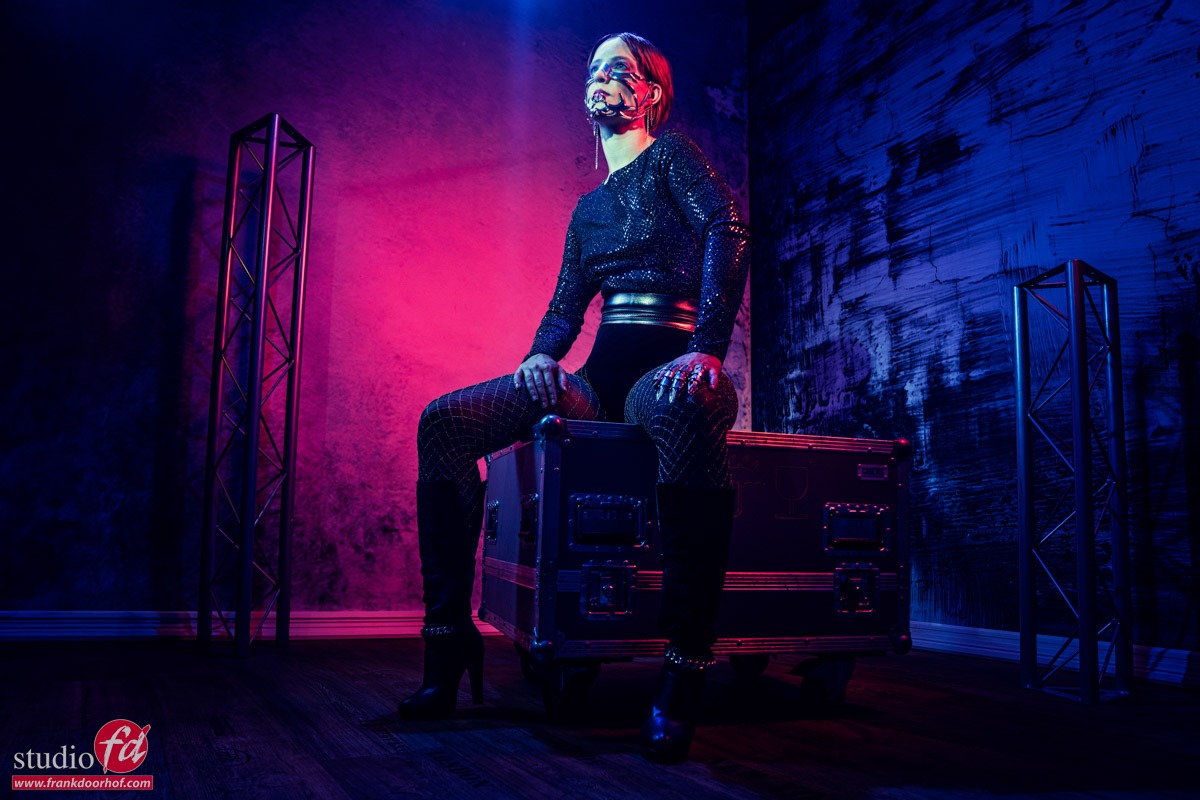
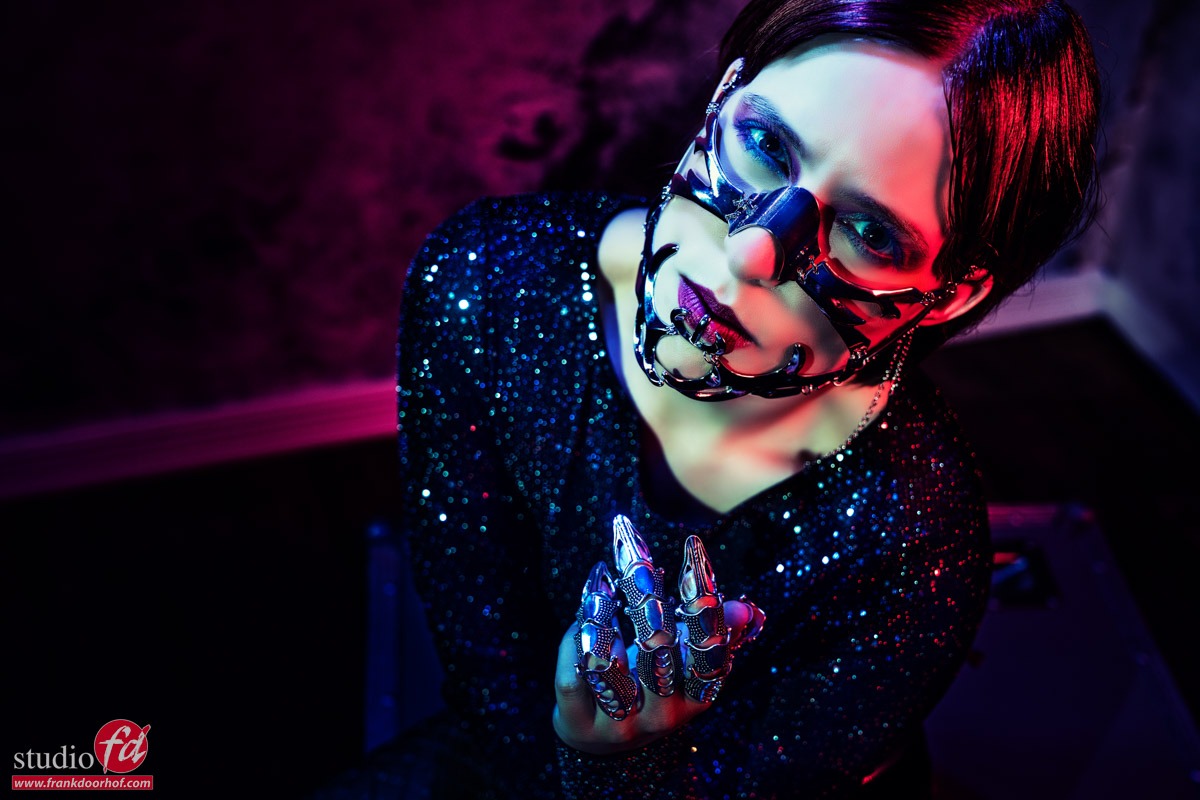
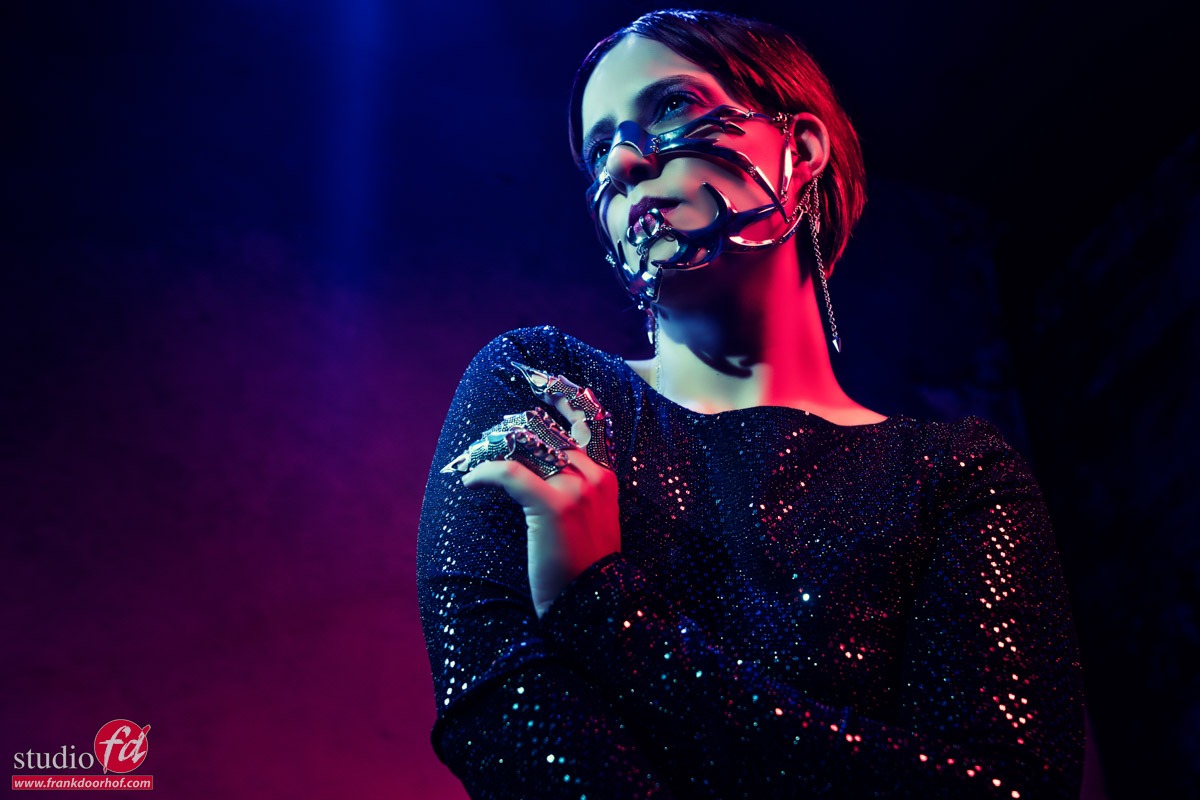
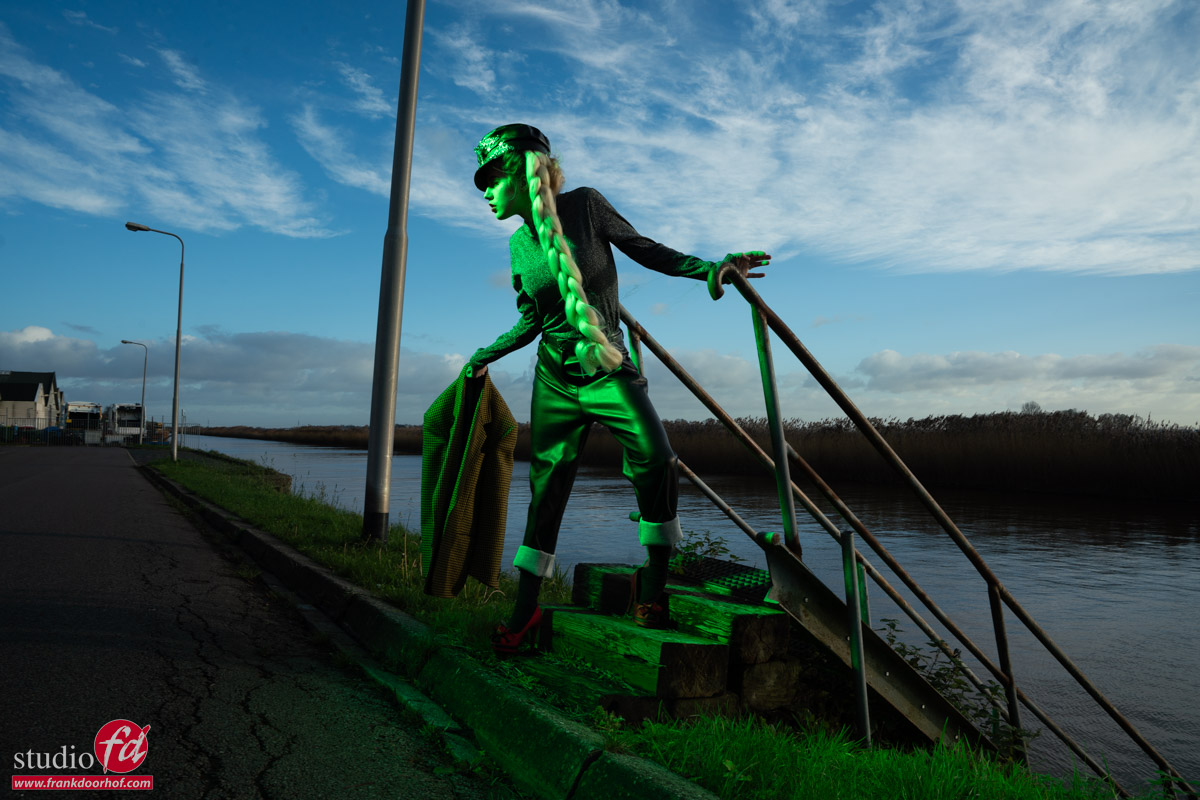
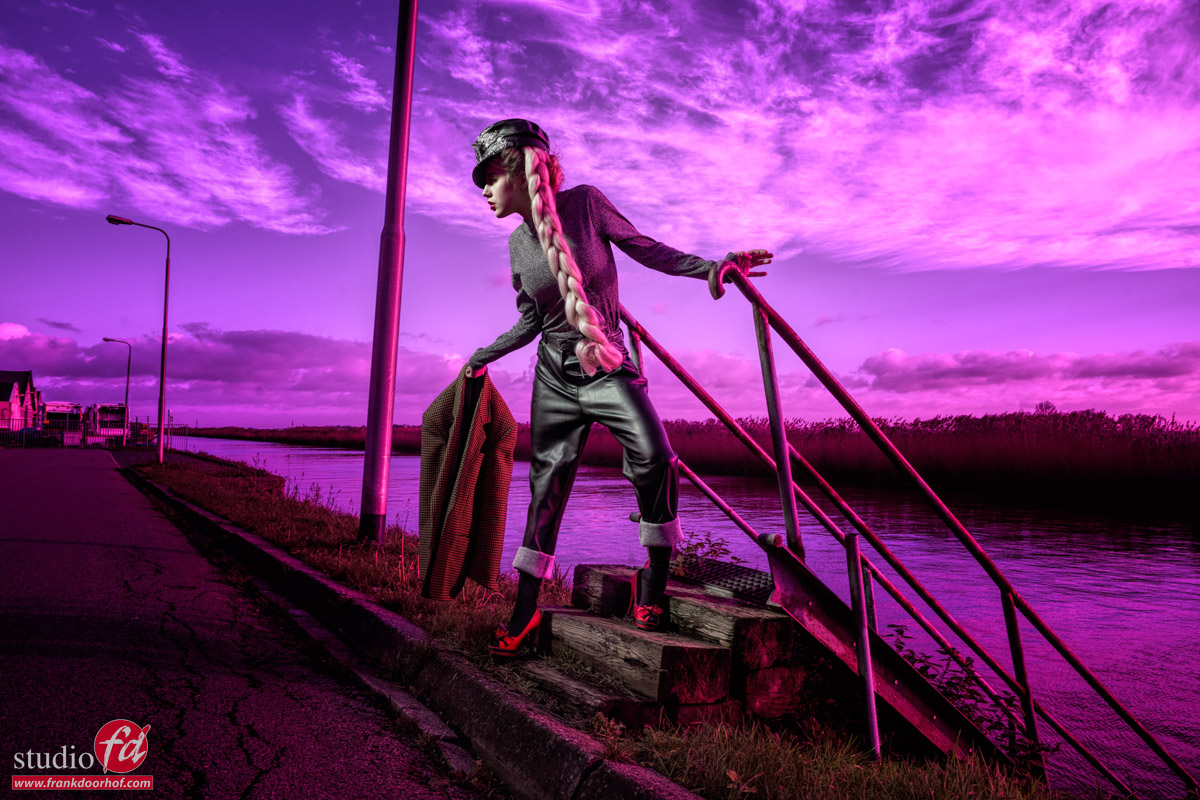
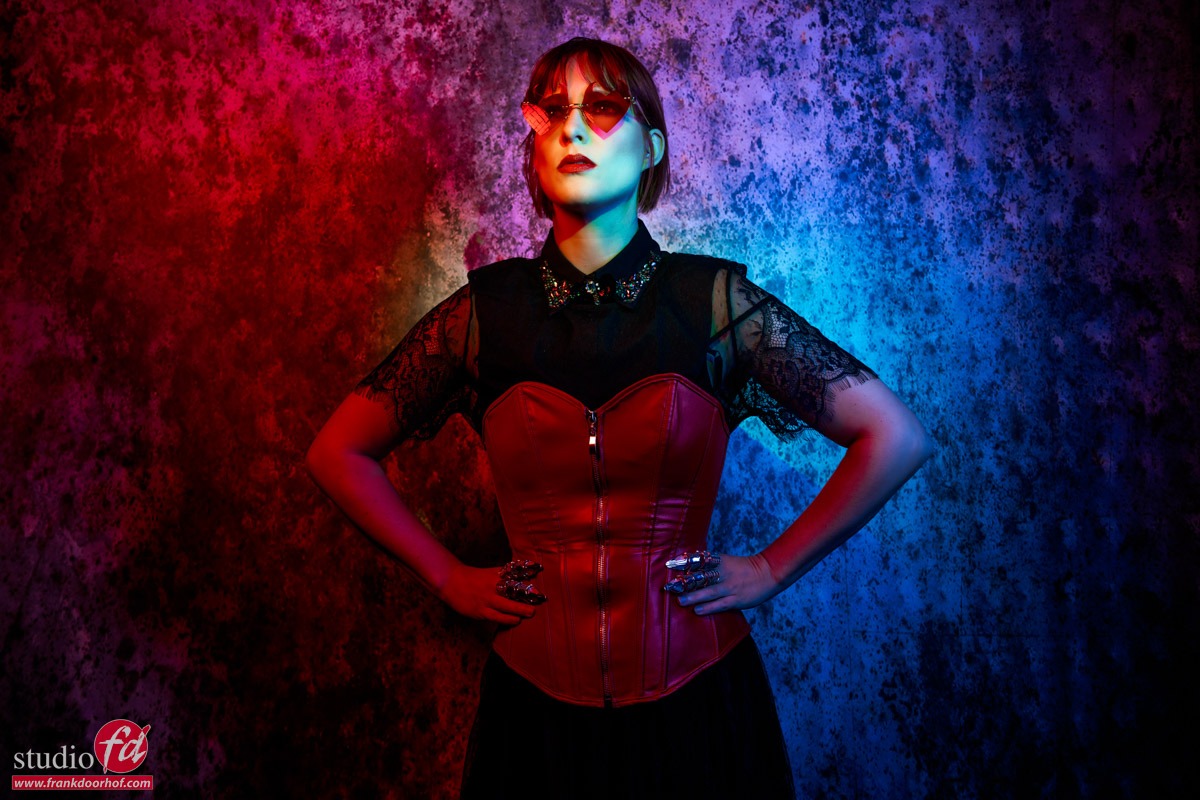
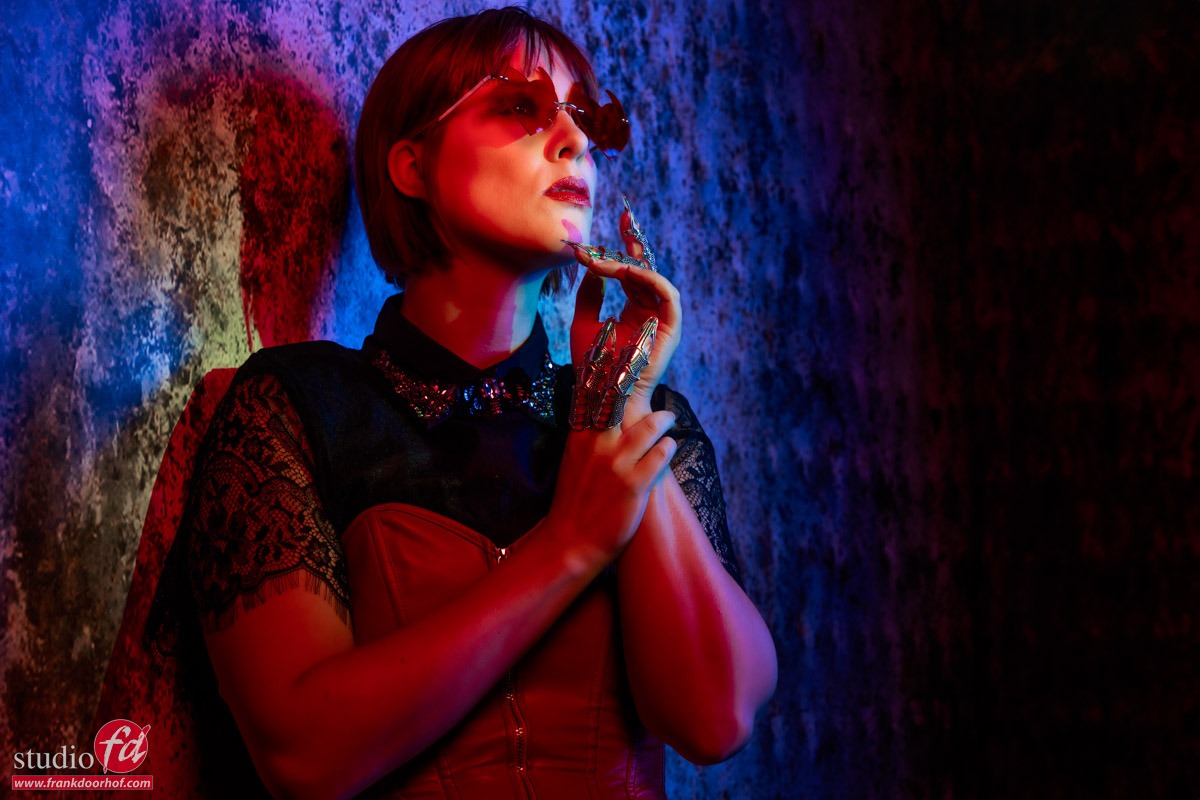
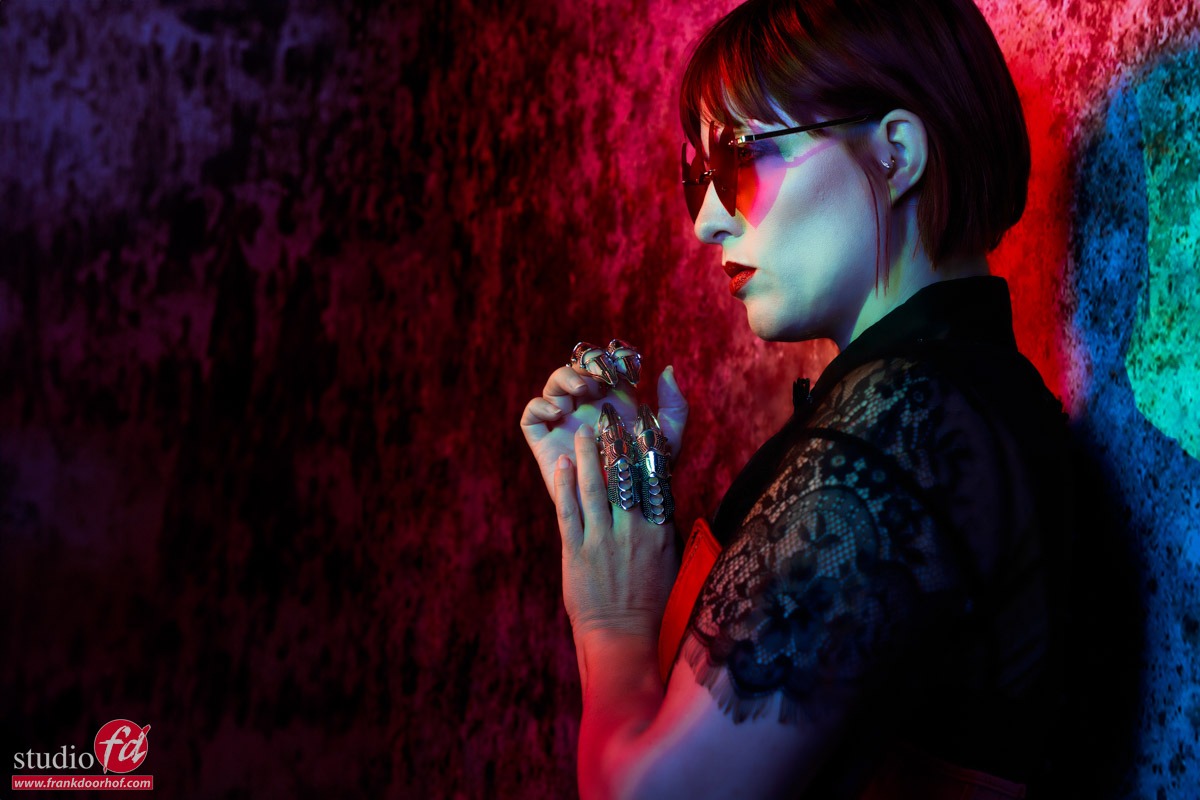
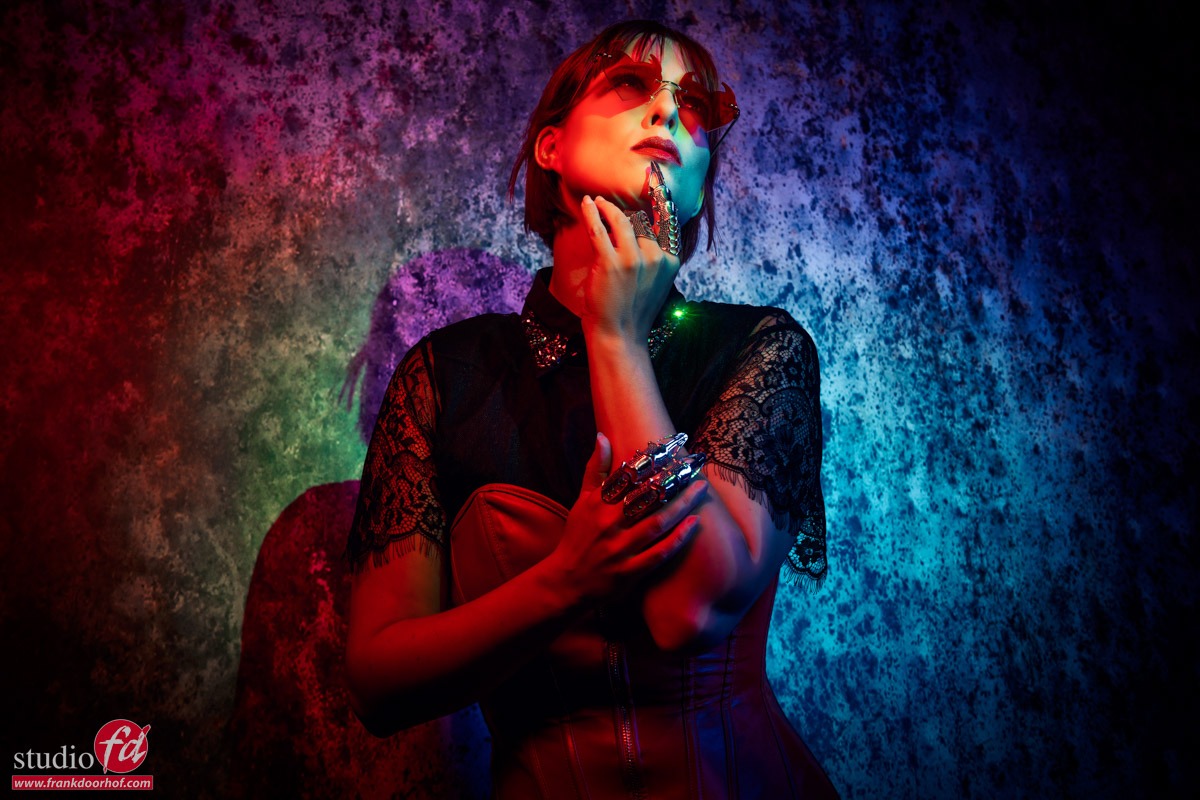
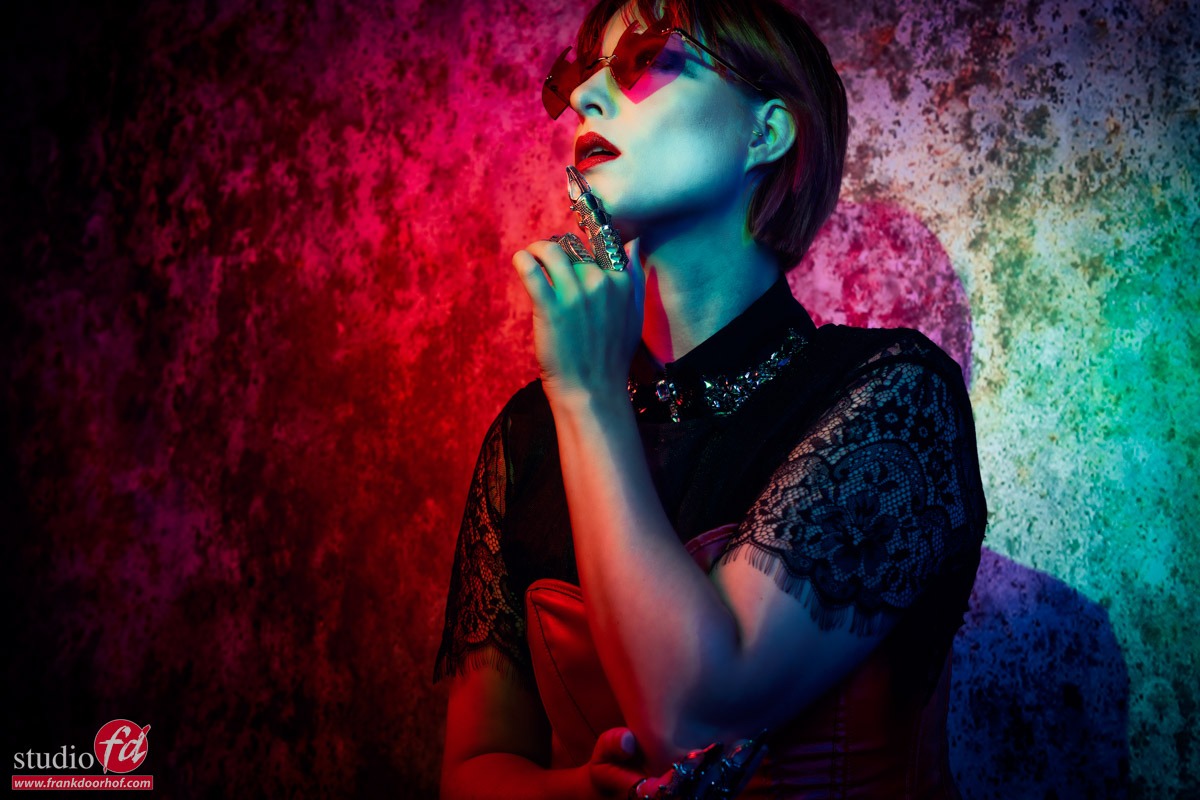
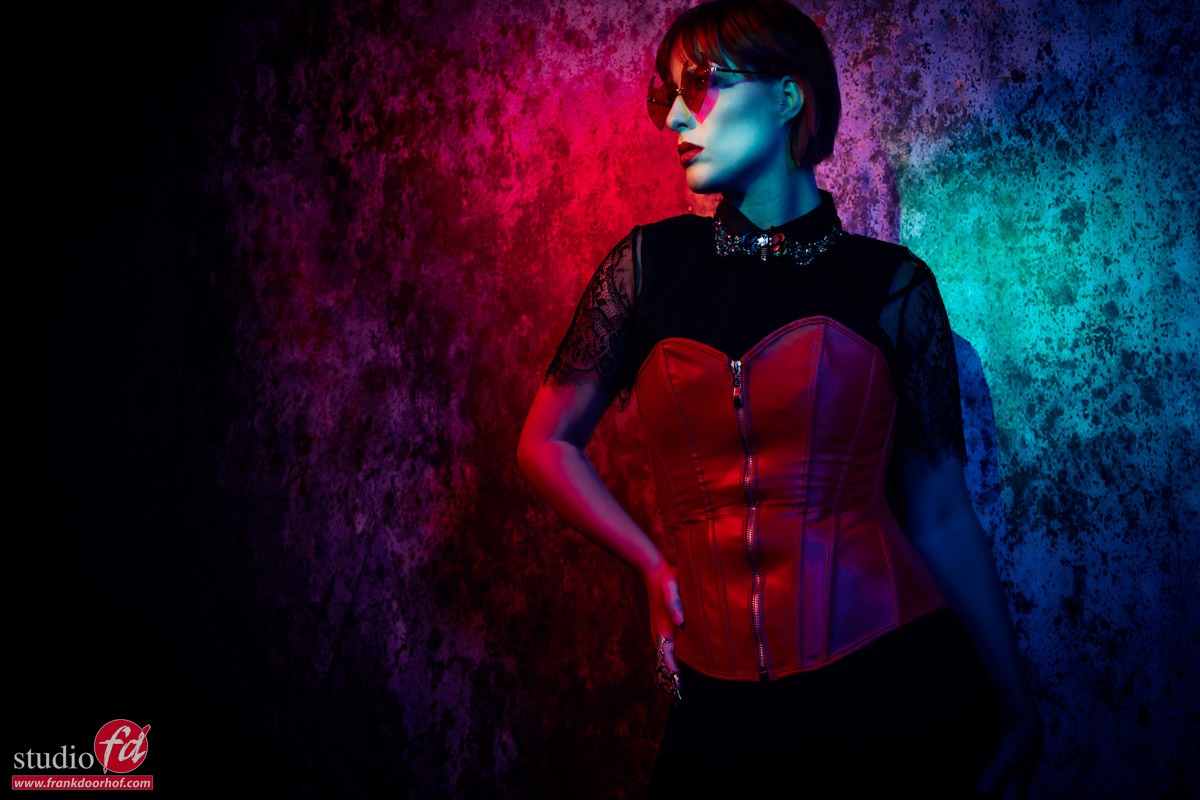
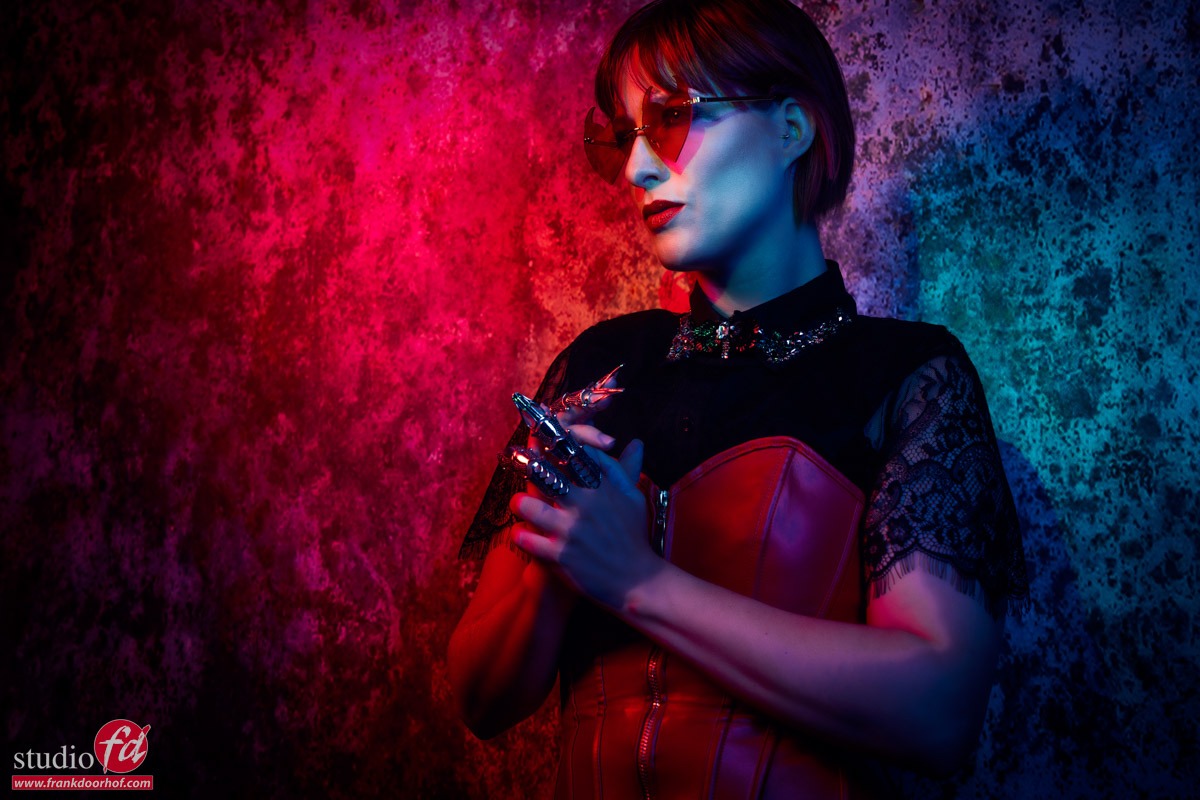
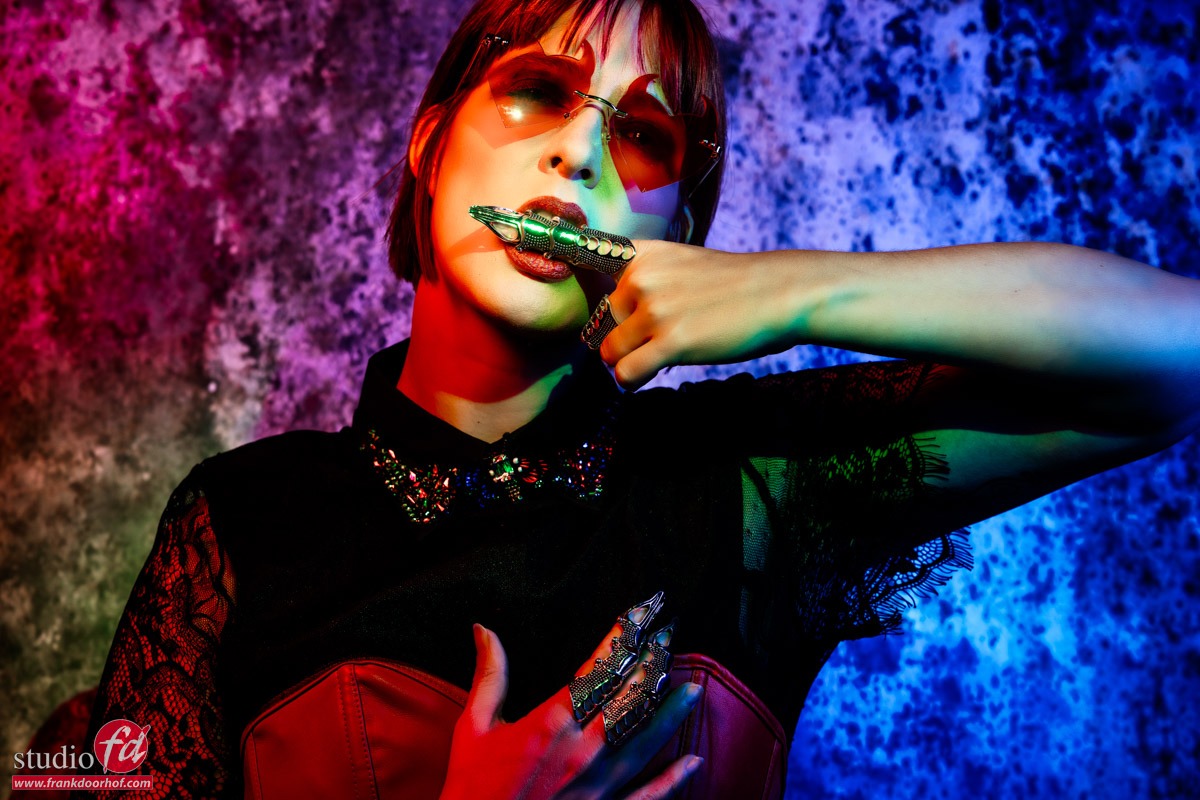
So let’s take a look at a series we shot with Lois recently during a workshop.
Lighting
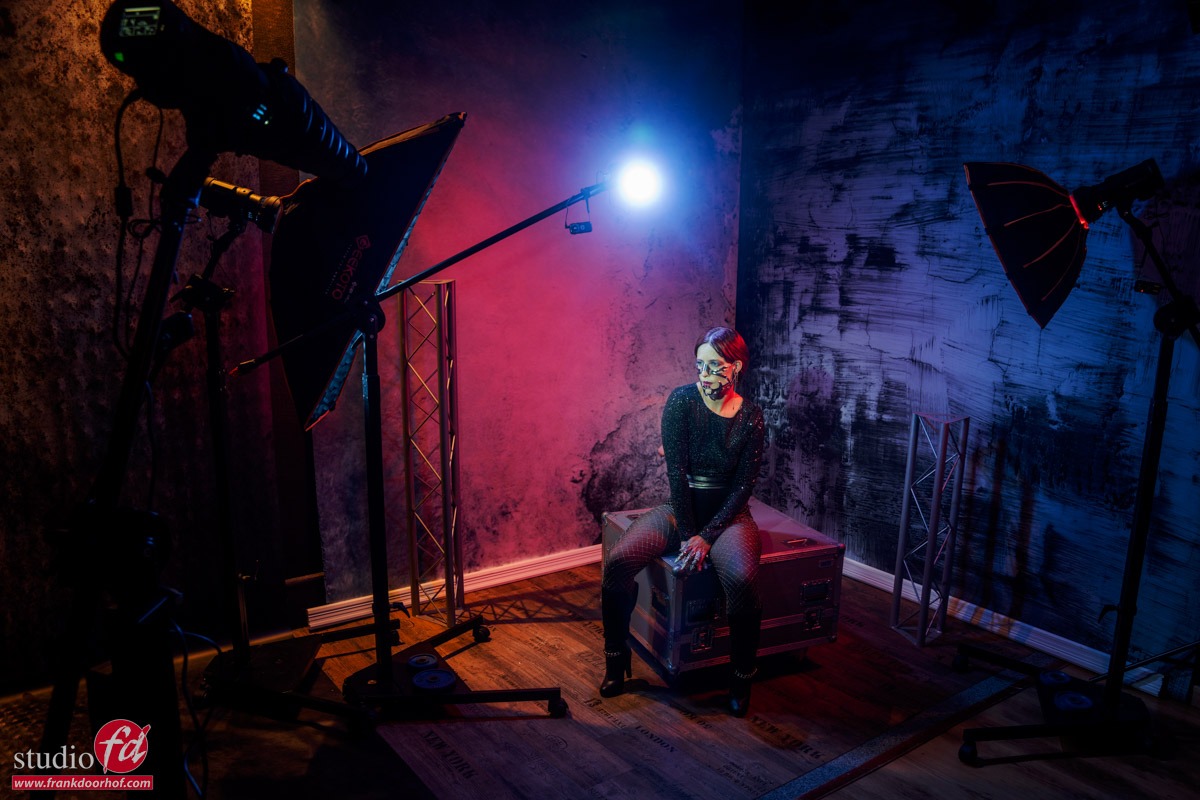
This setup was done with 2 softboxes
The first one was a Geekoto 36″ softbox
The second one was the new Geekoto Lantern
Both on the Geekoto GT400
The lantern gives a nice soft quality of light and reaches a lot more of the set.
The 36″ is slightly more focused.
In this setup the difference is mostly seen in the light fall off in the back but as you can see both softboxes can be perfectly used for fashion shots 😀
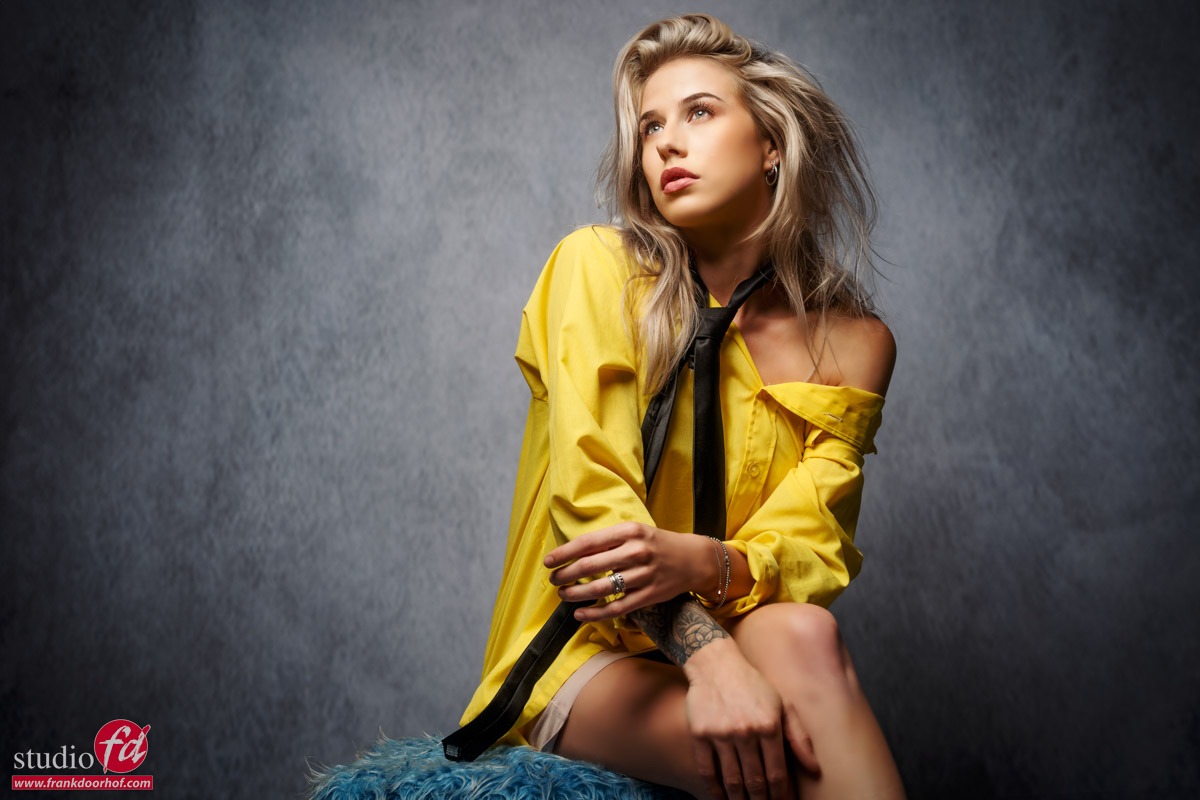

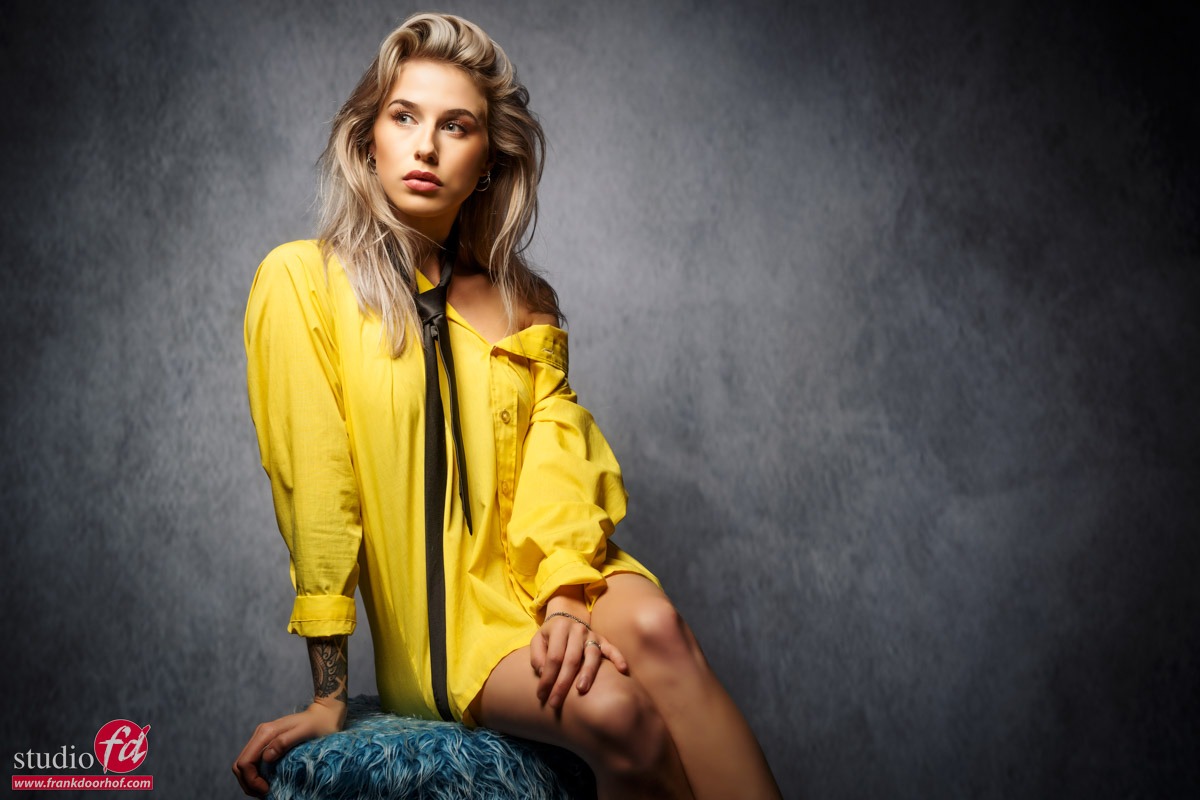
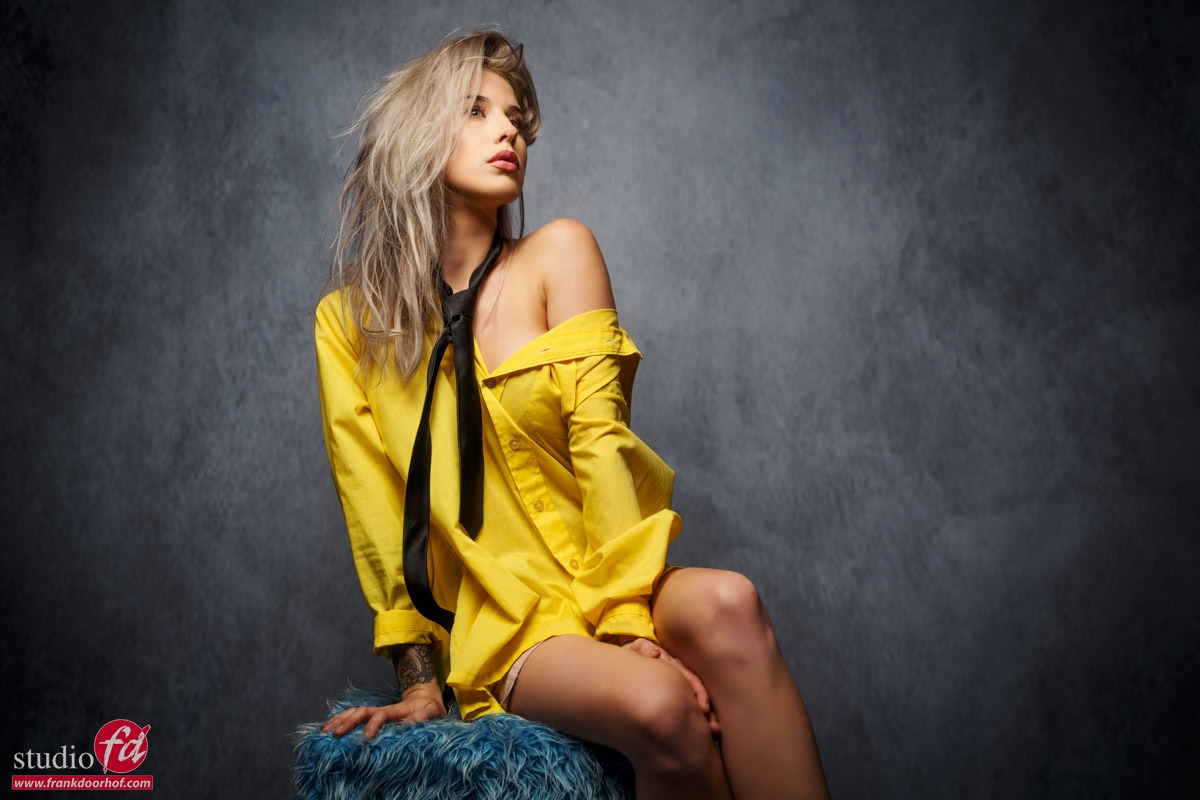
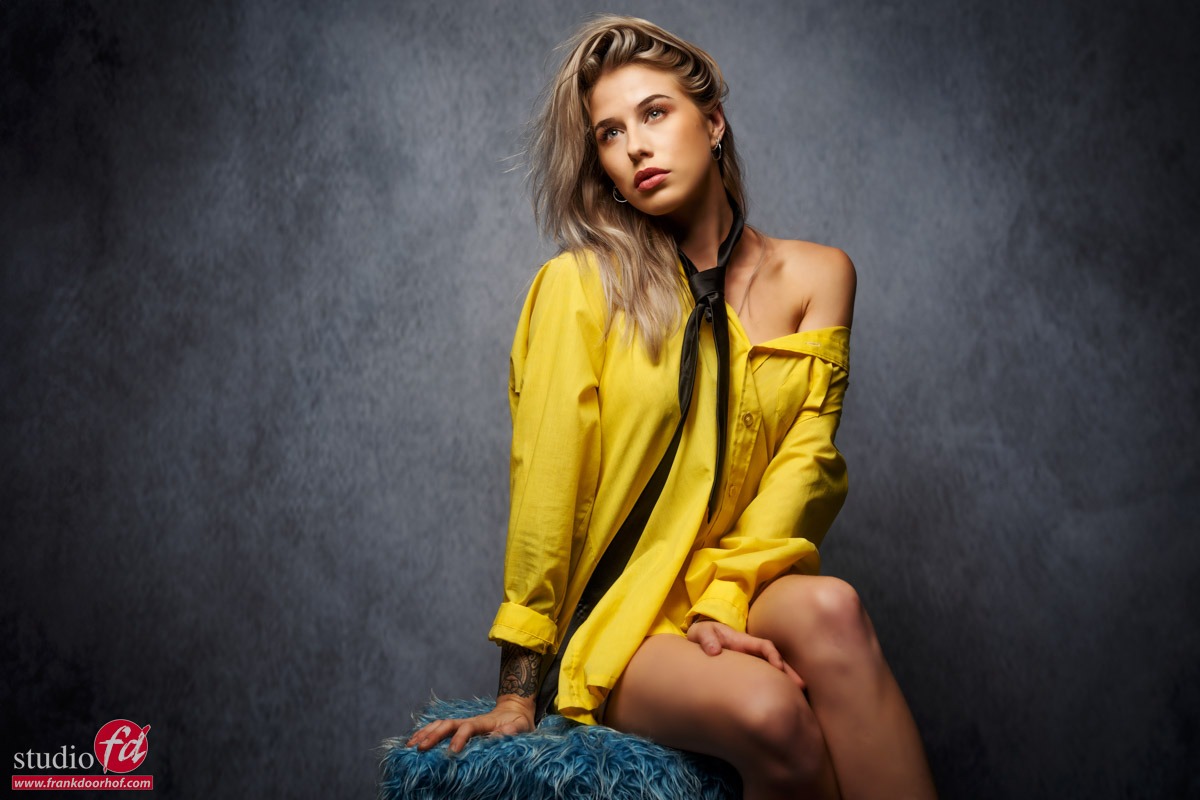

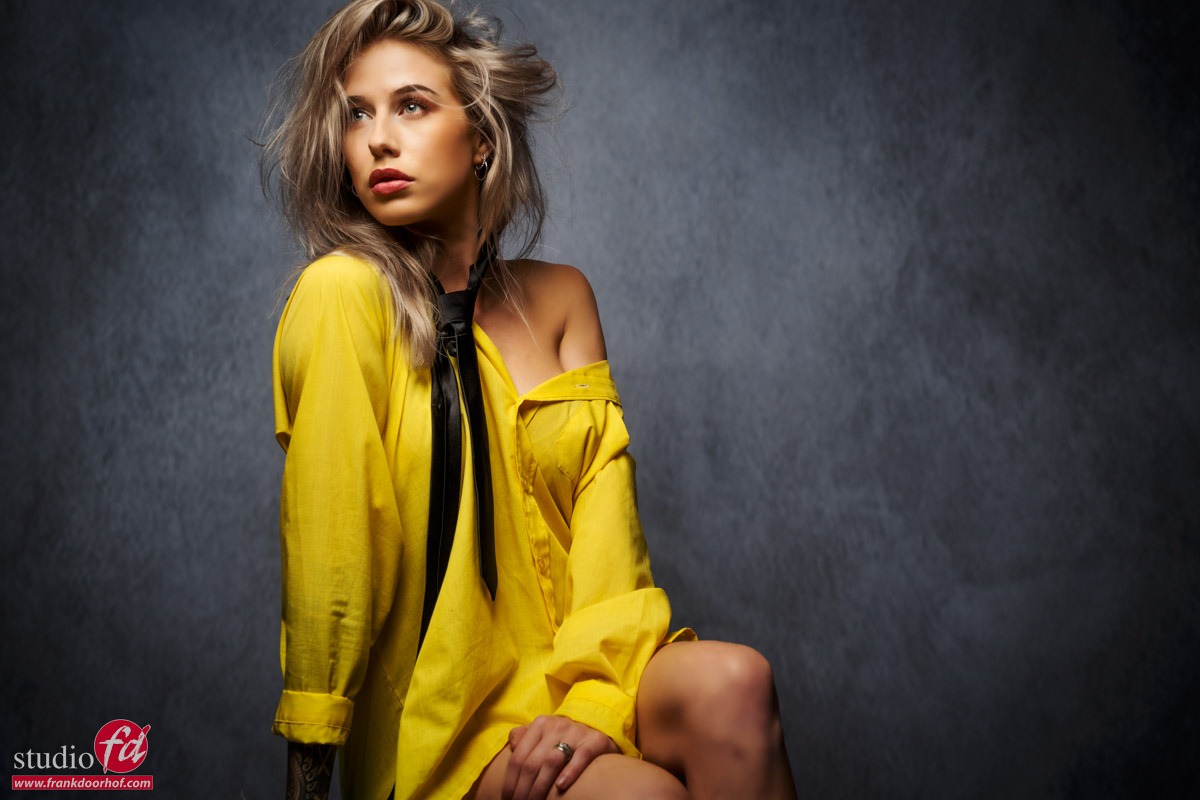
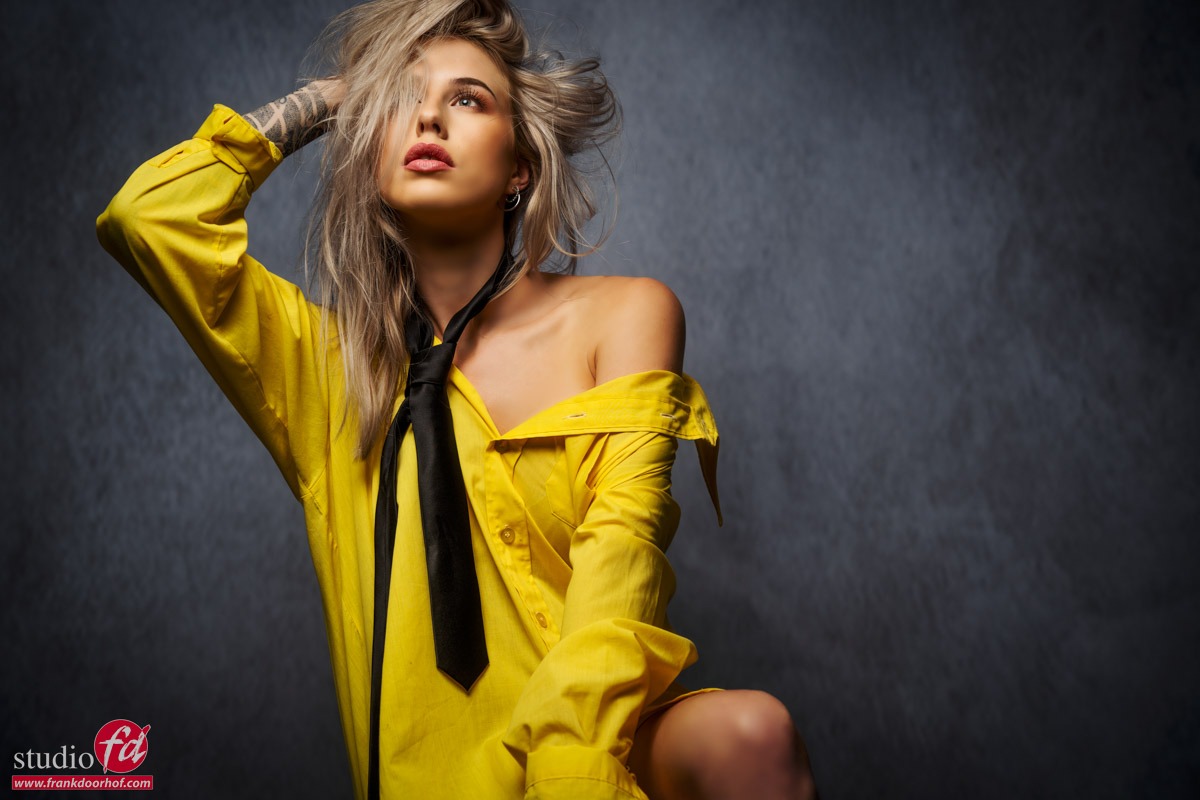
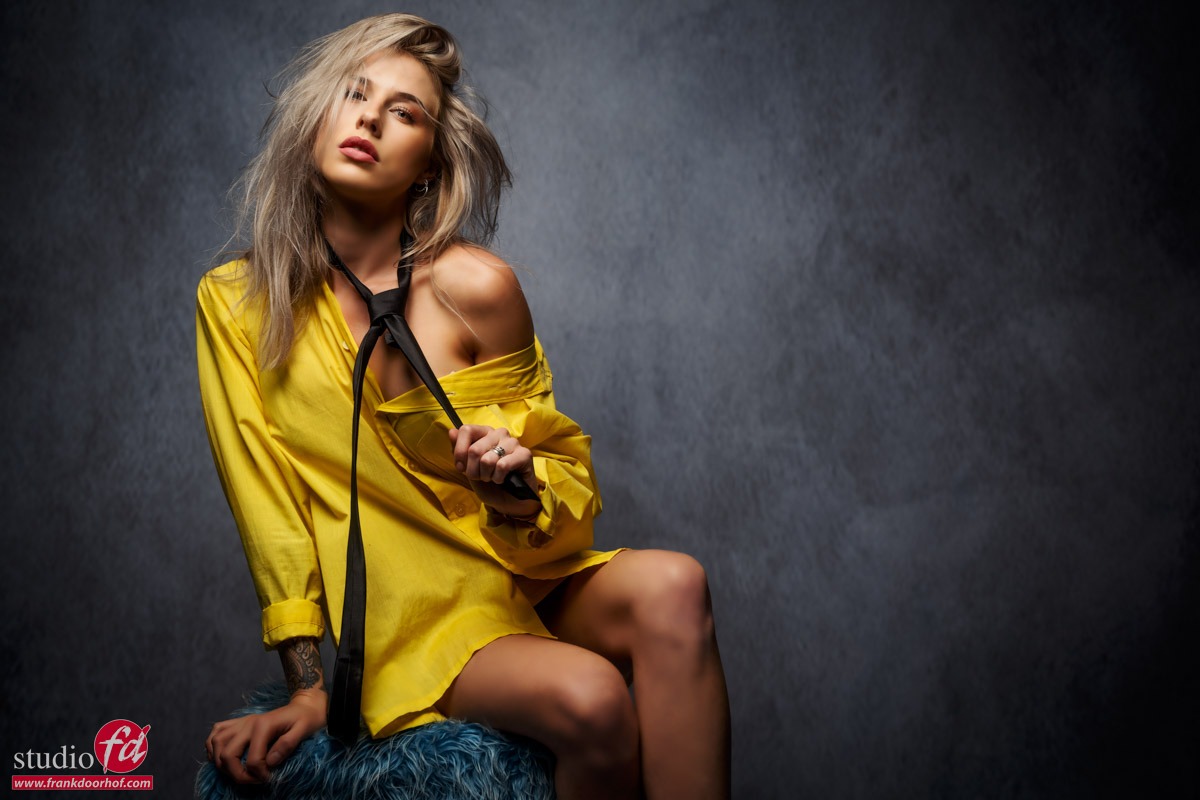
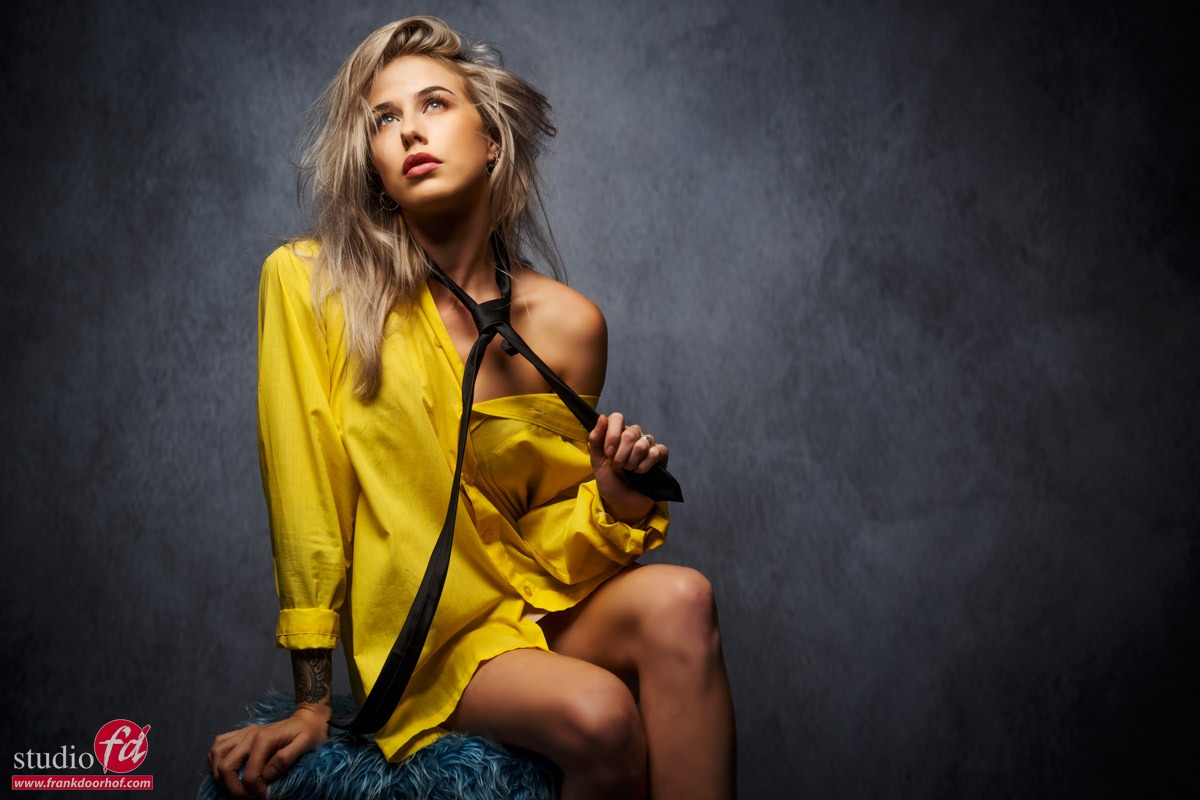
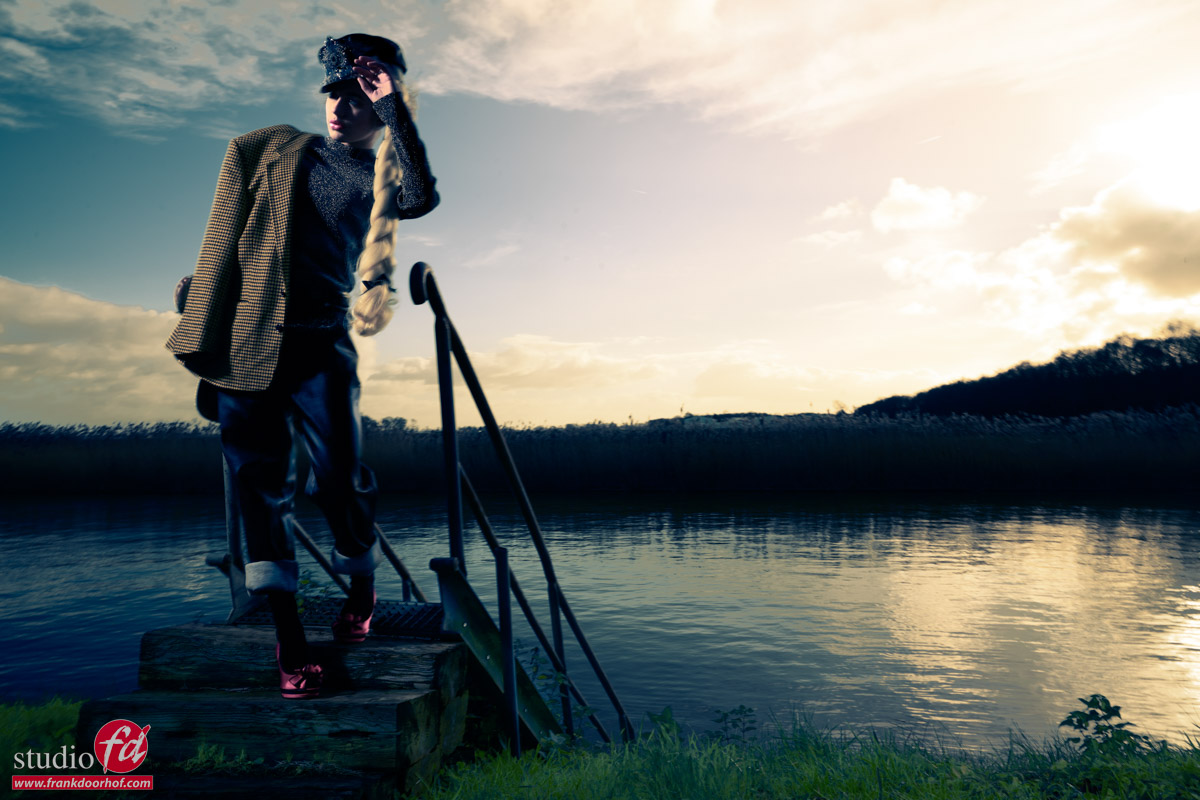
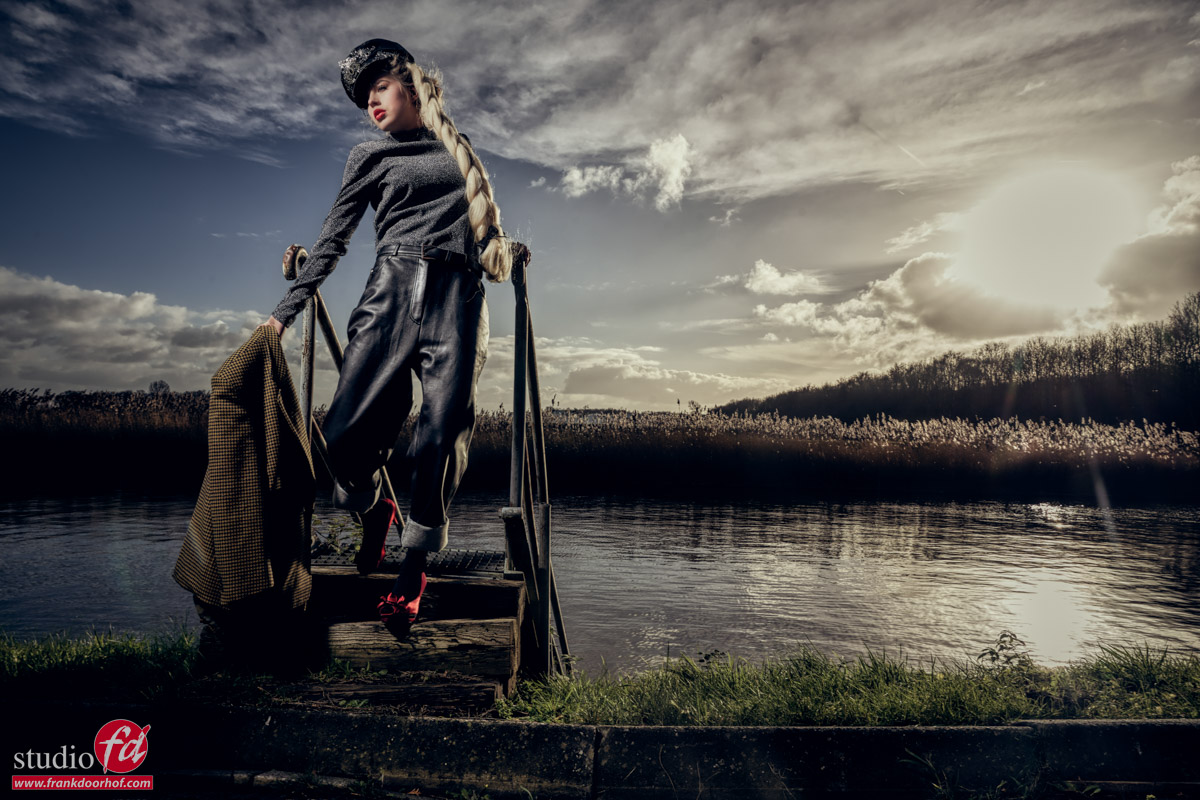
As you can see Lois is a great model, but as you can also see there are many different poses and lines in the shots.
I always look for a nice flowing line, and sometimes this means tilting the head slightly to the left, or the right depending on the rest of the body.
When the lines “flow” you automatically get a much easier to look image.
As you can see in these results some poses just look better and more easy, find the curves/lines and remember the “flow” and try to incorporate them in your next shoot, probably ti find out that it will differ per model, but the base is always the same. Just like with landscapes, find the “leading” lines and shapes and coach the model with slight adjustments to get the pose you like.
This is something that will take some practice but at one point you will find out it becomes much easier.
Want to visit a workshop?
Most of the workshops are taught in Dutch, but if you mail us a few weeks in advance we can switch to English.
Visit fotografie-workshops.nl for more info and bookings.

You must be logged in to post a comment.