Tag Archive for: tips

Working with colors and gels is fun

Colors evoke emotion

Today is the first blog post in a series about color and color manipulation in photography.
We are going to talk about color theory, how to manipulate colors, and how to use gels in a super creative way.
So keep coming back and subscribe to the blog. This part I

Color manipulation

Colors are all around us and are for a large part responsible for how we experience a product or scene.
Think about the movie Titanic in normal colors, instead of the fitting brownish tint.
Or how about the tinting used in The Matrix where green was used inside the Matrix?

Now think about this.
When you are 5 miles below sea level in a concrete bunker,  you turn on the light.
What color is that light?

Most people will answer Blue or are in doubt.
In essence, you don’t have to doubt, you are in a concrete bunker so the light is… well just the same color/temperature as it would be above water.
So why is the Abyss, and almost every underwater movie filtered blue?

Easy to explain, we immediately get a feeling that we are indeed underwater.
And you probably also feel cold 😀

Colors evoke emotion.

Learned or emotional

Now the following is not scientific (I guess) but I use it all the time during workshops.
When we talk about colors and emotion we can expect the following.

Red

Hate, warmth, love, warm, cozy, danger, etc.
The funny and interesting thing is that Red covers both emotions that trigger us, hate and love.

Blue
Cool, distant, uncertain, future, empty, sterile

Green
Now with green, I have to be honest that I don’t have a real emotion.
Of course, we have associations like envy or nature and some people will say calm.

Red is special

This is also why I love using the color red in my photography.
And you can even find it back in our logo. It’s a color that is very versatile.


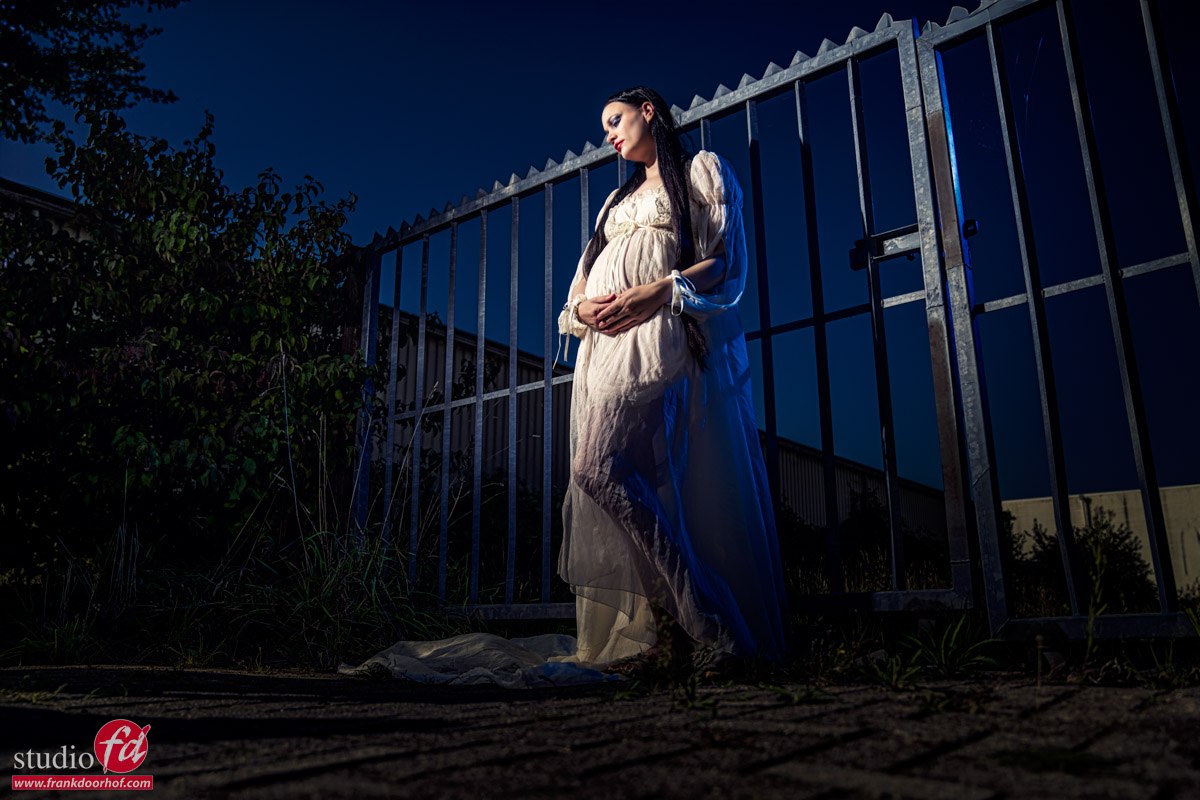
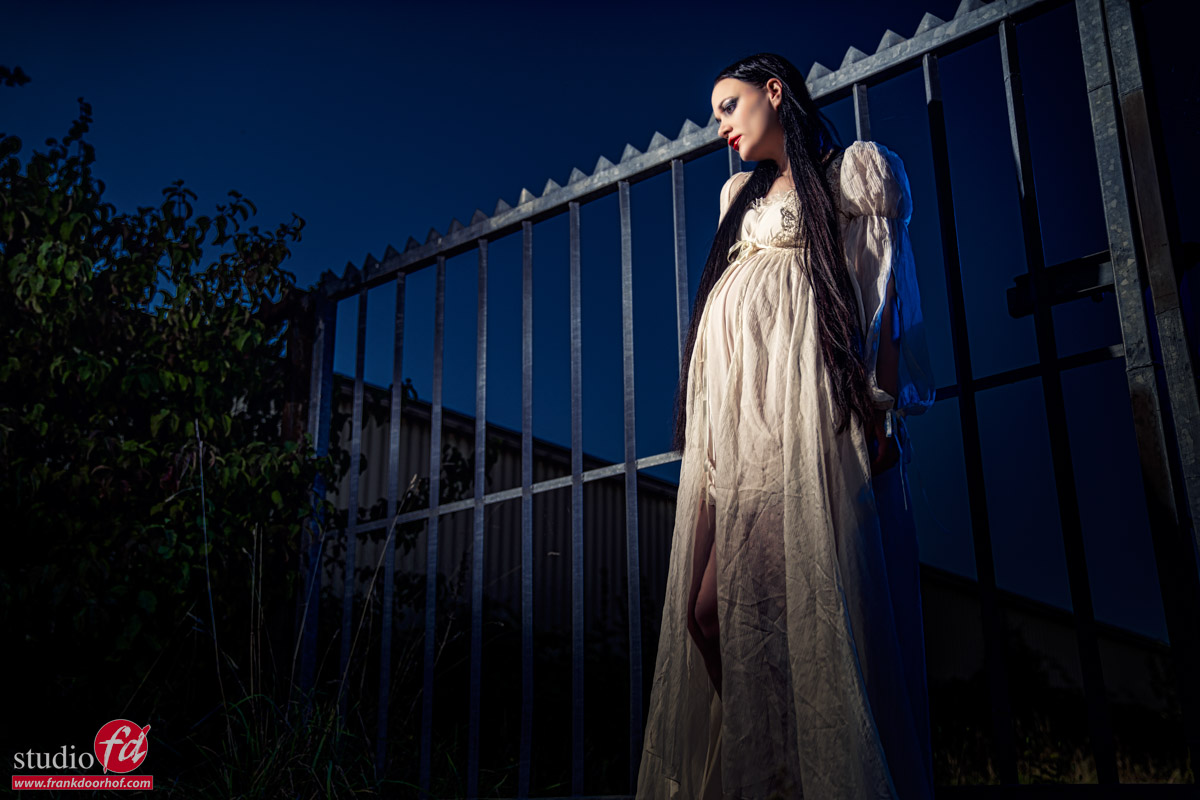
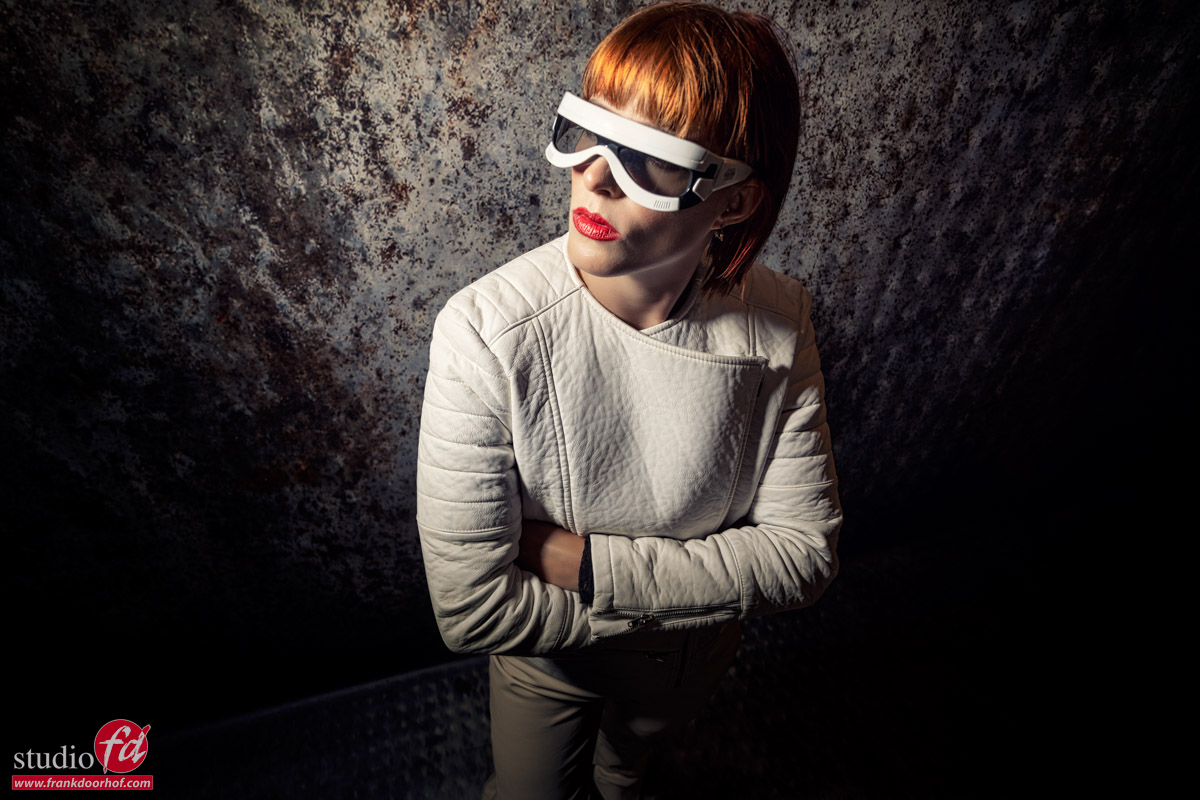
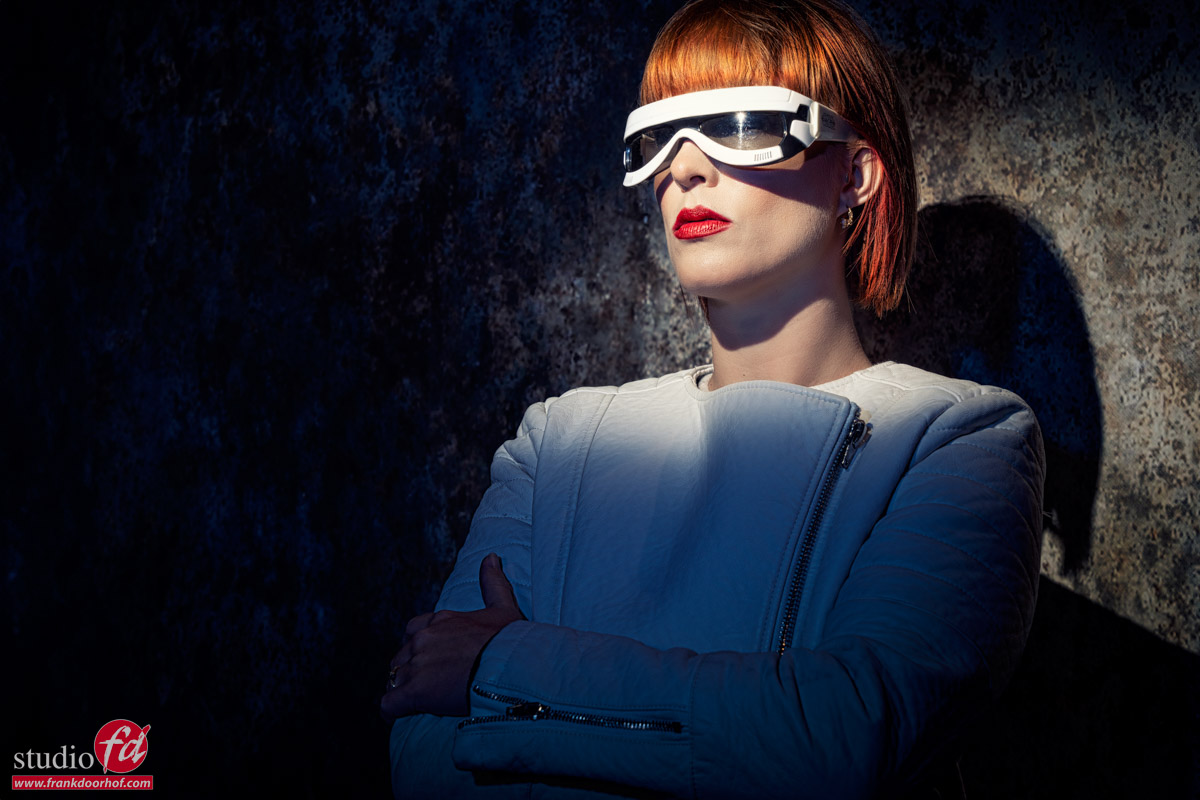
Today we take a look at some images we took from Lois during a recent workshop where I’m using a blue gel as an accent light


As you can see I’m using “normal” white light as my main light and as an accent I’m using a Rogue Blue gel on our magnetic system.
The advantage of these gels is that they are thick and give a beautiful deep saturated color, which makes the trick I’m using a lot easier.

Which trick?

When we look at the color triangle we see the colors Red, Green, and Blue.
And in the middle we see the so-called black body curve.
This is where the “white points” are located, a lower color temperature is a warmer white, and a higher color temperature means a more blue color tint.
For calibrations, we use D65 for most photography/video applications.

color manipulation

Just for fun. When you draw a line from the primary color (RGB) through the white point you end up on your secondary color (CMY).
You often see CMYK and K is actually the Key of that color, meaning the brightness, in printers, this often means a Black module, but the K is actually called Key.

By knowing how colors interact we can do some really cool things.
Today I’m showing you something really easy that you can do yourself.

Use one light source with white light and one accent color preferably blue or red.
Now the only thing you have to do is change the color balance in your RAW convertor and you can get some really funky effects like these below.

Because you are using white light and a deep blue you can create a beautiful mix. But if your client doesn’t like the “cool” look you can always go back. This is not possible when shooting with 2 gels.

Color Manipulation color manipulation

An extra tip for color manipulation

As you have read Key is the luminance of a color.
This means that if you don’t have a correct exposure of your shot the colors will not look accurate.
Now of course sometimes you want a more moody look, but it’s important to understand the basis of color to be able to manipulate them the way you want.

Must-have for color manipulation is the right gear

To be able to judge your colors correctly you need a proper workflow.
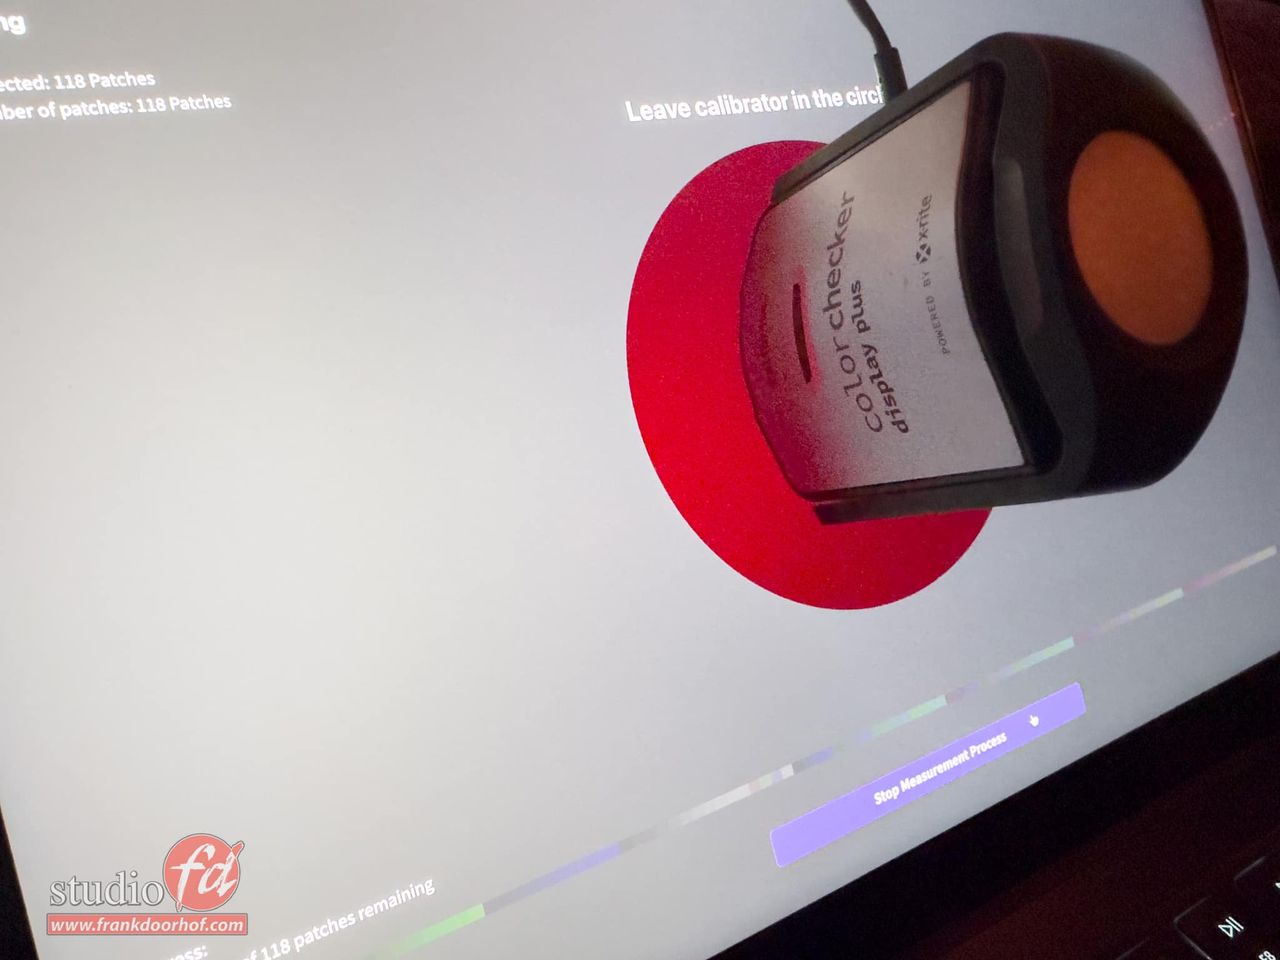
For me, this contains a light meter and color checker.
This means I get my exposure correct and with the color checker, I can create a profile and white balance for that series.
And do remember this is just to get all the images looking the same so that all the presets you run or anything else in your workflow has an expected outcome.

BenQ

On the side of the monitor, I’ve been using BenQ monitors for years and can highly recommend them.
They have a great lineup of professional monitors and a great line of P3 colorspace monitors (in between sRGB and Adobe RGB) for very affordable prices.
Besides great quality, most BenQs also support hardware calibration. This means you don’t calibrate your operating system but straight into the monitor.
This is a much better way of calibrating your screen than via standalone software and of course, the software is delivered for free.
We have a few 10% discount codes for our European visitors, please contact me for more info.


Check this link for part II about Color Manipulation

In our latest video: Inside the Model Shoot we also work with colors and manipulate them


Building a cool set with Click Backdrops in your own studio or living room

A background from Click Backdrops helps the story

When I started with model photography studio work was… well studio work.
It was mostly seamless paper and some nice fabrics or canvas backgrounds.
Personally, I love working this way, but I have to be honest my heart always beats faster when I find a cool location to shoot. I was happy to find out that sets are very easy to create with Click Backdrops.

So why not bring locations or sets to your studio?

As you probably know we use ClickBackDrops in our studio, we actually started with my signature series and ended up being the distributor for the Netherlands.
Of course, you can just use the backgrounds as… well backgrounds.
And although that already looks great, you can do so much more.

I already showed you guys some of the shots we took during the clicklive event in the UK where we built a complete set with 3 backgrounds and a floor part.

on click live 2024 we used one of the easy to create sets. The wooden floor, brick wall and factory windows

Click Live 2024 Portfolio pod. Wooden floor, brick walls on both sides, and a factory windows backdrop on the back

easy to create sets

So I thought let’s create something in our studio again a quick and easy to create set with Click Backdrops

During a recent workshop with Claudia, I used two backgrounds and a floor part to create a quick set.
At the moment I was calibrating a projector for a customer that came into a huge flight case so that was the perfect prop to create something cool. When Claudia entered the set I immediately got some huge Freddie Mercury and David Bowie vibes so I tried to get a little bit of that “rock/70’s” style into the shot.

great example of one of our easy to create sets. The parts don't really match, but it worked out fine easy to create sets

As you can see it’s super easy to use two backgrounds and a floor part to create a small set.
Add some props and you’re ready for the shoot.
Now as you can see these backgrounds are not really meant to be shot together, but they still work very nicely I think.

Are you curious about more easy-to-create sets? Visit one of our workshops!

They are in Dutch, but if you book a few weeks in advance we can switch them to English.
Visit fotografie-workshops.nl for more info and booking your workshop.
Want to buy the gear I use?
Visit frankdoorhof.com/shop

The brand new Geekoto Lantern in action

The New Geekoto Lantern


It’s always fun to play with new gear, and light shapers always have a special place.
And let’s be honest the light shaper defines a large part of how your image will look. This blog is about the new Geekoto Lantern.

Having new light shapers triggers creativity

The new Geekoto lantern has a few tricks up its sleeve.
First of all, like all Geekoto softboxes we use, the lantern is super easy to set up and collapse and also has the removable speedring you guys love.

What does the Geekoto Lantern do?

The big difference is in the way the lantern projects the light.
With a normal softbox, the light travels first through a diffuser which makes the light source softer and larger, after which it leaves the softbox through the front diffuser. If you want to narrow your light beam you can use a grid. But that’s about it.

Now let’s take a look at the Geekoto lantern.

The New Geekoto Lantern

The Geekoto Lantern on the Geekoto GT400

As you can see the lantern doesn’t just aim the light forwards, but it also lights from the sides.
Now this has some huge advantages.

At first, you might think that this is the perfect softbox for product photography.
Especially with product tables, you can super easily light your product and the background with a lantern.
But also for newborn photography, it’s great to create a beautiful floodlight effect.

So you might think that this is like an umbrella a softbox for the more “broad” lighting setups.
However, the lantern actually shines in the more high-contrast setups.


Let’s take a look at some examples.

Normal softbox with grid

One of my favorite setups is lighting the model from the side with a medium-sized softbox.
I often add an extra light source on the opposite side to open up the shadows and also to light the background.
With the main light, I cannot light the backdrop enough when it’s a more darker color. This is why I use the accent light often in a striplight configuration which I use horizontally or slightly horizontally. This makes it possible to light both the model and the background with one light source.

By aiming it slightly away from the background I get a very nice even light fall off on the background.

The first image is just with the main light.
The light used is a Geekoto GT 400 with the 36″ softbox + grid

As you can see adding the accent light creates not only a beautiful lens flare but also lights the model and the background (I love striplights).

But let’s switch to the Geekoto Lantern

The main reason I love the lantern is that it makes it possible to throw a lot more light on the background creating a totally different look.
So let’s take a look at how that works out.

using the new geekoto lantern

Also here first a setup with just the lantern, and the second one is with the striplight on.

It’s no battle

Remember that it’s a matter of which one is better.
I like them both for their lighting.
The first setup is great for a more high-contrast look with a darker background.
The second setup has a much nicer wrap-around effect and “glues” the model and background nicer together.

The cool thing about the lantern is that it gives you a totally different kind of light shaper due to the translucent sides. And that is not just better for portraits but also when you shoot full body images. It makes it possible to place the light very close to the model and still light the bottom part. Something that with a normal softbox that close can be very tricky or even impossible. Now you can place your light super close and still light the background and bottom part of your model.

I would highly recommend getting one for your studio.
We added them to our webshop of course.
On the webshop you find all the gear I use and like.
The lantern can be found here.


We also used the Geekoto Lantarn on the Click Live show in the UK in juni. Check out the BTS video 


A cool behind the scenes during a fashion shoot including all the info free tutorial

A behind the scenes look

This is how digital classroom started.
Just a webcam starting in the morning and ending when we were done, and I could hardly believe it but some people stayed awake the whole day, which for them was actually night time.

Although this was fun, it was not really something we could do often due to the very bad internet quality.
A few years later we wanted to start the live streams again but in a different format, a 3 hour live semi workshop.
At that moment we had to stream via a satellite uplink, which mostly meant I was worried almost the whole episode, because just one fat cloud and it would fall below the range of YouTube which meant “lost connection”.

Nowadays everything has changed.
We are now streaming with 4 live cams, we have a chat running where people can ask questions and of course we are now streaming via a super fast fiber connection.

Digital classroom has grown

Digital classroom now is totally different from when we started, but we are continuously looking at ways to make it more interesting for you guys. And the first thing we did was shorten the episode length to 90-120 minutes (3 hours was too long).

And of course we can’t do it without the support of our sponsors. So let’s give them a big shout out.

BenQ :
Great monitors for designers, photographers and video.
Without a doubt my choice for monitors.
And they sometimes have great offers for our viewers, like a 10% discount for all EU customers (mail us for the coupon).

Rogue :
We’ve been working with Rogue for almost as long as I shoot models.
The Flashbender is probably the product I’m the most involved in, but Rogue is the kind of company that really listens to their ambassadors and create awesome products. I use the flashbender and magnetic system in almost all my shoots.

Geekoto :
Awesome compact strobes, with great easy to setup softboxes.
And for the price, it’s almost unbelievable what they deliver. I’m very picky and have been shooting with them for over 2 years now and didn’t have any issues at all.

Calibrite :
I always advise to get a proper calibrated workflow, and Calibrite delivers all he goods you need.
I’m using their colorcheckers and analysers to get proper colors in my workflow.

Cascable :
When you see me shooting live there is a 99% change you see me using an iPad Pro, and on the iPad Pro I’m running Cascable, without any doubt my favourite tethering solution for iPad, it’s super fast and reliable, just what a I need under stress.

IQwire :
Tethering is showing your images directly on a large screen while shooting.
IQwire delivers the fastest and most reliable tethering cables and a complete defence system for camera, laptop/desktop and cable.
Available in 5-10-15 meters length (I’m mostly using the 15mtr which makes it possible to move around my whole studio without ever tripping over a cable.

ClickBackdrops :
We started with a signature series and I ended up with my whole studio filled with their amazing backdrops, and eventually we started selling them (they are just too much fun). Available in almost any size and in 2 materials. Vinyl for sharp and “harder” prints and ProFabric, which mimics the old canvasses we all love but can’t afford 😀

Most of these products we now also sell in our webshop at frankdoorhof.com/shop so make sure to check it out.
The reason we chose these brands to work with, or sell, is that they are designed FOR photographers/videographers/designers instead of designed for the photography market (a huge difference in usability).

Ok…
Let’s go straight to the brand new episode of digital classroom with our model Claudia.