The problem with a global shutter that a lot of people will miss
Yes, Sony revolutionised the photography market
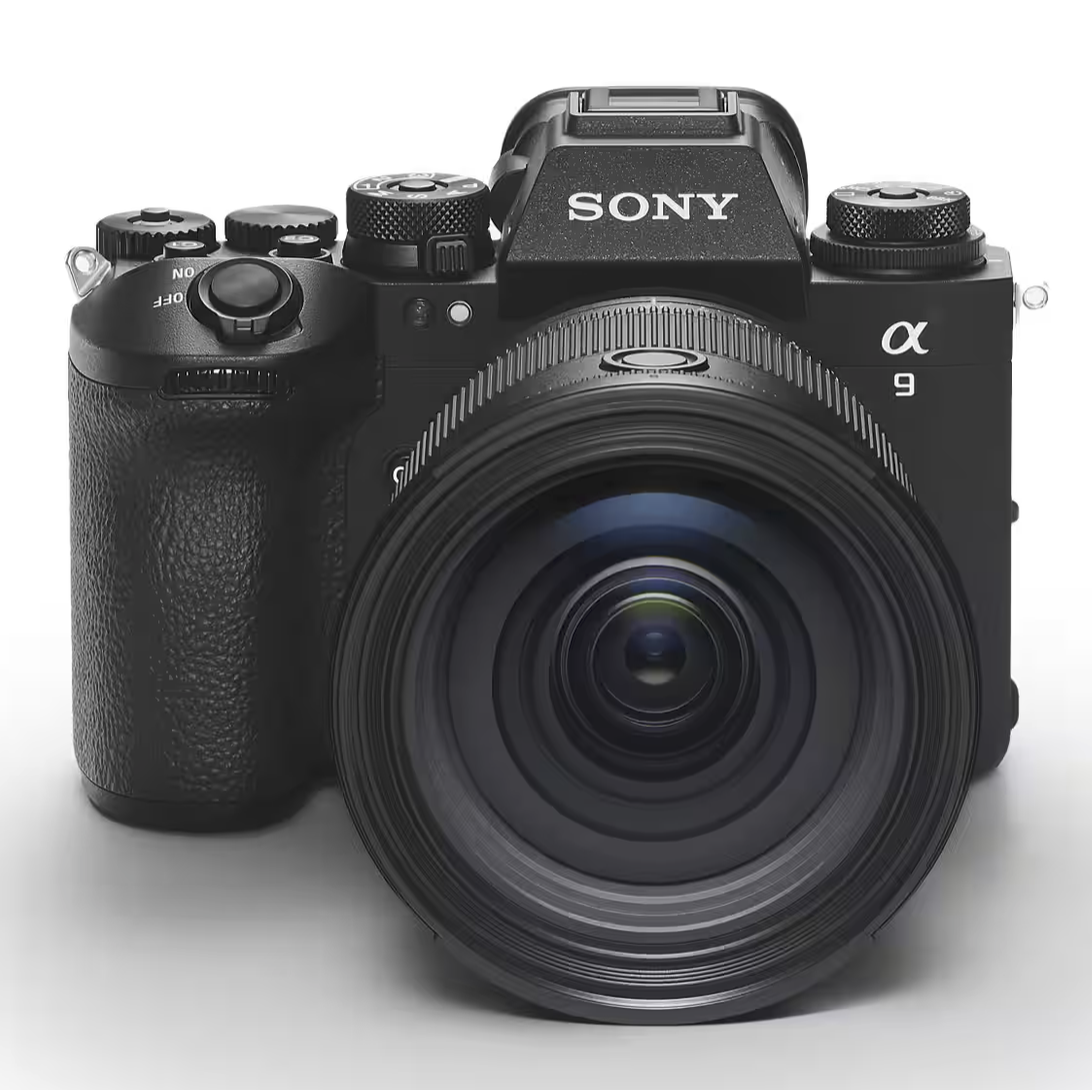
Without any doubt one of the biggest steps forward has been released by Sony, and it’s called the A9III
But why is it this huge step forward?
One might think that when we talk about huge steps we talk about MegaPixels, ISO etc. But this is all just adding to something we already have. When I talk about a huge step forward I of course mean the new Global Shutter.
Global shutter?
So why is this global shutter thing such a big deal?
When you work with strobes you probably know that the term X-sync.
The X-sync is the maximum shutter speed you can can use without seeing an annoying black bar due to the second shutter curtain.
For most cameras with studio strobes if you stay at or below 1/125 you will have no problems at all, and in the studio this is actually no limit. Most studios are dark so the slower 1/125 shutterspeed is no problem.
However when we go outside things change.
When we work with strobes we now have to compete with the ambient light.
Take into account the limit of 1/125 and you quickly understand why a lot of those shots with loads of strobe power have a DOF from here to eternity 😀
In other words, outside we often have to shoot at f22 to get the balance we need due to that 1/125 limit.
Solutions
Luckily there are solutions.
- Make sure you don’t place your subject close to the top. This way you can shoot at 1/160 and sometimes a bit higher without noticing the black bar. It’s still there for the strobe but the ambient light will not show it and the subject is somewhere in the middle so it will still get the strobe. A quick fix but far from perfect due to the huge limitation for composition (but it’s a nice one if you have to and can for example crop later in Photoshop).
- A bit more serious are solutions like HSS, HS
With HSS your strobe fires a lot of flashes during the exposure making sure the sensor is always lit by the strobe. This eats both power from the strobe but also from your batteries, it’s also a system that’s not 100% stable in output and can overheat a strobe pretty fast.
HS is a system that uses the cut off and raise of the strobe, not to make it too difficult it uses a very slow strobe to get faster shutter speeds, same issue here is that it eats power. - It doesn’t help with the shutterspeed but you can use ND filters to get a shallow DOF, although this can work great there are some disadvantages, first of all a good ND filter for use with strobes will be a pretty strong one, or a variable (I have the KF concept in my kit and really like that one) And with the stronger ND filters you will get into some problems with focussing speed. Also some ND filters will give you a light drop off in the corners.
- Leaf shutter lenses
Leaf shutter lenses are awesome but expensive.
The shutter is inside the lens and this means it breaks the limit of 1/125 with ease, there is still a limit (for example 1/1500) which in most cases however is more than enough, especially because most of these lenses are found in the Medium Format cameras. - Cheap cameras
Believe it or not but years ago I shot with a very affordable small Fuji camera which was able to shoot up to 1/1000 with strobes. This was a far cry from a professional camera, but I decided to include it to make the list complete.
So what’s the big deal with a global shutter?
In short….
There is no real limit anymore.
You would be able to shoot strobes up to 1/16000 or even 1/80000 when using Sony compatible strobes.
Sounds awesome right?
And it is, but there is one limit I have to tell you about that will prevent some nasty surprises.
The speed is important
The idea of shooting at 1/16000 will excite a lot of photographer but it could also be a huge disappointment, but that last part can be solved with a bit of technical information.
When we use our camera we all know that the shutterspeed will determine the “freezing power” of your camera.
The faster the shutterspeed the more action is frozen.
When we use strobes we often just look at the output. And in the past this is 100% understandable, most strobes are fast enough to freeze motion in the studio so we often don’t link shutter speeds to flash durations.
When we look at the specs of our strobes we do however see a value that links the two.
The t0.1 and t0.5 values. You might notice that those values are often mentioned in a range from very fast to slower,
Maybe you also found out that the way the motion is captured does vary depending on the power output of your strobes, especially with cheaper strobes it’s very possible that there are only a few power settings that will freeze the motion, where with the others there always is a slight blur.
When I look at the strobes I’ve worked with over the years there were strobes that topped out at 1/1000 and 1/60000.
As you can see this is a huge difference.
So what is the link with a global shutter?
Let’s shoot a mountain biker at 1/16000 with our strobe on full power.
Now let’s shoot the same mountain biker at 1/16000 with our strobe at 75% power.
I can almost predict that the 75% setting will be brighter.
So what’s going on?
You can shoot with the shutterspeed at 1/16000 and there will be no black bar in the frame, however the strobe has to be just as fast as the shutterspeed otherwise the shutterspeed will be cutting off the power of the strobe while it stills flashes.
This is very difficult to visualize because our eyes can’t see how fast a strobe fires, so we need a special tool for this.
To measure the flashduration of my strobes I’m using the Sekonic 858 lightmeter.
When I measure my Geekoto strobes I can clearly see that they are incredibly fast in the lower settings, as soon as I pass half power they are still fast enough to freeze any motion (1/5000+) but when I reach full power the flashduration gets a serious hit. Now this has nothing to do with the Geekoto strobes, but it’s all strobes and brands, it’s simply how it works.
So how does this fit in the global shutter story.
When you read the reviews and specs on the A9III you might expect that your strobe will behave the same as in the studio and this can lead to not getting the maximum performance out of your brand new camera.
The best way to make sure you get the maximum out of your system is to shoot a series of images on a white wall with the camera on a tripod. Don’t change anything on the camera itself but only change the output of the strobe. Do this for several shutter speeds and watch where the strobe starts to get dimmer and put a sticker on the strobe with those settings.

Why is this important?
When you use a lightmeter on location the meter has “no limits”, so it will give you the value of the full strobe, if the strobe has a flash duration of 1/800 or 1/16000 it doesn’t matter for the meter. Now that we know that the shutterspeed of the camera can cut off the strobe it’s also clear that when we are shooting above the “speed limit” of the strobe the value on the meter will not correspond with what you get in your photo.
Besides the trick with the white wall there is a solution for this, but it’s not cheap, but it will make it much easier.
When you use the Sekonic 858 there is a setting that doesn’t just meters the light but also the flashduration. This can be a very useful tool where you can not only find the setting with the fastest flashduration, but also to know how fast you can set your cameras shutterspeed.
A feature that was handy for reviews in the past has now become an essential tool to use your flash system to the max, and that’s a good thing, a really good thing. We can do amazing things with global shutters and flash, can’t wait to test it out myself.
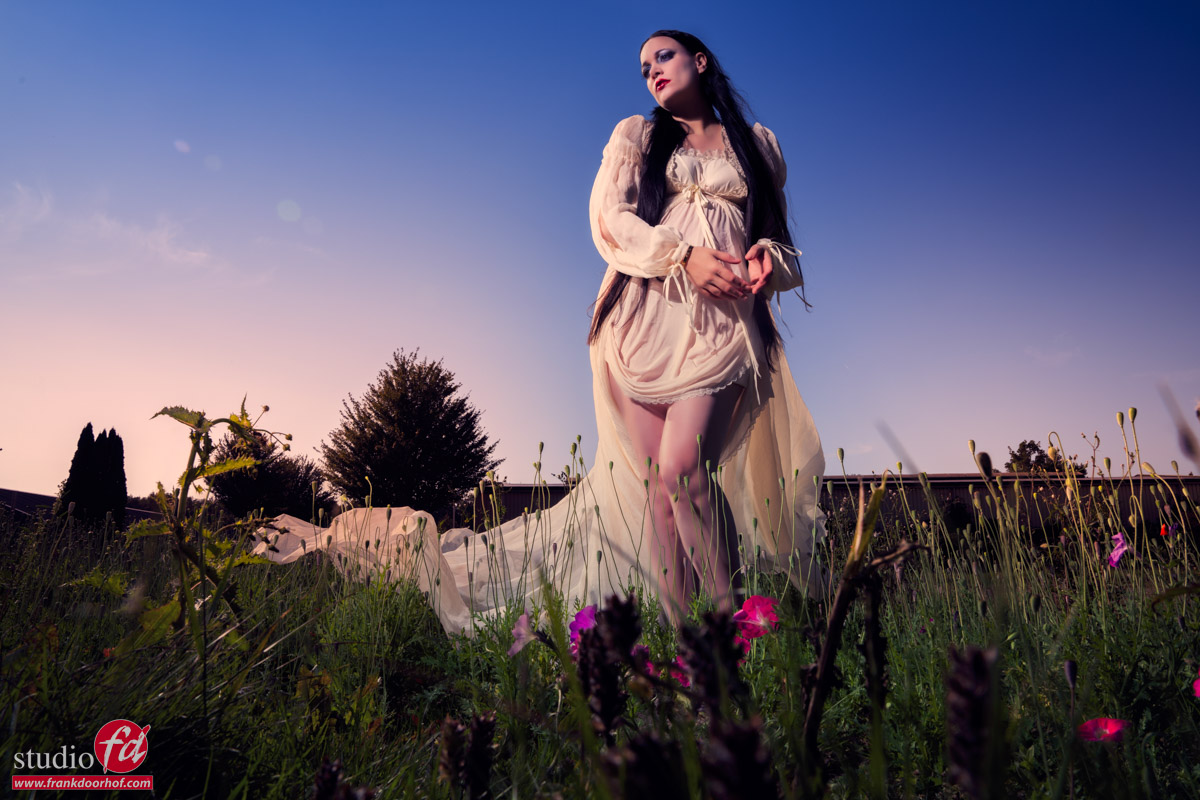
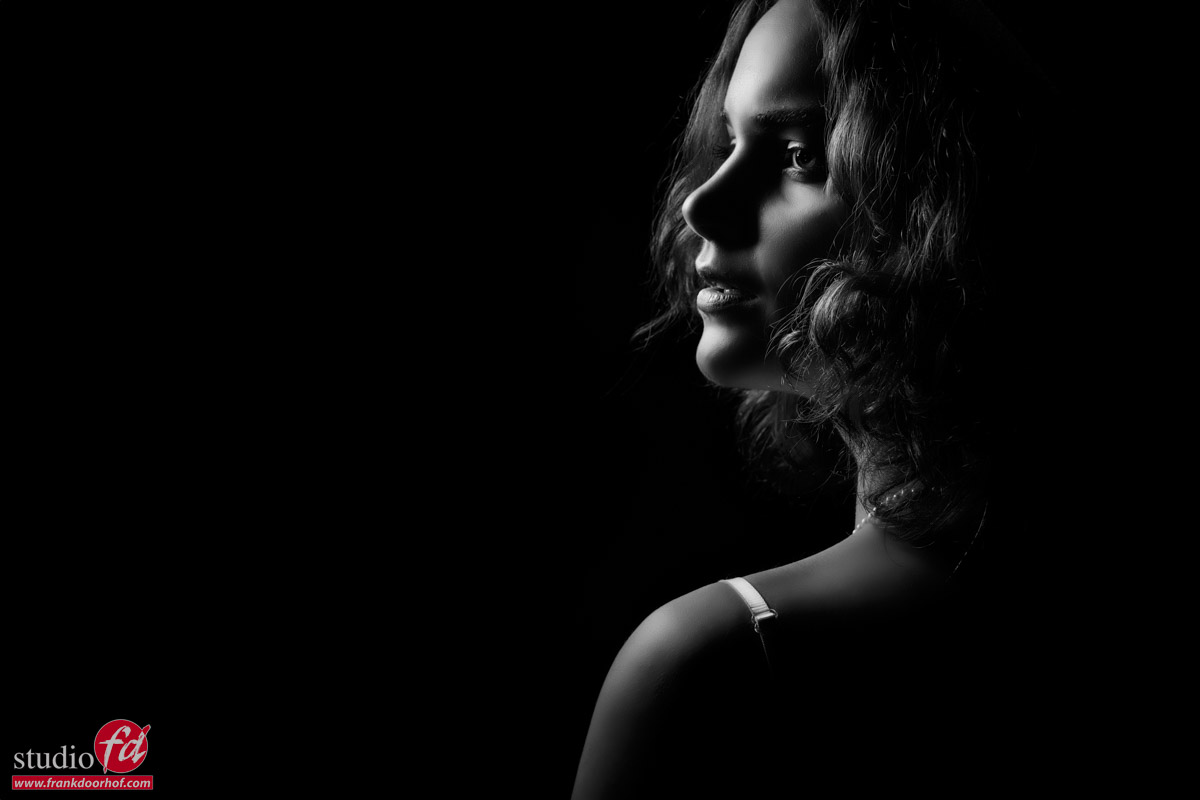
To be clear, I have not shot with the A9III, this why there are no examples (I don’t fake examples), the technique however is universal.
Use the links on our site when ordering from Amazon and you support our work.


You must be logged in to post a comment.