Tag Archive for: smoke

Small spaces are limiting? … nah

One of the most heard excuses is “my space is too small for a good shot”.
Well you might not be able to shoot a model in front of a white seamless, or fit in a whole family, or make a model jump (although that could be funny… for the photographer, not the model,….. nah don’t do it), but in essence EVERY location has potential as long as you use it to the max.


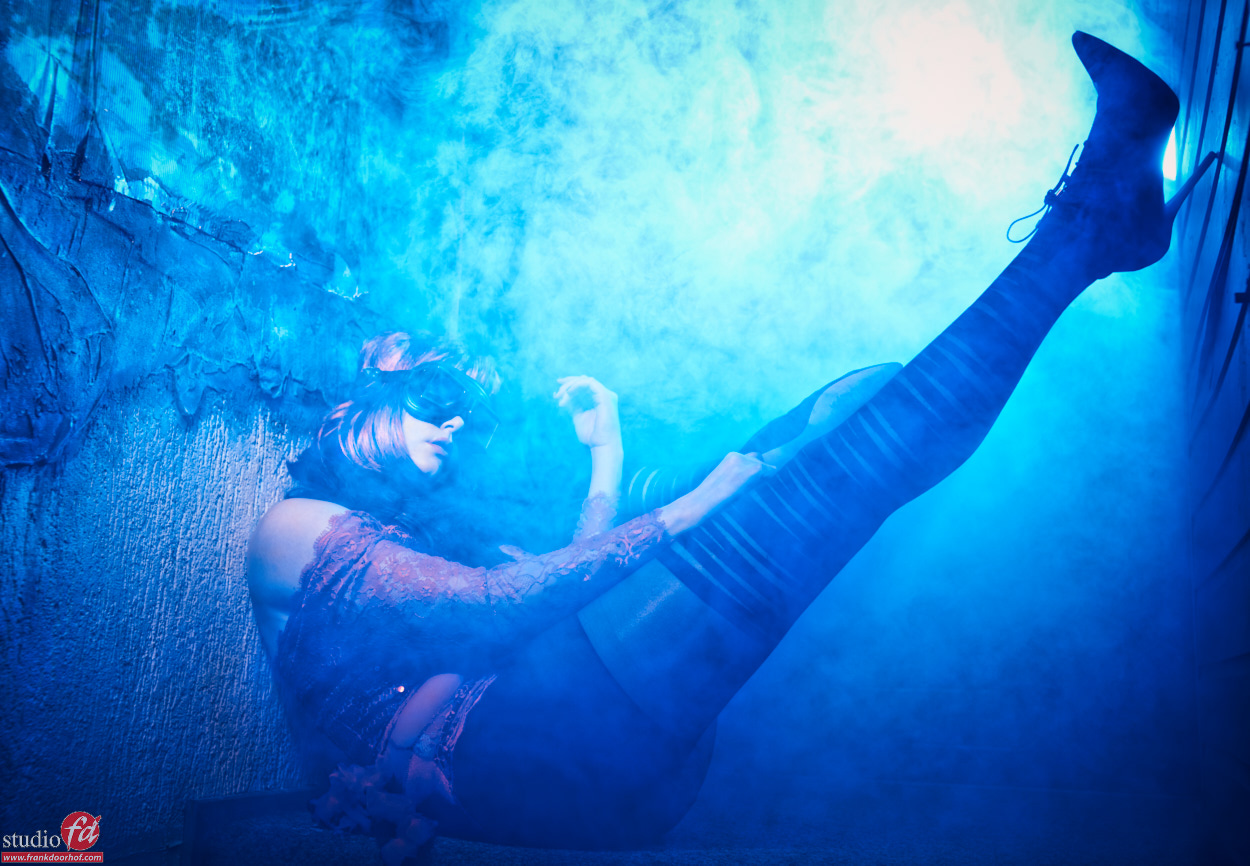
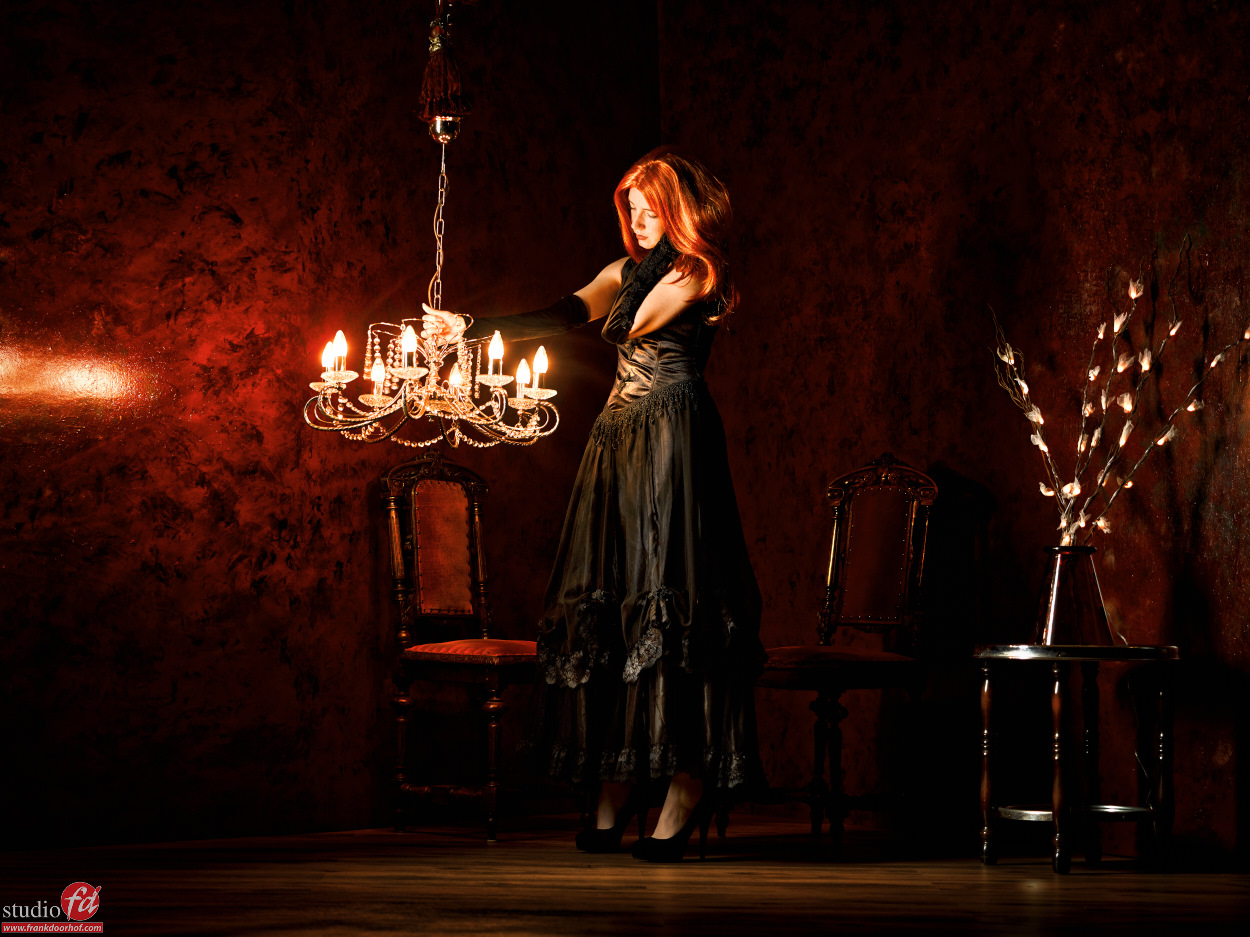
In this case we used a small staircase that is located at the back end of our studio and leads up to the “stage”. Our building is actually and old “church” and this was where the preacher was standing, it’s a tight space but for me it’s always fun to shoot there.


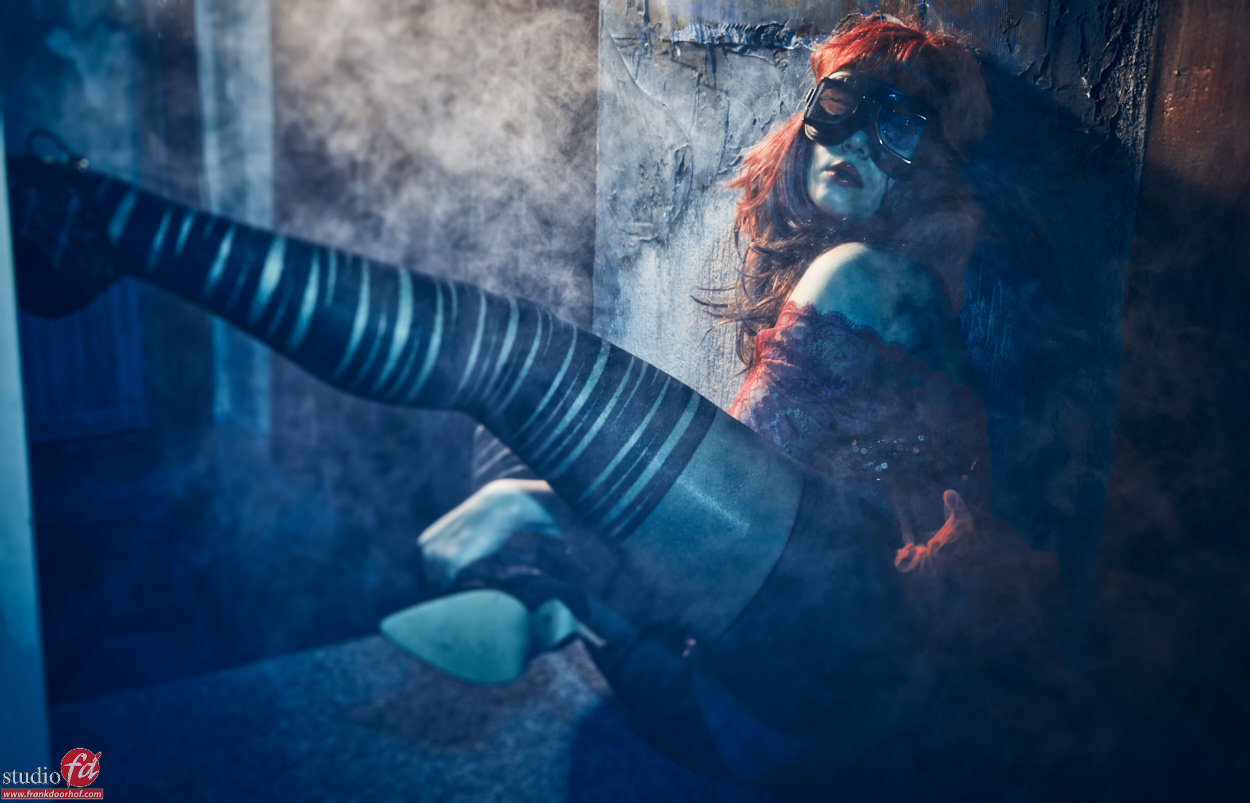
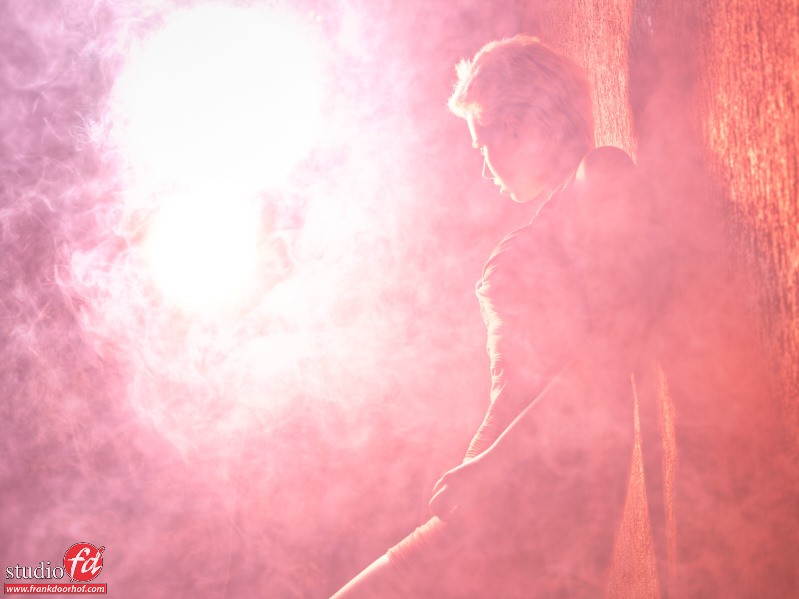
As you can see in the following shots I used some smoke to give the scene a bit more of an edge, but I also used my lighting to the max by moving around my model. Now always remember that smoke acts as both a diffuser and reflector so the more smoke you get… well let me put it this way, it’s always different. Also remember that as soon as the smoke gets in between the model and the front light source “all bets are off” smoke will start to act as a reflector and it will be one big white out.


We used one Elinchrom beauty dish with grid from the front and one gridded (and later open) reflector from the back with a blue gel.
Styling and model : Nadine

Nadine Januari 2 2016 0811

Nadine Januari 2 2016 0846

Nadine Januari 2 2016 0848

Nadine Januari 2 2016 0851

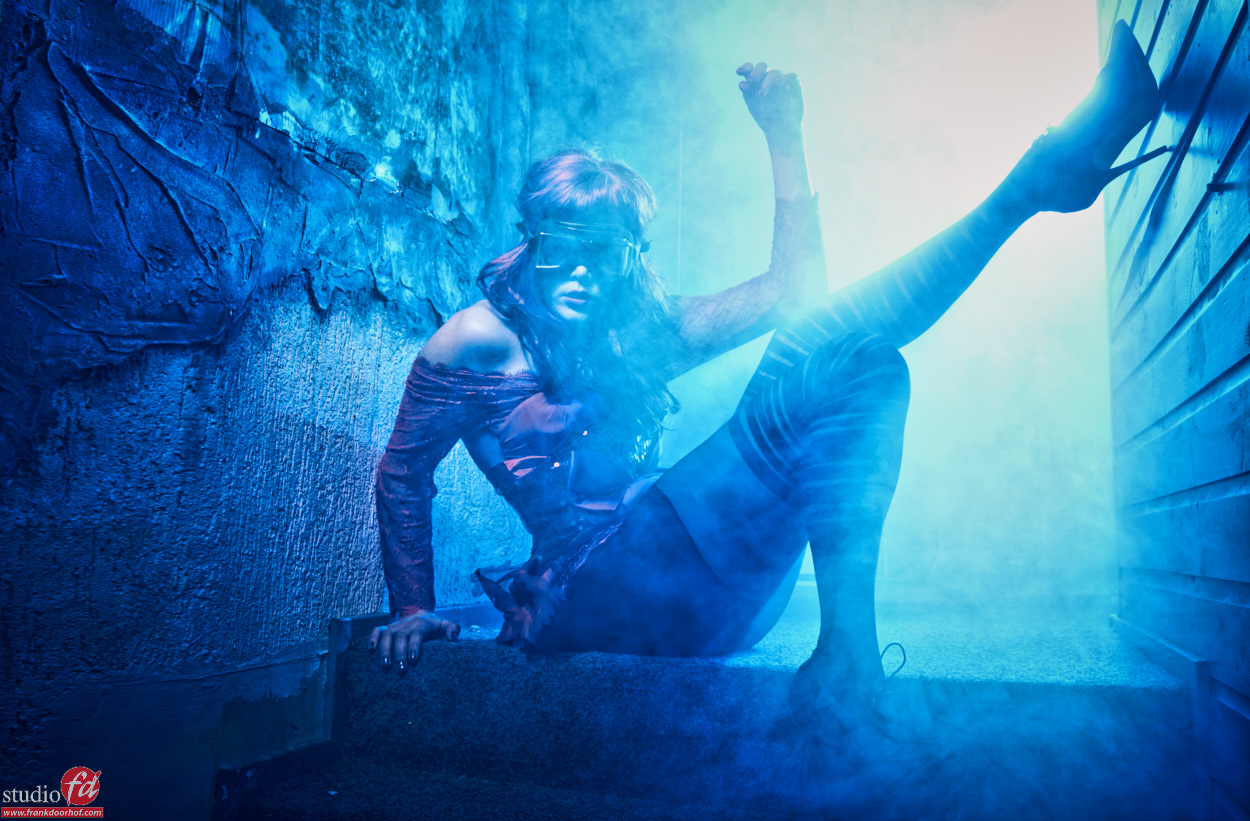
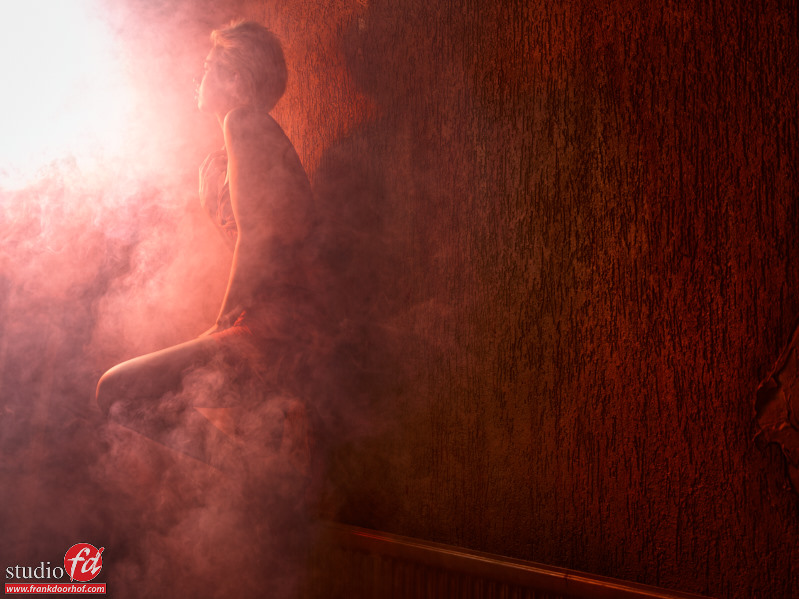
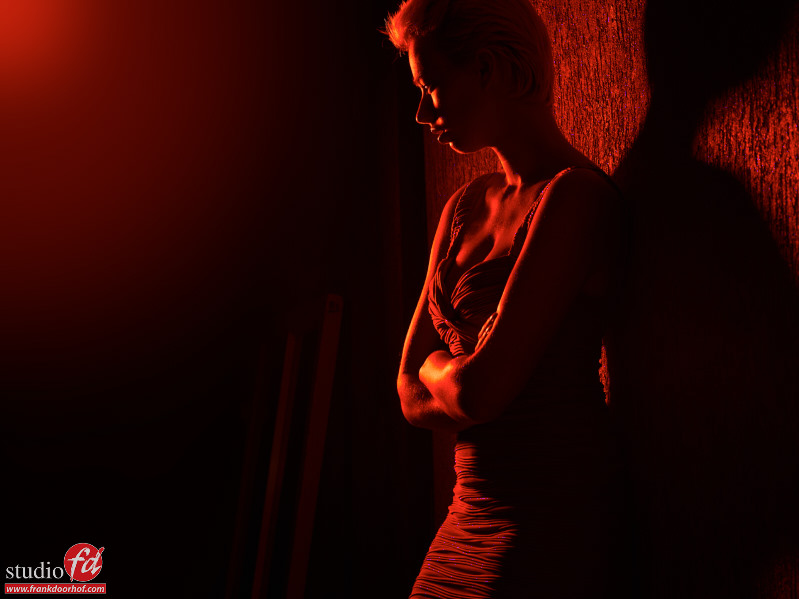
For the next one I left in a bit more red.

Nadine Januari 2 2016 0817

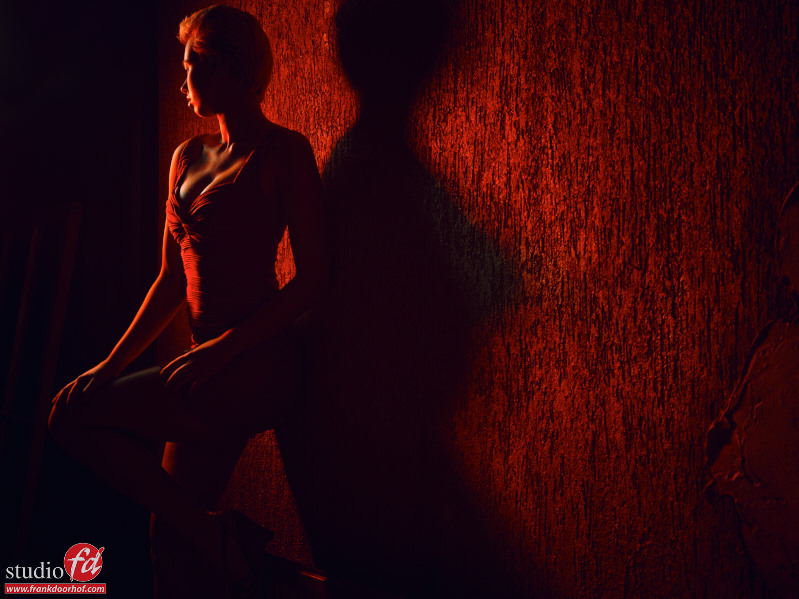
But you don’t always have to use the same pose of course…..
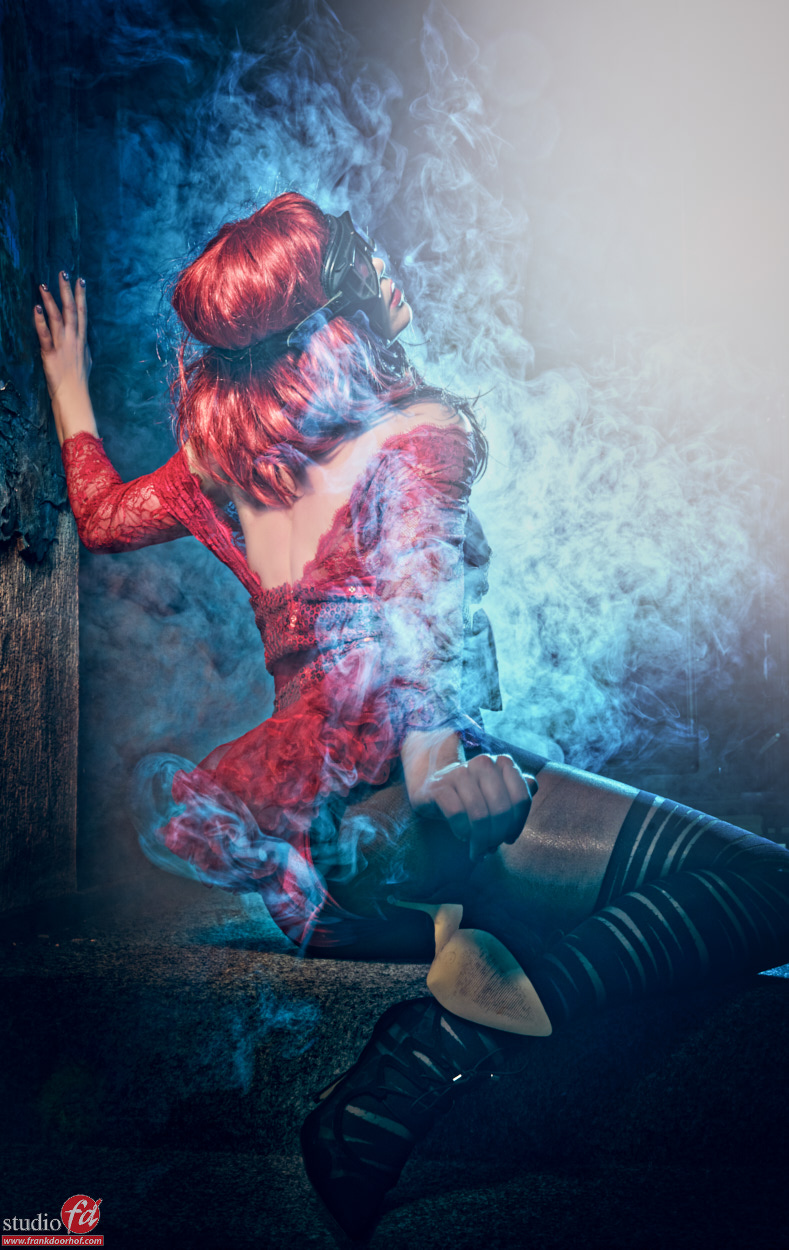
Why not shoot one from the back for example.

Nadine Januari 2 2016 0867

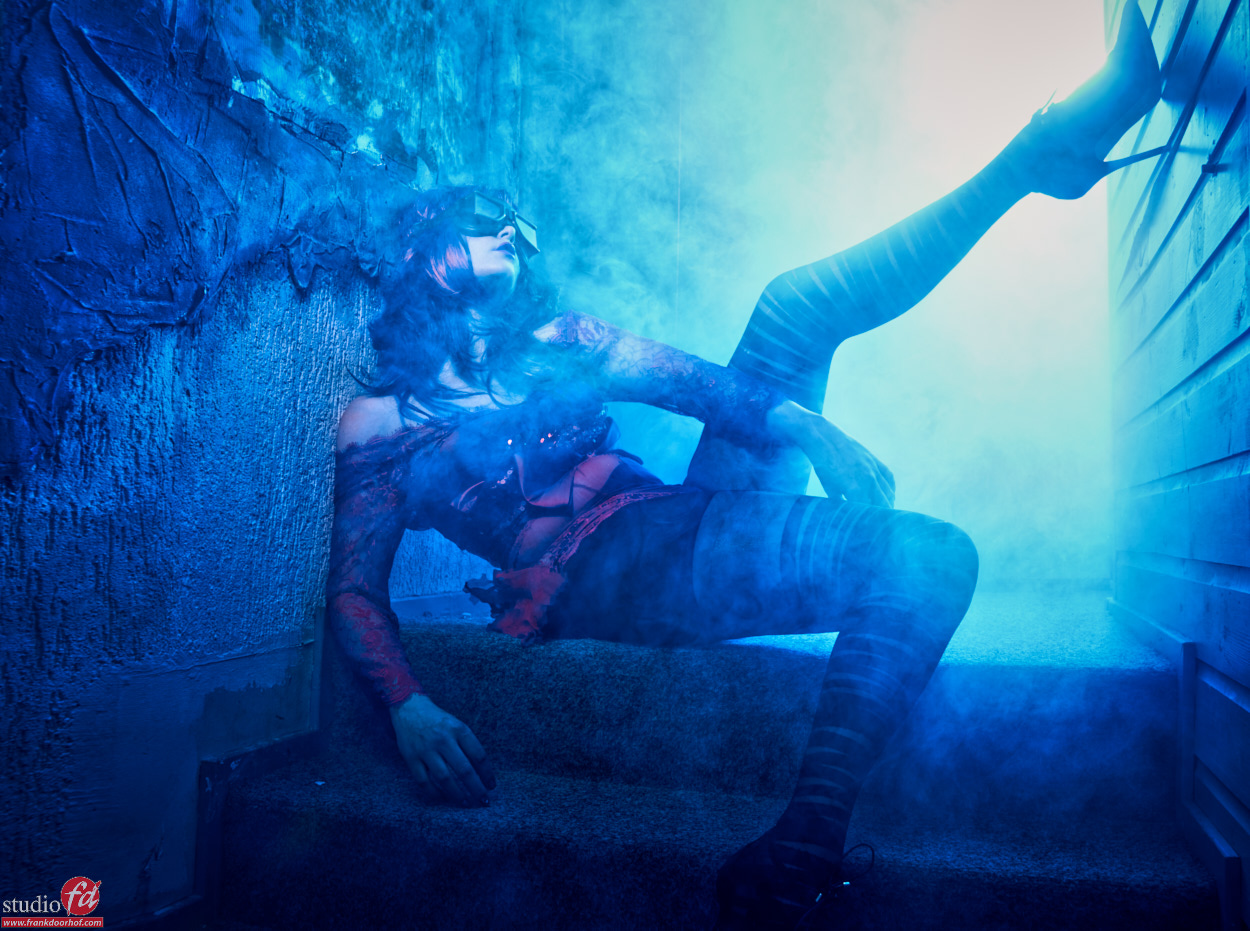
And while you’re at it. Why not move around your model and get a completely different look?

Nadine Januari 2 2016 0894

Nadine Januari 2 2016 0900

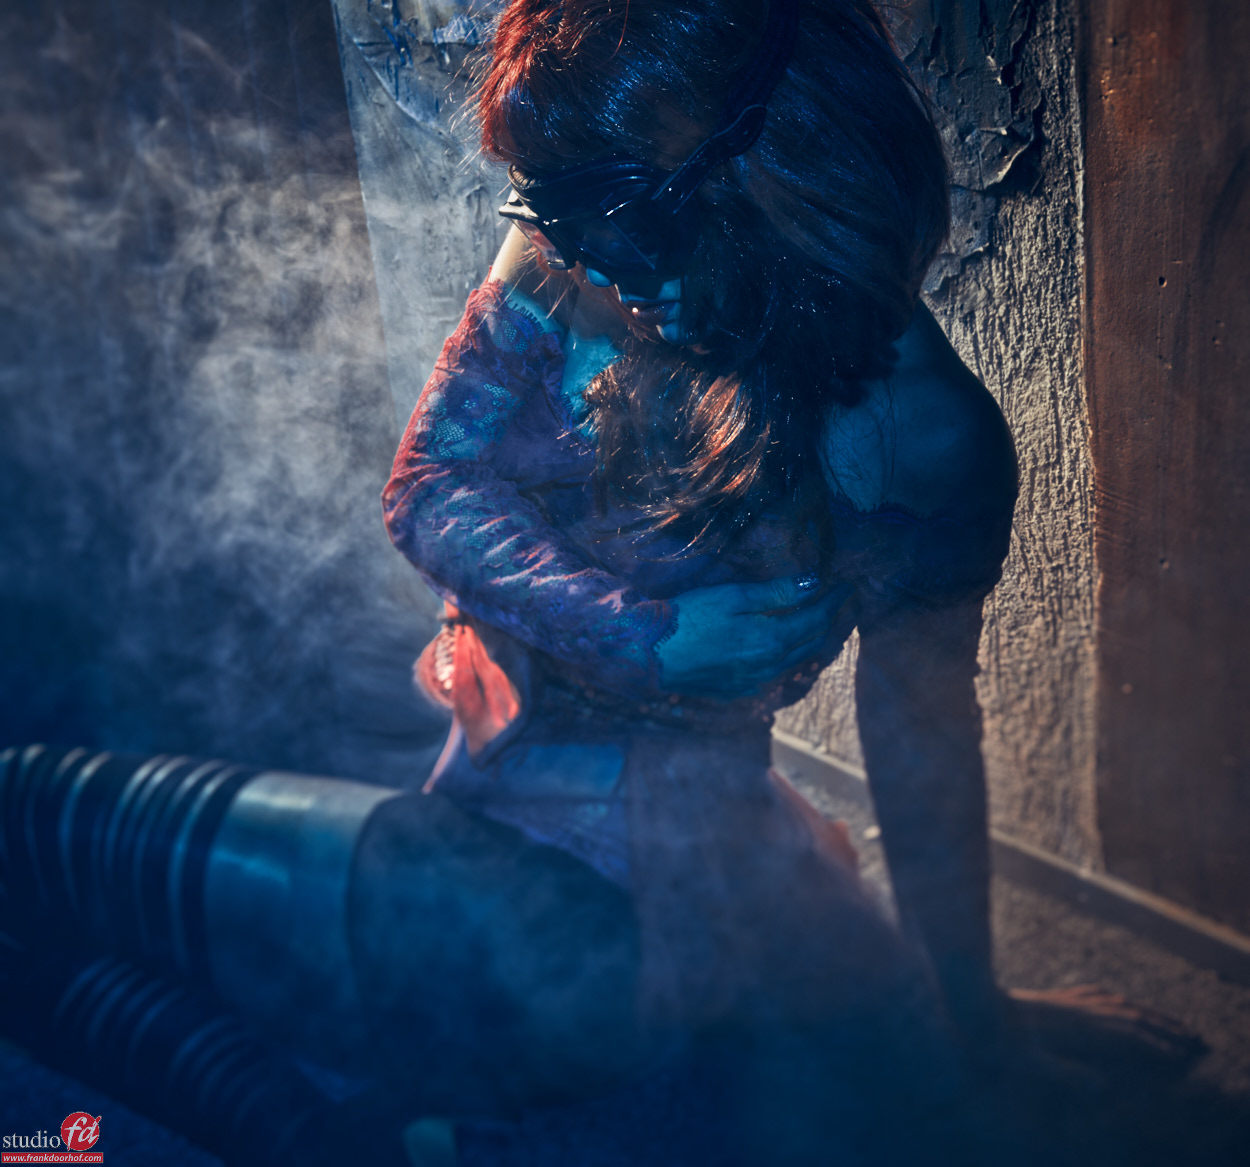
As you can see with the same light setup and the same very tight space you can create something really cool… just think outside the box… or in these kind of cases probably inside the box 😀


Good luck.

Workshop results smoke and props and tips for smoke machines

Today some of the results from the workshop “smoke and props” with Esther.
This was the first time we used a totally new set painted by our intern Angela.


For the workshops we always try to come up with new ideas and sets and I this time we decided to go for the color red, which is found back in the set, the clothing and of course the props used in the set. As you can also see building a set doesn’t have to be difficult, it’s important that you create a certain “look/Atmosphere” and it will transport the viewer to that place, while in fact…. well it’s just in your studio (or home).


Smoke for me is often the magic ingredient, adding it always transforms a set from OK to wow, but that’s very personal.
This workshop did proof by the way why I always advise to have two smoke machines at hand…. one of them broke down and because we always have two we could continue the workshop and luckily for us our neighbor rents also smoke machines so we could actually continue with two, seeing the price of most smoke machines (below $100.00) I think you should never ever run the risk of having to stop or cancel a session due to equipment failure.


Now which smoke machine should you buy?
Get the once that are WATER based, don’t go for the OIL based ones.
The oil ones do start up quicker but they can “kill” your strobes.


Except the tinting and sharpening these shots are pretty much straight out of the camera. We used several strobes to light the scene and the model and the shutter was used to let in the ambient light from the chandelier and the lights on the branches.

Esther Keuze May 16 2015   0221

Read more

Using smoke and colors

Using smoke in a photoshoot is cool, it really adds some extra “oempf” to a shot, and it helps to mask uninteresting backgrounds of course.
When you start adding color to the smoke shot I always feel the shots are extra special.


In these shots I used a standard (cheap) smoke machine and one strobe with a red gel, as you can see I shoot under an almost straight angle into the light source. Because of the way smoke behaves you get a beautiful effect, adding a bit of Intensify pro from MacPhun (you can also use Topaz clarity of course or NIK tonal contrast) really finishes the shot.

Lenaa Juli 25 20142098

Lenaa Juli 25 20142111

Many different looks from one setup

Often I’m asked what kind of setups I use and what kind of modifiers.
What people often don’t realize is that with only one modifier you can chance a lot just by playing with the angles and controlling the contrast/lightfall off. In fact placing a light closer or further away also makes a huge impact on the image look, add to this the option to feather a light source (using the sides of the light) and you know that there is a lot possible with one modifier and light.


It gets even more interesting when you are combining two strobes and for example add a gel to one of them.
During the workshop this weekend I made a setup like this with our model Lennaa and decided it would be a cool thing to share on the blog.


I started out with one strobe with a red gel.

Lenaa Juli 25 20142025

To get a bit more “punch” in the image I added another strobe without gel under the same angle to mix the two.

Lenaa Juli 25 20142035 Read more