Tag Archive for: smoke

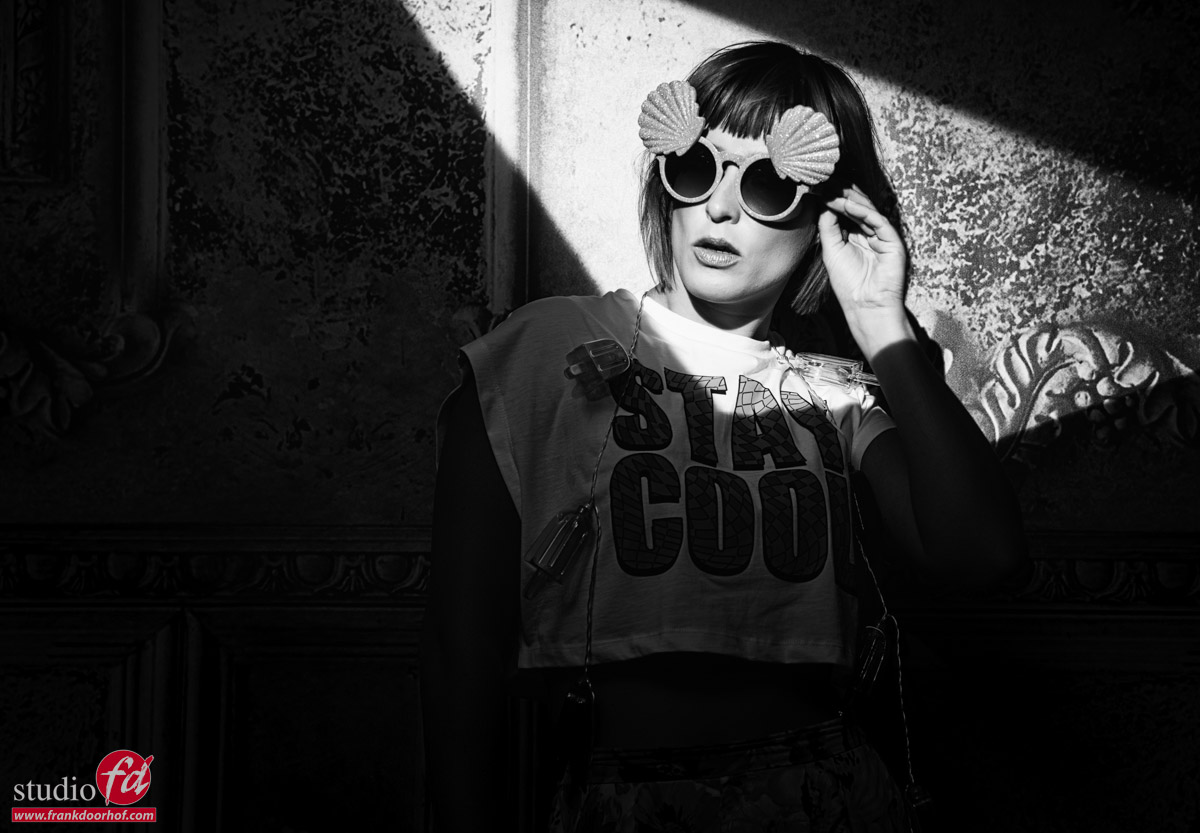
Same set different looks and messages

It’s very important

as a photographer to be able to get images that are fitting the client y0ur shooting for.
This can be a product, a model, musician, landscape, building etc.

One of the coolest things about photography is that besides just taking a picture we can do so much more.
I remember Peter Hurley telling me that a good headshot photographer will determine if someone walks the red carpet or ends up at at fast food chain, and in all honesty, he is right for a great part.

When we hired personal we always looked at the photos.
When our son Brian wanted to get a job I had to drag him into the studio to create a cool shot with some lens flare, low angle, arms crossed, rolled up sleeves etc.
He got the job right away.
The trick is very simple.
People get a lot of applications and some will jump out and some not, and no body wants to spend too much time for a lower position so having a photo that really jumps out and showed he was tall, ready to work. And by adding the red color I knew for sure the image would jump out.

Now this is not something I would shoot for a manager wanting to get a job in the higher management sector.

In other words

Always dive into what you shoot

For me it’s always a challenge to get images that are 100% the “soul” of a company, the “character” of a person or the “mood” my client wants for a product.
Photography for me is only a small part of an assignement, talking and of course getting people at ease is a vital part.

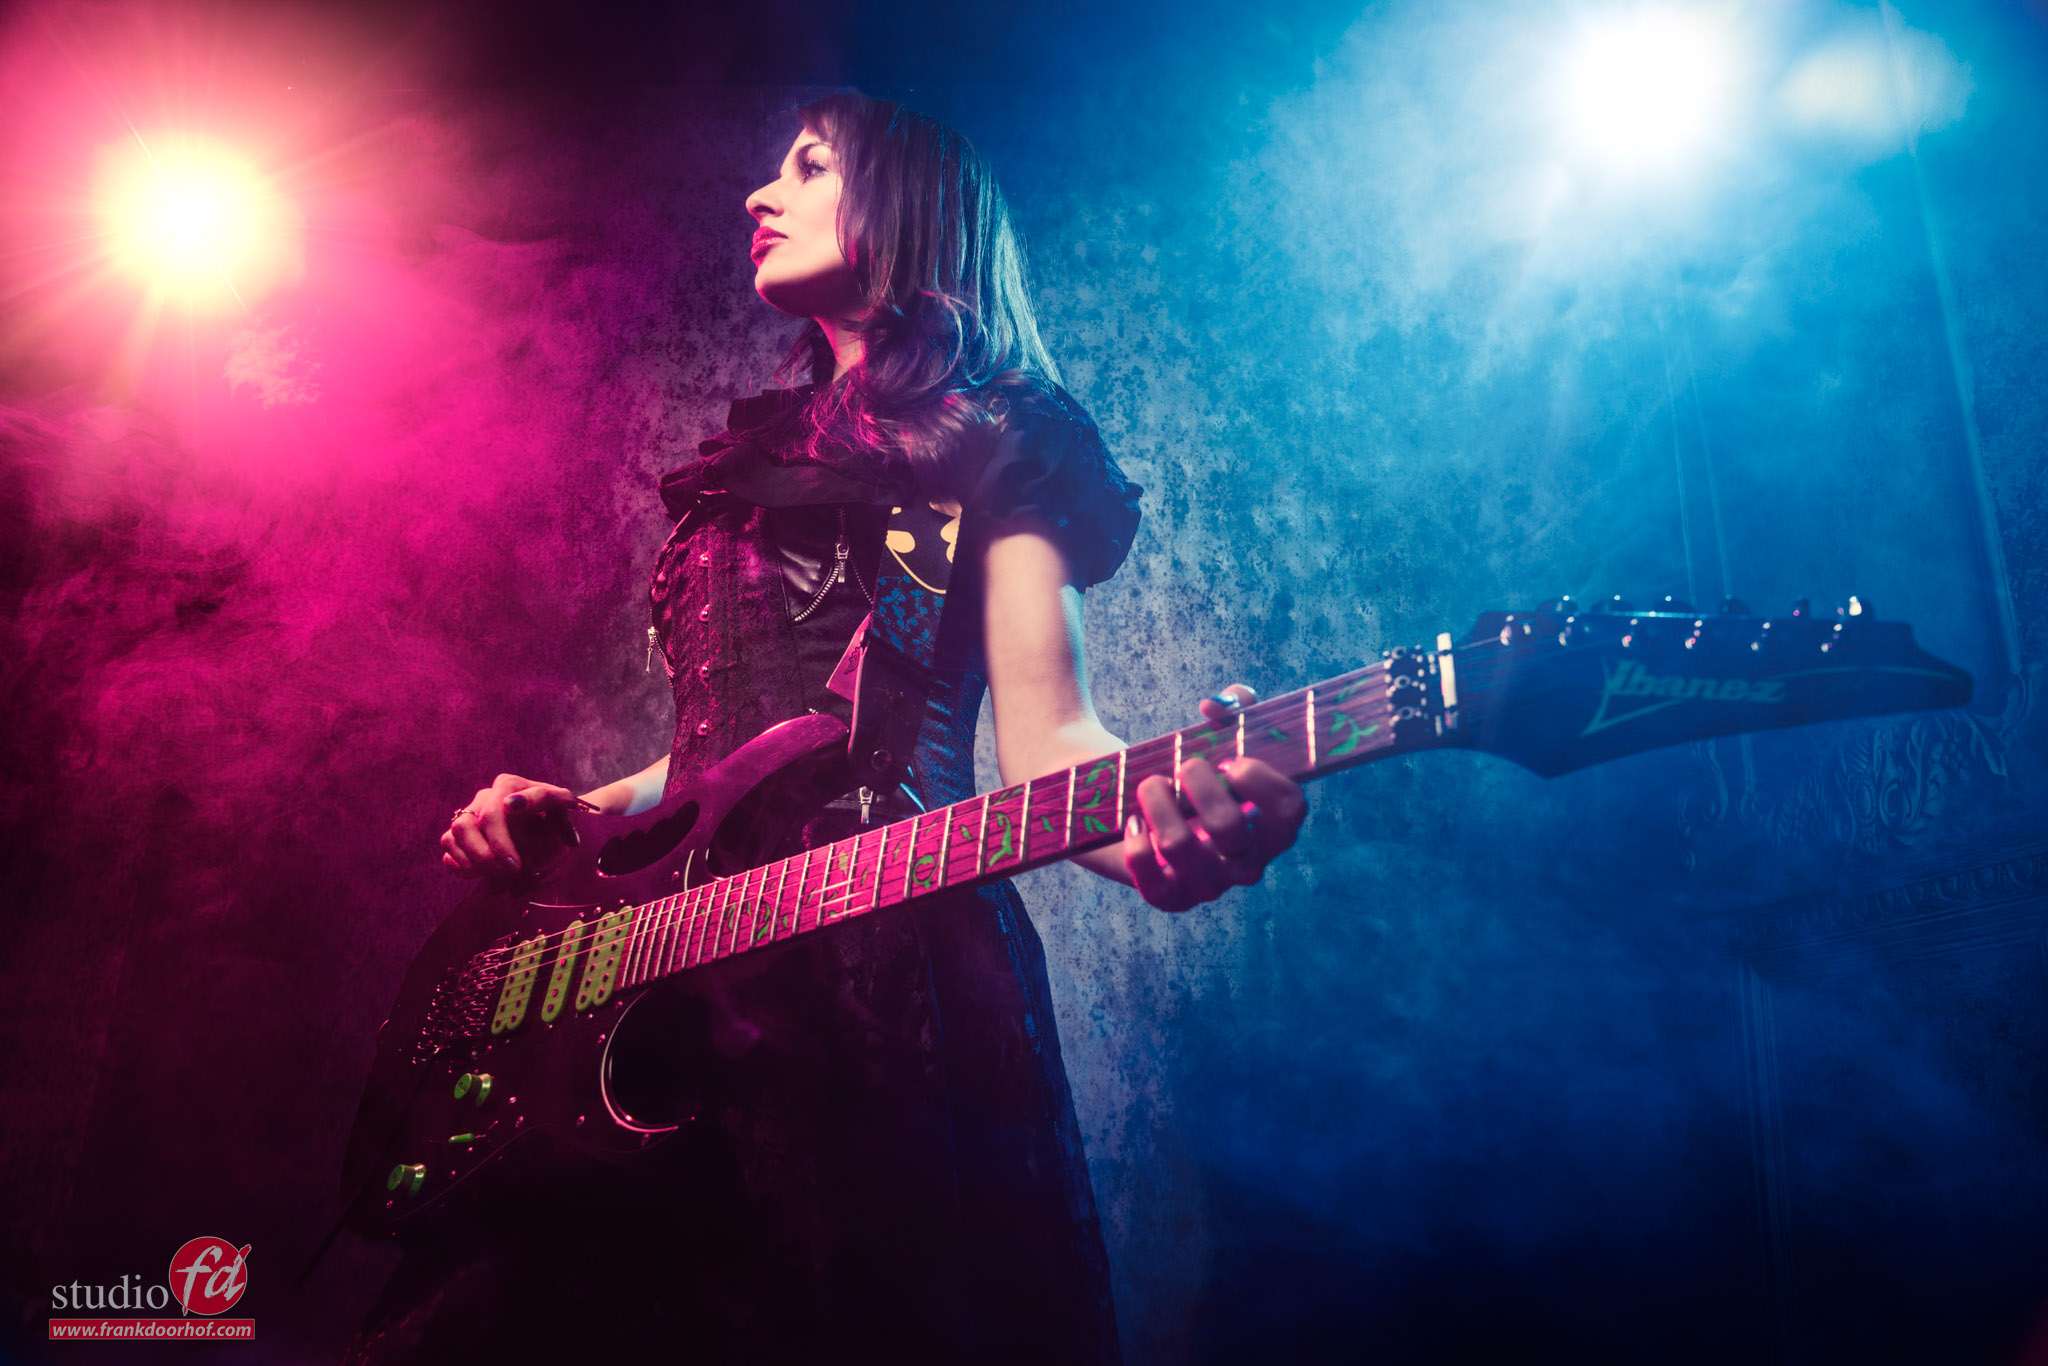
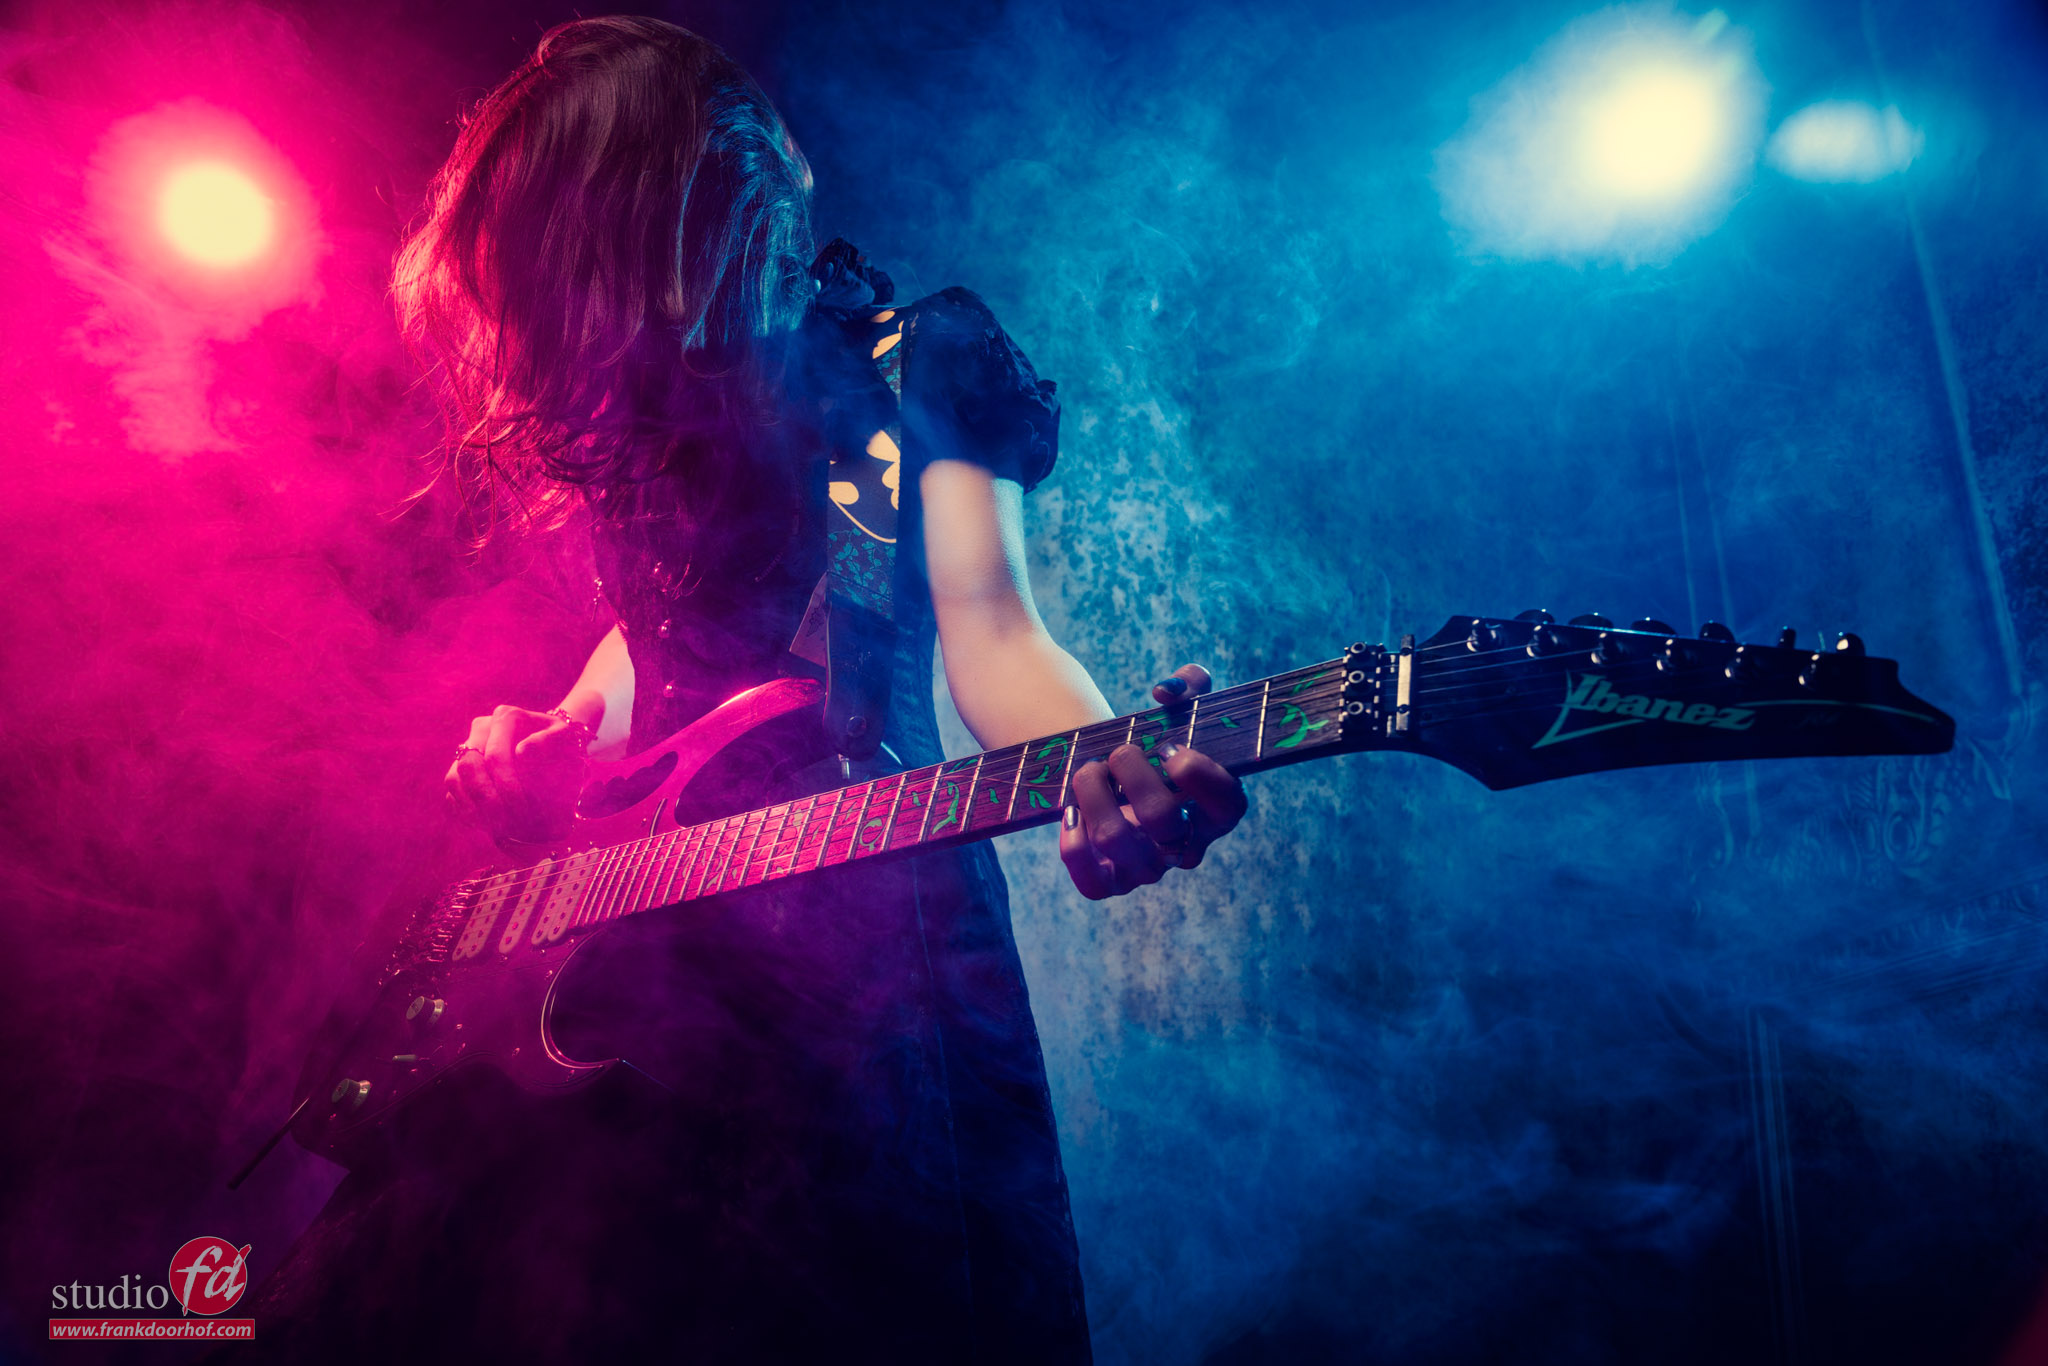
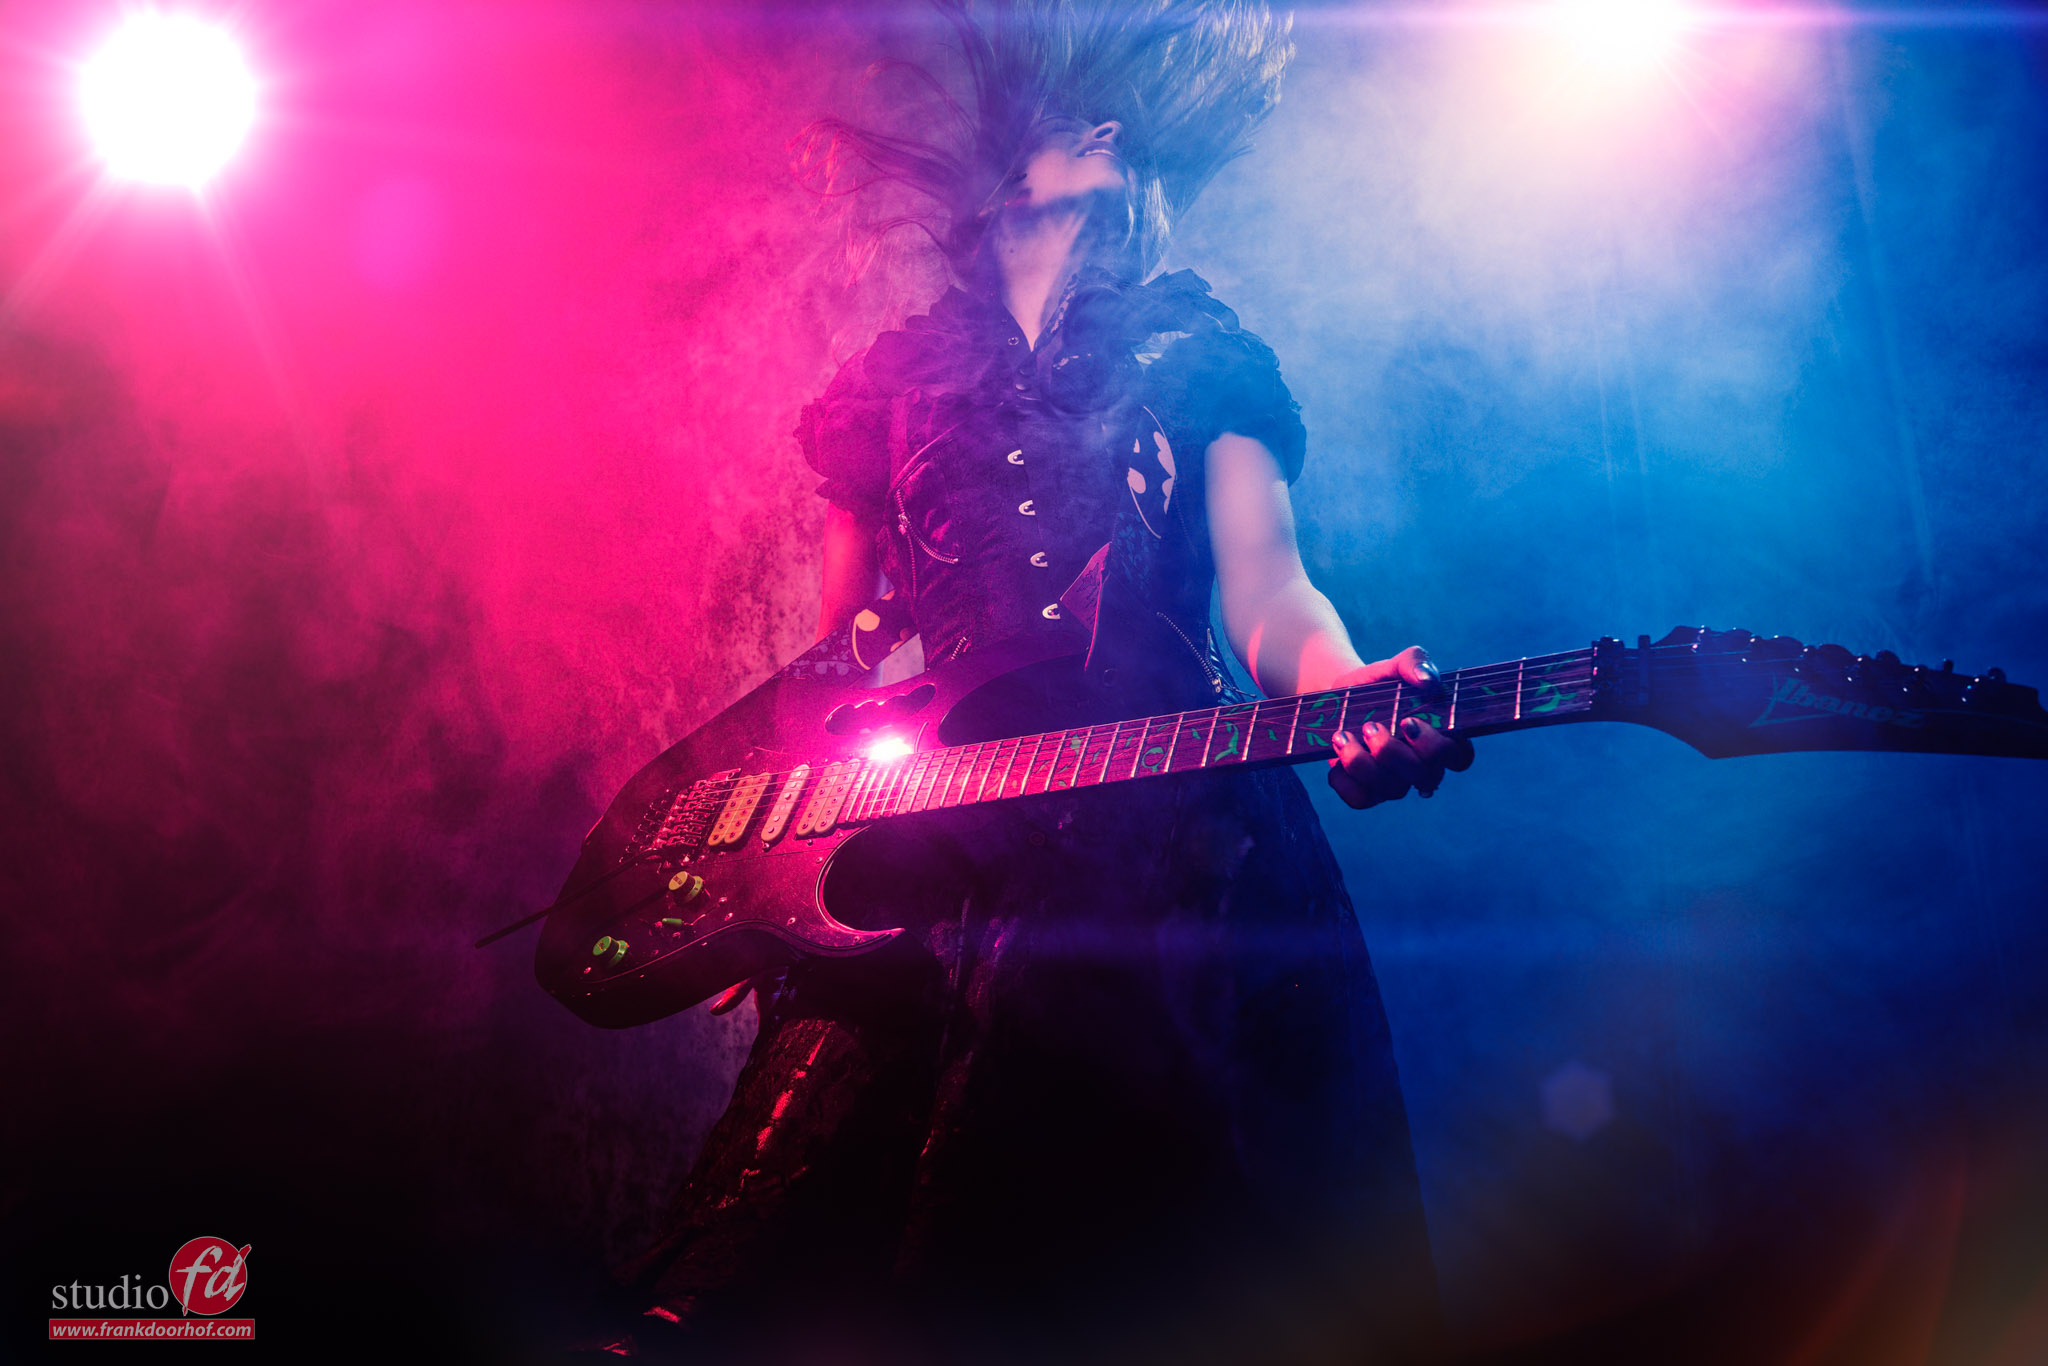
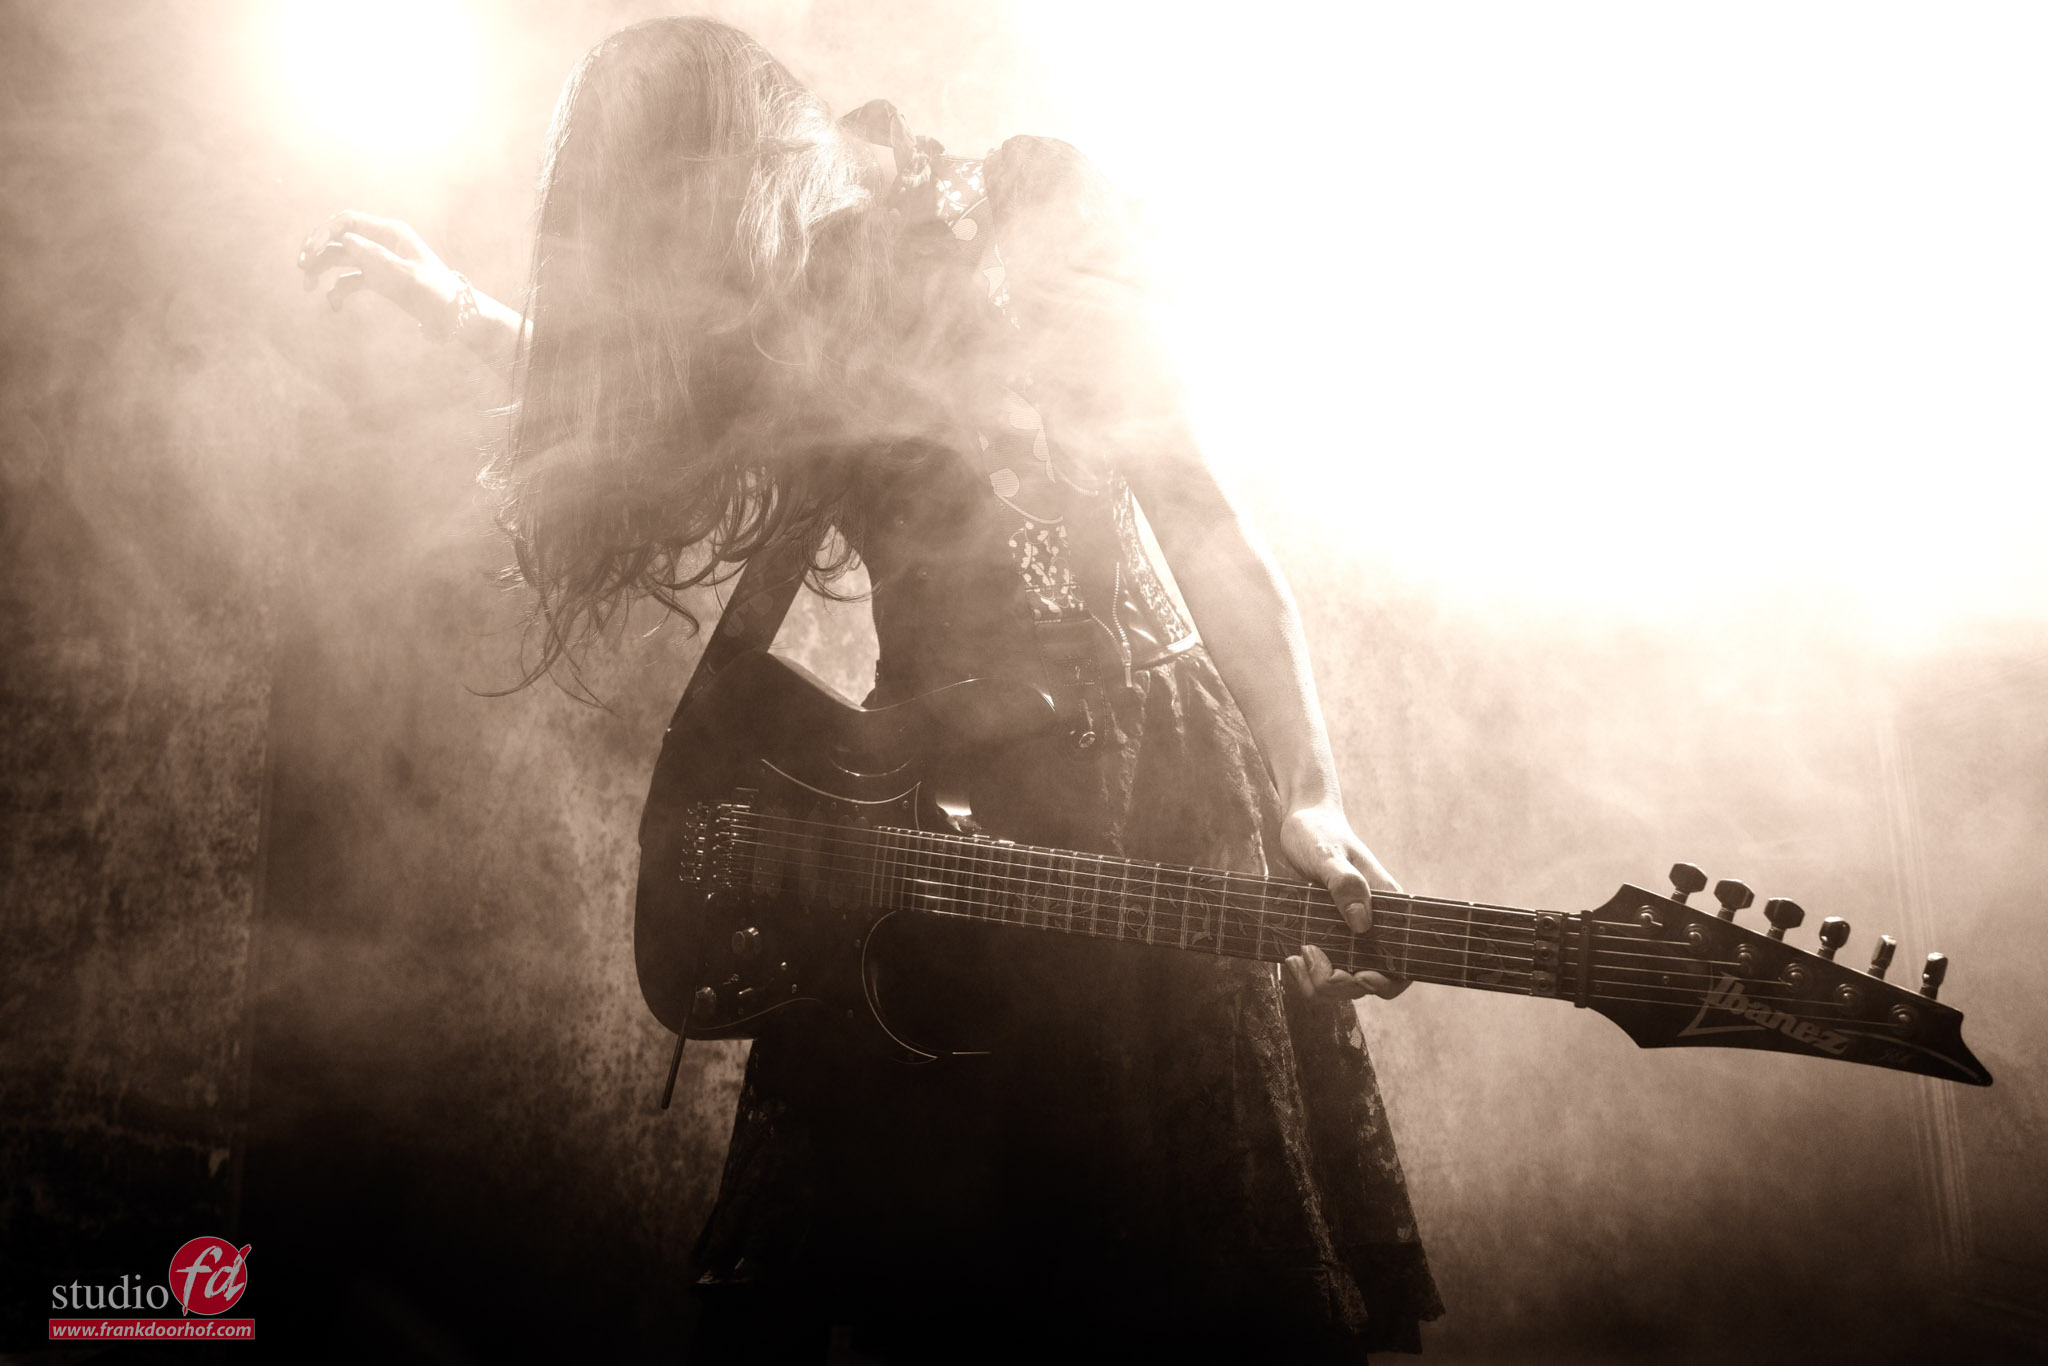
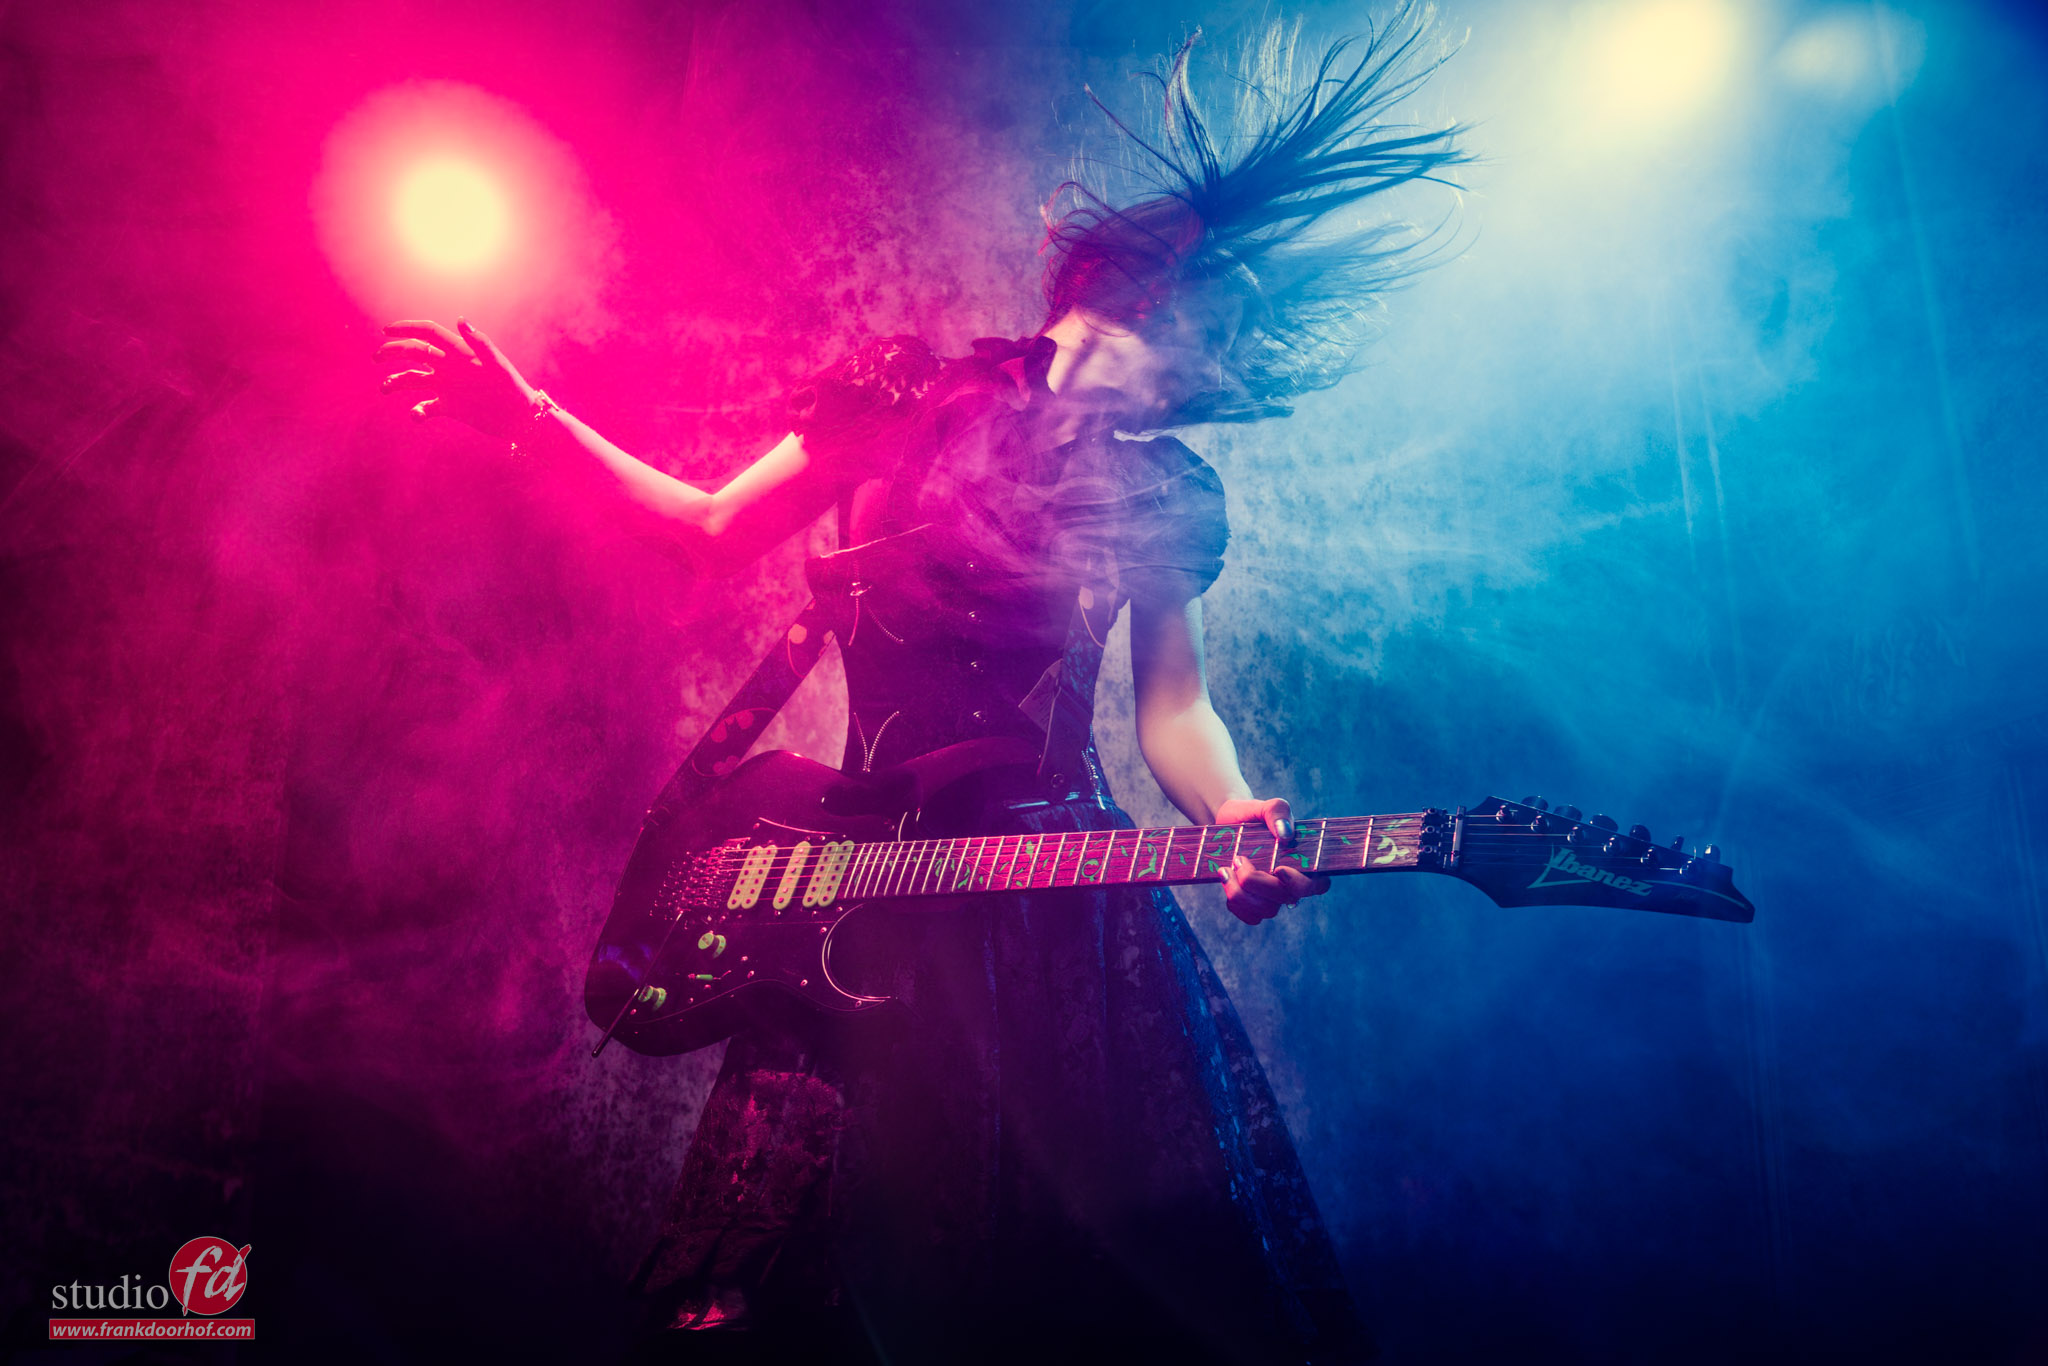
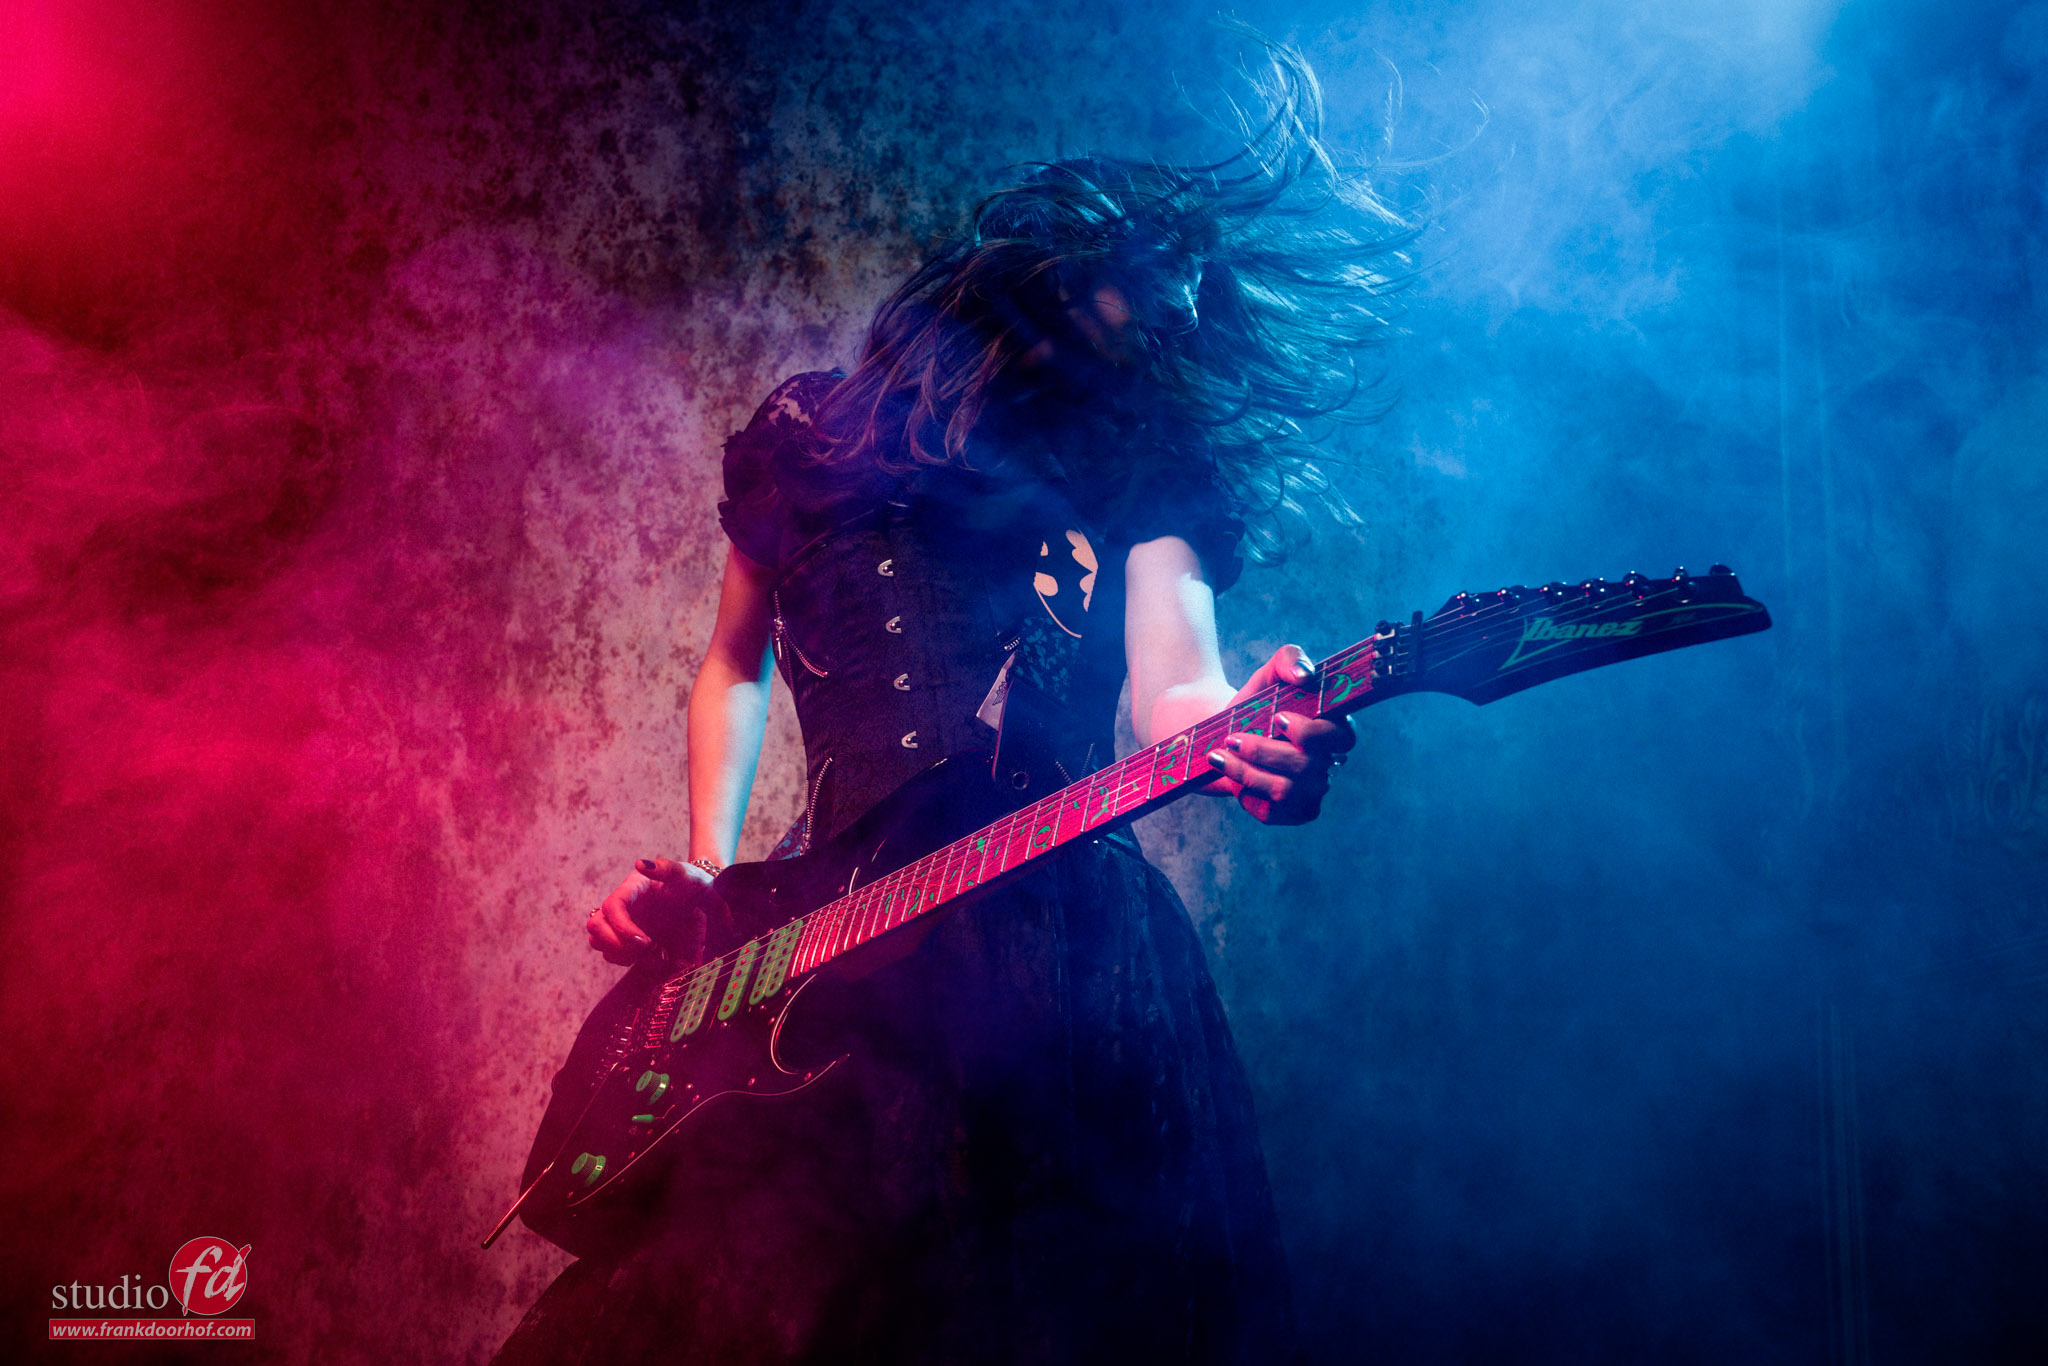
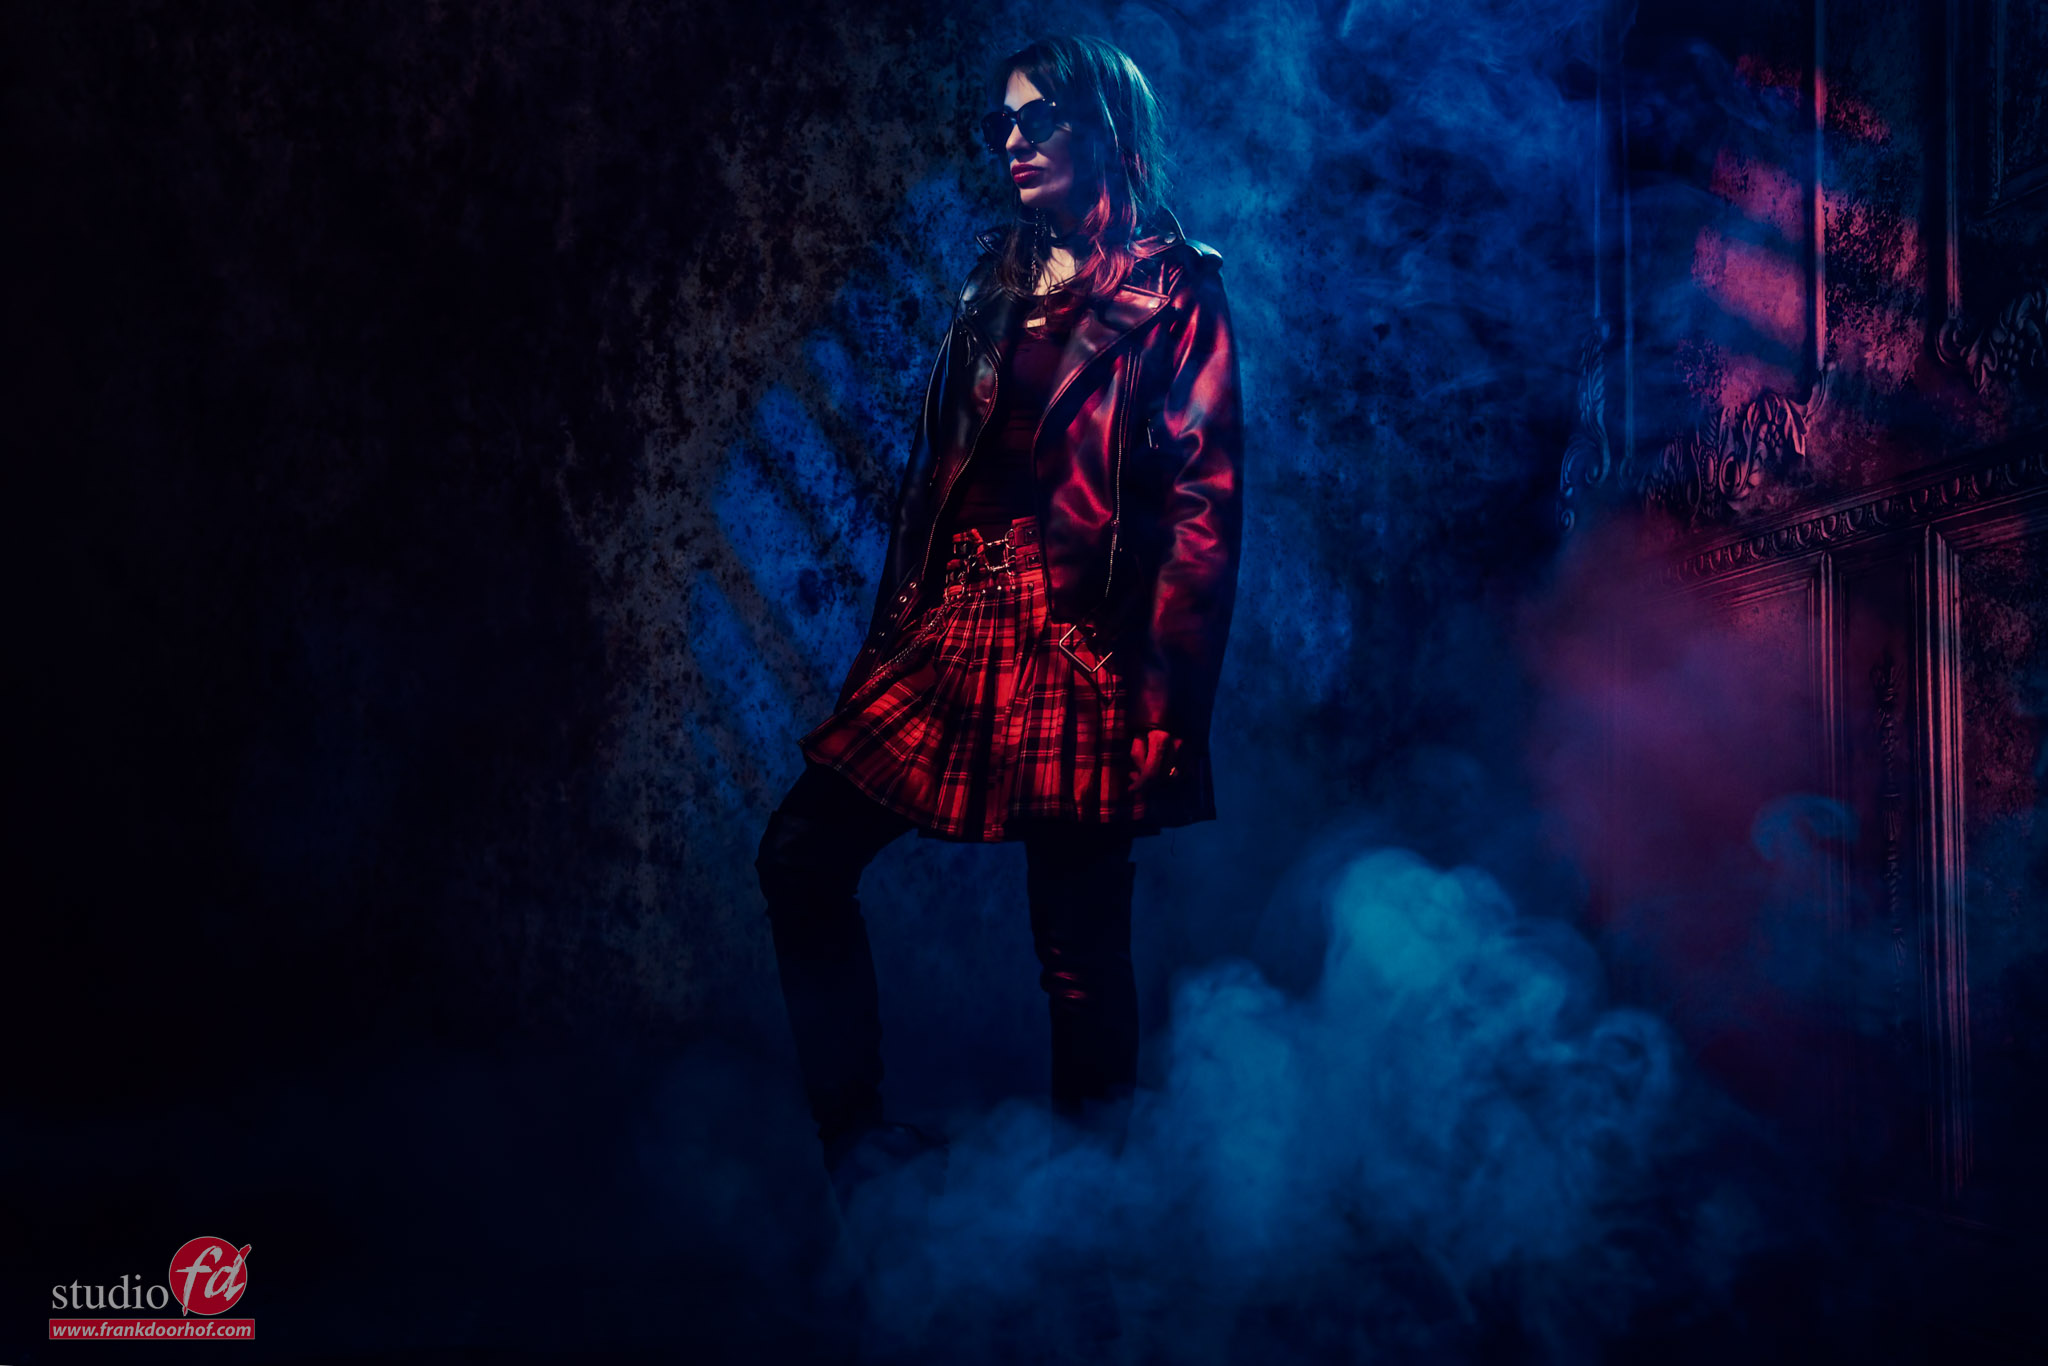
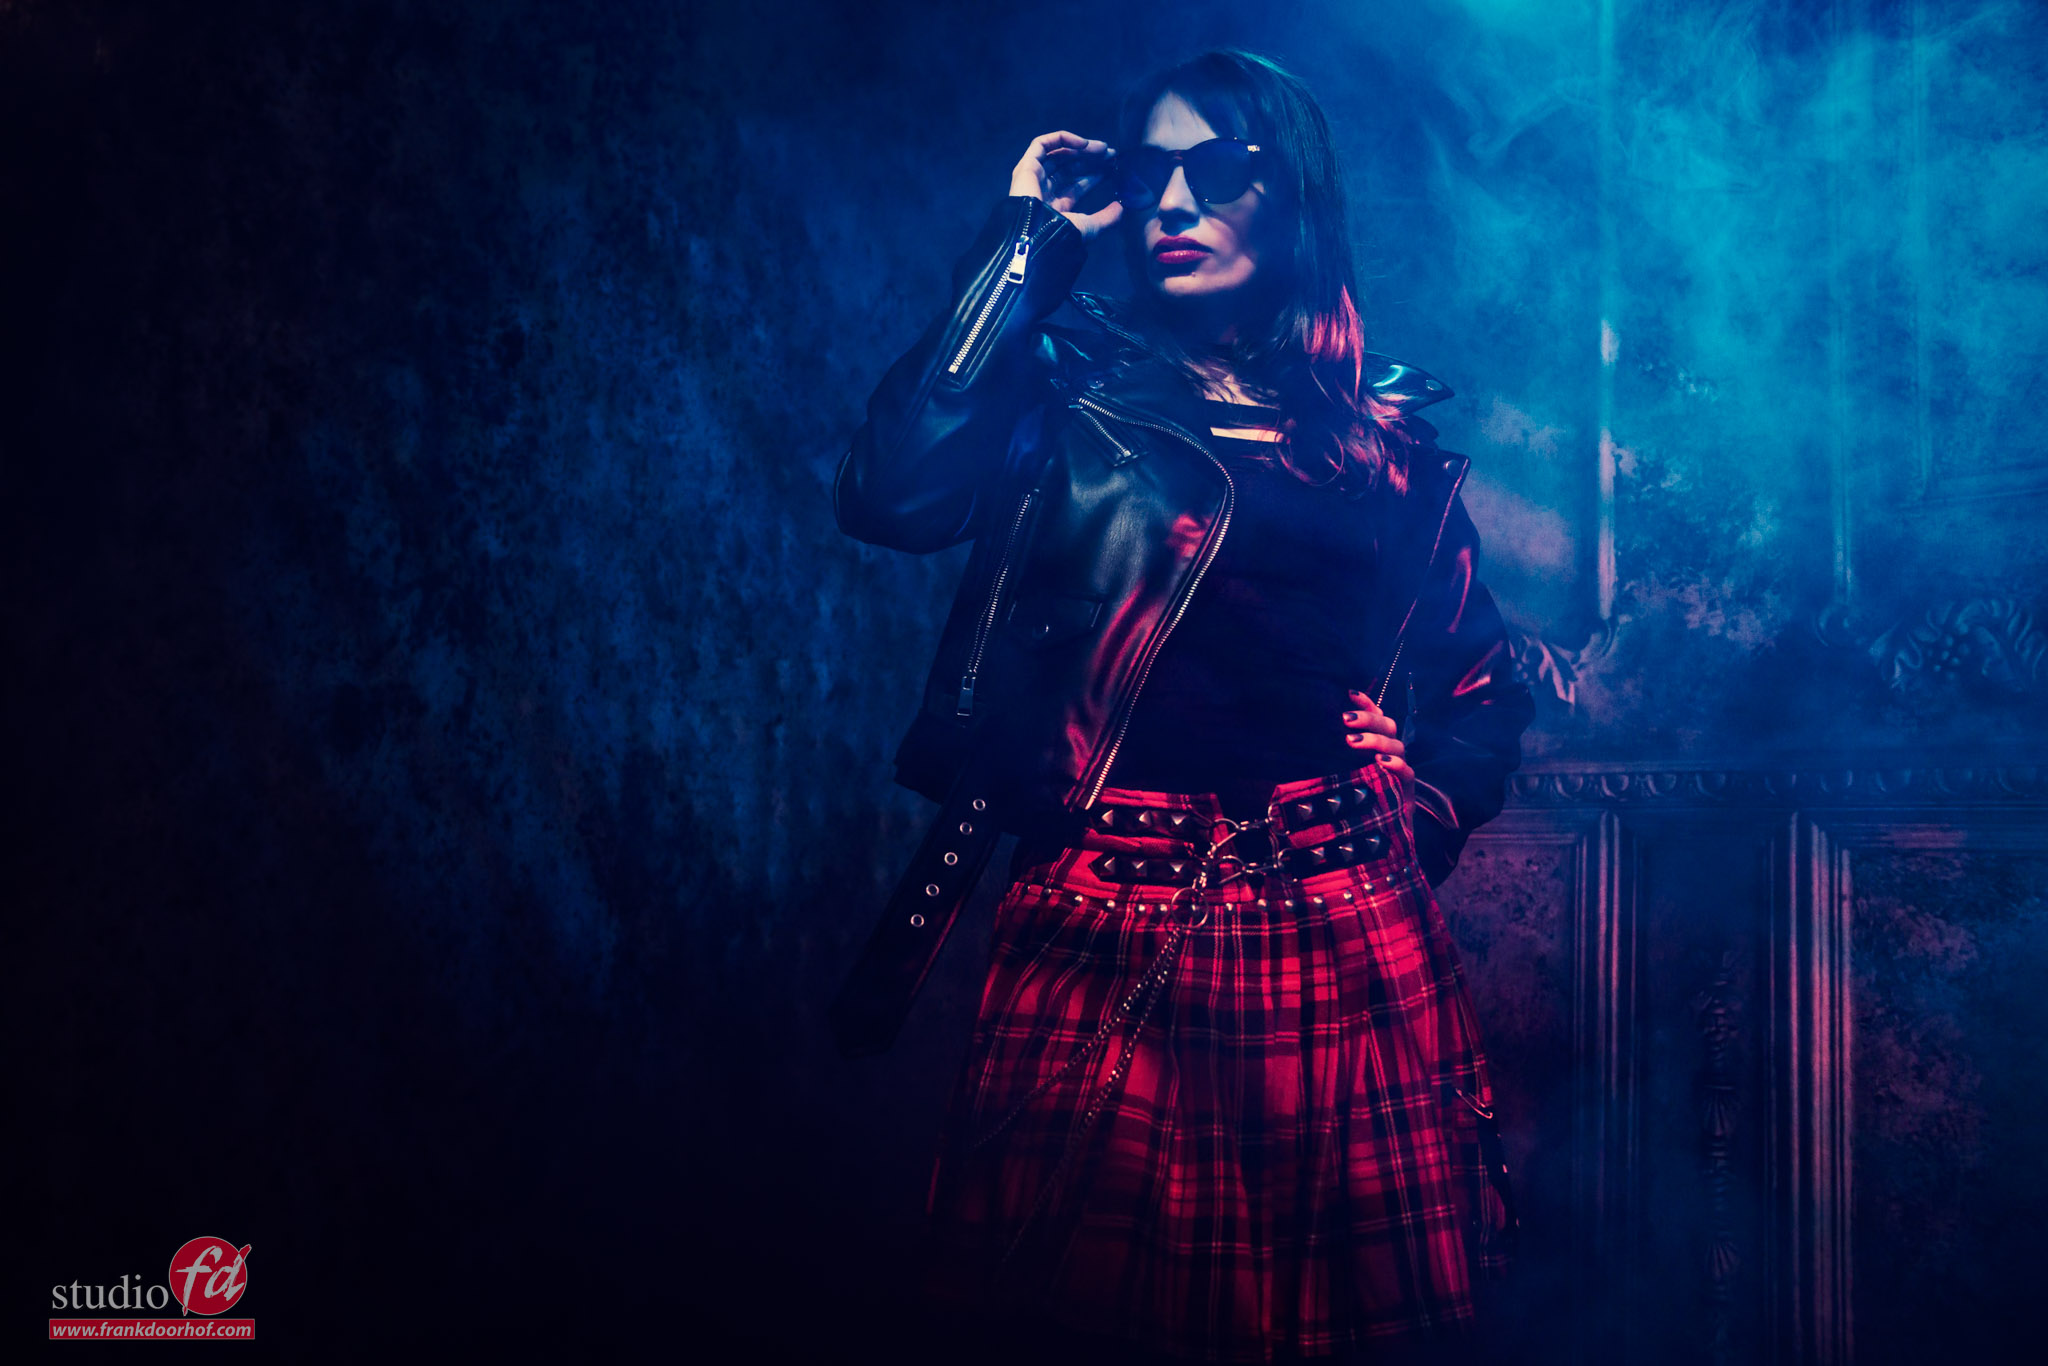
During the workshops I always try to experiment with different lighting setups, props etc. But I also give a lot of attention to topics that are important to get the mood your client wants. And because I love using my own guitars in workshops sometimes I thought it was a great exercise to see what you can do with the same setup, same lighting, same model etc.

Of course we have some limitations.
First off all it’s all the same setup and model. But still I think you will be able to get a different vibe with these shots.
Some are aimed at more rock, some are more metal and maybe you spot the nu metal and progressive version.
The only thing that was changed is the pose of the model, the angle under which I shoot and of course the length of the lens. A wide angle will render a scene completely different than a longer lens that will compress the scene.

In the retouching I did try to keep the looks pretty similar, with small changes (except for one).
It’s a fun exercise and something you can easily try yourself.

Here are my versions.
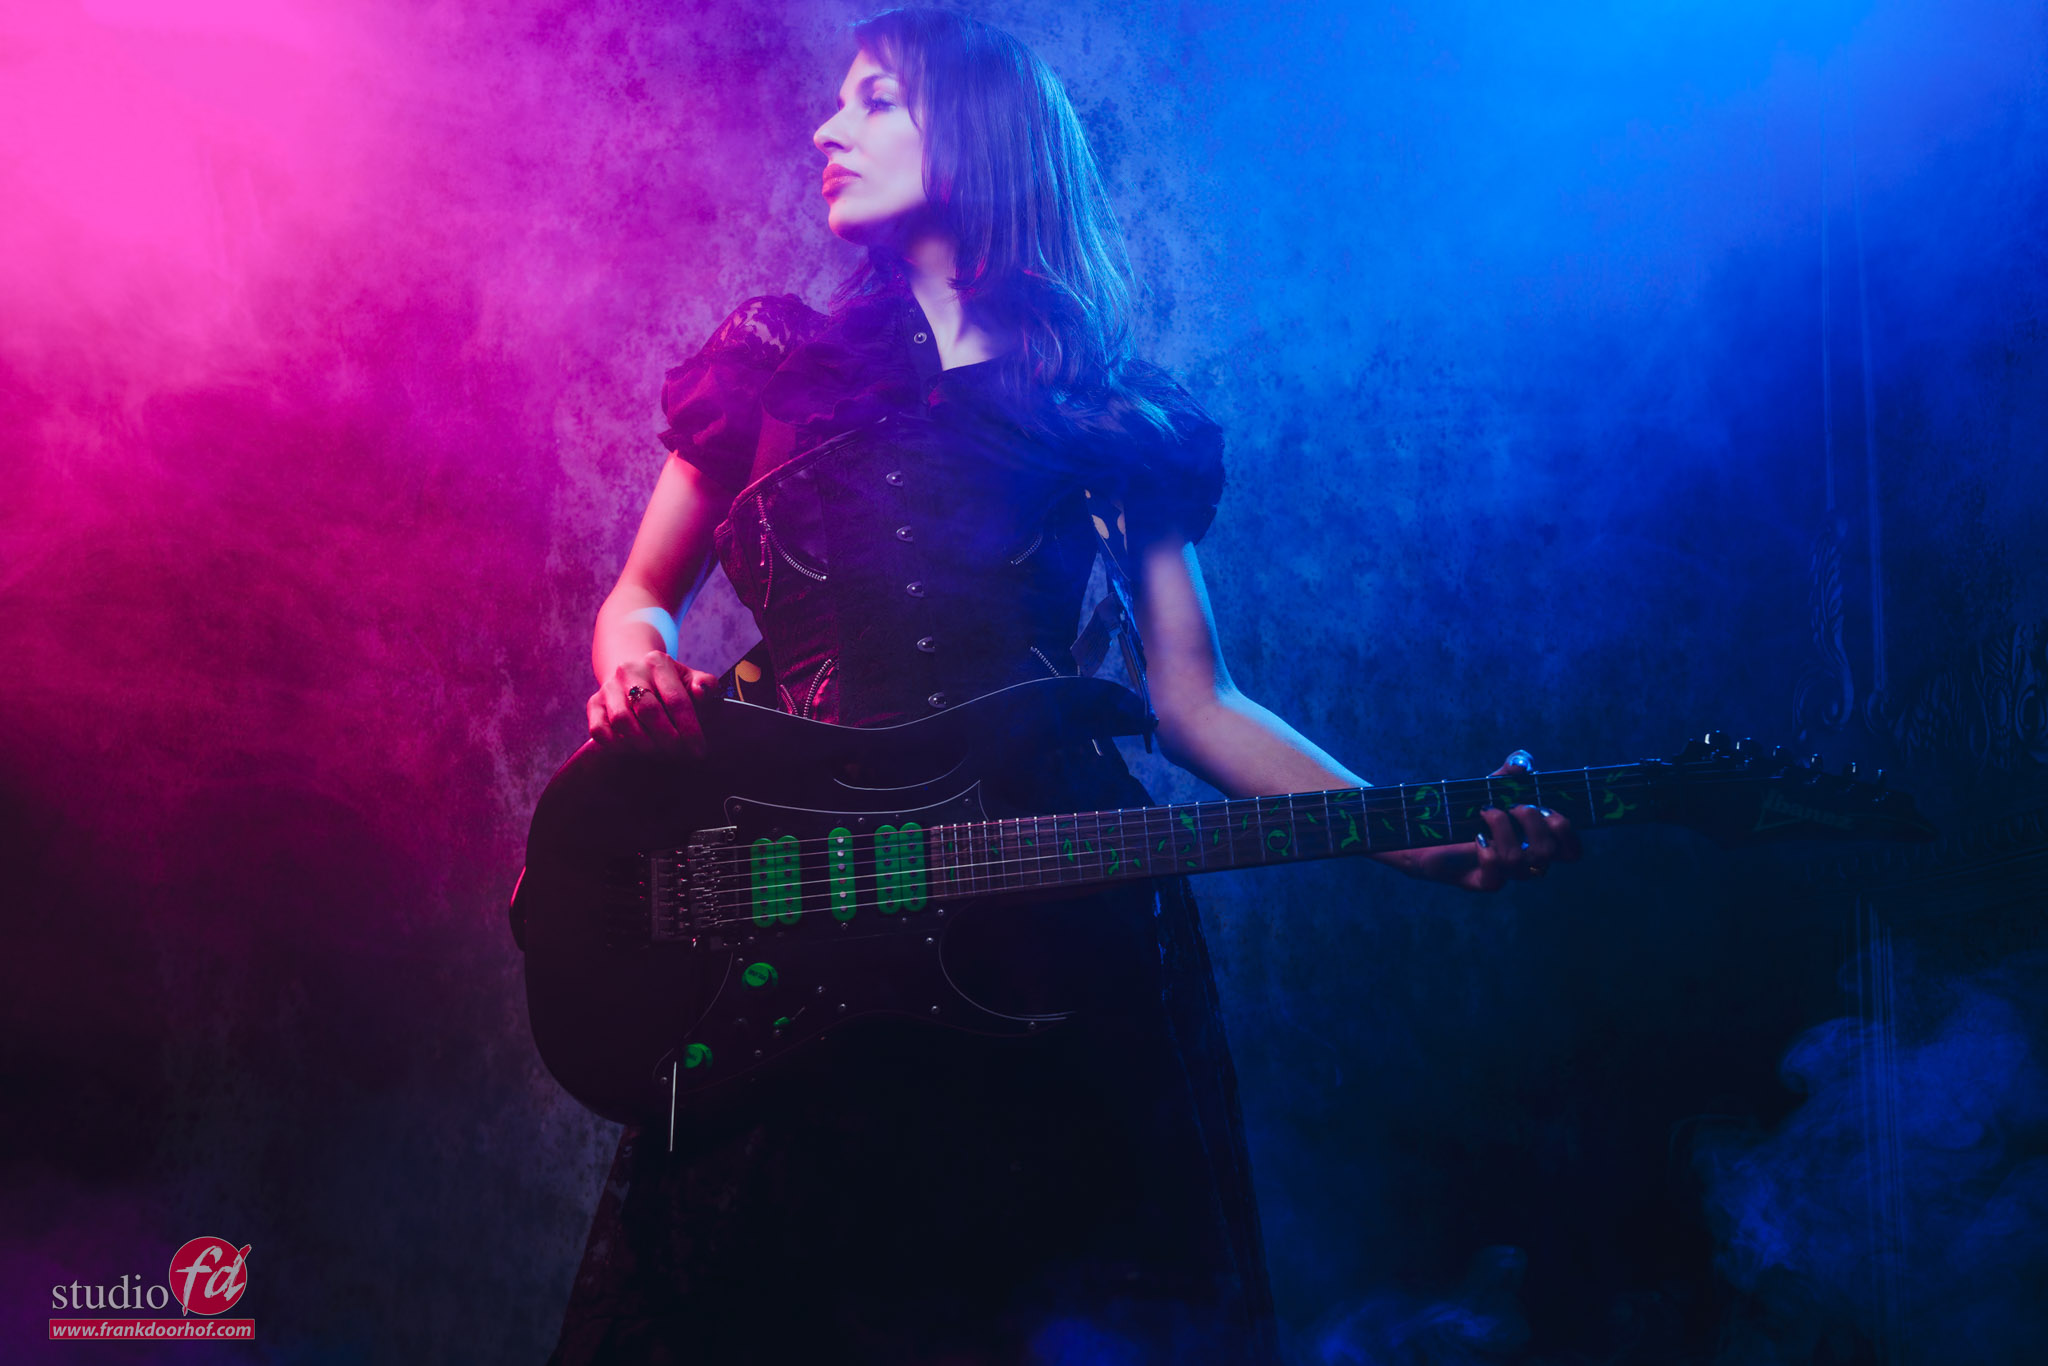
 

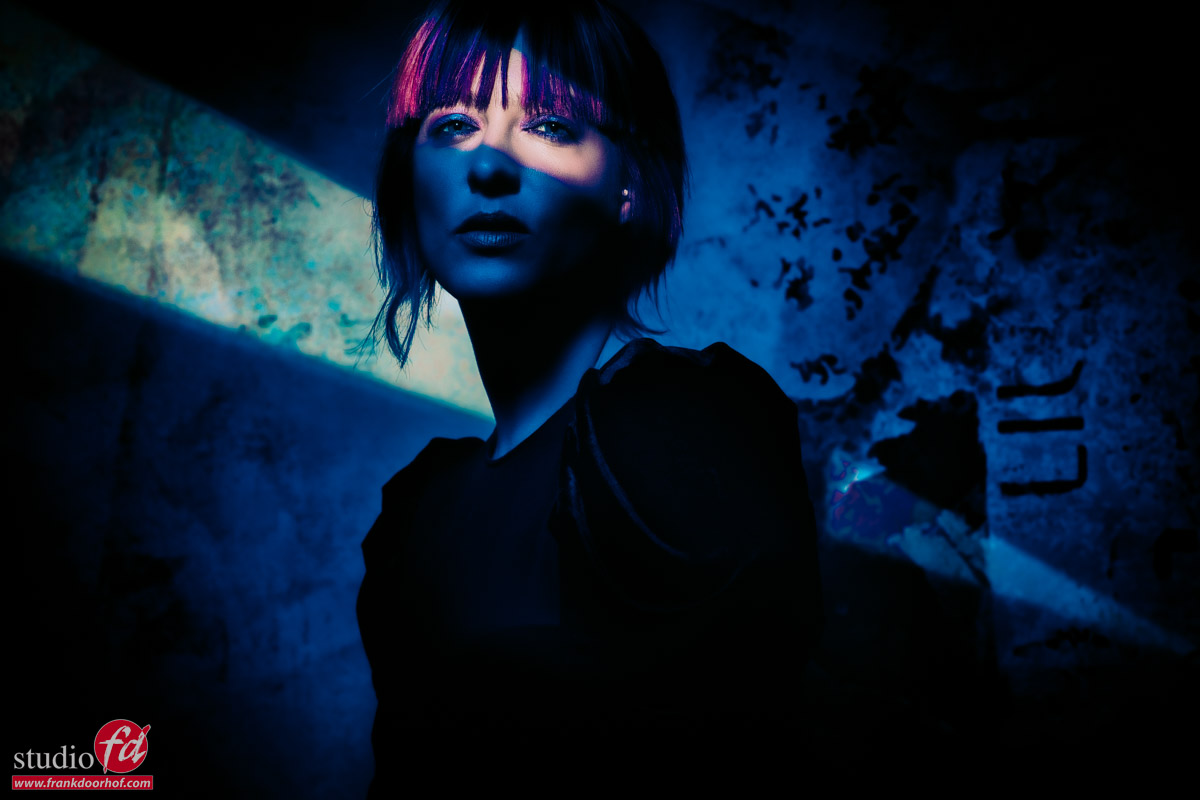
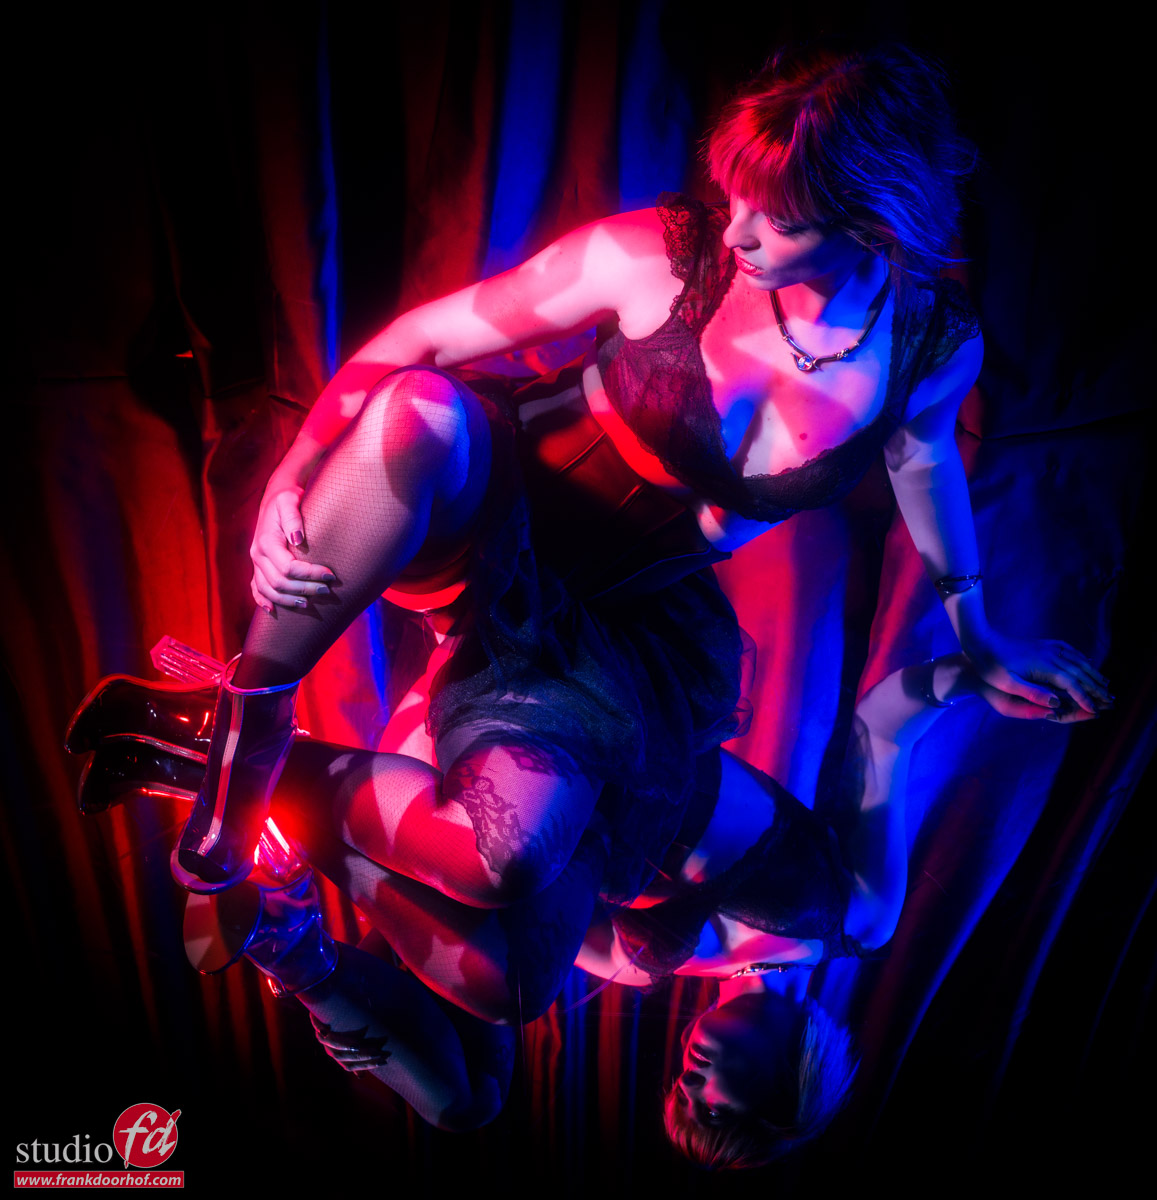
Using a gobo projector with different colors

Its fun

To experiment with different solutions to get cool looks.
As you probably know I’m a big fan of focussed light sources, and the gobo projector is of course an awesome light shaper that does this and so much more.
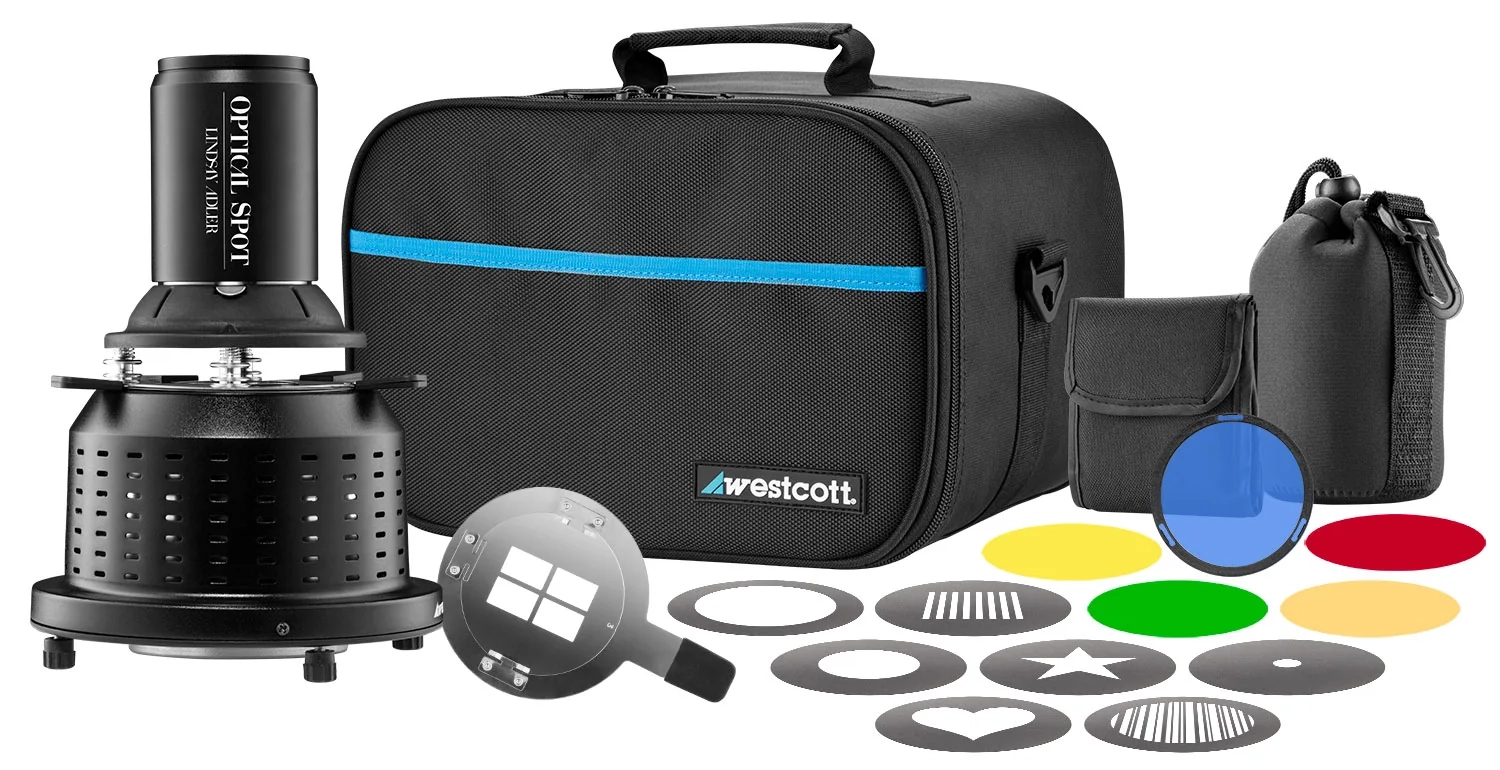
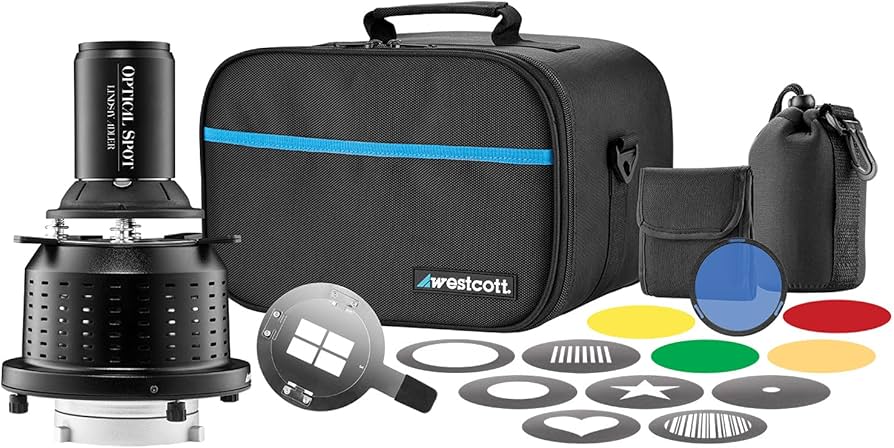
The Gobo projector I’m using is the Westcott Lindsay Adler version.


Standard it’s delivered with a 135mm lens but I’m mostly using a 50mm 1.8 lens on it to get the light spread out more over a larger area.

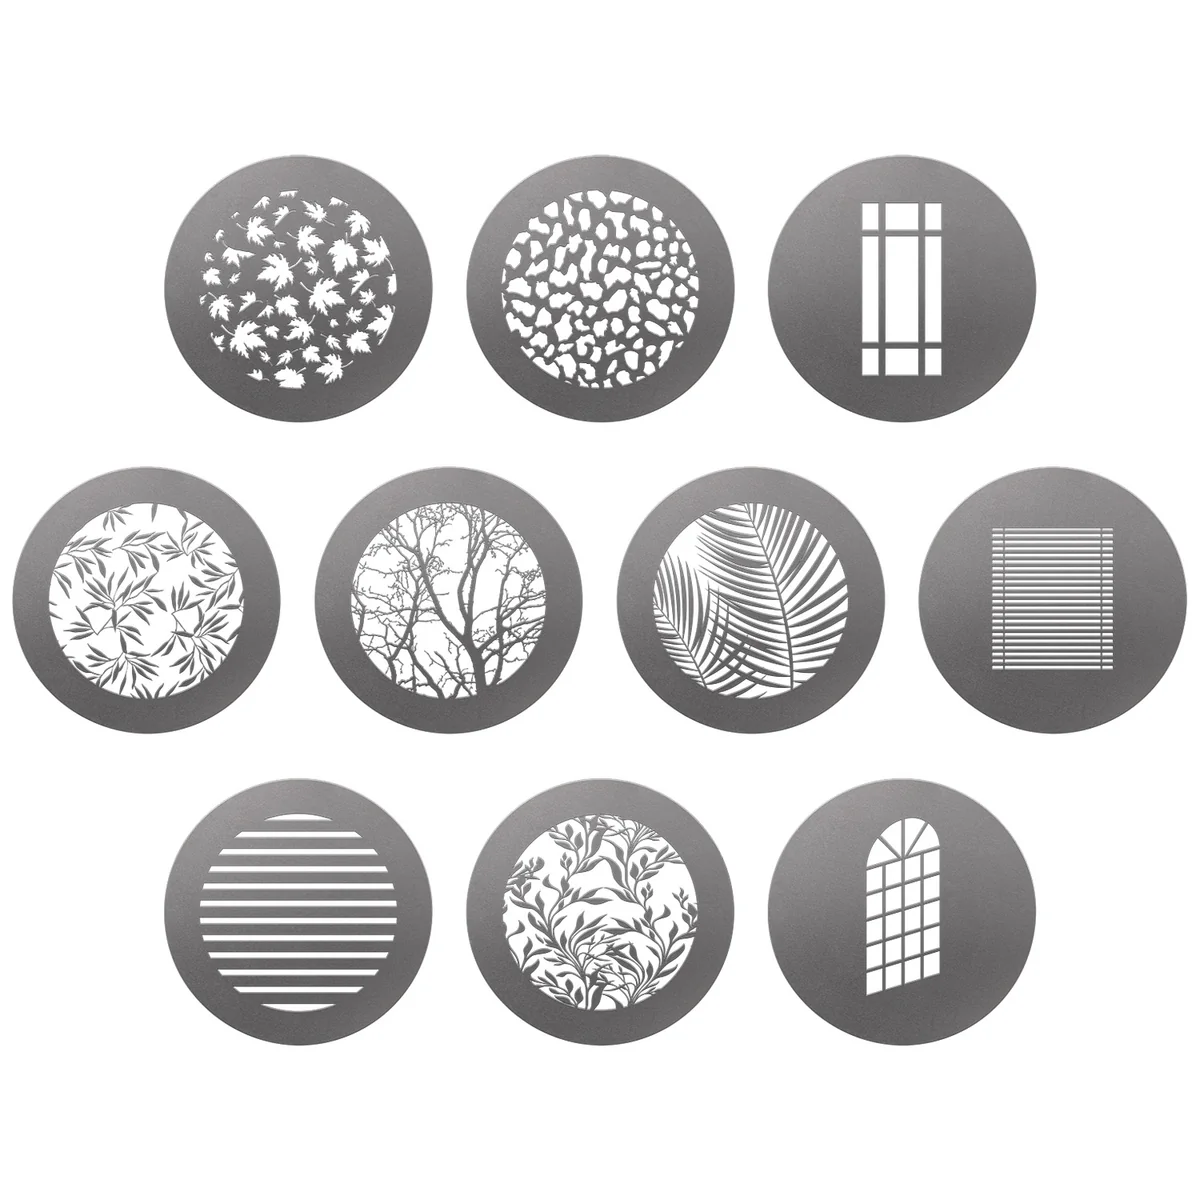
With this Gobo projector you can choose to just use the blades to create shapes and really focus the light with one small beam on your model, or you can use the gobos themselves, small metal plates with patterns that you place between the lens and your lightsource. The cool thing about a gobo projector is that with the lens you can focus the patterns on y0ur subject or background.

Adding some colors

Normally you use the gobos as they are, but during the workshops I love to experiment so for this setup I’m using two gels I put on the gobo.
As you can see it still needs some work, but the effect is very cool
You do have to take into account that this will REALLY eat your light, a gobo projector is not very bright, but when adding gels into the game means that in this case I’m shooting at slightly higher ISO’s than I would normally use with strobes. Luckily the Geekoto strobes I’m using can also be turned down to a really low output, meaning they mix perfectly with the projector.

Model : Felisa

Adding some smoke made the image complete for me.
But also always walk around your model and try different positions, it has happend countless times during workshops, events and commercial jobs, me and the client think one angle or position is best, and I always try to include some different positions at the end of the session, and in some cases I actually prefer the alternatives. So always make sure you shoot from as many different positions and angles as time and space allows.


Adding something really special to a photoshoot with a gobo projector

I love my Westcott gobo projector

I love the old fashioned photography, think about photographers like George Hurrell or for example the world famous Harcourt studios.
In the 30’s and 40’s you often saw harsh light combined with hard shadows, this can be for example a plant, branches, chair, ladder or whatever you want to project on the background.

Quick tip.
If you want really hard shadows, make sure your lightsource is far away from the object that will cast the shadow, and the object is as close to the background as possible. The further you move the light away the harder the edge transfer (shadow)

But although those shadows are nice I love to go one step further, and this is where a gobo projector comes in.
As mentioned I’m using the Westcott Lindsay Adler version, but in essence they all work the same.
You mount the projector to your strobe and you can place different gobo’s (metal discs) between a lens (in my case a Canon mount lens) and the strobe, by focussing the lens you can create a sharper or softer pattern on your subject/set. It’s an awesome light modifier to create stunning images.

You can use the projector on your model to create very sharp areas of light or to light the whole set and use fill in lights for extra detail or mood.
During a recent workshop with Felisa I used the projector exactly for that.

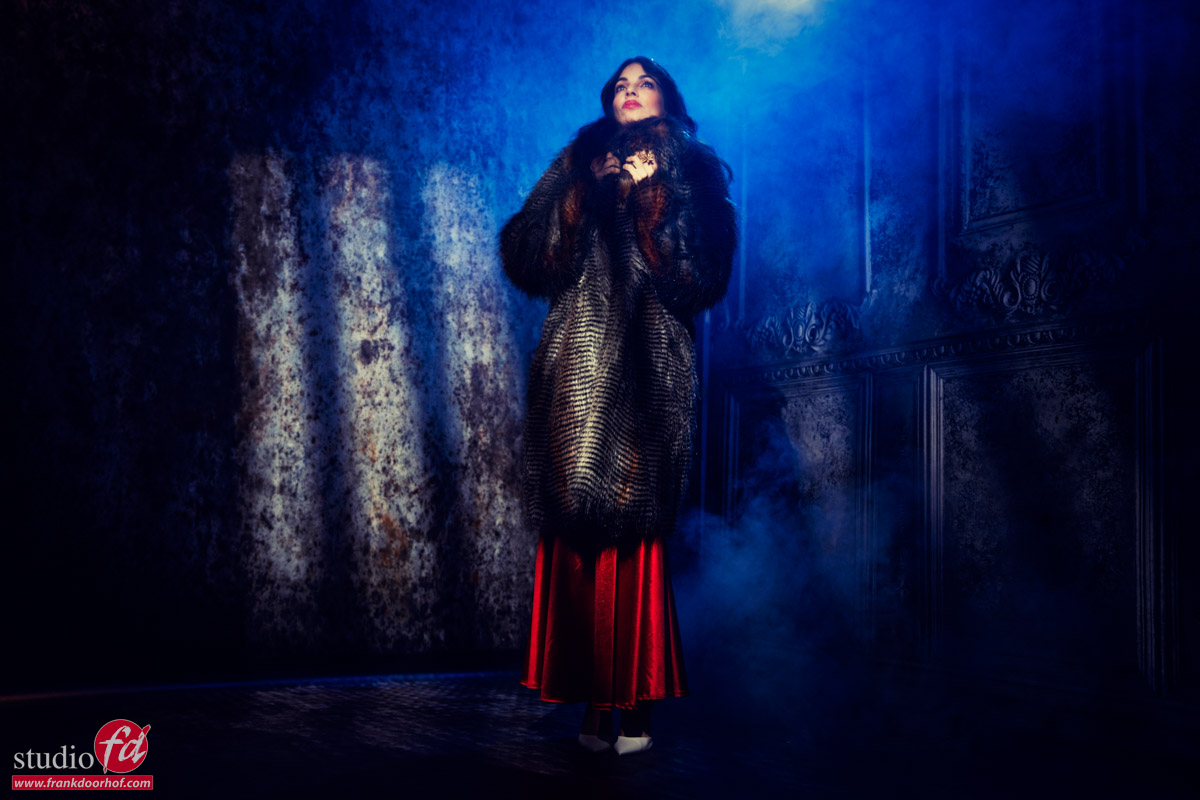
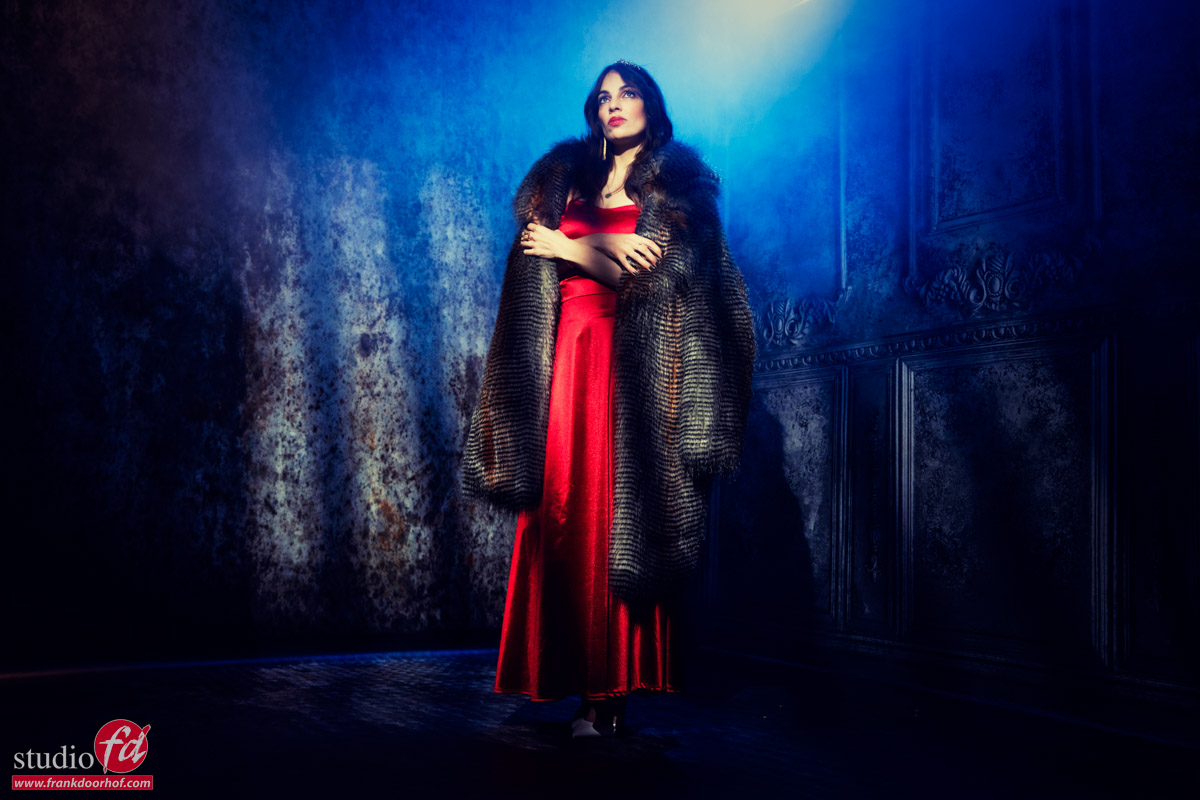
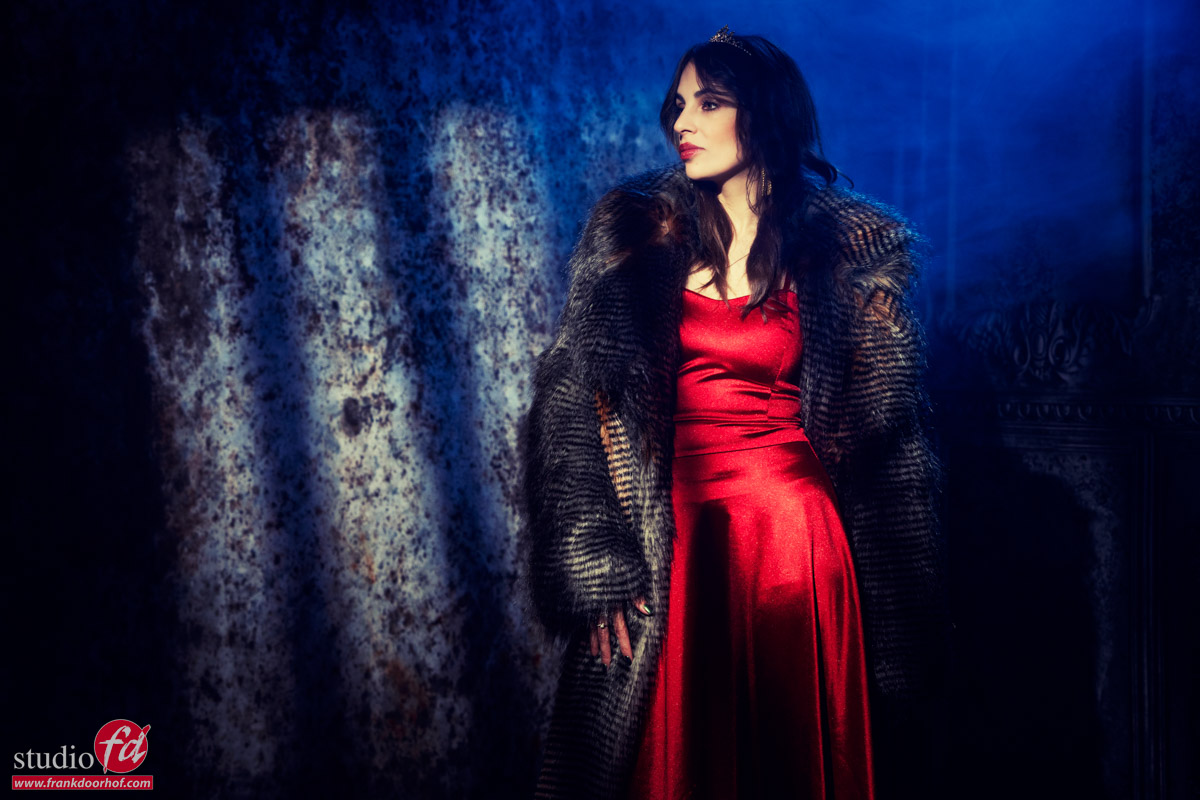
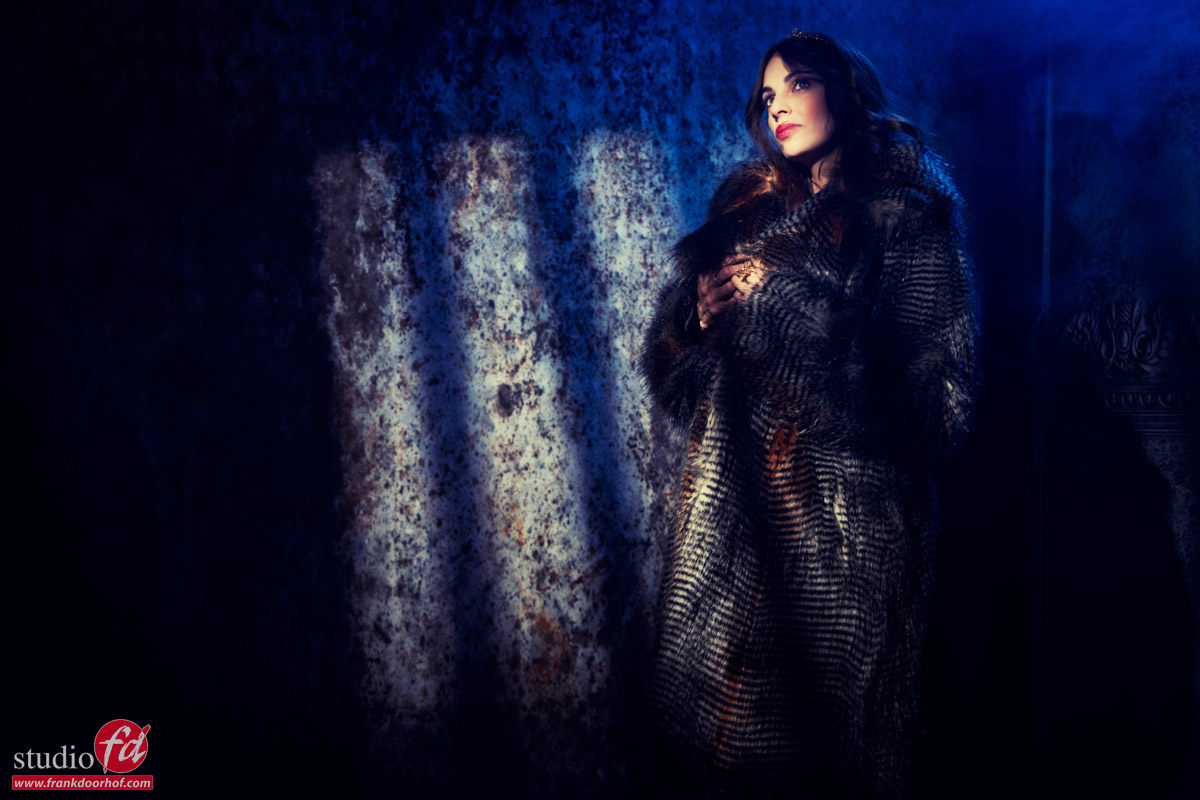
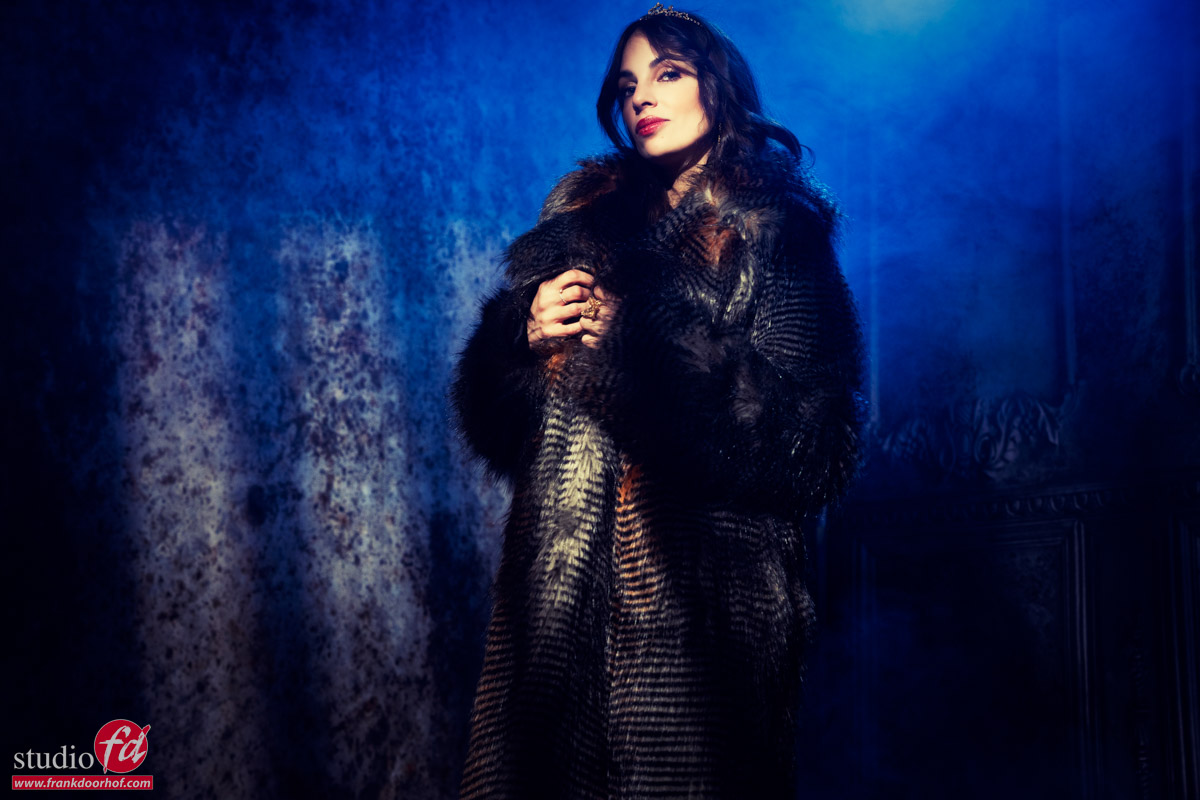
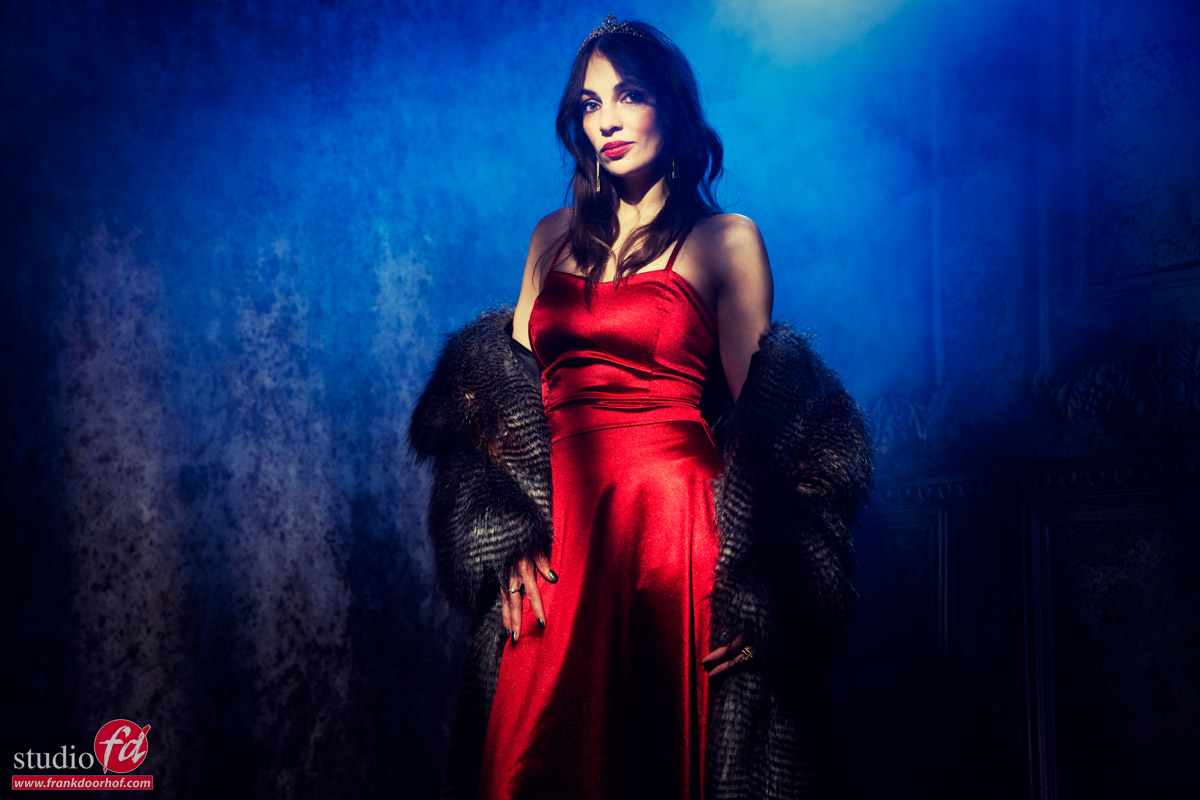
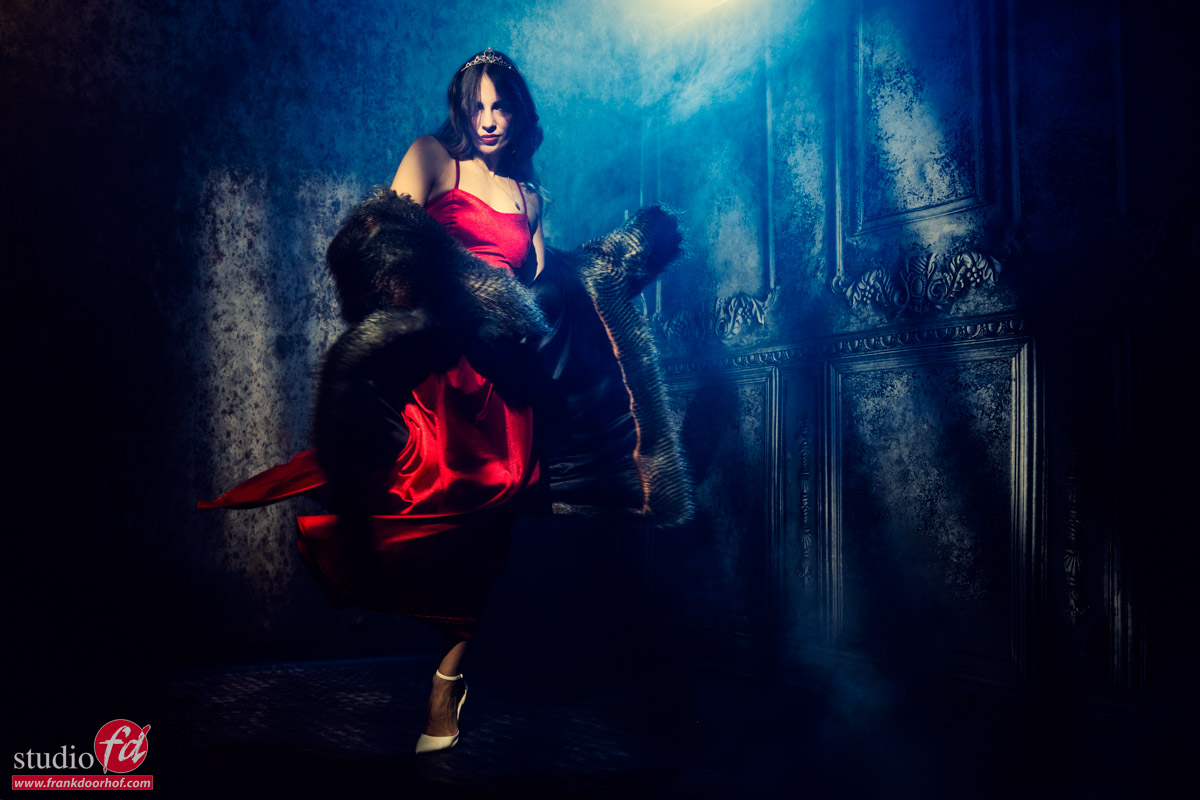
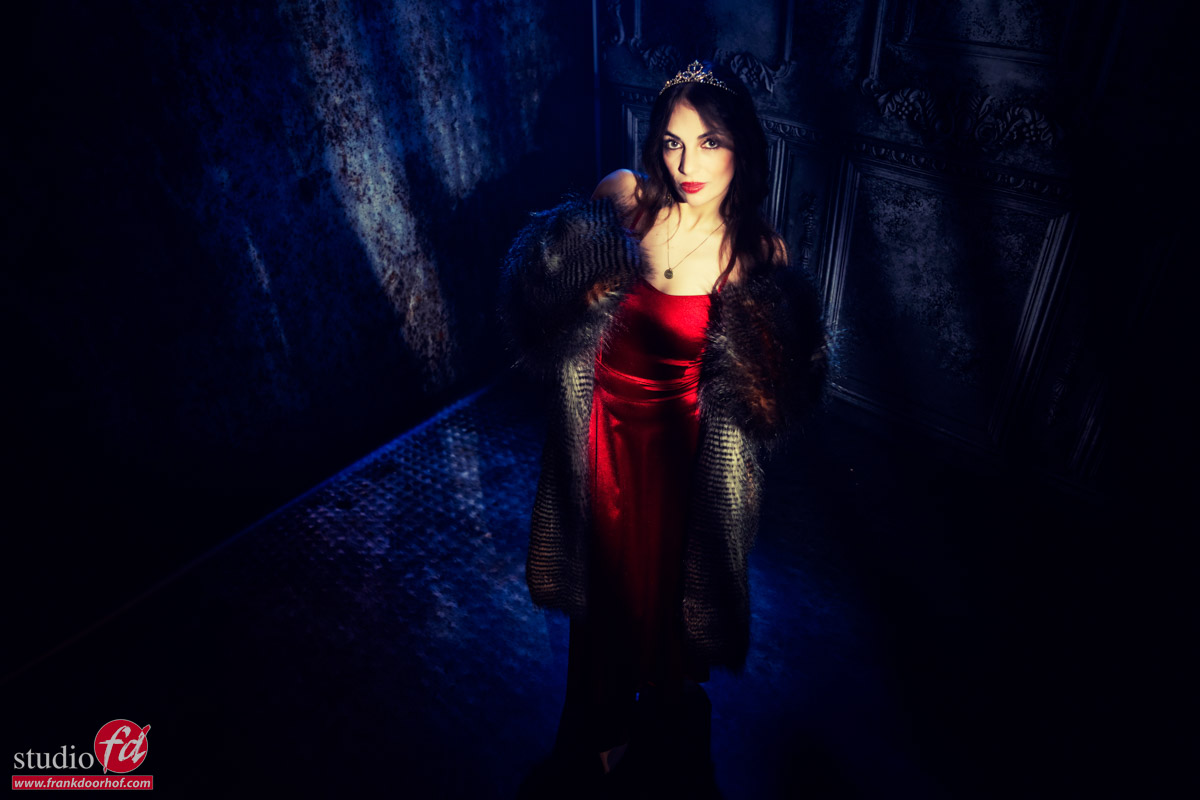
In these images I’m using the projector with a standard gobo with lines on our Geekoto GT400 aimed at Felissa, for the accent light I’m using one Geekoto GT250 with the Rogue Magnetic system and a blue gel. By adding a bit of smoke the blue nicely smeared out over the set.

We build a small set by using 2 of our Clickbackdrops backgrounds.
Of course the fur is fake.

A few tips for the Gobo projector

On the Westcott you can mount lenses with the Canon mount.
The lens that was delivered with my set was for me too long and made it impossible to throw the light over a complete set, it does work great for portraits.
So when you want to start using a gobo projector I would advise to get some extra lenses.
Now this is where you have to be careful.
The projector eats light, so make sure that when you get a lens you get the widest possible aperture you can afford, the nice thing is that you don’t need to get a super high quality lens, you could for example use old M42 lenses with a Canon convertor and make it possible to experiment with different lenses.

One of the things I love about the Westcott version is that you don’t need to use the gobos, but you can also use the blades to get some really striking patterns on your model.

And you can of course combine it with some colors for extra stunning effects.

Want to visit one of our workshops?
visit www.fotografie-workshops.nl for the new agenda.
The workshops are in Dutch, but if you let us know a few weeks in advance we can switch the to English.

How to murder your Husband, a Halloween Frank Doorhof Special

It’s Halloween so it’s time for horror

When it’s Halloween it’s time for some cool images of course.
We already showed you the video this morning but now it’s time to see those gory photos in full glory.
I hope you enjoy them as much as we did creating them, and trust me this was one of those workshops where the group totally went for it, I can’t wait for you guys to see the images popping up on their timelines 😀

But in this blogpost… well it’s time for my images.

DISCLAIMER
if you are easily offended don’t read the blogpost, it is Halloween so everything is in good fun of course.

Story time

Photography is paining with light, we all know that expression but for me personally it’s also a large part story telling.
You can do this with sets, lighting, expressions, props etc. but also with adding some special effects in Photoshop.

For this story we knew before hand it would rely heavily on using Photoshop and for me also Boris FX (totally love their optics software). That doesn’t mean however that you can just shoot it all against a blue/green screen of course.
For some images we needed smoke, and besides that I always try to shoot my images already in a setting so that I can use them if my Photoshop skills are not what I thought they were 😀

In this case, I think the images turned out pretty well.

So let’s start.

How to murder your husband

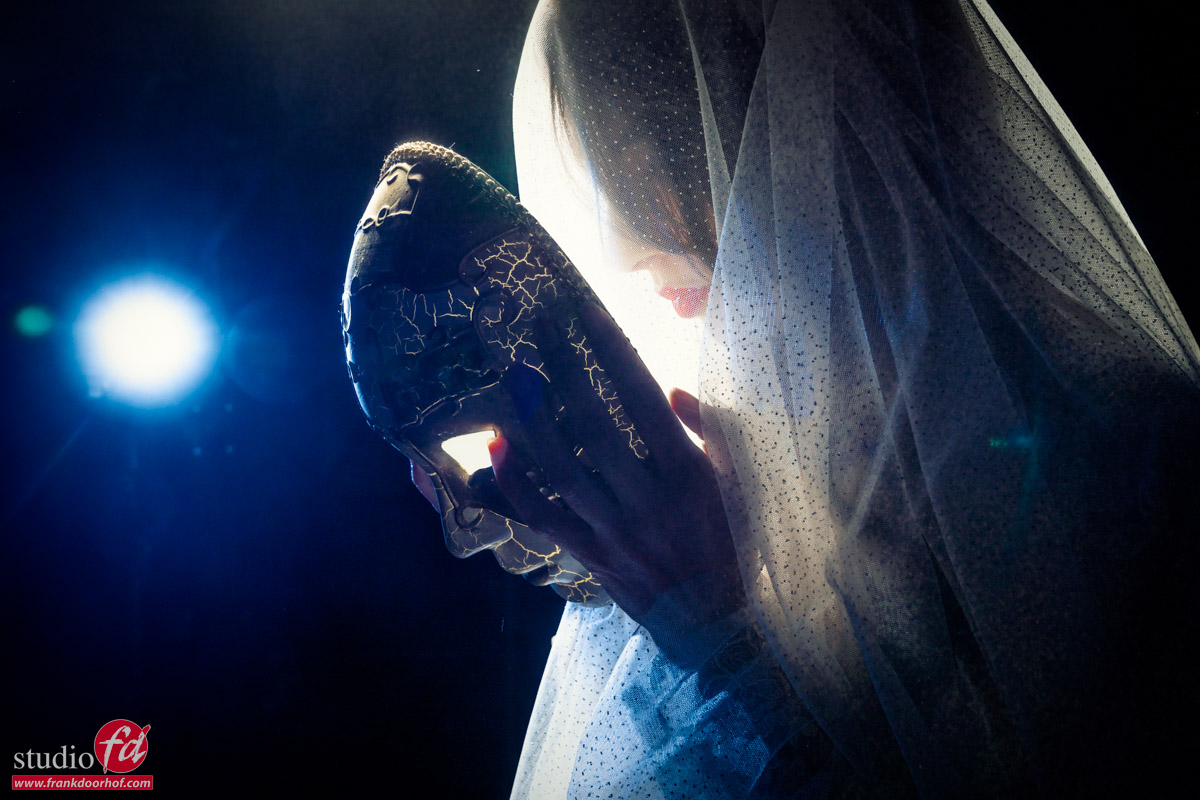
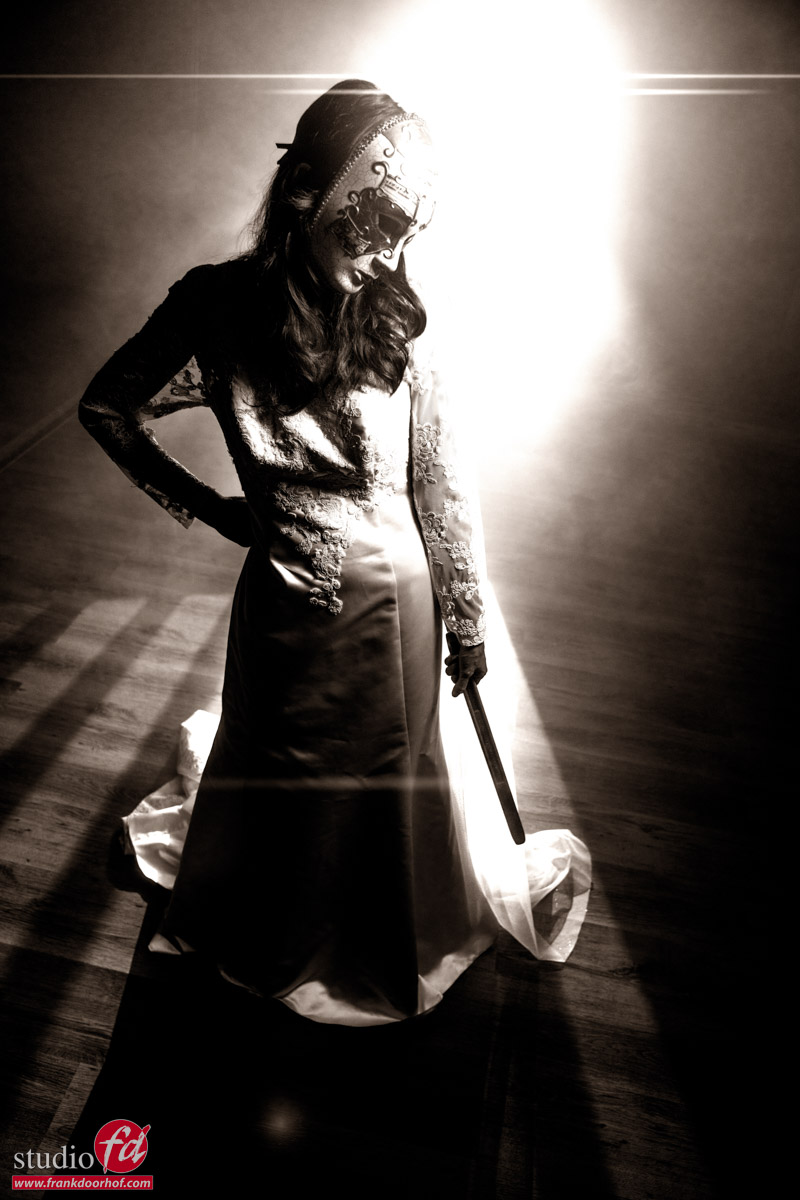
Of course we all love our partners, but what if you can’t stand your husband. And after years of hiding your anger one Halloween night it’s enough. You can’t face the truth yourself so you decided to go to the cellar and put on the mask.

“Honey, can you come downstairs please I need some help”
Yeah help you don’t really need right?
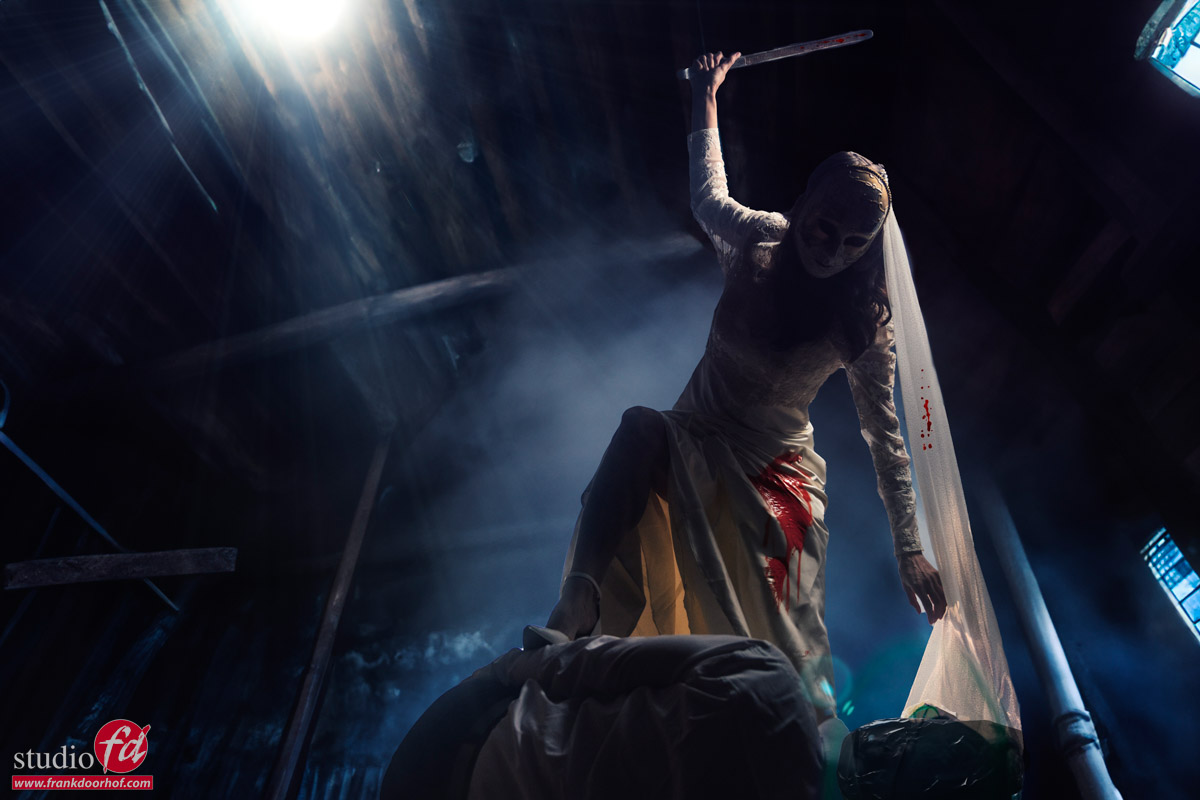
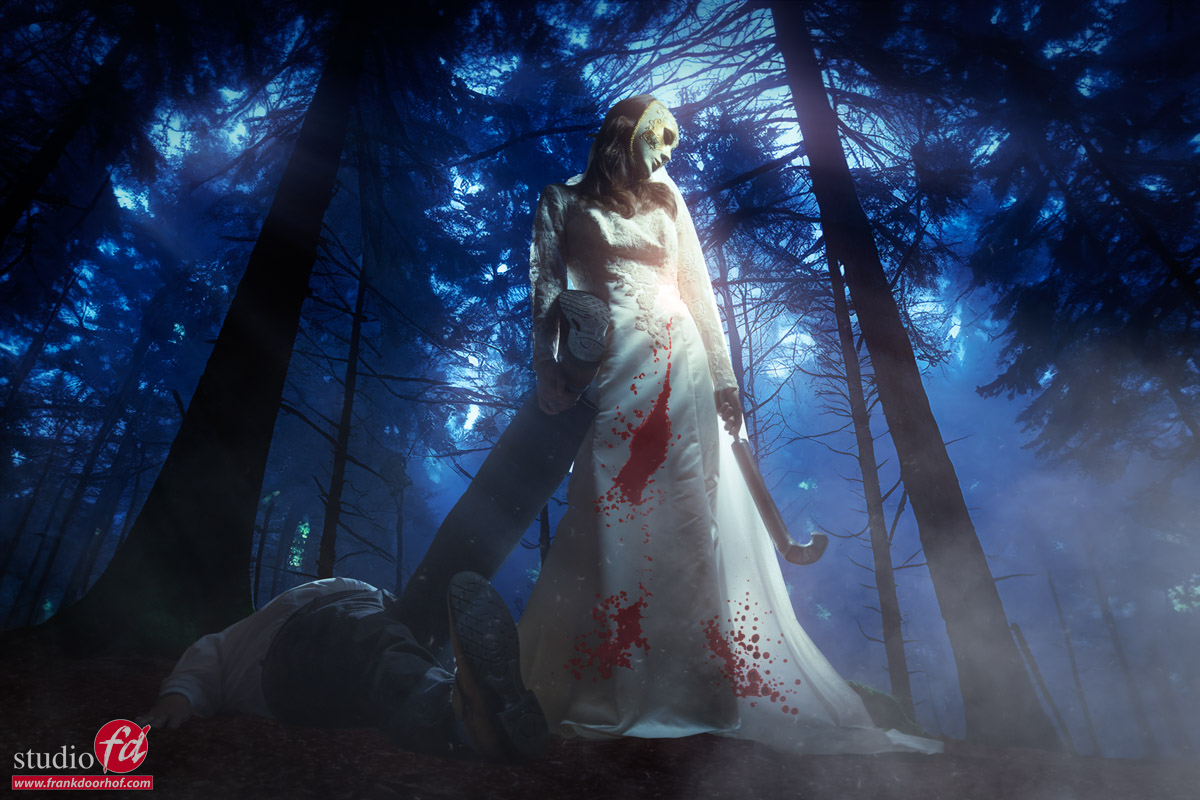
She already got something heavy and put on her wedding dress (because you can see the blood better, and it was more dramatic than jeans and a tanktop).

When the husband comes down the stairs he started laughing “What are you wearing, lol you think it’s already Halloween dummy”

“YES IT’S HALLOWEEN”
And that’s the last thing he heard besides the blows hitting his head.

After the fact she looks at the lifeless body and realises something terrible,….. it’s going to stink like crazy so we have to get rid of the body.
Luckily there is a forrest close by, and the drags the body behind her to a place where no-one will ever find him.

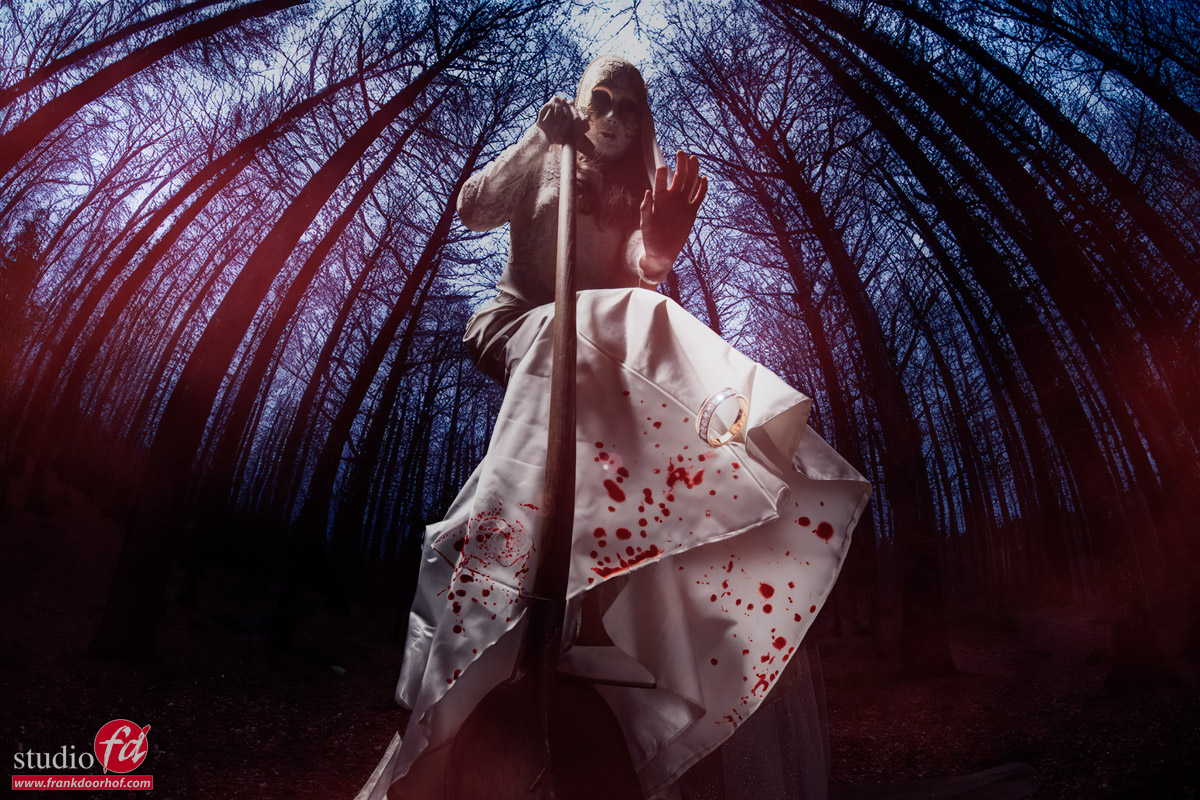
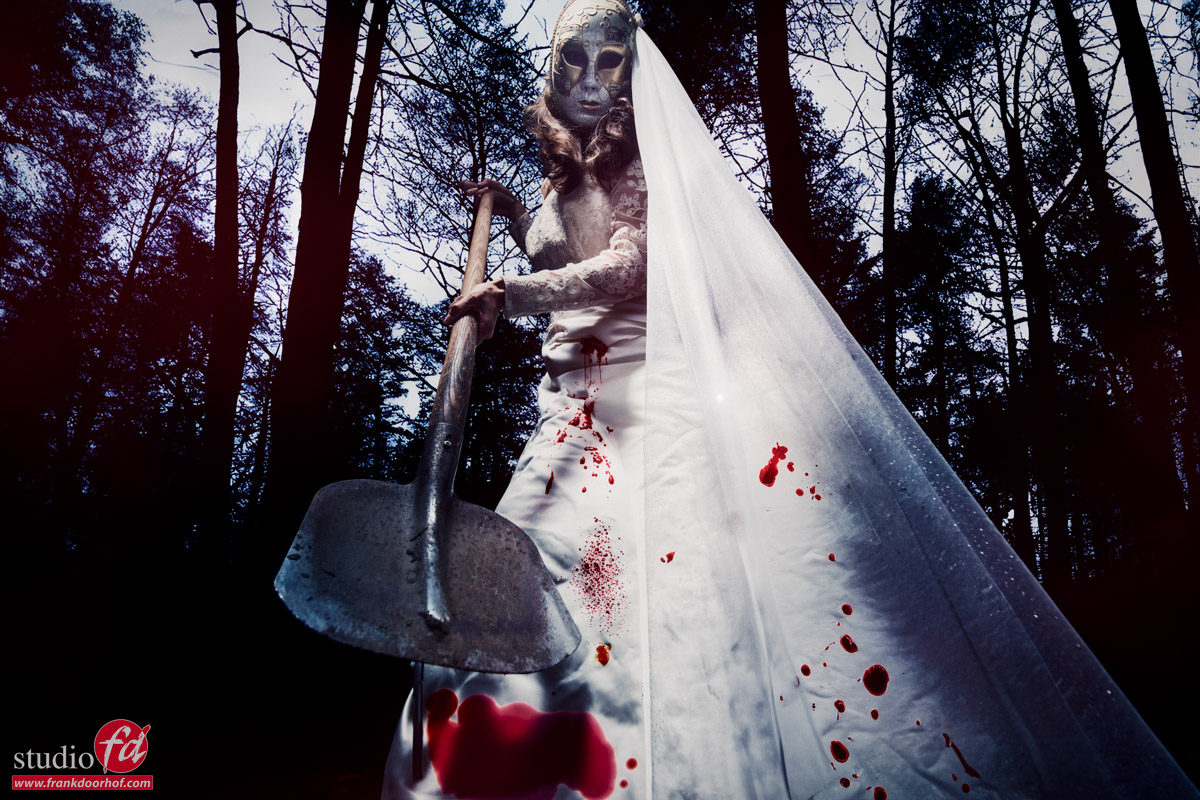
After she dug the grave it was time for the “till death do us part, part”
She took of her cheap wedding ring he got at the pawnshop in Vegas and after 13 years still read the name of that other woman you never met.

Closing up the grave she felt liberated, happy but… also a little bit sad. She did ruin a perfectly great wedding dress.

The grave is closed, the ring is gone, the wedding dress is soaked in blood (this will be a huge cleaners bill).
But one thing still has to be done.
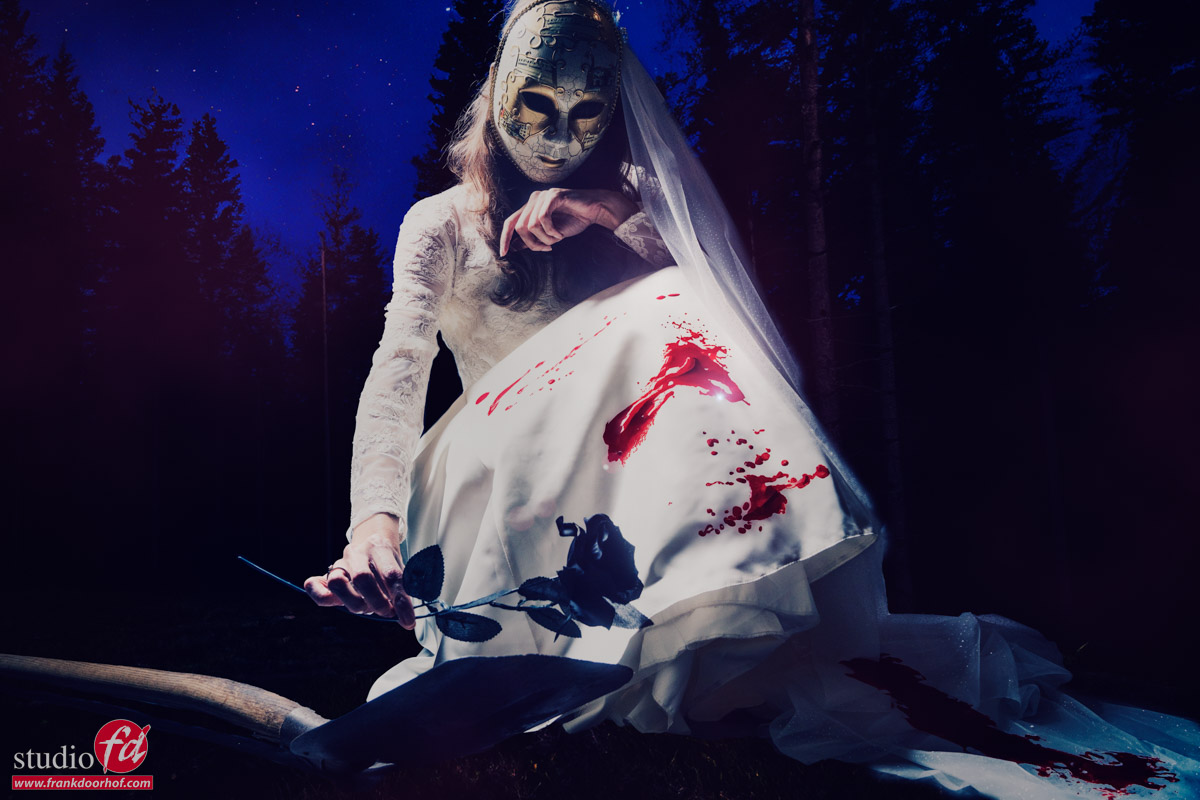
One flower for total liberation

This is how the story end… or does it?


yes it does for now.
But I still wanted to share one more image from this workshop. It was actually an image to test a setup but I still liked it enough to include it into this post.